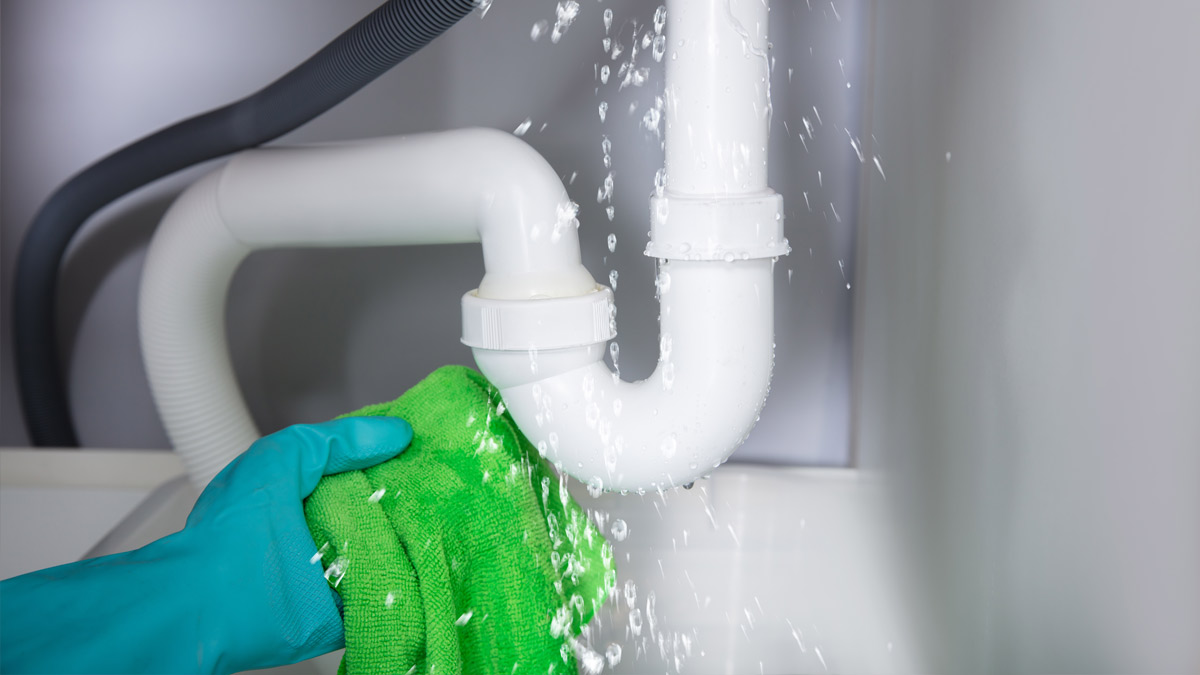
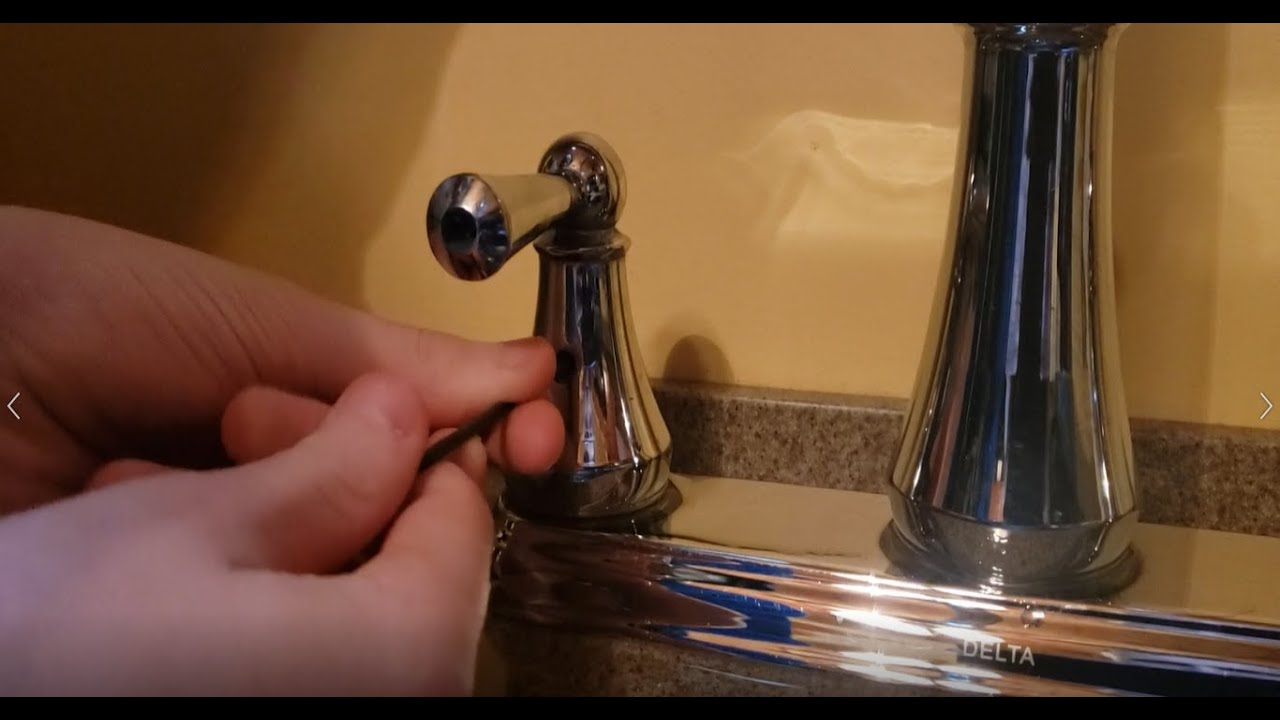
If you're tired of constantly wiping up puddles under your kitchen sink, it's time to take action. A leaky kitchen sink may seem like a small annoyance, but it can lead to bigger problems if left untreated. The good news is that fixing a leaky sink is a relatively simple task that can save you from costly repairs down the line. Start by turning off the water supply to your sink and emptying out the cabinet underneath. This will give you room to work and prevent any water damage to your belongings. Next, identify where the leak is coming from – it could be from the faucet, drain, or pipes. If the leak is coming from the faucet, you may need to replace the O-ring or cartridge depending on the type of faucet you have. For a leak in the drain, you'll need to replace the rubber gasket or putty around the edges. In some cases, a leaky pipe can be fixed by simply tightening the connections. Once you've made the necessary repairs, turn the water supply back on and check for any remaining leaks.1. How to Fix a Leaky Kitchen Sink

1. How to Fix a Leaky Kitchen Sink


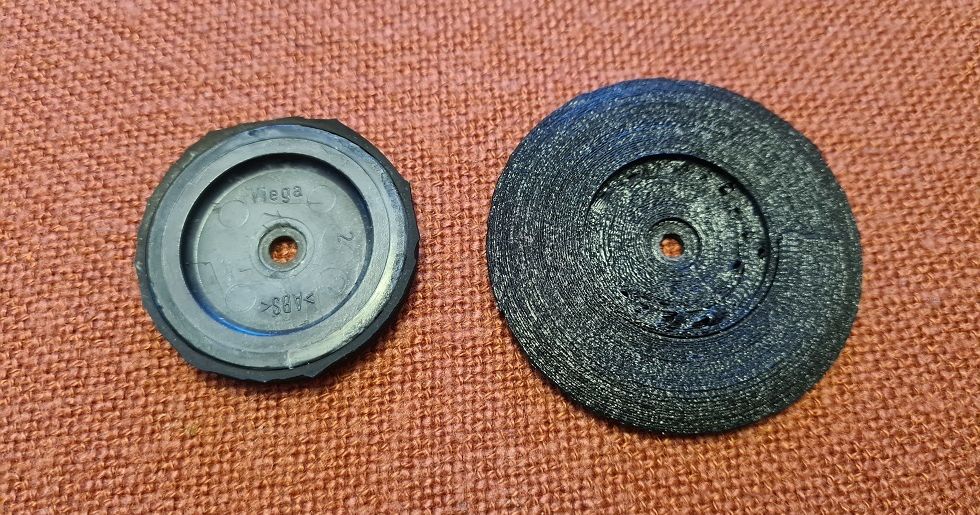
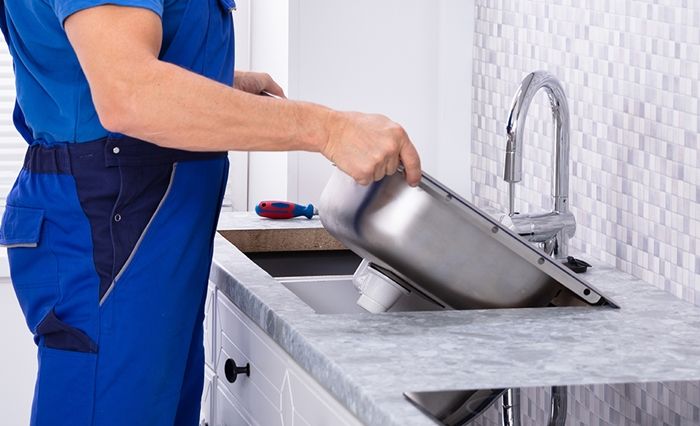
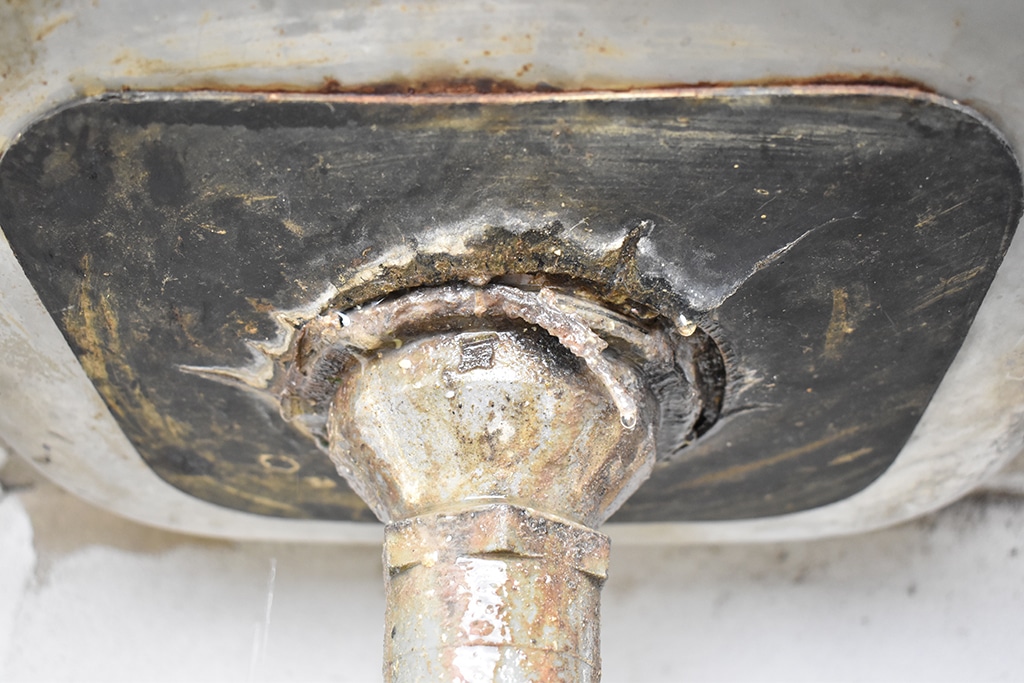
If your sink is still leaking after replacing the individual parts, it's likely that you have a faulty seal. The seals on a kitchen sink are what keep the water from leaking out and can wear out over time due to constant use and exposure to water and cleaning products. To replace the seals, you'll need to start by removing the sink from the countertop. This can be a bit tricky, so make sure to follow the manufacturer's instructions or seek professional help if needed. Once the sink is removed, you can easily access the seals and replace them with new ones. Make sure to clean the area thoroughly before installing the new seals to ensure a proper fit.2. Replacing Seals on a Kitchen Sink


2. Replacing Seals on a Kitchen Sink


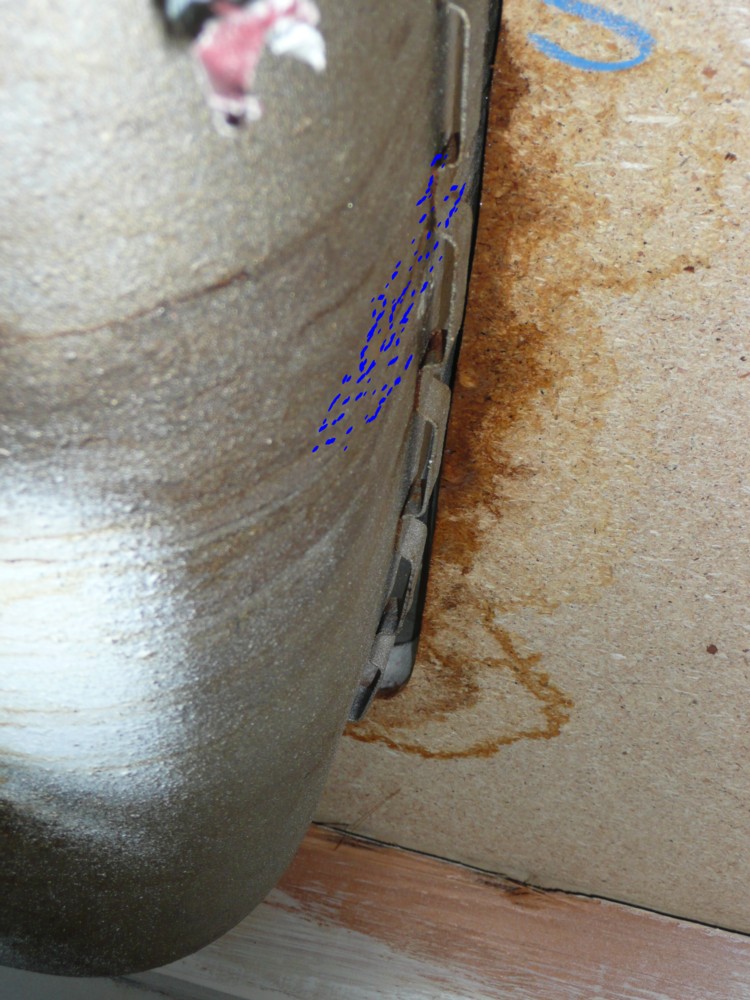
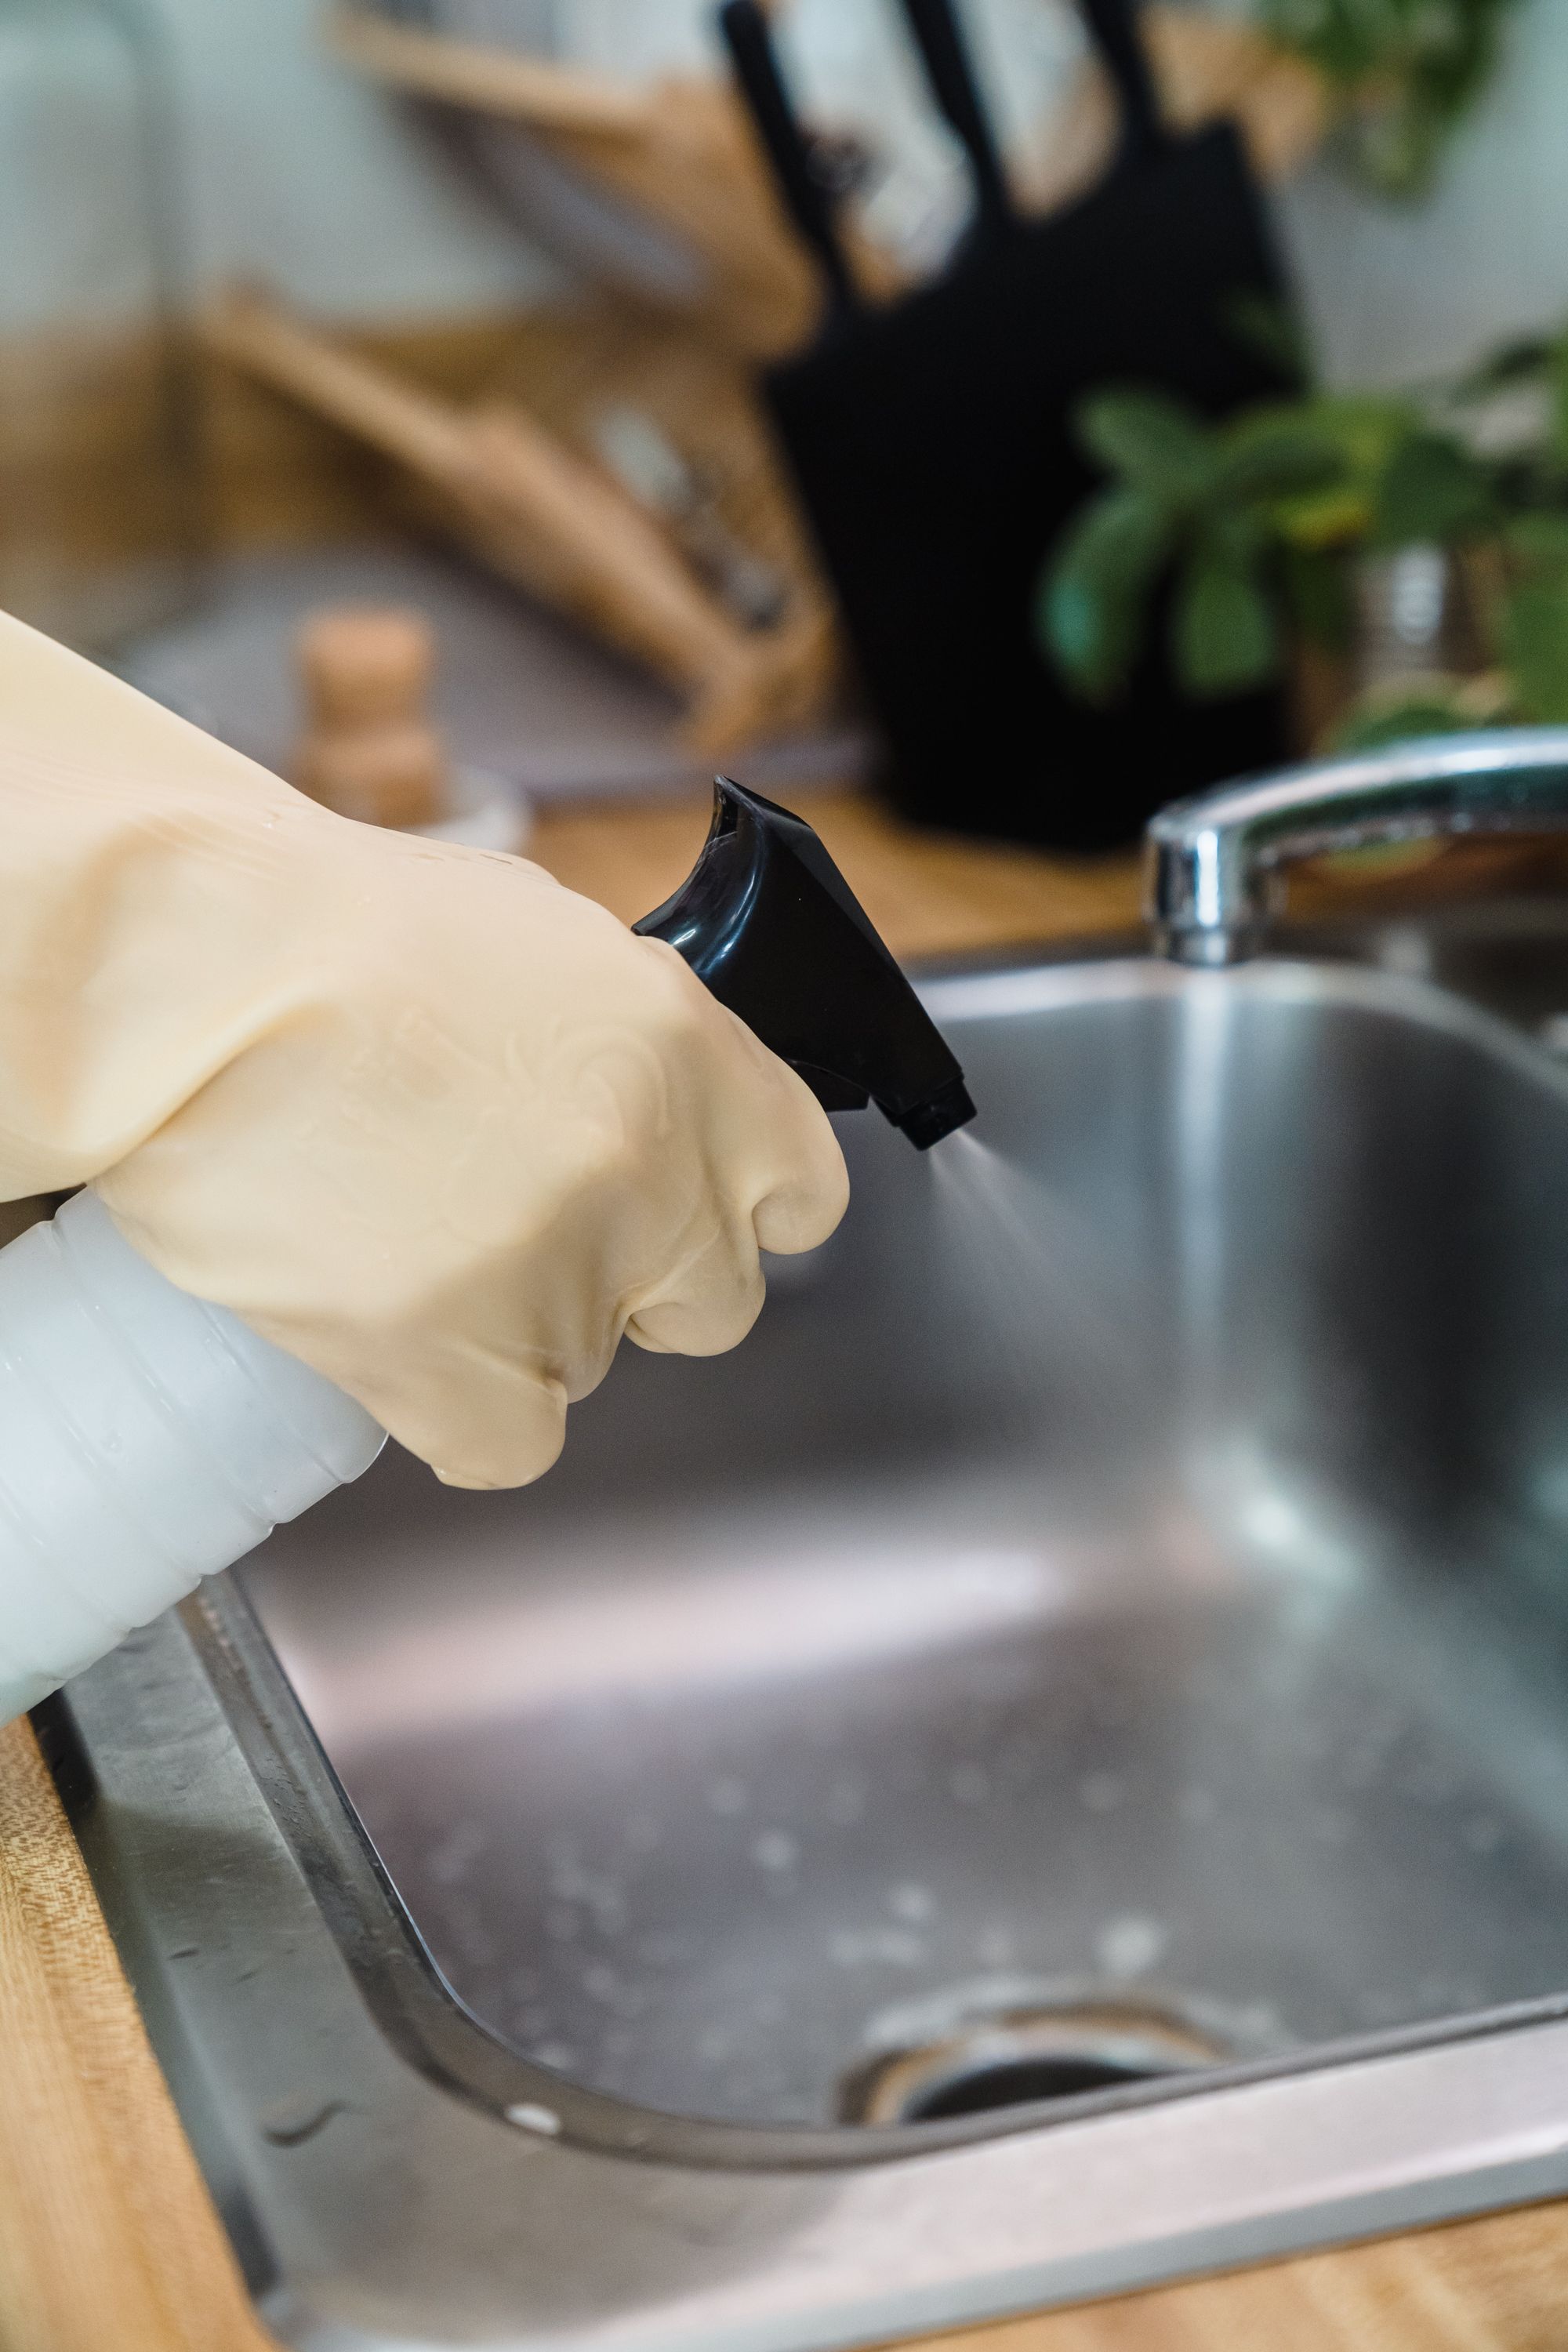
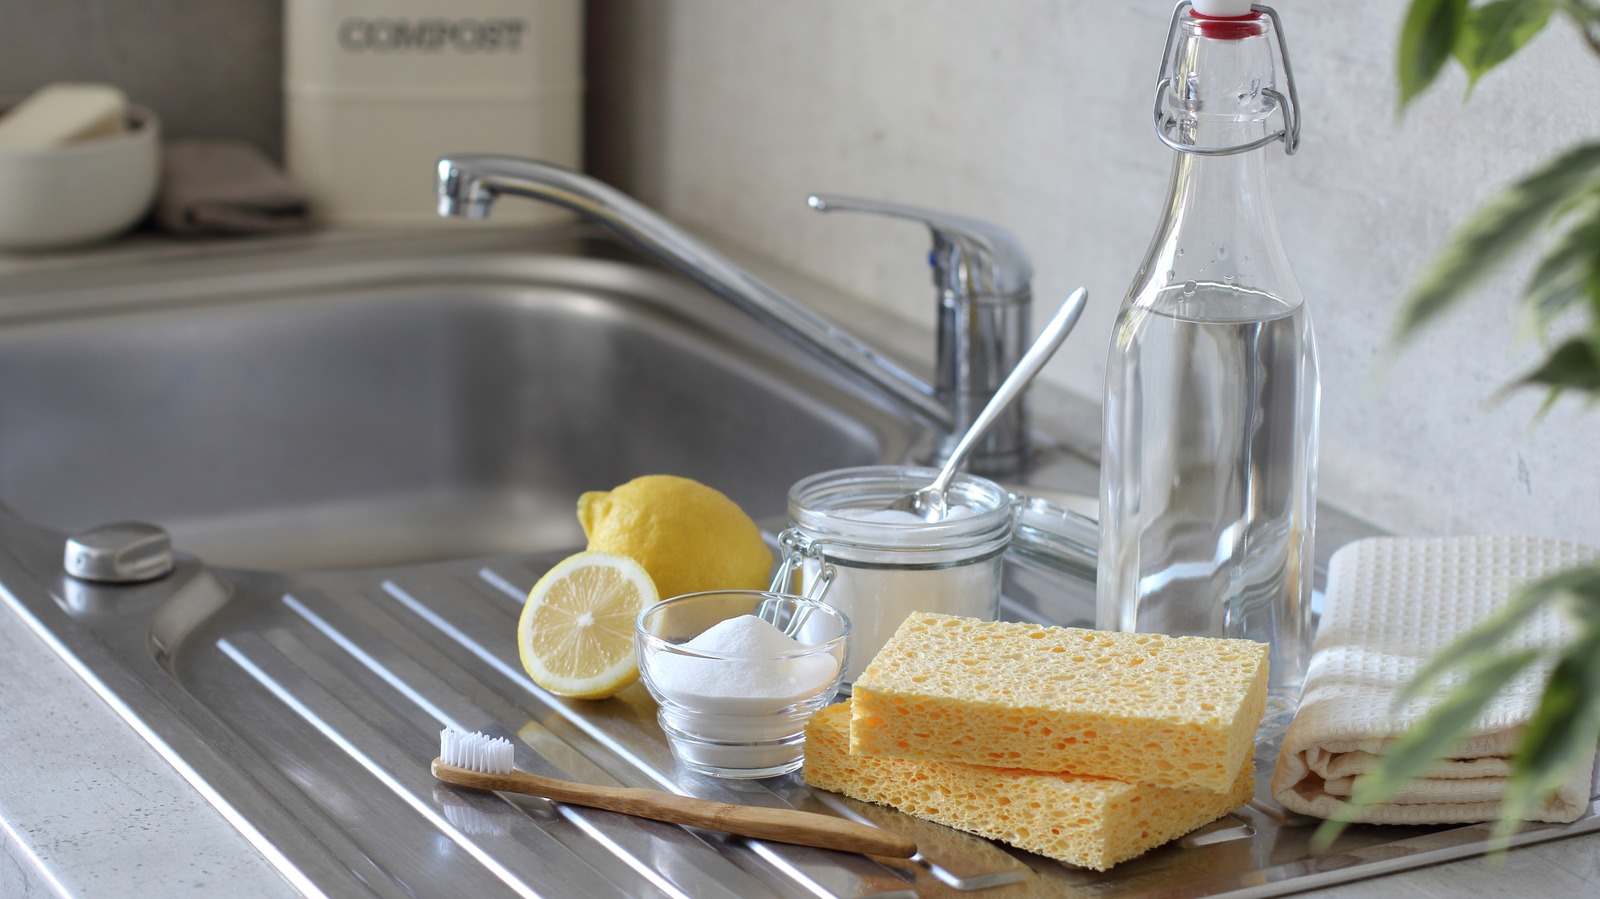
A leaky kitchen sink can be caused by a variety of factors, including wear and tear, improper installation, and even faulty parts. If you've recently had your sink replaced or installed, it's possible that the plumber did not properly seal the connections, leading to leaks. Another common cause of a leaky sink is clogged or damaged pipes. Over time, debris and grease can build up in the pipes, causing blockages and eventually leading to leaks. It's important to regularly clean and maintain your pipes to prevent this from happening. Additionally, using harsh cleaning products or chemicals on your sink can cause damage to the seals, leading to leaks. Stick to gentle and natural cleaning solutions to prolong the life of your sink's seals.3. Common Causes of a Leaking Kitchen Sink


3. Common Causes of a Leaking Kitchen Sink


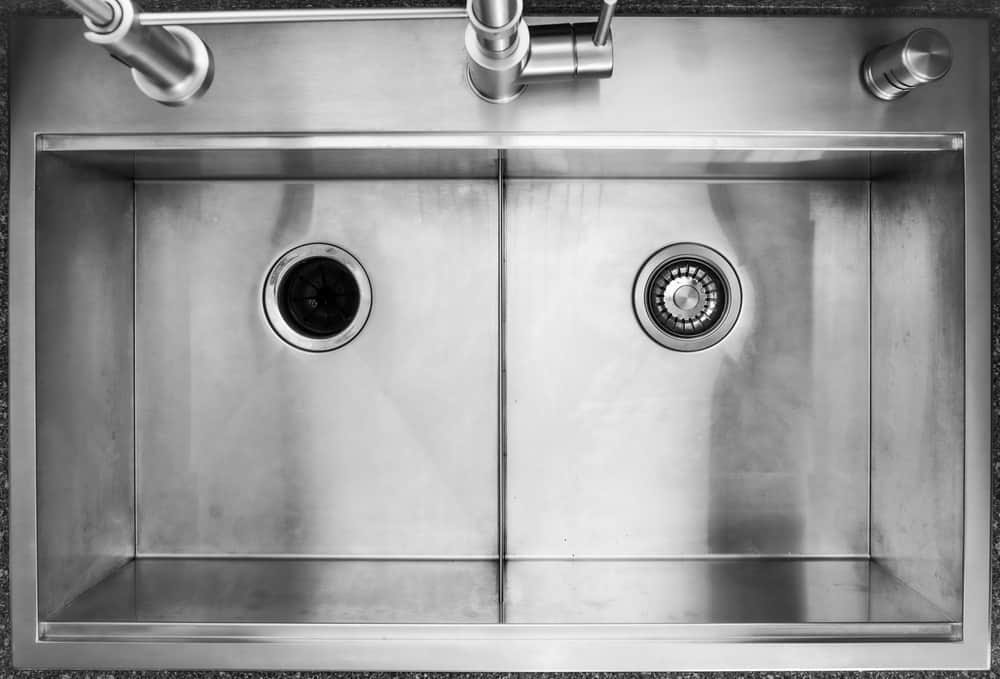
If you're unsure of where the leak is coming from, there are a few troubleshooting steps you can take. Start by drying the area under the sink and turning the water back on. Use a flashlight to inspect the connections and look for any signs of water. If you still can't locate the source of the leak, try running water through the different parts of the sink, such as the faucet and drain, to see where the water is escaping. If you're still having trouble identifying the problem, it may be best to call a professional plumber who can pinpoint the issue and make the necessary repairs.4. Troubleshooting a Leaky Kitchen Sink

4. Troubleshooting a Leaky Kitchen Sink


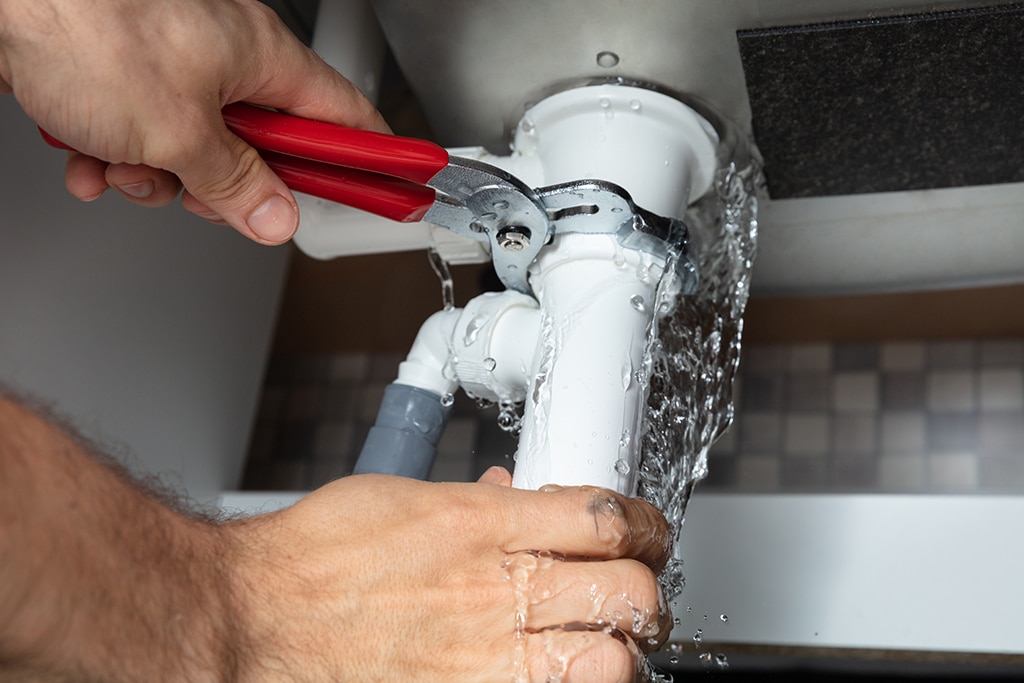
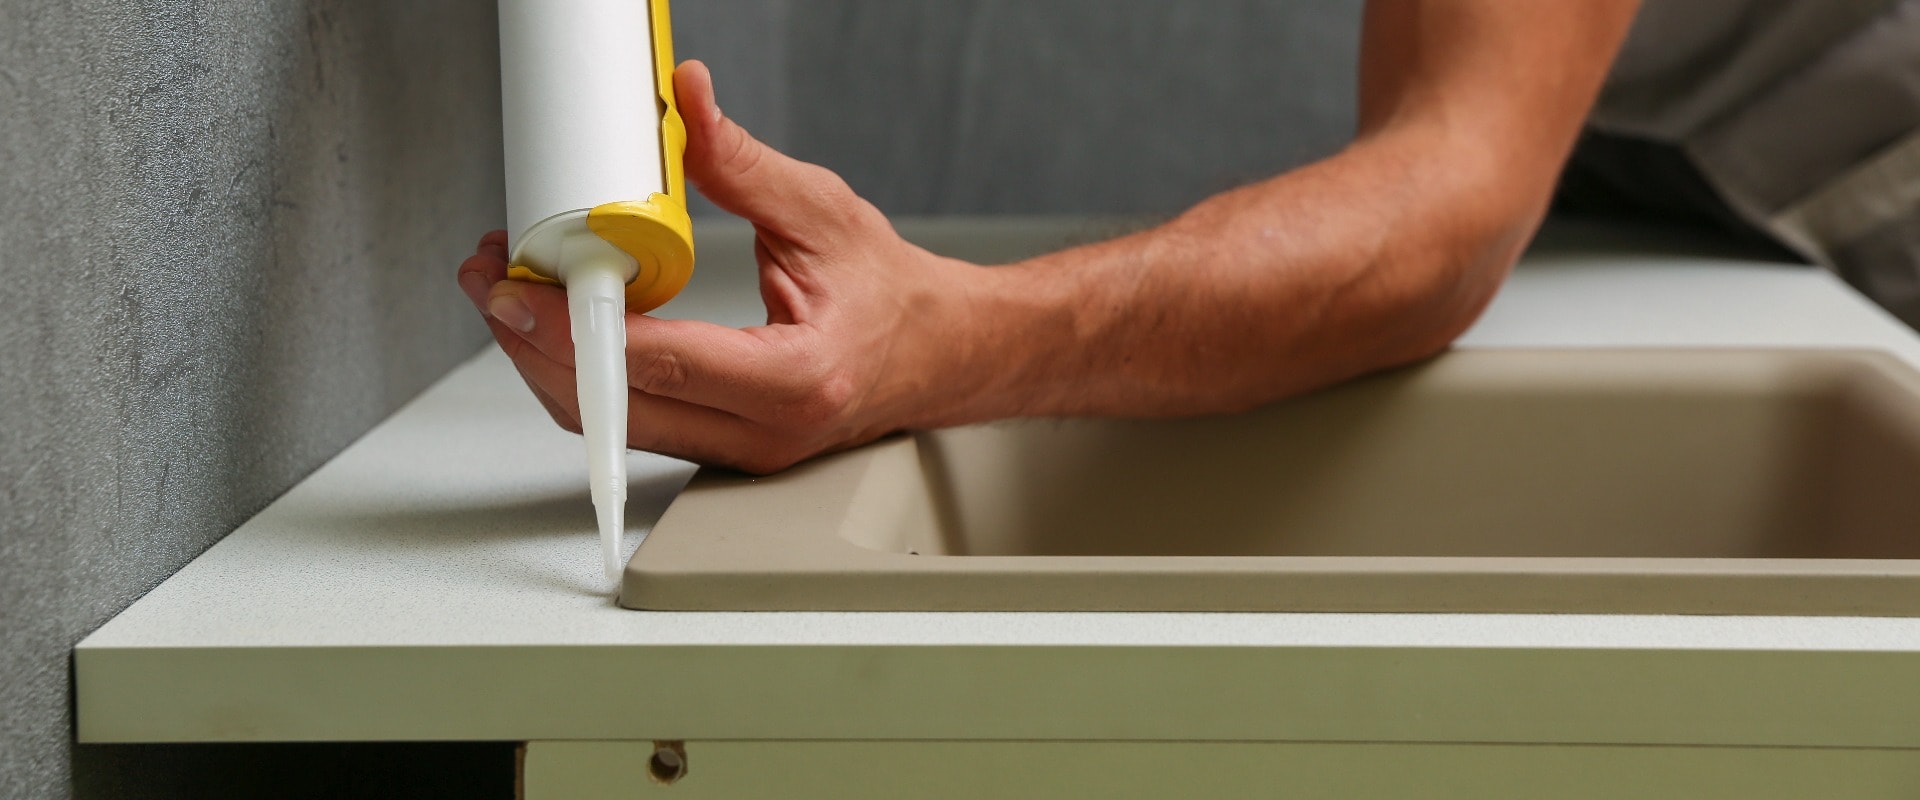
Replacing seals on a kitchen sink may seem like a daunting task, but with the right tools and instructions, it can easily be done as a DIY project. Start by gathering the necessary materials, such as a new seal, plumber's putty, and a wrench. Follow the manufacturer's instructions for removing the sink and then carefully remove the old seal. Clean the area thoroughly and apply the new seal, making sure it is properly aligned and secured. Once the seal is in place, reinstall the sink and test for any leaks.5. DIY Kitchen Sink Seal Replacement


5. DIY Kitchen Sink Seal Replacement


Replacing seals on a kitchen sink requires precision and attention to detail. Here are a few tips to keep in mind to ensure a successful seal replacement: - Always turn off the water supply and empty out the cabinet before starting. - Take your time and carefully remove the old seal to avoid damaging the sink or surrounding areas. - Use a putty knife to remove any residue or old putty from the sink and drain before installing the new seal. - Make sure all connections are properly tightened to prevent future leaks.6. Tips for Replacing Seals on a Kitchen Sink


6. Tips for Replacing Seals on a Kitchen Sink


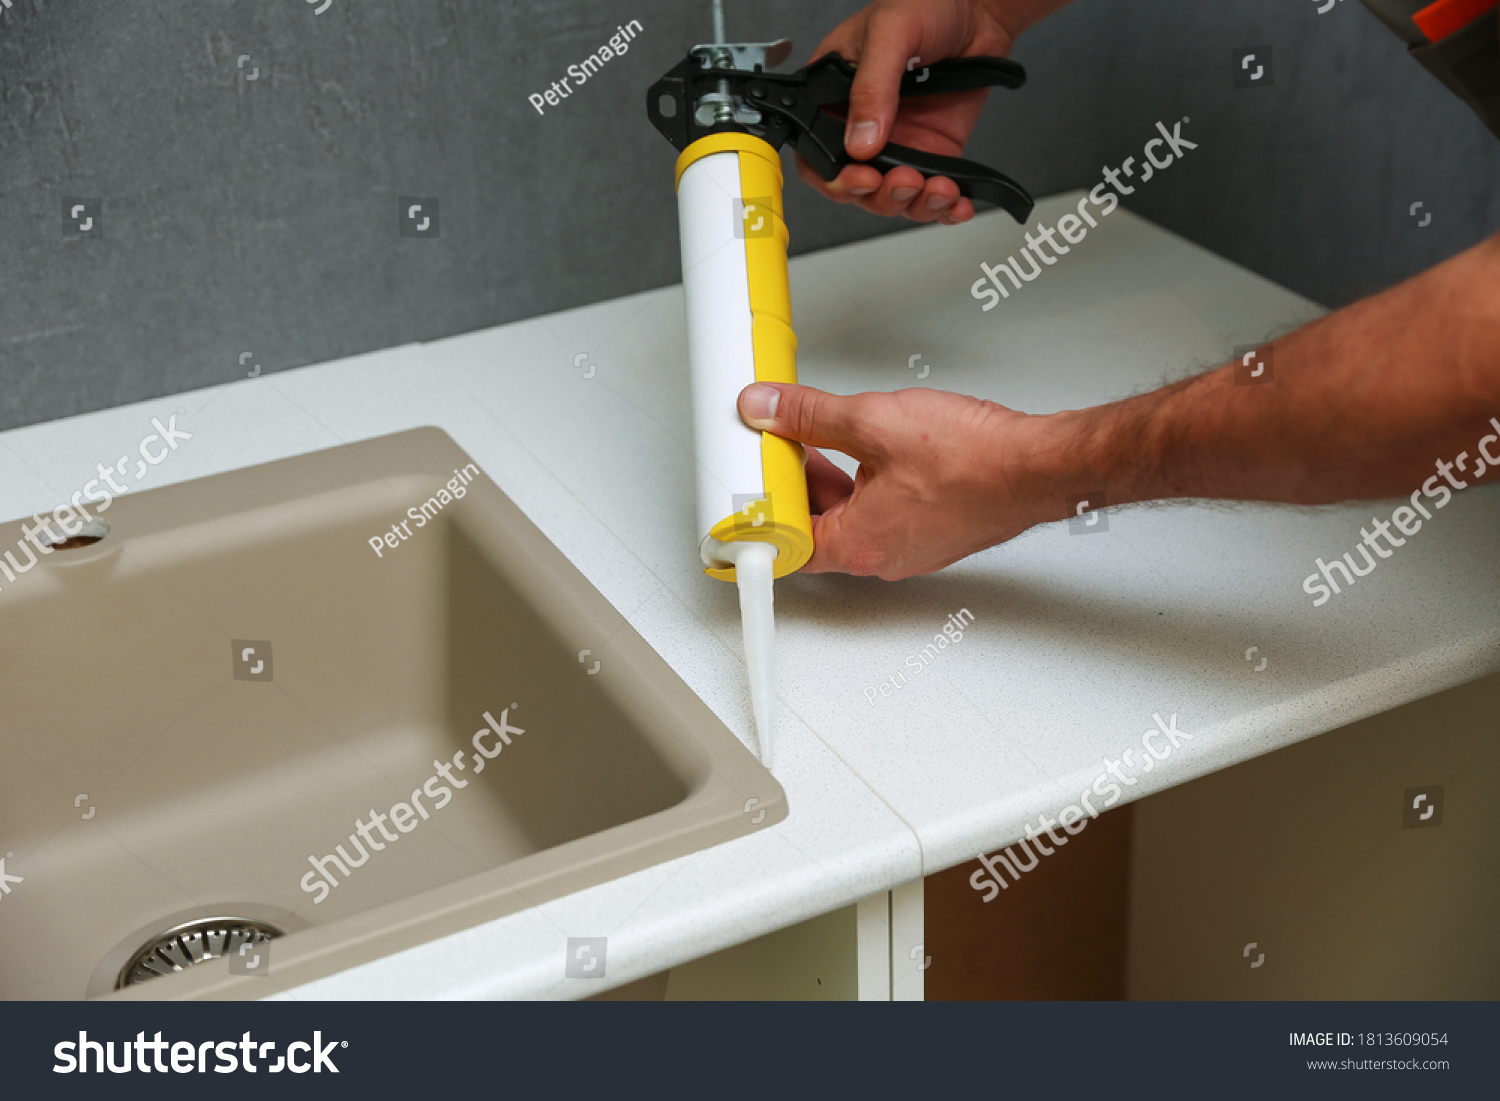


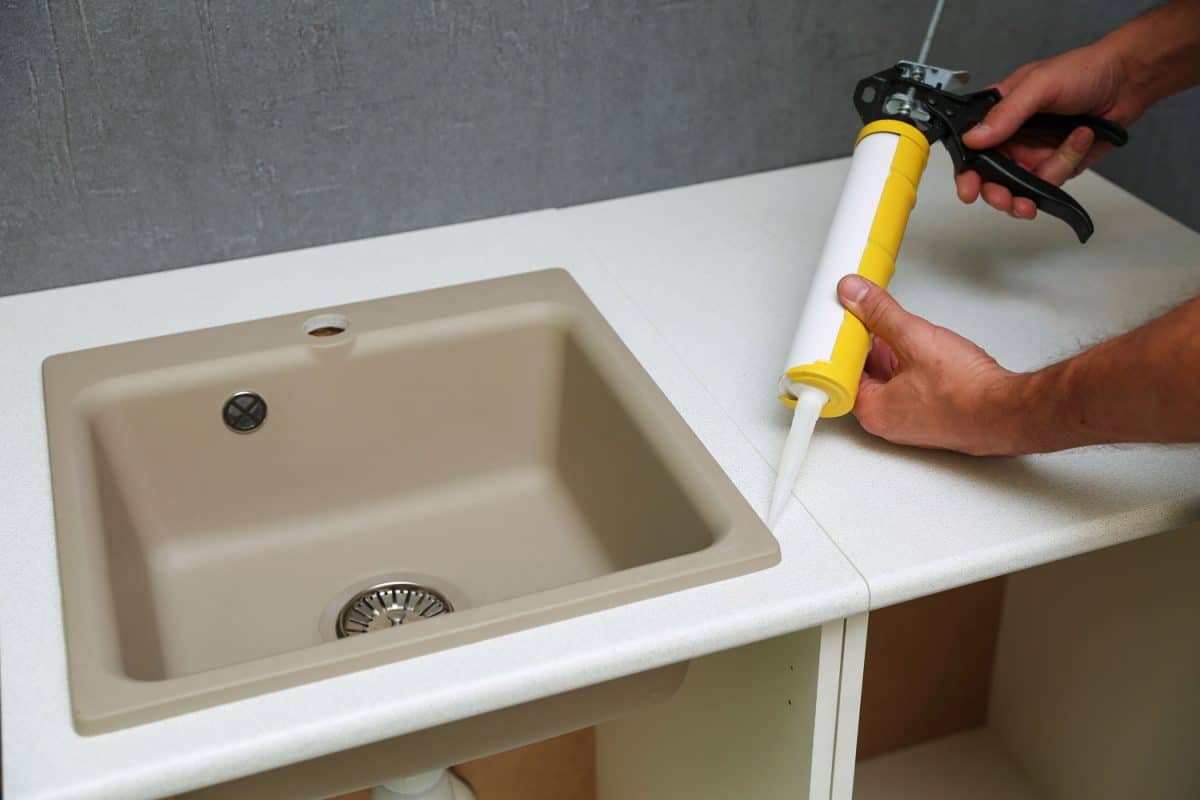
Installing a kitchen sink seal may seem like a straightforward task, but it's important to do it correctly to ensure a tight and secure fit. Start by cleaning the area and aligning the seal with the sink and drain. Carefully press down on the seal to ensure it is evenly distributed. Next, apply plumber's putty around the edges of the drain and gently press it down to create a watertight seal. Use a damp cloth to clean up any excess putty. Finally, reinstall the sink and check for any leaks before turning the water back on.7. How to Properly Install a Kitchen Sink Seal


7. How to Properly Install a Kitchen Sink Seal
:no_upscale()/cdn.vox-cdn.com/uploads/chorus_asset/file/19495086/drain_0.jpg)


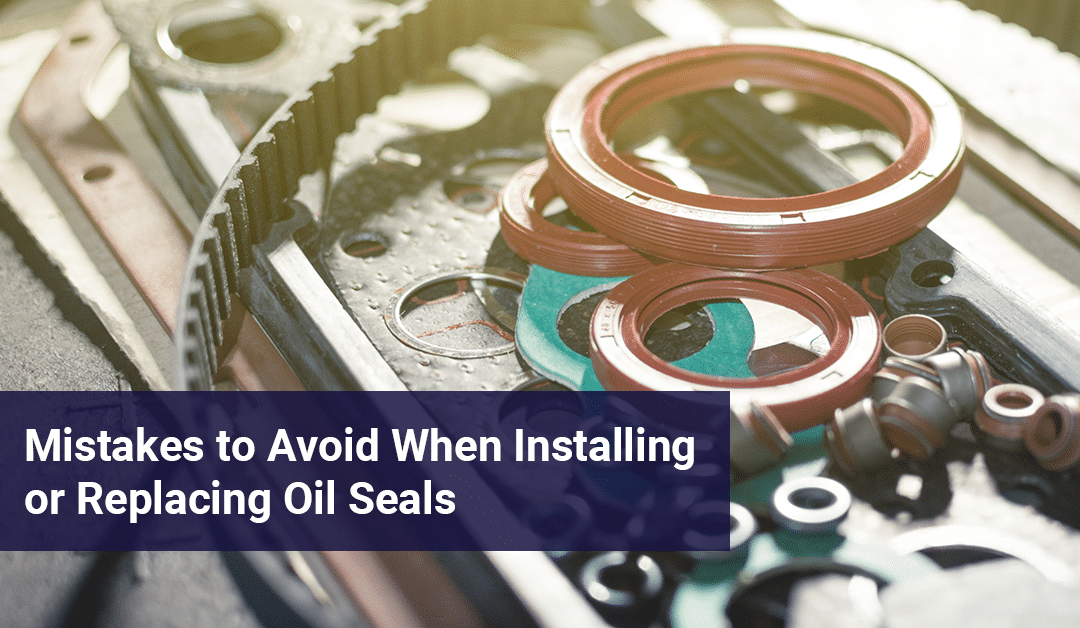
Replacing seals on a kitchen sink may seem like a simple task, but it's easy to make mistakes that can lead to more problems down the line. Here are some common mistakes to avoid when replacing seals on a kitchen sink: - Not properly cleaning the area before installing the new seal. - Not aligning the seal properly, causing it to be uneven and resulting in leaks. - Using too much plumber's putty, which can cause a messy and ineffective seal. - Not tightening connections enough, leading to future leaks.8. Common Mistakes When Replacing Seals on a Kitchen Sink


8. Common Mistakes When Replacing Seals on a Kitchen Sink


If you notice a leak under your kitchen sink, it's important to act quickly to prevent any further damage. Start by identifying the source of the leak and making the necessary repairs, such as replacing a faulty seal or tightening connections. If the leak is coming from the faucet, you may need to replace the entire faucet, especially if it is old and worn out. For a leak in the pipes, it's best to call a professional plumber who can assess the situation and make the necessary repairs.9. How to Identify and Fix a Leaking Kitchen Sink


9. How to Identify and Fix a Leaking Kitchen Sink


The best way to prevent leaks in your kitchen sink is to regularly maintain and check the seals. This includes cleaning the area regularly to prevent buildup and inspecting the seals for any signs of wear and tear. If you notice any cracks or damage, it's best to replace the seal before it becomes a bigger problem. Additionally, be mindful of what you pour down your sink and avoid using harsh chemicals or cleaners that can damage the seals. By properly maintaining your kitchen sink seals, you can prevent leaks and save yourself from the hassle and expense of repairs in the future.10. Preventing Leaks in Your Kitchen Sink: Proper Seal Maintenance


10. Preventing Leaks in Your Kitchen Sink: Proper Seal Maintenance


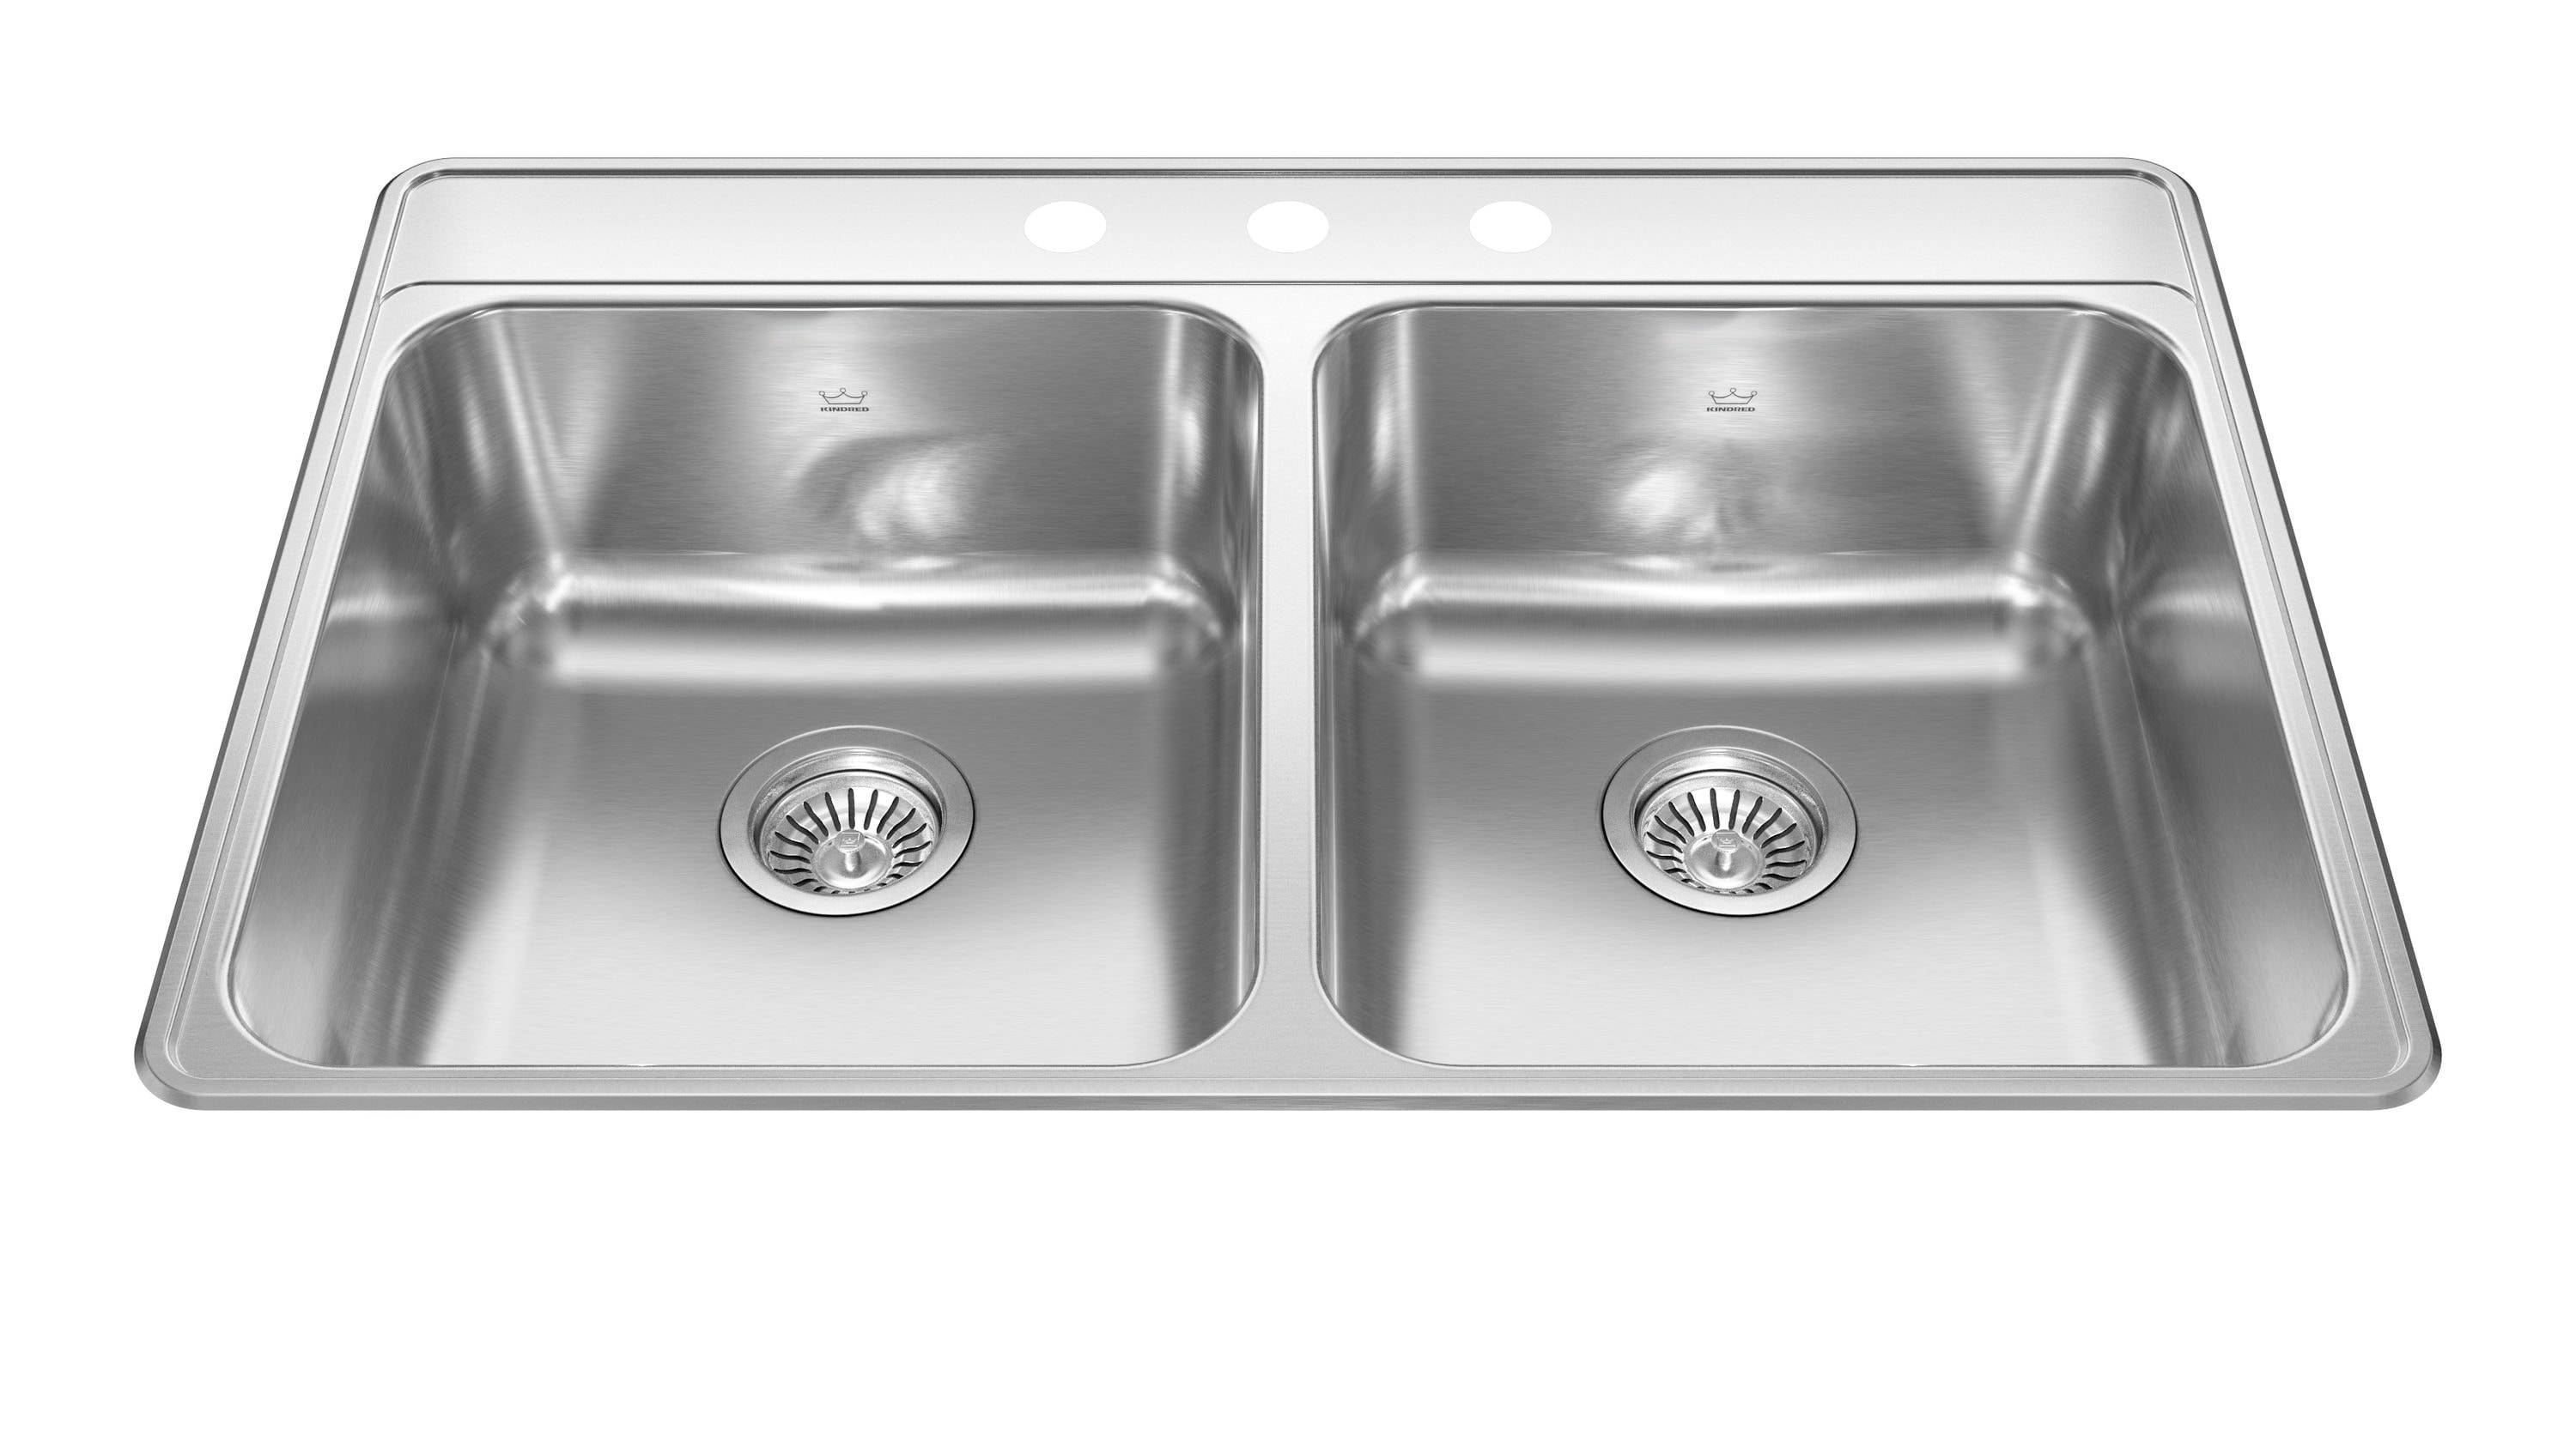
:max_bytes(150000):strip_icc()/Basic-kitchen-sink-types-1821207_color_rev-0b539306b9ef4236a136624ad2a89a4c.jpg)

Why Properly Installed Seals are Essential for a Leak-Free Kitchen Sink
The Importance of Seals in Kitchen Sink Installation
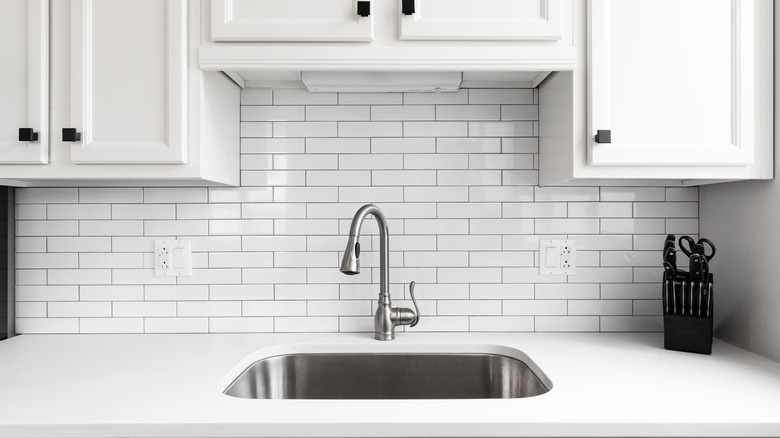
 When it comes to designing your dream kitchen, the sink is often one of the most important features. It not only serves as a functional space for washing dishes and preparing food, but it also adds to the overall aesthetic of the room. However, even with a beautiful and well-designed sink, leaks can still occur if the seals are not properly installed.
Replacing seals is a crucial step in ensuring a leak-free kitchen sink
. As a homeowner, it can be frustrating to discover that even with a new sink and freshly installed seals, leaks are still present. This can be due to a number of factors such as using the wrong type of seal, not applying enough pressure during installation, or simply not having the proper knowledge and experience to do it correctly.
When it comes to designing your dream kitchen, the sink is often one of the most important features. It not only serves as a functional space for washing dishes and preparing food, but it also adds to the overall aesthetic of the room. However, even with a beautiful and well-designed sink, leaks can still occur if the seals are not properly installed.
Replacing seals is a crucial step in ensuring a leak-free kitchen sink
. As a homeowner, it can be frustrating to discover that even with a new sink and freshly installed seals, leaks are still present. This can be due to a number of factors such as using the wrong type of seal, not applying enough pressure during installation, or simply not having the proper knowledge and experience to do it correctly.
The Consequences of Leaky Seals
The Solution: Proper Seal Installation
 To avoid the frustration and potential damage caused by a leaky kitchen sink, it's important to
have your seals installed by a professional
. They have the expertise and knowledge to properly select and install the appropriate type of seal for your specific sink. They also have the necessary tools and experience to ensure a tight and secure seal.
In addition, a professional can also check for any other potential issues that may be causing the leak, such as cracks or damage to the sink itself. By addressing these issues, you can have peace of mind knowing that your kitchen sink will be leak-free and functioning properly for years to come.
To avoid the frustration and potential damage caused by a leaky kitchen sink, it's important to
have your seals installed by a professional
. They have the expertise and knowledge to properly select and install the appropriate type of seal for your specific sink. They also have the necessary tools and experience to ensure a tight and secure seal.
In addition, a professional can also check for any other potential issues that may be causing the leak, such as cracks or damage to the sink itself. By addressing these issues, you can have peace of mind knowing that your kitchen sink will be leak-free and functioning properly for years to come.
Invest in a Leak-Free Kitchen Sink
 In conclusion,
properly installed seals are essential for a leak-free kitchen sink
. Don't let a small leak turn into a big problem. Invest in professional seal installation to ensure the longevity and functionality of your dream kitchen. Contact a reputable plumber or kitchen design expert today to get started.
In conclusion,
properly installed seals are essential for a leak-free kitchen sink
. Don't let a small leak turn into a big problem. Invest in professional seal installation to ensure the longevity and functionality of your dream kitchen. Contact a reputable plumber or kitchen design expert today to get started.


/doll-s-house--lounge---close-up-of-miniature-furniture-122710161-caaeea4a89594a61be477b5a3a79fc43.jpg)