If you've noticed that the caulk around your kitchen sink is looking dirty or worn out, it may be time to replace it. Over time, caulk can become discolored, cracked, and even moldy, making your sink area look unsightly and unhygienic. But don't worry, replacing caulk around a kitchen sink is a simple and DIY-friendly task that can easily be done in just a few steps. In this guide, we'll walk you through the process of replacing caulk around your kitchen sink, so you can have a clean and fresh-looking sink area once again.How to Replace Caulk Around a Kitchen Sink


How to Replace Caulk Around a Kitchen Sink


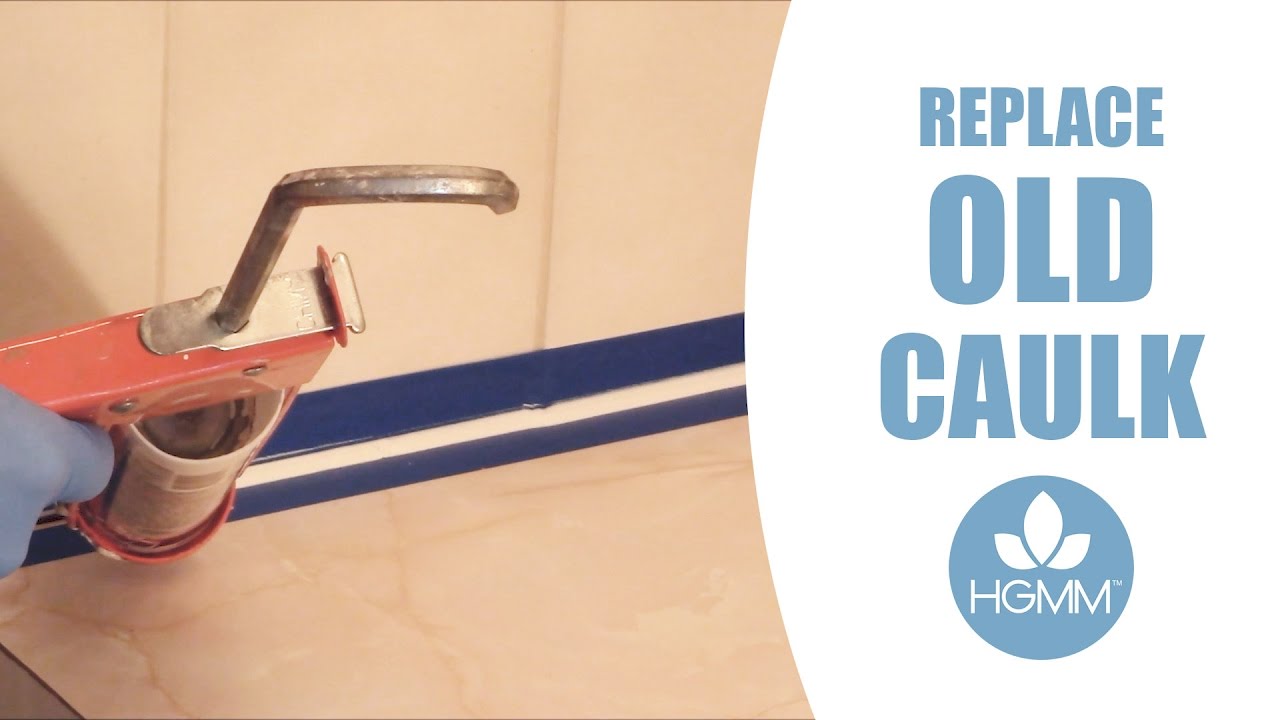

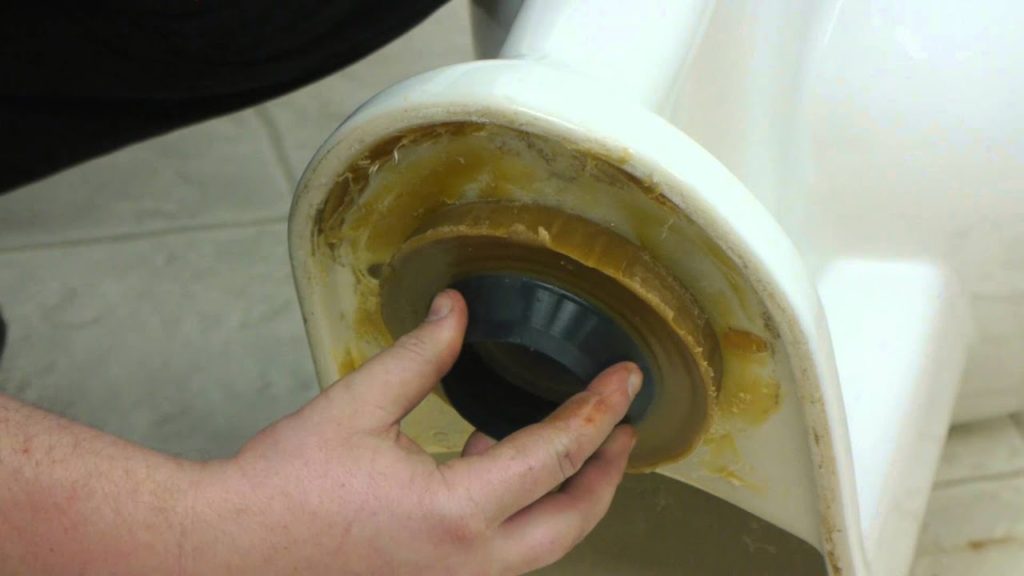
Before you can replace caulk around your kitchen sink, you'll need to remove the old caulk first. This can be done using a caulk remover tool or a sharp utility knife. Carefully cut along the edges of the caulk and then use the tool to scrape away the old caulk. Make sure to thoroughly clean the area afterwards to ensure a smooth surface for the new caulk to adhere to.How to Remove and Replace Old Caulk Around a Kitchen Sink


How to Remove and Replace Old Caulk Around a Kitchen Sink
:max_bytes(150000):strip_icc()/how-to-remove-old-caulk-1824827-01-3d0370c59e124dbbaa6560c68bab111c.jpg)


Replacing caulk around a kitchen sink is a simple and budget-friendly DIY project that can be done in just a few steps. To start, you'll need to choose the right caulk for the job. Look for a caulk that is specifically designed for use in kitchens and is mold and mildew resistant. You'll also need a caulk gun, a caulk smoothing tool, and some painter's tape.DIY: How to Replace Caulk Around a Kitchen Sink


DIY: How to Replace Caulk Around a Kitchen Sink


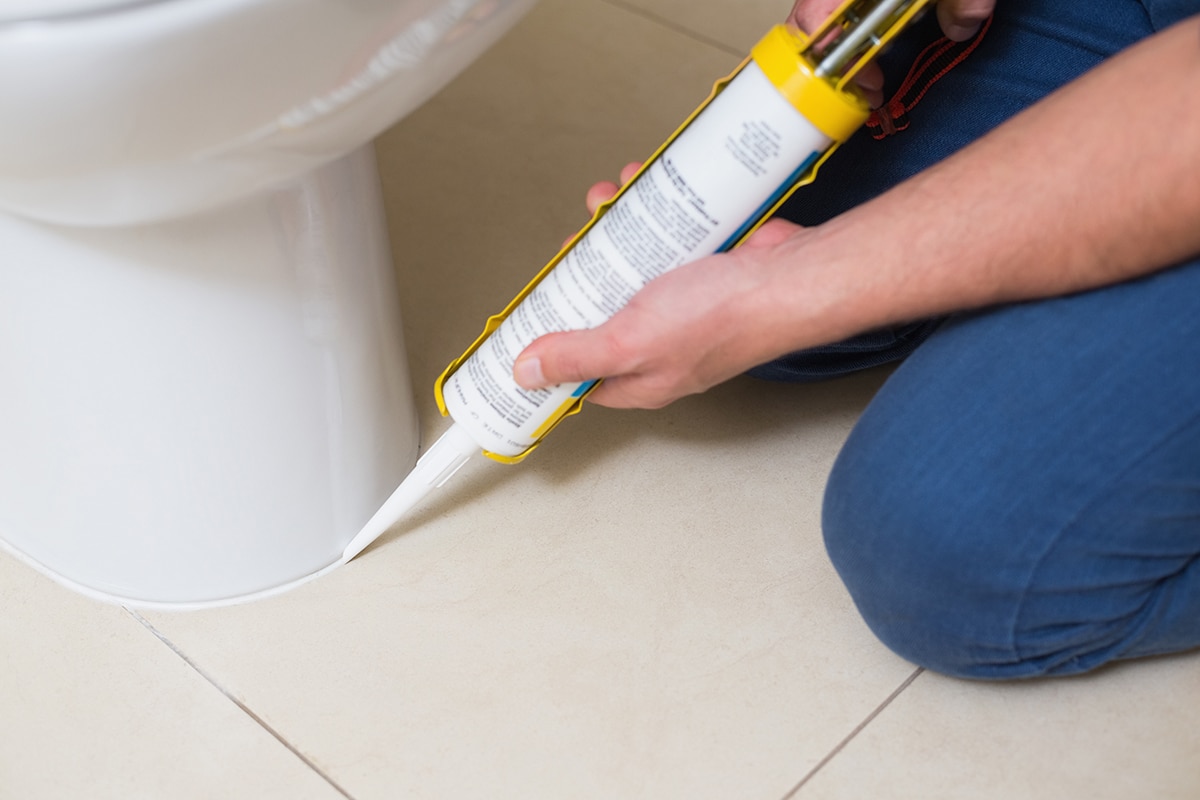
Now that you have all the necessary tools, it's time to replace the caulk around your kitchen sink. Follow these steps for a successful and clean caulk replacement process: Step 1: Prepare the area by removing any old caulk and cleaning the surface thoroughly. Step 2: Use painter's tape to mask off the area around the sink to prevent any accidental messes with the caulk. Step 3: Load the caulk gun with the caulk and cut the tip at a 45-degree angle. Step 4: Starting at one corner, slowly and evenly apply the caulk along the edge of the sink. Step 5: Use the caulk smoothing tool to smooth out the caulk and remove any excess. Step 6: Remove the painter's tape while the caulk is still wet. Step 7: Allow the caulk to dry for at least 24 hours before using the sink or getting it wet.Step-by-Step Guide to Replacing Caulk Around a Kitchen Sink


Step-by-Step Guide to Replacing Caulk Around a Kitchen Sink


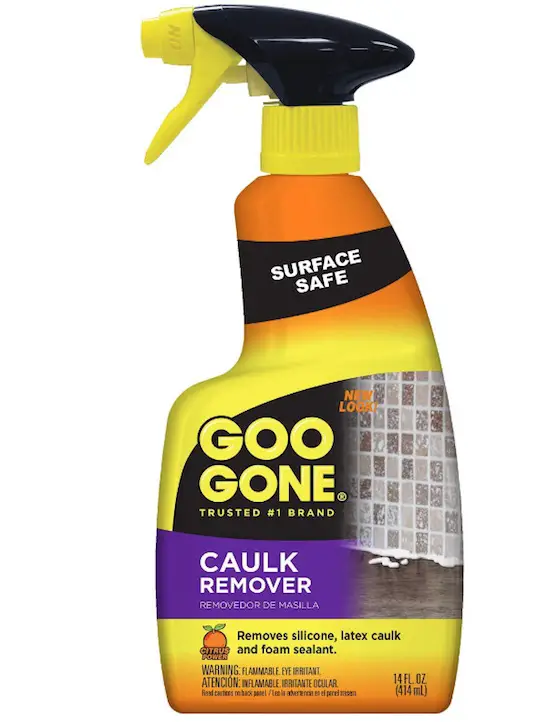
When it comes to choosing the right caulk for replacing around your kitchen sink, there are several options available. Look for a caulk that is specifically designed for use in kitchens and is waterproof, mold and mildew resistant, and easy to clean. Some popular brands to consider are GE Silicone II Kitchen & Bath Caulk, DAP Kwik Seal Plus Kitchen & Bath Adhesive Caulk, and Red Devil Kitchen & Bath Caulk.Best Products for Replacing Caulk Around a Kitchen Sink


Best Products for Replacing Caulk Around a Kitchen Sink


Replacing caulk around a kitchen sink may seem like a daunting task, but with the right tools and techniques, it can be done easily. Here are some tips to keep in mind for a successful caulk replacement: Tip 1: Choose the right caulk for the job, as mentioned above. Tip 2: Make sure to thoroughly clean the area before applying the new caulk. Tip 3: Use painter's tape to mask off the area around the sink for a clean finish. Tip 4: Apply the caulk evenly and smoothly for a professional-looking result. Tip 5: Allow the caulk to dry completely before using the sink or getting it wet.Tips for Removing and Replacing Caulk Around a Kitchen Sink


Tips for Removing and Replacing Caulk Around a Kitchen Sink


While replacing caulk around a kitchen sink may be a simple task, there are some common mistakes that can be easily avoided. These include using the wrong type of caulk, not properly cleaning the area, and not allowing the caulk to dry completely before using the sink. Make sure to follow the steps and tips mentioned above to avoid these mistakes and achieve a clean and professional-looking caulk replacement.Replacing Caulk Around a Kitchen Sink: Common Mistakes to Avoid
Replacing Caulk Around a Kitchen Sink: Common Mistakes to Avoid


Ideally, caulk around a kitchen sink should be replaced every 1-2 years. However, this may vary depending on the quality of the caulk used and the amount of wear and tear in the sink area. Keep an eye on the caulk regularly and replace it as soon as you notice any signs of wear and tear.How Often Should You Replace Caulk Around a Kitchen Sink?


How Often Should You Replace Caulk Around a Kitchen Sink?

Replacing caulk around a kitchen sink not only improves the appearance of your sink area, but it also plays a crucial role in maintaining the functionality and hygiene of your kitchen. Old and dirty caulk can allow water to seep into the cracks, causing damage to the sink and surrounding areas. It can also harbor mold and mildew, which can be a health hazard. By regularly replacing caulk, you can prevent these issues and keep your kitchen sink area clean and safe.The Importance of Replacing Caulk Around a Kitchen Sink


The Importance of Replacing Caulk Around a Kitchen Sink
If you're unsure about how to replace caulk around your kitchen sink or have any questions, it's always best to seek advice from a professional. They can provide you with helpful tips and techniques specific to your sink and caulk type, ensuring a successful and long-lasting caulk replacement. Replacing caulk around a kitchen sink may seem like a small task, but it can make a big difference in the appearance and functionality of your kitchen. With the right tools and techniques, you can easily replace caulk yourself and enjoy a clean and fresh-looking sink area. So go ahead and give your kitchen sink the makeover it deserves!Expert Advice on Replacing Caulk Around a Kitchen Sink

Expert Advice on Replacing Caulk Around a Kitchen Sink

Why Replacing Dirty Caulk Around Your Kitchen Sink is Essential for a Beautiful Home

The Importance of a Clean and Well-Maintained Kitchen Sink
 A kitchen sink is an essential part of any home. It is where we wash and prepare our food, clean our dishes, and even sometimes do our laundry. However, one aspect of maintaining a clean and functional kitchen sink that is often overlooked is the caulk around it.
Dirty caulk not only looks unsightly but can also lead to a host of other problems if left unaddressed.
In this article, we will discuss the importance of
regularly replacing dirty caulk around your kitchen sink
and how it can improve the overall aesthetic and functionality of your home.
A kitchen sink is an essential part of any home. It is where we wash and prepare our food, clean our dishes, and even sometimes do our laundry. However, one aspect of maintaining a clean and functional kitchen sink that is often overlooked is the caulk around it.
Dirty caulk not only looks unsightly but can also lead to a host of other problems if left unaddressed.
In this article, we will discuss the importance of
regularly replacing dirty caulk around your kitchen sink
and how it can improve the overall aesthetic and functionality of your home.
The Problems Caused by Dirty Caulk
 Caulk is a waterproof sealant that is used to fill gaps and cracks around fixtures such as sinks, tubs, and showers. Over time, caulk can become dirty and discolored due to the accumulation of dirt, grime, and mold.
This not only affects the appearance of your kitchen sink but can also lead to more serious issues such as water leakage and mold growth.
Water leakage can cause damage to your kitchen cabinets and countertops, and mold growth can lead to health problems for you and your family.
Caulk is a waterproof sealant that is used to fill gaps and cracks around fixtures such as sinks, tubs, and showers. Over time, caulk can become dirty and discolored due to the accumulation of dirt, grime, and mold.
This not only affects the appearance of your kitchen sink but can also lead to more serious issues such as water leakage and mold growth.
Water leakage can cause damage to your kitchen cabinets and countertops, and mold growth can lead to health problems for you and your family.
The Benefits of Replacing Dirty Caulk
 Regularly replacing dirty caulk around your kitchen sink can have numerous benefits for your home.
Firstly, it can improve the appearance of your kitchen. Clean and fresh caulk can make your sink look more polished and well-maintained. This can also increase the value of your home if you ever decide to sell it.
Replacing dirty caulk can also prevent water leakage and mold growth, saving you from potential costly repairs in the future.
Furthermore, clean caulk can help keep your sink and surrounding areas free from bacteria and mold, promoting a healthier environment for you and your family.
Regularly replacing dirty caulk around your kitchen sink can have numerous benefits for your home.
Firstly, it can improve the appearance of your kitchen. Clean and fresh caulk can make your sink look more polished and well-maintained. This can also increase the value of your home if you ever decide to sell it.
Replacing dirty caulk can also prevent water leakage and mold growth, saving you from potential costly repairs in the future.
Furthermore, clean caulk can help keep your sink and surrounding areas free from bacteria and mold, promoting a healthier environment for you and your family.
How to Replace Dirty Caulk
 The process of replacing dirty caulk around your kitchen sink is relatively simple and can be done with just a few tools. Firstly,
carefully remove the old caulk using a caulk removal tool or a razor blade.
Next, clean the area thoroughly with a mild cleaner and let it dry completely. Then,
apply a new layer of caulk using a caulk gun, making sure to create a smooth and even line around the sink.
Finally, use a damp cloth to remove any excess caulk and let it dry completely before using your sink.
The process of replacing dirty caulk around your kitchen sink is relatively simple and can be done with just a few tools. Firstly,
carefully remove the old caulk using a caulk removal tool or a razor blade.
Next, clean the area thoroughly with a mild cleaner and let it dry completely. Then,
apply a new layer of caulk using a caulk gun, making sure to create a smooth and even line around the sink.
Finally, use a damp cloth to remove any excess caulk and let it dry completely before using your sink.
In Conclusion
 In summary,
regularly replacing dirty caulk around your kitchen sink is essential for maintaining a beautiful and functional home.
It not only improves the appearance of your sink but also prevents potential water leakage and mold growth. With just a few simple steps, you can easily replace dirty caulk and keep your kitchen looking clean and well-maintained. So, don't overlook the importance of this small but crucial task and make it a part of your regular home maintenance routine.
In summary,
regularly replacing dirty caulk around your kitchen sink is essential for maintaining a beautiful and functional home.
It not only improves the appearance of your sink but also prevents potential water leakage and mold growth. With just a few simple steps, you can easily replace dirty caulk and keep your kitchen looking clean and well-maintained. So, don't overlook the importance of this small but crucial task and make it a part of your regular home maintenance routine.