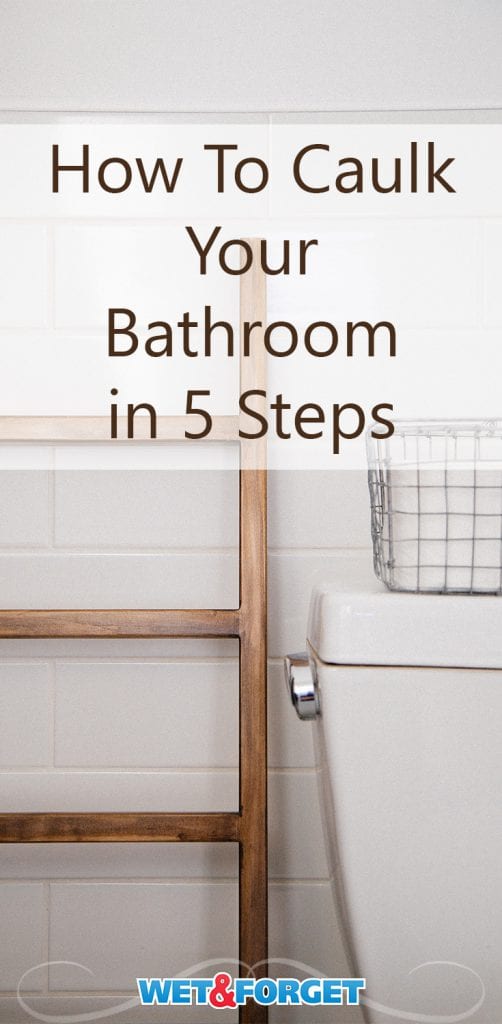
Caulking is an essential part of keeping your bathtub in good condition. It seals the gap between the bathtub and the walls, preventing water from seeping in and causing damage. Over time, caulking can become discolored, cracked, or moldy, and it needs to be replaced. Here's a step-by-step guide on how to replace caulking in your bathtub.How to Replace Caulking in a Bathtub


How to Replace Caulking in a Bathtub


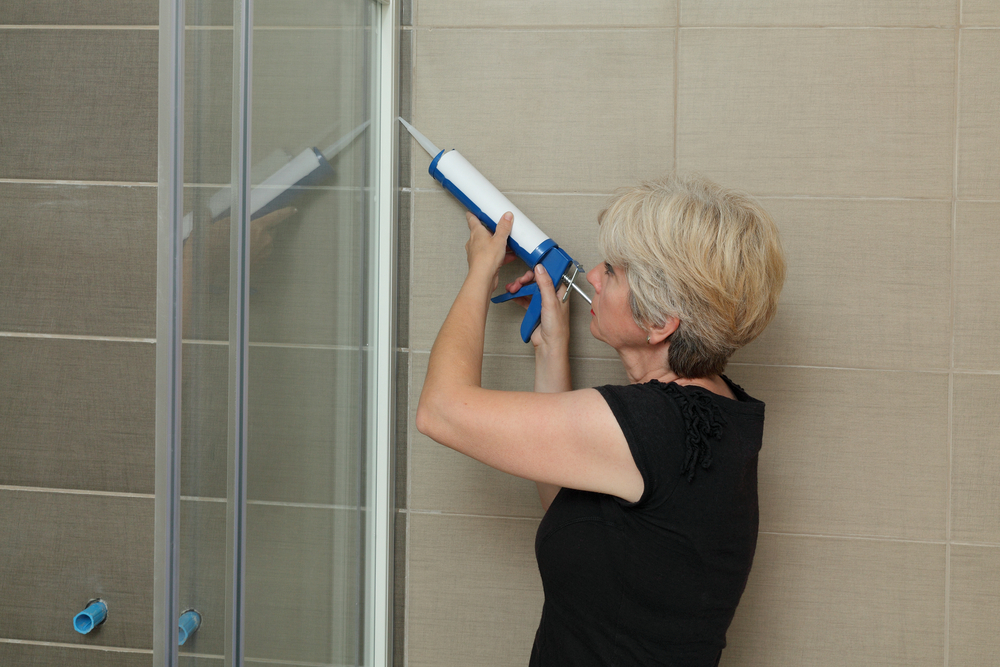
The process of replacing caulking in a shower is similar to that of a bathtub. However, showers may have different types of tile or materials, so it's important to choose the right caulk for your specific shower. Also, showers tend to have more water exposure, so it's crucial to replace the caulking as soon as you notice any signs of wear and tear.How to Replace Caulking in a Shower

How to Replace Caulking in a Shower


Caulking in the kitchen is just as important as in the bathroom. It helps to seal gaps and prevent water damage, but it also keeps your kitchen looking clean and well-maintained. When replacing caulking in the kitchen, pay special attention to areas around the sink, countertop, and backsplash, as these are the most prone to water exposure.How to Replace Caulking in a Kitchen

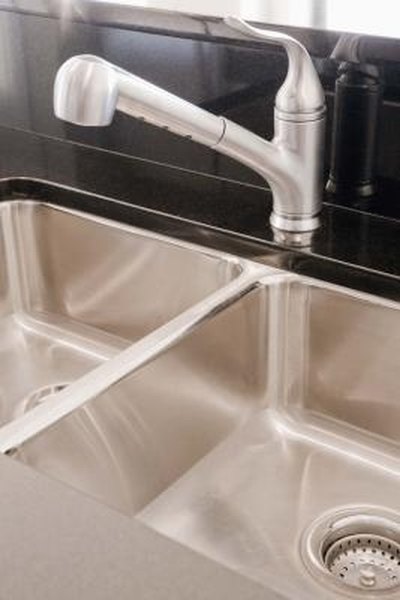

How to Replace Caulking in a Kitchen


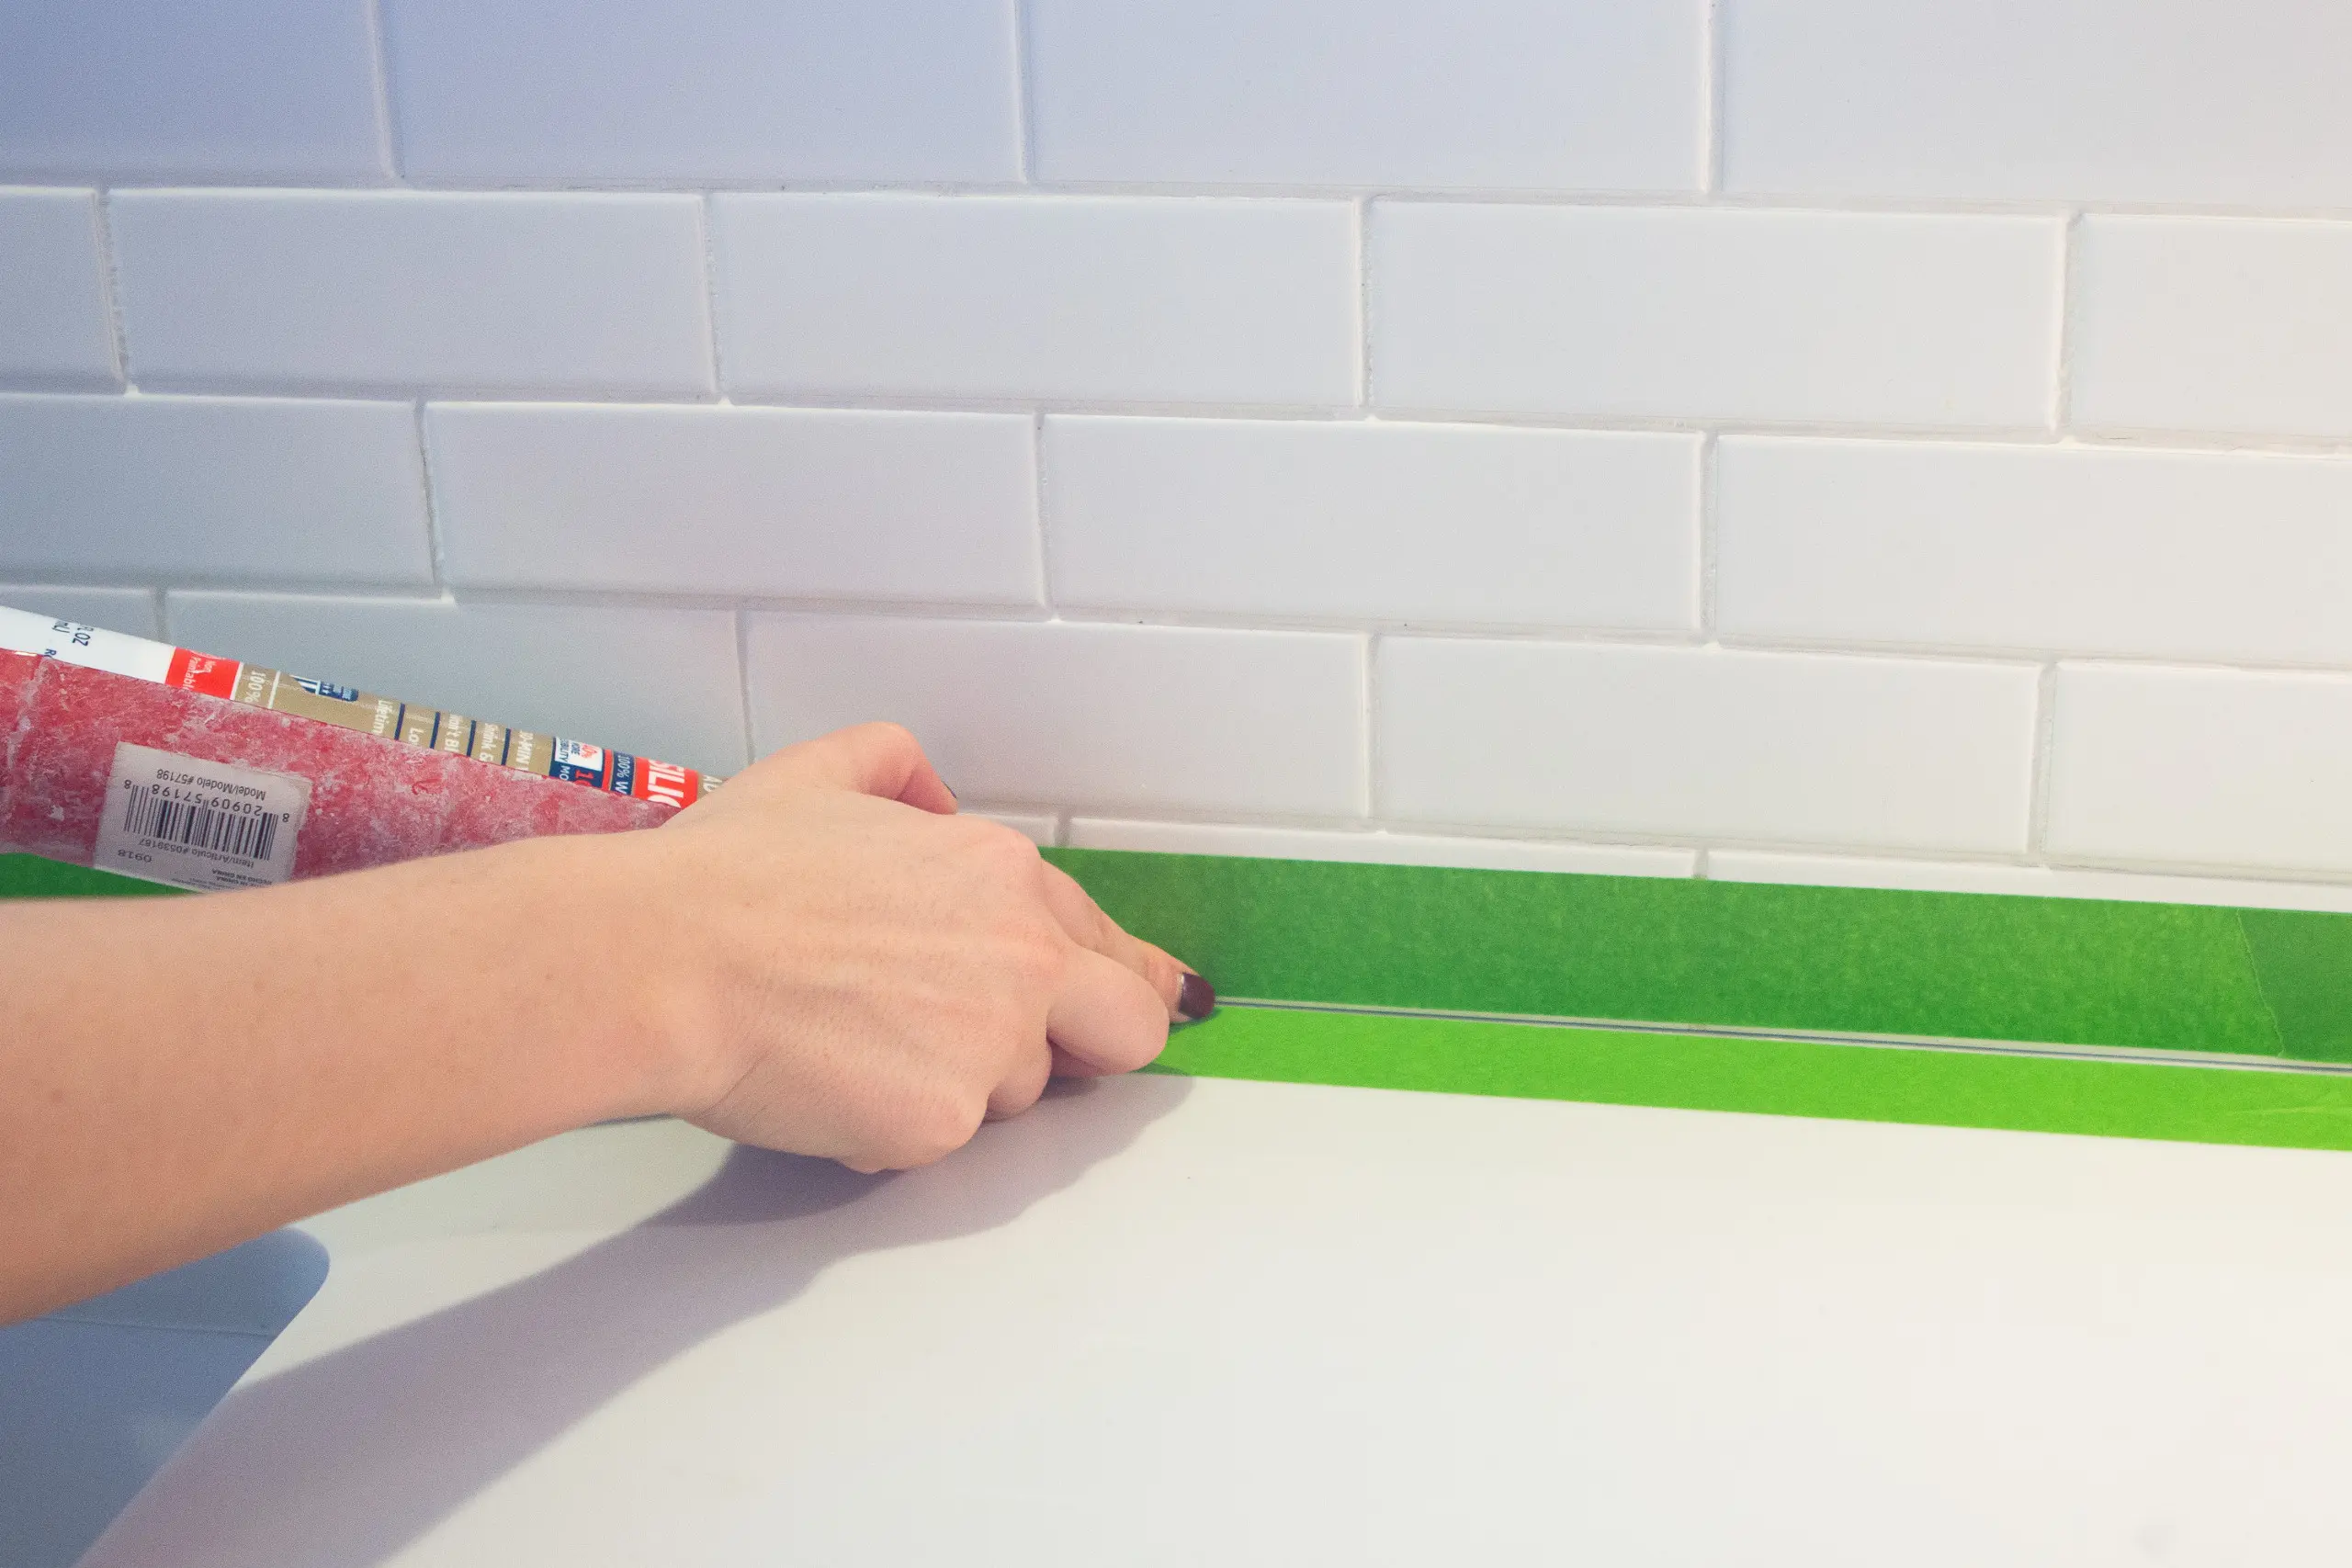
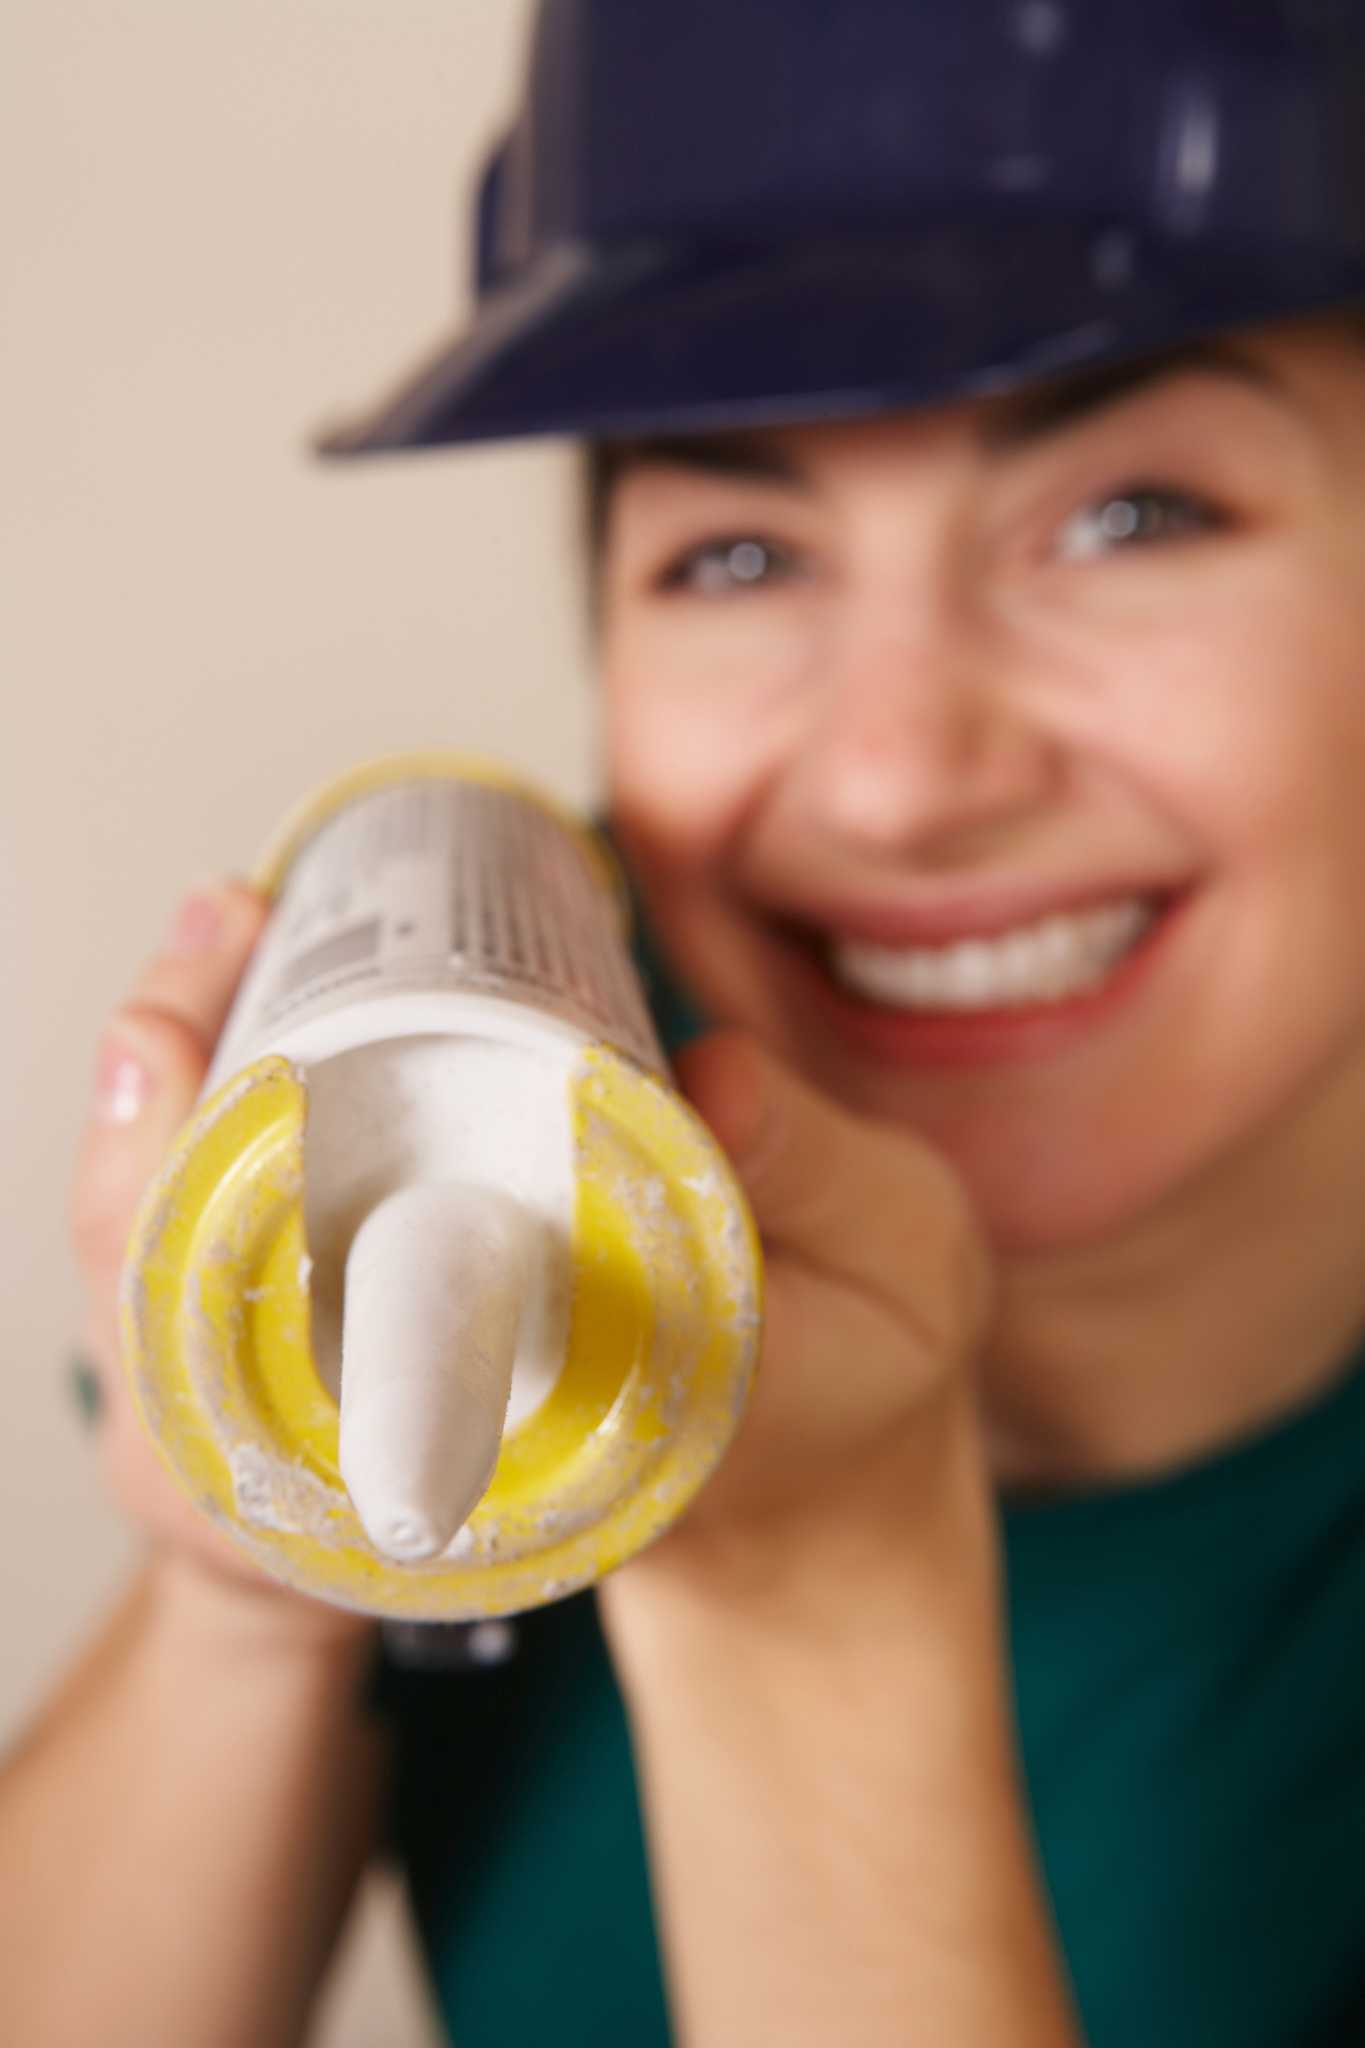
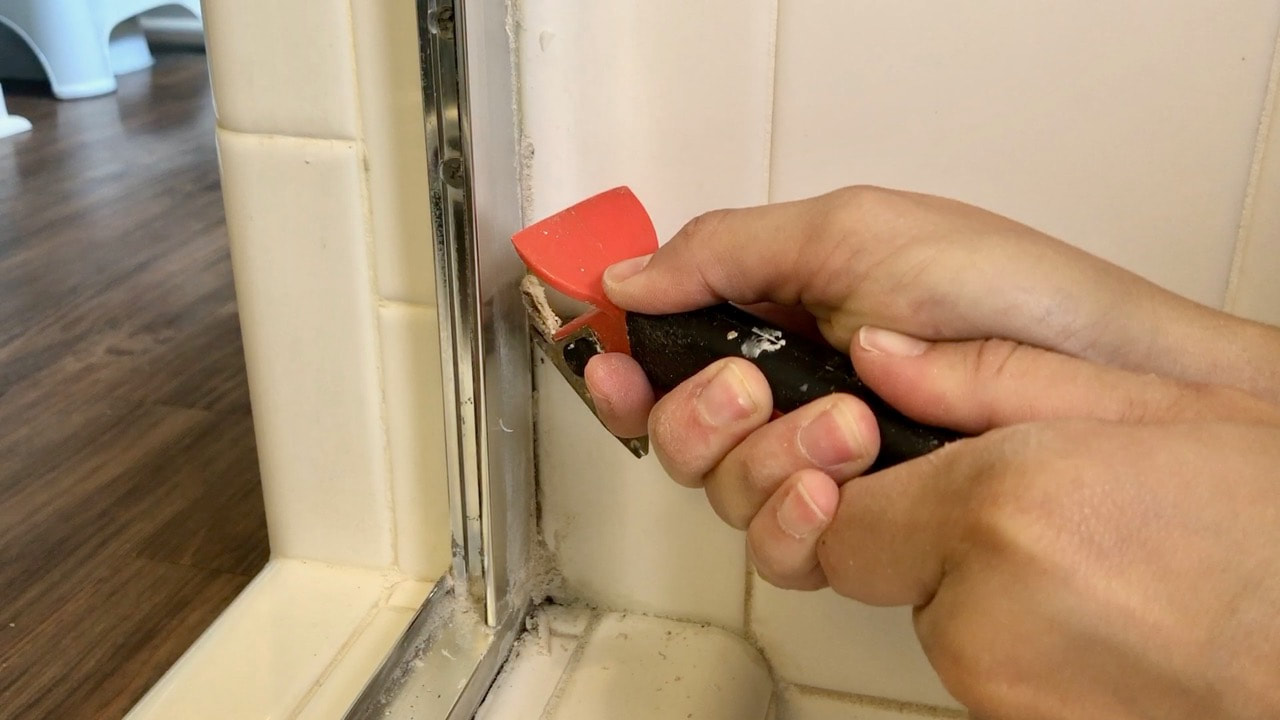
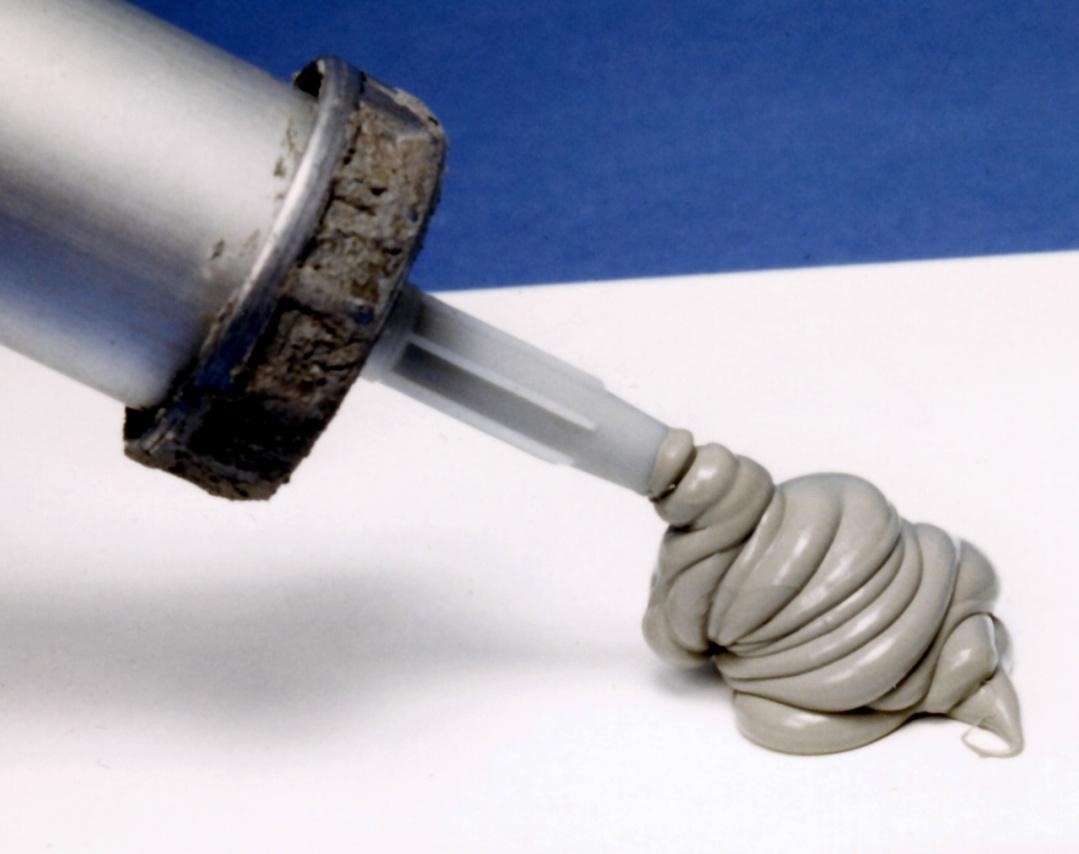
Before applying new caulking, it's crucial to remove the old one first. Start by using a putty knife or a razor blade to scrape off the old caulking. Be careful not to damage the surface underneath. Once most of the caulking is removed, use a caulk remover solution or rubbing alcohol to clean off any residue. Allow the area to dry completely before applying new caulking.How to Remove Old Caulking in a Bathroom


How to Remove Old Caulking in a Bathroom

:max_bytes(150000):strip_icc()/how-to-remove-old-caulk-1824827-01-3d0370c59e124dbbaa6560c68bab111c.jpg)


/caulk-removal-tool-56ec7f1b3df78ce5f83535fe.jpg)
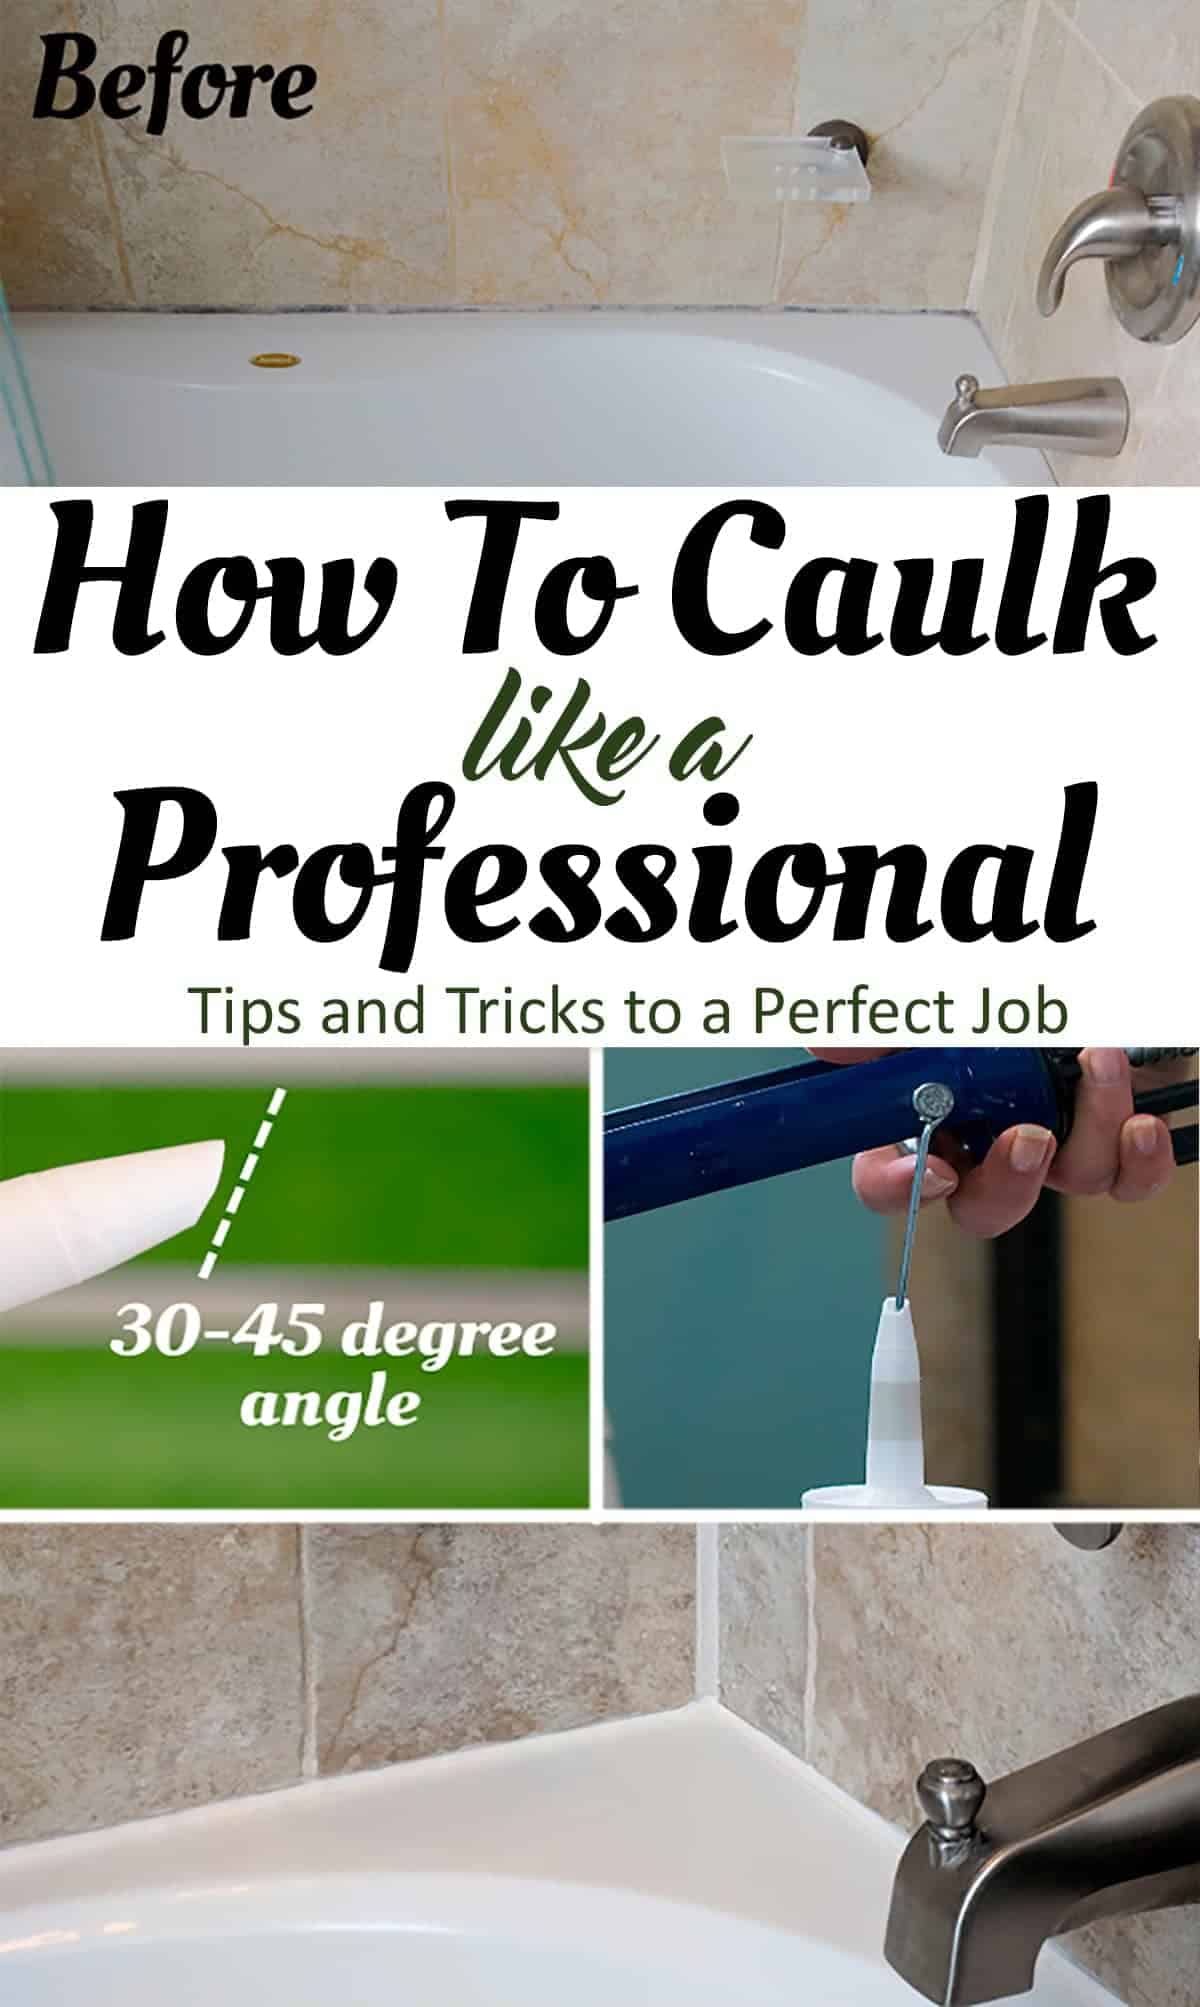
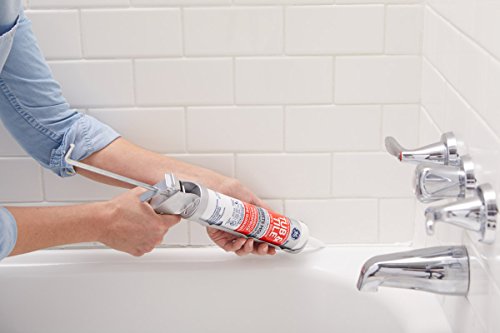
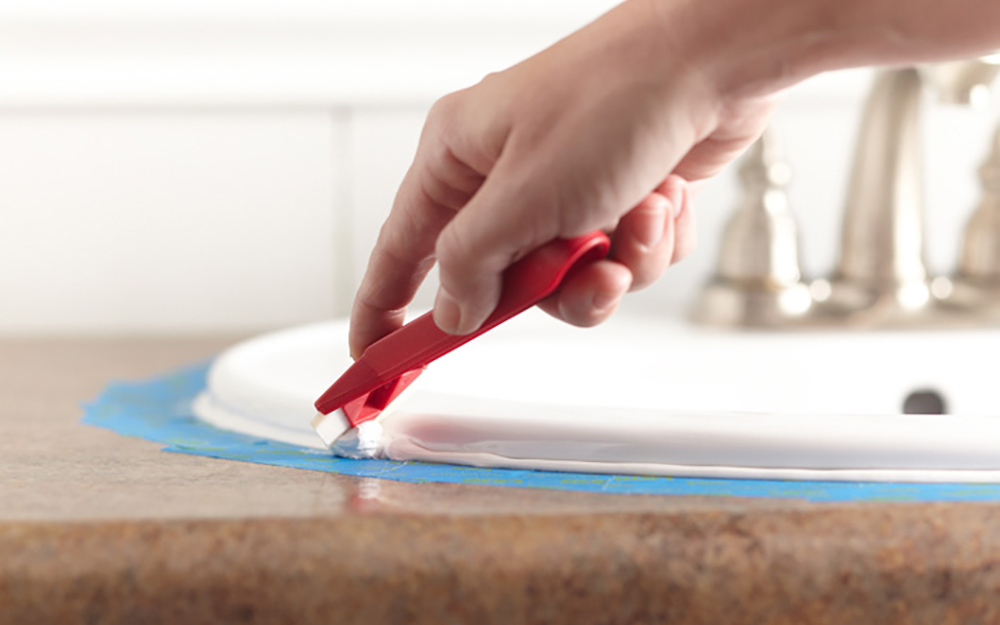
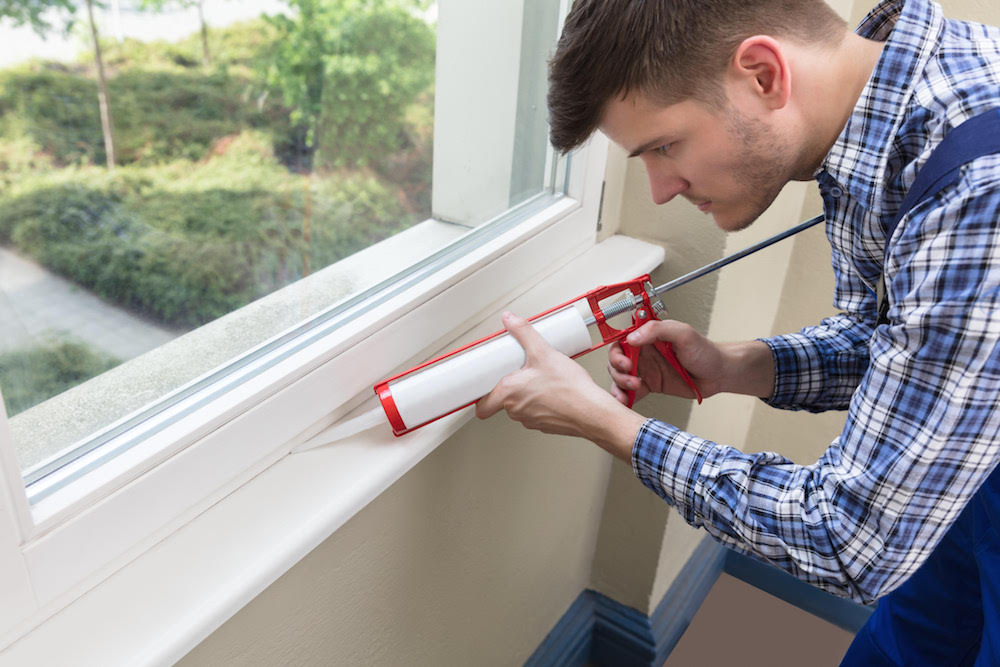
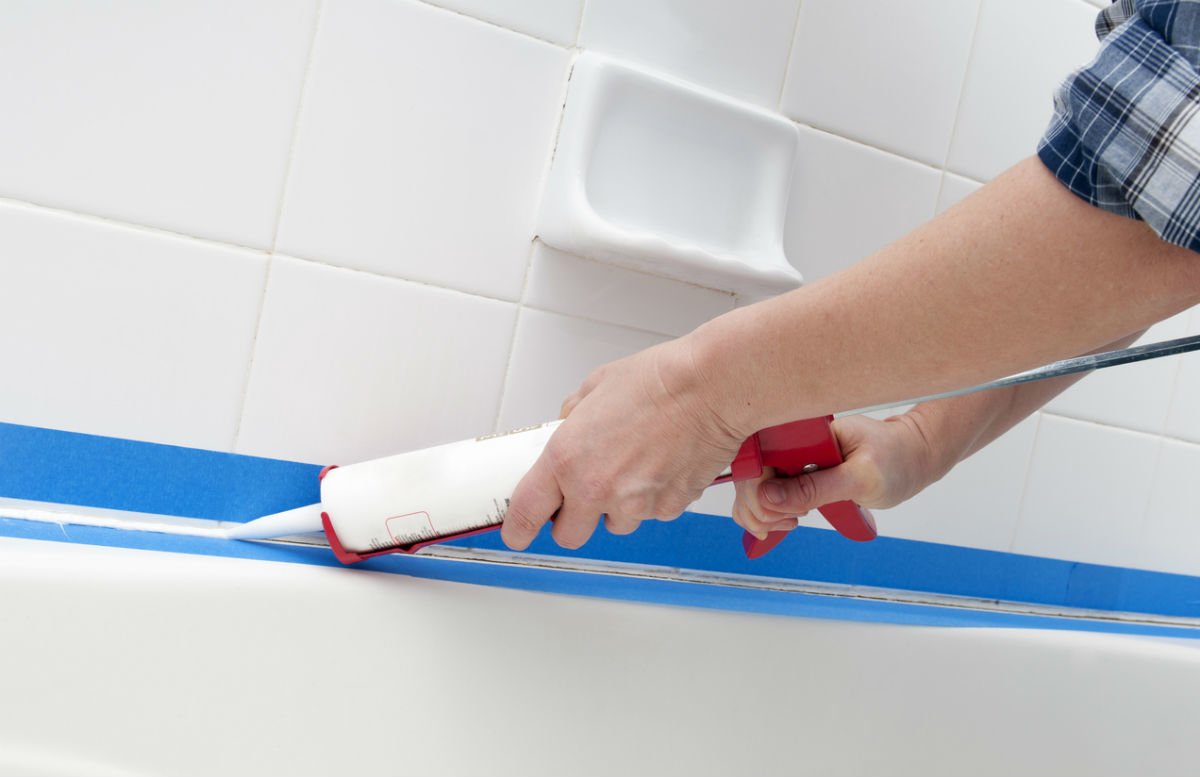
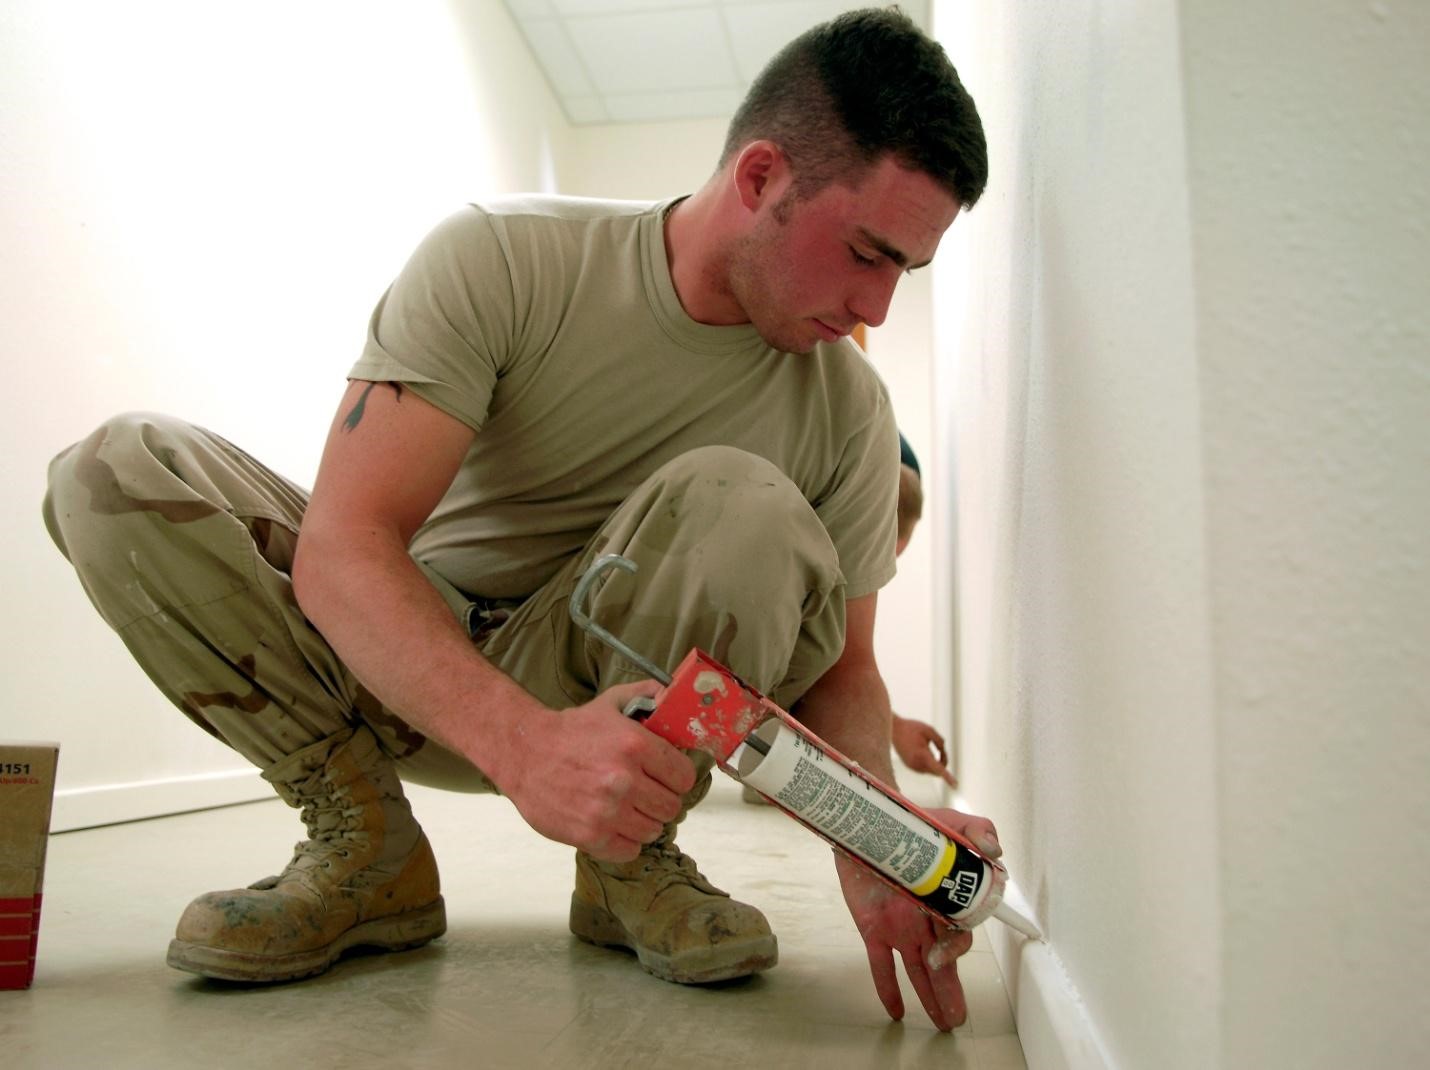
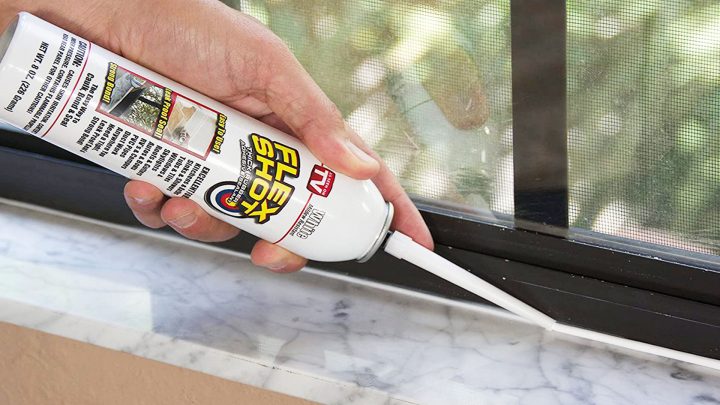
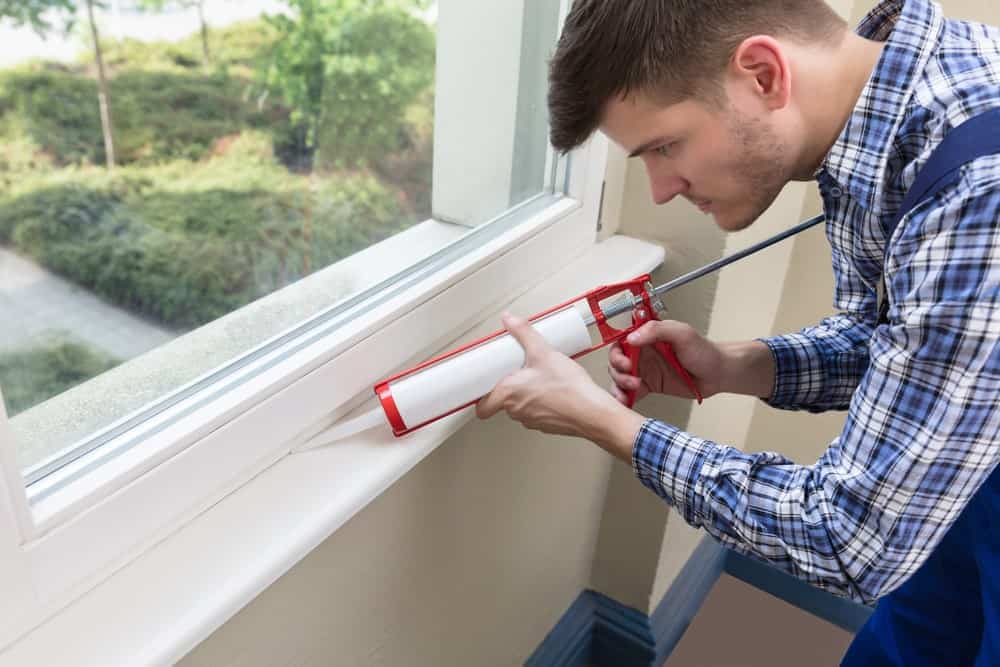
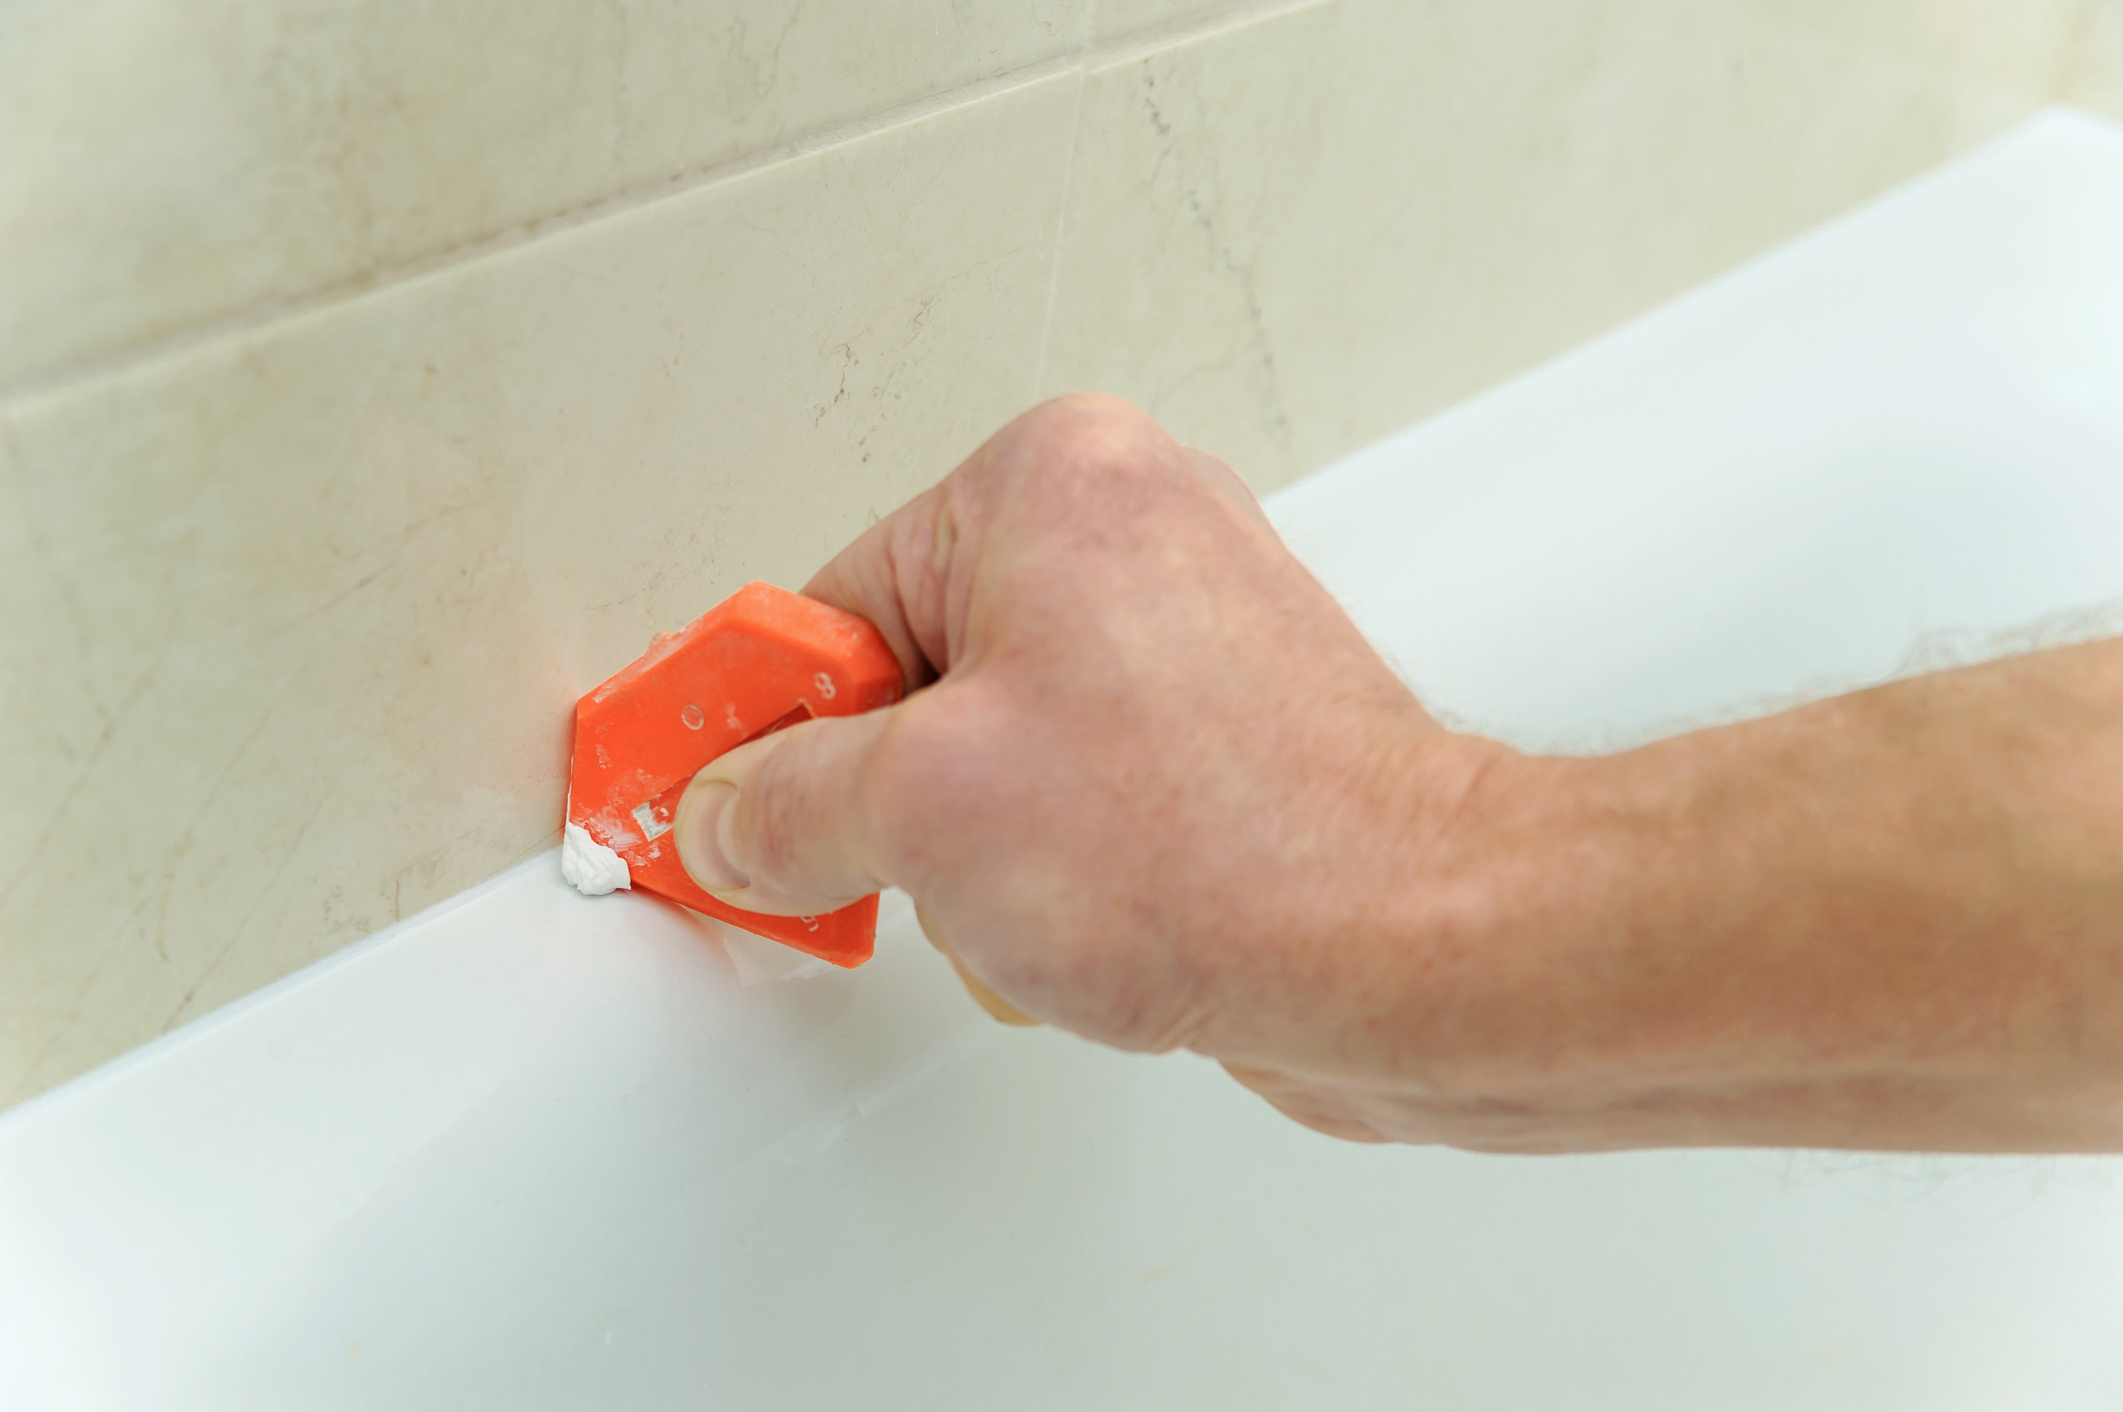
When applying new caulking, it's important to have a steady hand and a smooth motion. Cut the tip of the caulk tube at a 45-degree angle and load it into a caulk gun. Start at one end and slowly move along the gap, applying an even line of caulk. Use your finger or a caulk smoothing tool to smooth out the caulk and remove any excess. Wipe off any excess caulk with a damp cloth and let it dry for at least 24 hours.How to Apply New Caulking in a Bathroom


How to Apply New Caulking in a Bathroom


Choosing the right caulk for your bathroom and kitchen is essential for a successful caulking job. Look for waterproof and mold-resistant caulks, such as silicone or acrylic-latex blends. Also, consider the color of the caulk and choose one that matches the color of your tiles or walls for a seamless finish.How to Choose the Right Caulking for Your Bathroom and Kitchen


How to Choose the Right Caulking for Your Bathroom and Kitchen


Replacing caulking in your bathroom and kitchen may seem daunting, but with the right tools and techniques, it can be done easily. Here are some DIY tips to help you with the process:DIY Tips for Replacing Caulking in Your Bathroom and Kitchen


DIY Tips for Replacing Caulking in Your Bathroom and Kitchen


Replacing caulking may seem like a simple task, but there are some common mistakes that can lead to a less-than-perfect job. Here are some mistakes to avoid when replacing caulking in your bathroom and kitchen:Common Mistakes to Avoid When Replacing Caulking in Your Bathroom and Kitchen


Common Mistakes to Avoid When Replacing Caulking in Your Bathroom and Kitchen


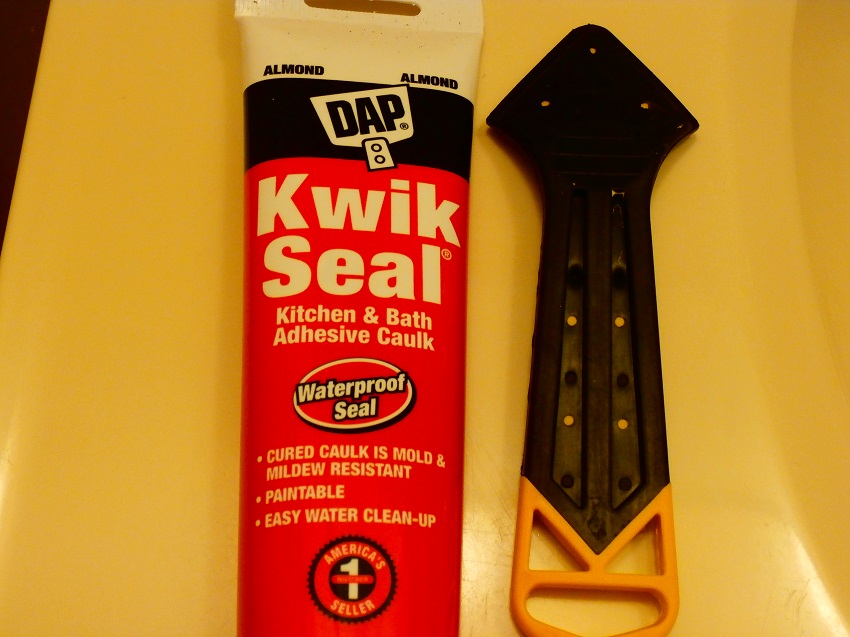
Here's a list of tools and materials you'll need to successfully replace caulking in your bathroom and kitchen:Tools and Materials Needed for Replacing Caulking in Your Bathroom and Kitchen


Tools and Materials Needed for Replacing Caulking in Your Bathroom and Kitchen


While replacing caulking can be a DIY project, there are some instances where it's best to leave it to the professionals. If you have extensive water damage or a large area to caulk, it's best to hire a professional. Additionally, if you're not confident in your caulking skills, it's better to hire a professional to ensure a proper seal and a clean finish.When to Hire a Professional for Replacing Caulking in Your Bathroom and Kitchen

When to Hire a Professional for Replacing Caulking in Your Bathroom and Kitchen


Why Replacing Caulking is Essential for a Beautifully Designed Home

The Importance of Caulking in Bathroom and Kitchen Tile
 When it comes to designing the perfect home, every detail matters. From the paint color on the walls to the furniture placement, each element plays a crucial role in creating a cohesive and beautiful space. However, one aspect that is often overlooked is caulking. This simple yet essential process is often disregarded, but it can make a significant difference in the overall look and functionality of your bathroom and kitchen tiles.
Caulking
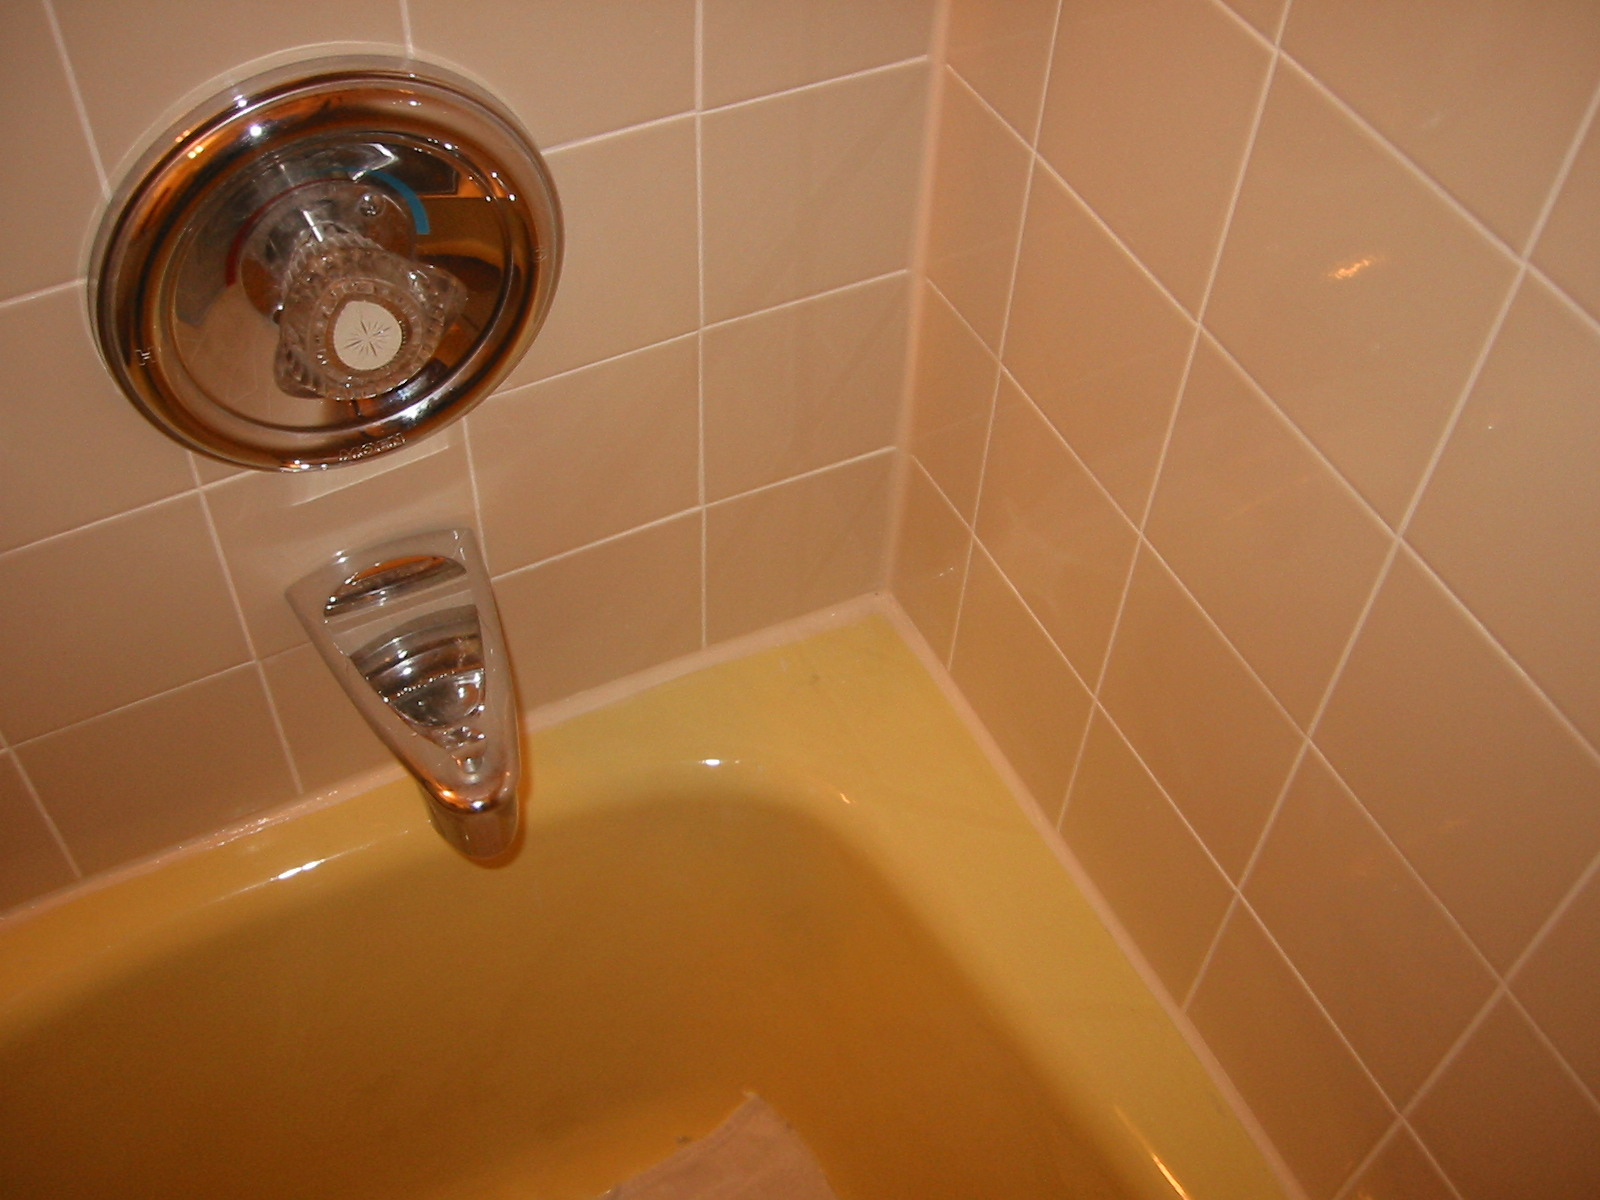
is a waterproof sealant used to fill gaps and cracks where two surfaces meet. In the bathroom and kitchen, it is commonly used to seal gaps between tiles and fixtures, such as the bathtub, shower, and sink. Over time, caulking can deteriorate due to constant exposure to water and heat, resulting in cracks, gaps, and discoloration. Not only does this affect the aesthetic of your home, but it can also lead to water damage and mold growth if left unaddressed.
When it comes to designing the perfect home, every detail matters. From the paint color on the walls to the furniture placement, each element plays a crucial role in creating a cohesive and beautiful space. However, one aspect that is often overlooked is caulking. This simple yet essential process is often disregarded, but it can make a significant difference in the overall look and functionality of your bathroom and kitchen tiles.
Caulking
is a waterproof sealant used to fill gaps and cracks where two surfaces meet. In the bathroom and kitchen, it is commonly used to seal gaps between tiles and fixtures, such as the bathtub, shower, and sink. Over time, caulking can deteriorate due to constant exposure to water and heat, resulting in cracks, gaps, and discoloration. Not only does this affect the aesthetic of your home, but it can also lead to water damage and mold growth if left unaddressed.
The Benefits of Replacing Caulking
 Replacing caulking in your bathroom and kitchen tiles may seem like a tedious and unnecessary task, but it offers several benefits that make it well worth your time and effort. For one, it can instantly improve the appearance of your tiles. Cracked and discolored caulking can make even the most well-designed bathroom or kitchen look unkempt and uninviting. By replacing it, you can achieve a clean and seamless look, elevating the overall design of your home.
Moreover, replacing caulking can also prevent water damage and mold growth. Water can seep through cracks and gaps in caulking, leading to rotting and weakening of the underlying structure. This can result in costly repairs and compromise the safety of your home. By regularly replacing caulking, you can avoid these issues and maintain the integrity of your bathroom and kitchen tiles.
Replacing caulking in your bathroom and kitchen tiles may seem like a tedious and unnecessary task, but it offers several benefits that make it well worth your time and effort. For one, it can instantly improve the appearance of your tiles. Cracked and discolored caulking can make even the most well-designed bathroom or kitchen look unkempt and uninviting. By replacing it, you can achieve a clean and seamless look, elevating the overall design of your home.
Moreover, replacing caulking can also prevent water damage and mold growth. Water can seep through cracks and gaps in caulking, leading to rotting and weakening of the underlying structure. This can result in costly repairs and compromise the safety of your home. By regularly replacing caulking, you can avoid these issues and maintain the integrity of your bathroom and kitchen tiles.
When to Replace Caulking
 Replacing caulking
is not a one-time process; it is an ongoing maintenance task that should be done regularly. As a general rule, caulking should be replaced every 5-10 years, depending on the quality of the product and the amount of wear and tear it has endured. However, if you notice cracks, gaps, or discoloration in your caulking, it is best to address it immediately to prevent further damage.
In addition, if you are planning to redesign your bathroom or kitchen, it is crucial to replace the caulking before installing new tiles. This will ensure a clean and seamless finish and prevent any potential issues in the future.
Replacing caulking
is not a one-time process; it is an ongoing maintenance task that should be done regularly. As a general rule, caulking should be replaced every 5-10 years, depending on the quality of the product and the amount of wear and tear it has endured. However, if you notice cracks, gaps, or discoloration in your caulking, it is best to address it immediately to prevent further damage.
In addition, if you are planning to redesign your bathroom or kitchen, it is crucial to replace the caulking before installing new tiles. This will ensure a clean and seamless finish and prevent any potential issues in the future.
Conclusion
:max_bytes(150000):strip_icc()/caulking-the-bathroom-187091313-a22e0cfc811d4ed6870673079cf17bbf.jpg) In conclusion, caulking may seem like a small and insignificant detail in home design, but it plays a crucial role in maintaining the beauty and functionality of your bathroom and kitchen tiles. By regularly replacing caulking, you can achieve a polished and well-maintained look while preventing costly repairs and potential health hazards. So, don't overlook this essential aspect of home design and make sure to include caulking replacement in your regular maintenance routine.
In conclusion, caulking may seem like a small and insignificant detail in home design, but it plays a crucial role in maintaining the beauty and functionality of your bathroom and kitchen tiles. By regularly replacing caulking, you can achieve a polished and well-maintained look while preventing costly repairs and potential health hazards. So, don't overlook this essential aspect of home design and make sure to include caulking replacement in your regular maintenance routine.