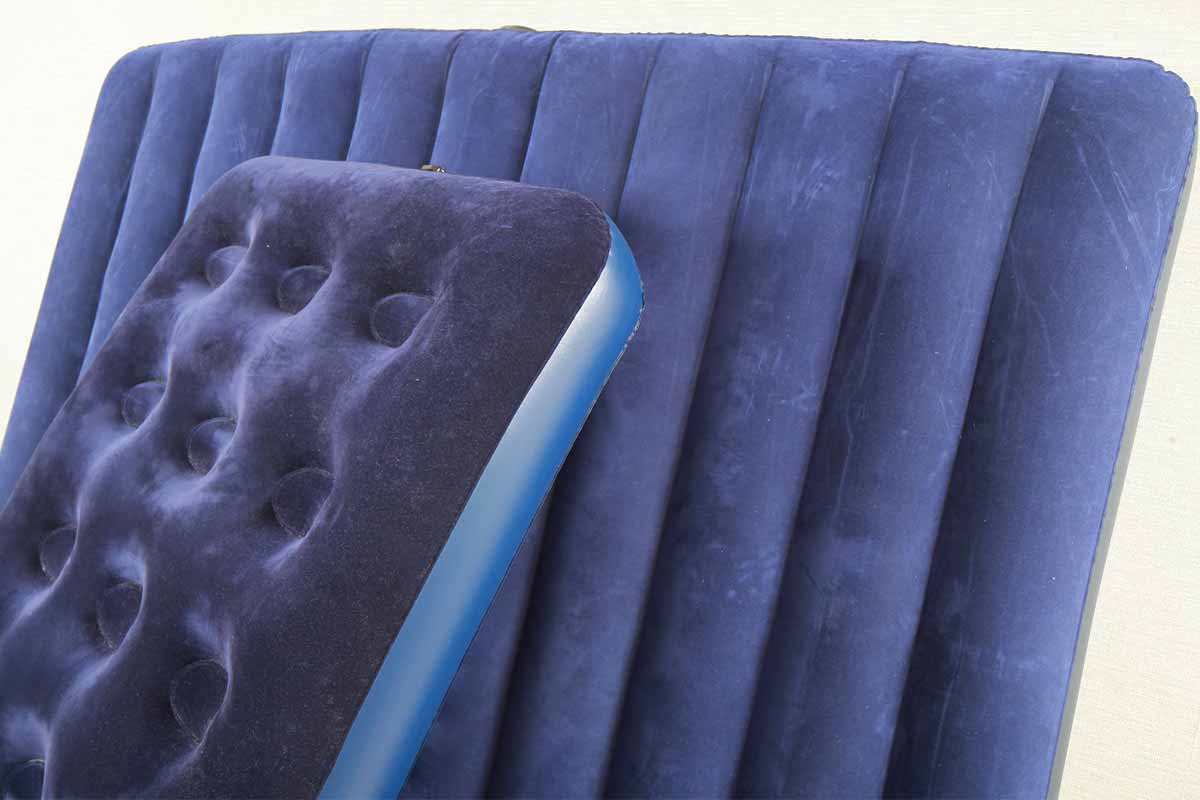
If you've ever experienced the frustration of waking up on a deflated air mattress, you know the importance of keeping the seams in good condition. Regular use and wear and tear can cause air mattress seams to weaken and develop leaks over time. But fear not, repairing a seam on an air mattress is a simple DIY task that can save you money and ensure a good night's sleep. Follow these steps to easily repair a seam on your air mattress.How to Repair a Seam on an Air Mattress


How to Repair a Seam on an Air Mattress

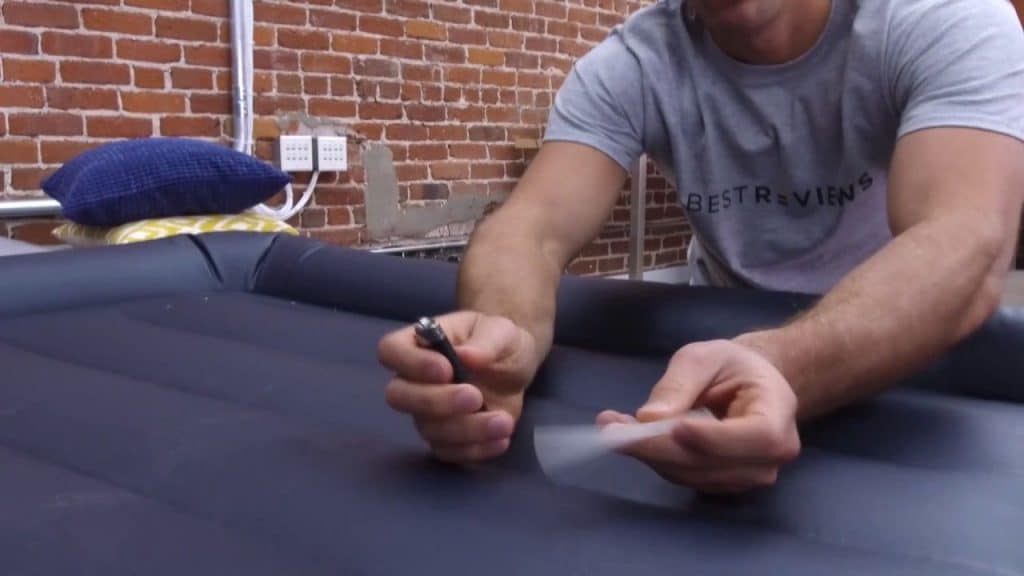
Before you start, make sure you have the right materials on hand. You'll need a patch kit specifically designed for air mattresses, which typically includes a patch and adhesive. You can also use seam tape or seam glue, depending on your preference. You'll also need some basic tools like scissors and a cloth for cleaning the area.DIY Air Mattress Seam Repair


DIY Air Mattress Seam Repair


Start by locating the leak in the seam. This may be difficult if it's a small hole, so try inflating the mattress and listening for the sound of air escaping or feeling around for any air pockets. Once you've found the leak, use a cloth to clean the area and remove any debris or dirt. This will ensure that the patch or adhesive sticks properly.Quick and Easy Air Mattress Seam Fix


Quick and Easy Air Mattress Seam Fix


If you're using a patch kit, follow the instructions provided to apply the patch over the leak. Make sure to press down firmly and smooth out any air bubbles. If you're using seam tape, cut a piece slightly larger than the leak and place it over the area, pressing down firmly to secure it. If you're using seam glue, apply a thin layer over the leak and then press the seam together firmly. Let it dry completely before inflating the mattress again.Seam Repair for Leaky Air Mattresses


Seam Repair for Leaky Air Mattresses


If the leak is on a seam that connects two pieces of the air mattress, you can use a patch kit or seam tape to reinforce the connection. Simply apply the patch or tape over the seam and press down firmly. This will help prevent the seam from opening up and causing leaks in the future.Fixing a Seam on an Inflatable Mattress


Fixing a Seam on an Inflatable Mattress


If you're unsure about the process or need more guidance, here is a step-by-step guide to repairing an air mattress seam:Step-by-Step Guide to Repairing an Air Mattress Seam


Step-by-Step Guide to Repairing an Air Mattress Seam


Seam tape is a popular choice for repairing air mattress seams because it is easy to use and provides a strong bond. It is also waterproof, making it a great option for outdoor or camping air mattresses. Make sure to choose a high-quality seam tape specifically designed for air mattresses for the best results.Seam Tape for Air Mattress Repair
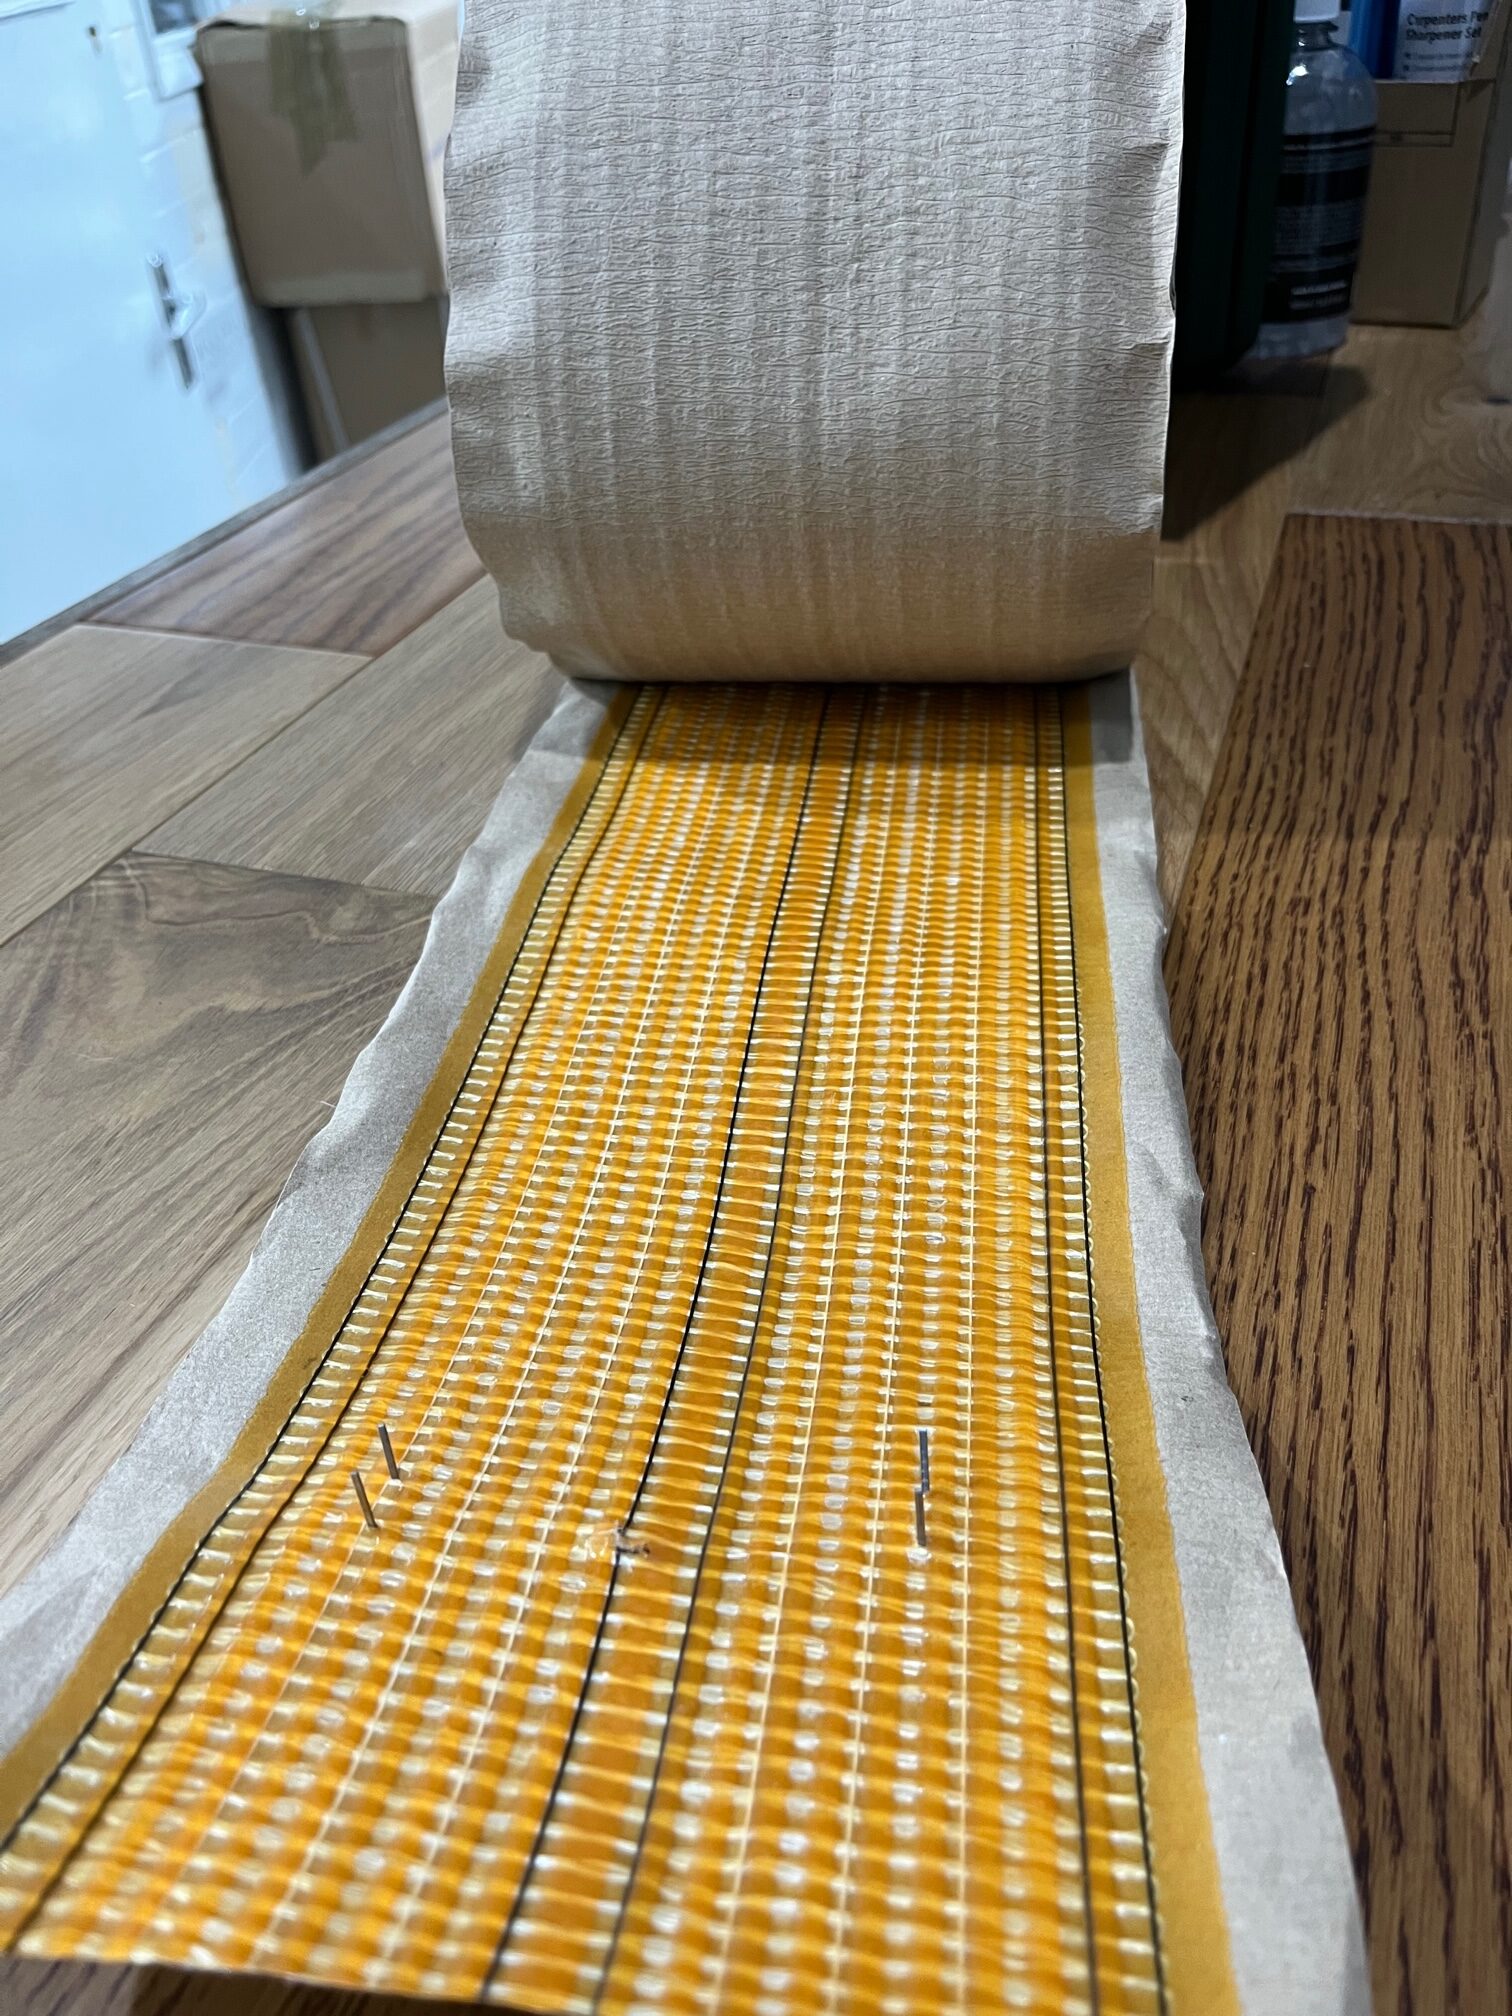


Seam Tape for Air Mattress Repair


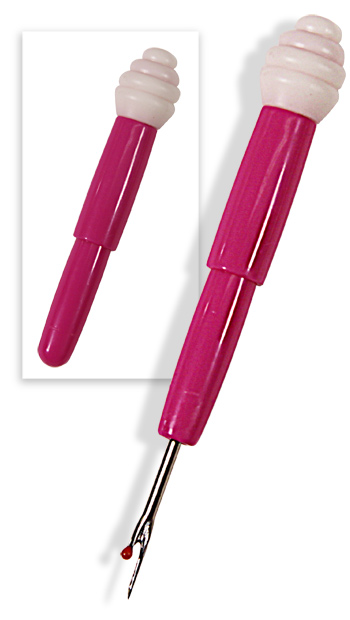
Patch kits are a reliable choice for repairing air mattress seams and are often included with the purchase of an air mattress. They typically come with a patch and adhesive, making it easy to fix small holes or tears. Make sure to follow the instructions provided with the patch kit for the best results.Using a Patch Kit to Fix an Air Mattress Seam
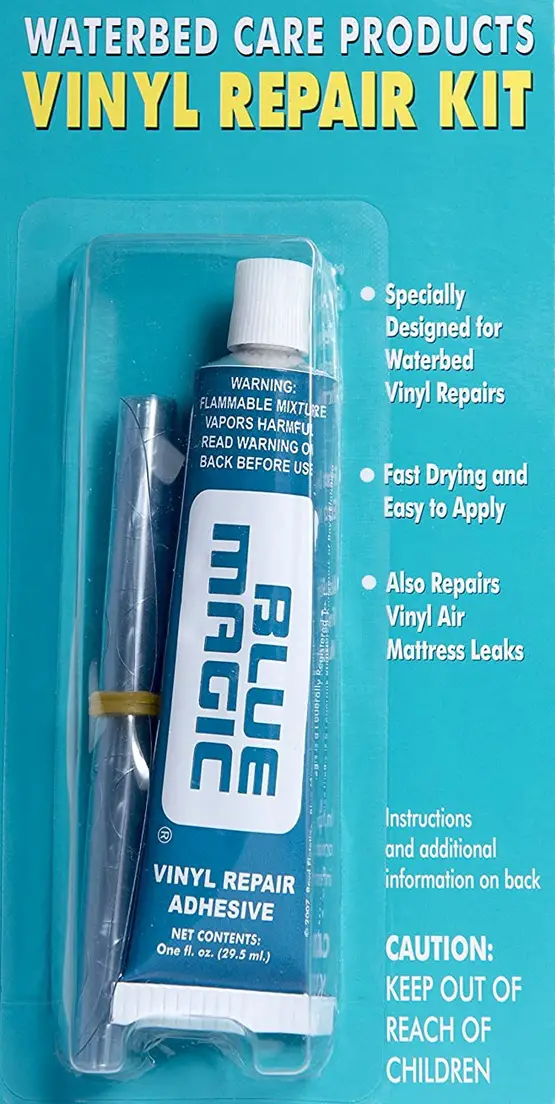


Using a Patch Kit to Fix an Air Mattress Seam


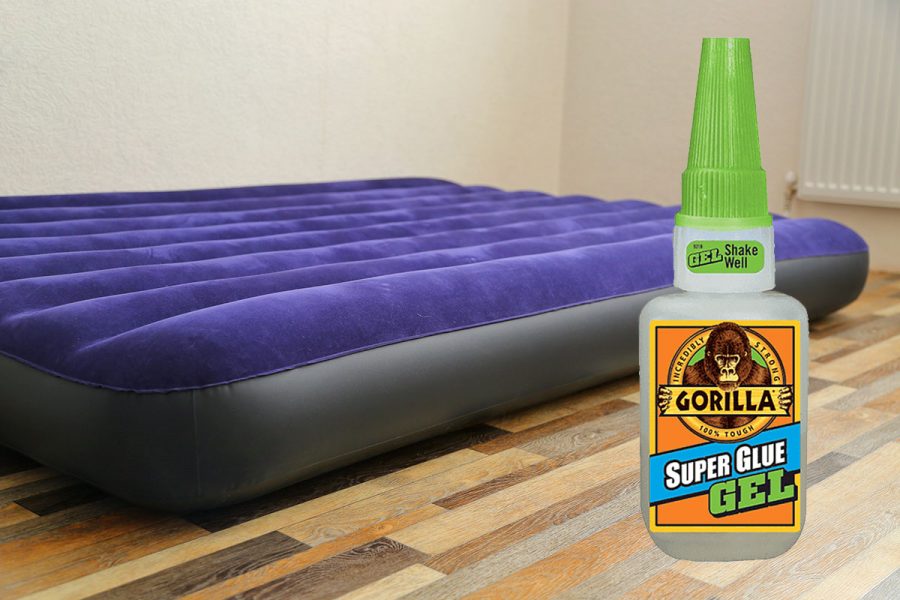
Seam glue is a strong adhesive that can be used to repair air mattress seams. It is a good option for larger holes or tears as it provides a strong bond. However, it may take longer to dry compared to other options, so make sure to follow the instructions provided and allow enough time for the repair to fully dry before using the mattress again.Seam Glue for Air Mattress Repair


Seam Glue for Air Mattress Repair

Prevention is always better than having to repair a seam on your air mattress. Here are some tips to help prevent seam damage and prolong the life of your air mattress:Tips for Preventing Seam Damage on Air Mattresses


Tips for Preventing Seam Damage on Air Mattresses


How to Effectively Repair a Seam on Your Air Mattress

Introduction
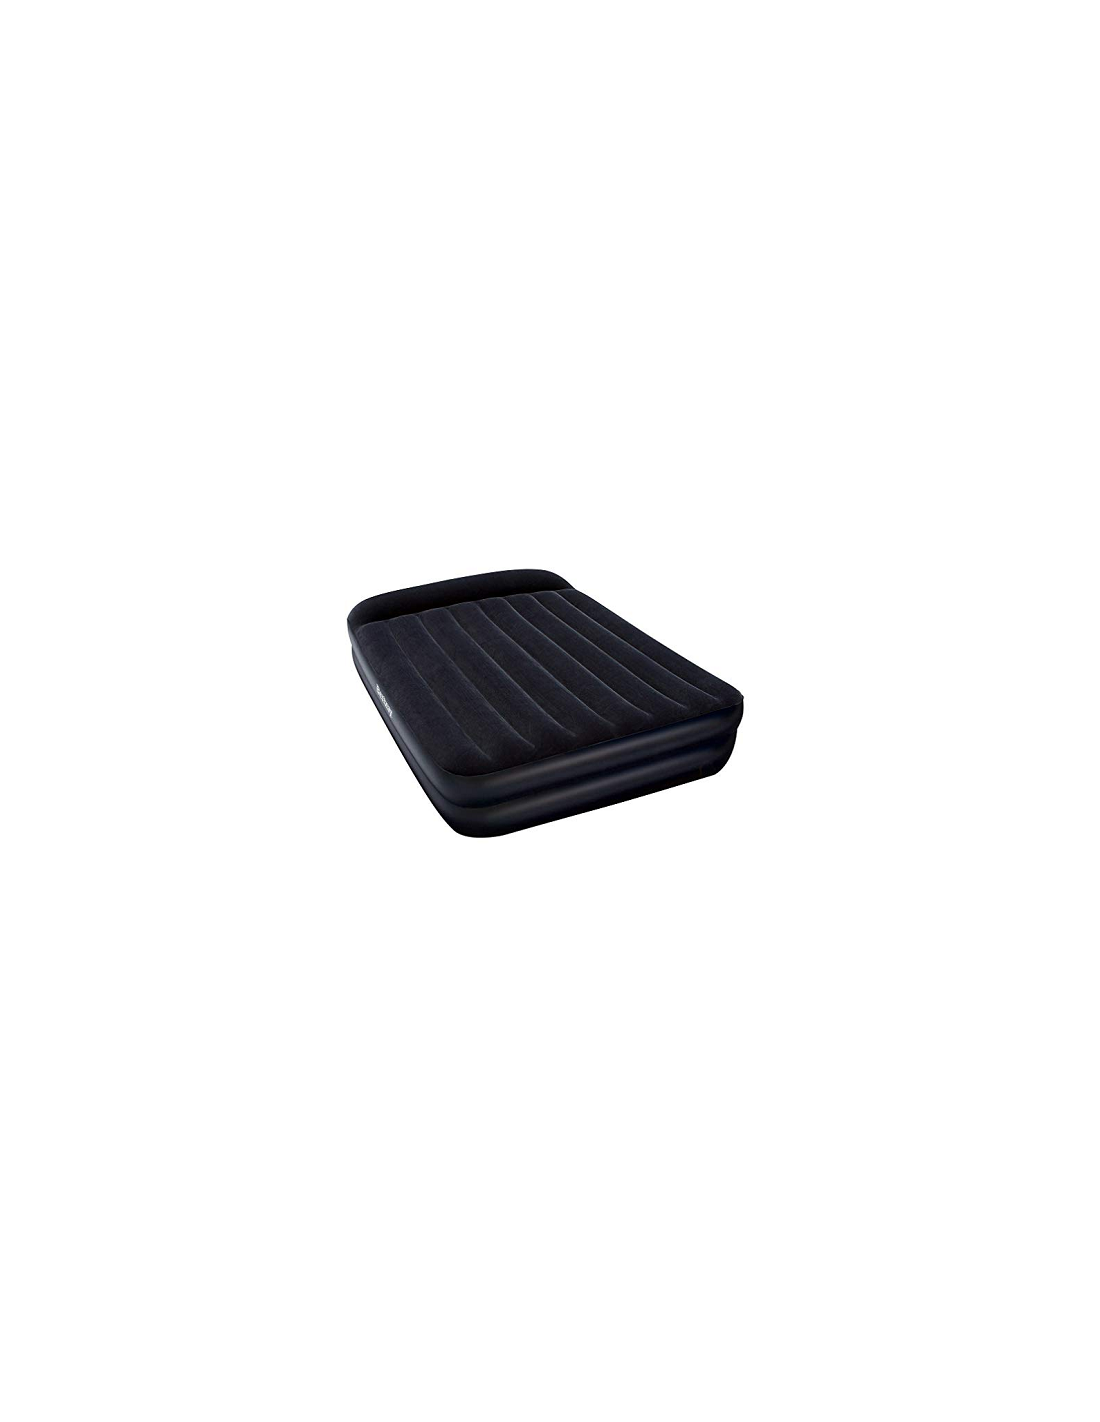
 Air mattresses are a convenient and comfortable option for temporary sleeping arrangements or for camping trips. However, over time, these mattresses can develop small punctures or tears which can affect their overall functionality. One common issue that many air mattress owners face is a torn seam. This can cause air to leak out and make the mattress uncomfortable or unusable. But fear not, repairing a seam on your air mattress is a relatively simple task that can save you the hassle and money of having to buy a new one. In this article, we will guide you through the steps to effectively repair a seam on your air mattress.
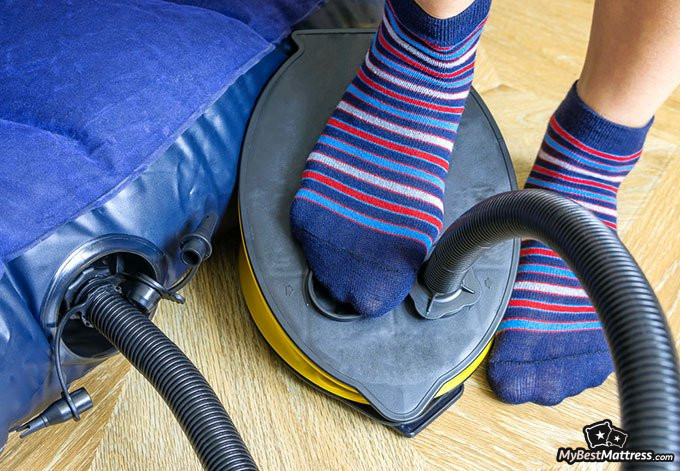
Step 1: Identify the Damaged Seam
 The first step in repairing a seam on your air mattress is to locate the damaged area. This can be done by inflating the mattress and running your hand along the seams to feel for any tears or punctures. Once you have identified the damaged area, mark it with a
colored marker
so that you can easily locate it later on.
The first step in repairing a seam on your air mattress is to locate the damaged area. This can be done by inflating the mattress and running your hand along the seams to feel for any tears or punctures. Once you have identified the damaged area, mark it with a
colored marker
so that you can easily locate it later on.
Step 2: Prepare the Area
 Before you begin repairing the seam, make sure the mattress is completely deflated. This will make it easier to work on and ensure a more effective repair. Next, clean the area around the damaged seam with a
mild soap
and water. This will remove any dirt or debris that could affect the repair process.
Before you begin repairing the seam, make sure the mattress is completely deflated. This will make it easier to work on and ensure a more effective repair. Next, clean the area around the damaged seam with a
mild soap
and water. This will remove any dirt or debris that could affect the repair process.
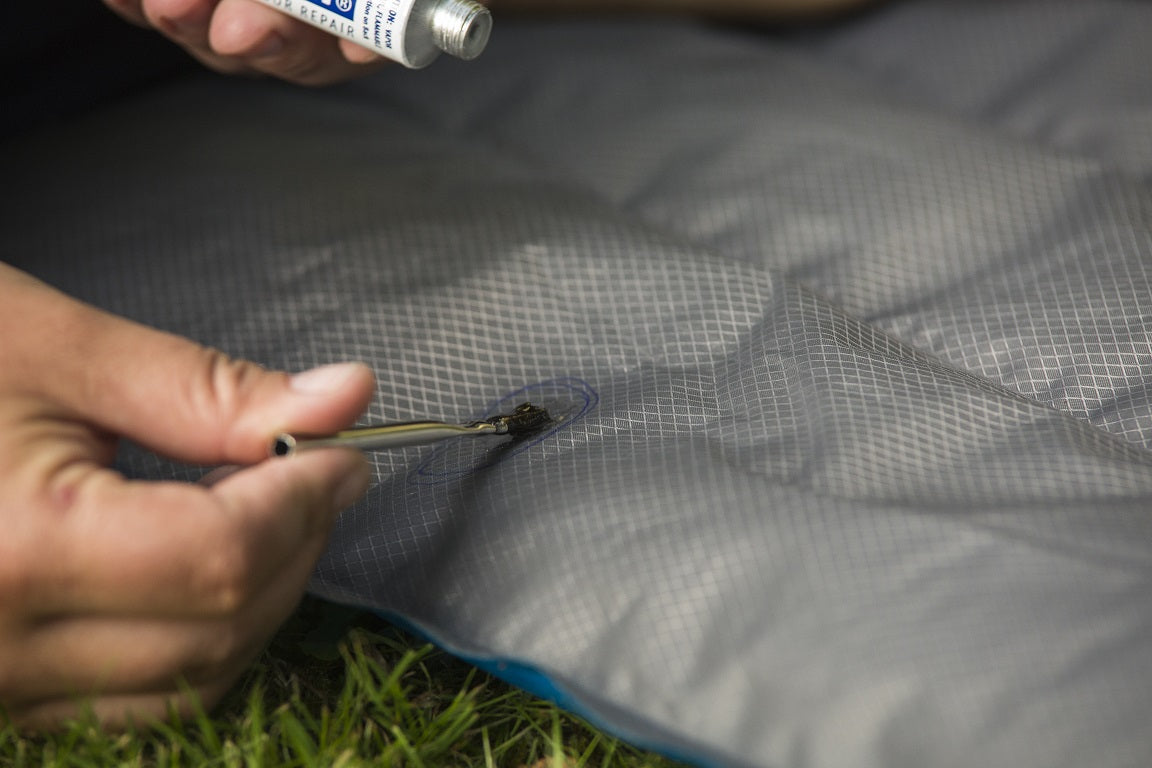
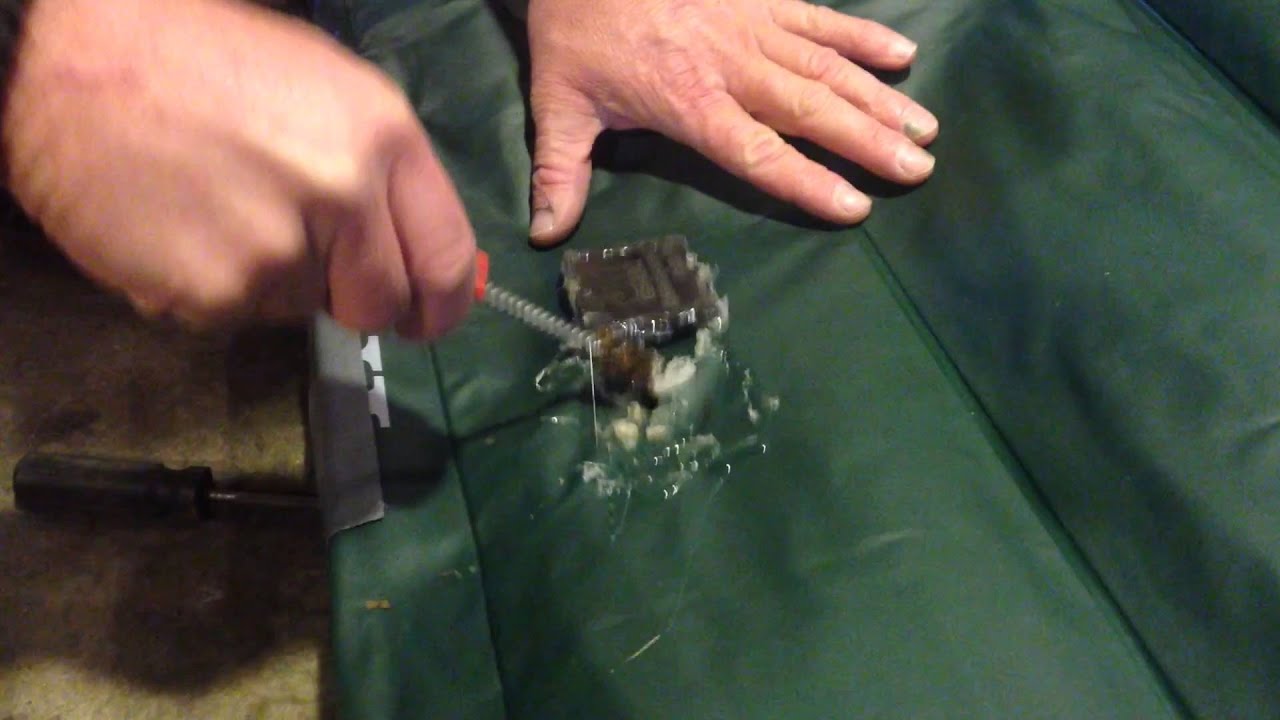
Step 3: Apply the Patch
 To repair the seam, you will need a
patch kit specifically designed for air mattresses
. These can be found at most hardware or outdoor stores. Follow the instructions on the kit to prepare the patch and apply it to the damaged area. Make sure to press firmly on the patch to ensure a strong bond.
To repair the seam, you will need a
patch kit specifically designed for air mattresses
. These can be found at most hardware or outdoor stores. Follow the instructions on the kit to prepare the patch and apply it to the damaged area. Make sure to press firmly on the patch to ensure a strong bond.
Step 4: Let it Dry
 After applying the patch, allow it to dry completely before inflating the mattress again. This can take anywhere from
1-2 hours
depending on the type of patch and the temperature and humidity of the room. Make sure to check the instructions on the patch kit for specific drying times.
After applying the patch, allow it to dry completely before inflating the mattress again. This can take anywhere from
1-2 hours
depending on the type of patch and the temperature and humidity of the room. Make sure to check the instructions on the patch kit for specific drying times.
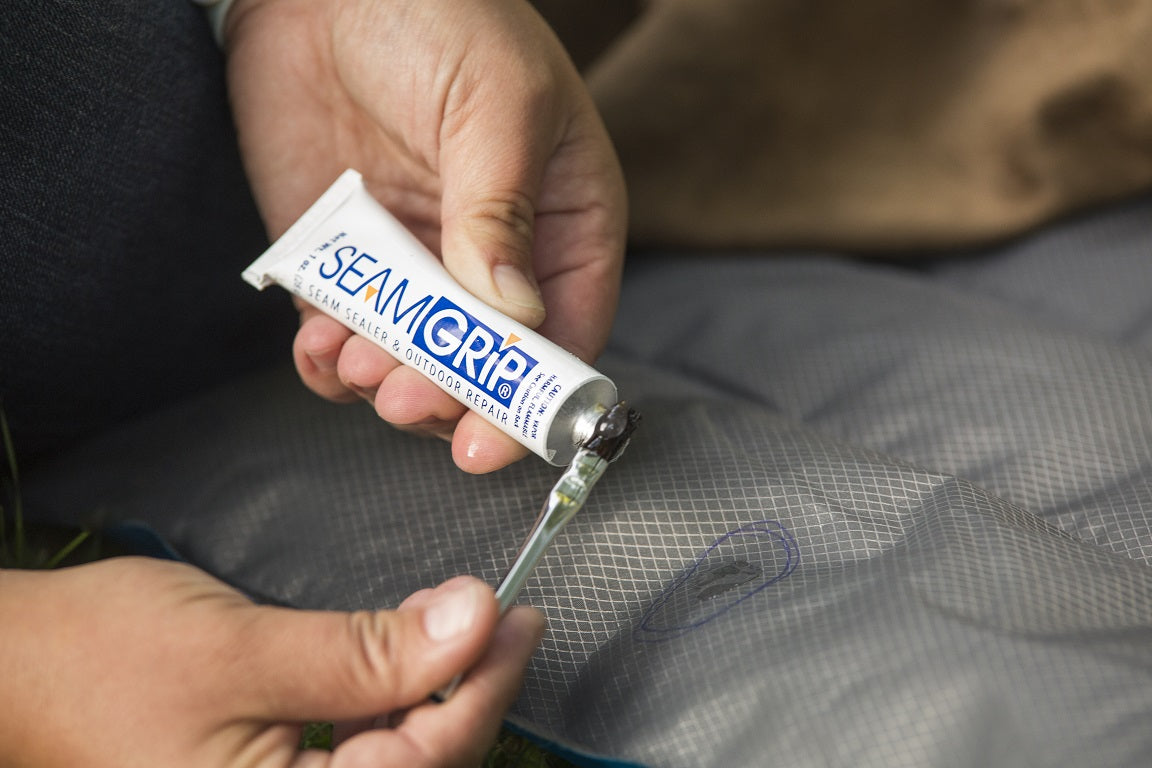
Step 5: Reinforce the Repair
 For added security, you can reinforce the repaired seam by applying a layer of
seam sealer
on top of the patch. This will provide an extra barrier against any potential leaks.
For added security, you can reinforce the repaired seam by applying a layer of
seam sealer
on top of the patch. This will provide an extra barrier against any potential leaks.
Conclusion
 Repairing a seam on your air mattress is a simple and cost-effective solution that can prolong the life of your mattress. By following these steps and using the right tools, you can effectively repair any tears or punctures in the seams of your air mattress. Remember to regularly check your mattress for any signs of damage and repair it as soon as possible to avoid any further issues. With proper care and maintenance, your air mattress will continue to provide you with comfortable and convenient sleep for years to come.