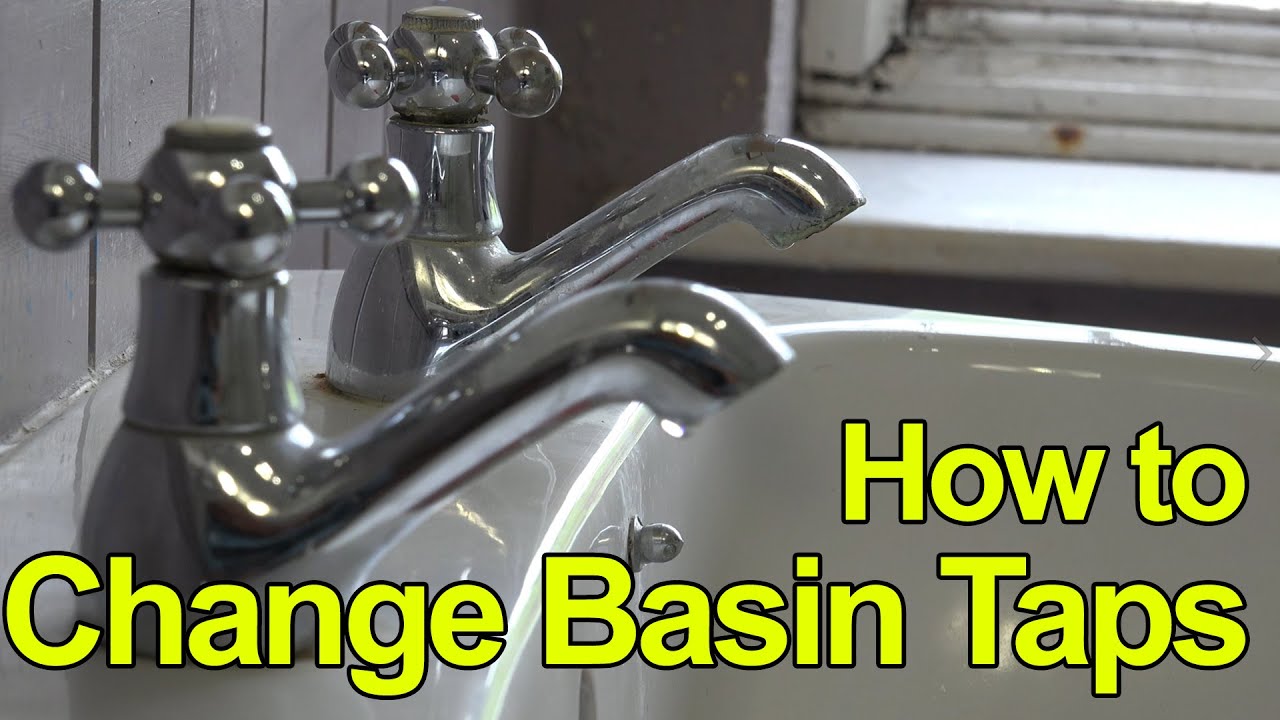
When it comes to home improvement, there are few things more satisfying than successfully completing a DIY project. And one of the most common projects that homeowners often try to tackle on their own is removing taps from a bathroom sink. Whether it's for a simple update or a necessary repair, learning how to remove taps from a bathroom sink can save you time and money. In this article, we'll provide you with a step-by-step guide on how to remove taps from your bathroom sink, as well as some tips and tricks to make the process easier. Let's get started!Removing Taps from Bathroom Sink


Removing Taps from Bathroom Sink


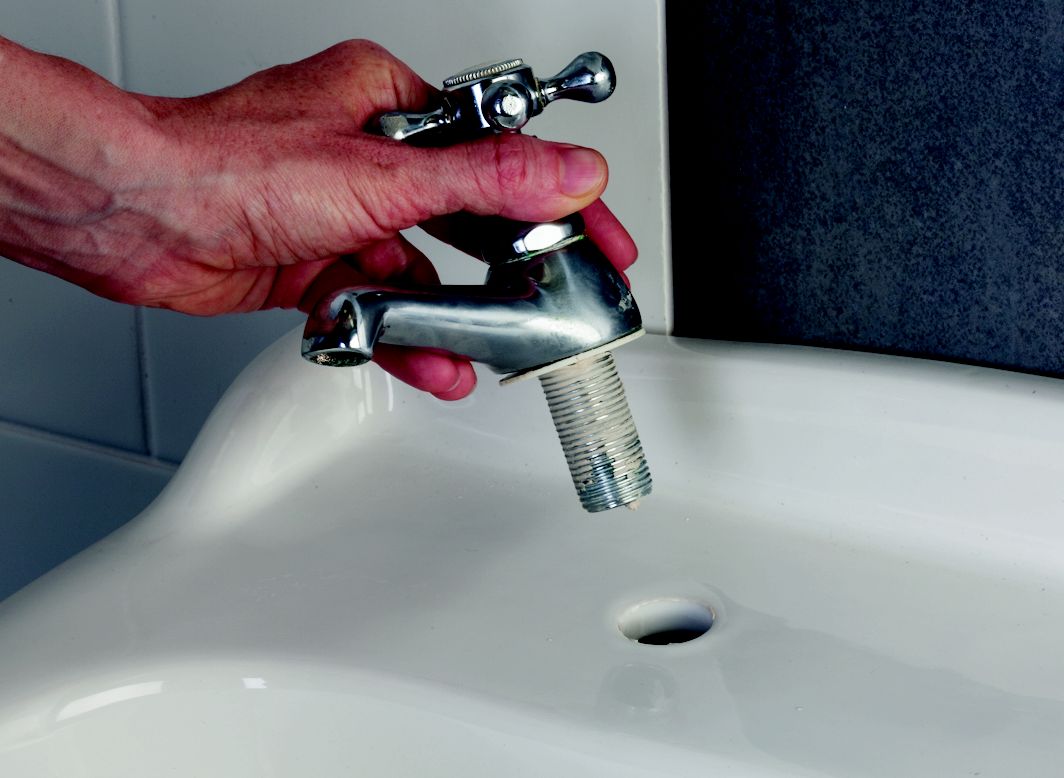
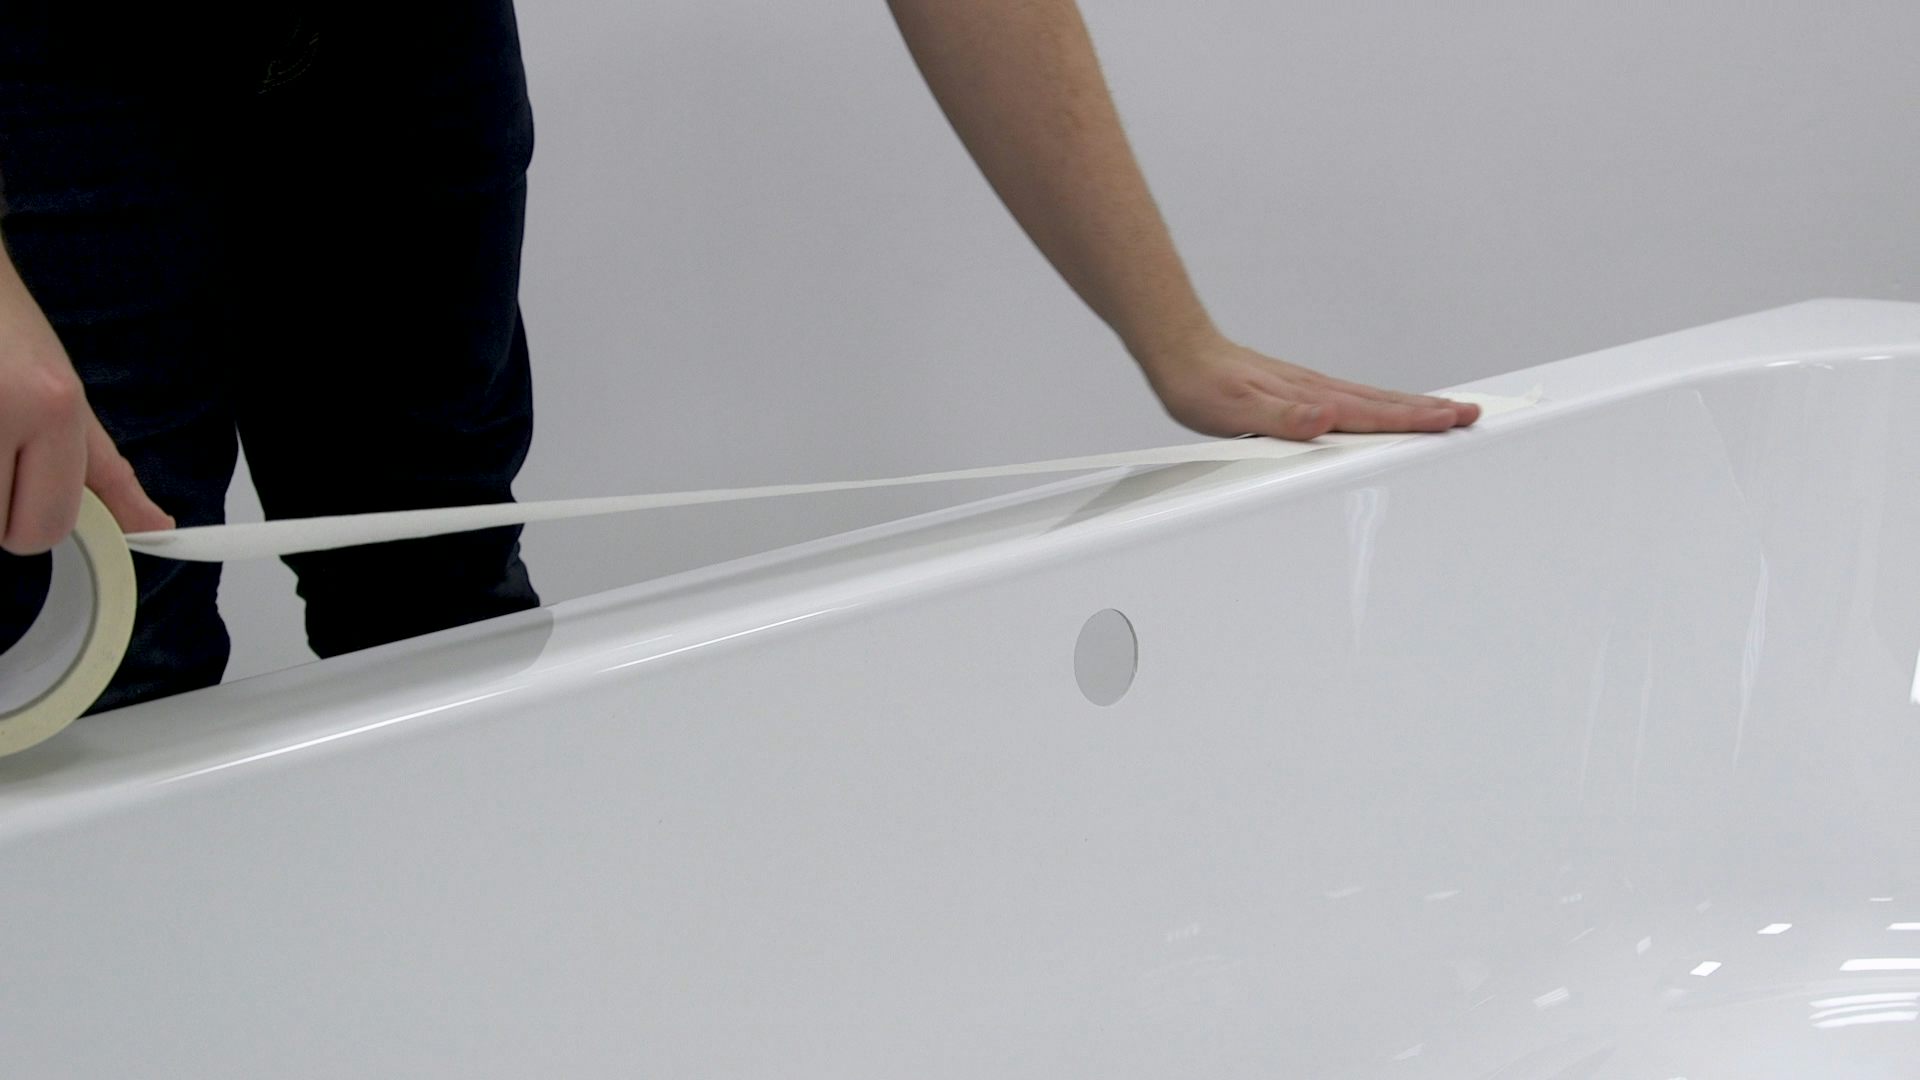
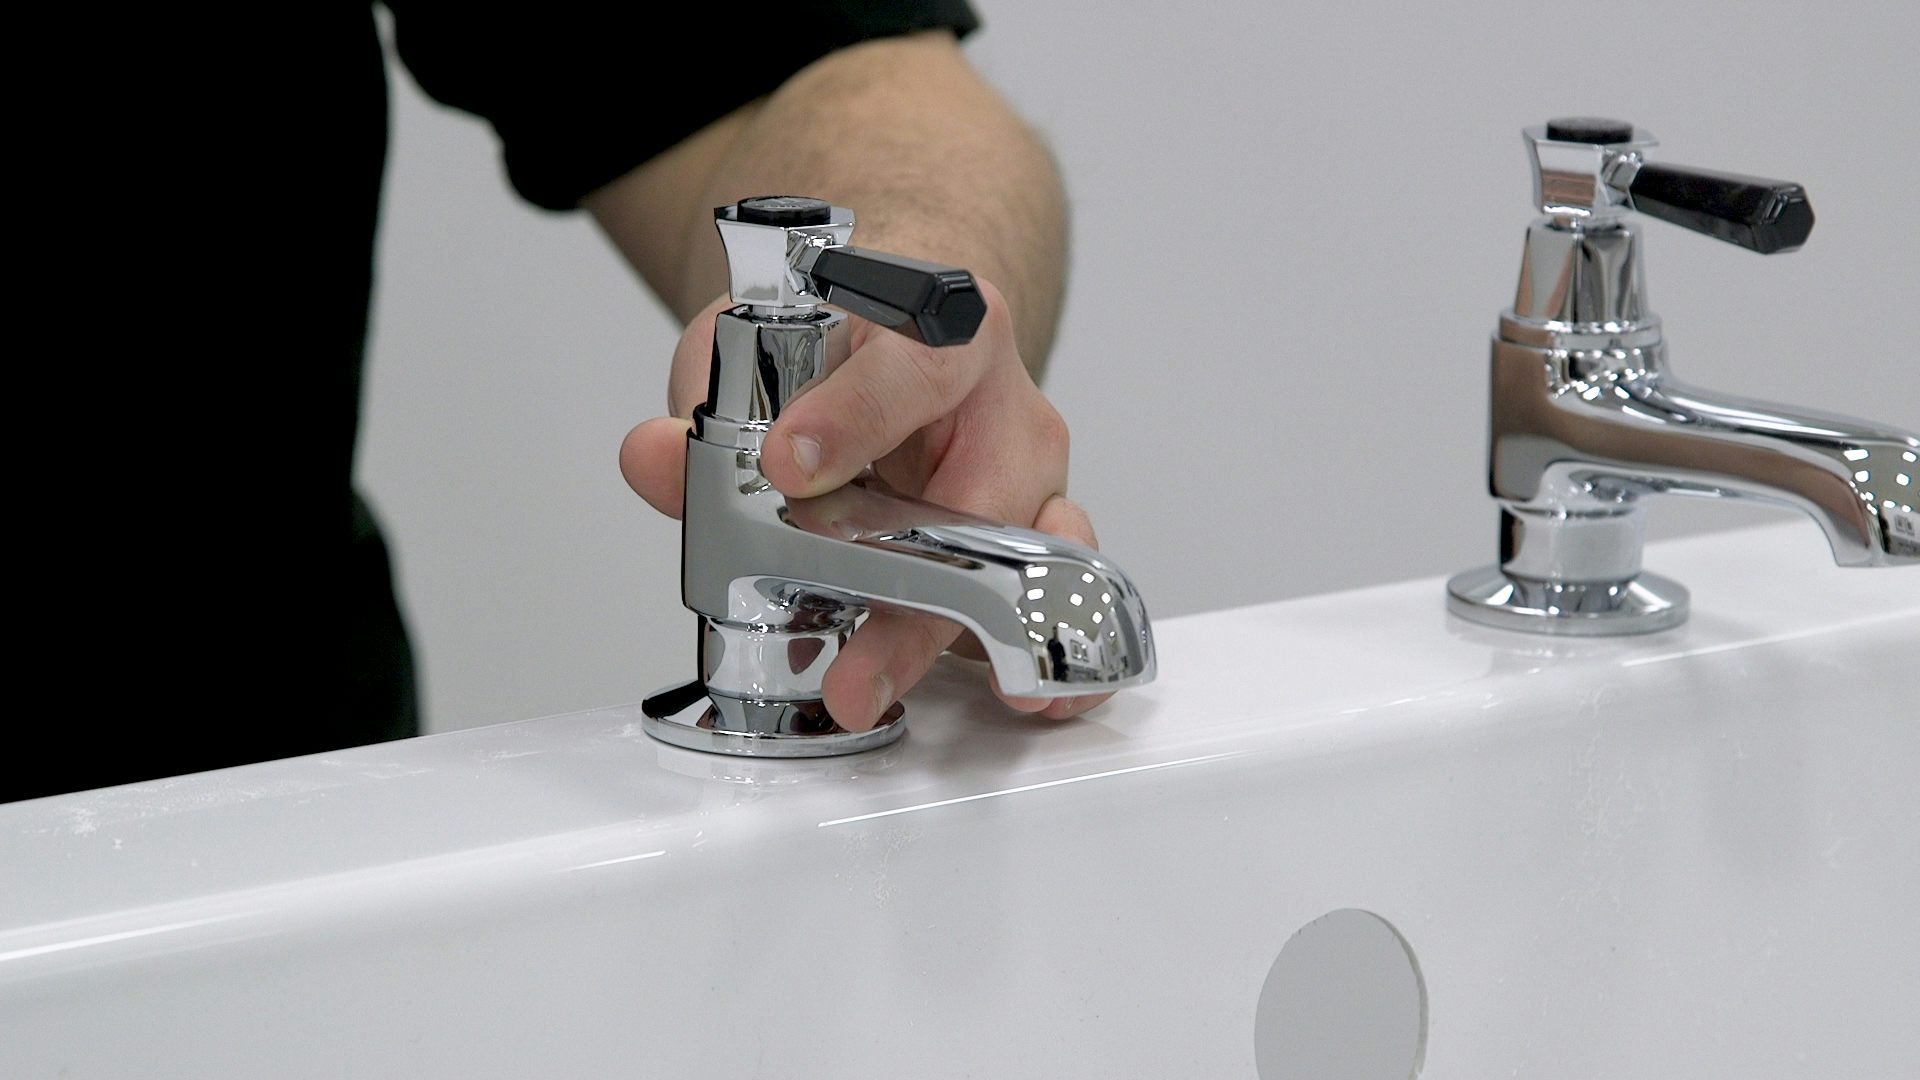
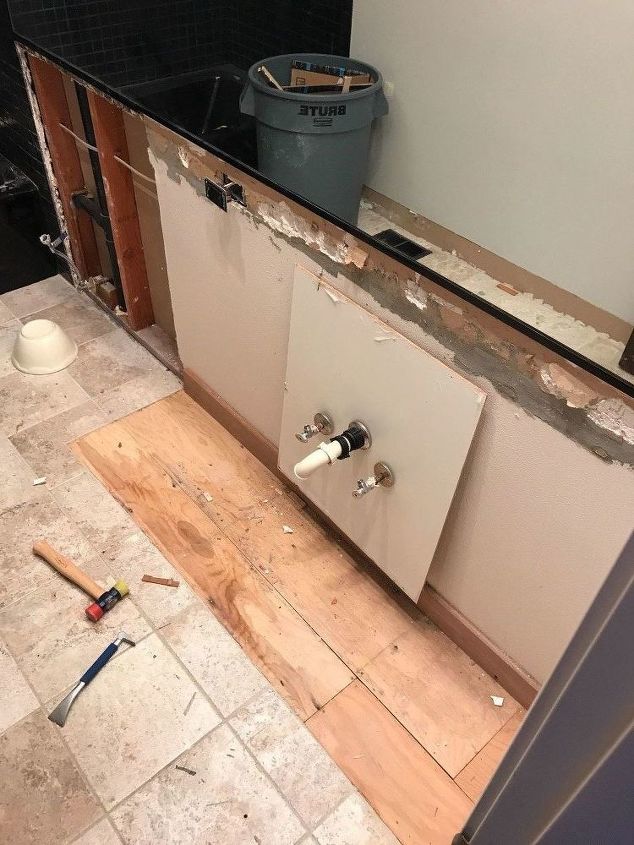
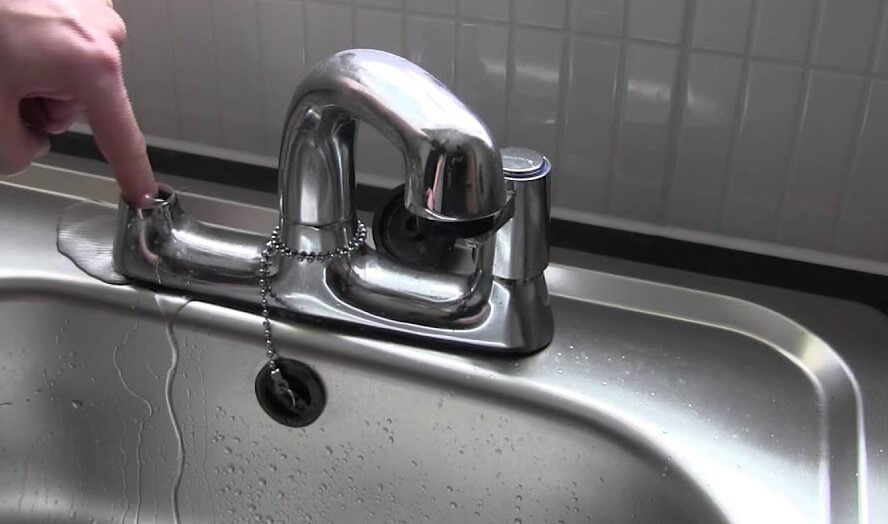
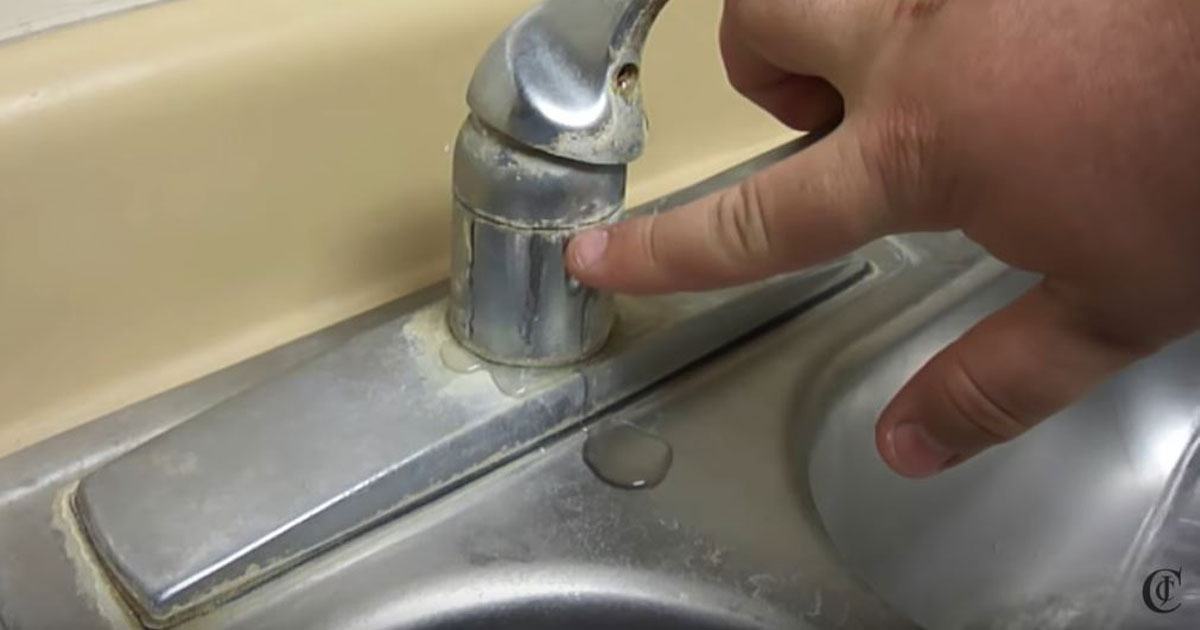
Before we dive into the actual process, it's important to note that the steps may vary depending on the type of tap you have. However, the general process is the same for most taps. Here's a breakdown of the steps you need to follow: Step 1: Turn off the water supply. This is a crucial step to prevent any potential water damage. Most taps have a shut-off valve located under the sink. Turn it off by turning the valve clockwise. Step 2: Disconnect the water supply lines. Using an adjustable wrench, loosen the nuts connecting the water supply lines to the taps. Once the nuts are loose, you can remove the lines from the tap. Step 3: Remove the tap handle. Depending on the type of tap, the handle may be held in place by a screw or a small set screw. Use a screwdriver to remove the screw or a hex wrench to loosen the set screw. Once the handle is loose, you can remove it from the tap. Step 4: Remove the tap. Using an adjustable wrench, loosen the nut holding the tap in place. Once the nut is loose, you can remove the tap from the sink. Step 5: Clean the area. With the tap removed, you can easily clean the area to remove any buildup or debris. This is also a good time to inspect the pipes and make sure there are no signs of damage or leaks.How to Remove Taps from a Bathroom Sink


How to Remove Taps from a Bathroom Sink


Now that you have a general idea of the process, let's break it down into smaller steps to make it easier to follow: Step 1: Gather your tools. Before you begin, make sure you have all the necessary tools on hand. This includes an adjustable wrench, screwdriver, and hex wrench (if needed). Step 2: Turn off the water supply. Refer to the previous section for detailed instructions on how to do this. Step 3: Disconnect the water supply lines. Again, refer to the previous section for detailed instructions. Step 4: Remove the tap handle. This step may vary depending on the type of tap you have. If your tap has a screw holding the handle in place, simply remove the screw with a screwdriver. If your tap has a set screw, use a hex wrench to loosen it. Once the screw is removed, you can pull the handle off. Step 5: Remove the tap. Using an adjustable wrench, loosen the nut holding the tap in place. Once the nut is loose, you can remove the tap from the sink. Step 6: Clean the area. Take this opportunity to clean the area and inspect the pipes for any potential issues. Step 7: Install the new tap. Once you have removed the old tap, you can now install the new one. Follow the manufacturer's instructions for proper installation. Step 8: Reconnect the water supply lines. Using your adjustable wrench, tighten the nuts connecting the water supply lines to the taps. Make sure they are secure to prevent any leaks. Step 9: Turn on the water supply. Once everything is installed, turn on the water supply and check for any leaks. If everything looks good, you're all done!Step-by-Step Guide for Removing Taps from Bathroom Sink


Step-by-Step Guide for Removing Taps from Bathroom Sink


Here are a few tips and tricks to keep in mind when removing taps from your bathroom sink: Tip 1: Use penetrating oil. If you're having trouble loosening the nuts, try using a penetrating oil like WD-40. Spray it on the nuts and let it sit for a few minutes before attempting to loosen them. Tip 2: Use a towel to protect the sink. When loosening the nuts, use a towel or cloth to protect the sink from any scratches or damage. Tip 3: Have a bucket handy. When disconnecting the water supply lines, it's a good idea to have a bucket nearby to catch any excess water that may come out. Tip 4: Label the parts. If you're planning on reusing the tap, make sure you label each part as you remove them. This will make the reinstallation process much easier.Removing Taps from Bathroom Sink: Tips and Tricks

Removing Taps from Bathroom Sink: Tips and Tricks


Removing taps from a bathroom sink may seem like a daunting task, but with the right tools and knowledge, it can be a simple DIY project. Not only will it save you money, but it will also give you a sense of accomplishment and satisfaction. Just remember to take your time, follow the steps carefully, and don't be afraid to ask for help if you need it. With a little bit of effort, you can successfully remove taps from your bathroom sink and give your bathroom a fresh new look.DIY: Removing Taps from Bathroom Sink


DIY: Removing Taps from Bathroom Sink


While removing taps from a bathroom sink may seem like a straightforward task, there are a few common mistakes that homeowners make. Here are some of the most common mistakes to avoid: Mistake 1: Not turning off the water supply. This can lead to an unexpected and messy situation. Mistake 2: Using the wrong tools. Make sure you have the right tools on hand to avoid causing any damage. Mistake 3: Not labeling the parts. This can make the reinstallation process more difficult. Mistake 4: Forgetting to clean the area. Take the time to clean the area and inspect the pipes for any issues.Removing Taps from Bathroom Sink: Common Mistakes to Avoid

Removing Taps from Bathroom Sink: Common Mistakes to Avoid

:max_bytes(150000):strip_icc()/order-for-dish-washing-1900439-12-0e0863558b0841d6b6ea229db9282565.jpg)

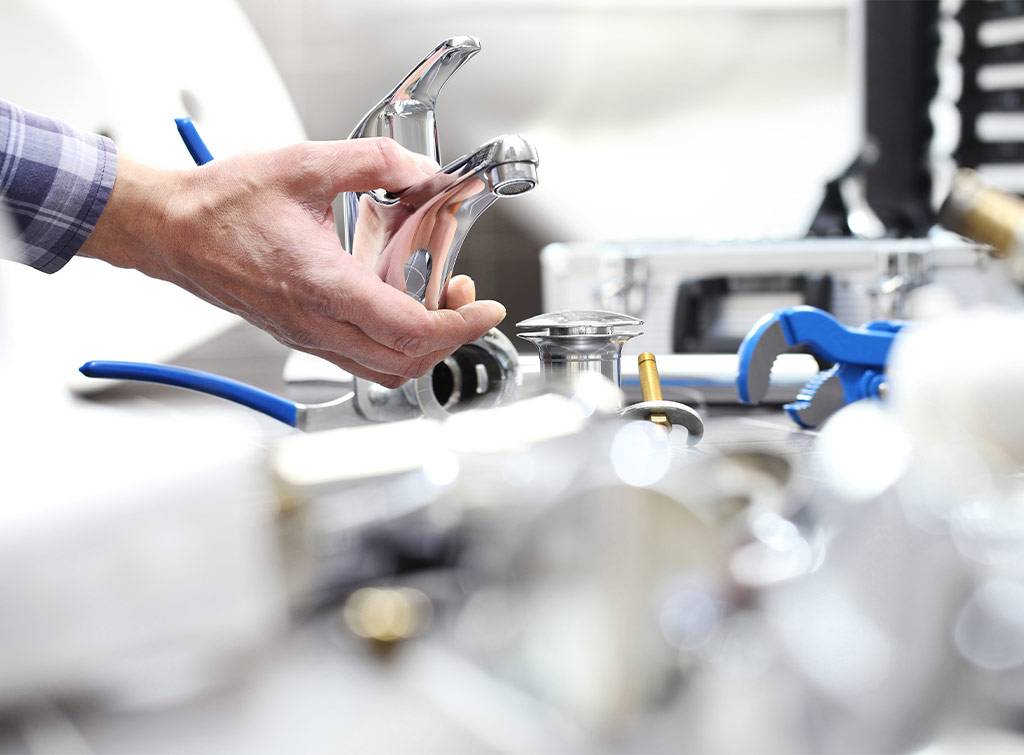

Before you begin, make sure you have the following tools on hand: - Adjustable wrench - Screwdriver - Hex wrench (if needed) - Bucket (optional)Tools You'll Need for Removing Taps from Bathroom Sink


Tools You'll Need for Removing Taps from Bathroom Sink
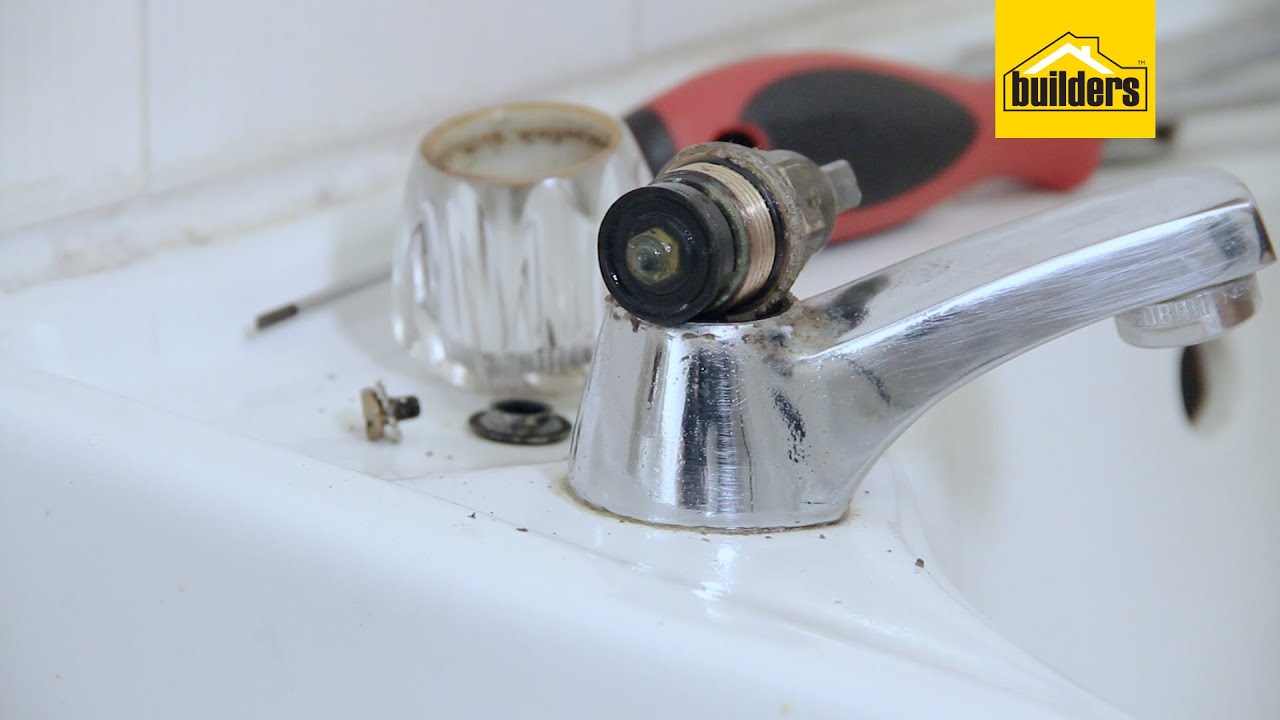


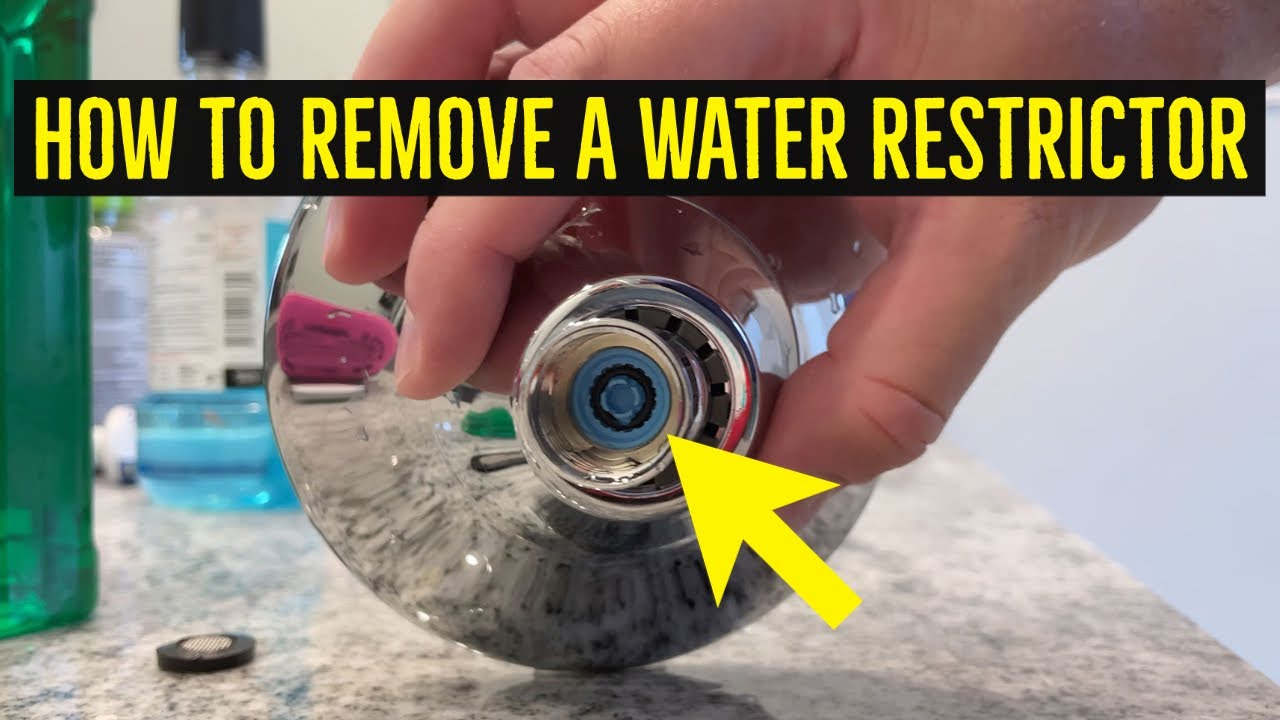
If you run into any issues while removing taps from your bathroom sink, here are a few troubleshooting tips: Issue: The nuts are stuck and won't budge. Solution: Use a penetrating oil like WD-40 to loosen the nuts. Issue: The water supply lines won't disconnect. Solution: Use an adjustable wrench to loosen the nuts and gently wiggle the lines until they come loose. Issue: The tap won't come off. Solution: Double-check to make sure all nuts and screws have been removed. If it still won't come off, use a flathead screwdriver to gently pry it off.Removing Taps from Bathroom Sink: Troubleshooting Guide


Removing Taps from Bathroom Sink: Troubleshooting Guide


Before you begin, keep the following safety precautions in mind: - Always turn off the water supply before beginning. - Use the right tools and wear protective gear if necessary. - Be careful not to damage any surrounding surfaces. - If you're unsure of what you're doing, consult a professional.Removing Taps from Bathroom Sink: Safety Precautions

Removing Taps from Bathroom Sink: Safety Precautions

While removing taps from a bathroom sink can be a DIY project, there are certain situations where it's best to leave it to the professionals. If you're dealing with a complicated tap or are unsure of what you're doing, it's always best to consult a professional plumber. This will ensure that the job is done correctly and prevent any potential damage or safety hazards. With this step-by-step guide and some helpful tips, you should be able to successfully remove taps from your bathroom sink. Just remember to take your time, follow the instructions carefully, and don't be afraid to ask for help if you need it. Happy DIY-ing!Removing Taps from Bathroom Sink: Professional vs. DIY


Removing Taps from Bathroom Sink: Professional vs. DIY

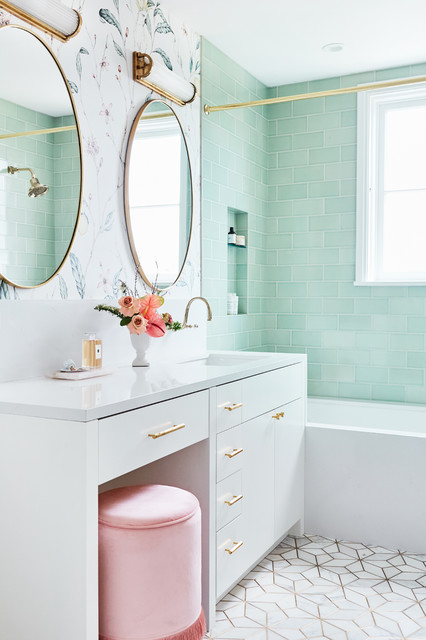
Why Removing Taps from Bathroom Sink Can Elevate Your House Design
The Importance of Bathroom Design
 When it comes to designing a house, the bathroom is often overlooked. However, a well-designed bathroom can make a significant impact on the overall aesthetic of your home. It is the one room that is used by everyone in the household and also by guests, so it should not be neglected. One way to elevate your bathroom design is by removing the taps from the sink.
Benefits of Removing Taps
 Removing taps from your bathroom sink
not only provides a sleek and modern look, but it also has practical benefits. Traditional taps can take up a lot of space on the sink, making it difficult to clean and leaving less room for other bathroom essentials. By removing the taps, you create more counter space and make the sink easier to clean. This also gives you the opportunity to add other design elements, such as a soap dispenser or decorative items, to enhance the overall look of your bathroom.
Removing taps from your bathroom sink
not only provides a sleek and modern look, but it also has practical benefits. Traditional taps can take up a lot of space on the sink, making it difficult to clean and leaving less room for other bathroom essentials. By removing the taps, you create more counter space and make the sink easier to clean. This also gives you the opportunity to add other design elements, such as a soap dispenser or decorative items, to enhance the overall look of your bathroom.
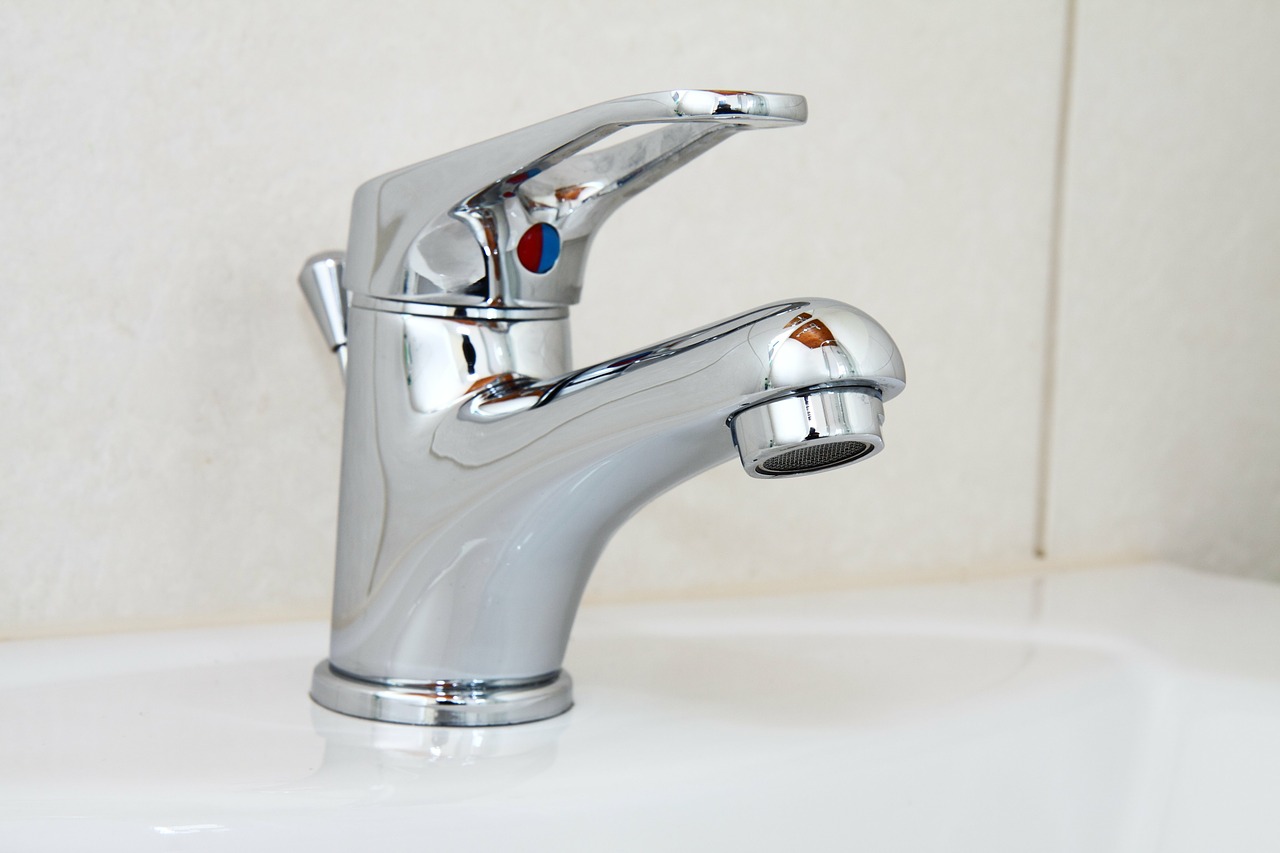
How to Remove Taps
 Removing taps from your bathroom sink
may seem like a daunting task, but it can be easily done with the right tools and knowledge. First, you will need to turn off the water supply to the sink. This can usually be done by turning off the shut-off valves under the sink. Then, using a wrench, loosen the nuts that hold the taps in place. Once the nuts are removed, you can easily lift the taps off the sink. Be sure to clean the area where the taps were attached to remove any build-up or residue.
Removing taps from your bathroom sink
may seem like a daunting task, but it can be easily done with the right tools and knowledge. First, you will need to turn off the water supply to the sink. This can usually be done by turning off the shut-off valves under the sink. Then, using a wrench, loosen the nuts that hold the taps in place. Once the nuts are removed, you can easily lift the taps off the sink. Be sure to clean the area where the taps were attached to remove any build-up or residue.
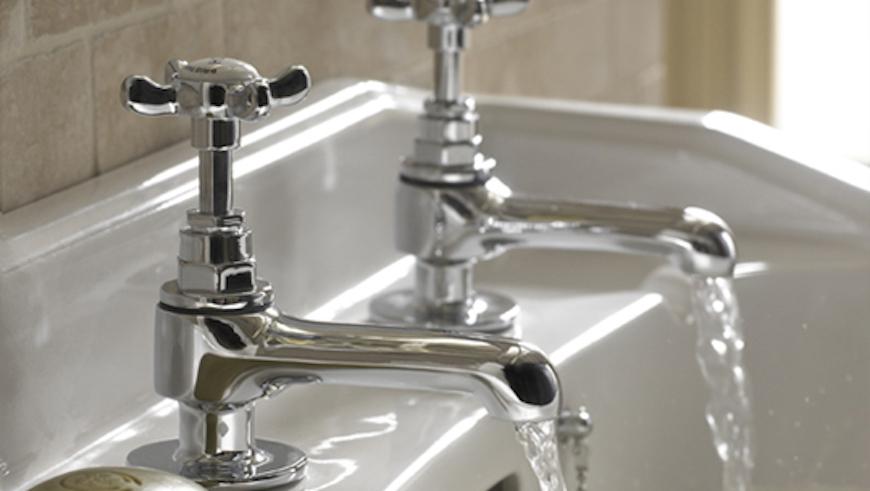
Replacing with a Single Handle Faucet
 After removing the taps, you can
replace them with a single handle faucet
for a more modern and functional look. Single handle faucets not only take up less space, but they also provide more control over water temperature and flow. They also come in a variety of styles and finishes, allowing you to choose one that best suits your bathroom design.
In conclusion,
removing taps from your bathroom sink
can significantly elevate your house design. It not only creates a sleek and modern look, but it also has practical benefits and allows for more design options. With the right tools and knowledge, this simple change can make a big impact on the overall aesthetic of your bathroom.
After removing the taps, you can
replace them with a single handle faucet
for a more modern and functional look. Single handle faucets not only take up less space, but they also provide more control over water temperature and flow. They also come in a variety of styles and finishes, allowing you to choose one that best suits your bathroom design.
In conclusion,
removing taps from your bathroom sink
can significantly elevate your house design. It not only creates a sleek and modern look, but it also has practical benefits and allows for more design options. With the right tools and knowledge, this simple change can make a big impact on the overall aesthetic of your bathroom.