Removing the P-trap under your bathroom sink may seem like a daunting task, but with the right tools and knowledge, it can be a simple and straightforward process. Whether you are replacing a leaky P-trap or just need to clean out a clog, knowing how to remove the P-trap under your bathroom sink is a valuable DIY skill to have. In this article, we will provide you with a step-by-step guide on how to remove a P-trap under a sink, along with some helpful tips and tricks to ensure a successful and hassle-free process.
Removing P Trap Under Bathroom Sink


Removing P Trap Under Bathroom Sink


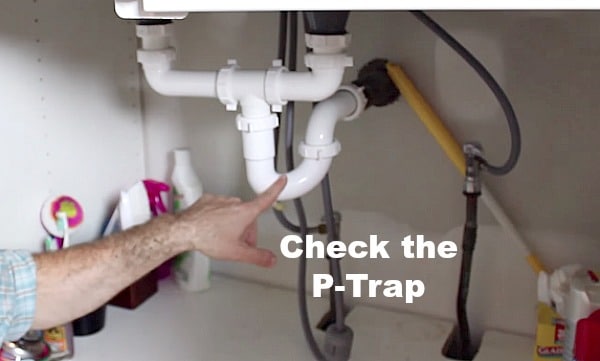
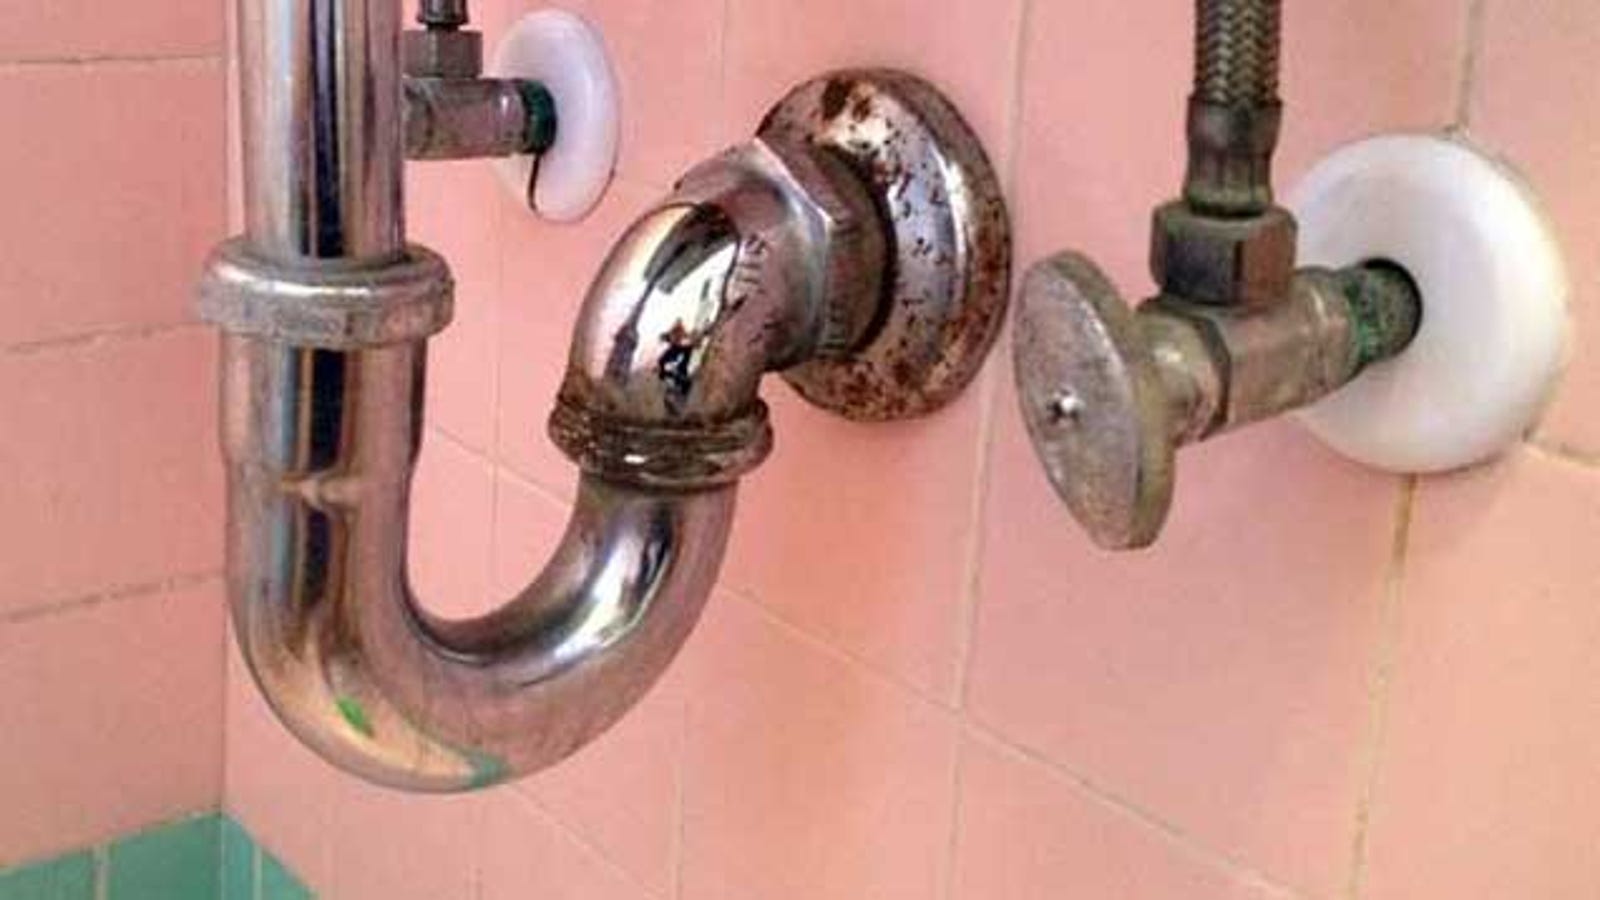
P-trap stands for "plumbing trap," and it is a curved section of pipe that is designed to prevent sewer gases from entering your home. It is located under your bathroom sink and is usually the first place to check if you have a clog. Removing the P-trap under your sink involves a few simple steps, and with the right tools, you can get the job done in no time.
How to Remove a P-Trap Under a Sink


How to Remove a P-Trap Under a Sink


Step 1: Gather your tools
Before you begin, make sure you have all the necessary tools on hand. These include a pair of pliers, a wrench, a bucket or large bowl, and a cleaning brush. It is also a good idea to wear gloves to protect your hands from any grime or debris.
Step 2: Prepare the area
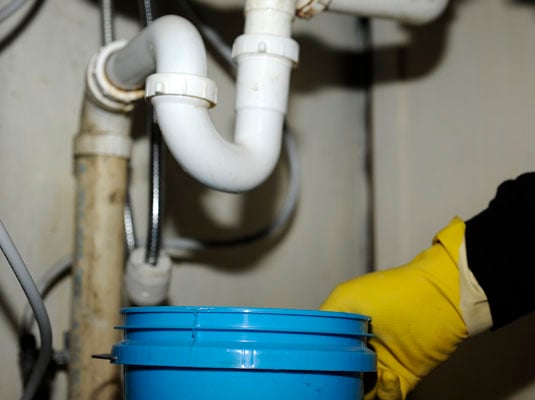
Place the bucket or bowl under the P-trap to catch any water that may spill out during the removal process. This will also help prevent any mess on your bathroom floor.
Step 3: Loosen the slip nuts
Using your pliers, loosen the slip nuts on either side of the P-trap. These are the round nuts that connect the P-trap to the sink drain and the horizontal pipe. If the nuts are too tight to loosen by hand, you can use a wrench to help loosen them.
Step 4: Remove the P-trap
Once the slip nuts are loose, you can easily remove the P-trap from the sink drain and the horizontal pipe. Be sure to keep the P-trap upright to prevent any water from spilling out.
Step 5: Clean the P-trap
Now that the P-trap is removed, you can clean it out using a cleaning brush and warm water. This will help remove any buildup or debris that may have been causing the clog.
Step 6: Reinstall the P-trap
After cleaning, simply reattach the P-trap to the sink drain and the horizontal pipe. Make sure the slip nuts are tightened securely to prevent any leaks.
Step-by-Step Guide for Removing a P-Trap Under a Bathroom Sink


Step-by-Step Guide for Removing a P-Trap Under a Bathroom Sink


Removing a P-trap under your bathroom sink is a task that can easily be done by a DIY enthusiast. Not only does it save you money from hiring a professional, but it also gives you a sense of accomplishment. However, it is important to note that if you are unsure or uncomfortable with the process, it is always best to call a professional plumber.
DIY: Removing a P-Trap Under a Bathroom Sink


DIY: Removing a P-Trap Under a Bathroom Sink


- It is recommended to wear gloves and eye protection when removing a P-trap.
- Before removing the P-trap, use a towel to wipe away any excess water to prevent a mess.
- If the slip nuts are too tight to loosen, you can use WD-40 to help loosen them.
- To prevent any future clogs, consider installing a mesh drain cover to catch hair and debris before it enters the P-trap.
Removing a P-Trap Under a Bathroom Sink: Tips and Tricks

Removing a P-Trap Under a Bathroom Sink: Tips and Tricks
- Pliers
- Wrench
- Bucket or large bowl
- Cleaning brush
- Gloves
Tools You'll Need for Removing a P-Trap Under a Bathroom Sink

Tools You'll Need for Removing a P-Trap Under a Bathroom Sink
- Always wear gloves and eye protection to protect yourself from any debris or grime.
- Be careful when using a wrench to avoid any injuries.
- If you encounter any stubborn slip nuts, do not use excessive force as it may cause damage. Instead, try using WD-40 or call a professional.
Safety Precautions for Removing a P-Trap Under a Bathroom Sink
Safety Precautions for Removing a P-Trap Under a Bathroom Sink

- Not wearing gloves or eye protection.
- Not placing a bucket or bowl to catch any water.
- Using excessive force to loosen slip nuts.
- Forgetting to clean the P-trap before reinstalling it.
Common Mistakes to Avoid When Removing a P-Trap Under a Bathroom Sink
Common Mistakes to Avoid When Removing a P-Trap Under a Bathroom Sink
If you are unable to remove the P-trap using the steps mentioned above, there are a few alternative methods you can try.
- Use a P-trap removal tool, which is specifically designed to loosen and remove P-traps.
- Cut the P-trap using a hacksaw and replace it with a new one.
- Call a professional plumber to handle the task for you.
Alternative Methods for Removing a P-Trap Under a Bathroom Sink

Alternative Methods for Removing a P-Trap Under a Bathroom Sink

While removing a P-trap under a bathroom sink is a simple task, there are instances where it is best to leave it to the professionals. These include:
- If you are unsure or uncomfortable with the process.
- If you are unable to remove the P-trap using the steps mentioned above.
- If you encounter any issues or complications during the removal process.
When to Call a Professional for Removing a P-Trap Under a Bathroom Sink

When to Call a Professional for Removing a P-Trap Under a Bathroom Sink

The Importance of Properly Removing the P Trap Under Your Bathroom Sink

Addressing Plumbing Issues in Your Home
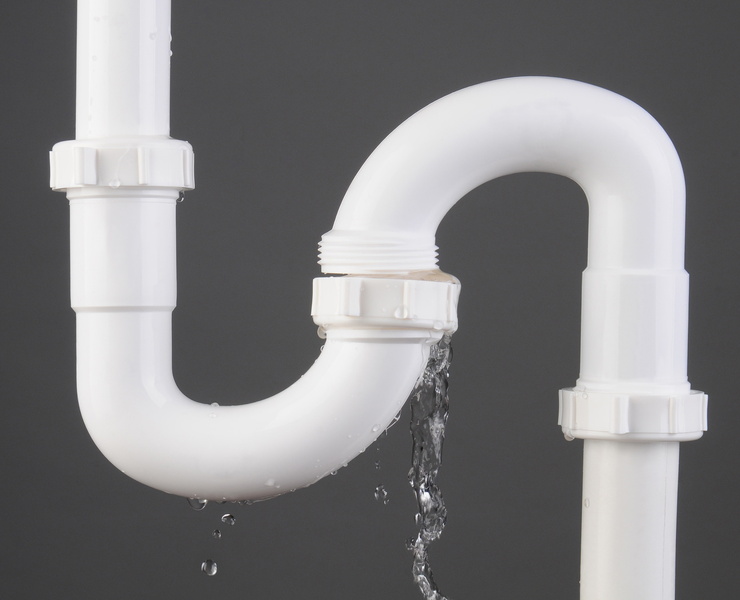
 When it comes to house design, it's important to not just focus on the aesthetics but also the functionality. This is especially true when it comes to the plumbing system in your home. One common issue that homeowners face is a clogged or leaky sink, which can be caused by a faulty p trap. This vital component of your sink's plumbing system is responsible for trapping debris and preventing it from clogging your pipes. However, over time, it can become clogged itself, leading to slow drainage or even leaks. That's why it's important to know how to properly remove and clean the p trap under your bathroom sink.
The Process of Removing the P Trap
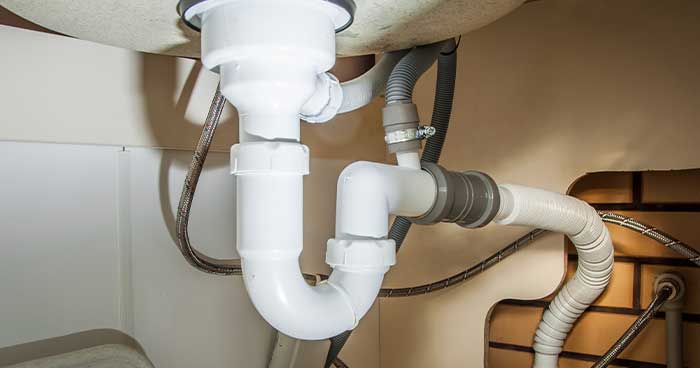
 The first step in removing the p trap is to gather the necessary tools: a bucket, pliers, and a pipe wrench. Start by placing the bucket under the p trap to catch any water that may spill out. Then, use the pliers to loosen the slip nuts on either end of the p trap. These are the round, threaded pieces that connect the p trap to the sink drain and the wall pipe. Once the slip nuts are loosened, you can easily remove the p trap by twisting and pulling it down.
Benefits of Removing the P Trap
 Removing the p trap allows you to thoroughly clean and inspect it for any clogs or damage.
It's important to clean your p trap at least twice a year to prevent clogs and maintain the proper functioning of your sink.
You can use a wire brush or a pipe cleaner to remove any buildup and rinse it with hot water. This simple maintenance can save you from costly repairs in the future.
Furthermore, removing the p trap can also help you identify any plumbing issues that may require professional attention.
If the p trap is damaged or worn out, it may need to be replaced. This is also a good opportunity to inspect the pipes connected to the p trap for any leaks or corrosion. By addressing these issues early on, you can prevent major plumbing disasters in the future.
Removing the p trap allows you to thoroughly clean and inspect it for any clogs or damage.
It's important to clean your p trap at least twice a year to prevent clogs and maintain the proper functioning of your sink.
You can use a wire brush or a pipe cleaner to remove any buildup and rinse it with hot water. This simple maintenance can save you from costly repairs in the future.
Furthermore, removing the p trap can also help you identify any plumbing issues that may require professional attention.
If the p trap is damaged or worn out, it may need to be replaced. This is also a good opportunity to inspect the pipes connected to the p trap for any leaks or corrosion. By addressing these issues early on, you can prevent major plumbing disasters in the future.
Properly Reinstalling the P Trap
 Once you have cleaned and inspected the p trap, it's time to reinstall it. Start by placing the p trap back into its position and reattaching the slip nuts on either end. Make sure to tighten them securely to prevent any leaks.
It's also important to make sure that the p trap is aligned properly to ensure proper drainage.
Once everything is reattached, run water through the sink to check for any leaks or drainage issues.
In conclusion, properly removing the p trap under your bathroom sink is an important aspect of maintaining a functional plumbing system in your home. By following these steps and regularly cleaning and inspecting your p trap, you can prevent clogs and leaks, saving you time and money in the long run.
Remember, a well-maintained p trap means a well-functioning sink and a happy homeowner.
Once you have cleaned and inspected the p trap, it's time to reinstall it. Start by placing the p trap back into its position and reattaching the slip nuts on either end. Make sure to tighten them securely to prevent any leaks.
It's also important to make sure that the p trap is aligned properly to ensure proper drainage.
Once everything is reattached, run water through the sink to check for any leaks or drainage issues.
In conclusion, properly removing the p trap under your bathroom sink is an important aspect of maintaining a functional plumbing system in your home. By following these steps and regularly cleaning and inspecting your p trap, you can prevent clogs and leaks, saving you time and money in the long run.
Remember, a well-maintained p trap means a well-functioning sink and a happy homeowner.