Removing old putty around your bathroom sink drain may seem like a daunting task, but it's an essential part of maintaining a clean and functional sink. Over time, putty can become discolored, cracked, and can even cause leaks if not properly removed and replaced. In this article, we will go over the top 10 ways to remove old putty around your bathroom sink drain, so you can have a sparkling clean and leak-free sink in no time.Removing Old Putty Around Bathroom Sink Drain

Removing Old Putty Around Bathroom Sink Drain

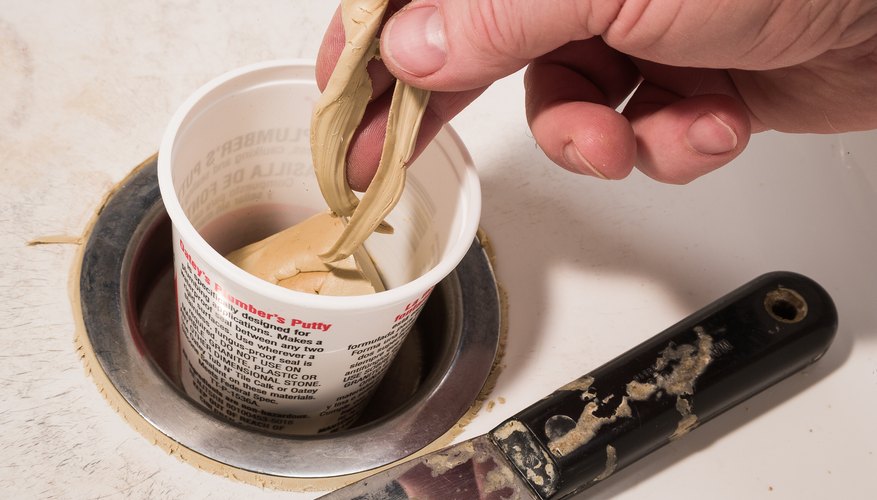

Before we dive into the different methods for removing old putty, it's important to understand the basic steps involved in the process. Here's a quick overview of how to remove old putty from a sink drain: Step 1: Gather your materials. This includes a putty knife, a screwdriver, a razor blade, and a bottle of mineral spirits. Step 2: Use the screwdriver to loosen and remove the drain cover. Step 3: Use the putty knife to scrape away the old putty from around the drain. Step 4: Use the razor blade to carefully remove any remaining putty residue. Step 5: Dampen a cloth with the mineral spirits and wipe down the area to remove any remaining residue. Step 6: Let the area dry completely before applying new putty and reattaching the drain cover.How to Remove Old Putty from a Sink Drain


How to Remove Old Putty from a Sink Drain


If you're a fan of DIY projects, then you'll be happy to know that removing old putty from a bathroom sink drain is a relatively easy task that you can do on your own. Here are some DIY methods to try: Method 1: Use a heat gun or hair dryer to warm up the old putty. This will make it easier to scrape off with a putty knife. Method 2: Create a paste using baking soda and water and apply it to the old putty. Let it sit for 30 minutes before scrubbing it off with a brush. Method 3: Use a vinegar and water solution to loosen the old putty. Let it sit for 10-15 minutes before wiping it away with a cloth.DIY: Removing Old Putty from a Bathroom Sink Drain


DIY: Removing Old Putty from a Bathroom Sink Drain
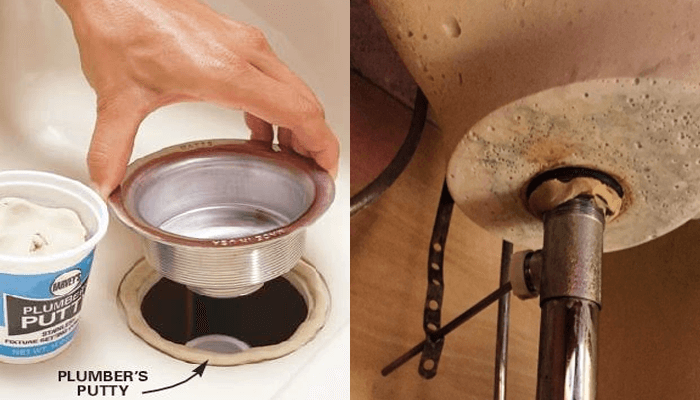


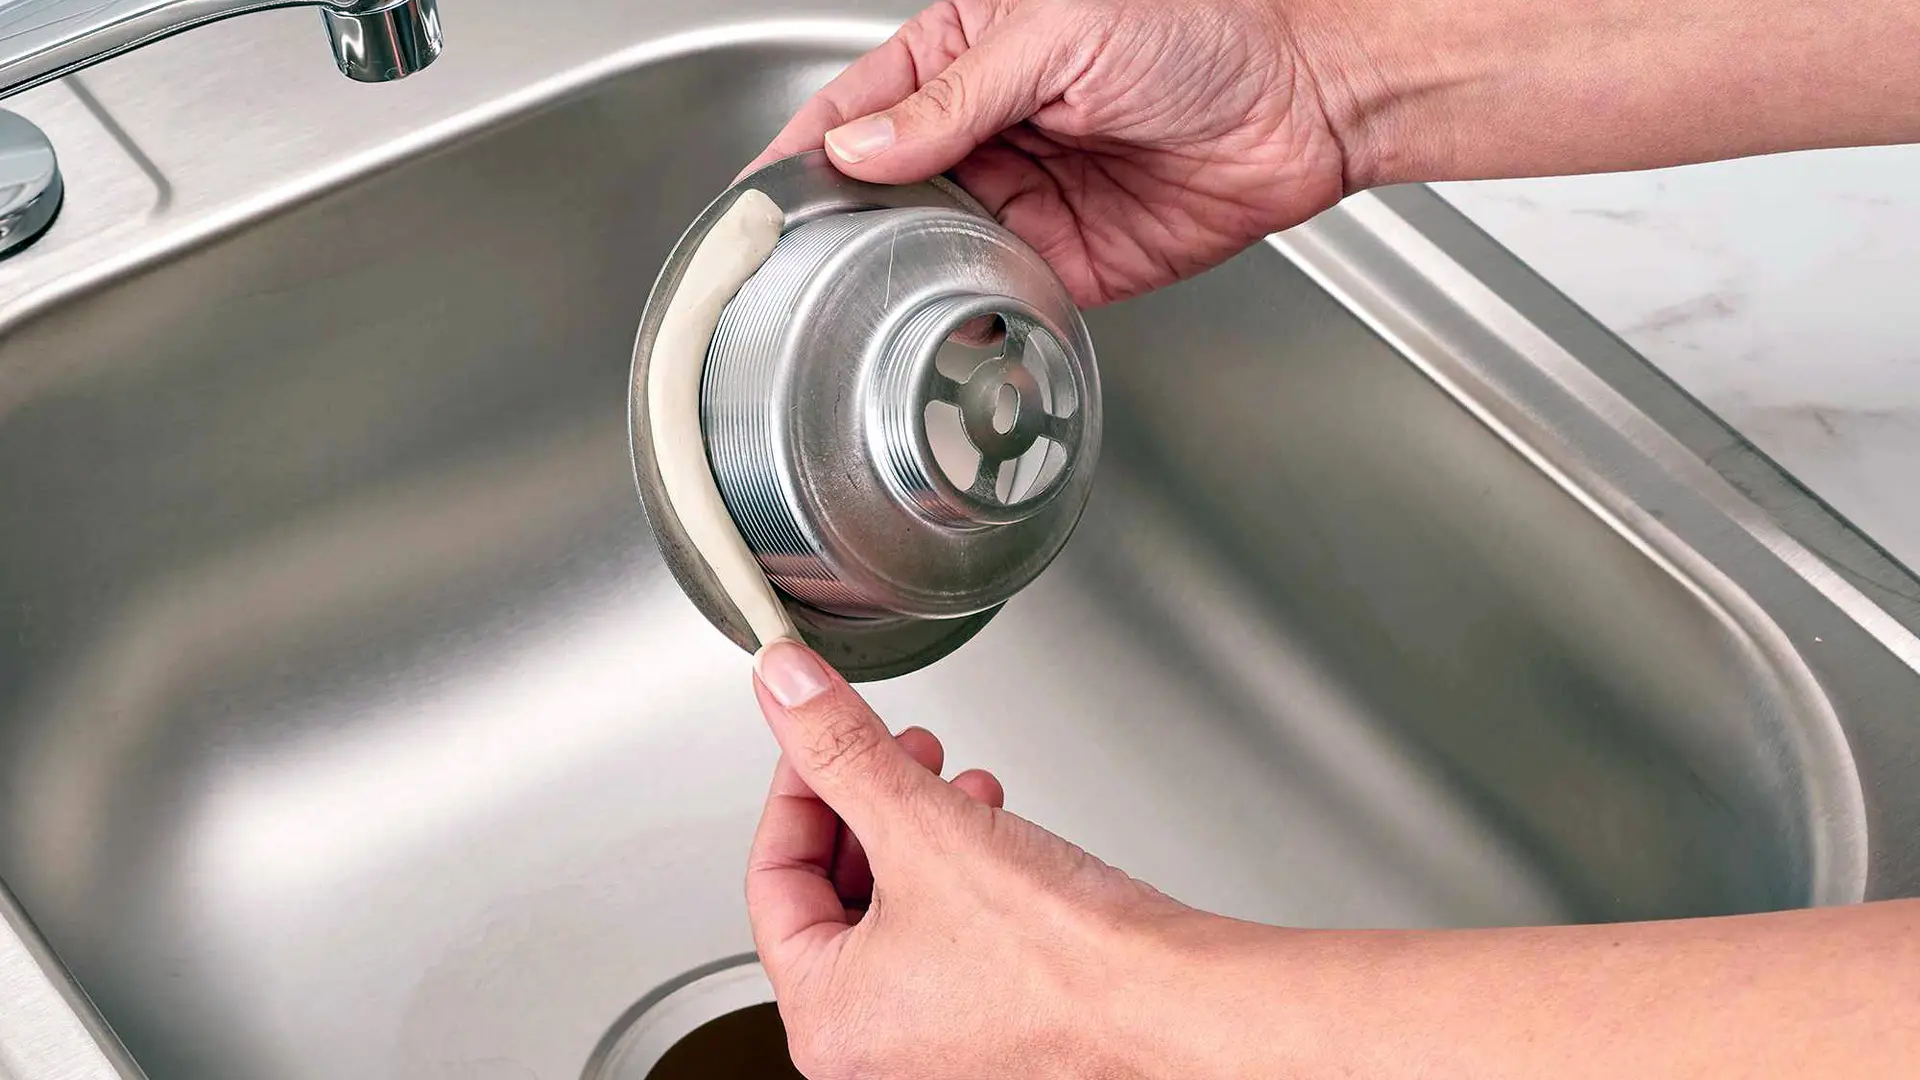
If you prefer a more detailed guide for removing old putty, here is a step-by-step process that you can follow: Step 1: Start by removing the drain cover using a screwdriver. Step 2: Use a putty knife to scrape away the old putty from around the drain. Be sure to work carefully and avoid damaging the sink or drain. Step 3: If there are any stubborn remnants of putty, use a razor blade to carefully scrape them off. Step 4: Dampen a cloth with mineral spirits and thoroughly wipe down the area to remove any remaining residue. Step 5: Let the area dry completely before applying new putty and reattaching the drain cover.Step-by-Step Guide for Removing Old Putty Around a Bathroom Sink Drain


Step-by-Step Guide for Removing Old Putty Around a Bathroom Sink Drain


With so many methods to choose from, it can be overwhelming to determine the best way to remove old putty. Here are our top recommended methods: Method 1: Use a heat gun or hair dryer to warm up the old putty and make it easier to scrape off. Method 2: Apply a paste of baking soda and water and let it sit for 30 minutes before scrubbing it off with a brush. Method 3: Use a vinegar and water solution to loosen the old putty and wipe it away with a cloth. Method 4: Apply a commercial putty remover according to the instructions on the label.Best Methods for Removing Old Putty Around a Bathroom Sink Drain


Best Methods for Removing Old Putty Around a Bathroom Sink Drain
Removing old putty around a bathroom sink drain can be a messy and tricky task. Here are some tips and tricks to make the process go more smoothly: Tip 1: Use a putty knife with a sharp, thin edge for easier scraping. Tip 2: Always work carefully and avoid damaging the sink or drain. Tip 3: If using a heat gun or hair dryer, be careful not to overheat the putty as it can become flammable. Tip 4: Make sure to thoroughly clean the area before applying new putty to ensure a strong seal.Removing Old Putty Around a Bathroom Sink Drain: Tips and Tricks

Removing Old Putty Around a Bathroom Sink Drain: Tips and Tricks
If you're short on time or just looking for a quick and easy fix, here are some methods that will get the job done in no time: Method 1: Use a blow dryer on the highest setting to heat up the old putty. Once it's warm, it should be easier to scrape off with a putty knife. Method 2: Apply a commercial putty remover and let it sit for the recommended amount of time before wiping it away with a cloth. Method 3: Use a vinegar and water solution to loosen the old putty and wipe it away with a cloth.Quick and Easy Ways to Remove Old Putty from a Sink Drain

Quick and Easy Ways to Remove Old Putty from a Sink Drain


While removing old putty may seem like a simple task, there are some common mistakes that can be easily avoided: Mistake 1: Using a dull putty knife that makes the scraping process more difficult. Mistake 2: Not cleaning the area thoroughly before applying new putty, which can result in a weak seal. Mistake 3: Overheating the putty with a heat gun or hair dryer, which can cause it to become flammable. Mistake 4: Rushing the process and not being careful, which can result in damage to the sink or drain.Removing Old Putty Around a Bathroom Sink Drain: Common Mistakes to Avoid

Removing Old Putty Around a Bathroom Sink Drain: Common Mistakes to Avoid
If you're unsure about how to remove old putty or encountering any issues during the process, it's always a good idea to seek advice from an expert. Here are some tips from professionals: Tip 1: Use a putty knife with a sharp, thin edge for easier scraping. Tip 2: If the putty is particularly stubborn, use a heat gun or hair dryer to soften it before scraping. Tip 3: Always clean the area thoroughly before applying new putty to ensure a strong seal.Expert Advice on Removing Old Putty Around a Bathroom Sink Drain


Expert Advice on Removing Old Putty Around a Bathroom Sink Drain
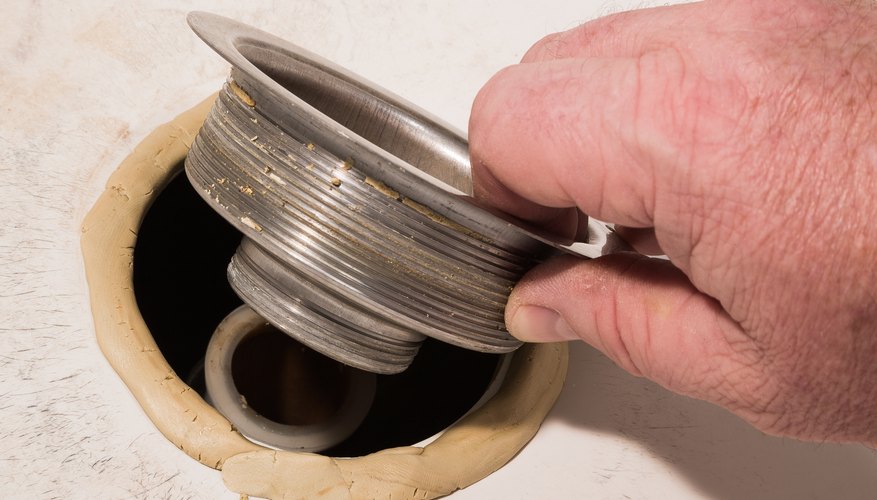
/185313098-56a73c255f9b58b7d0e81636.jpg)
Here is a list of tools and materials you'll need to successfully remove old putty from a sink drain: Tools: Putty knife, screwdriver, razor blade, heat gun or hair dryer (optional), cloth. Materials: Mineral spirits, baking soda, vinegar, commercial putty remover (optional). Removing old putty around a bathroom sink drain may seem like a daunting task, but with the right tools and methods, it can be done easily and efficiently. Just remember to work carefully, use the proper materials, and seek expert advice if needed. With these tips, you'll have a clean and functional sink in no time.Removing Old Putty Around a Bathroom Sink Drain: Tools and Materials You'll Need

Removing Old Putty Around a Bathroom Sink Drain: Tools and Materials You'll Need
The Importance of Properly Removing Old Putty Around Your Bathroom Sink Drain

Why It's Necessary
 When it comes to maintaining a beautiful and functional bathroom, every detail counts. This includes the often overlooked task of removing old putty around your bathroom sink drain. While it may seem like a small and insignificant task, it can actually have a big impact on the overall look and functionality of your bathroom.
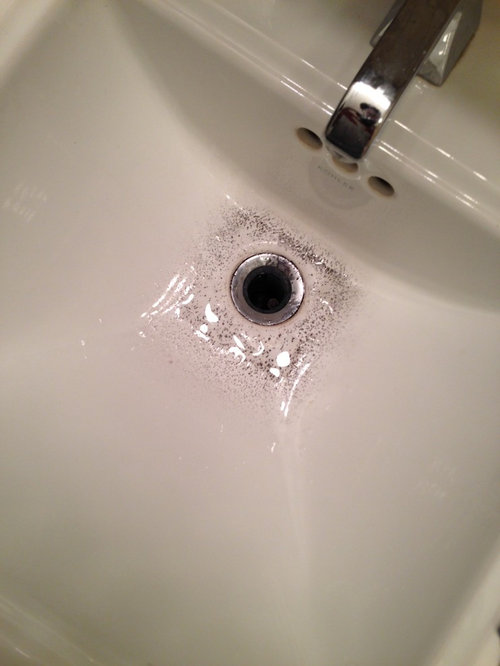
Properly removing old putty
is necessary for several reasons. First and foremost, it prevents leaks and water damage. Over time, putty can dry out and crack, causing water to seep through and potentially damage your sink and surrounding areas. This can lead to costly repairs and a major inconvenience for you and your family.
When it comes to maintaining a beautiful and functional bathroom, every detail counts. This includes the often overlooked task of removing old putty around your bathroom sink drain. While it may seem like a small and insignificant task, it can actually have a big impact on the overall look and functionality of your bathroom.
Properly removing old putty
is necessary for several reasons. First and foremost, it prevents leaks and water damage. Over time, putty can dry out and crack, causing water to seep through and potentially damage your sink and surrounding areas. This can lead to costly repairs and a major inconvenience for you and your family.
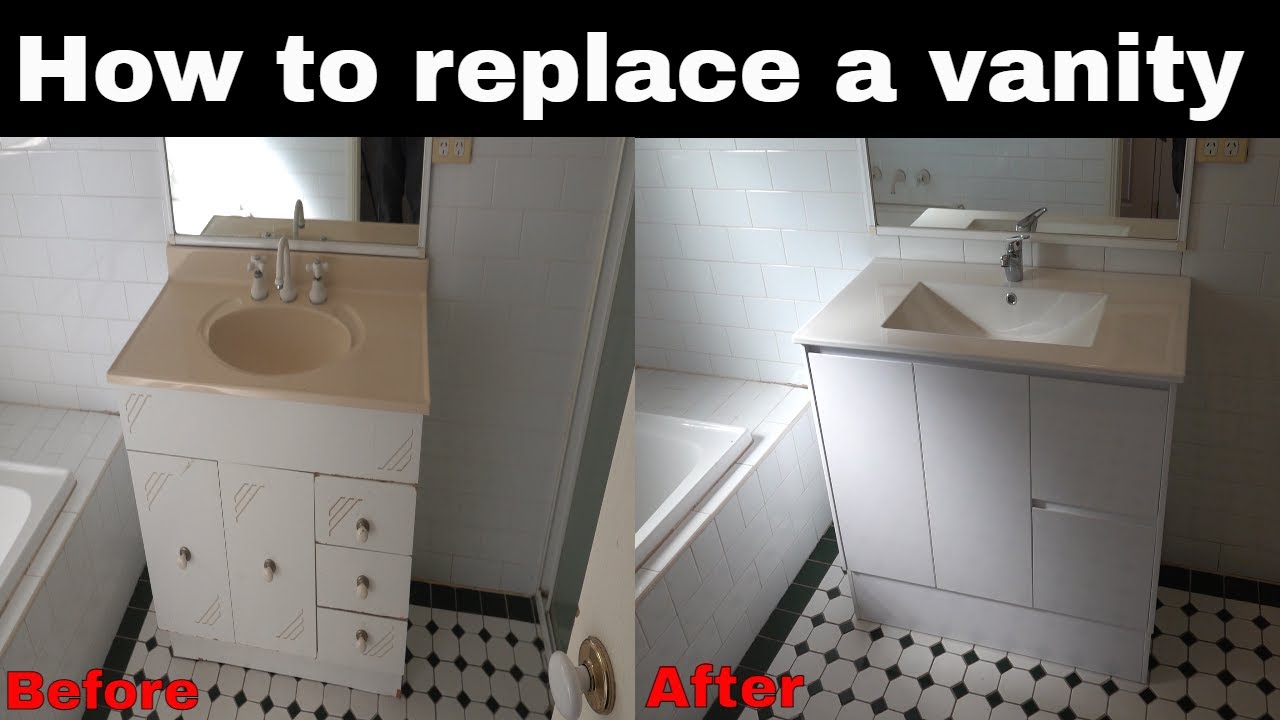
The Aesthetic Factor
 Removing old putty
also plays a role in the aesthetic of your bathroom. As putty ages, it can become discolored and unsightly, taking away from the overall appearance of your sink area. By removing it and replacing it with fresh putty, you can give your bathroom a clean and polished look.
Removing old putty
also plays a role in the aesthetic of your bathroom. As putty ages, it can become discolored and unsightly, taking away from the overall appearance of your sink area. By removing it and replacing it with fresh putty, you can give your bathroom a clean and polished look.
The Importance of Proper Technique
 While removing old putty may seem like a simple task, it's important to do it properly to avoid any issues. This includes using the right tools and techniques to ensure a clean and efficient removal. It's also important to
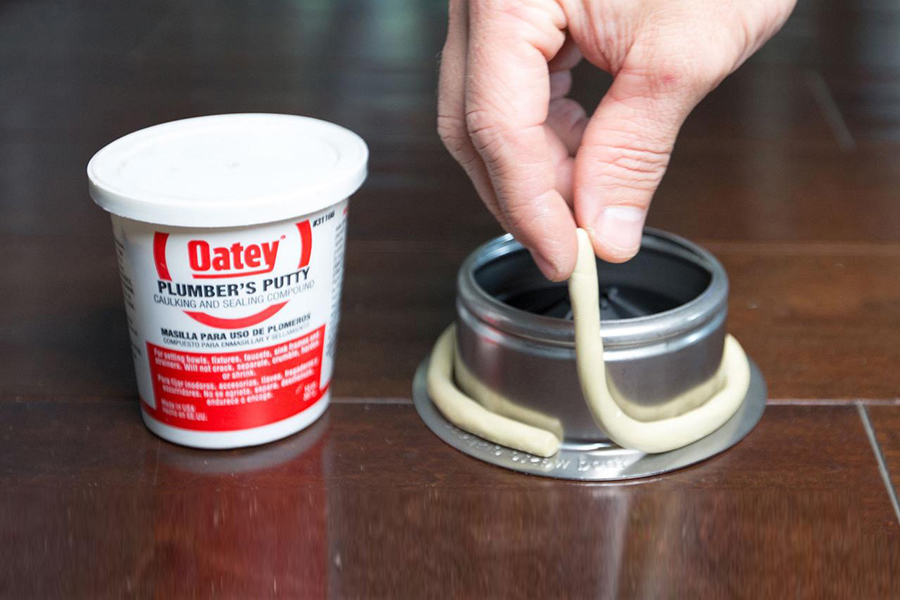
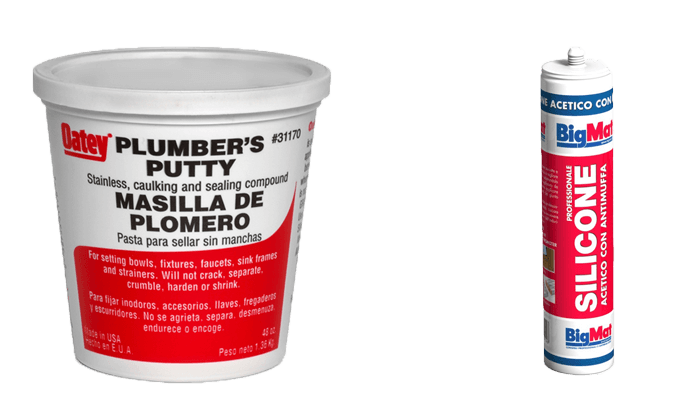
use a high-quality putty
for the replacement to ensure a long-lasting seal and prevent any future leaks.
While removing old putty may seem like a simple task, it's important to do it properly to avoid any issues. This includes using the right tools and techniques to ensure a clean and efficient removal. It's also important to
use a high-quality putty
for the replacement to ensure a long-lasting seal and prevent any future leaks.
Seeking Professional Help
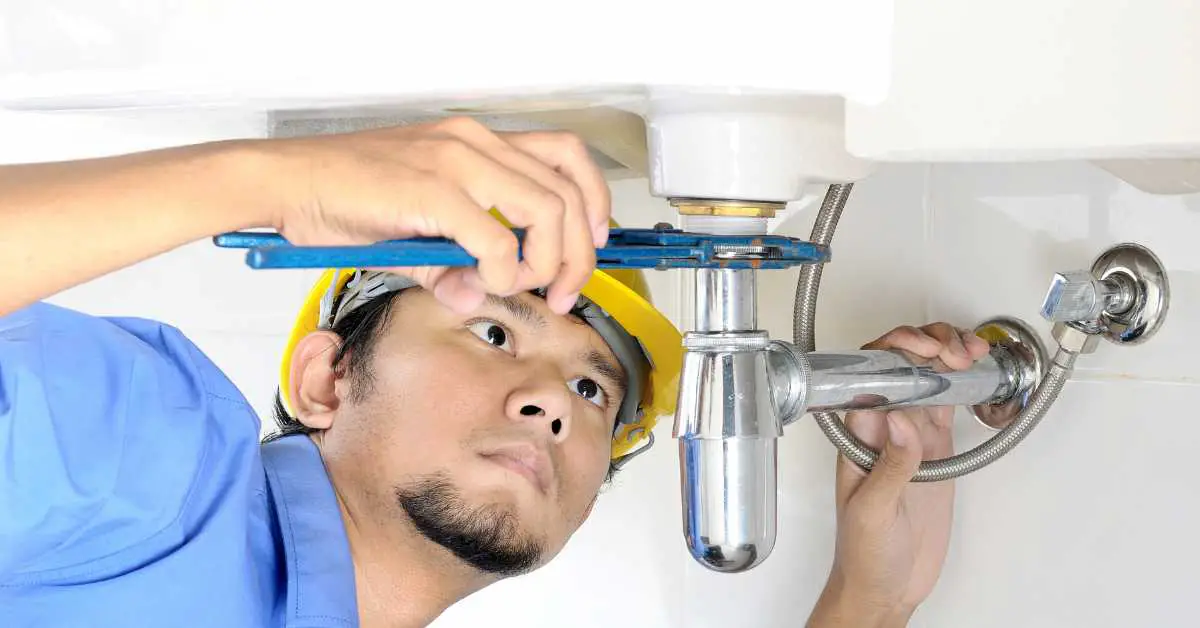
 If you're unsure of how to properly remove old putty or simply don't have the time to do it yourself, it's always a good idea to seek professional help. A
professional contractor or plumber
can ensure that the job is done correctly and efficiently, saving you time and potential headaches in the long run.
In conclusion,
properly removing old putty around your bathroom sink drain
is a crucial task in maintaining the functionality and aesthetic of your bathroom. By following the right techniques or seeking professional help, you can ensure a clean and efficient removal, leading to a beautiful and functional bathroom for years to come.
If you're unsure of how to properly remove old putty or simply don't have the time to do it yourself, it's always a good idea to seek professional help. A
professional contractor or plumber
can ensure that the job is done correctly and efficiently, saving you time and potential headaches in the long run.
In conclusion,
properly removing old putty around your bathroom sink drain
is a crucial task in maintaining the functionality and aesthetic of your bathroom. By following the right techniques or seeking professional help, you can ensure a clean and efficient removal, leading to a beautiful and functional bathroom for years to come.