The kitchen sink is an essential part of any household, but over time, the drain basket can become clogged with food scraps and debris. This can lead to slow draining and unpleasant odors. Removing the drain basket from your kitchen sink is a simple task that can be done by anyone with the right tools and knowledge.Removing a Kitchen Sink Drain Basket


Removing a Kitchen Sink Drain Basket


Before starting the removal process, it's important to gather all the necessary tools. You will need a pair of pliers, a screwdriver, and a bucket to catch any water that may spill out during the process. Featured keywords: kitchen sink drain basket, remove, toolsHow to Remove a Kitchen Sink Drain Basket


How to Remove a Kitchen Sink Drain Basket


Follow these simple steps to remove the drain basket from your kitchen sink: Step 1: Start by turning off the water supply to the sink. You can usually find the shut-off valves under the sink. Step 2: Next, place the bucket under the sink to catch any water that may spill out. Step 3: Use the pliers to loosen the slip nuts that hold the drain basket in place. You may need to use some force to break the seal. Step 4: Once the slip nuts are loosened, use the screwdriver to remove the screws that hold the drain basket to the sink. Step 5: Gently pull the drain basket out of the sink. You may need to wiggle it back and forth to loosen it. Step 6: Clean the area around the drainage hole using a brush or paper towel to remove any remaining debris. Step 7: Inspect the drain basket for any damage or cracks. If it's in good condition, you can reuse it. Otherwise, you will need to replace it with a new one. Step 8: Install the new drain basket by following the steps in reverse order. Make sure to tighten the slip nuts securely to prevent any leaks. Step 9: Turn the water supply back on and test the drain to ensure it's working properly. Step 10: Dispose of any old or damaged drain baskets properly.Step-by-Step Guide for Removing a Kitchen Sink Drain Basket


Step-by-Step Guide for Removing a Kitchen Sink Drain Basket


If you're a handy person, removing a kitchen sink drain basket can be a satisfying DIY project. It doesn't require any special skills, and with the right tools, you can easily complete the task in no time.DIY: Removing a Kitchen Sink Drain Basket


DIY: Removing a Kitchen Sink Drain Basket


The tools needed for removing a kitchen sink drain basket are minimal and can be found in most households. However, if you don't have them, they can easily be purchased at your local hardware store. Featured keywords: tools, hardware storeTools Needed for Removing a Kitchen Sink Drain Basket


Tools Needed for Removing a Kitchen Sink Drain Basket
/how-to-install-a-sink-drain-2718789-hero-b5b99f72b5a24bb2ae8364e60539cece.jpg)


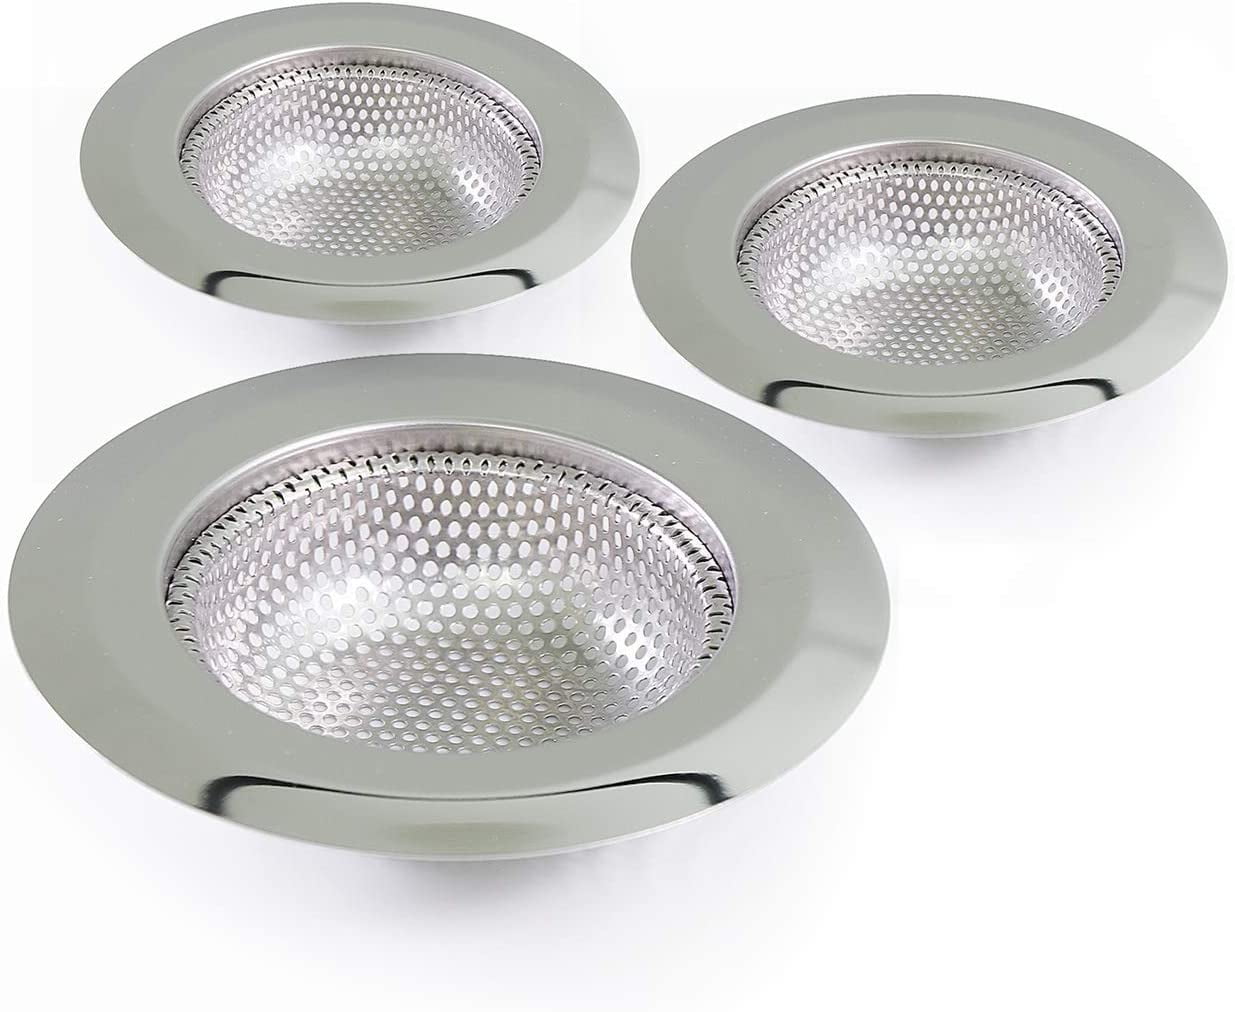
Here are some tips to make the process of removing a kitchen sink drain basket even easier: Tip 1: Use a lubricant, such as WD-40, to loosen the slip nuts and make the removal process smoother. Tip 2: Have a helper hold the bucket under the sink to catch any water that may spill out while you're removing the drain basket. Tip 3: Wear gloves to protect your hands from any sharp edges. Tip 4: To prevent future clogs, use a drain cover to catch any large food scraps before they go down the drain.Tips for Removing a Kitchen Sink Drain Basket

Tips for Removing a Kitchen Sink Drain Basket


While removing a kitchen sink drain basket is a relatively simple task, there are some common mistakes that people make. Here are a few to avoid: Mistake 1: Not turning off the water supply before starting the removal process. This can result in a messy and potentially damaging situation. Mistake 2: Using too much force when trying to loosen the slip nuts, which can result in damage to the pipes. Mistake 3: Not cleaning the area around the drainage hole properly, which can lead to future clogs.Common Mistakes When Removing a Kitchen Sink Drain Basket

Common Mistakes When Removing a Kitchen Sink Drain Basket


For visual learners, there are plenty of video tutorials available online that can guide you through the process of removing a kitchen sink drain basket. These can be helpful in understanding the steps and avoiding any mistakes.Video Tutorial: Removing a Kitchen Sink Drain Basket


Video Tutorial: Removing a Kitchen Sink Drain Basket
If you're not comfortable or confident in removing a kitchen sink drain basket yourself, it's always best to call a professional plumber. They have the necessary skills and tools to complete the task quickly and efficiently. Featured keywords: professional, plumberProfessional Methods for Removing a Kitchen Sink Drain Basket

Professional Methods for Removing a Kitchen Sink Drain Basket
If you don't have the tools or time to remove the drain basket yourself, another option is to use a chemical drain cleaner. However, this should be a last resort as it can be harsh on your pipes and harmful to the environment.Alternative Ways to Remove a Kitchen Sink Drain Basket


Alternative Ways to Remove a Kitchen Sink Drain Basket


Removing the Drain Basket from Your Kitchen Sink: A Step-by-Step Guide

Why Remove the Drain Basket?
 When it comes to house design, the kitchen is often considered the heart of the home. It's where we cook, eat, and gather with family and friends. However, one of the most overlooked aspects of kitchen maintenance is the
drain basket
. This small but essential piece is responsible for catching food scraps and preventing clogs in the sink. Over time, it can become dirty, rusted, or damaged, causing unpleasant odors and potential plumbing issues. That's why it's crucial to
regularly remove and clean
the drain basket to keep your kitchen sink functioning properly.
When it comes to house design, the kitchen is often considered the heart of the home. It's where we cook, eat, and gather with family and friends. However, one of the most overlooked aspects of kitchen maintenance is the
drain basket
. This small but essential piece is responsible for catching food scraps and preventing clogs in the sink. Over time, it can become dirty, rusted, or damaged, causing unpleasant odors and potential plumbing issues. That's why it's crucial to
regularly remove and clean
the drain basket to keep your kitchen sink functioning properly.
Step 1: Gather Your Tools
 Before attempting to remove the drain basket, make sure you have all the necessary tools on hand. These include a pair of pliers, a screwdriver, a bucket or large bowl, and a pair of rubber gloves. It's also a good idea to have a cleaning solution, such as vinegar and baking soda, on hand to give the drain basket a thorough clean before reinserting it.
Step 2: Turn off the Water Supply
 To prevent any potential water damage, it's crucial to turn off the water supply before removing the drain basket. This can typically be done by turning off the water valves under the sink. If you're unsure how to do this, consult a professional plumber or consult your user manual.
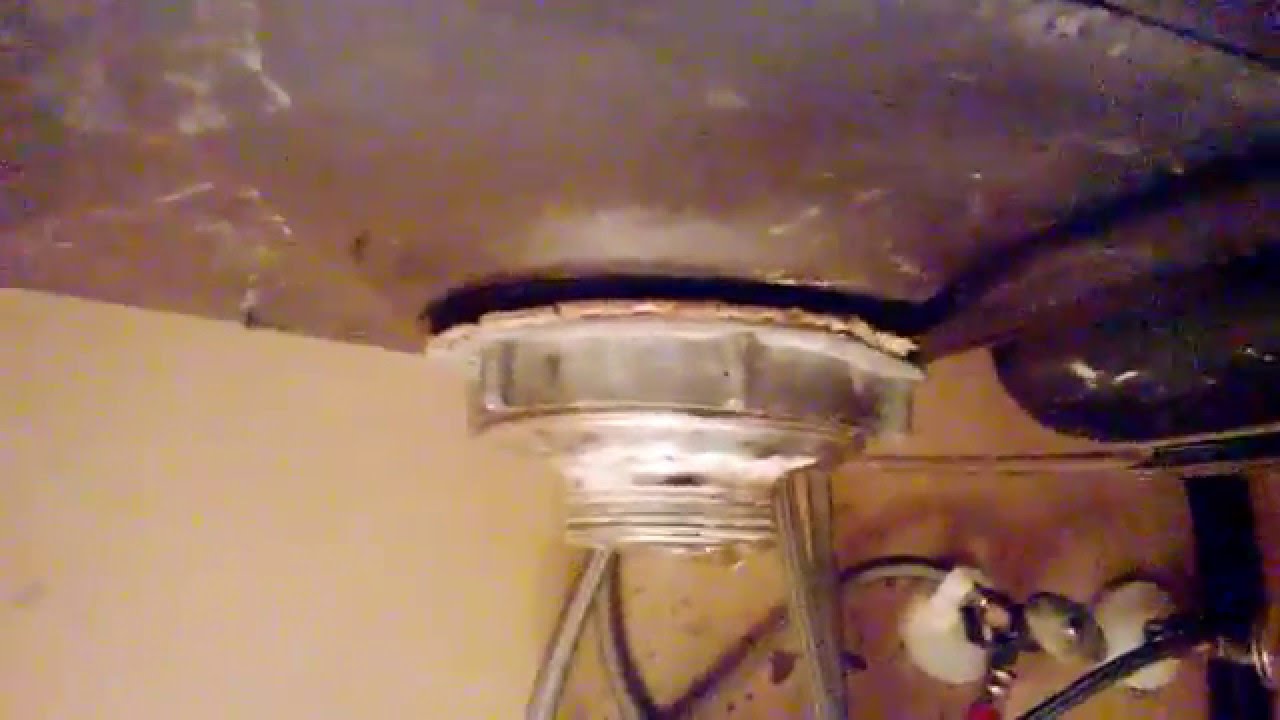
Step 3: Loosen the Lock Nut
 The lock nut is what holds the drain basket in place under the sink. Using your pliers, grip the lock nut and turn it counterclockwise to loosen it. If the nut is too tight, you may need to use a wrench to get a better grip.
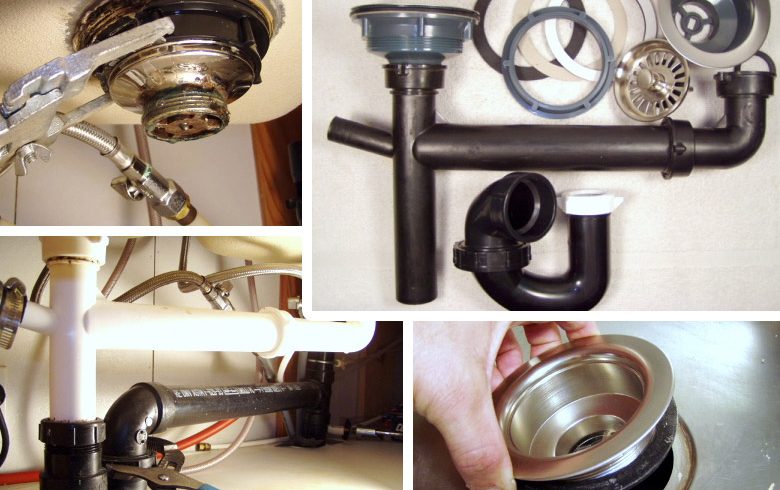
Step 4: Remove the Drain Basket
 Once the lock nut is loose, you can remove it by hand. Be sure to have your bucket or bowl ready to catch any water that may come out. Carefully lift the drain basket out of the sink, making sure not to damage the surrounding pipes in the process.
Step 5: Clean and Inspect the Drain Basket
 Now that the drain basket is removed, it's time to give it a thorough clean. Use your cleaning solution and a scrub brush to remove any built-up grime, food particles, or rust. Once clean, inspect the basket for any damage. If it's beyond repair, it's best to replace it with a new one.
Step 6: Reinsert the Drain Basket
 After the drain basket is clean and in good condition, it's time to reinsert it into the sink. Simply place it back in its original position and tighten the lock nut by turning it clockwise. Be careful not to overtighten, as this could cause damage to the basket or pipes.
Step 7: Turn the Water Supply Back On
 Once the drain basket is securely back in place, turn the water supply back on and check for any leaks. If everything looks good, run some water through the sink to ensure proper drainage.
By following these easy steps, you can
successfully remove and clean
the drain basket from your kitchen sink. Not only will this help prevent clogs and keep your sink smelling fresh, but it will also prolong the life of your plumbing. Remember to
regularly maintain
your kitchen sink and its components for a functional and aesthetically pleasing kitchen.
Once the drain basket is securely back in place, turn the water supply back on and check for any leaks. If everything looks good, run some water through the sink to ensure proper drainage.
By following these easy steps, you can
successfully remove and clean
the drain basket from your kitchen sink. Not only will this help prevent clogs and keep your sink smelling fresh, but it will also prolong the life of your plumbing. Remember to
regularly maintain
your kitchen sink and its components for a functional and aesthetically pleasing kitchen.