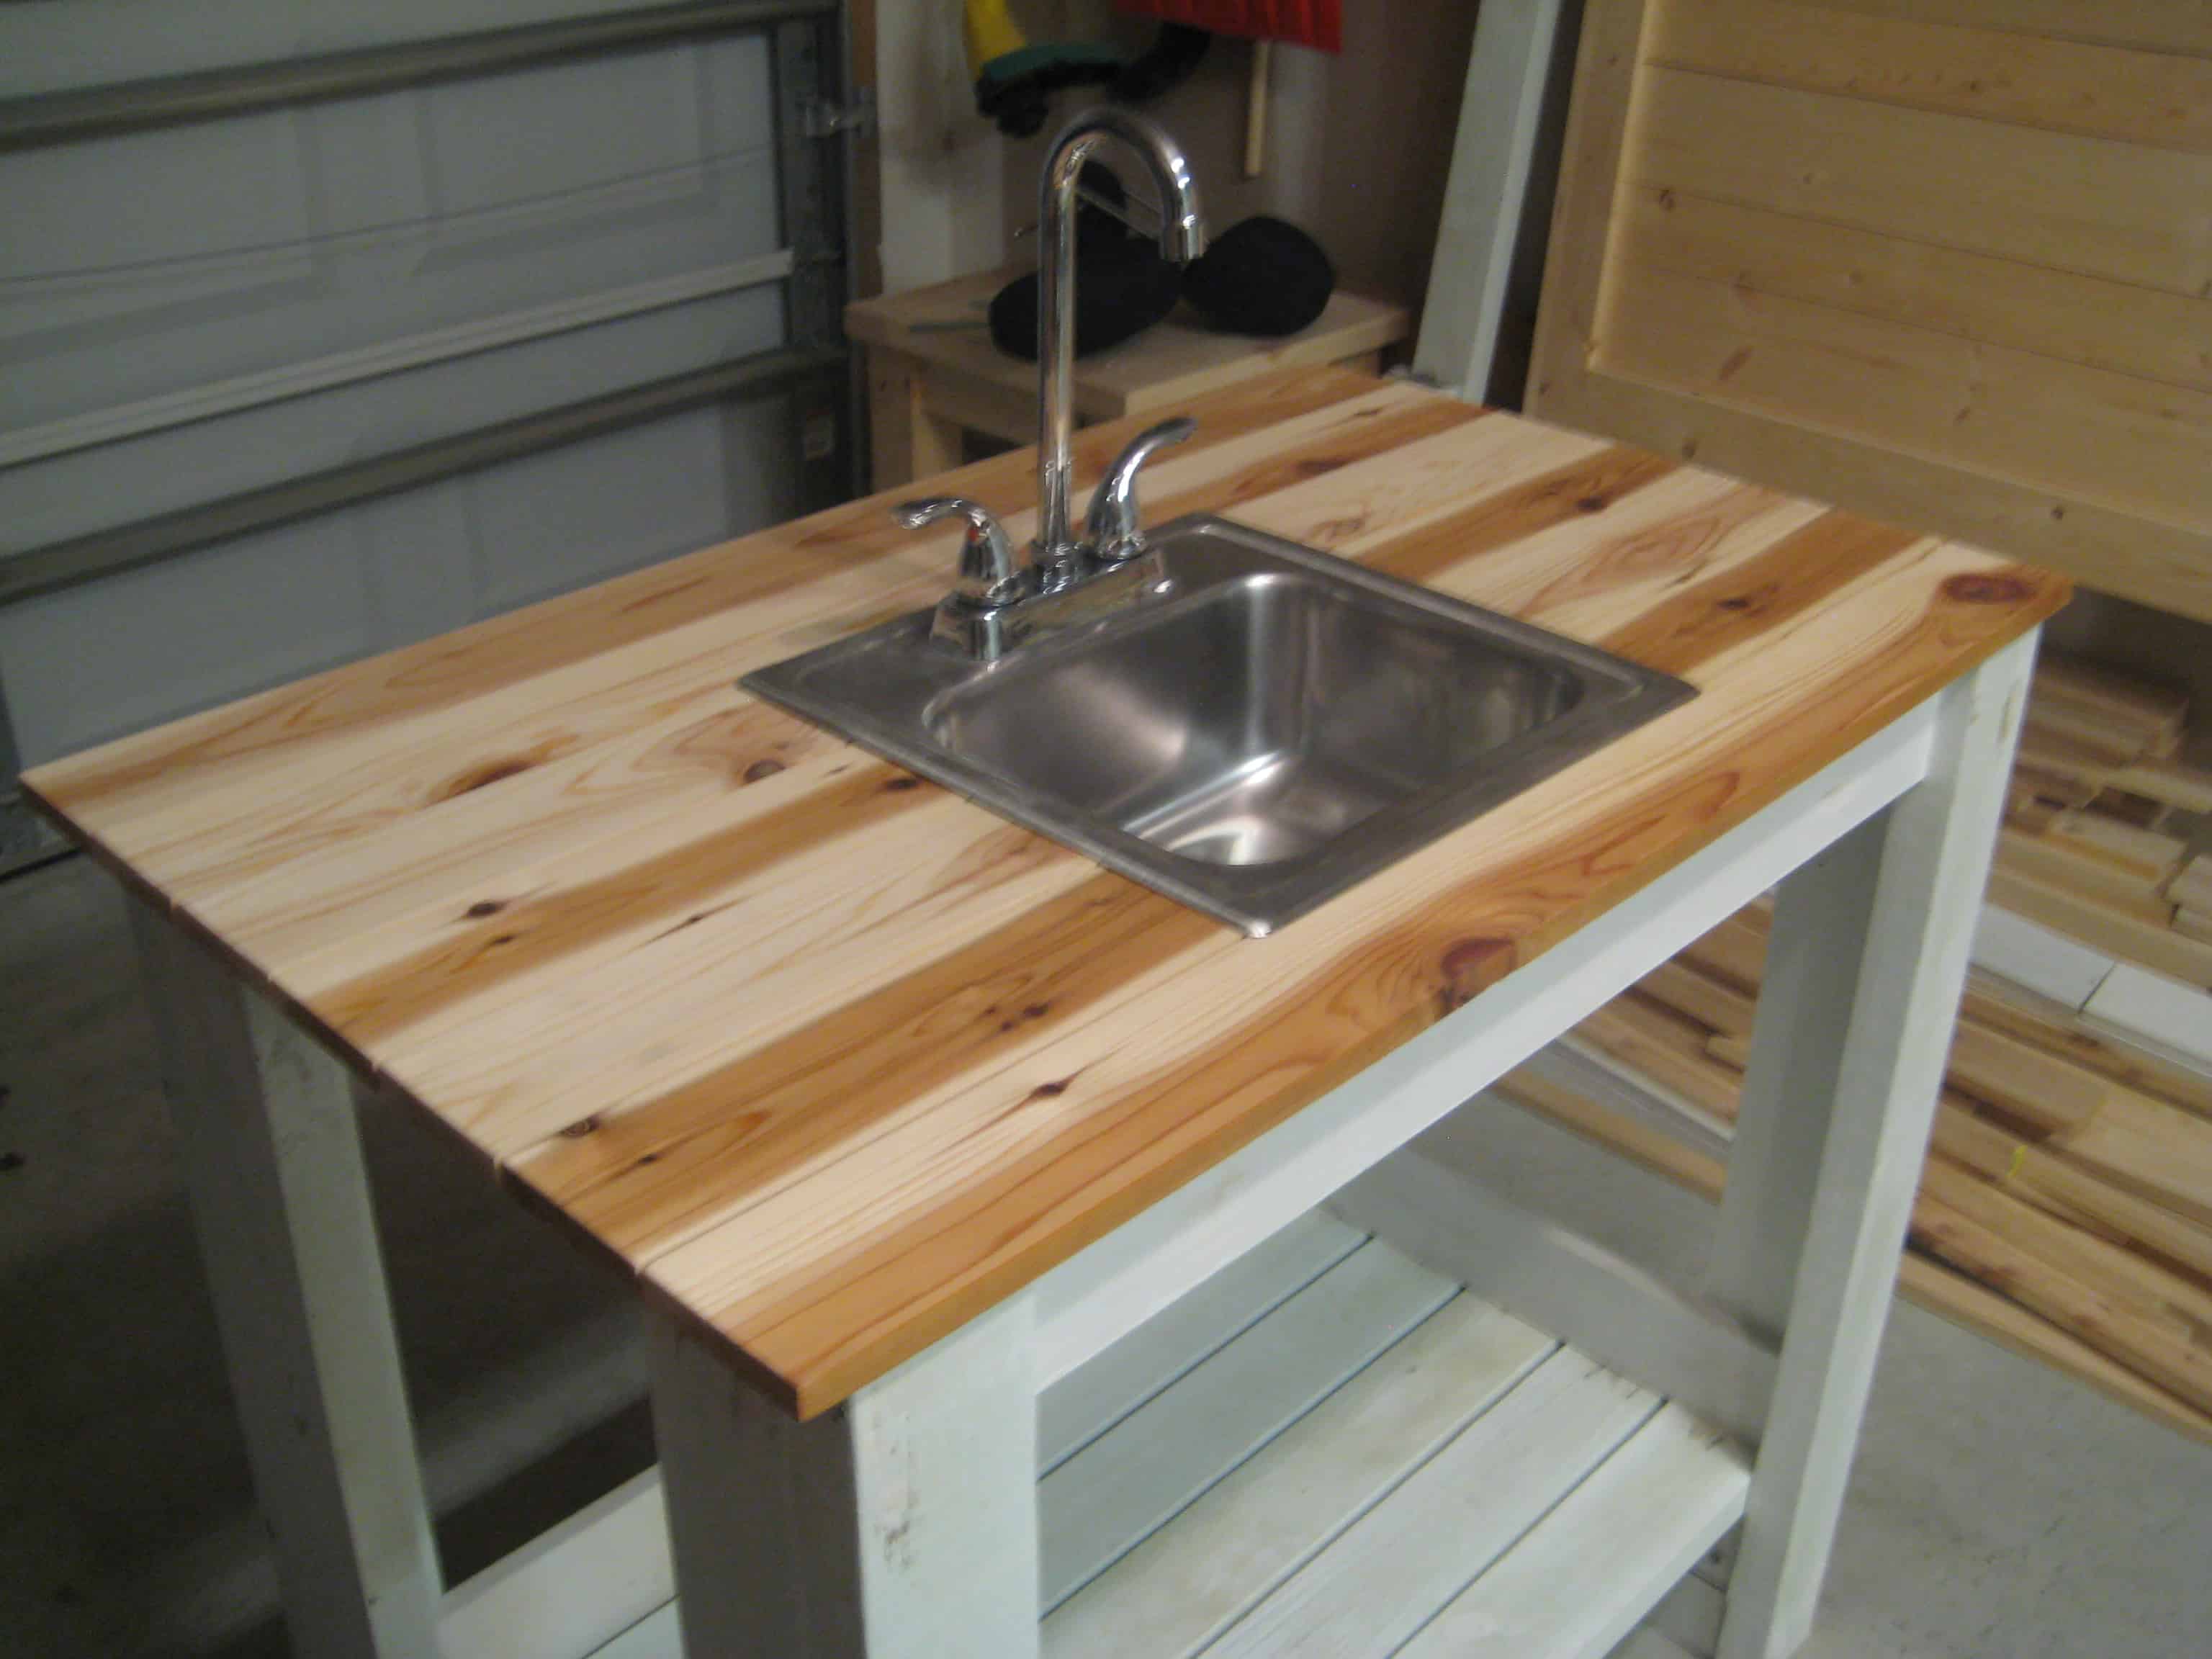
If you're planning on renovating your kitchen or simply need to replace your old sink, you may be wondering how to remove it if it doesn't have any locks. While sinks with built-in locks are easier to remove, it's not impossible to remove one without them. With the right tools and techniques, you can successfully remove your kitchen sink without locks. Here's a step-by-step guide on how to do it.Removing a Kitchen Sink Without Locks


Removing a Kitchen Sink Without Locks


The first step is to gather all the necessary tools and materials for the job. For this task, you'll need a pair of pliers, a putty knife, a screwdriver, and a bucket to catch any water that may spill out. It's also a good idea to have a helper on hand to assist you. Once you have everything you need, follow these steps to remove your kitchen sink without locks:How to Remove a Kitchen Sink Without Locks


How to Remove a Kitchen Sink Without Locks


Here are a few tips and tricks to keep in mind when removing a kitchen sink without locks:Removing a Kitchen Sink Without Locks: Tips and Tricks


Removing a Kitchen Sink Without Locks: A Step-by-Step Guide
As with any DIY project, there are a few common mistakes that you should avoid when removing a kitchen sink without locks:Removing a Kitchen Sink Without Locks: Common Mistakes to Avoid


DIY: Removing a Kitchen Sink Without Locks


To successfully remove a kitchen sink without locks, you'll need the following tools:Removing a Kitchen Sink Without Locks: Tools You'll Need

Removing a Kitchen Sink Without Locks: Tips and Tricks
When removing a kitchen sink without locks, there are a few safety precautions to keep in mind:Removing a Kitchen Sink Without Locks: Safety Precautions

Removing a Kitchen Sink Without Locks: Common Mistakes to Avoid

If the above method doesn't work for your sink, there are a few alternative methods you can try:Removing a Kitchen Sink Without Locks: Alternative Methods

Removing a Kitchen Sink Without Locks: Tools You'll Need
If you encounter any issues while removing your kitchen sink without locks, here are a few troubleshooting tips:Removing a Kitchen Sink Without Locks: Troubleshooting Common Issues


Removing a Kitchen Sink Without Locks: Safety Precautions


How to Easily Remove a Kitchen Sink with No Locks

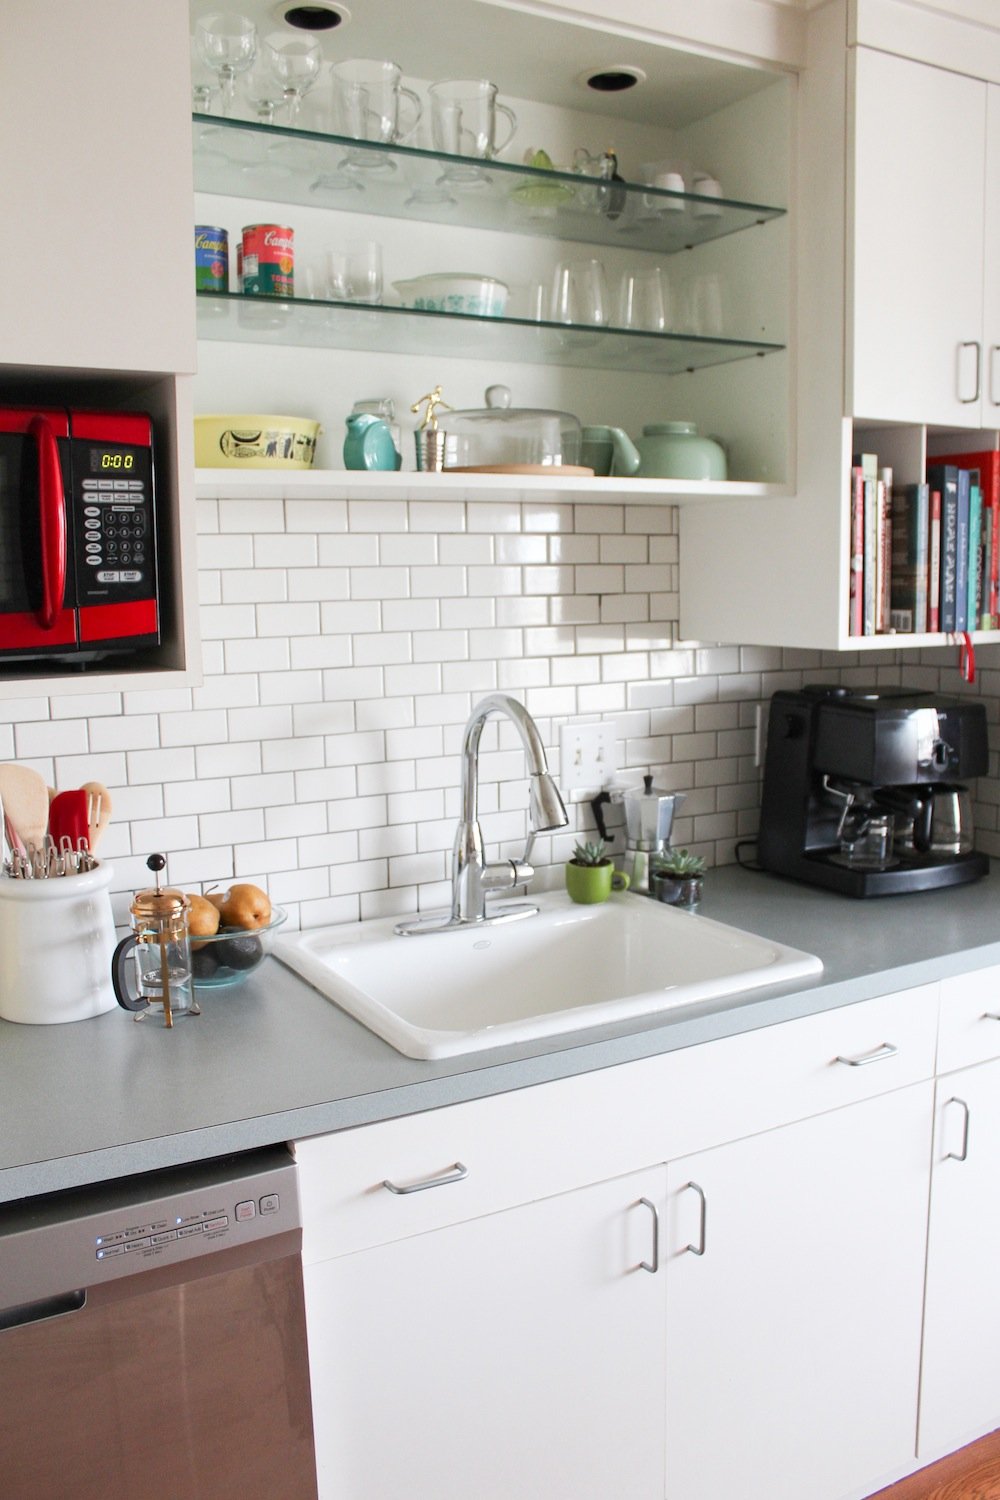
A Guide to Updating Your Kitchen Design
 If you're looking to update your kitchen design, one of the first things you may want to do is replace your old kitchen sink. However, removing a kitchen sink can seem like a daunting task, especially if it doesn't have any locks to hold it in place. But fear not, with the right tools and techniques, removing a kitchen sink with no locks can be a quick and easy process.
Step 1: Gather Your Tools
Before you begin, make sure you have all the necessary tools on hand. These may include a wrench, pliers, putty knife, and a bucket to catch any water that may leak from the pipes. You may also want to wear gloves to protect your hands during the process.
Step 2: Shut Off the Water
Before removing your sink, you'll need to shut off the water supply. Look for the shut-off valves under the sink and turn them clockwise to shut off the water. If you can't find the valves, you may need to turn off the main water supply to your house.
Step 3: Disconnect the Water Supply Lines
Using your wrench, loosen the nuts that connect the water supply lines to the faucet. Once they are loose, you can remove the lines and set them aside.
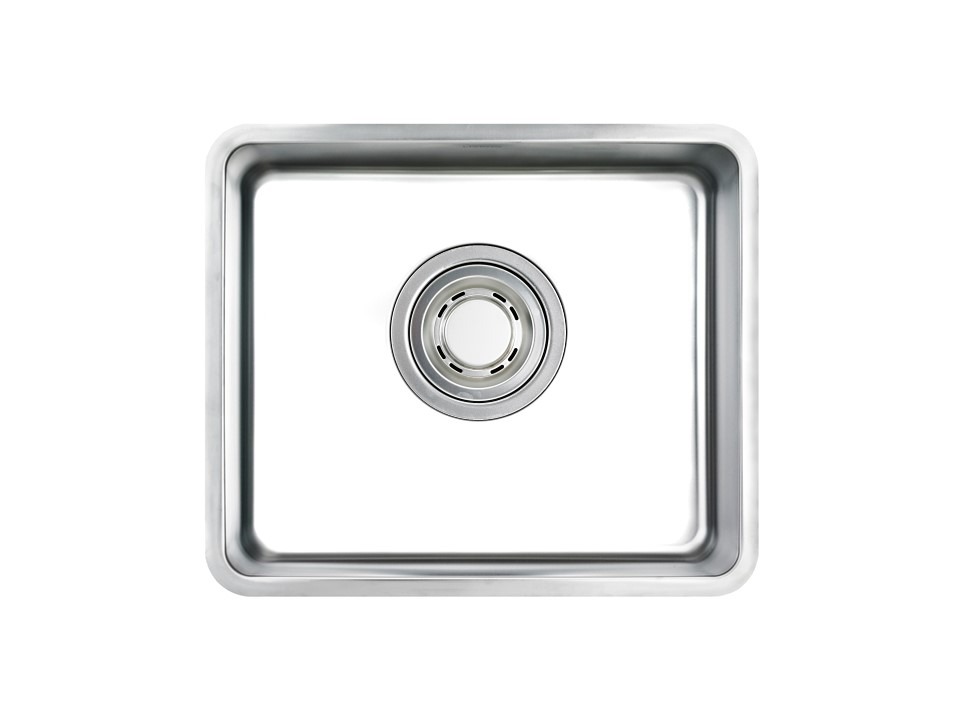
Step 4: Remove the Drain Pipe
Next, use your pliers to loosen the nut that connects the drain pipe to the bottom of the sink. Once it's loose, you can remove the pipe and set it aside.
Step 5: Loosen the Sink Clips
Many kitchen sinks are held in place by clips that attach to the underside of the countertop. Use your wrench to loosen these clips, and then gently push up on the sink to free it from the countertop.
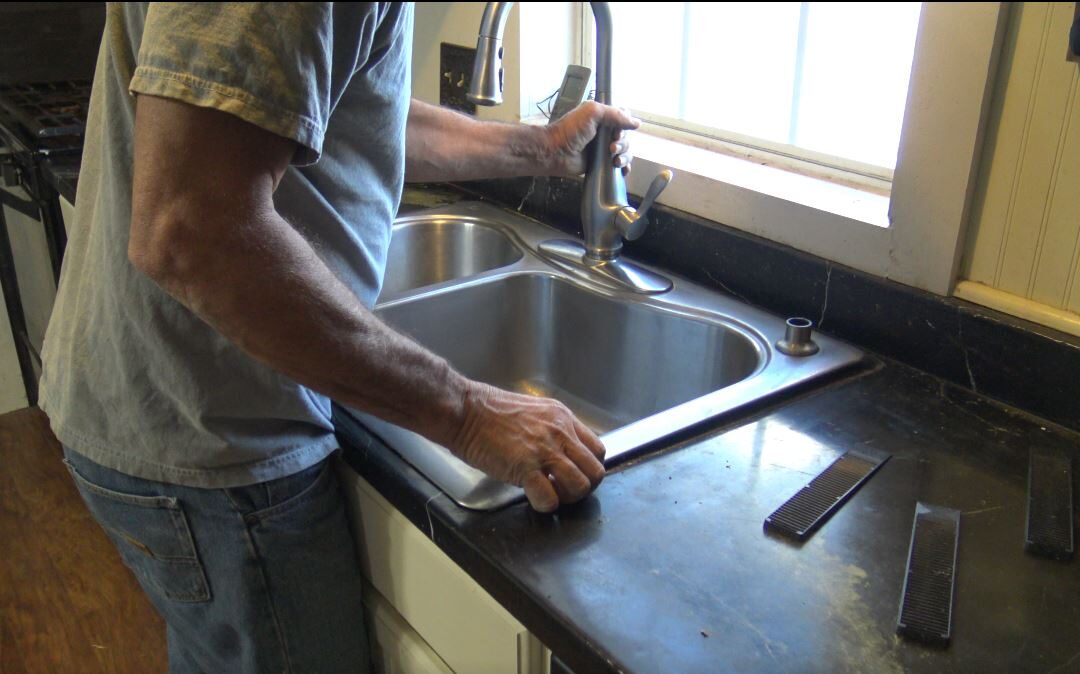
Step 6: Cut Through the Caulk
If your sink is attached to the countertop with caulk, you may need to use a putty knife to cut through it before you can remove the sink. Be careful not to damage your countertop while doing this.
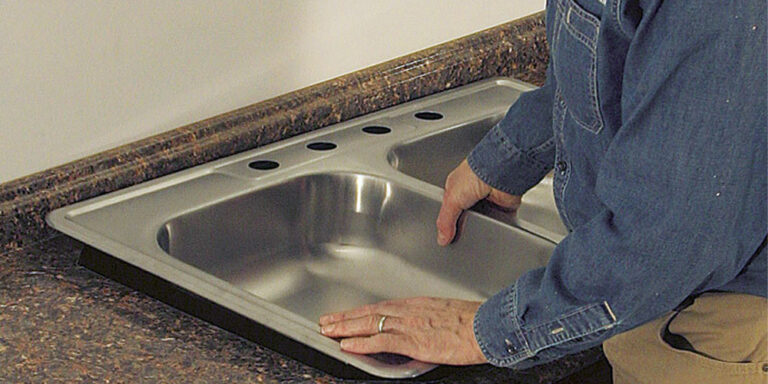
Step 7: Lift and Remove the Sink
With all the connections and attachments loosened, you should now be able to lift the sink out of its place. Be careful not to damage any surrounding surfaces as you remove it.
Congratulations, you have successfully removed your kitchen sink with no locks! Now you can continue with your kitchen design updates, whether it be installing a new sink or simply giving the area a fresh coat of paint. Just remember to be careful when removing your sink and take your time to avoid any potential damage.
If you're looking to update your kitchen design, one of the first things you may want to do is replace your old kitchen sink. However, removing a kitchen sink can seem like a daunting task, especially if it doesn't have any locks to hold it in place. But fear not, with the right tools and techniques, removing a kitchen sink with no locks can be a quick and easy process.
Step 1: Gather Your Tools
Before you begin, make sure you have all the necessary tools on hand. These may include a wrench, pliers, putty knife, and a bucket to catch any water that may leak from the pipes. You may also want to wear gloves to protect your hands during the process.
Step 2: Shut Off the Water
Before removing your sink, you'll need to shut off the water supply. Look for the shut-off valves under the sink and turn them clockwise to shut off the water. If you can't find the valves, you may need to turn off the main water supply to your house.
Step 3: Disconnect the Water Supply Lines
Using your wrench, loosen the nuts that connect the water supply lines to the faucet. Once they are loose, you can remove the lines and set them aside.
Step 4: Remove the Drain Pipe
Next, use your pliers to loosen the nut that connects the drain pipe to the bottom of the sink. Once it's loose, you can remove the pipe and set it aside.
Step 5: Loosen the Sink Clips
Many kitchen sinks are held in place by clips that attach to the underside of the countertop. Use your wrench to loosen these clips, and then gently push up on the sink to free it from the countertop.
Step 6: Cut Through the Caulk
If your sink is attached to the countertop with caulk, you may need to use a putty knife to cut through it before you can remove the sink. Be careful not to damage your countertop while doing this.
Step 7: Lift and Remove the Sink
With all the connections and attachments loosened, you should now be able to lift the sink out of its place. Be careful not to damage any surrounding surfaces as you remove it.
Congratulations, you have successfully removed your kitchen sink with no locks! Now you can continue with your kitchen design updates, whether it be installing a new sink or simply giving the area a fresh coat of paint. Just remember to be careful when removing your sink and take your time to avoid any potential damage.