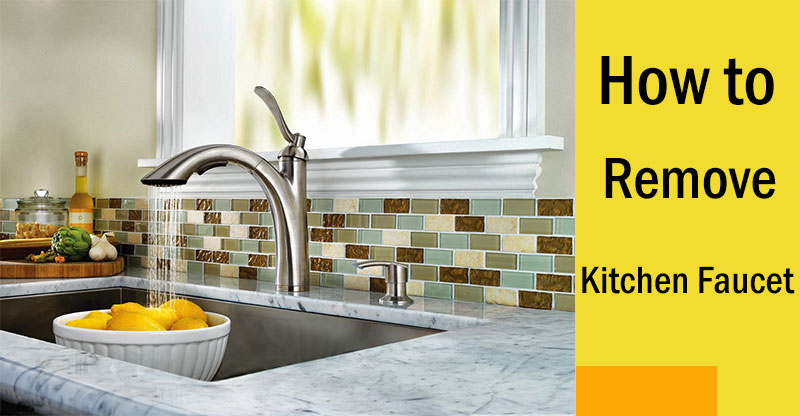
Replacing your old kitchen sink faucet can instantly give your kitchen a fresh and updated look. But before you can install a new one, you need to remove the old faucet first. Don't worry, it's not as daunting as it may seem. With the right tools and some basic knowledge, you can easily remove your old kitchen faucet and get ready for a new one. Here's how:How to Remove a Kitchen Faucet


How to Remove a Kitchen Faucet


If your kitchen faucet is broken or outdated, it's time for a replacement. While you can hire a professional plumber to do the job, replacing a kitchen faucet is a DIY project that you can take on yourself. It may seem like a daunting task, but with the right tools and some handy tips, you can easily replace your old kitchen faucet and give your kitchen a new and improved look. Here's how:How to Replace a Kitchen Faucet


How to Replace a Kitchen Faucet


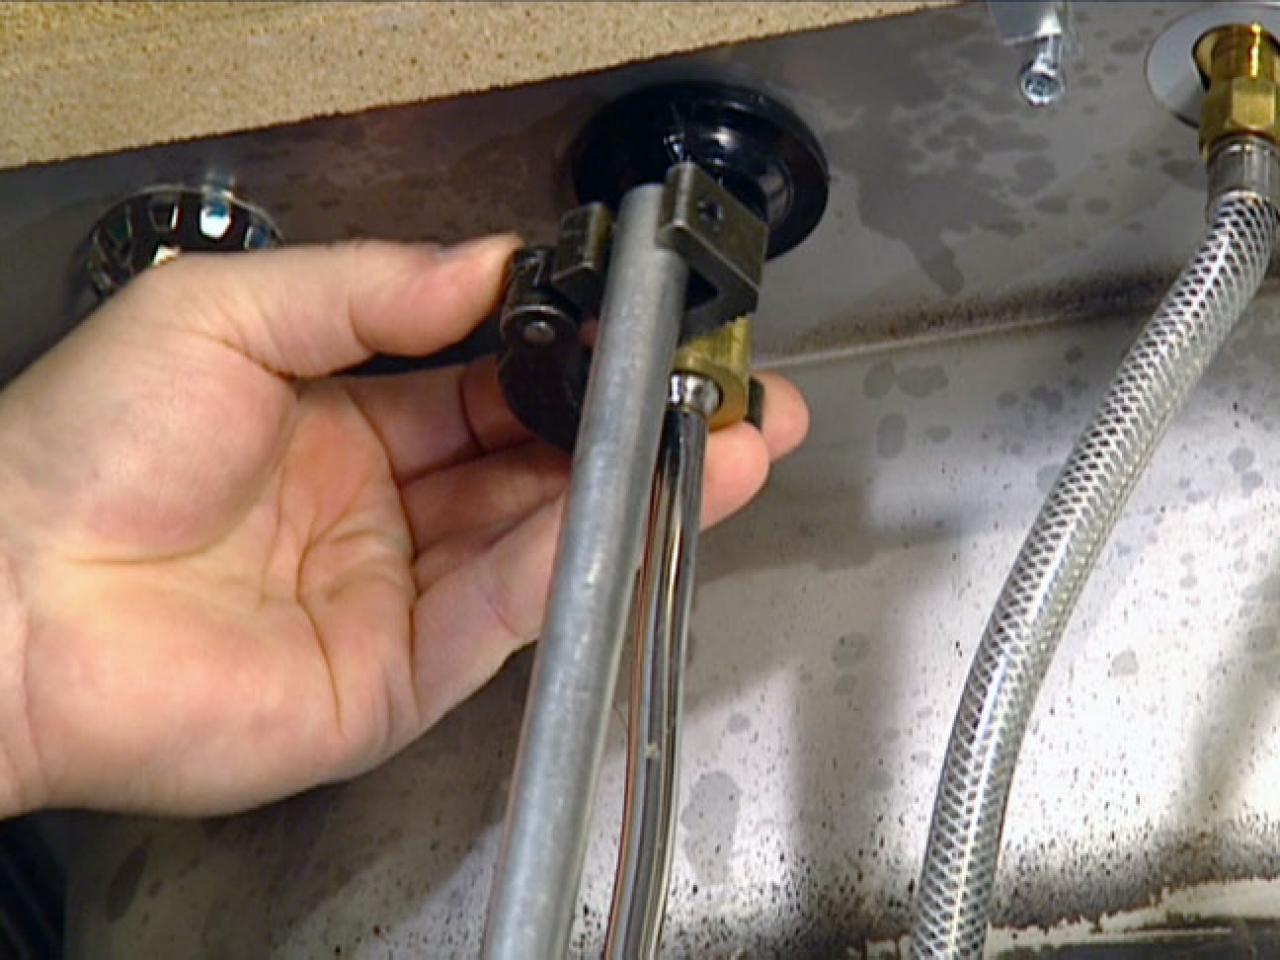


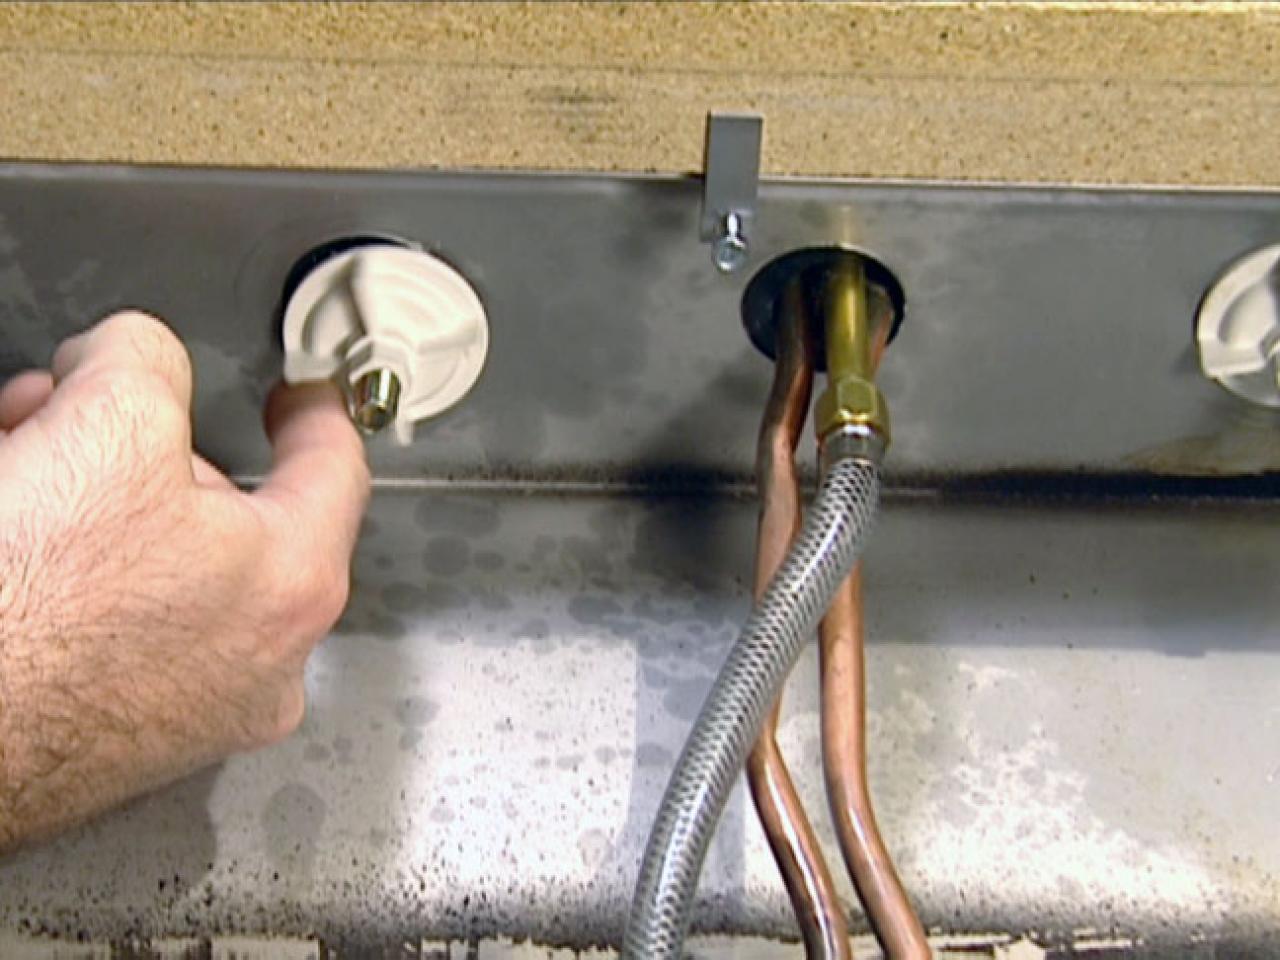
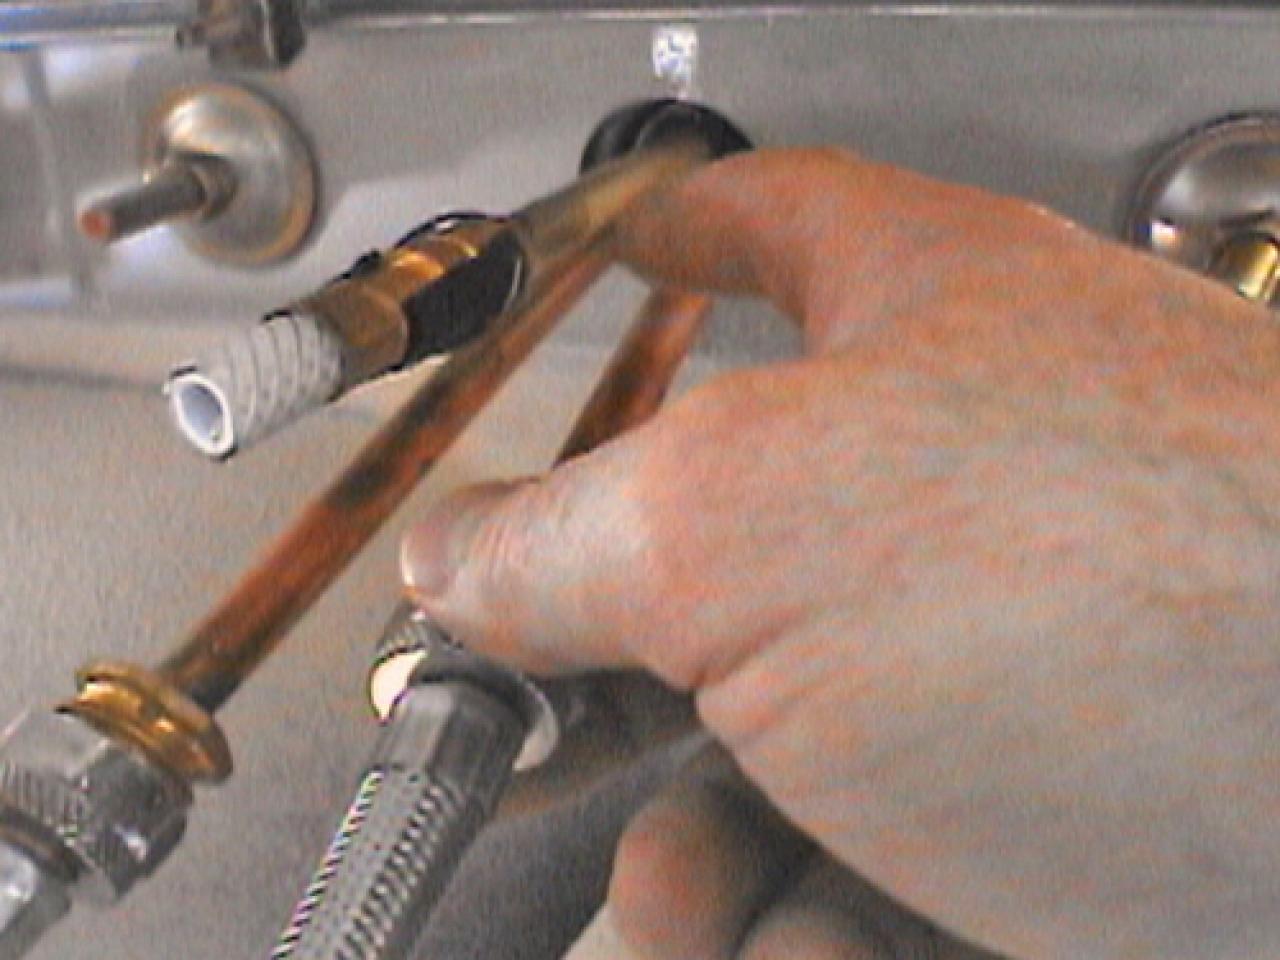
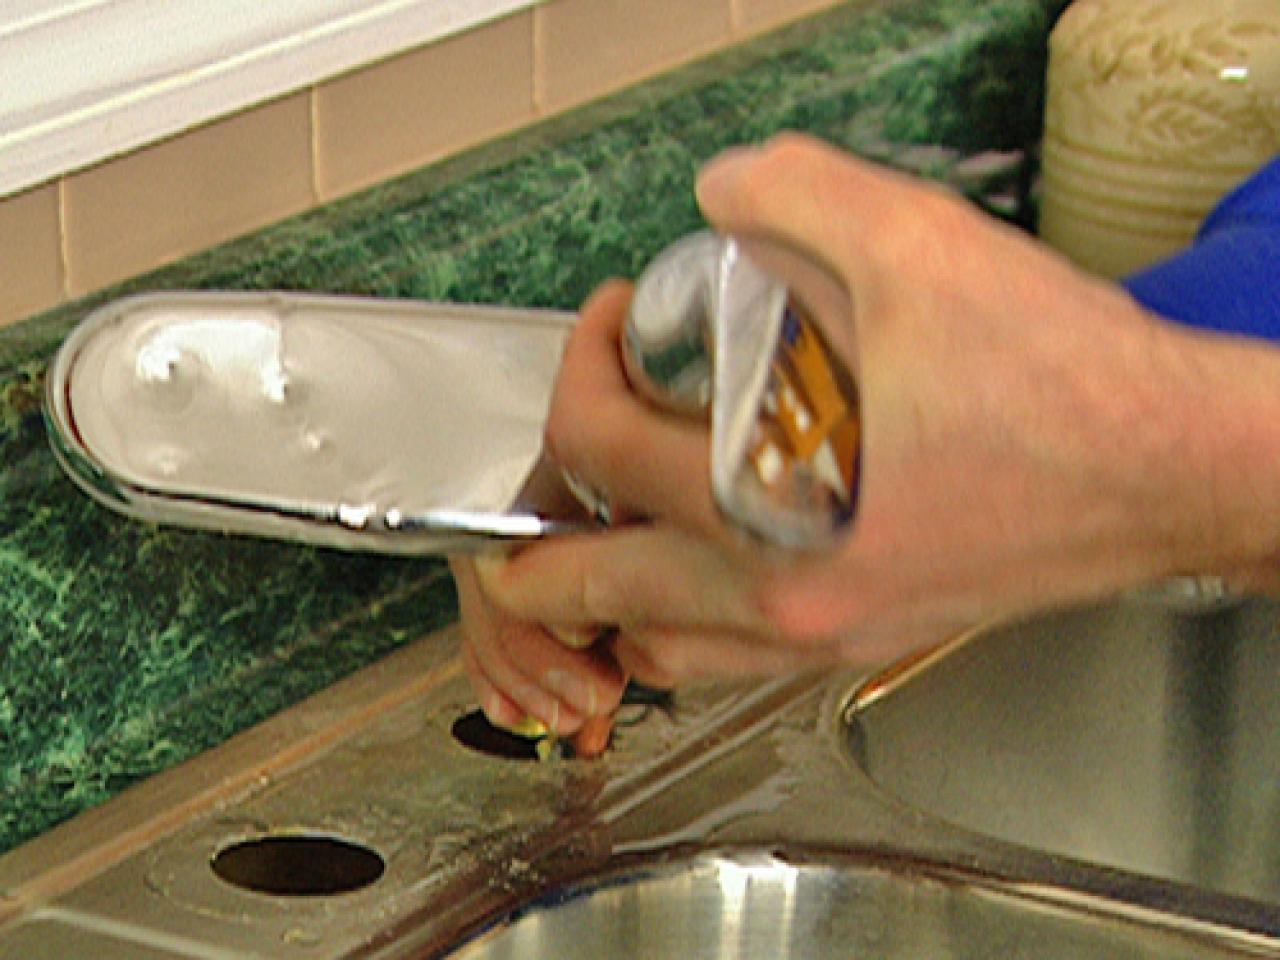
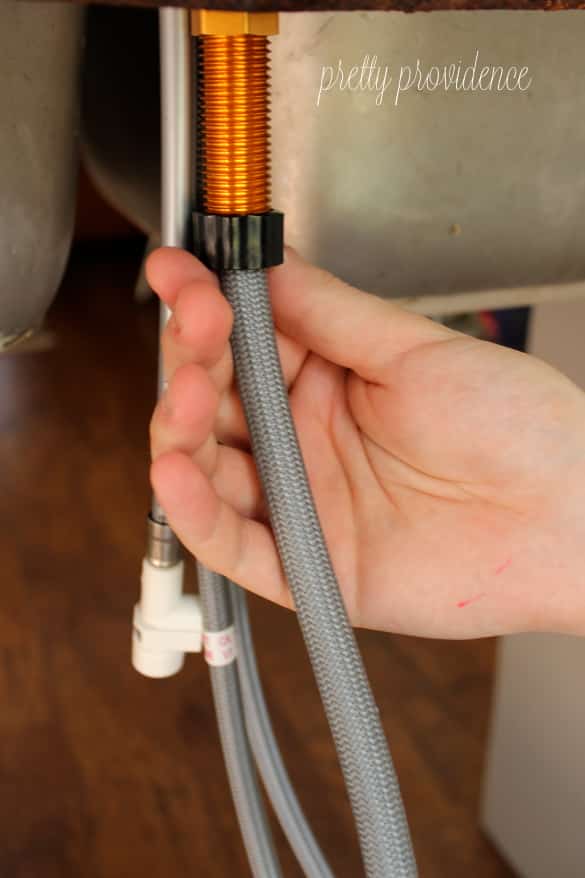
Before you start removing your old kitchen faucet, make sure to turn off the water supply. This is usually done by closing the shut-off valves located under the sink. Once the water supply is turned off, you can start the process of removing the kitchen faucet. Step 1: Disconnect the water supply lines by using pliers to loosen the nuts that connect the supply lines to the faucet. Step 2: Remove the mounting nuts underneath the sink that hold the faucet in place. You may need to use a basin wrench to reach these nuts. Step 3: Once the mounting nuts are removed, you can gently lift the old faucet off the sink. Step 4: Remove any remaining putty or caulk from around the sink holes to prepare for the new faucet installation.Removing a Kitchen Faucet: A Step-by-Step Guide


Removing a Kitchen Faucet: A Step-by-Step Guide


:max_bytes(150000):strip_icc()/remove-a-kitchen-faucet-2718825-hero-168d81226a224f478247c86ac903ca06.jpg)
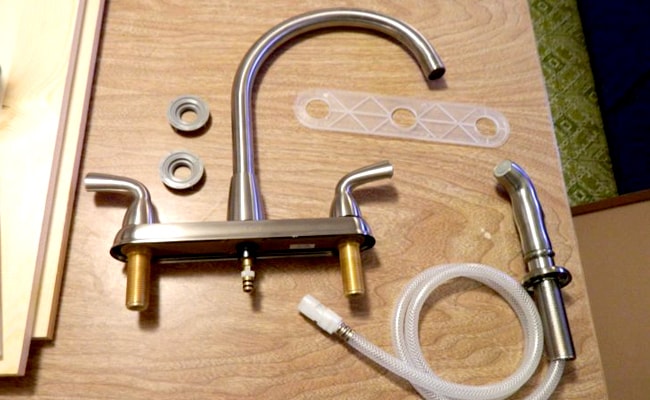
Replacing a kitchen faucet may seem like a daunting task, but with a few helpful tips, it can be a smooth and easy process. Here are some tips and tricks to keep in mind when replacing your kitchen faucet: Tip 1: Before you start the installation process, make sure to thoroughly clean the area underneath the sink where the new faucet will be installed. This will ensure a clean and secure installation. Tip 2: When choosing a new faucet, make sure to measure the distance between the holes on your sink to ensure that the new faucet will fit properly. Tip 3: Use plumber's putty or caulk to seal the new faucet to the sink. This will prevent any leaks and ensure a tight seal.Replacing a Kitchen Faucet: Tips and Tricks


Replacing a Kitchen Faucet: Tips and Tricks


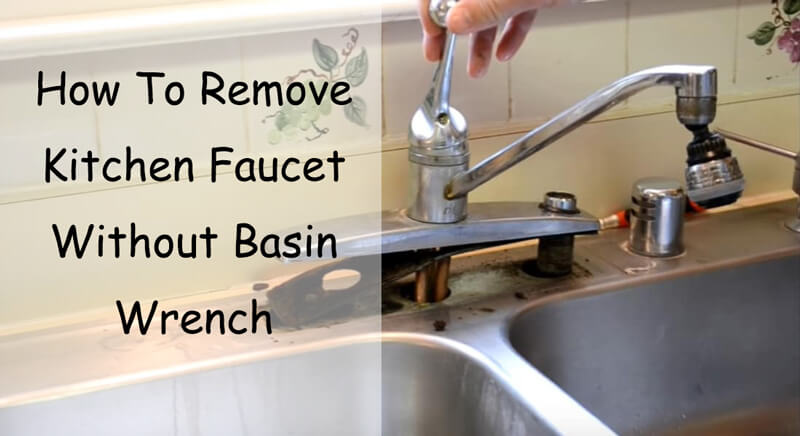
If you have an old kitchen sink faucet that needs to be removed, follow these steps: Step 1: Turn off the water supply by closing the shut-off valves located under the sink. Step 2: Disconnect the water supply lines by loosening the nuts that connect them to the faucet. Step 3: Remove the mounting nuts underneath the sink that hold the faucet in place. If they are difficult to reach, use a basin wrench. Step 4: Once the mounting nuts are removed, you can gently lift the old faucet off the sink. Step 5: Clean the area around the sink holes to prepare for the new faucet installation.Removing an Old Kitchen Sink Faucet


Removing an Old Kitchen Sink Faucet


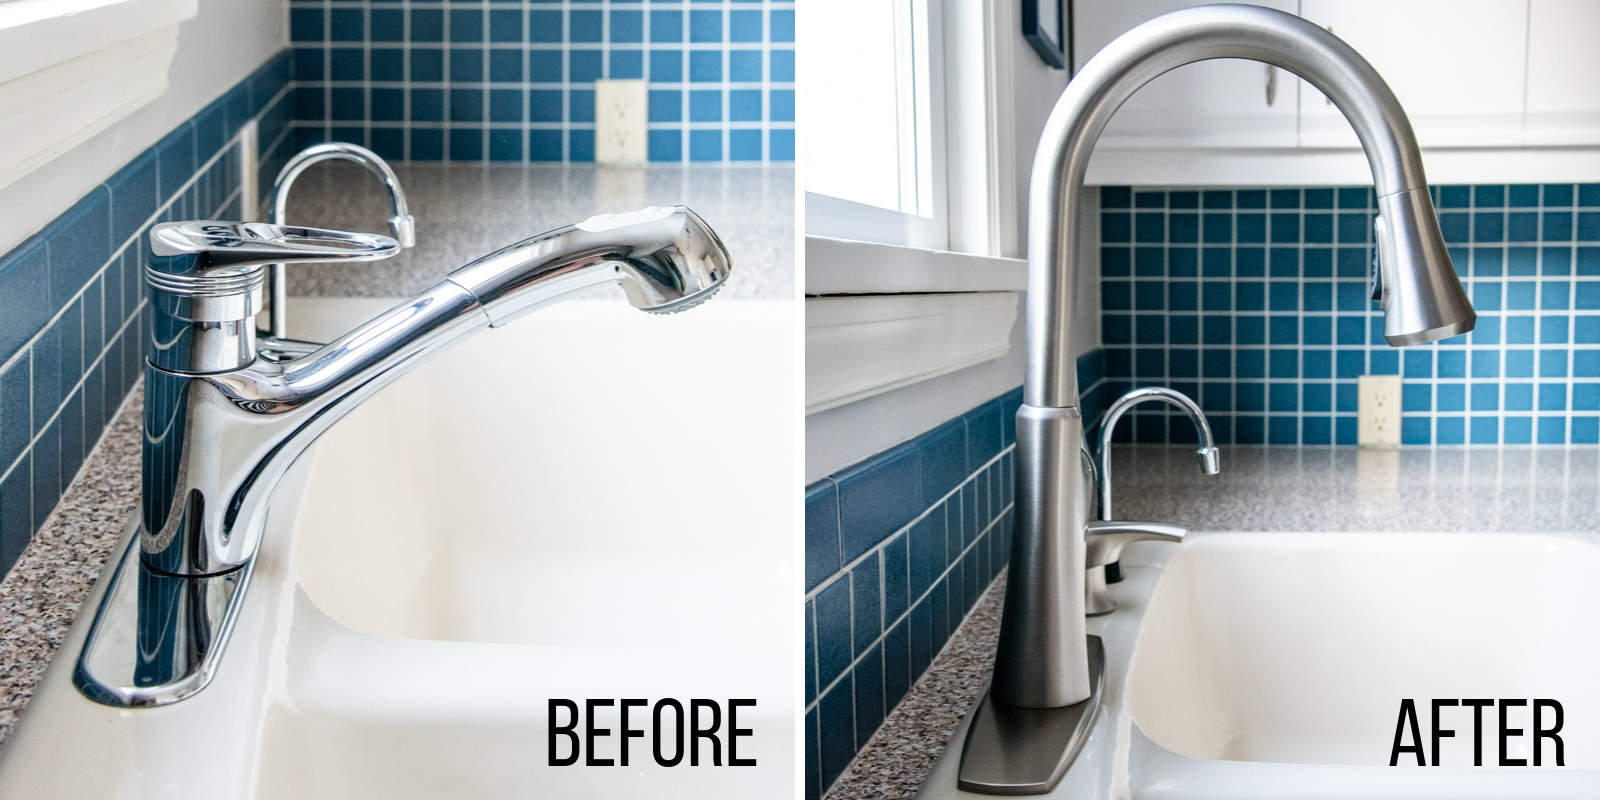
Replacing an old kitchen sink faucet can give your kitchen a fresh and updated look. Here's how to do it: Step 1: Clean the area where the new faucet will be installed to ensure a secure and clean installation. Step 2: Place the new faucet on the sink, making sure the mounting holes line up with the sink holes. Step 3: Secure the faucet in place by tightening the mounting nuts underneath the sink. Step 4: Connect the water supply lines to the faucet and tighten the nuts with pliers. Step 5: Turn on the water supply and test the new faucet for any leaks.Replacing an Old Kitchen Sink Faucet


Replacing an Old Kitchen Sink Faucet


Removing and replacing a kitchen faucet can be a DIY project that you can take on yourself. With the right tools and some basic knowledge, you can easily remove your old faucet and install a new one. Here's how to do it: Step 1: Gather all the necessary tools and materials, including a basin wrench, pliers, and plumber's putty or caulk. Step 2: Turn off the water supply by closing the shut-off valves located under the sink. Step 3: Follow the steps outlined above for removing and replacing a kitchen faucet. Step 4: Once the new faucet is installed, turn on the water supply and test for any leaks.DIY: How to Remove and Replace a Kitchen Faucet


DIY: How to Remove and Replace a Kitchen Faucet


If you're looking to give your kitchen a quick and affordable update, replacing your old kitchen faucet is a great place to start. Here's a comprehensive guide on how to remove and replace a kitchen faucet: Step 1: Turn off the water supply by closing the shut-off valves located under the sink. Step 2: Disconnect the water supply lines and remove the mounting nuts that hold the old faucet in place. Step 3: Clean the area around the sink holes to prepare for the new faucet installation. Step 4: Install the new faucet by following the manufacturer's instructions. Step 5: Turn on the water supply and test for any leaks.Removing and Replacing a Kitchen Faucet: A Comprehensive Guide


Removing and Replacing a Kitchen Faucet: A Comprehensive Guide


Removing and replacing a kitchen faucet may seem like a daunting task, but with a step-by-step guide, it's a manageable DIY project. Here's how to remove and replace a kitchen faucet: Step 1: Turn off the water supply by closing the shut-off valves located under the sink. Step 2: Disconnect the water supply lines and remove the mounting nuts that hold the old faucet in place. Step 3: Clean the area around the sink holes to prepare for the new faucet installation. Step 4: Install the new faucet by following the manufacturer's instructions. Step 5: Turn on the water supply and test for any leaks.Step-by-Step: How to Remove and Replace a Kitchen Faucet


Step-by-Step: How to Remove and Replace a Kitchen Faucet


Removing and replacing a kitchen sink faucet is a simple and affordable way to update your kitchen. Here's what you need to know: Tip 1: Make sure to turn off the water supply before starting the removal process. Tip 2: Use the right tools, such as a basin wrench, to make the process easier. Tip 3: Take your time and follow the steps carefully to ensure a successful installation. Tip 4: If you're not confident in your DIY skills, it's always best to hire a professional plumber to do the job. Removing an old kitchen sink faucet and installing a new one may seem like a daunting task, but with the right tools and some basic knowledge, it's a DIY project that you can take on yourself. Follow these tips and tricks and you'll have a new and improved kitchen faucet in no time.Removing and Replacing a Kitchen Sink Faucet: What You Need to Know


Removing and Replacing a Kitchen Sink Faucet: What You Need to Know

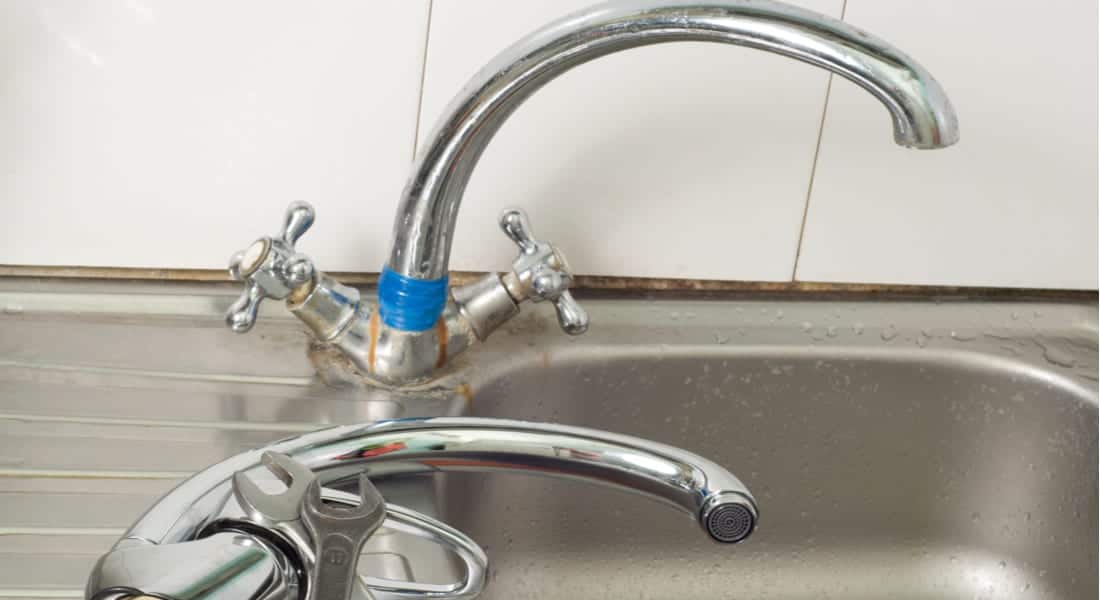
Why It's Important to Remove Old Manufactured Kitchen Sink Faucets

Outdated Design
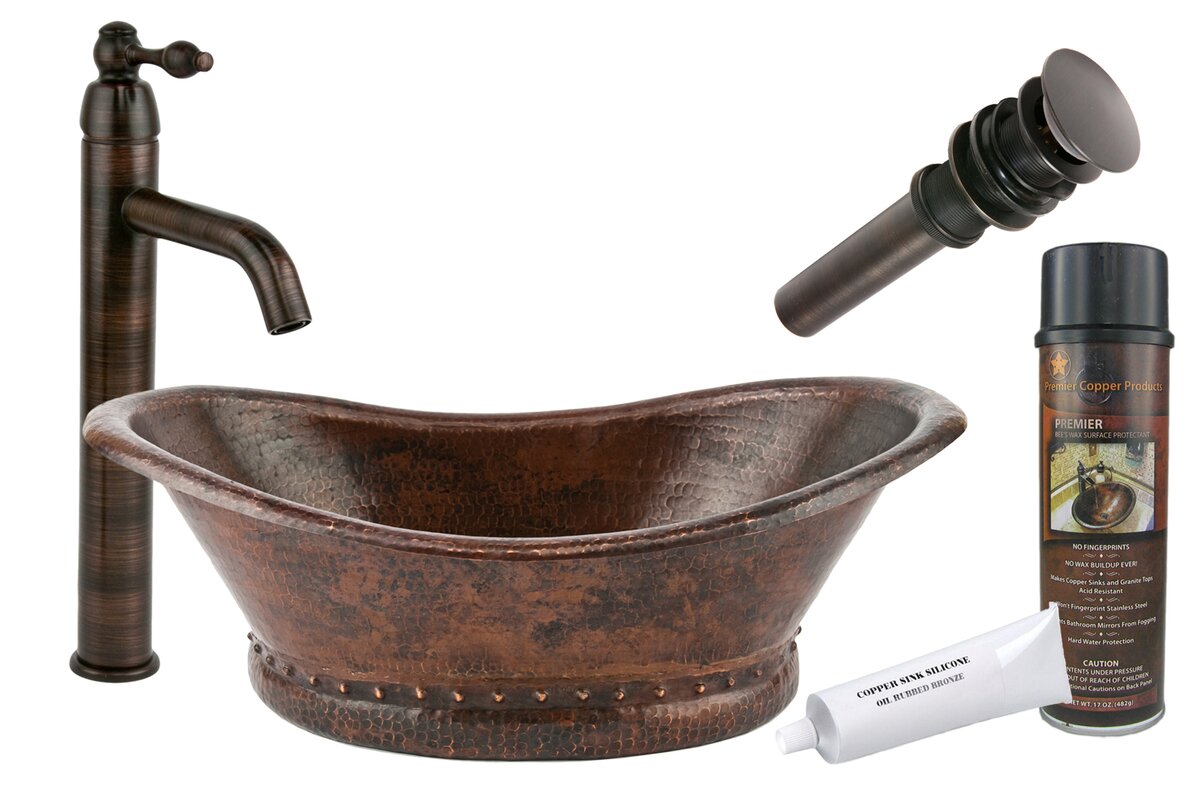
 One of the main reasons to remove old manufactured kitchen sink faucets is because they may have an outdated design. Over time, styles and trends change, and what was once considered modern and stylish may now look outdated and unappealing. This is especially true for manufactured faucets, as they often have generic and mass-produced designs that can quickly become outdated. By removing these old faucets and replacing them with newer models, you can give your kitchen a fresh and updated look.
Improved Functionality
 Another important reason to remove old manufactured kitchen sink faucets is to improve functionality. As these faucets age, they may start to leak, become difficult to turn on and off, or have decreased water flow. This can make daily tasks in the kitchen more challenging and frustrating. By replacing these outdated faucets, you can improve the functionality of your sink and make your daily kitchen tasks much easier and more efficient.
Increase Property Value
 If you are looking to sell your home or increase its value, removing old manufactured kitchen sink faucets is a must. Potential buyers are often turned off by outdated and worn-out fixtures, and replacing them with newer, more modern options can make a big difference in the overall appeal of your kitchen. This small update can also add value to your property and potentially increase its selling price.
In conclusion, removing old manufactured kitchen sink faucets is an important step in updating and improving your kitchen design. By doing so, you can get rid of outdated styles, improve functionality, and increase the value of your property. Don't hesitate to make this small but impactful change to your kitchen today!
If you are looking to sell your home or increase its value, removing old manufactured kitchen sink faucets is a must. Potential buyers are often turned off by outdated and worn-out fixtures, and replacing them with newer, more modern options can make a big difference in the overall appeal of your kitchen. This small update can also add value to your property and potentially increase its selling price.
In conclusion, removing old manufactured kitchen sink faucets is an important step in updating and improving your kitchen design. By doing so, you can get rid of outdated styles, improve functionality, and increase the value of your property. Don't hesitate to make this small but impactful change to your kitchen today!
/cdn.vox-cdn.com/uploads/chorus_image/image/54923581/12961727_1690229467909902_8644749779817819012_n.0.jpg)