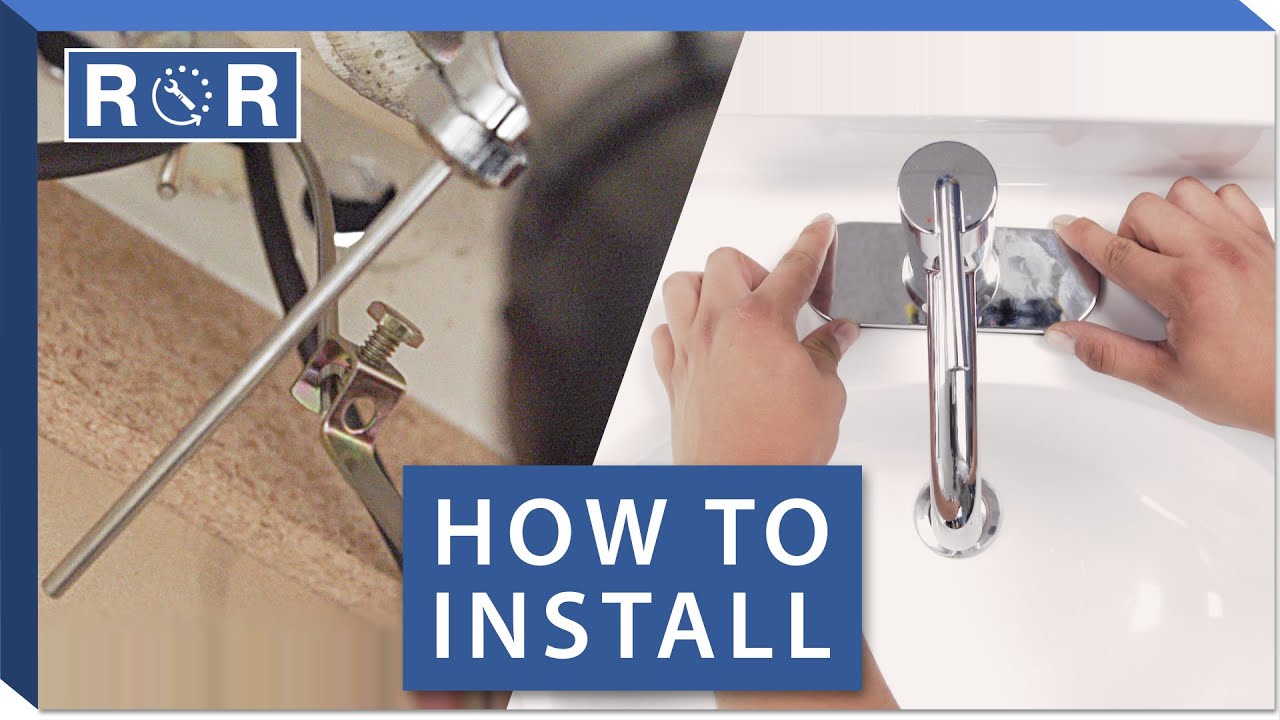
Are you tired of your old, outdated bathroom faucet? Maybe it's time for an upgrade. But before you can install a shiny new faucet, you'll need to remove your old bathroom sink. Don't worry, it's not as daunting as it sounds. With the right tools and some basic knowledge, you can easily remove your bathroom sink to make way for a new, stylish faucet. Here's how.1. Removing Your Bathroom Sink to Install a New Faucet


remove bathroom sink


Before you begin, make sure you have all the necessary tools on hand. You'll need a basin wrench, adjustable pliers, screwdriver, and a putty knife. You may also need a bucket to catch any water that may come out of the sink during the removal process.2. Gather Your Tools


install faucet remove sink


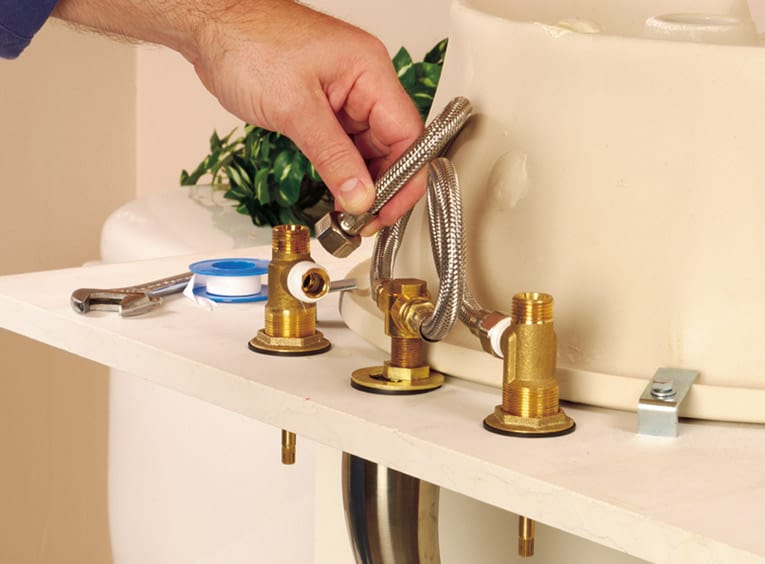
The first step in removing your bathroom sink is to turn off the water supply. Look under your sink for the water shut-off valves and turn them clockwise to shut off the water. If you don't have shut-off valves, you'll need to turn off the main water supply to your house.3. Turn Off the Water Supply


install faucet replace bathroom sink


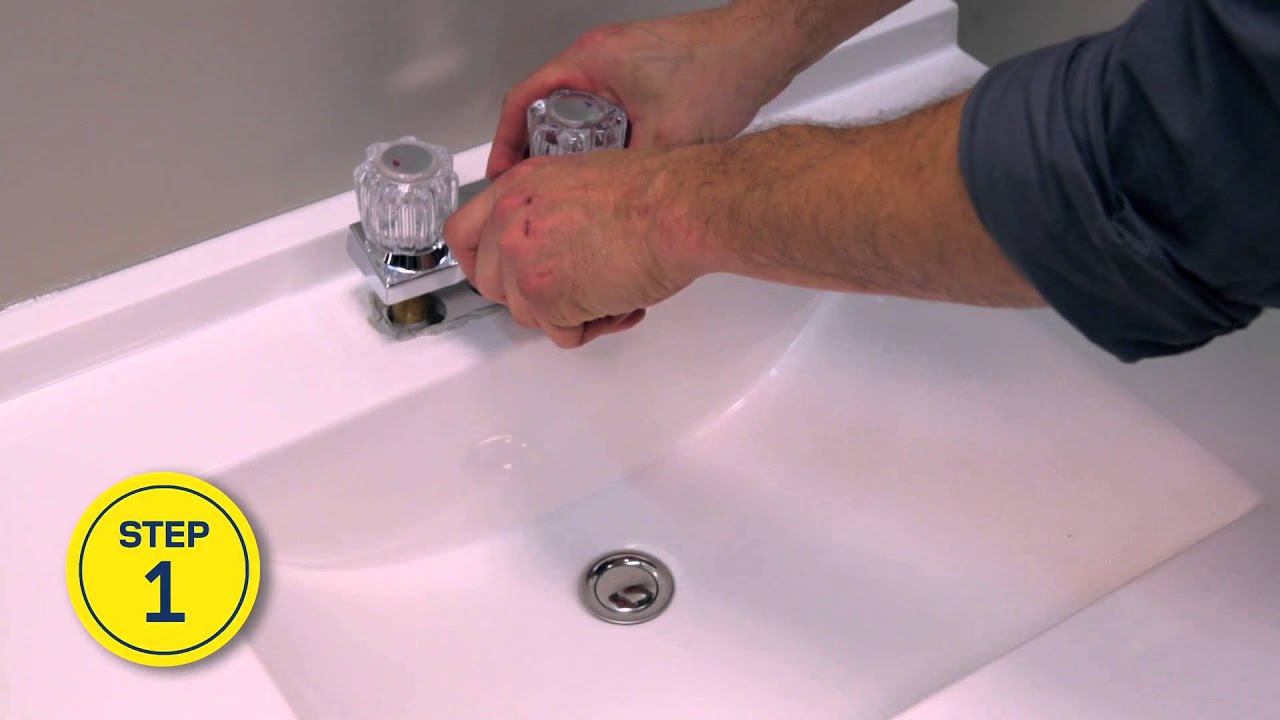
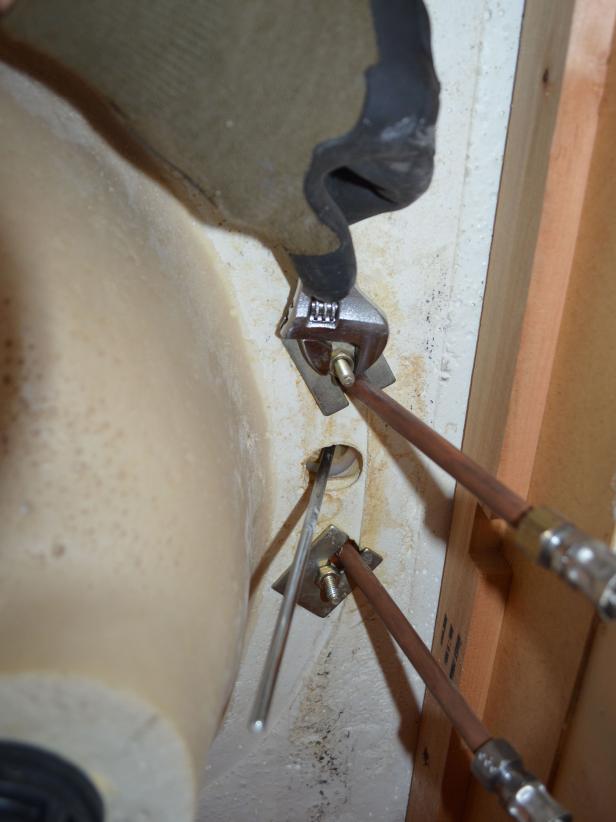
Once the water supply is turned off, use your adjustable pliers to disconnect the water supply lines from the faucet. You may need a bucket to catch any water that spills out. Make sure to also disconnect the pop-up drain from the tailpiece.4. Disconnect the Water Supply Lines


install faucet remove sink
:max_bytes(150000):strip_icc()/8_IMG_3767-56a4a2753df78cf772835b72.JPG)


If your sink has a drain stopper, you'll need to remove it before you can take out the sink. This can usually be done by unscrewing the pivot rod nut and pulling out the pivot rod. Then, you can easily remove the stopper from the sink drain.5. Remove the Drain Stopper


replace faucet remove bathroom sink


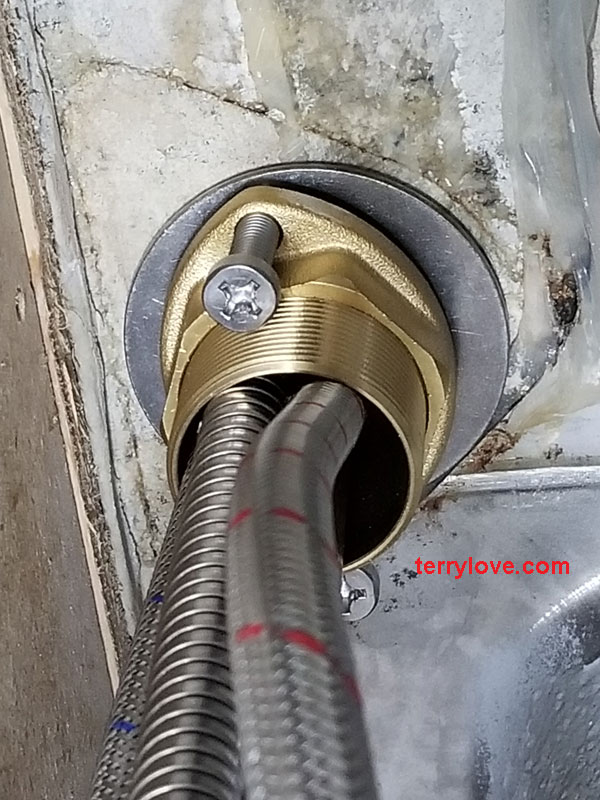
Next, use your basin wrench to loosen the nuts that hold the sink to the countertop. These are usually located underneath the sink and can be loosened by turning them counterclockwise. You may need to use your putty knife to break any sealant that may be holding the sink in place.6. Loosen the Sink from the Countertop

replace faucet replace sink


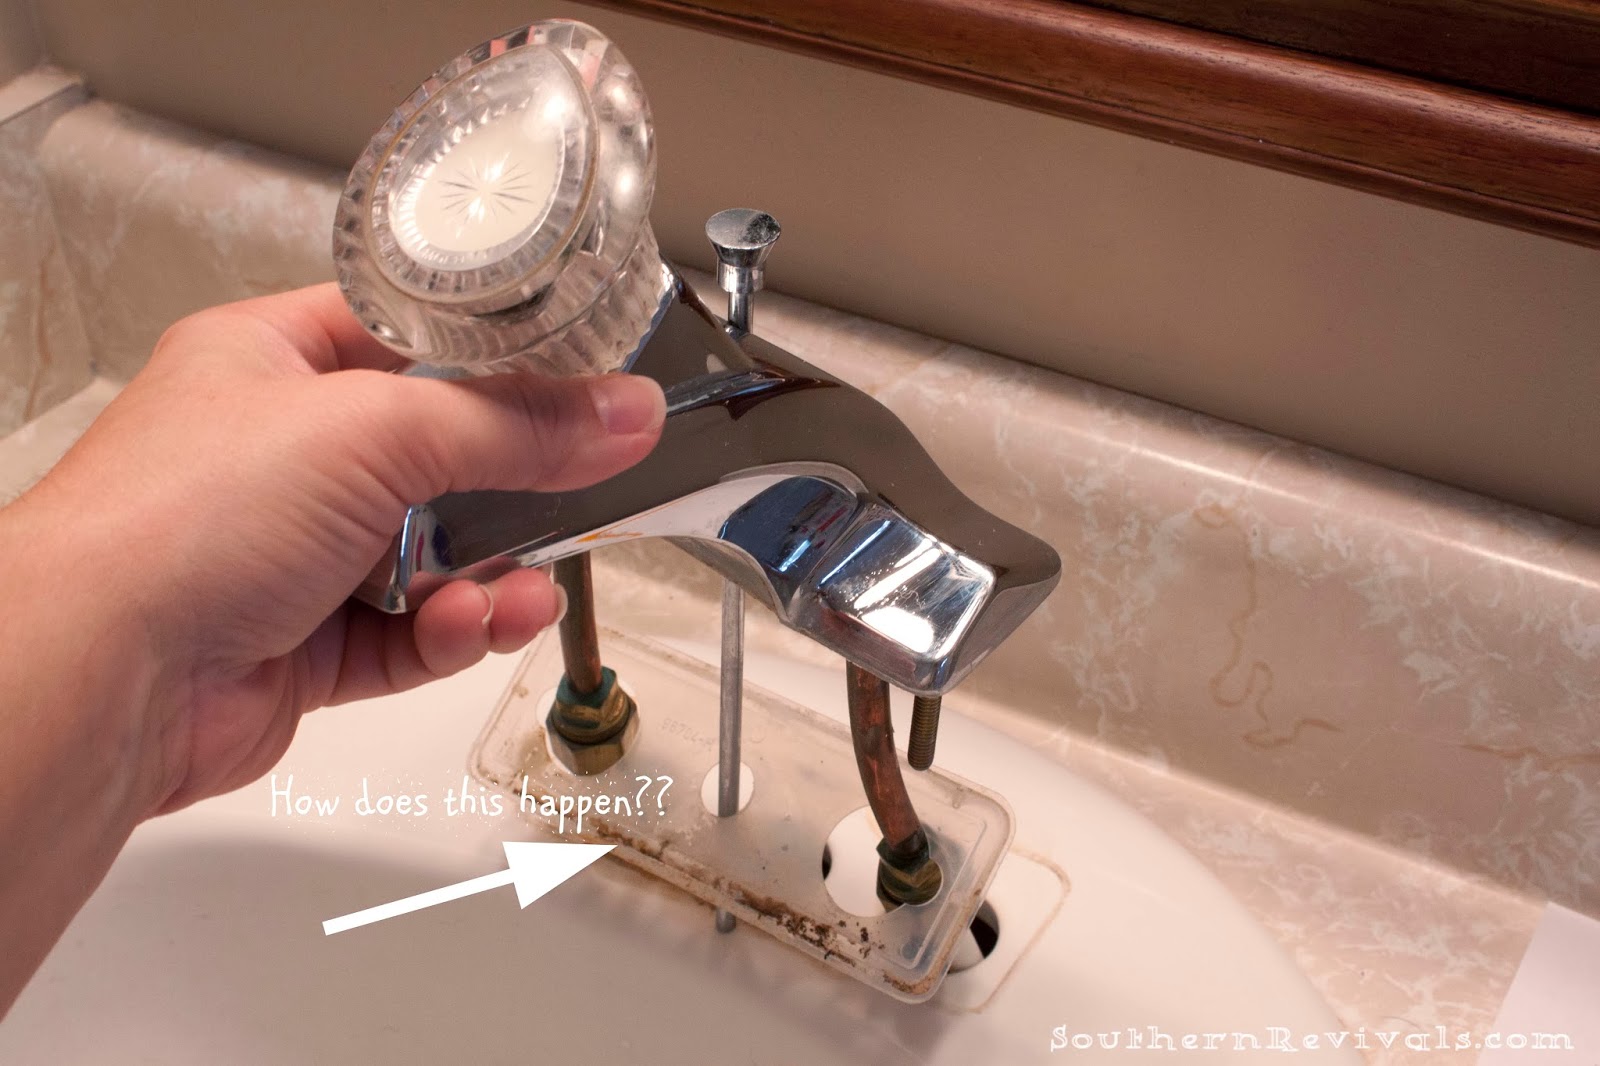
With the nuts loosened, you should be able to lift the sink out of the countertop. Be careful not to damage the countertop or any surrounding fixtures as you lift the sink out. You may need a helper to assist you in lifting the sink if it is heavy.7. Carefully Lift the Sink Out

install faucet remove sink
.JPG)
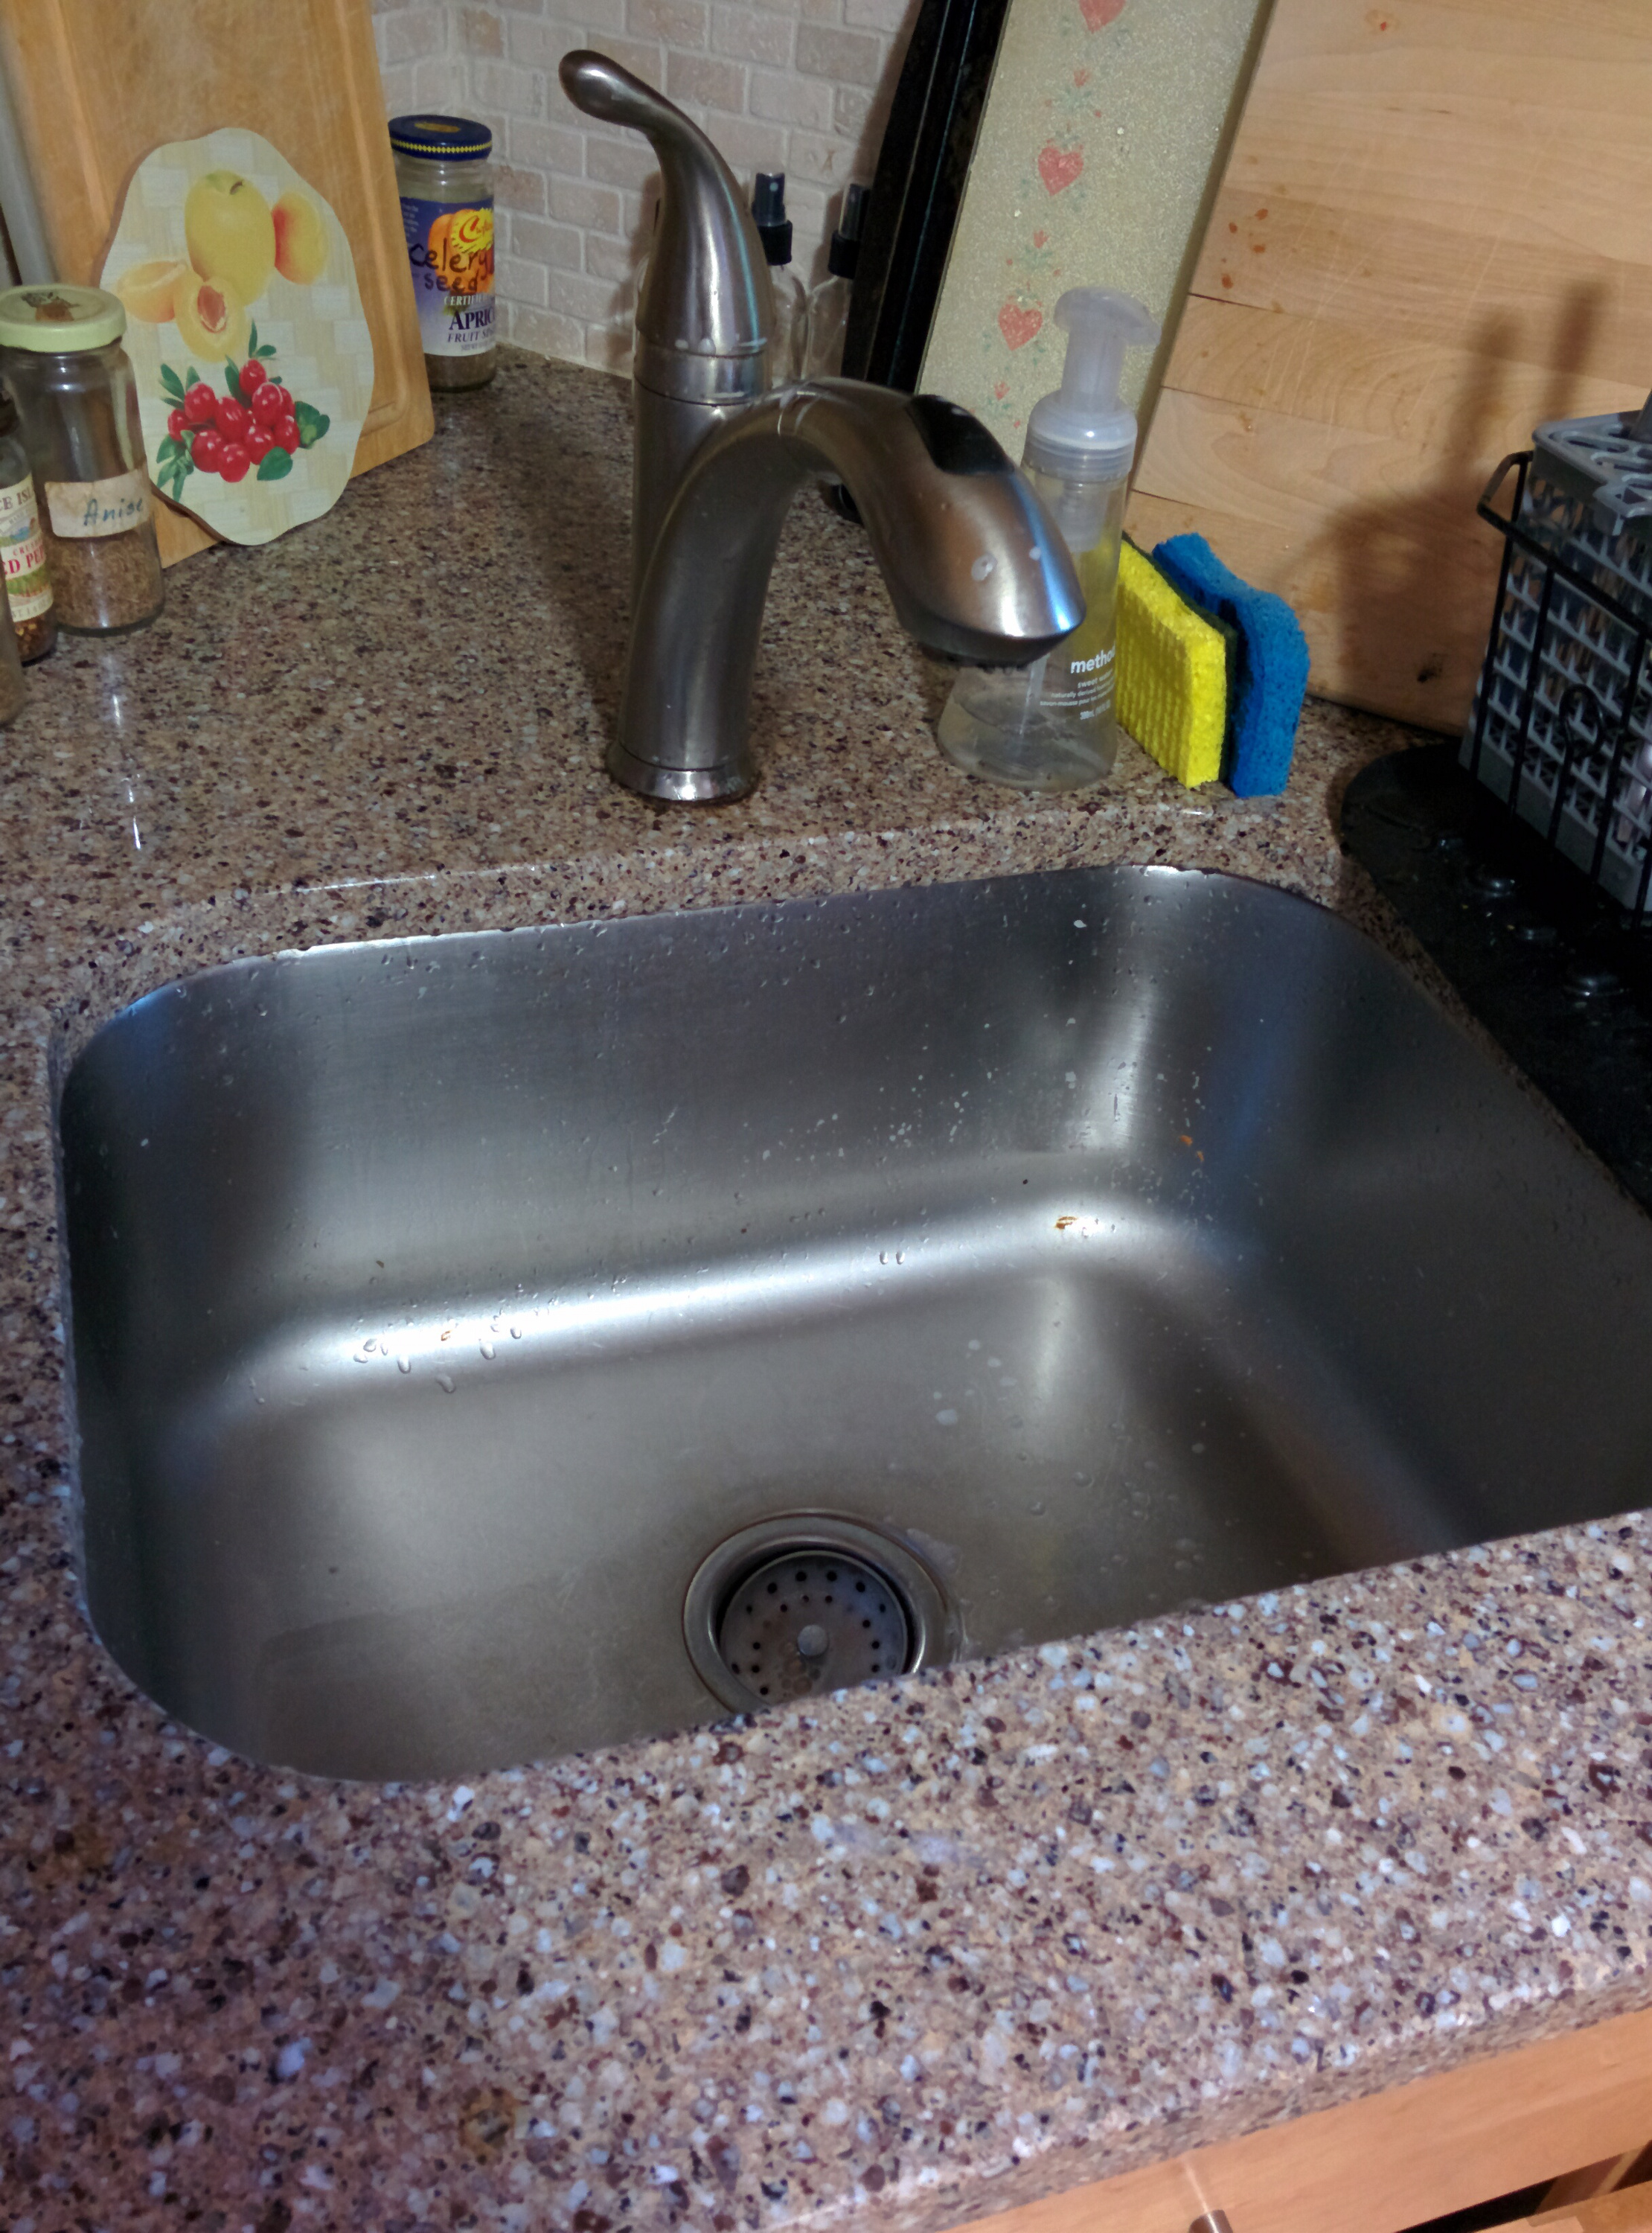
Once the sink is removed, you can clean and prepare the countertop for the new faucet. Use your putty knife to scrape away any old sealant or caulk. You may also want to give the countertop a good cleaning before installing the new faucet.8. Clean and Prepare the Countertop


faucet installation bathroom sink removal


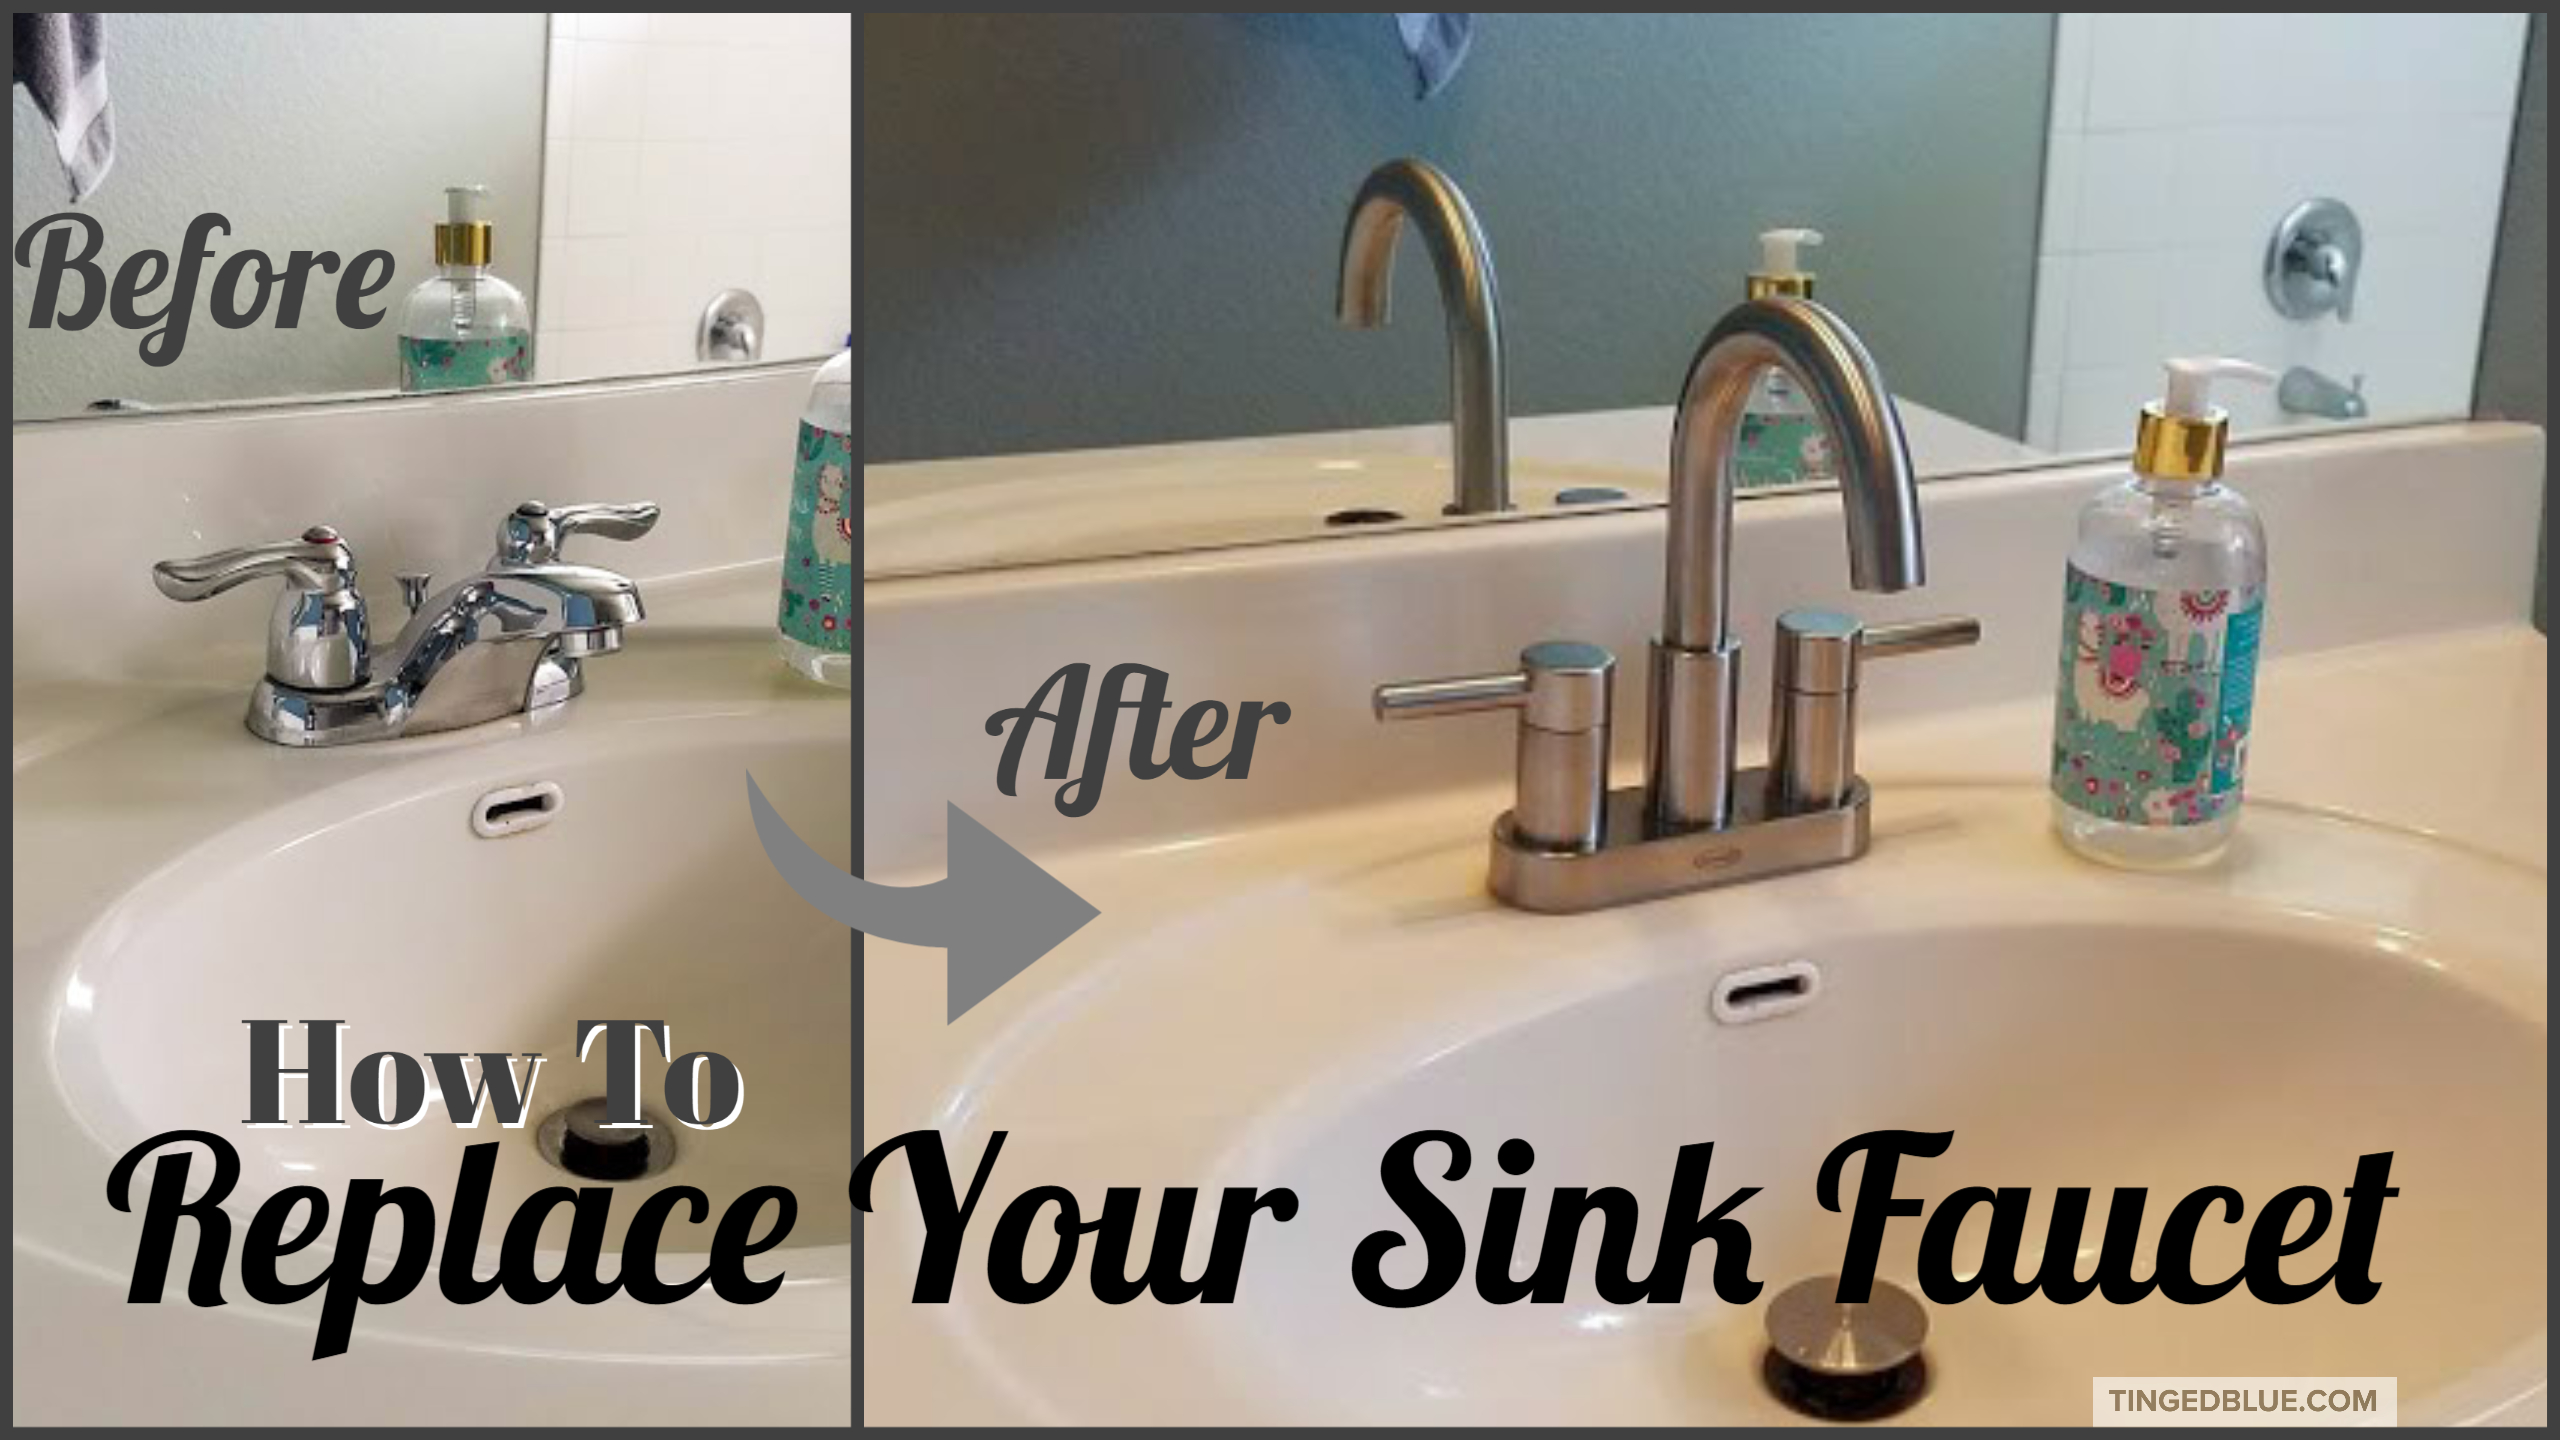
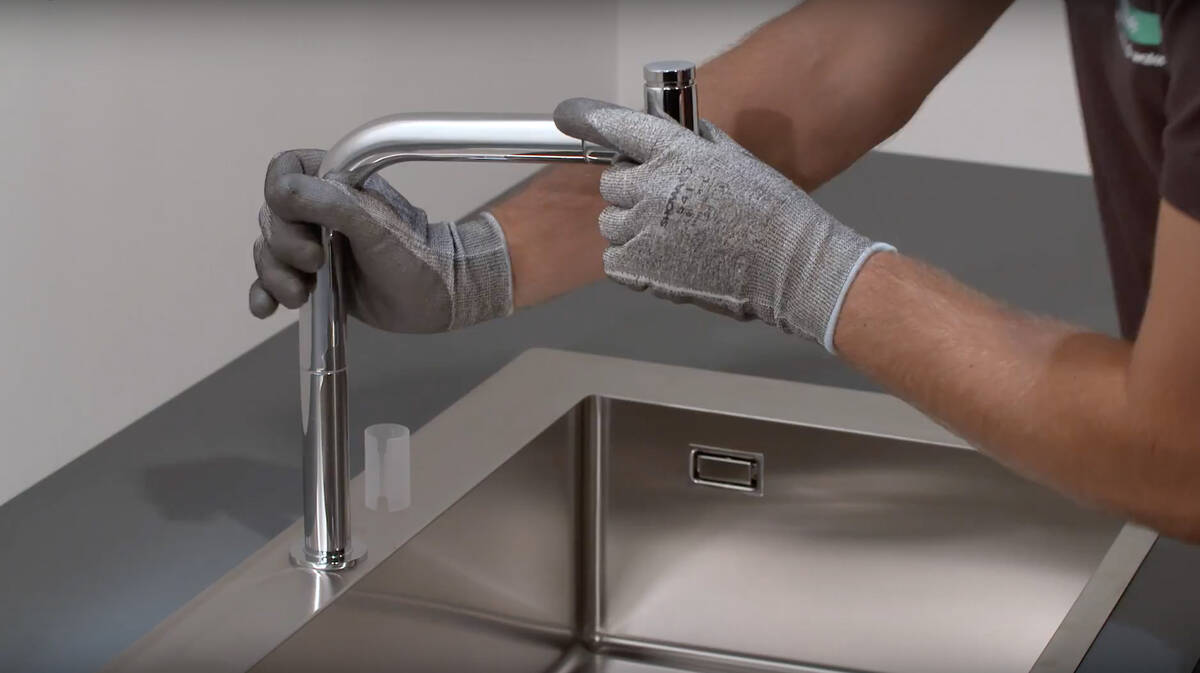
Now that the old sink is out of the way, you can install your new faucet. Follow the manufacturer's instructions carefully to ensure a proper installation. You may need to use a new drain assembly or sealant to properly install the new faucet.9. Install Your New Faucet


faucet installation sink removal
/173579315-56a4a2a83df78cf772835c77.jpg)


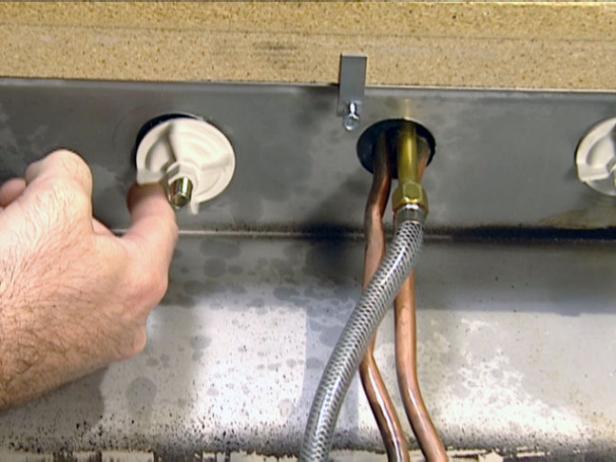
With the new faucet in place, it's time to put the sink back on the countertop. Make sure to properly align the sink with the drain and faucet holes before securing it in place with the nuts. Once the sink is securely in place, you can reconnect the water supply lines and turn the water back on. Voila! You have successfully removed your old bathroom sink and installed a new faucet. Now you can enjoy a fresh, updated look in your bathroom. Just be sure to properly dispose of your old sink and any other materials from the removal process.10. Reinstall the Sink


faucet installation bathroom sink replacement


Why Removing a Bathroom Sink is Necessary to Install a New Faucet

Understanding the Importance of a Bathroom Sink
 Bathroom sinks are an essential fixture in any household. They serve as both a functional and decorative element in the bathroom. Not only do they provide a space for washing hands and brushing teeth, but they also add to the overall aesthetic of the room. However, over time, sinks can become worn out or outdated, prompting the need for a replacement. In some cases, a new faucet may also need to be installed to improve water flow or to match the new sink's design. But before you can install a new faucet, you must first remove the existing bathroom sink.
Removing a bathroom sink is a necessary step in the process of installing a new faucet.
Bathroom sinks are an essential fixture in any household. They serve as both a functional and decorative element in the bathroom. Not only do they provide a space for washing hands and brushing teeth, but they also add to the overall aesthetic of the room. However, over time, sinks can become worn out or outdated, prompting the need for a replacement. In some cases, a new faucet may also need to be installed to improve water flow or to match the new sink's design. But before you can install a new faucet, you must first remove the existing bathroom sink.
Removing a bathroom sink is a necessary step in the process of installing a new faucet.
The Steps to Remove a Bathroom Sink
 Step 1: Turn off the Water Supply
Before you begin the process of removing your bathroom sink, it is essential to turn off the water supply. Locate the shut-off valves under the sink and turn them clockwise to cut off the water supply. If your sink does not have shut-off valves, you will need to turn off the main water supply to your house.
Step 2: Disconnect the Water Supply Lines
Once the water supply is turned off, you can begin disconnecting the water supply lines from the sink. Use a wrench to loosen the nuts and remove the lines carefully. Be sure to have a bucket or towel ready to catch any excess water that may come out.
Step 3: Remove the Drain Pipe
Next, you will need to remove the drain pipe that connects the sink to the wall or floor. Use a wrench to loosen the nuts and carefully remove the pipe. Again, have a bucket or towel ready to catch any water that may come out.
Step 4: Loosen the Sink Clips
Most bathroom sinks are attached to the wall with clips. Use a screwdriver to loosen these clips and remove them. If your sink is attached to a vanity, you may need to remove the screws that hold the sink in place.
Step 5: Carefully Remove the Sink
With all the connections and attachments loosened, you can now carefully remove the sink from the vanity or wall. Be sure to have someone assist you if the sink is heavy.
Step 1: Turn off the Water Supply
Before you begin the process of removing your bathroom sink, it is essential to turn off the water supply. Locate the shut-off valves under the sink and turn them clockwise to cut off the water supply. If your sink does not have shut-off valves, you will need to turn off the main water supply to your house.
Step 2: Disconnect the Water Supply Lines
Once the water supply is turned off, you can begin disconnecting the water supply lines from the sink. Use a wrench to loosen the nuts and remove the lines carefully. Be sure to have a bucket or towel ready to catch any excess water that may come out.
Step 3: Remove the Drain Pipe
Next, you will need to remove the drain pipe that connects the sink to the wall or floor. Use a wrench to loosen the nuts and carefully remove the pipe. Again, have a bucket or towel ready to catch any water that may come out.
Step 4: Loosen the Sink Clips
Most bathroom sinks are attached to the wall with clips. Use a screwdriver to loosen these clips and remove them. If your sink is attached to a vanity, you may need to remove the screws that hold the sink in place.
Step 5: Carefully Remove the Sink
With all the connections and attachments loosened, you can now carefully remove the sink from the vanity or wall. Be sure to have someone assist you if the sink is heavy.
Why a Professional is Recommended for Sink Removal
 While removing a bathroom sink may seem like a straightforward process, it can be more complicated than it appears.
It is always recommended to hire a professional to remove a sink, especially if you have little experience with plumbing.
A professional plumber will have the necessary tools and knowledge to safely disconnect and remove the sink without causing any damage to your bathroom.
While removing a bathroom sink may seem like a straightforward process, it can be more complicated than it appears.
It is always recommended to hire a professional to remove a sink, especially if you have little experience with plumbing.
A professional plumber will have the necessary tools and knowledge to safely disconnect and remove the sink without causing any damage to your bathroom.