Refinishing an oak dining room table can be a daunting task, but with the right tools and techniques, you can give your old, worn-out table a brand new look. Whether you want to restore its original finish or change its look entirely, refinishing is a cost-effective way to breathe new life into your dining room. Follow this step-by-step guide to achieve a professional finish and transform your oak dining room table into a stunning centerpiece. Refinishing an Oak Dining Room Table: A Step-by-Step Guide


Refinishing an Oak Dining Room Table: A Step-by-Step Guide


Refinishing an oak dining room table may seem like a complicated process, but it can actually be done in just five easy steps. First, start by stripping off the existing finish using a chemical stripper. Then, sand down the surface to remove any imperfections. Next, apply a stain in your desired color and finish with a protective coat of polyurethane. Finally, buff and polish the surface for a smooth, shiny finish. With these simple steps, your oak dining room table will look as good as new.How to Refinish an Oak Dining Room Table in 5 Easy Steps


How to Refinish an Oak Dining Room Table in 5 Easy Steps


Refinishing an oak dining room table can be a fun and rewarding DIY project. Not only will you save money, but you'll also have the satisfaction of giving your table a personal touch. Start by gathering all the necessary tools and materials, including a chemical stripper, sandpaper, stain, and polyurethane. Follow the instructions carefully, and don't be afraid to get creative with the finishing touches. With a little time and effort, you can have a beautifully refinished oak dining room table that you can be proud of.DIY: Refinishing an Oak Dining Room Table


DIY: Refinishing an Oak Dining Room Table


When it comes to refinishing an oak dining room table, using high-quality products can make all the difference. Look for a chemical stripper that is specifically designed for wood and is safe to use indoors. Sandpaper with varying grits is essential for achieving a smooth finish. Choose a stain that complements your dining room decor and a polyurethane with a protective finish. Don't forget to invest in a good set of brushes and cloths for application. Using the best products will ensure a professional and long-lasting result.The Best Products for Refinishing an Oak Dining Room Table

The Best Products for Refinishing an Oak Dining Room Table


Refinishing an oak dining room table requires some skill and technique, but there are a few tips and tricks that can make the process easier. When stripping the old finish, work in small sections to prevent the stripper from drying out. Use a power sander for larger surfaces and hand sand for smaller, intricate areas. Before staining, always test the color on a hidden spot to ensure you are happy with the result. And when applying polyurethane, use long, even strokes for a smooth and streak-free finish.Tips and Tricks for Refinishing an Oak Dining Room Table

Tips and Tricks for Refinishing an Oak Dining Room Table


Before diving into refinishing your oak dining room table, there are a few things you should know. First, it's important to have a well-ventilated area to work in, as some of the products used can emit strong fumes. Also, be prepared for the process to take some time, as each step requires proper drying time. If you're unsure about any part of the process, consult with a professional or do some research beforehand. With the right knowledge and precautions, you can achieve a beautiful result.Refinishing an Oak Dining Room Table: What You Need to Know


Refinishing an Oak Dining Room Table: What You Need to Know


One of the keys to achieving a professional finish when refinishing an oak dining room table is patience. Take your time and follow each step carefully. Don't rush through the process, as this can lead to mistakes and an unsatisfactory result. Also, be sure to sand down the surface properly to ensure a smooth finish. Don't skip out on using a protective coat of polyurethane, as this will not only protect your table but also give it a professional and polished look.How to Achieve a Professional Finish When Refinishing an Oak Dining Room Table


How to Achieve a Professional Finish When Refinishing an Oak Dining Room Table
Refinishing an oak dining room table can be a time-consuming and tedious process, so the last thing you want is to make a mistake that could ruin your hard work. One of the most common mistakes is not stripping off all of the old finish, causing the new stain to appear uneven. Another mistake is not sanding the surface enough, resulting in a rough finish. Be sure to follow each step carefully and avoid taking shortcuts to ensure a flawless result.Refinishing an Oak Dining Room Table: Common Mistakes to Avoid
Refinishing an Oak Dining Room Table: Common Mistakes to Avoid

Refinishing an oak dining room table has many benefits, making it a worthwhile investment. First and foremost, it's a cost-effective way to give your dining room a new look without having to buy a whole new set of furniture. It also allows you to customize the color and finish to your liking. Refinishing your table also helps to protect the wood from damage and wear, extending its lifespan. And lastly, it's a great way to showcase your DIY skills and add a personal touch to your home.The Benefits of Refinishing an Oak Dining Room Table

The Benefits of Refinishing an Oak Dining Room Table
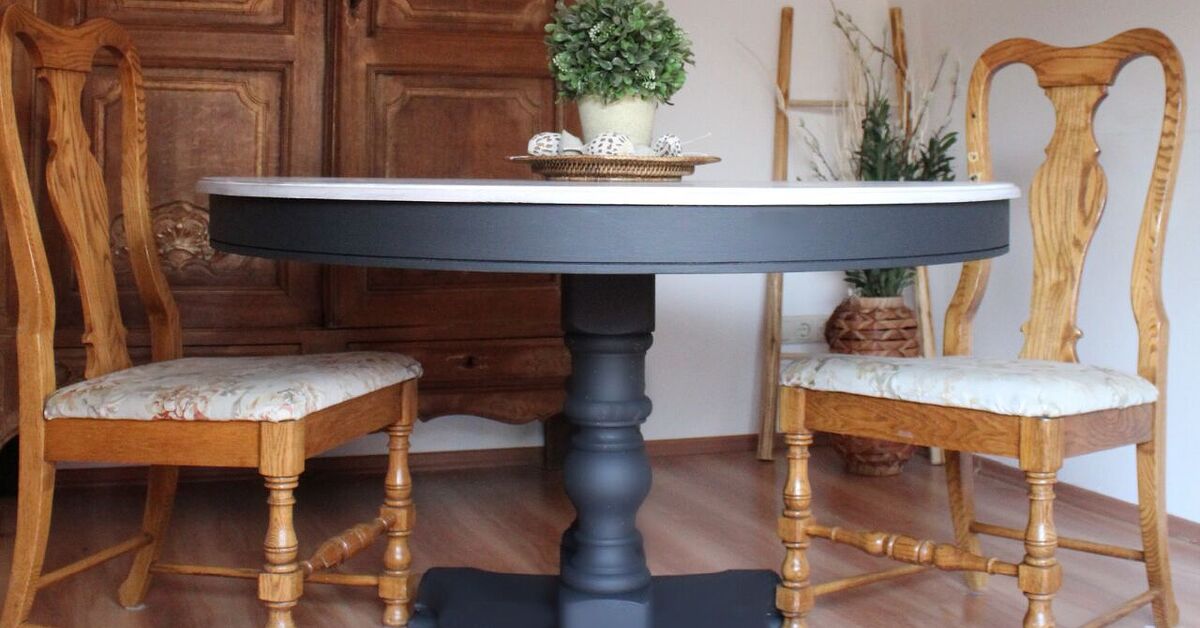

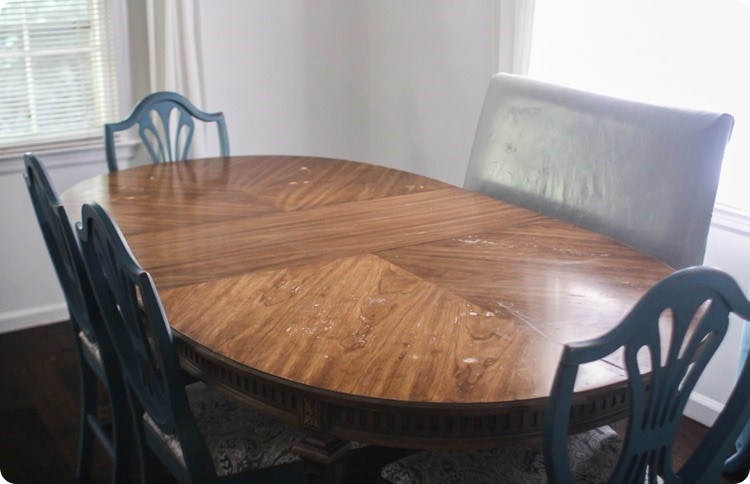
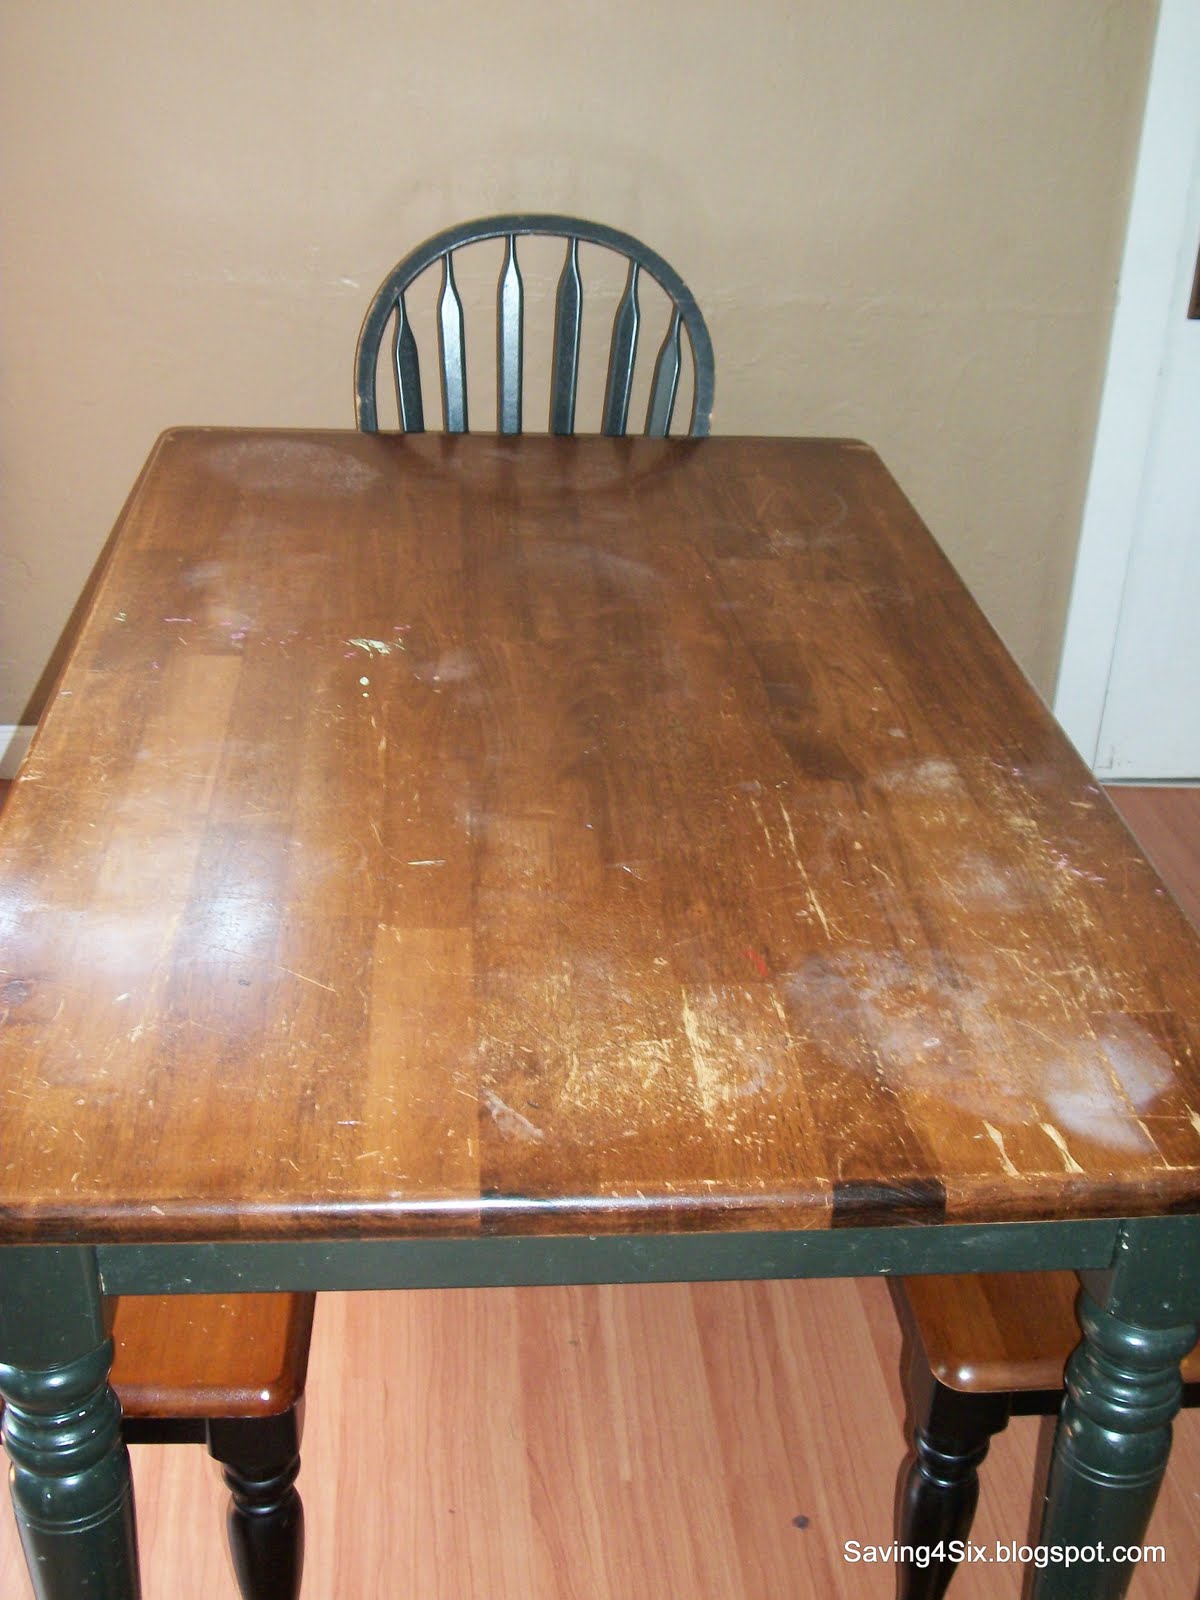
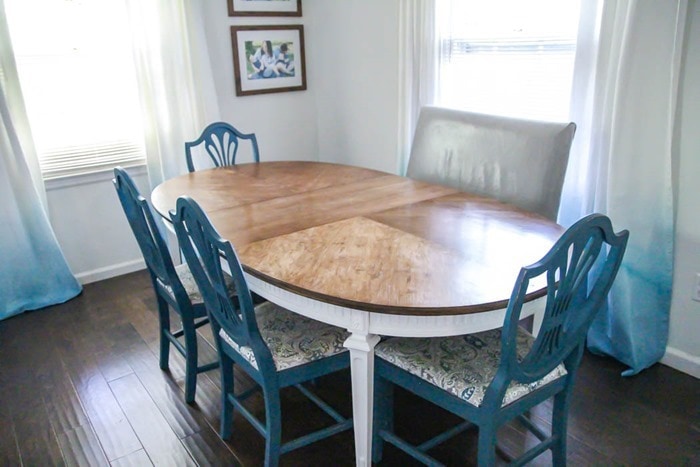
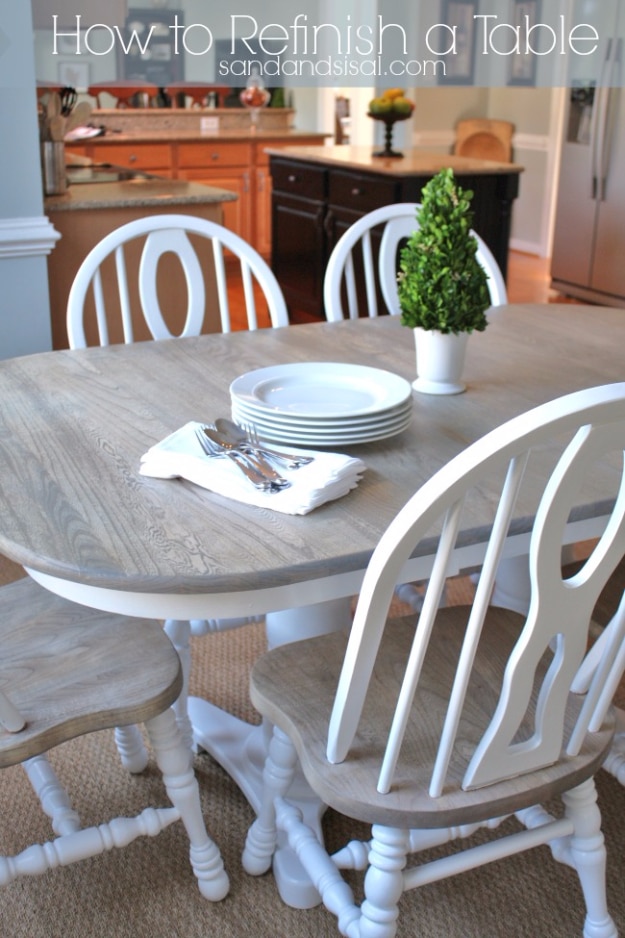
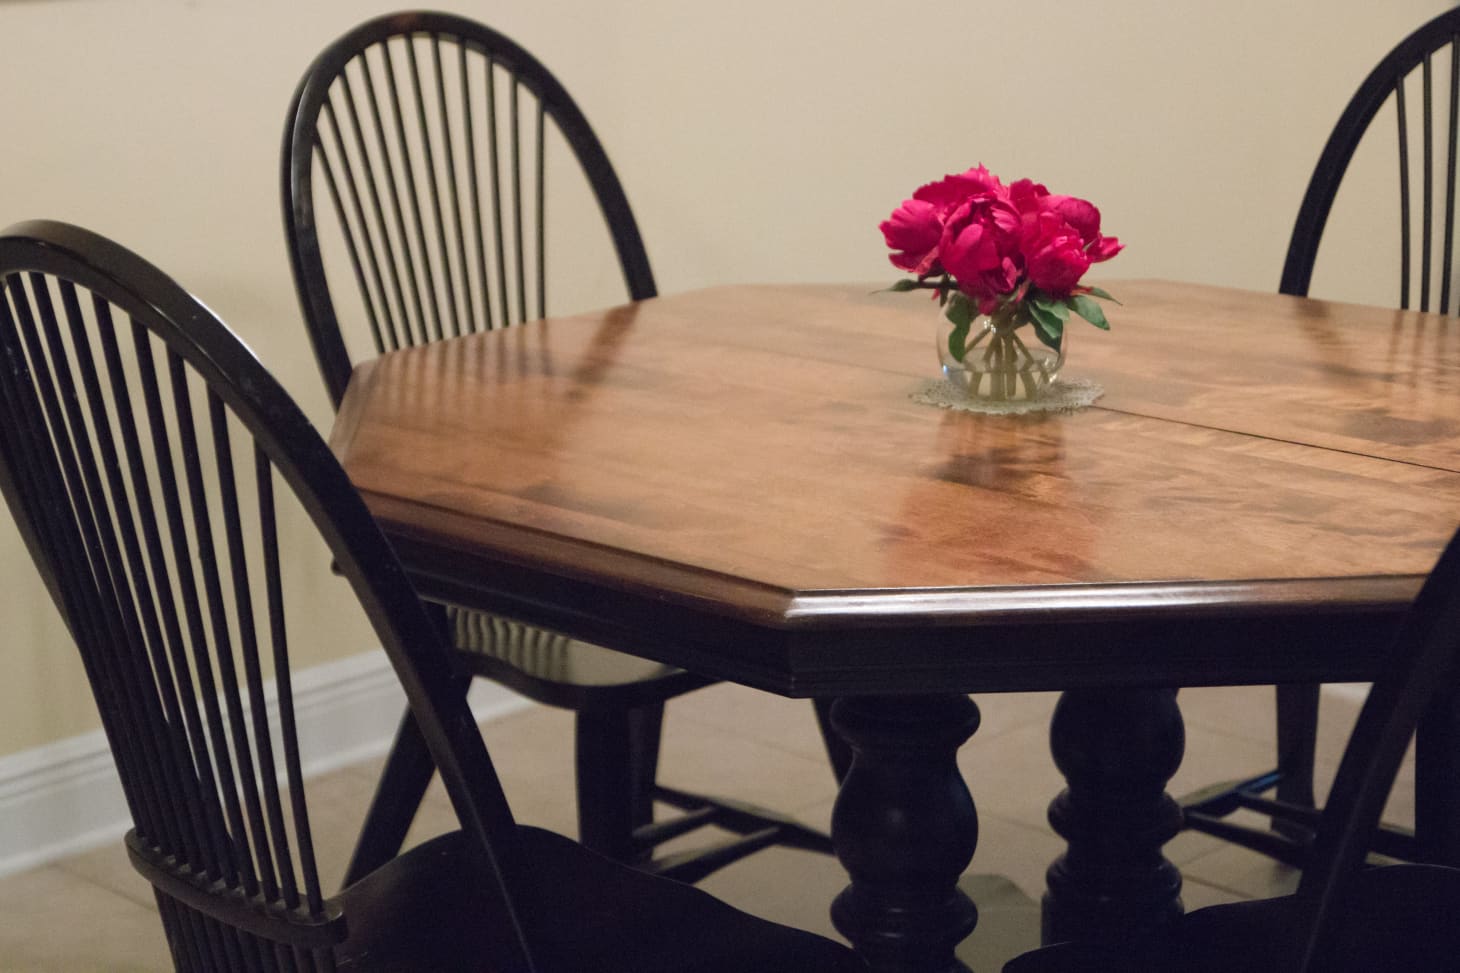
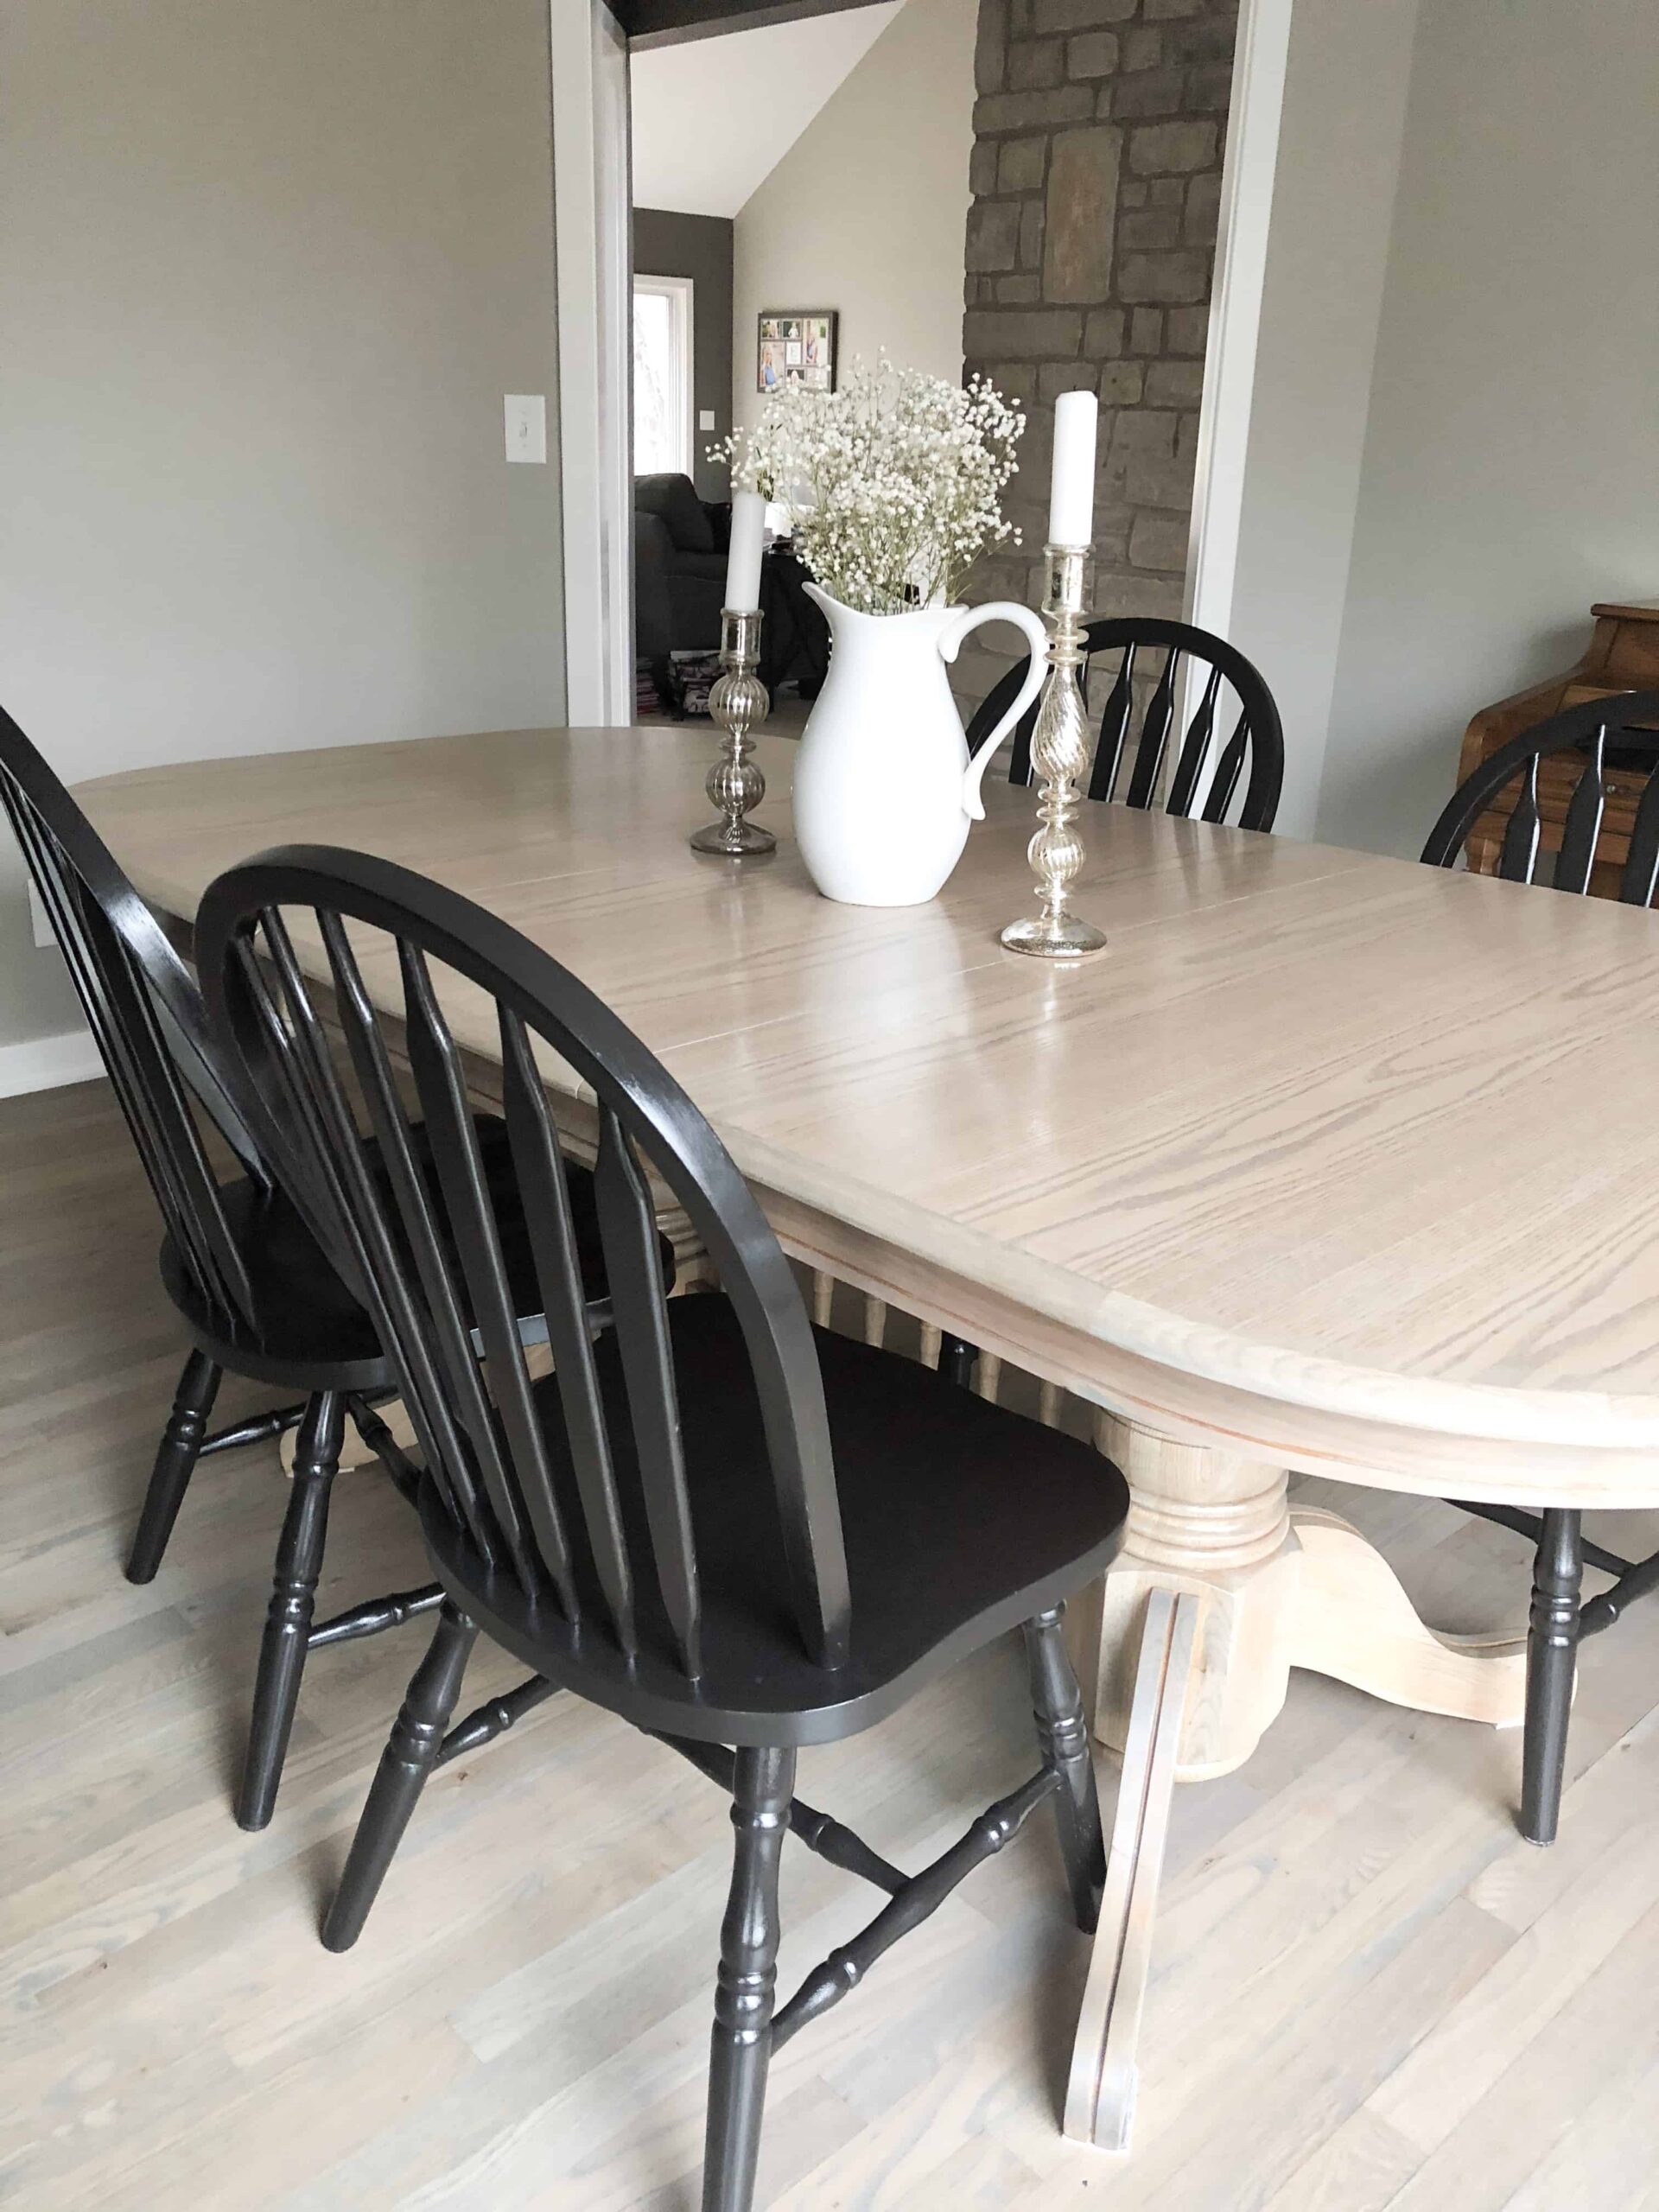
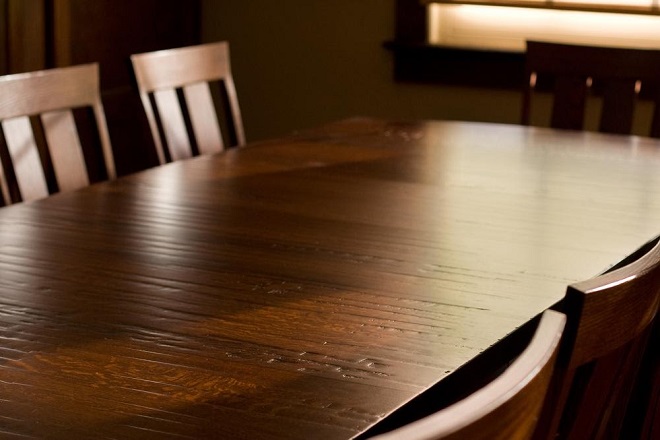
If you're still not convinced about the power of refinishing an oak dining room table, take a look at some before and after photos. You'll be amazed at the transformation and how much a simple refinishing can elevate the look of your dining room. With the right tools, techniques, and a little bit of creativity, you can transform your old, worn-out table into a stunning centerpiece that will impress your guests and make your dining room feel like new.Refinishing an Oak Dining Room Table: Before and After Photos


Refinishing an Oak Dining Room Table: Before and After Photos


How to Refinish an Oak Dining Room Table

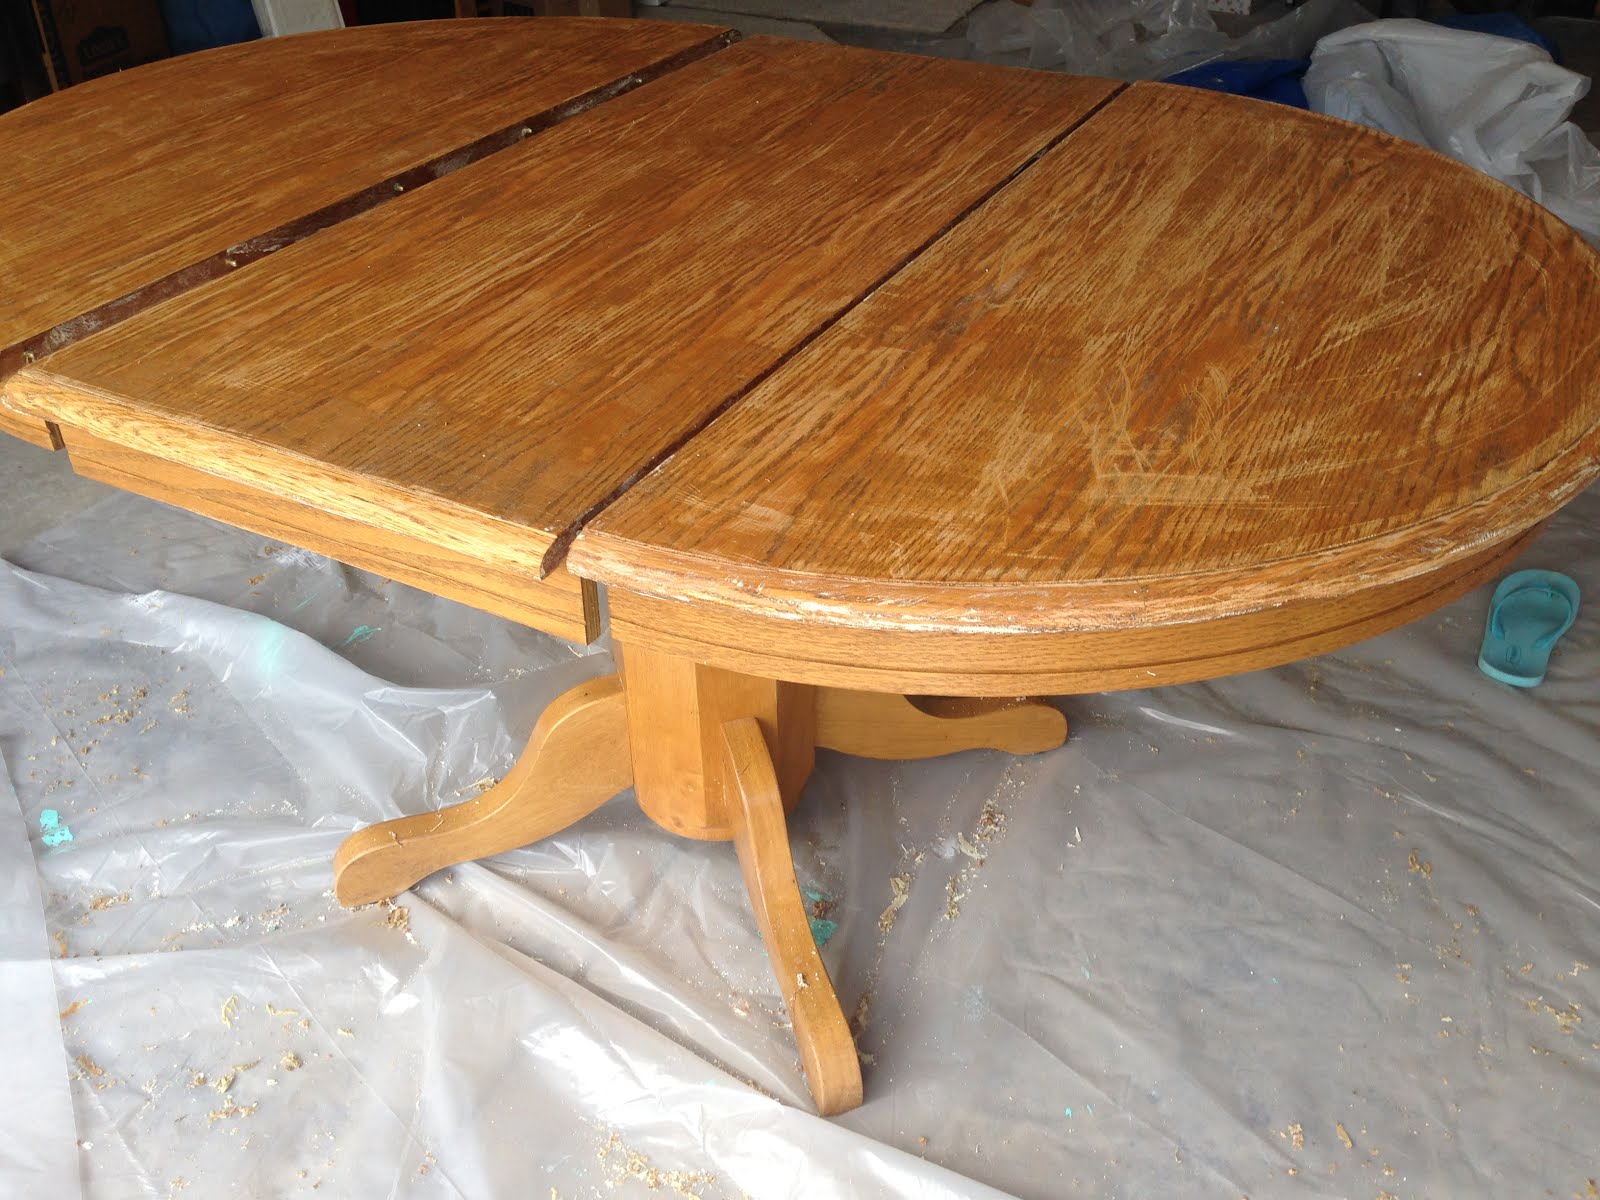
Step 3: Sand the Table
 After removing the old finish, the next step is to sand the table. This will help to smooth out any imperfections and remove any remaining old finish.
Start by using a coarse grit sandpaper, such as 80 or 100-grit, and work your way up to a finer grit sandpaper, such as 220-grit.
Make sure to sand in the direction of the wood grain to prevent damaging the surface of the table. Sanding may take some time, but it is an important step to achieve a smooth and professional-looking finish.
After removing the old finish, the next step is to sand the table. This will help to smooth out any imperfections and remove any remaining old finish.
Start by using a coarse grit sandpaper, such as 80 or 100-grit, and work your way up to a finer grit sandpaper, such as 220-grit.
Make sure to sand in the direction of the wood grain to prevent damaging the surface of the table. Sanding may take some time, but it is an important step to achieve a smooth and professional-looking finish.
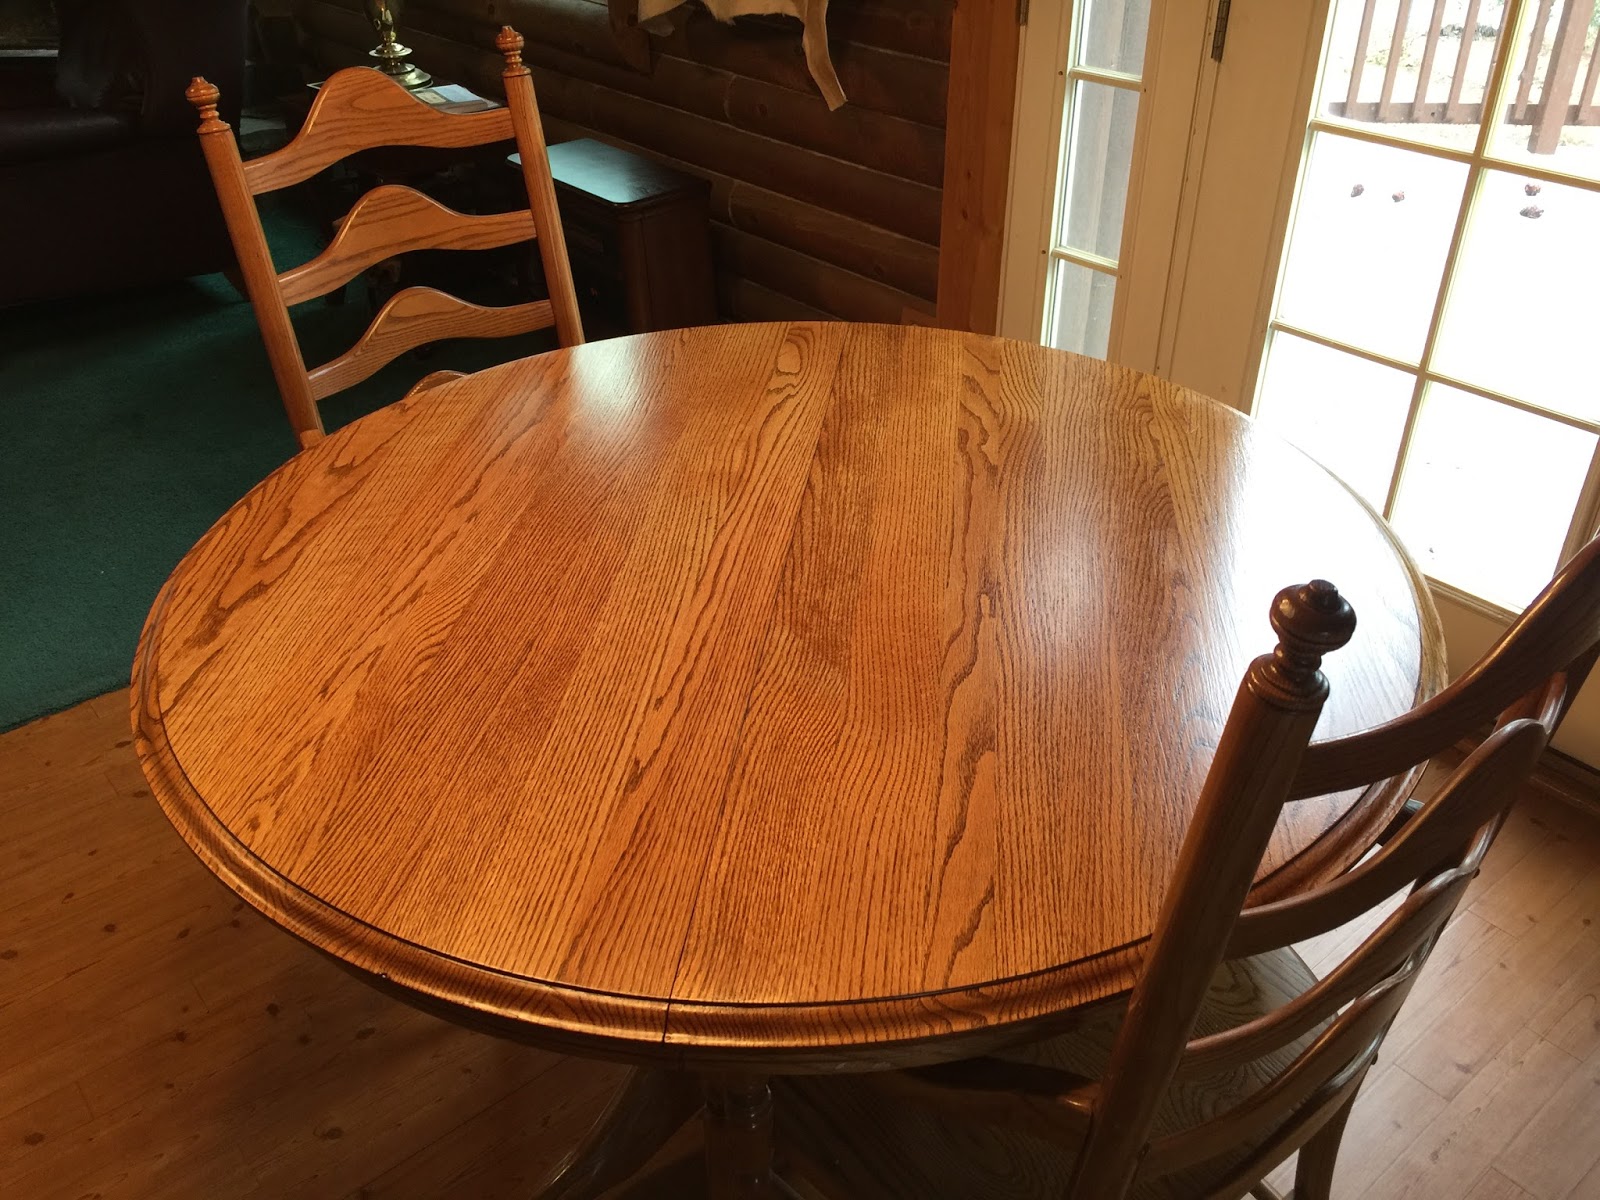
Step 4: Stain the Table
 Once the table is sanded, it is time to add color to the wood.
Choose a stain that complements the rest of your dining room decor and follow the manufacturer's instructions for application.
It is important to work in a well-ventilated area and wear gloves to protect your hands from the stain. Apply the stain evenly using a brush or cloth, and wipe off any excess with a clean cloth. Allow the stain to dry completely before moving on to the next step.
Once the table is sanded, it is time to add color to the wood.
Choose a stain that complements the rest of your dining room decor and follow the manufacturer's instructions for application.
It is important to work in a well-ventilated area and wear gloves to protect your hands from the stain. Apply the stain evenly using a brush or cloth, and wipe off any excess with a clean cloth. Allow the stain to dry completely before moving on to the next step.
Step 5: Apply a Protective Finish
 To protect the newly stained table,
apply a clear protective finish such as polyurethane or varnish.
This will not only protect the wood from spills and scratches, but it will also give the table a beautiful shine.
Apply the finish in thin coats, following the manufacturer's instructions, and sand lightly between coats for a smooth finish.
Allow the finish to dry completely before using the table.
To protect the newly stained table,
apply a clear protective finish such as polyurethane or varnish.
This will not only protect the wood from spills and scratches, but it will also give the table a beautiful shine.
Apply the finish in thin coats, following the manufacturer's instructions, and sand lightly between coats for a smooth finish.
Allow the finish to dry completely before using the table.
Step 6: Add Finishing Touches
 After the protective finish has dried, you can add any desired finishing touches to your table. This could include adding new hardware to the drawers or adding decorative touches such as stenciling or distressing the wood.
Get creative and make your dining room table unique to your personal style.
Once all the finishing touches are complete, your refinished oak dining room table will be ready to use and will add a beautiful and personalized touch to your dining space.
In conclusion, refinishing an oak dining room table may seem like a daunting task, but with the right tools and techniques, it can be a rewarding and cost-effective way to update your home decor.
Remember to take your time and follow each step carefully to achieve a professional-looking finish.
With a newly refinished table, you can enjoy meals with family and friends in a beautiful and personalized dining space.
After the protective finish has dried, you can add any desired finishing touches to your table. This could include adding new hardware to the drawers or adding decorative touches such as stenciling or distressing the wood.
Get creative and make your dining room table unique to your personal style.
Once all the finishing touches are complete, your refinished oak dining room table will be ready to use and will add a beautiful and personalized touch to your dining space.
In conclusion, refinishing an oak dining room table may seem like a daunting task, but with the right tools and techniques, it can be a rewarding and cost-effective way to update your home decor.
Remember to take your time and follow each step carefully to achieve a professional-looking finish.
With a newly refinished table, you can enjoy meals with family and friends in a beautiful and personalized dining space.