When it comes to plumbing a kitchen sink, one of the most important steps is connecting it to a cast iron pipe. This ensures proper drainage and prevents leaks. Here's a step-by-step guide on how to connect a kitchen sink to a cast iron pipe. First, you will need to measure and cut the cast iron pipe to the appropriate length. Make sure to wear protective gear such as gloves and goggles while handling the pipe. Next, apply a layer of pipe joint compound to the end of the pipe that will be connected to the sink. This will help create a tight seal and prevent leaks. Using a PVC coupler, connect the cast iron pipe to the sink's drain. Make sure the coupler is securely attached to both the pipe and the sink.1. How to Connect a Kitchen Sink to a Cast Iron Pipe


1. How to Connect a Kitchen Sink to a Cast Iron Pipe


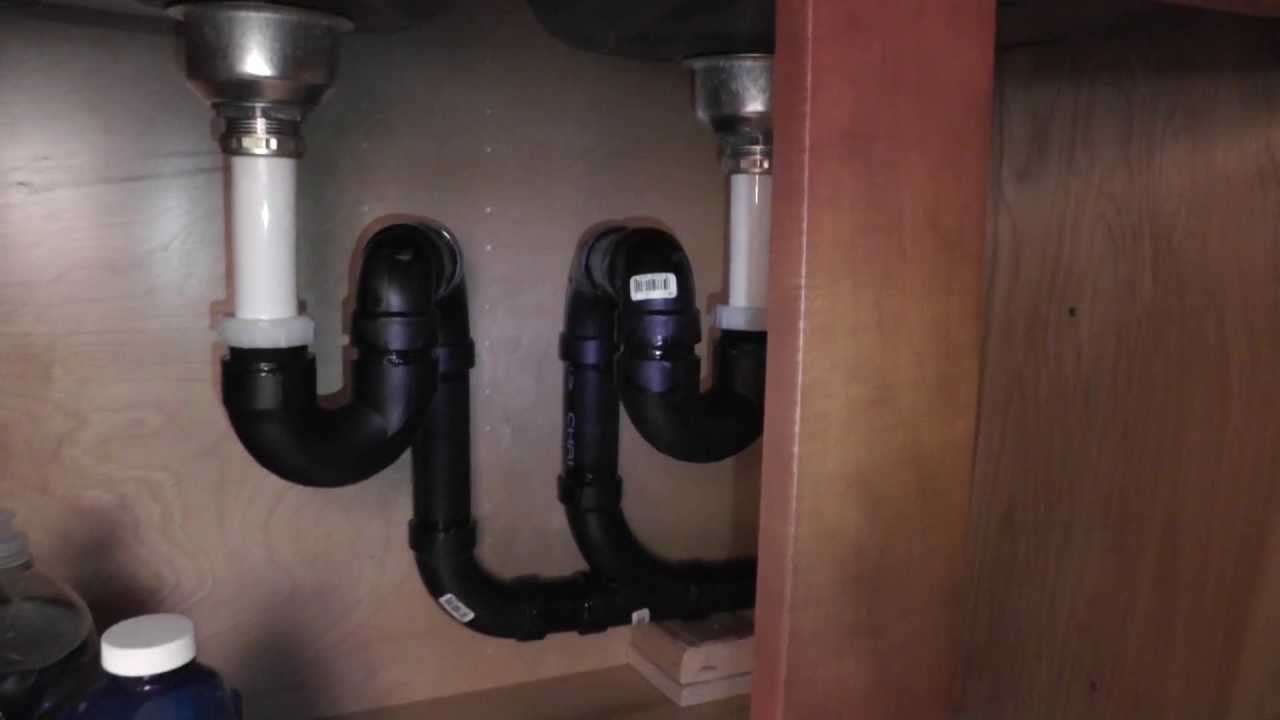
Once the sink is connected to the cast iron pipe, the next step is to attach it to the cast iron drain. This is an important step as it ensures proper water flow and prevents clogs. Start by attaching a drain trap to the bottom of the sink's drain. This will catch any debris and prevent it from clogging the pipe. Next, use a rubber coupler to connect the drain trap to the cast iron drain. Make sure the coupler is secure and there are no gaps between the trap and the drain. Finally, test the sink by running water down the drain. If there are any leaks, tighten the connections or add more pipe joint compound to create a tighter seal.2. Plumbing a Kitchen Sink to a Cast Iron Drain


2. Plumbing a Kitchen Sink to a Cast Iron Drain
/how-to-install-a-sink-drain-2718789-hero-24e898006ed94c9593a2a268b57989a3.jpg)


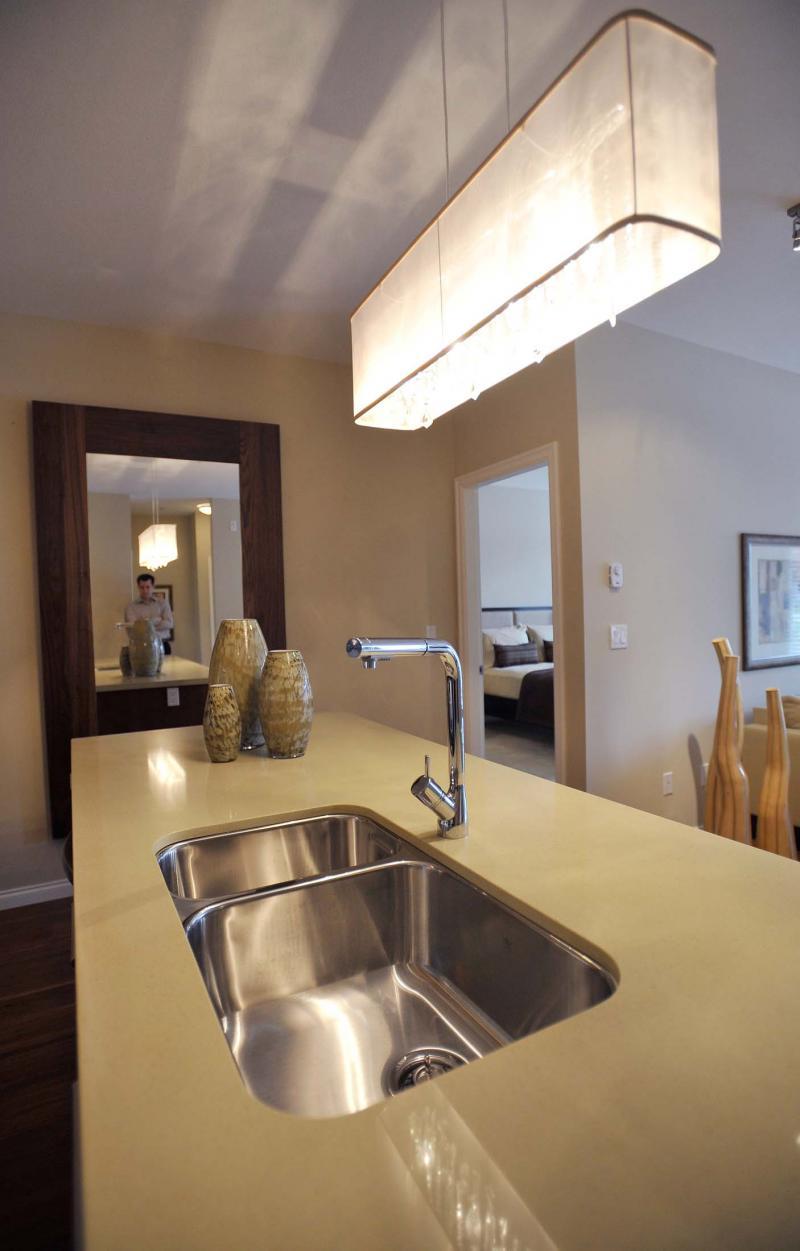
If you're installing a new sink on an existing cast iron drain, there are a few extra steps involved. However, with the right tools and materials, this can be done easily. Before installing the sink, make sure the drain opening on the sink matches the size of the cast iron drain. If they don't match, you may need to use a drain adapter to connect them. Once the sink is in place, use a level to make sure it is even. Then, secure it to the countertop using clamps or brackets. Next, follow the steps mentioned earlier to connect the sink to the cast iron pipe and drain.3. Installing a Kitchen Sink on a Cast Iron Drain


3. Installing a Kitchen Sink on a Cast Iron Drain
:max_bytes(150000):strip_icc()/how-to-install-a-sink-drain-2718789-hero-24e898006ed94c9593a2a268b57989a3.jpg)


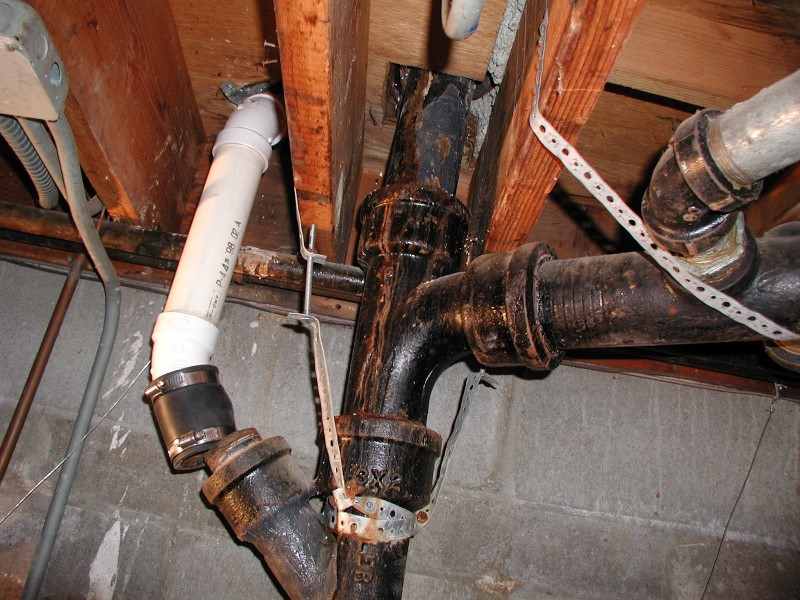
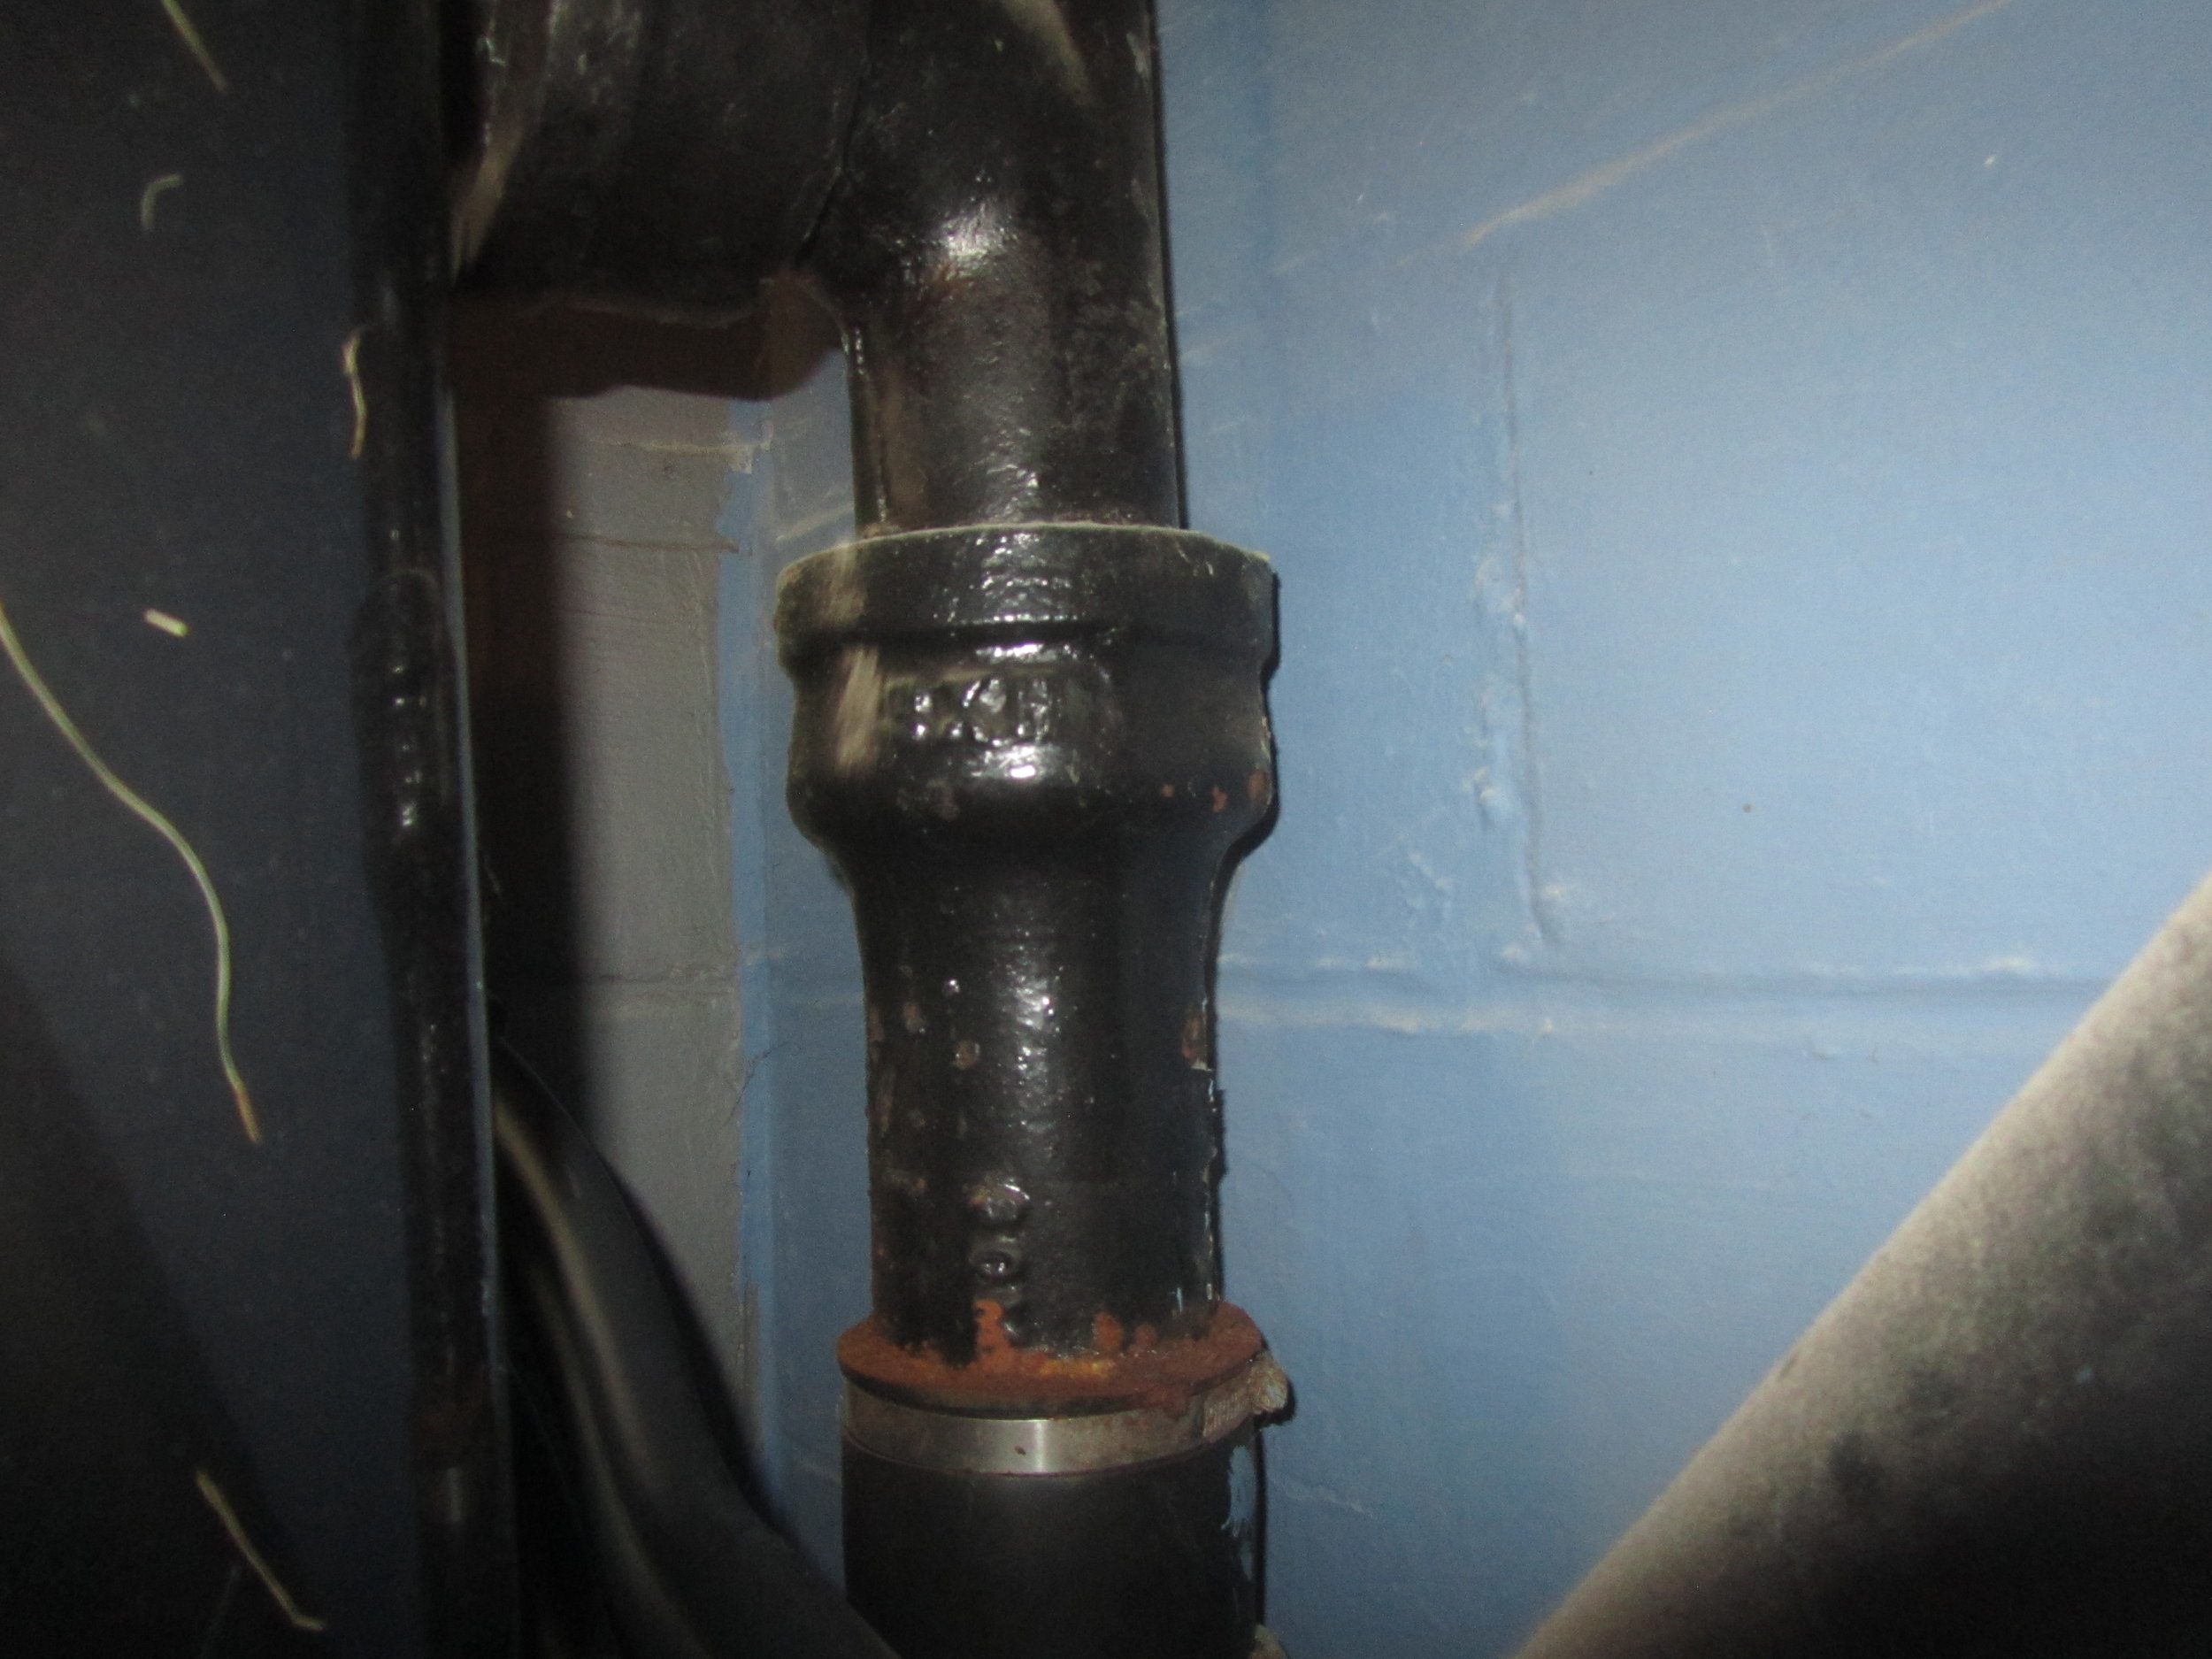
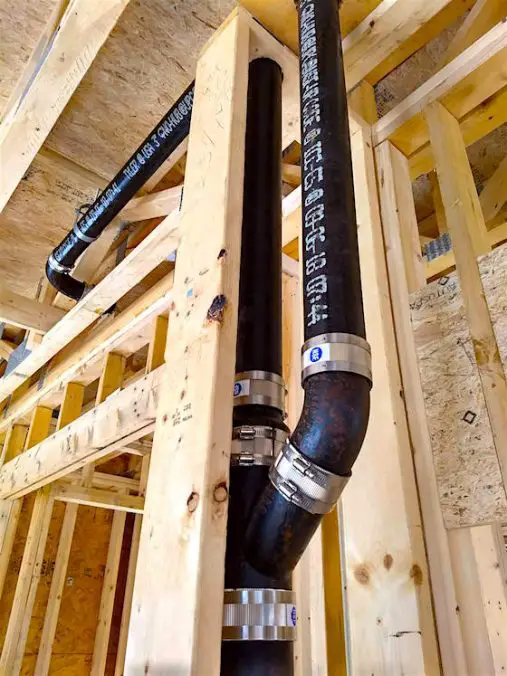
A waste pipe is responsible for carrying wastewater from the sink to the main sewer line. Connecting the kitchen sink to this pipe is crucial for proper drainage and preventing any plumbing issues. To connect the sink to the waste pipe, you will need to use a waste pipe connector. This will create a tight seal between the sink's drain and the waste pipe. Make sure to follow the manufacturer's instructions when using the connector. Once it is securely attached, test the sink by running water down the drain.4. Connecting a Kitchen Sink to a Cast Iron Waste Pipe


4. Connecting a Kitchen Sink to a Cast Iron Waste Pipe


Plumbing a kitchen sink to a cast iron drain may seem like a daunting task, but with the right tools and techniques, it can be done easily. Start by removing the old sink and cleaning the area where the new sink will be installed. Then, follow the steps mentioned earlier to connect the sink to the cast iron pipe and drain. Make sure to check for any leaks and tighten connections if necessary. Once everything is securely in place, you can move on to installing the faucets and other fixtures.5. How to Plumb a Kitchen Sink to a Cast Iron Drain


5. How to Plumb a Kitchen Sink to a Cast Iron Drain


The process of connecting a kitchen sink to a cast iron pipe may vary depending on the specific setup and materials used. However, here are some general steps that can guide you through the process: - Measure and cut the cast iron pipe to the appropriate length - Apply pipe joint compound to the end of the pipe - Connect the pipe to the sink's drain using a PVC coupler - Attach a drain trap to the bottom of the sink's drain - Use a rubber coupler to connect the trap to the cast iron drain - Test the sink for any leaks and make adjustments if necessary6. Steps for Connecting a Kitchen Sink to a Cast Iron Pipe

6. Steps for Connecting a Kitchen Sink to a Cast Iron Pipe


Here are some helpful tips to keep in mind when plumbing a kitchen sink to a cast iron drain: - Wear protective gear, such as gloves and goggles, when handling the cast iron pipe - Use pipe joint compound to create a tight seal and prevent leaks - Make sure all connections are secure and there are no gaps - Test the sink for leaks before installing any fixtures or hardware7. Tips for Plumbing a Kitchen Sink to a Cast Iron Drain


7. Tips for Plumbing a Kitchen Sink to a Cast Iron Drain


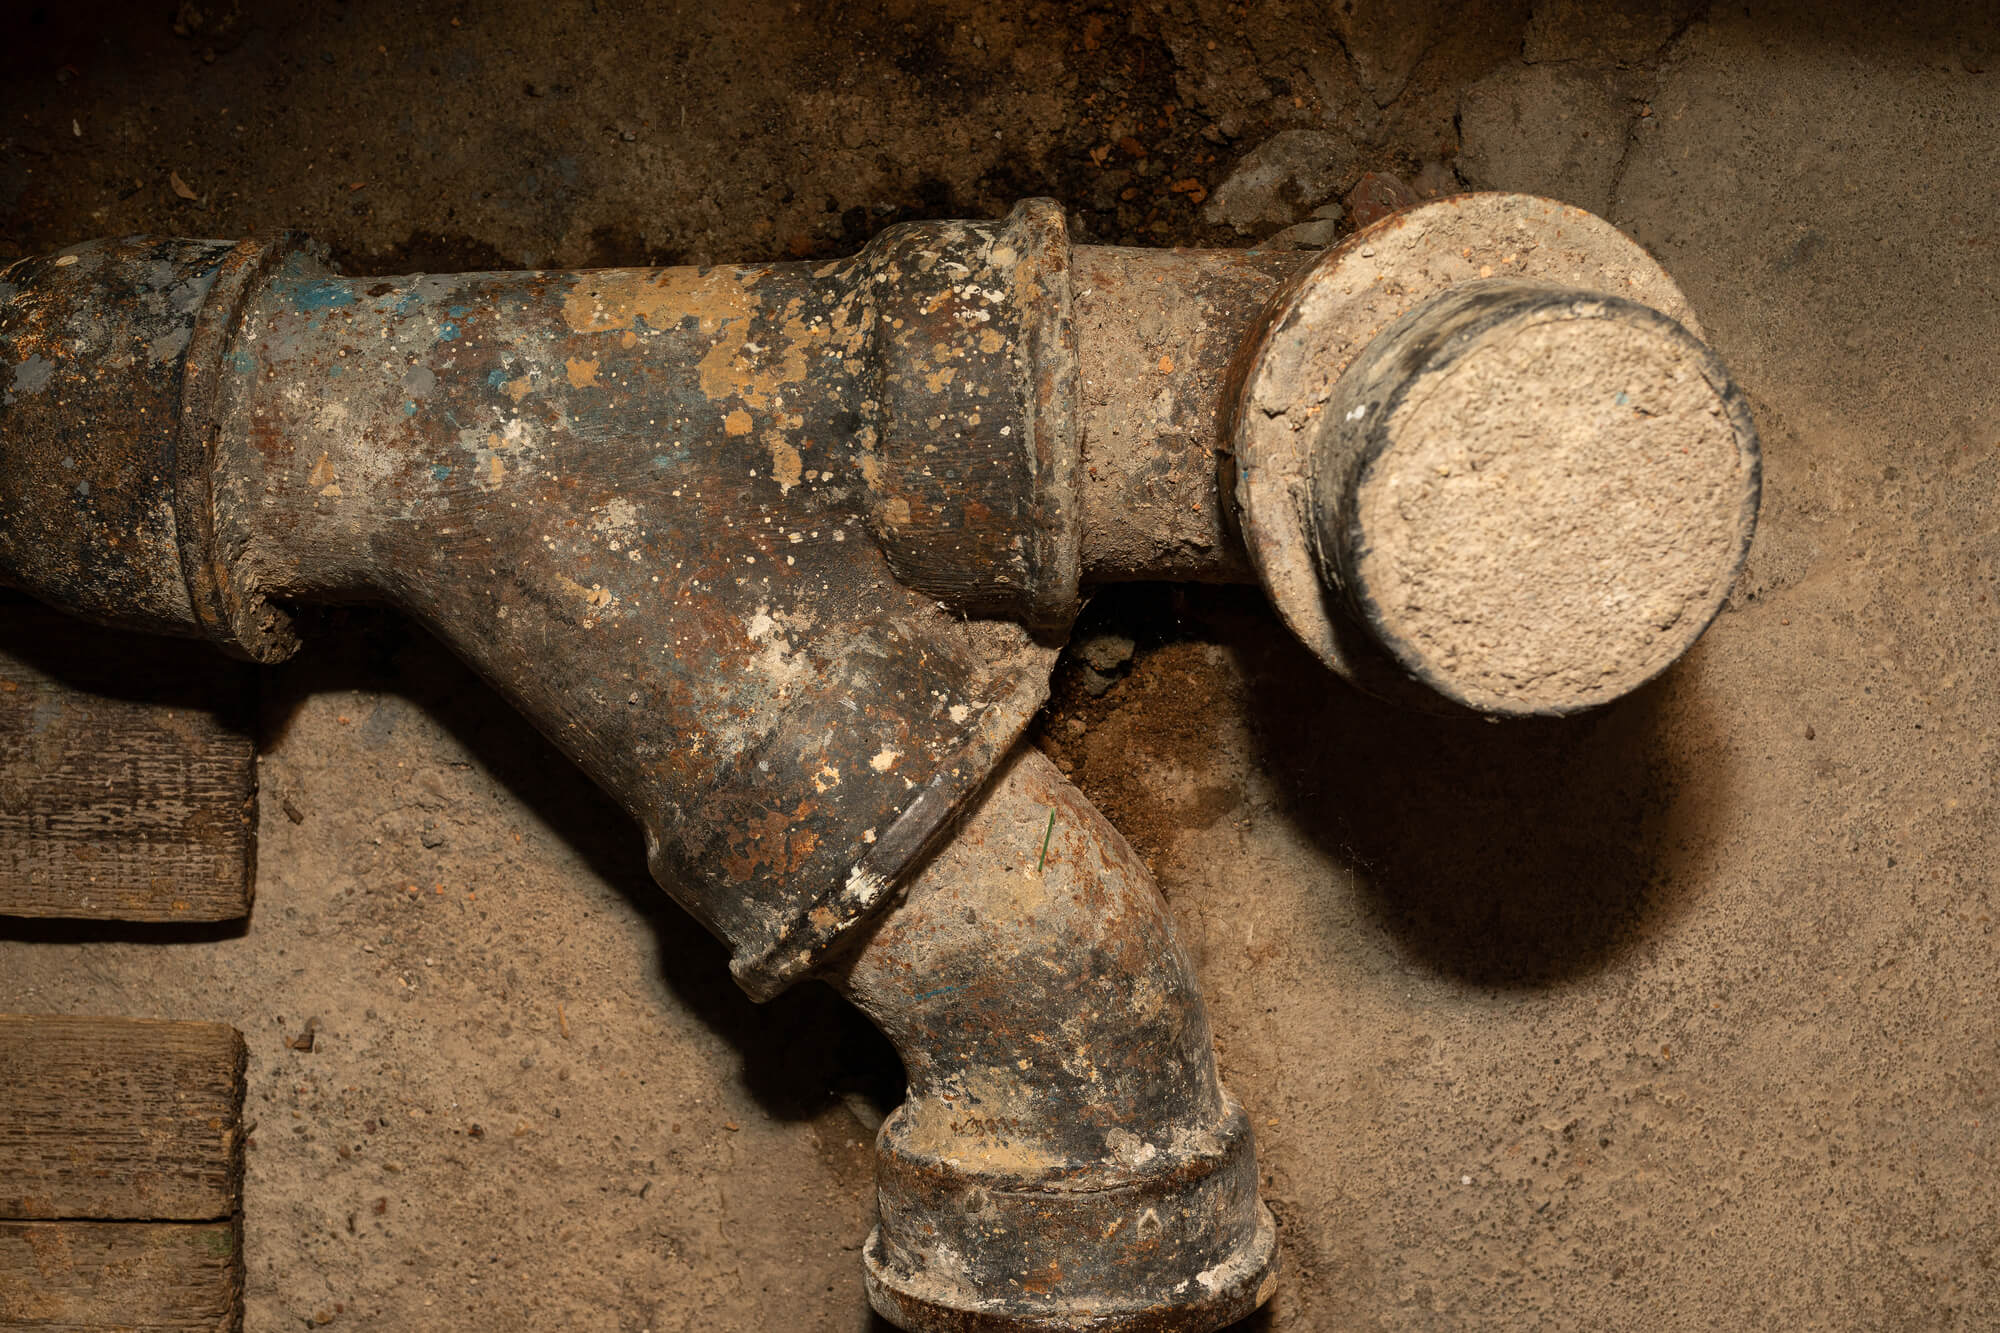
While connecting a kitchen sink to a cast iron pipe may seem straightforward, there are some common issues that may arise during the process. These include: - Leaks due to loose connections or gaps between pipes - Difficulty in cutting and fitting the cast iron pipe - Mismatched sizes between the sink's drain and the cast iron pipe To avoid these issues, make sure to follow the steps carefully and use the appropriate tools and materials for the job.8. Common Issues When Connecting a Kitchen Sink to a Cast Iron Pipe

8. Common Issues When Connecting a Kitchen Sink to a Cast Iron Pipe


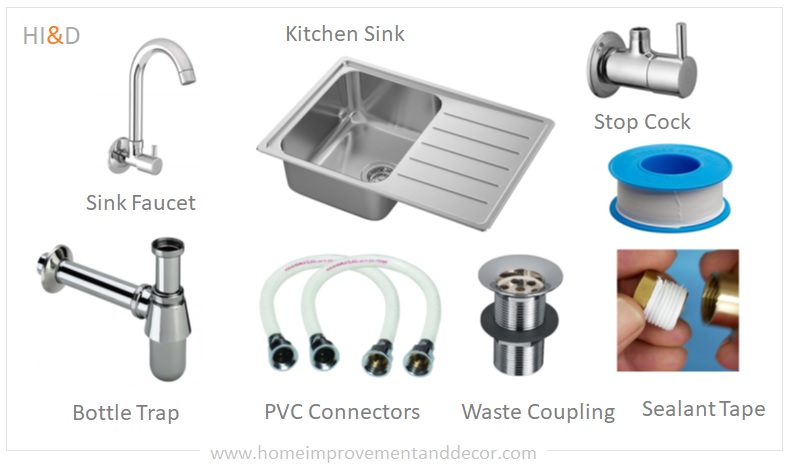
Before starting the plumbing process, it's important to gather all the necessary tools and materials. Here's a list of items you may need: - Cast iron pipe cutter - PVC coupler - Pipe joint compound - Rubber coupler - Drain trap - Waste pipe connector - Drain adapter (if needed) - Level - Clamps or brackets9. Tools and Materials Needed for Plumbing a Kitchen Sink to a Cast Iron Drain
9. Tools and Materials Needed for Plumbing a Kitchen Sink to a Cast Iron Drain


If you're a DIY enthusiast and want to take on the task of connecting a kitchen sink to a cast iron waste pipe, here's a simple guide to get you started: - Measure and cut the cast iron pipe to the appropriate length - Apply pipe joint compound to the end of the pipe - Connect the pipe to the sink's drain using a PVC coupler - Attach a waste pipe connector to the sink's drain - Connect the waste pipe connector to the cast iron waste pipe - Test the sink for leaks and make adjustments if necessary - Install the faucet and other fixtures10. DIY Guide for Connecting a Kitchen Sink to a Cast Iron Waste Pipe

10. DIY Guide for Connecting a Kitchen Sink to a Cast Iron Waste Pipe


Introduction to Plumbing a Kitchen Sink to Cast Iron
Understanding the Importance of Proper Plumbing in House Design
 Plumbing is an essential aspect of any house design, and it plays a crucial role in the functionality and efficiency of a home. One of the most important areas in a house that requires proper plumbing is the kitchen, and specifically, the kitchen sink. A kitchen sink that is not properly connected to the rest of the plumbing system can lead to a multitude of problems, including leaks, clogs, and even structural damage. In this article, we will focus on the process of plumbing a kitchen sink to cast iron pipes, and how it can improve the overall design and functionality of your kitchen.
The Benefits of Using Cast Iron Pipes for Kitchen Sink Plumbing
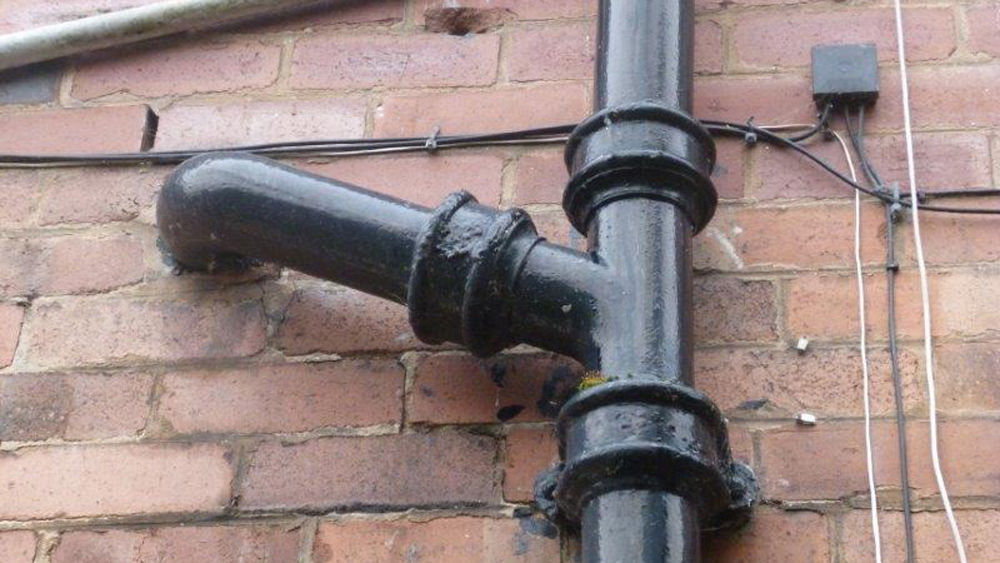
 When it comes to choosing the type of pipes for your kitchen sink, there are various options available. However, one of the most popular and reliable choices is cast iron pipes. These pipes are known for their durability and long lifespan, making them a cost-effective choice in the long run. They are also resistant to rust and corrosion, ensuring that your kitchen sink remains leak-free for years to come. Additionally, cast iron pipes are excellent for soundproofing, making them a perfect choice for a noisy kitchen.
The Step-by-Step Process of Plumbing a Kitchen Sink to Cast Iron Pipes
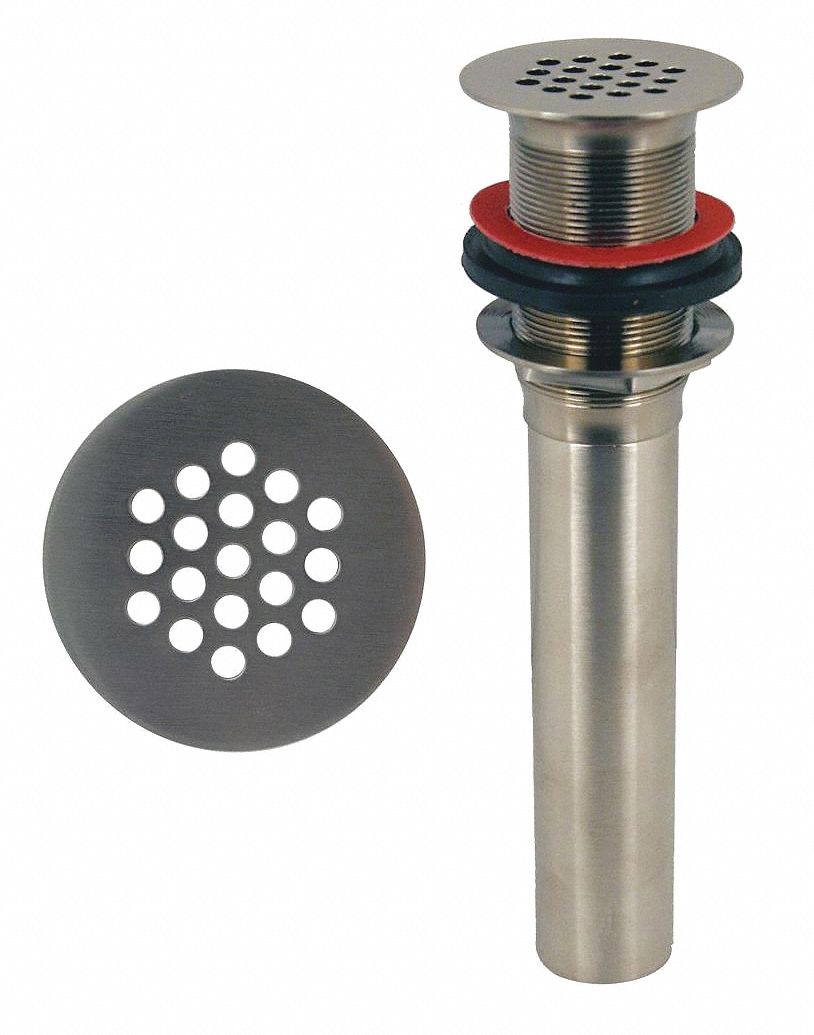
 Now that we understand the importance of proper plumbing and the benefits of using cast iron pipes, let us delve into the process of connecting a kitchen sink to these pipes. The first step is to ensure that you have all the necessary tools and materials, including a drain assembly, plumber's putty, and Teflon tape. Next, you will need to remove the old pipes and clean the area thoroughly. Then, using the plumber's putty, create a seal between the sink and the drain assembly. Once the seal is in place, use Teflon tape to secure the connections between the pipes and the sink. Finally, connect the pipes to the cast iron pipes using appropriate fittings, and your kitchen sink is now properly plumbed to the rest of your house's plumbing system.
Conclusion
 Overall, proper plumbing of a kitchen sink to cast iron pipes is crucial for the efficient and functional design of your kitchen. By following the steps outlined in this article, you can ensure that your kitchen sink remains leak-free and problem-free for years to come. Make sure to use high-quality materials and hire a professional plumber if needed to ensure the best results. With proper plumbing, you can enjoy a beautiful and functional kitchen that adds value to your home.