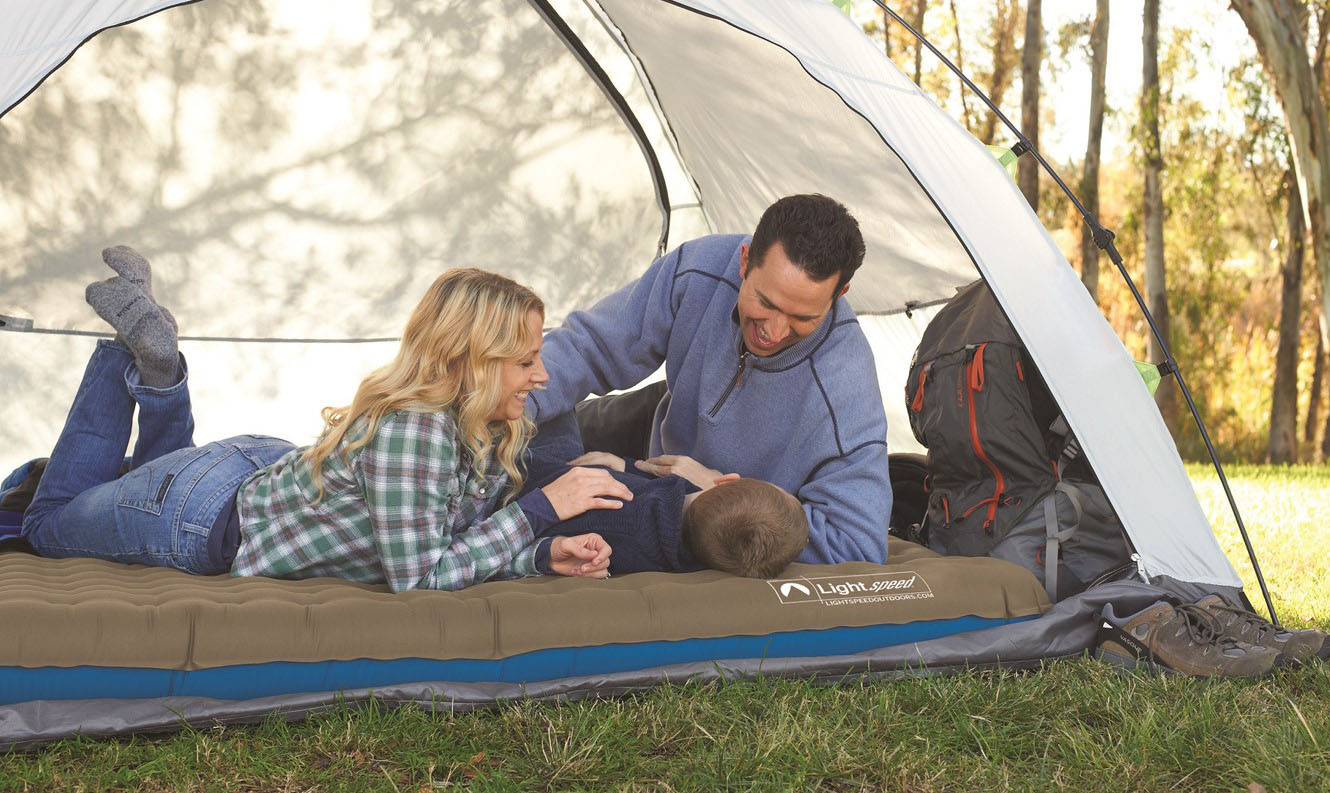
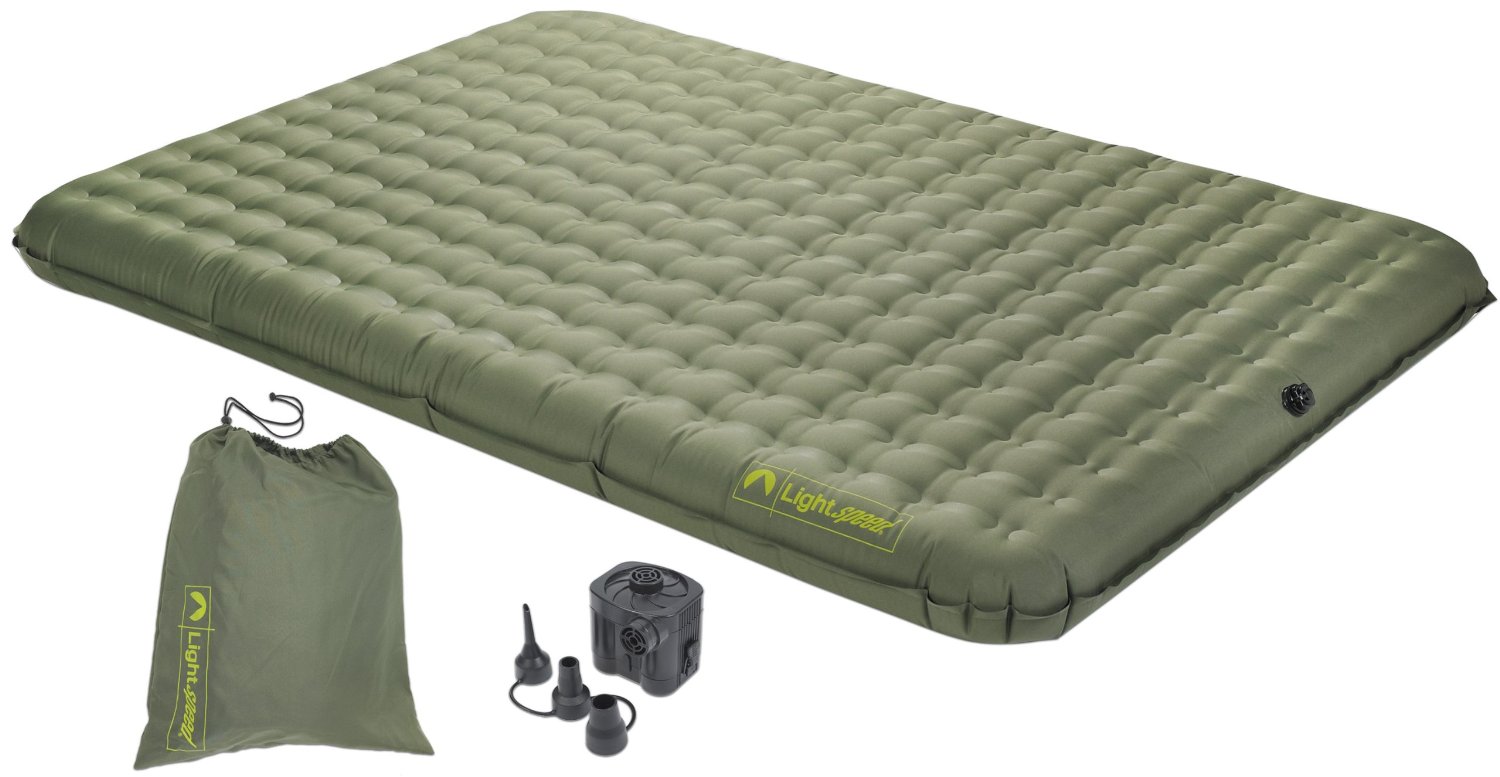
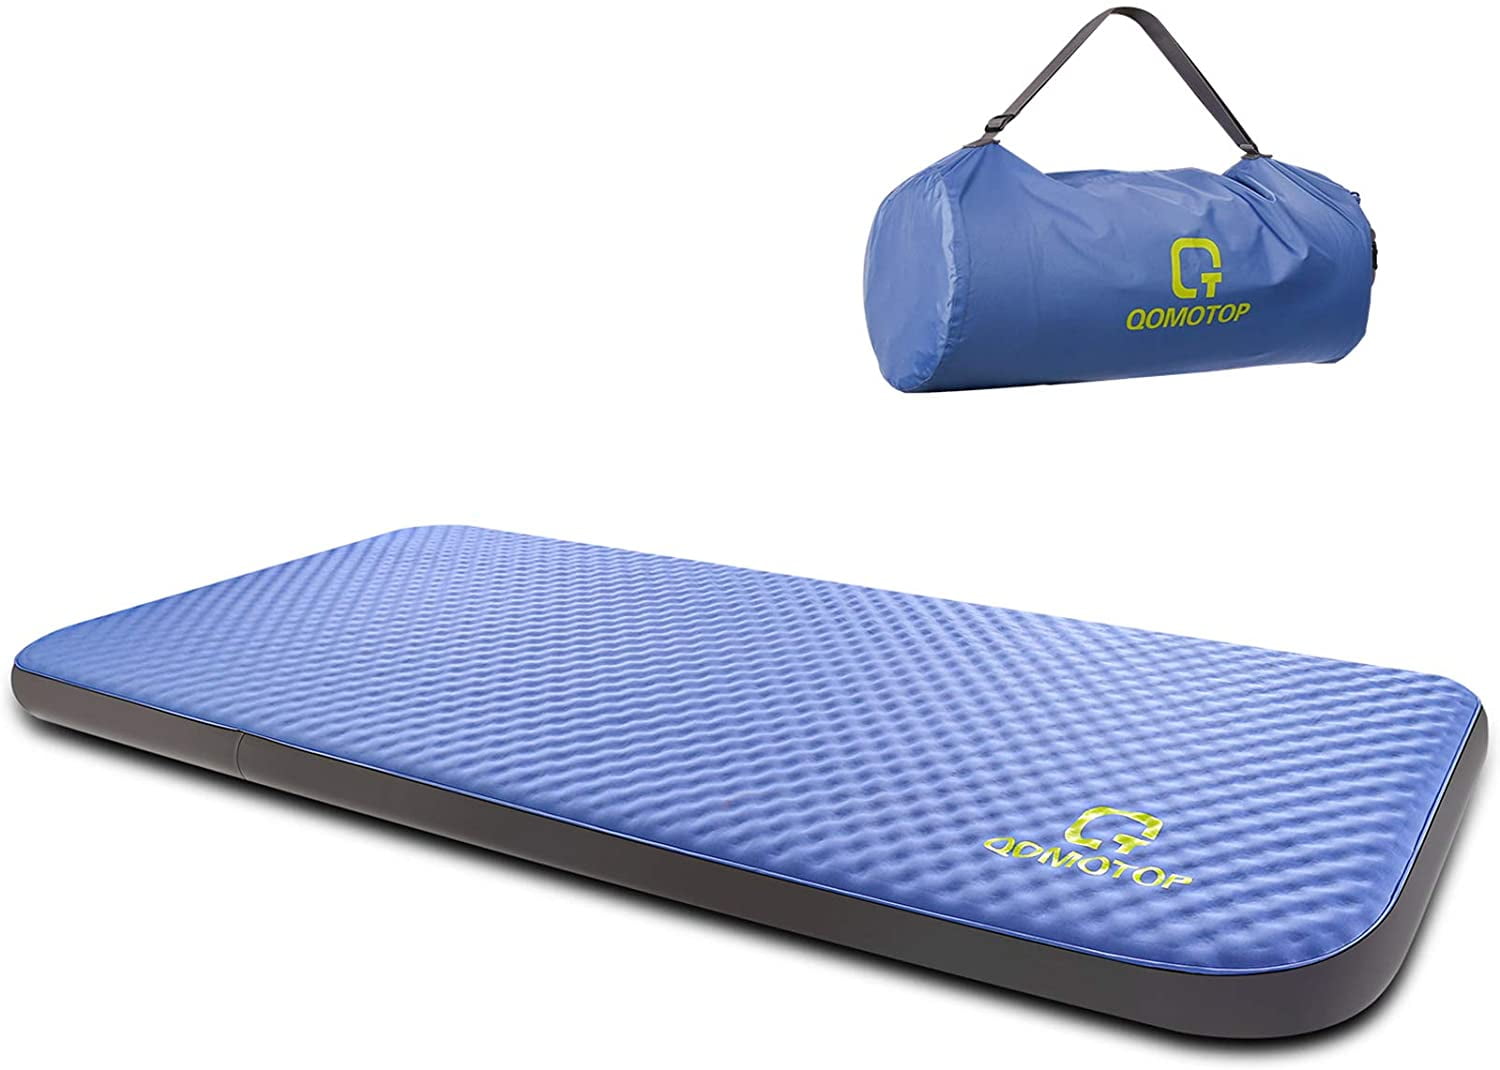
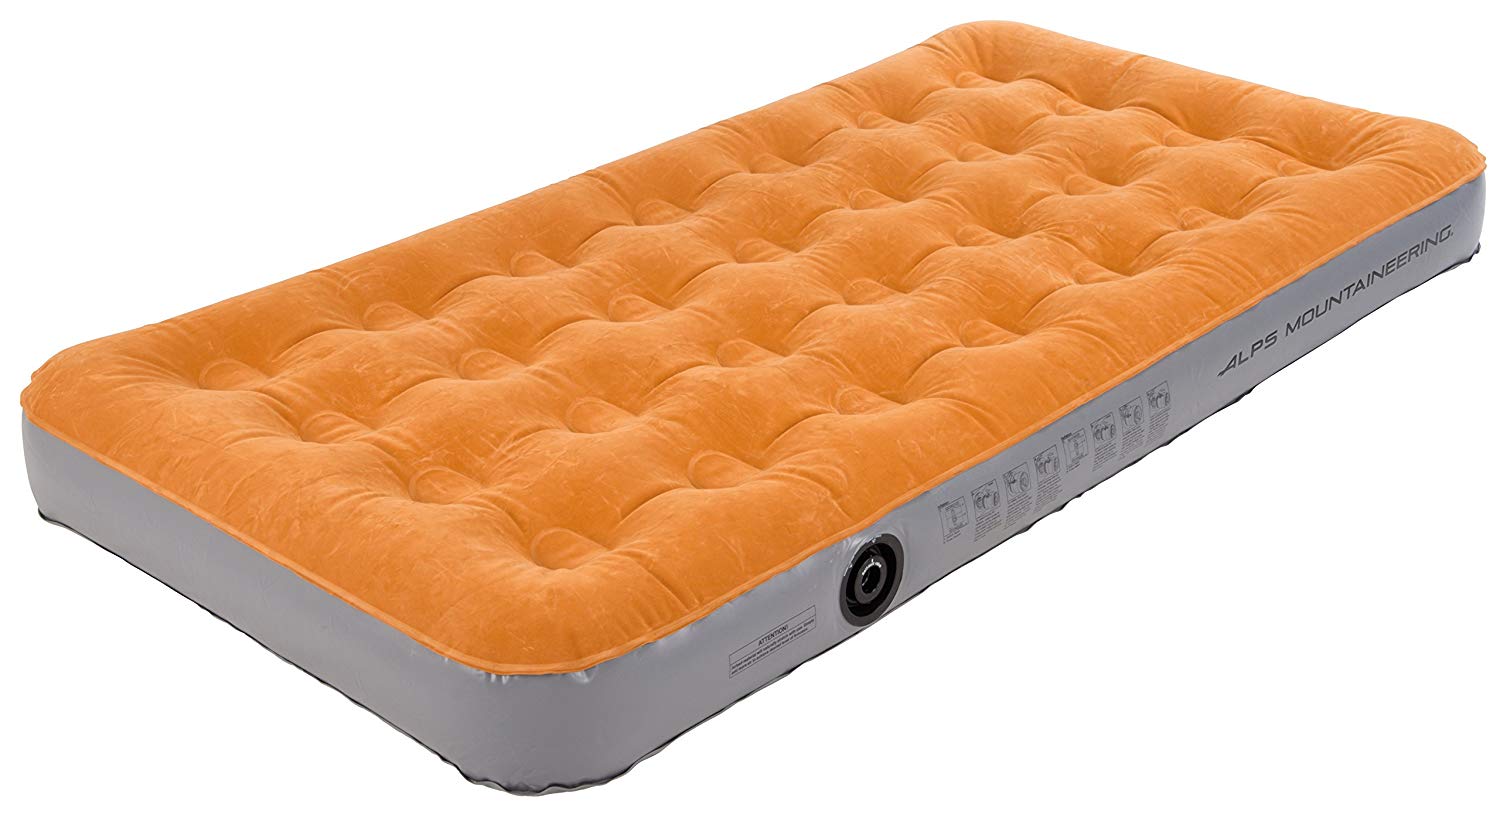
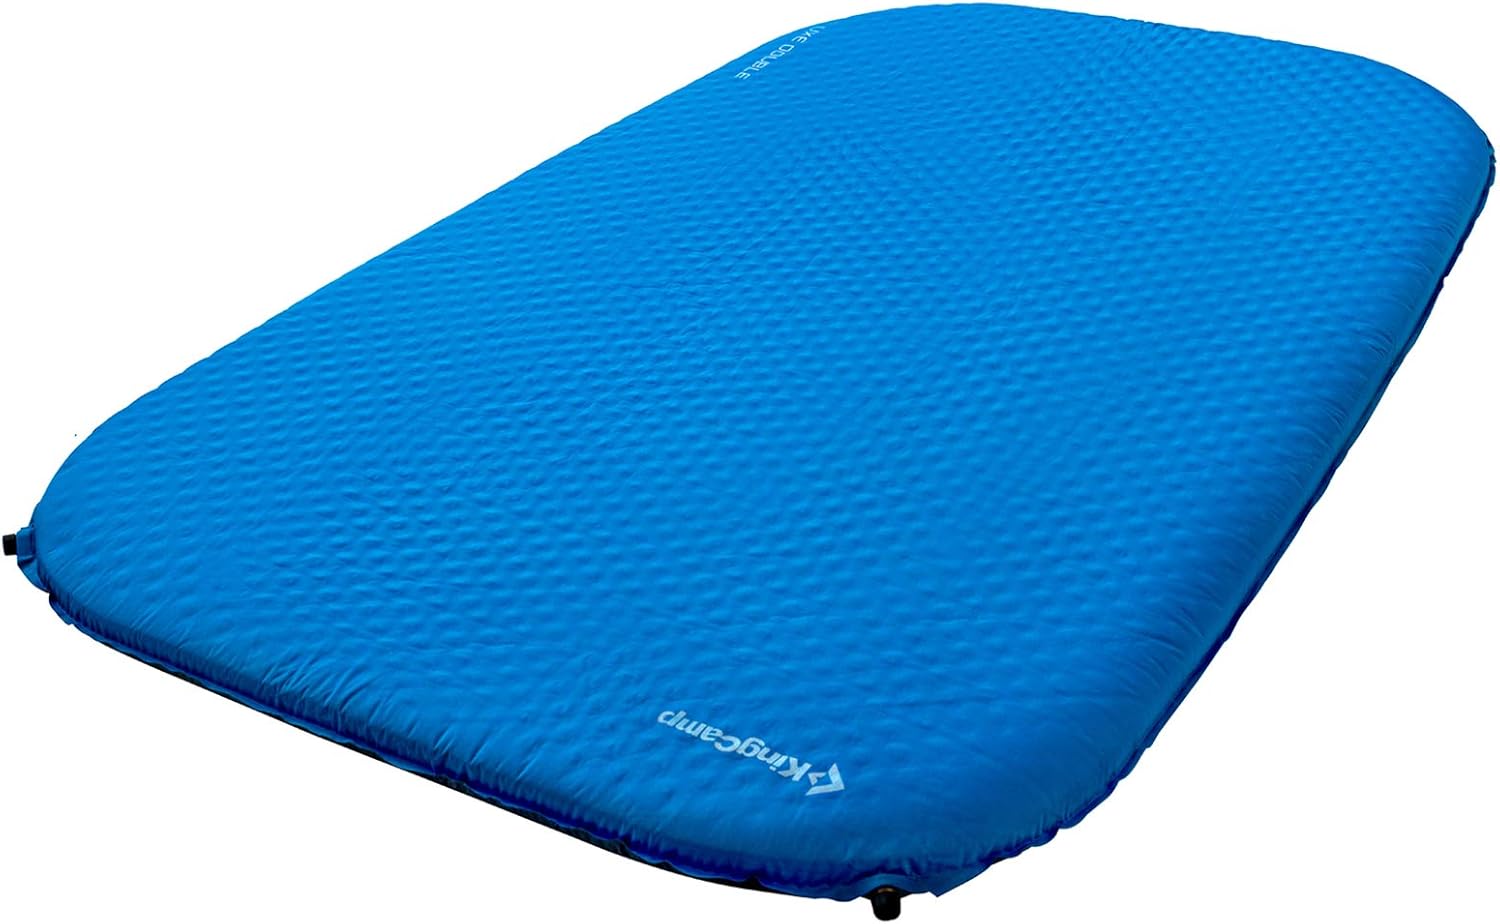
Having a comfortable air mattress is essential for a good night's sleep while camping. However, accidents can happen, and your air mattress may get punctured. Don't worry; patching a camping air mattress is a simple process that can save you from having to buy a new one. Here's how to patch a camping air mattress in 10 easy steps.How to Patch a Camping Air Mattress


How to Patch a Camping Air Mattress


When it comes to patching a camping air mattress, there are a few different methods you can use. Some people prefer using a repair kit, while others opt for a DIY approach. The best way to patch a camping air mattress will depend on the type of damage and your personal preference. Let's explore the different options available.Best Way to Patch a Camping Air Mattress


Best Way to Patch a Camping Air Mattress


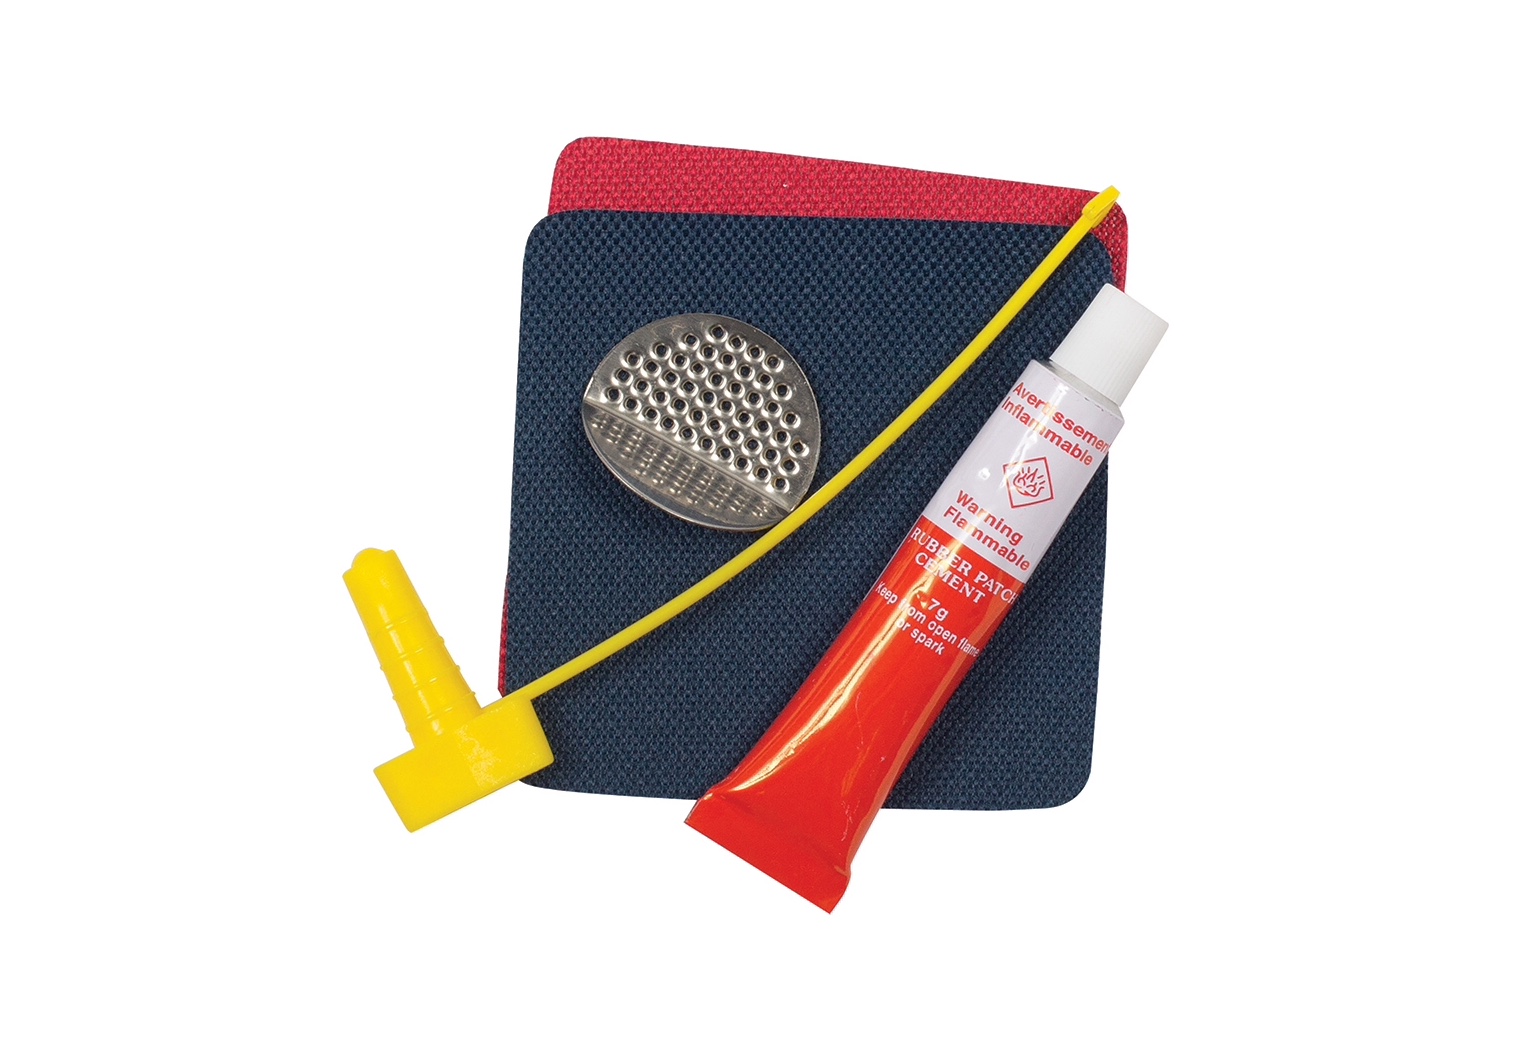
If you want a quick and easy solution, a camping air mattress repair kit is your best bet. These kits usually come with everything you need to patch your mattress, including adhesive patches, a brush, and instructions. The patches are specifically designed for air mattresses, making them durable and long-lasting. Keep a repair kit handy in your camping gear, so you're prepared for any unexpected punctures.Camping Air Mattress Repair Kit


Camping Air Mattress Repair Kit


If you're feeling crafty and want to save some money, you can create your own DIY camping air mattress patch. All you need is a piece of durable material, such as rubber or vinyl, and some adhesive. Cut the material into a patch that's slightly larger than the puncture, and use the adhesive to secure it in place. This method may not be as effective as using a repair kit, but it can do the job in a pinch.DIY Camping Air Mattress Patch
DIY Camping Air Mattress Patch


Whether you're using a repair kit or a DIY patch, there are a few tips you should keep in mind to ensure a successful patch. First, make sure the area around the puncture is clean and dry before applying the patch. This will ensure that the adhesive sticks properly. Also, be sure to smooth out any air bubbles under the patch to ensure a tight seal. If the puncture is on the seam, reinforce the patch with some extra adhesive for added durability.Camping Air Mattress Patching Tips

Camping Air Mattress Patching Tips

There are a few different techniques you can use when patching a camping air mattress. One method is to use a brush to apply the adhesive directly onto the puncture before placing the patch on top. Another technique is to apply the adhesive to the patch first and then place it over the puncture. Whichever method you choose, be sure to follow the instructions provided with your repair kit or adhesive.Camping Air Mattress Patching Techniques

Camping Air Mattress Patching Techniques


Aside from a repair kit or adhesive, there are a few other supplies you may need when patching a camping air mattress. These include a pair of scissors to cut the patch to size, a brush to apply the adhesive, and some sandpaper to roughen up the surface around the puncture for better adhesion. Keep these supplies handy to make the patching process as smooth as possible.Camping Air Mattress Patching Supplies

Camping Air Mattress Patching Supplies

If you're new to patching a camping air mattress, you may be wondering how to do it correctly. Luckily, there are plenty of tutorials available online that can guide you through the process. You can also find step-by-step instructions included with most repair kits. Take some time to familiarize yourself with the process before your next camping trip, so you're prepared in case your air mattress gets damaged.Camping Air Mattress Patching Tutorial


Camping Air Mattress Patching Tutorial


While the exact steps for patching a camping air mattress may vary depending on the method you choose, here's a general step-by-step guide to help you through the process: Step 1: Clean and dry the area around the puncture. Step 2: If using a repair kit, follow the instructions to apply the adhesive and patch. If using a DIY patch, apply adhesive to the patch and place it over the puncture. Step 3: Smooth out any air bubbles and press the patch firmly onto the puncture. Step 4: Let the adhesive dry completely before inflating the air mattress. Step 5: If the patch is on the seam, reinforce it with extra adhesive for added durability.Camping Air Mattress Patching Step-by-Step Guide
Camping Air Mattress Patching Step-by-Step Guide


The materials you use to patch your camping air mattress can make a big difference in the effectiveness and longevity of the patch. For the best results, look for adhesive patches specifically designed for air mattresses. These patches are made of durable materials that can withstand the wear and tear of camping trips. You can also use a strong adhesive, such as rubber cement, to create a DIY patch. With these tips and techniques, you can confidently patch your camping air mattress and get back to enjoying your outdoor adventures. Remember to always be prepared with a repair kit or DIY supplies, and keep these tips in mind for a successful patching experience. Happy camping!Camping Air Mattress Patching Materials
Camping Air Mattress Patching Materials
Patching a Camping Air Mattress: Essential Tips and Tricks
Why is Patching Your Camping Air Mattress Important?
 Patching your camping air mattress is an essential task that every outdoor enthusiast should know how to do. A leak in your air mattress can ruin your camping trip and leave you with an uncomfortable and sleepless night. Not to mention, a damaged air mattress can be a safety hazard, especially if you are camping in remote areas. Therefore, it is crucial to learn how to patch a camping air mattress to ensure a comfortable and safe camping experience.
What You Will Need
 Before we dive into the process of patching a camping air mattress, it is essential to gather all the necessary materials. You will need a patch kit specifically designed for air mattresses, which usually includes patches and adhesive. You will also need rubbing alcohol, a cloth, and scissors. It is best to have these materials ready in your camping gear to avoid any last-minute hassles.
The Patching Process
 Now that you have all the materials, it's time to patch your camping air mattress. The first step is to locate the leak. Inflate your air mattress and listen for any hissing sounds or feel for any escaping air. Once you have identified the leak, deflate the mattress and clean the area with rubbing alcohol using a cloth. Make sure the area is completely dry before proceeding to the next step.
Next, take your patch and cut it to a size that can cover the leak with at least an inch of extra space on all sides. Apply a thin layer of adhesive on the patch and on the damaged area of the mattress. Let the adhesive sit for a few minutes until it becomes tacky. Then, carefully place the patch over the leak and press down firmly, making sure there are no air bubbles.
Once the patch is secure, let it dry for at least an hour before inflating the mattress again. It is recommended to leave the patched mattress for 24 hours before using it to ensure the patch has properly adhered to the surface.
Now that you have all the materials, it's time to patch your camping air mattress. The first step is to locate the leak. Inflate your air mattress and listen for any hissing sounds or feel for any escaping air. Once you have identified the leak, deflate the mattress and clean the area with rubbing alcohol using a cloth. Make sure the area is completely dry before proceeding to the next step.
Next, take your patch and cut it to a size that can cover the leak with at least an inch of extra space on all sides. Apply a thin layer of adhesive on the patch and on the damaged area of the mattress. Let the adhesive sit for a few minutes until it becomes tacky. Then, carefully place the patch over the leak and press down firmly, making sure there are no air bubbles.
Once the patch is secure, let it dry for at least an hour before inflating the mattress again. It is recommended to leave the patched mattress for 24 hours before using it to ensure the patch has properly adhered to the surface.
Preventative Measures
 While it is important to know how to patch a camping air mattress, it is equally important to take preventative measures to avoid any leaks in the first place. Always place a ground cover or tarp under your air mattress to protect it from any sharp objects on the ground. Avoid over-inflating your mattress as it can put excess pressure on the seams and cause them to weaken. And lastly, be mindful of any pets or children playing on or near the air mattress, as they can also cause damage.
Now that you know how to patch a camping air mattress, you can rest easy on your next outdoor adventure. Remember to always have a patch kit on hand and take preventative measures to ensure a comfortable and safe camping experience. Happy camping!
While it is important to know how to patch a camping air mattress, it is equally important to take preventative measures to avoid any leaks in the first place. Always place a ground cover or tarp under your air mattress to protect it from any sharp objects on the ground. Avoid over-inflating your mattress as it can put excess pressure on the seams and cause them to weaken. And lastly, be mindful of any pets or children playing on or near the air mattress, as they can also cause damage.
Now that you know how to patch a camping air mattress, you can rest easy on your next outdoor adventure. Remember to always have a patch kit on hand and take preventative measures to ensure a comfortable and safe camping experience. Happy camping!