Air mattresses are a convenient and comfortable option for sleeping arrangements, whether you're camping or hosting guests at home. However, a small hole or puncture can quickly deflate your air mattress and leave you sleeping on the hard ground. Don't worry, though - patching a hole in an air mattress is a simple and easy process. Follow these steps to get your air mattress back in top shape.How to Patch a Hole in an Air Mattress


How to Patch a Hole in an Air Mattress


Before you begin, gather your materials. You'll need a patch kit specifically designed for air mattresses, which typically includes patches, adhesive, and a patch roller. You may also need a pair of scissors and some soap and water for cleaning the area.Air Mattress Repair: How to Patch a Leak


Air Mattress Repair: How to Patch a Leak


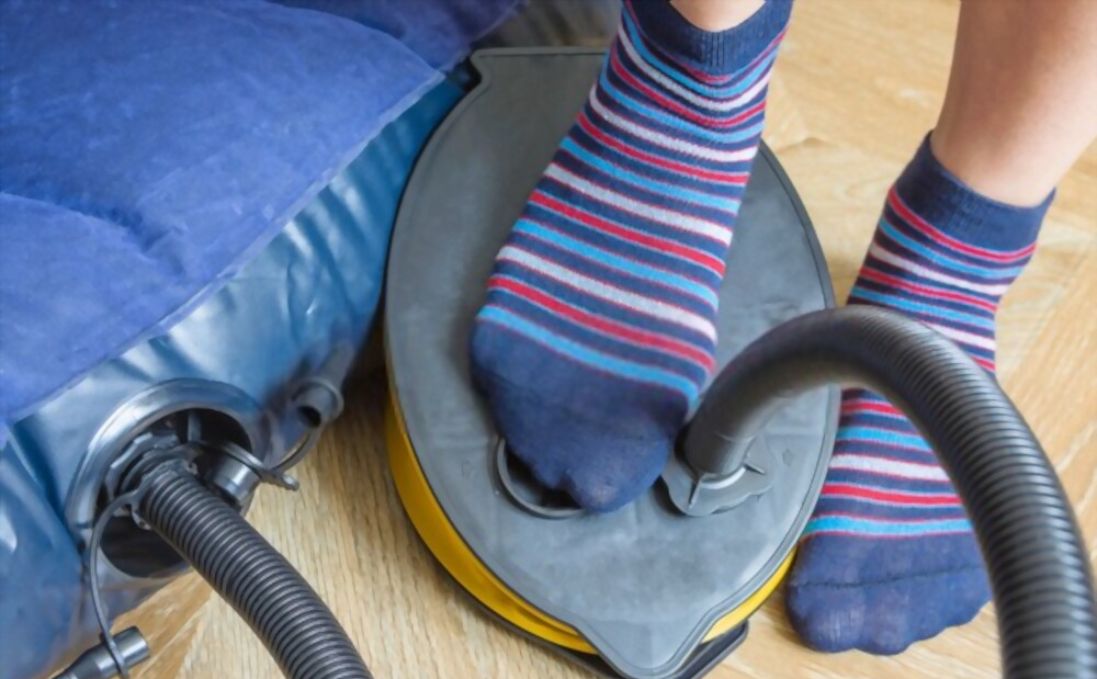
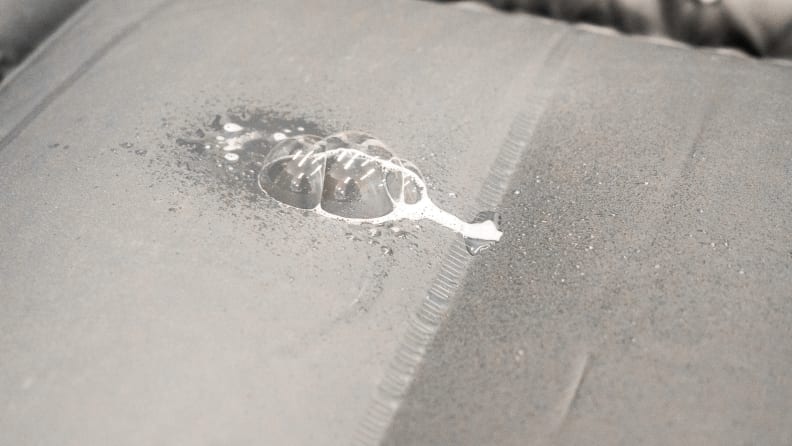
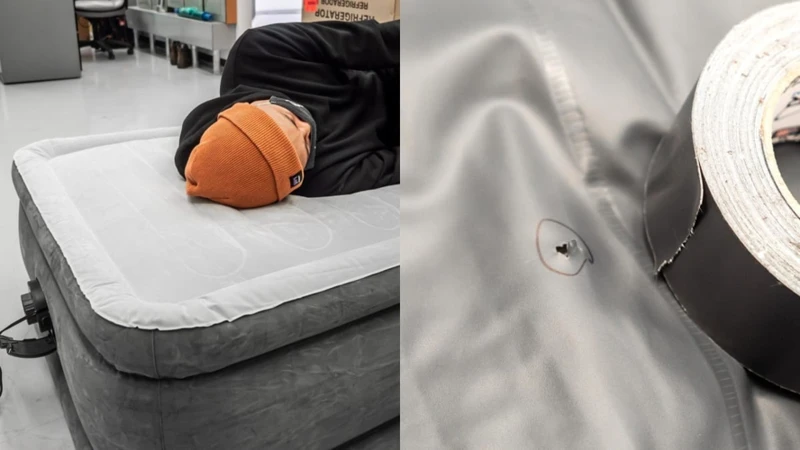
The first step is to locate the hole in your air mattress. This can be done by inflating the mattress and listening for any hissing or feeling for any escaping air. Once you have located the hole, clean the area around it with a damp cloth and some mild soap. This will ensure that the patch adheres properly.DIY: How to Fix a Hole in an Air Mattress


DIY: How to Fix a Hole in an Air Mattress


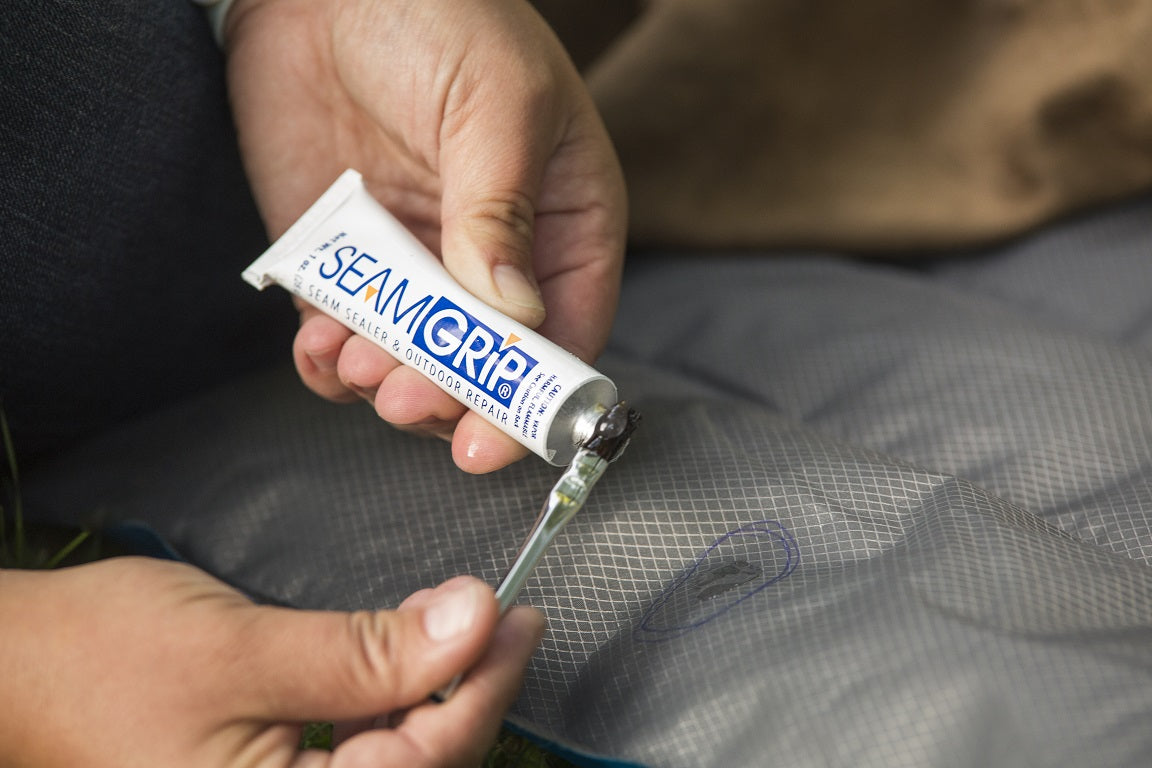
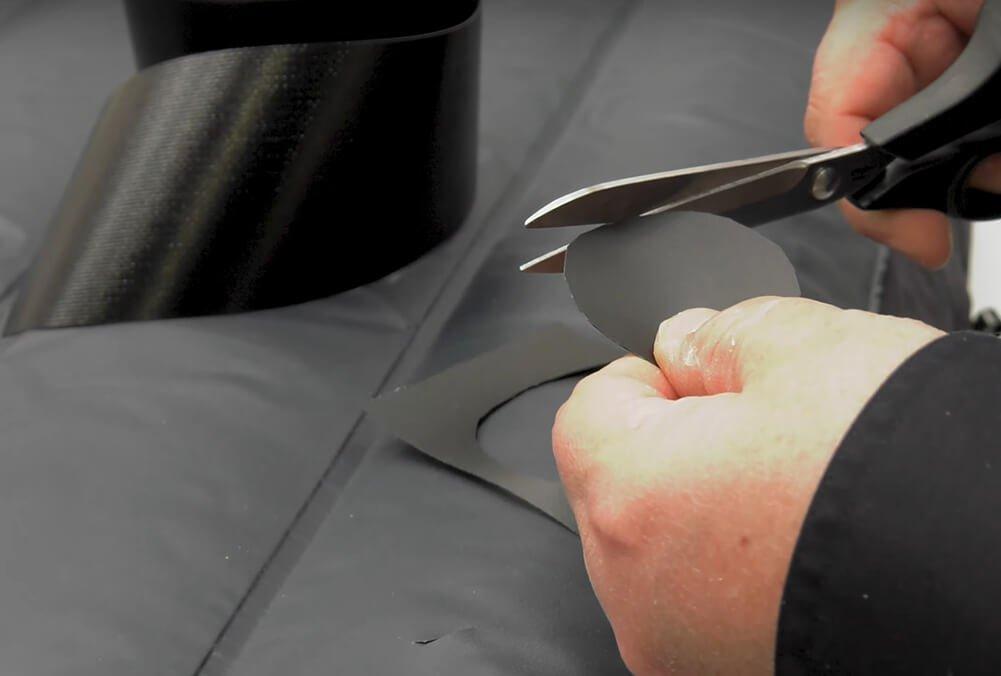
Next, cut a patch from the kit that is slightly larger than the hole. Apply a small amount of adhesive to the patch and place it over the hole, smoothing out any air bubbles. Use the patch roller to firmly press down on the patch and create a strong bond.Quick and Easy Air Mattress Patching


Quick and Easy Air Mattress Patching


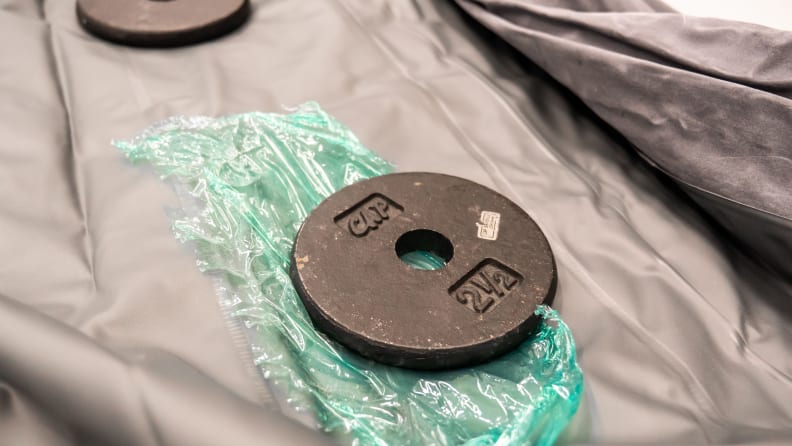
Allow the adhesive to dry completely before inflating the mattress again. It is recommended to wait at least 24 hours before using the air mattress to ensure that the patch has fully bonded. Once the adhesive is dry, inflate the mattress and check for any leaks. If there are still leaks, repeat the patching process with a new patch.Step-by-Step Guide for Patching an Air Mattress


Step-by-Step Guide for Patching an Air Mattress


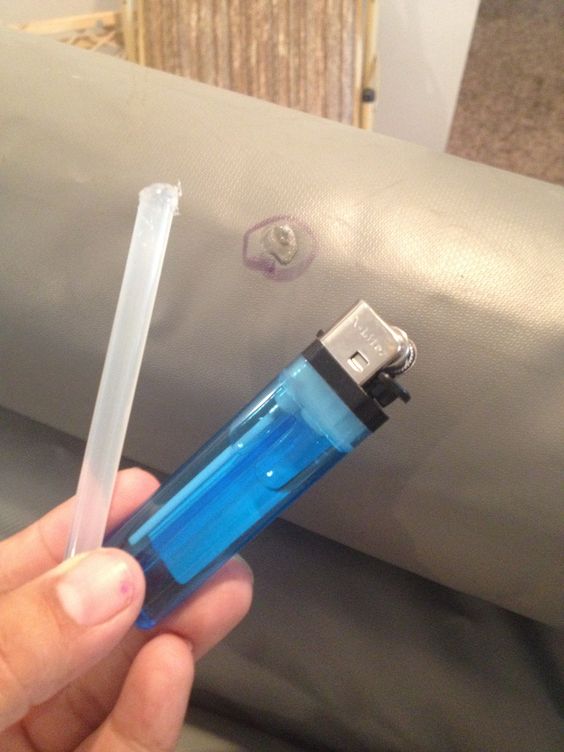
Another option for patching a hole in an air mattress is to use a hot glue gun. This method is best for smaller holes and requires a steady hand. Simply apply a small amount of hot glue to the hole and use a flat object, such as a credit card, to smooth it out and create a seal. Allow the glue to dry completely before using the air mattress.Best Methods for Repairing an Air Mattress Hole


Best Methods for Repairing an Air Mattress Hole


If you don't have a patch kit or hot glue gun on hand, there are still temporary solutions for patching an air mattress leak. Duct tape or clear packing tape can be used to cover the hole and prevent air from escaping. However, these methods are not as reliable or long-lasting as using a patch kit or hot glue.Simple Solutions for Patching an Air Mattress Leak


Simple Solutions for Patching an Air Mattress Leak


To prevent future holes and punctures, be sure to properly care for your air mattress. Avoid placing it on rough or sharp surfaces and keep it away from any sharp objects. If you're using the air mattress outdoors, place a tarp or blanket underneath it for added protection.Effective Techniques for Fixing an Air Mattress Hole


Effective Techniques for Fixing an Air Mattress Hole


If you frequently use an air mattress and find yourself needing to patch holes often, consider investing in a heavy-duty air mattress or a camping air mattress with a built-in pump. These options are typically more durable and less prone to punctures.Tips and Tricks for Patching an Air Mattress


Tips and Tricks for Patching an Air Mattress
In conclusion, patching a hole in an air mattress may seem like a daunting task, but with the right materials and techniques, it can be a quick and easy fix. Remember to allow the adhesive to dry completely and avoid placing the air mattress on rough surfaces to prevent future holes. With these tips and tricks, you can keep your air mattress in top condition for all of your sleeping needs.How to Repair a Puncture in an Air Mattress

How to Repair a Puncture in an Air Mattress


Patching a Hole in an Air Mattress: A Quick and Easy Solution

Why Patching a Hole in an Air Mattress is Important
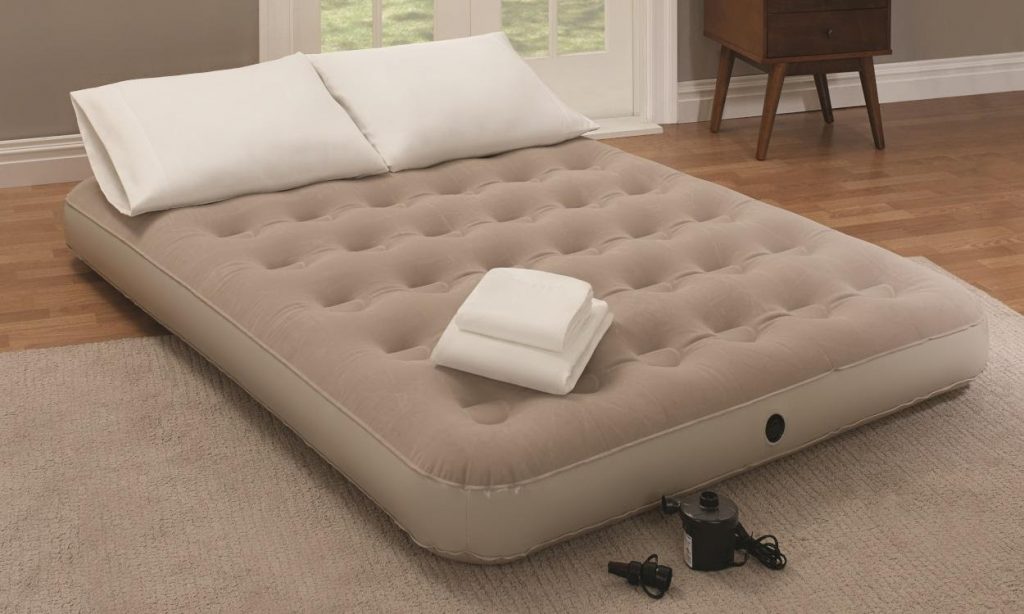
 Air mattresses
are a convenient and portable bedding option, perfect for camping trips, overnight guests, or even as a temporary bed in your own home. However, these mattresses are not immune to wear and tear, and over time, they can develop
holes
that can cause discomfort and loss of air. Not only is this a frustrating experience, but it can also be a waste of money to constantly replace your air mattress. That's why knowing how to
patch a hole
in an air mattress is essential for any air mattress owner.
Air mattresses
are a convenient and portable bedding option, perfect for camping trips, overnight guests, or even as a temporary bed in your own home. However, these mattresses are not immune to wear and tear, and over time, they can develop
holes
that can cause discomfort and loss of air. Not only is this a frustrating experience, but it can also be a waste of money to constantly replace your air mattress. That's why knowing how to
patch a hole
in an air mattress is essential for any air mattress owner.
Step-by-Step Guide to Patching a Hole in an Air Mattress
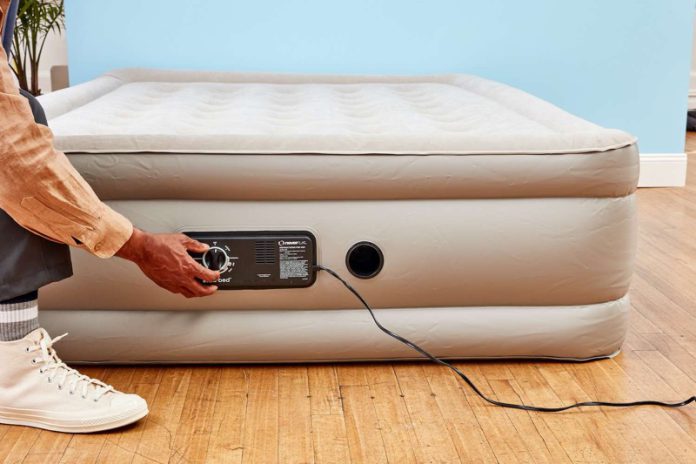
 Step 1: Locate the Hole
The first step in patching a hole in an air mattress is to find the
source of the leak
. This can be done by inflating the mattress and listening for the sound of escaping air or by using a soapy water solution to identify bubbles.
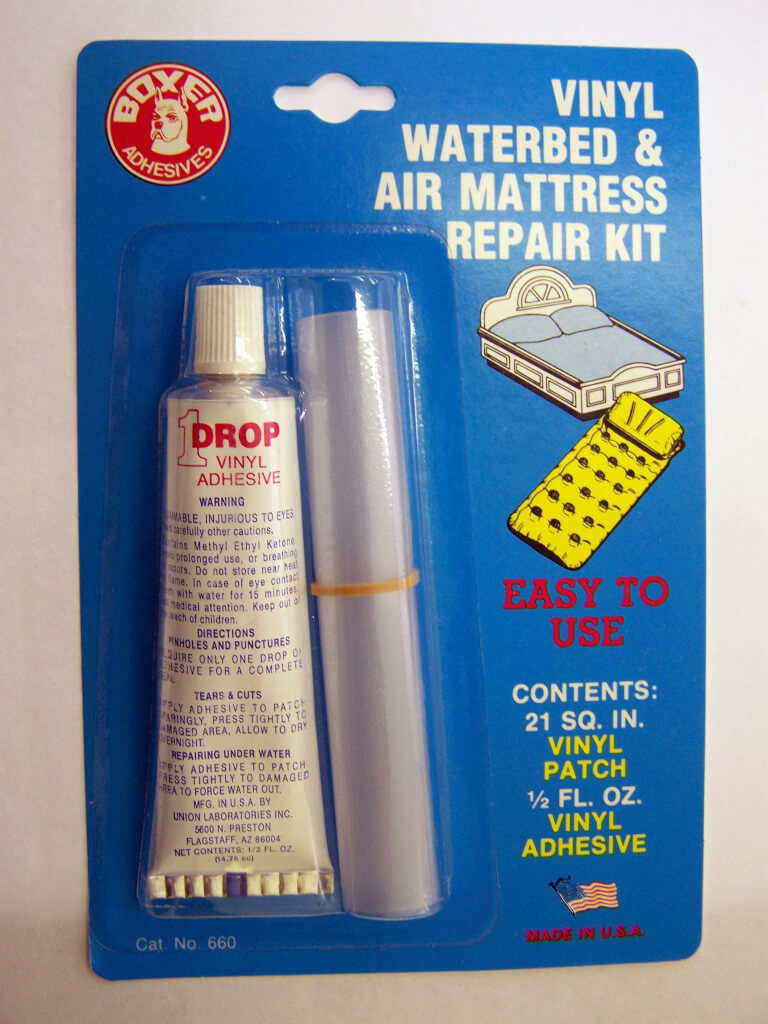
Step 2: Gather Your Materials
To
patch the hole
, you will need a patch kit specifically designed for air mattresses. These kits usually come with a patch and adhesive.
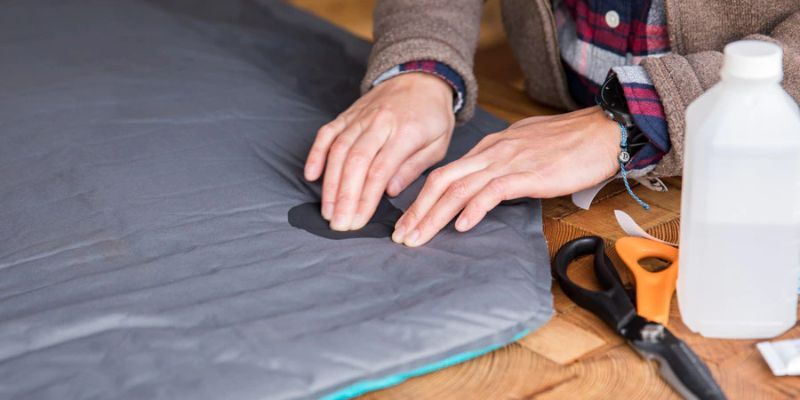
Step 3: Prepare the Surface
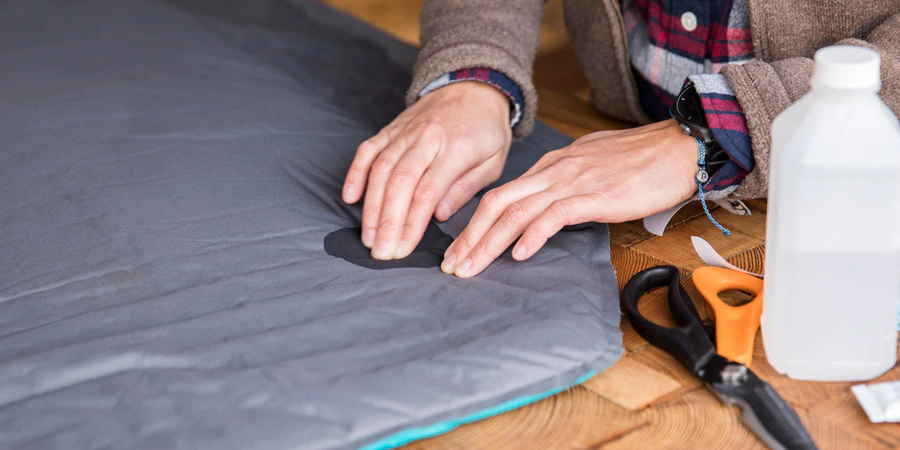
Before applying the patch, make sure to clean the area around the hole with rubbing alcohol. This will ensure that the adhesive sticks properly.
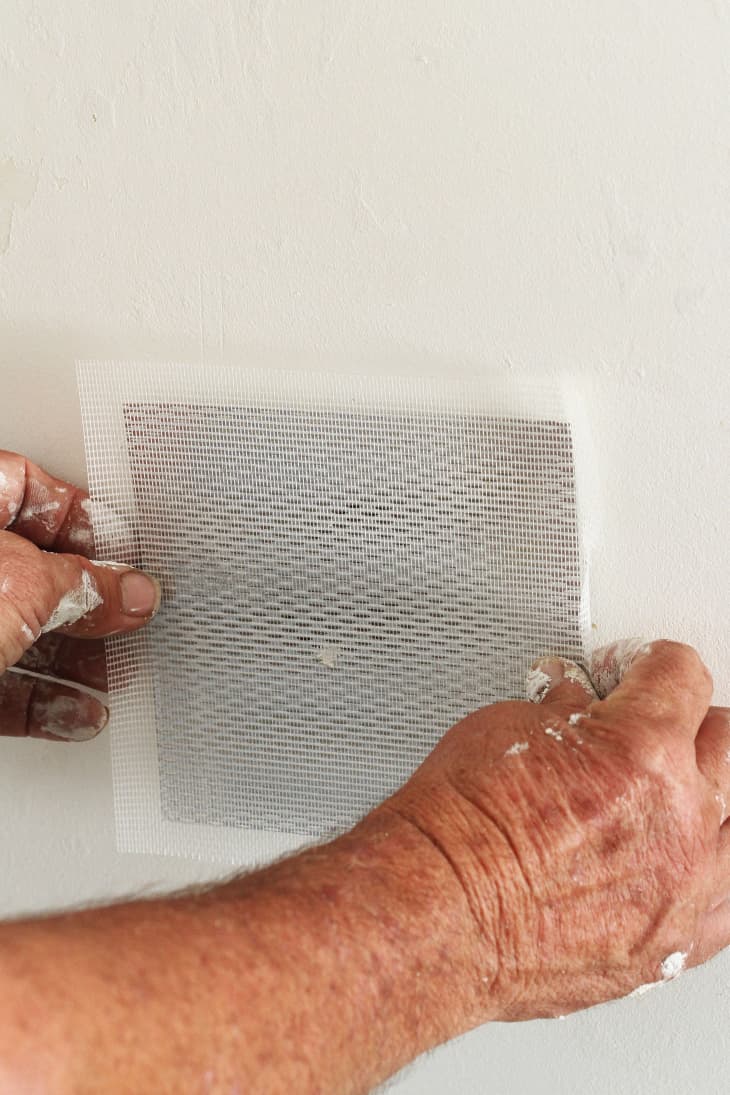
Step 4: Apply the Patch
Carefully place the patch over the hole, making sure to press down firmly and smooth out any air bubbles. Allow the patch to dry according to the instructions on the kit.
Step 5: Test the Patch
Once the patch is dry, inflate the mattress and check for any signs of leaking air. If the patch holds, then congratulations, you've successfully
patched the hole
in your air mattress!
Step 1: Locate the Hole
The first step in patching a hole in an air mattress is to find the
source of the leak
. This can be done by inflating the mattress and listening for the sound of escaping air or by using a soapy water solution to identify bubbles.
Step 2: Gather Your Materials
To
patch the hole
, you will need a patch kit specifically designed for air mattresses. These kits usually come with a patch and adhesive.
Step 3: Prepare the Surface
Before applying the patch, make sure to clean the area around the hole with rubbing alcohol. This will ensure that the adhesive sticks properly.
Step 4: Apply the Patch
Carefully place the patch over the hole, making sure to press down firmly and smooth out any air bubbles. Allow the patch to dry according to the instructions on the kit.
Step 5: Test the Patch
Once the patch is dry, inflate the mattress and check for any signs of leaking air. If the patch holds, then congratulations, you've successfully
patched the hole
in your air mattress!
Tips for Maintaining Your Air Mattress
 -
Store your mattress properly
to prevent it from getting punctured or damaged.
-
Avoid sharp objects
near your air mattress to prevent holes from forming.
-
Regularly check for leaks
and fix them as soon as possible to prevent them from getting bigger.
-
Store your mattress properly
to prevent it from getting punctured or damaged.
-
Avoid sharp objects
near your air mattress to prevent holes from forming.
-
Regularly check for leaks
and fix them as soon as possible to prevent them from getting bigger.
Conclusion
 Knowing how to
patch a hole
in an air mattress can save you time, money, and frustration. By following these simple steps and properly maintaining your air mattress, you can ensure that it will provide you with a comfortable and reliable sleeping surface for years to come. So the next time you find a hole in your air mattress, don't panic, just grab your patch kit and get to work!
Knowing how to
patch a hole
in an air mattress can save you time, money, and frustration. By following these simple steps and properly maintaining your air mattress, you can ensure that it will provide you with a comfortable and reliable sleeping surface for years to come. So the next time you find a hole in your air mattress, don't panic, just grab your patch kit and get to work!