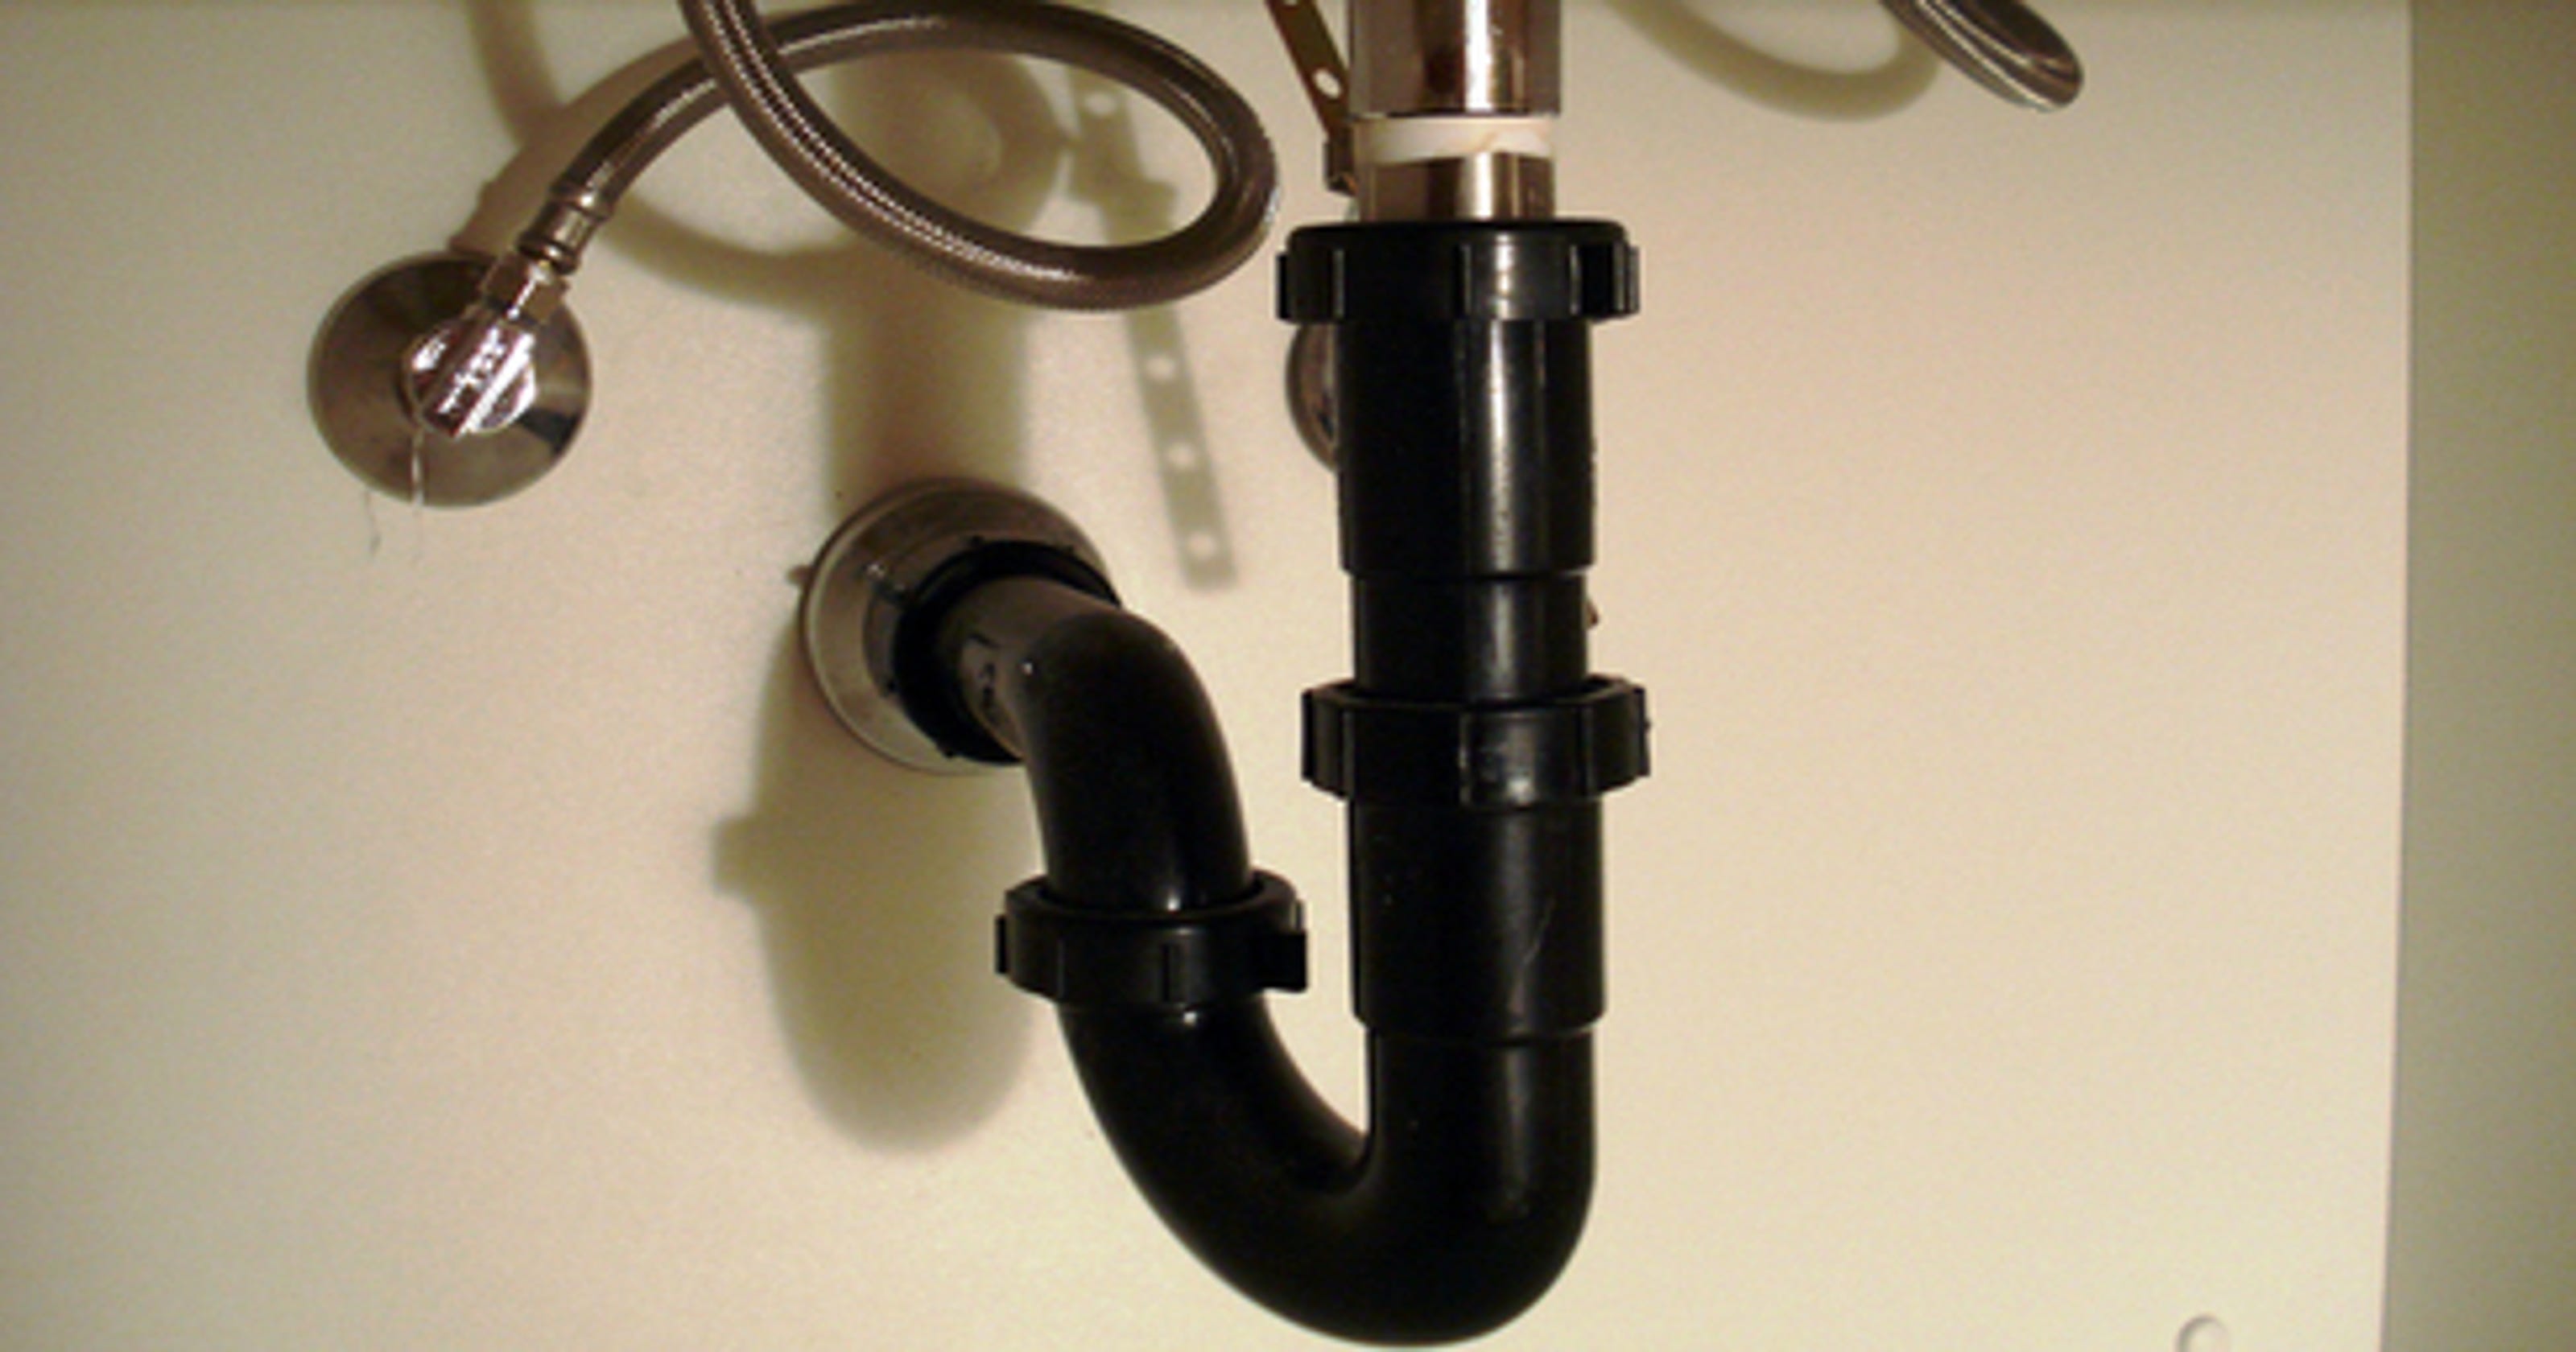
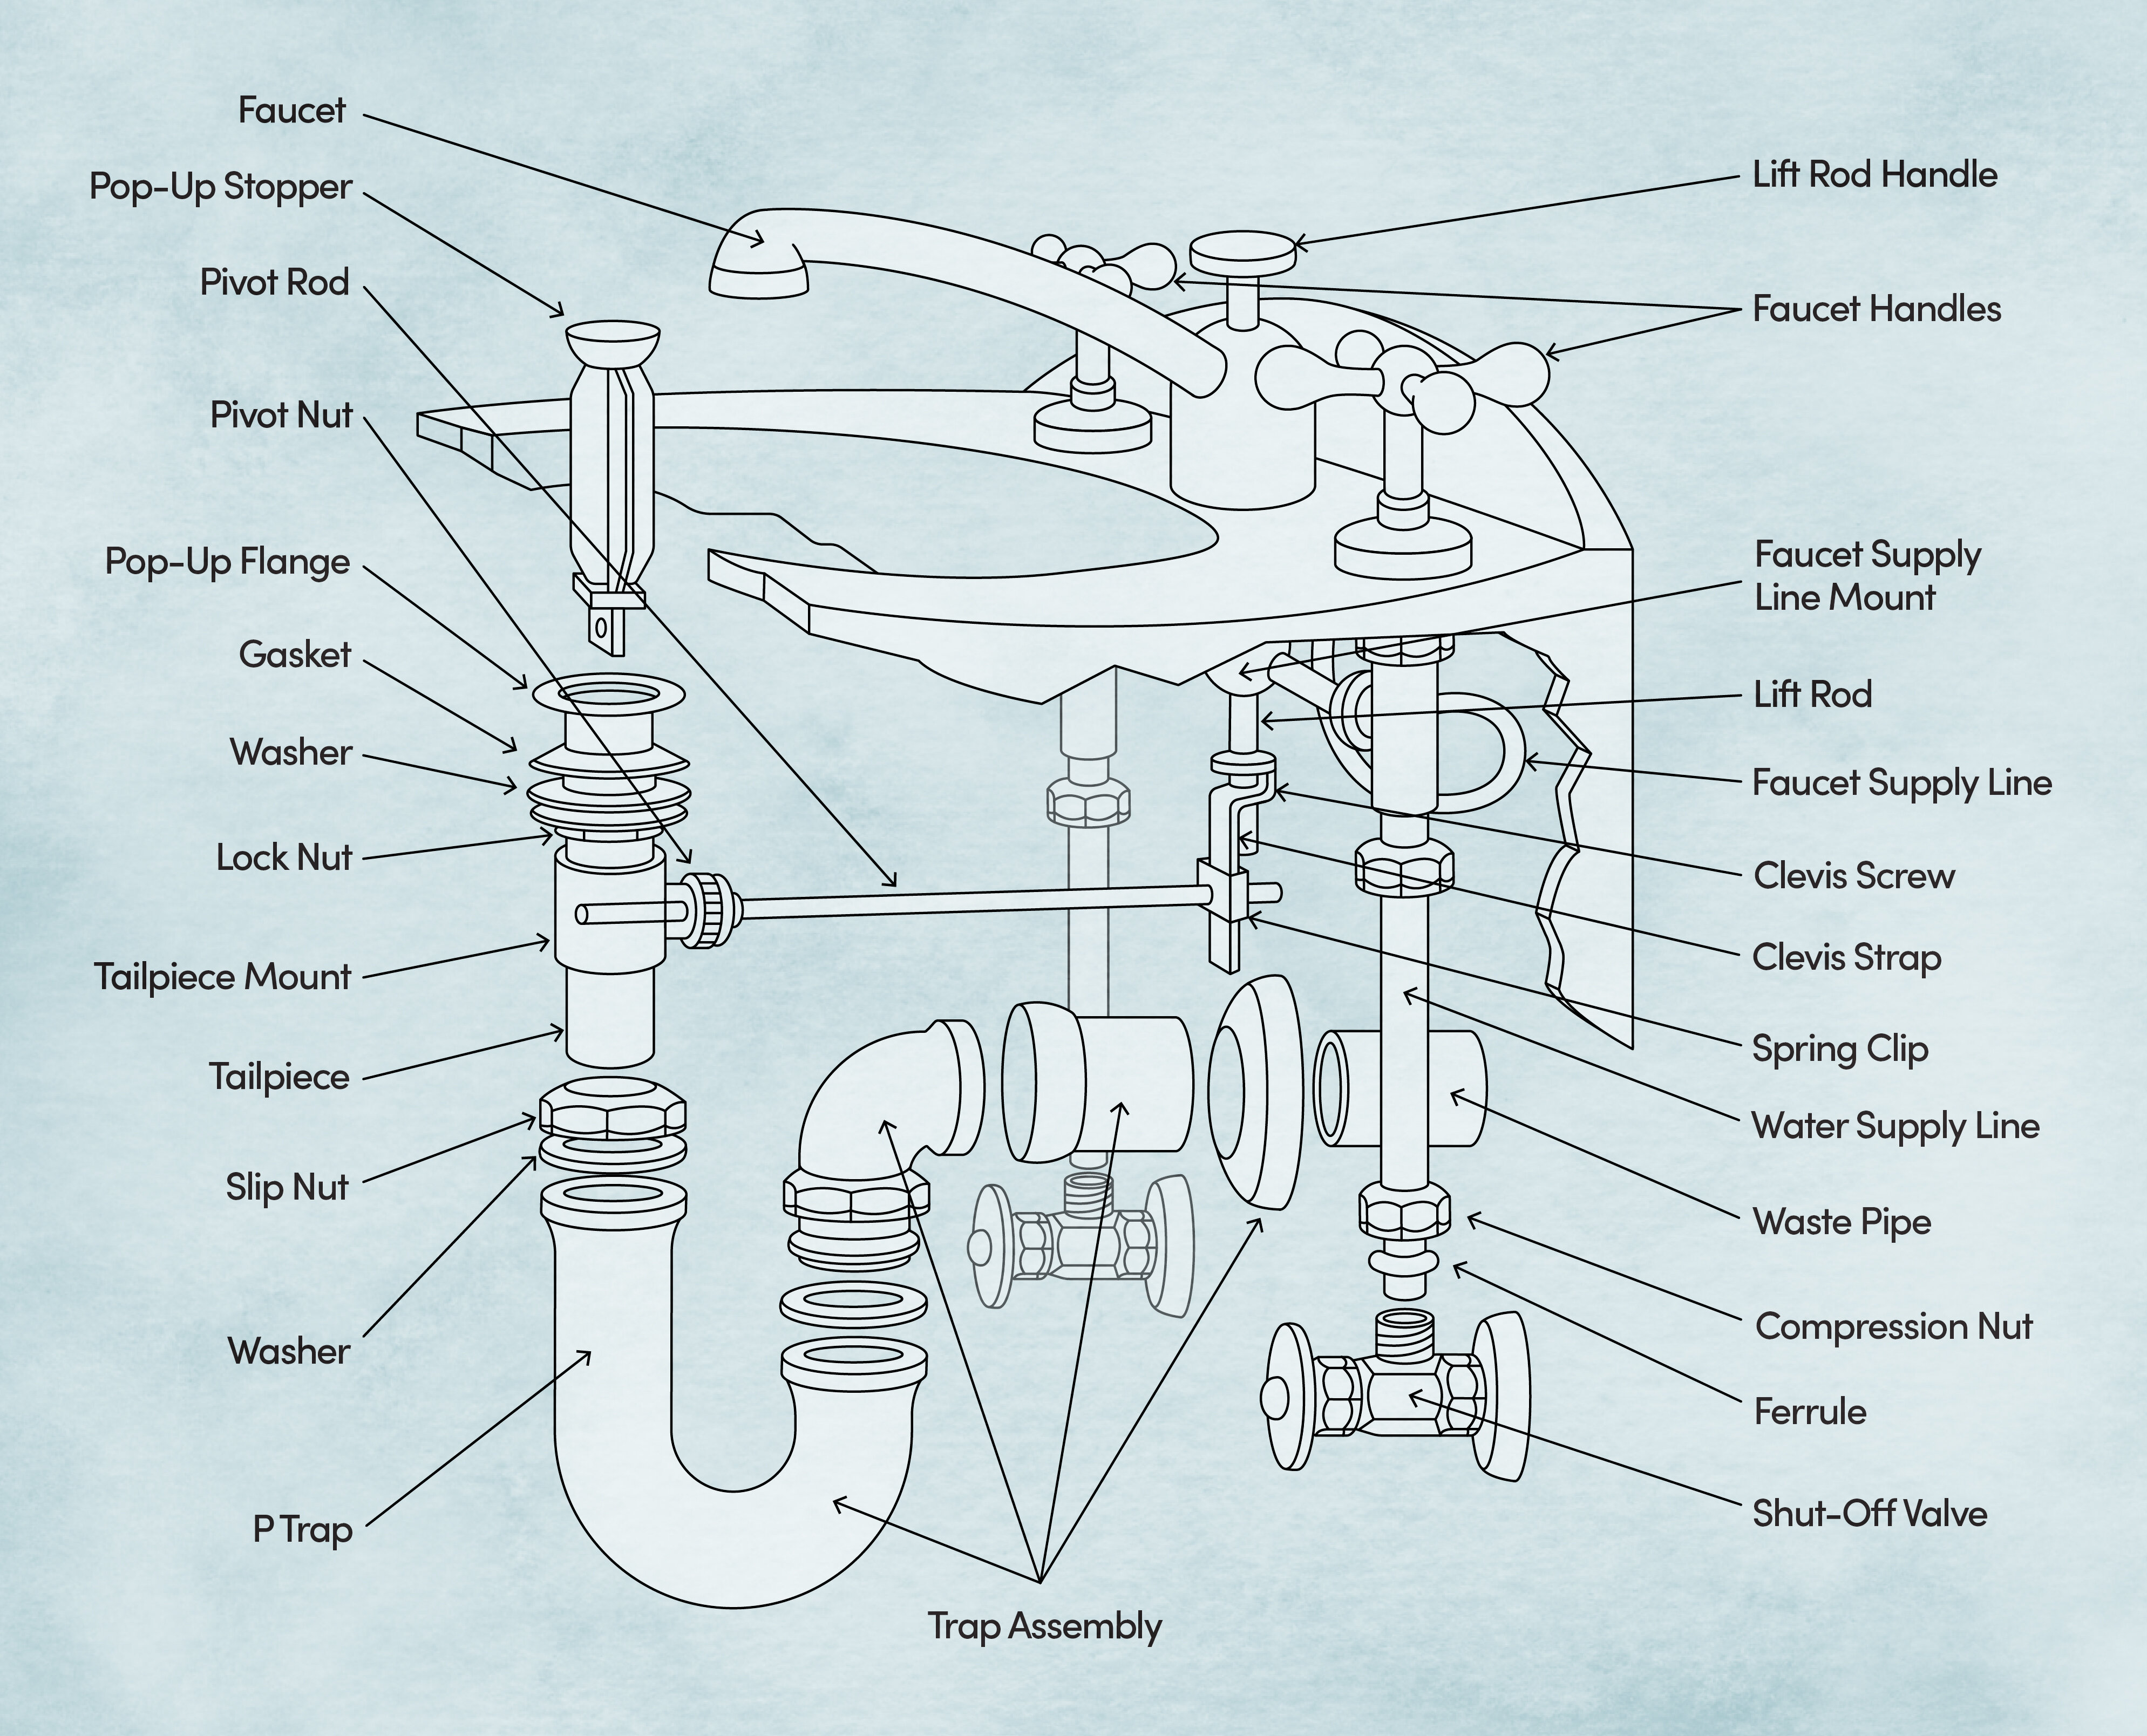
Assembling a u-bend under your bathroom sink may seem like a daunting task, but with the right parts and tools, it can be easily done. The u-bend, also known as a P-trap, is an essential component of your plumbing system. It helps prevent foul odors from coming up through the drain and also catches debris that could potentially clog your pipes. In this article, we will discuss the top 10 main parts needed to assemble a u-bend under your bathroom sink.1. U-bend | bathroom sink | parts | assembly


1. U-bend


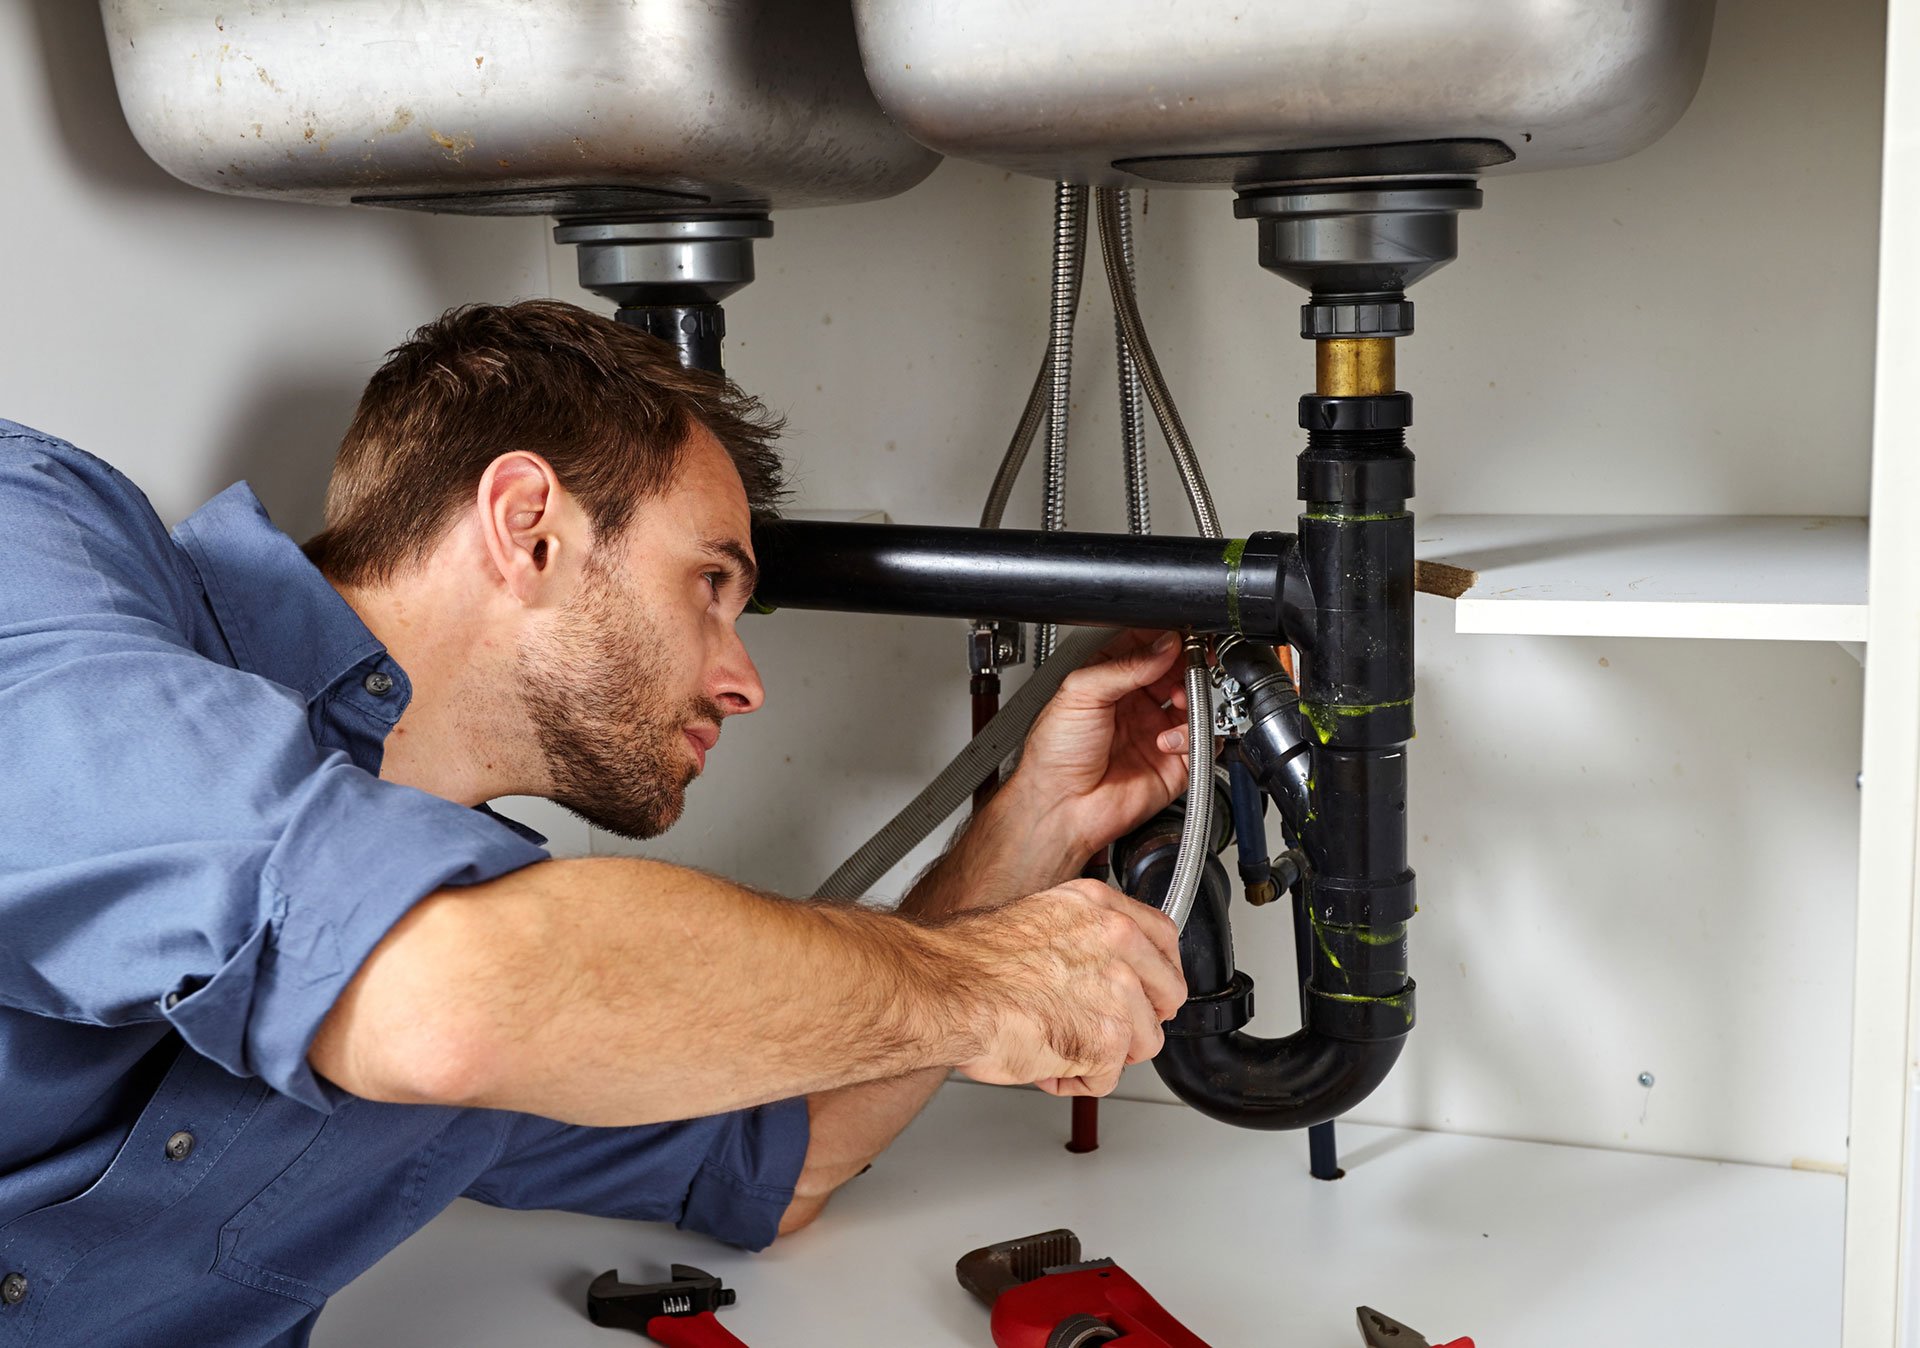
The first step to assembling a u-bend under your bathroom sink is to gather all the necessary parts and tools. These include plumbing hardware such as the u-bend itself, as well as installation tools like a wrench, pliers, and screwdriver. It is essential to have these items on hand before starting the assembly process to avoid any delays or interruptions.2. Under sink | plumbing | hardware | installation


bathroom sink


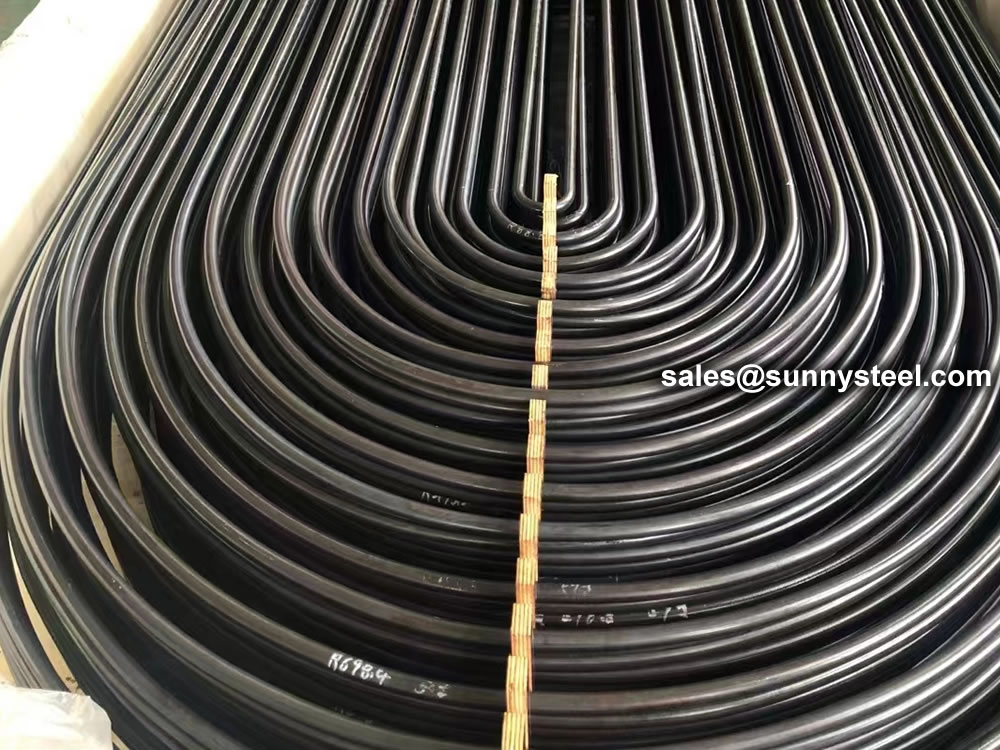
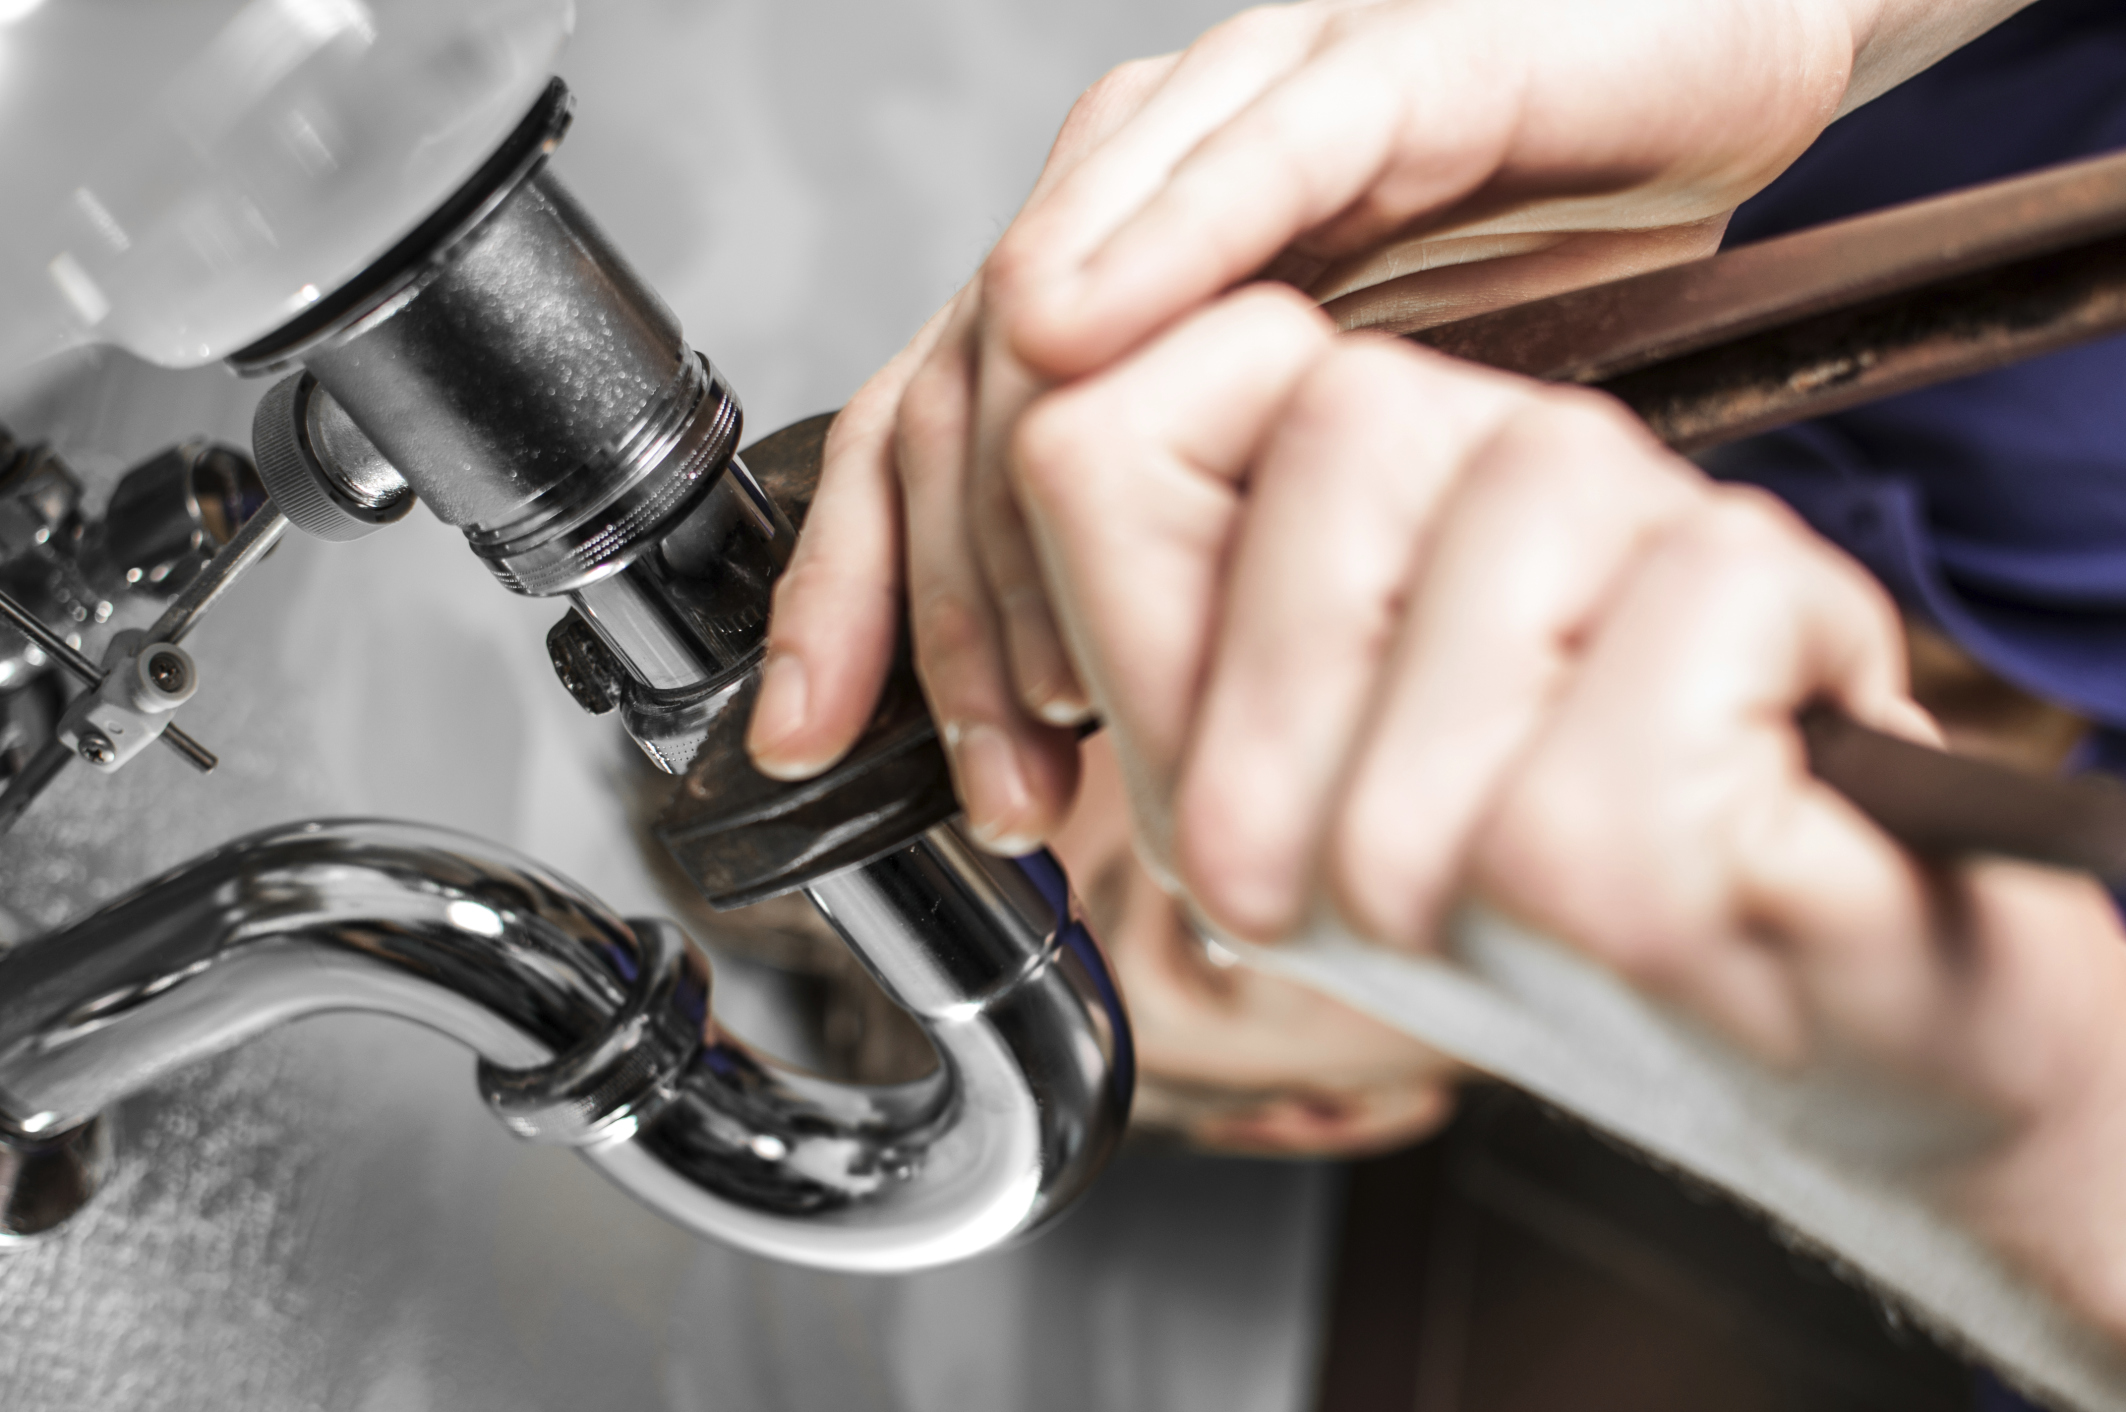
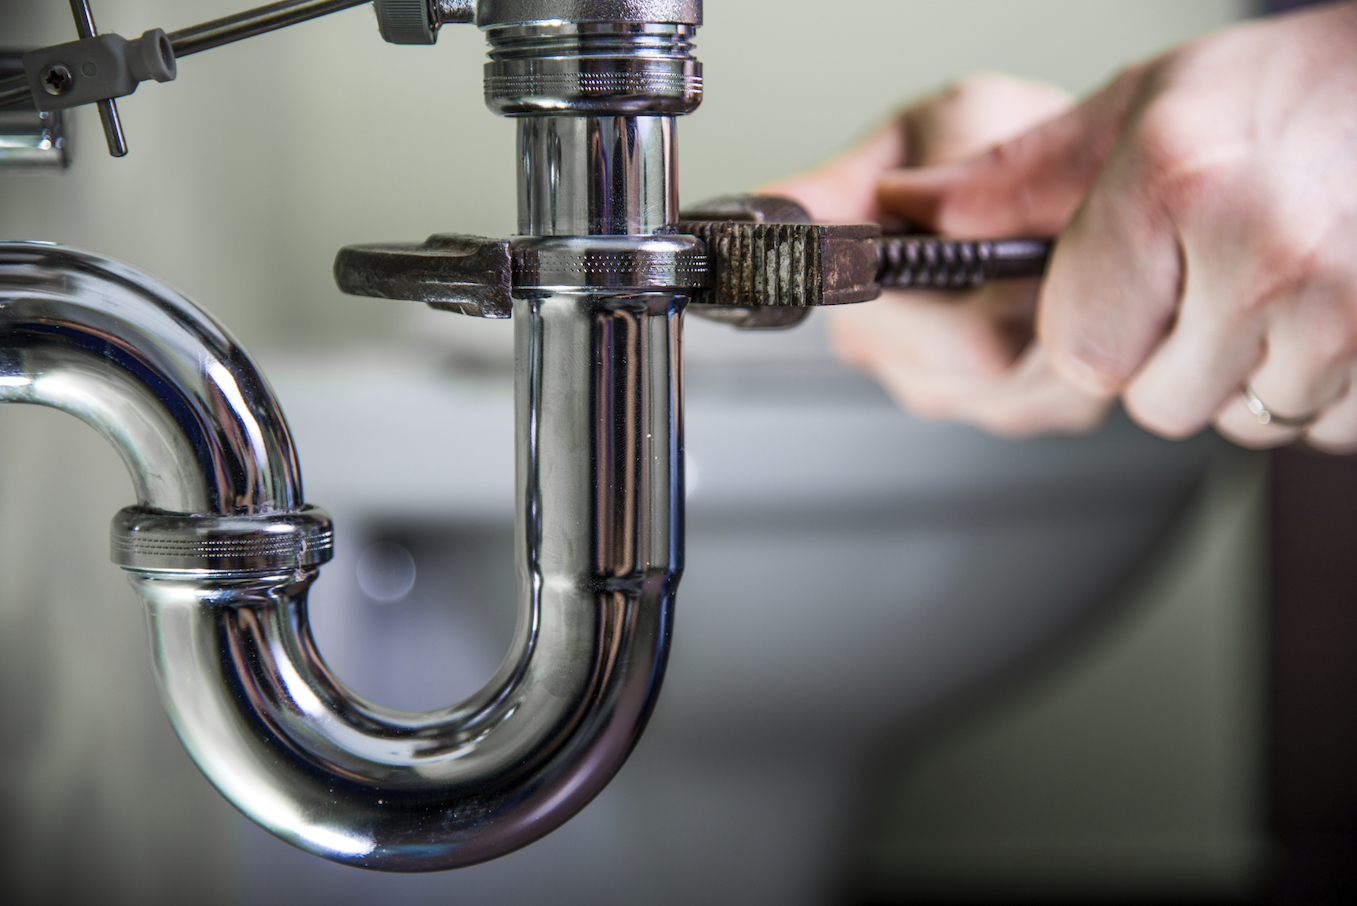
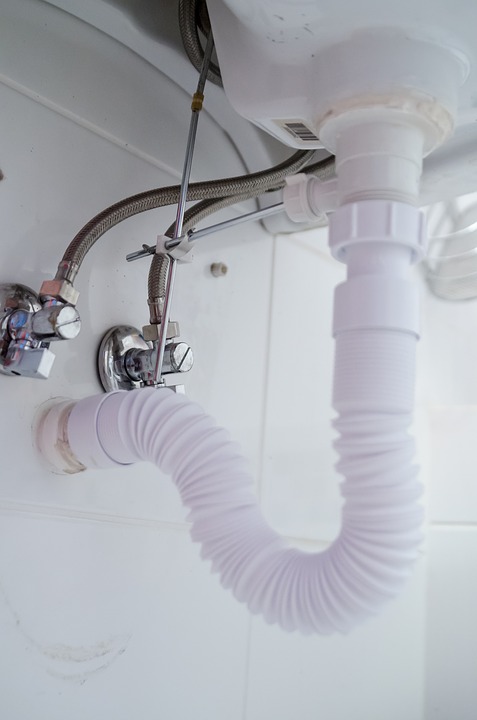
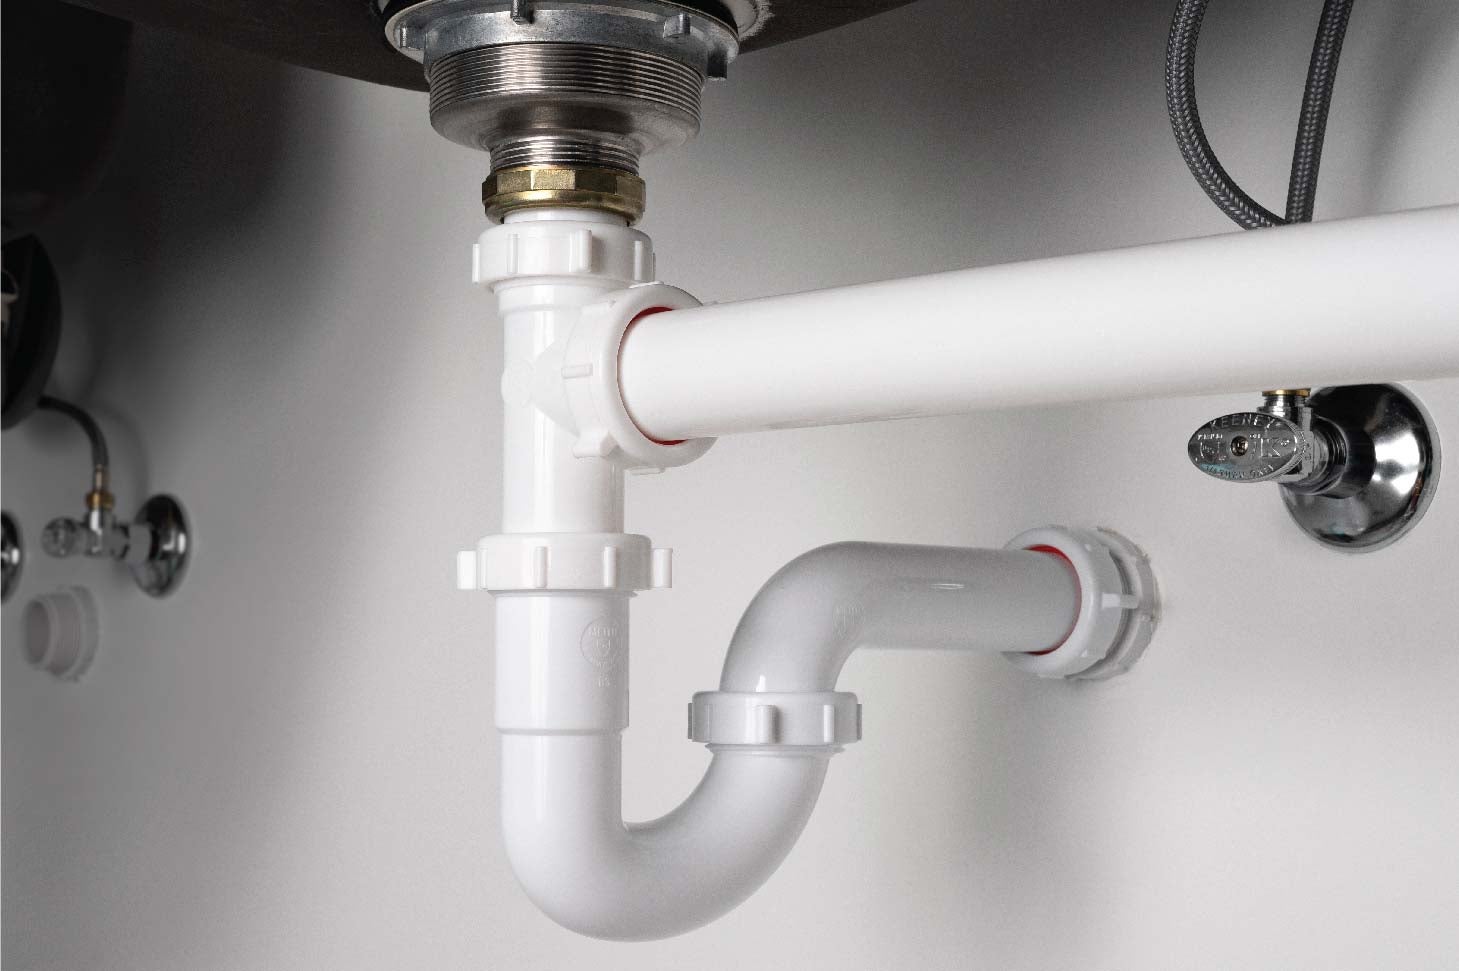
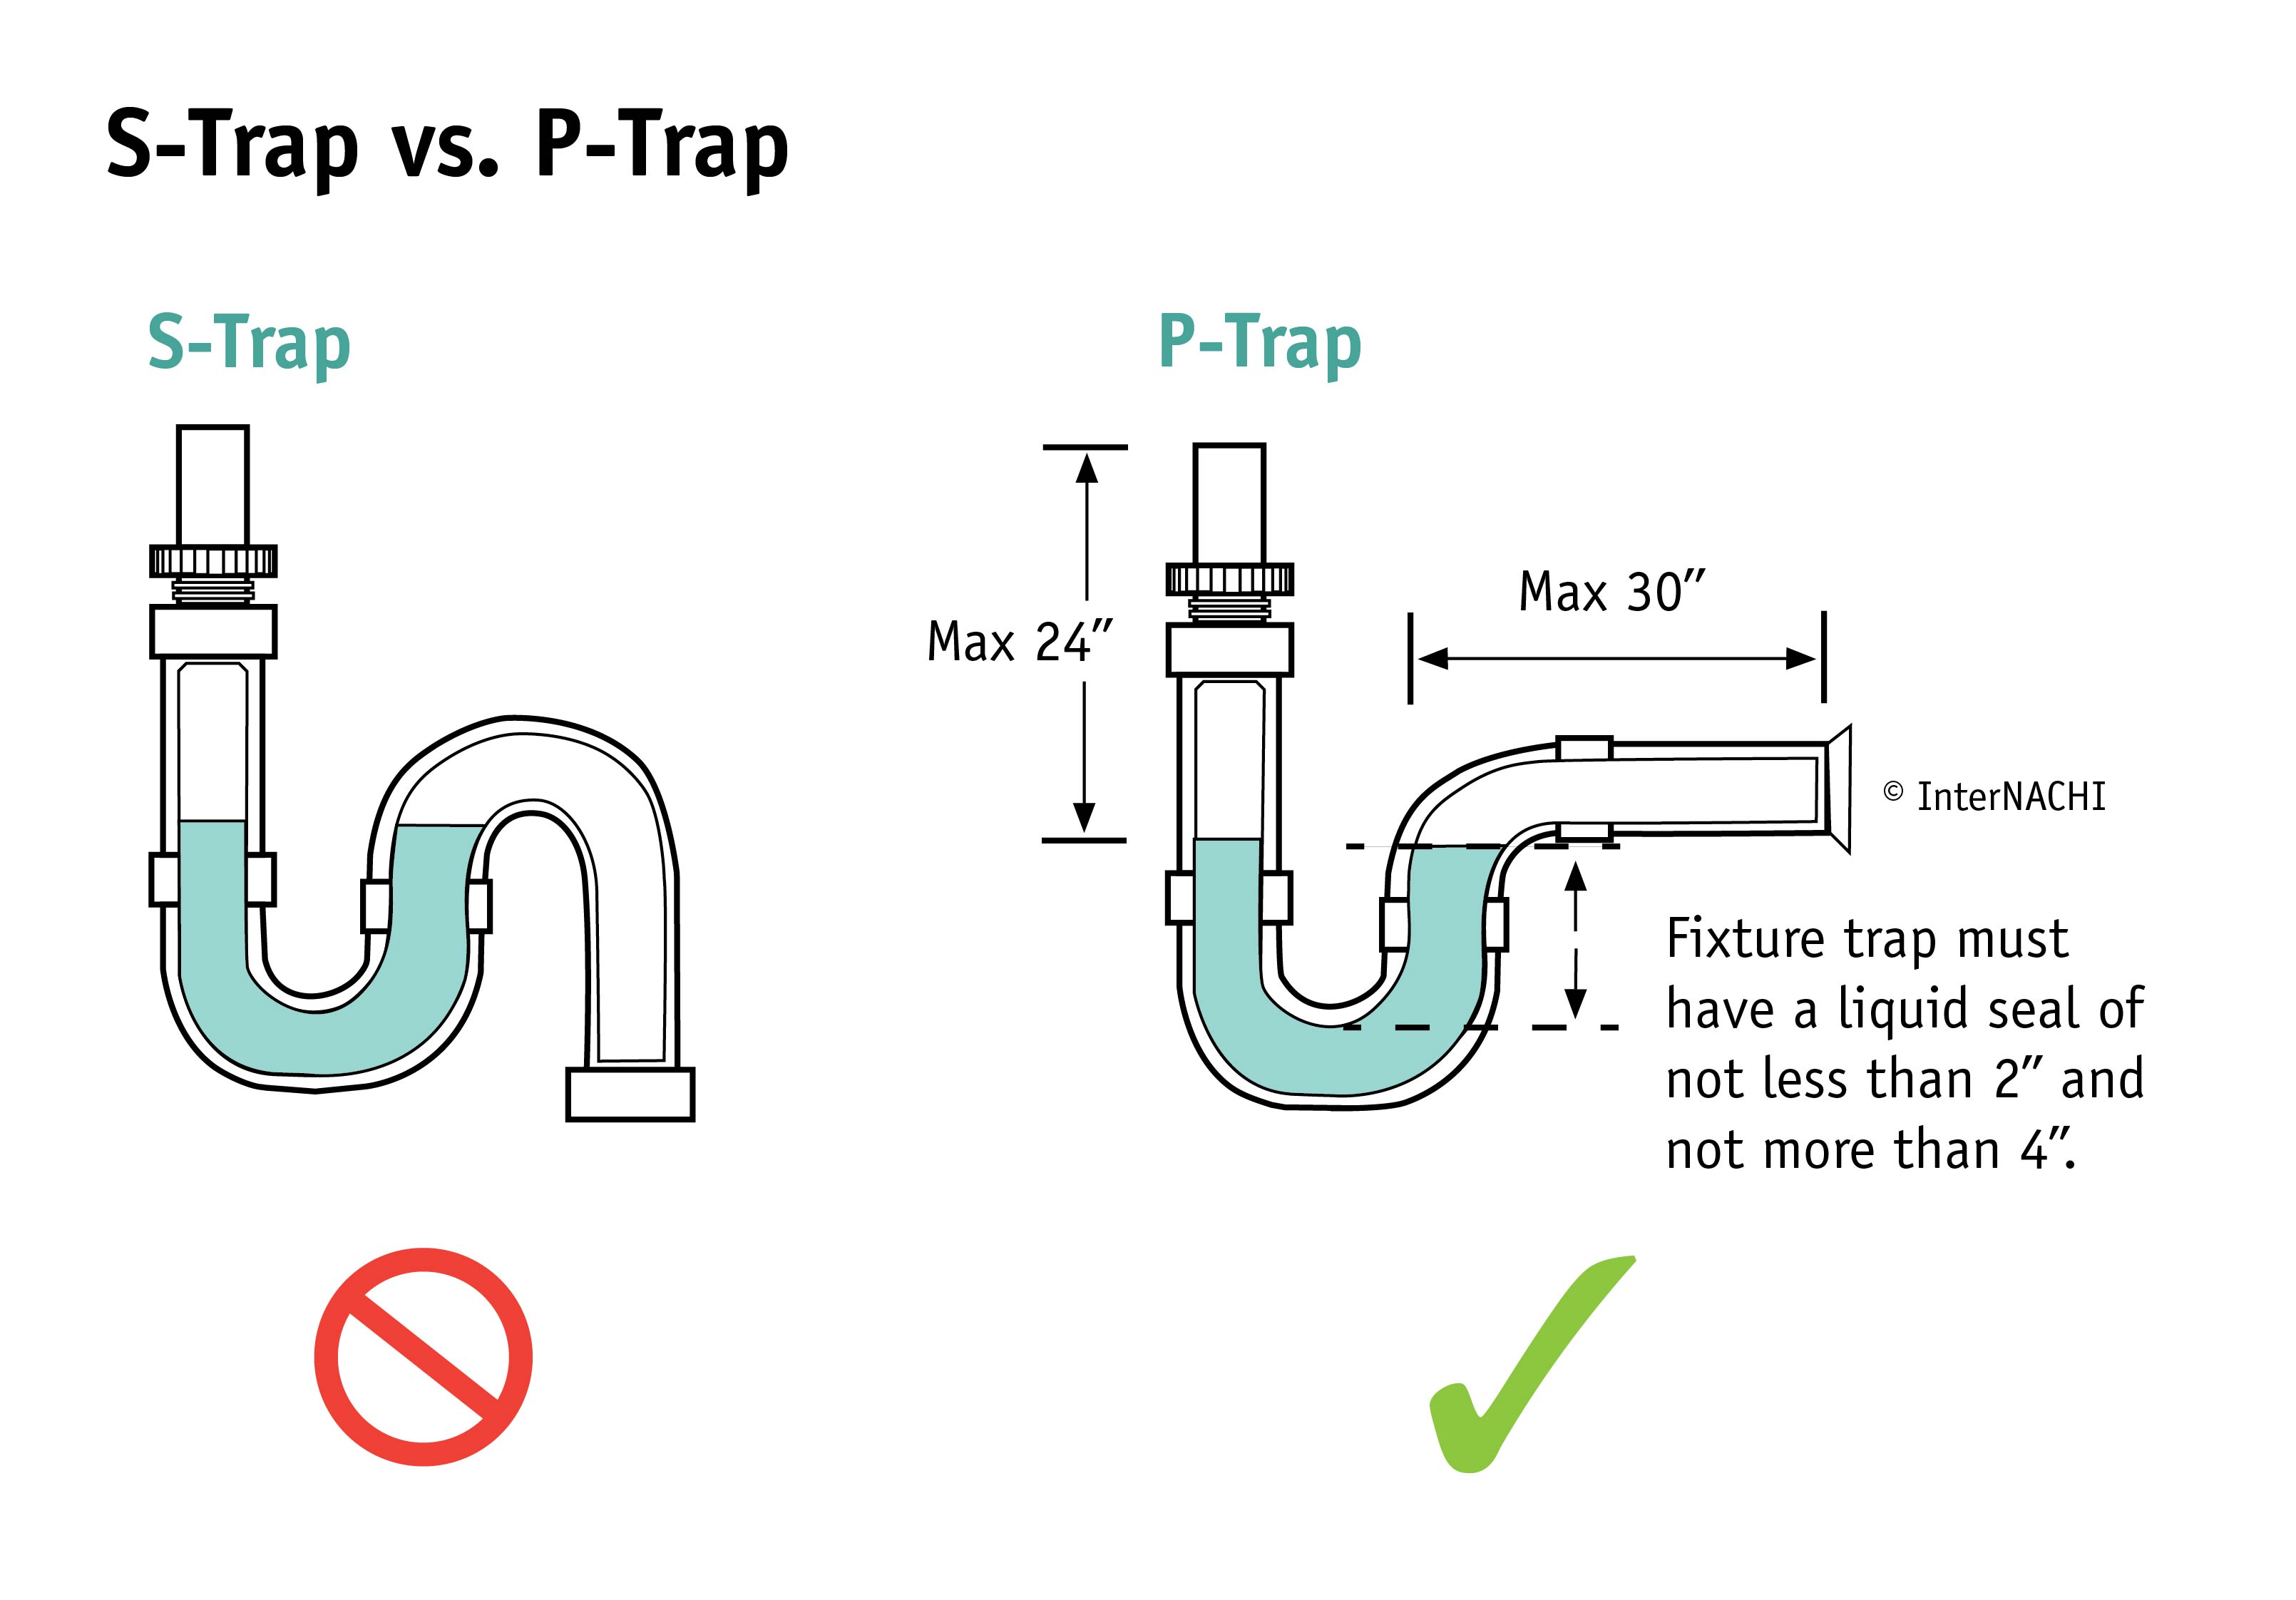
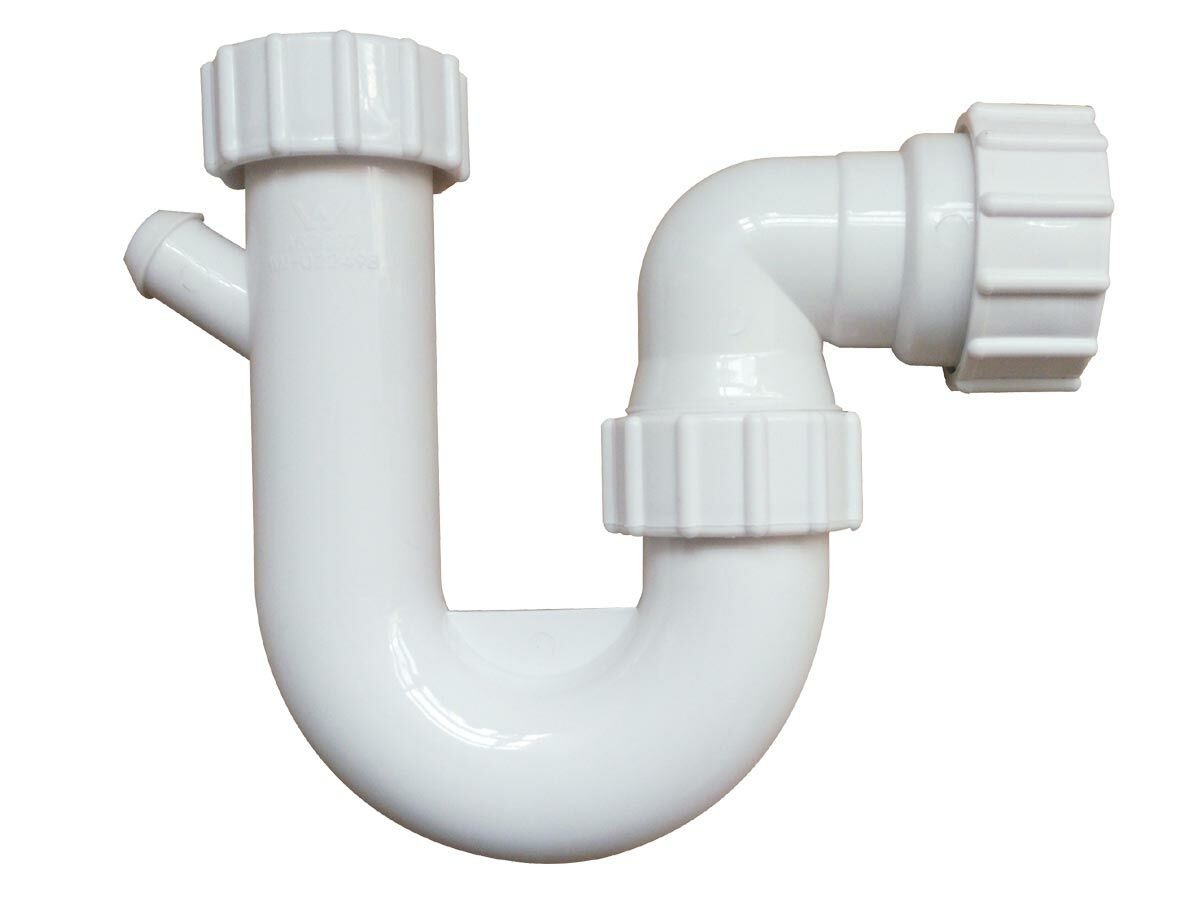
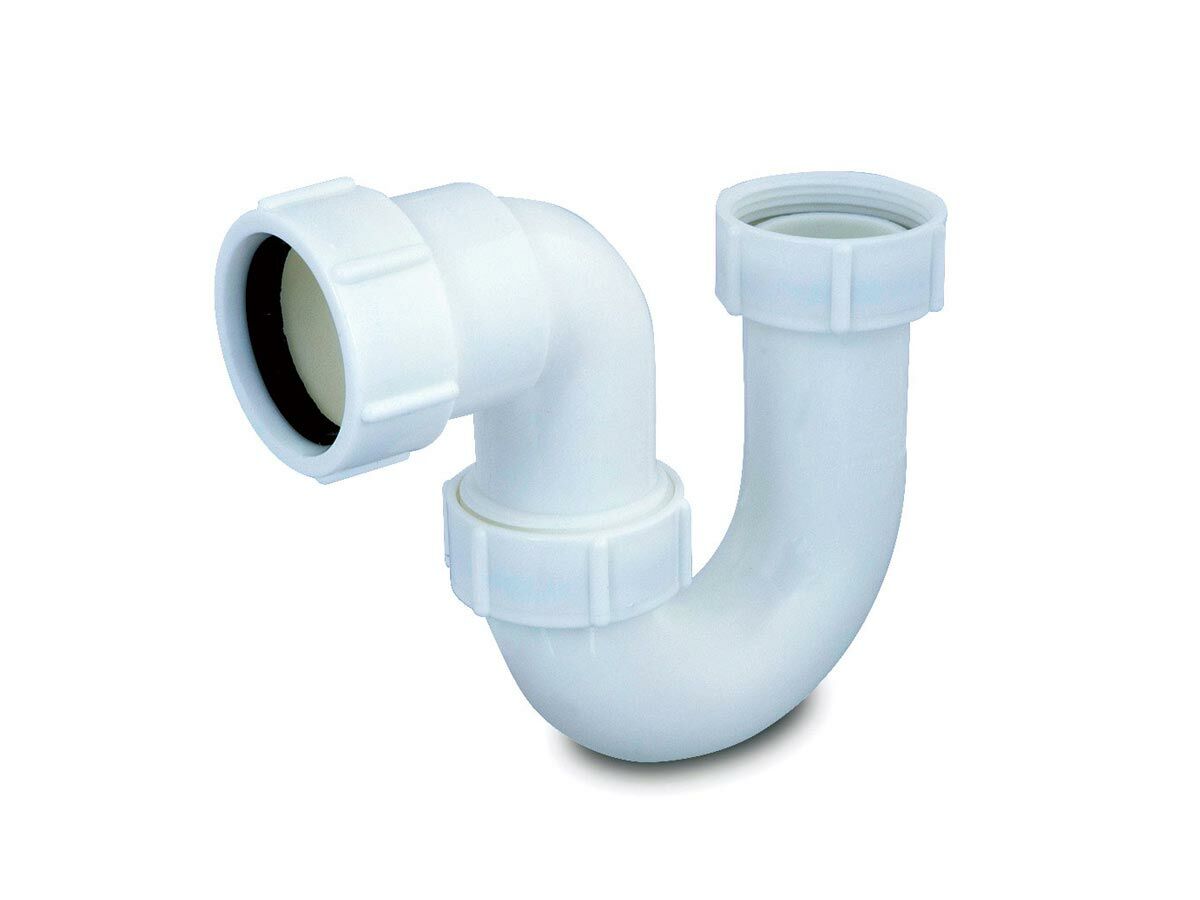
The main components of a u-bend are the drain pipe, P-trap, tailpiece, and washers. The drain pipe connects the sink drain to the P-trap, which is a curved section that traps debris and prevents it from clogging your pipes. The tailpiece connects the P-trap to the main drain line. Washers are placed between each of these components to create a watertight seal.3. Drain pipe | P-trap | tailpiece | washers

parts


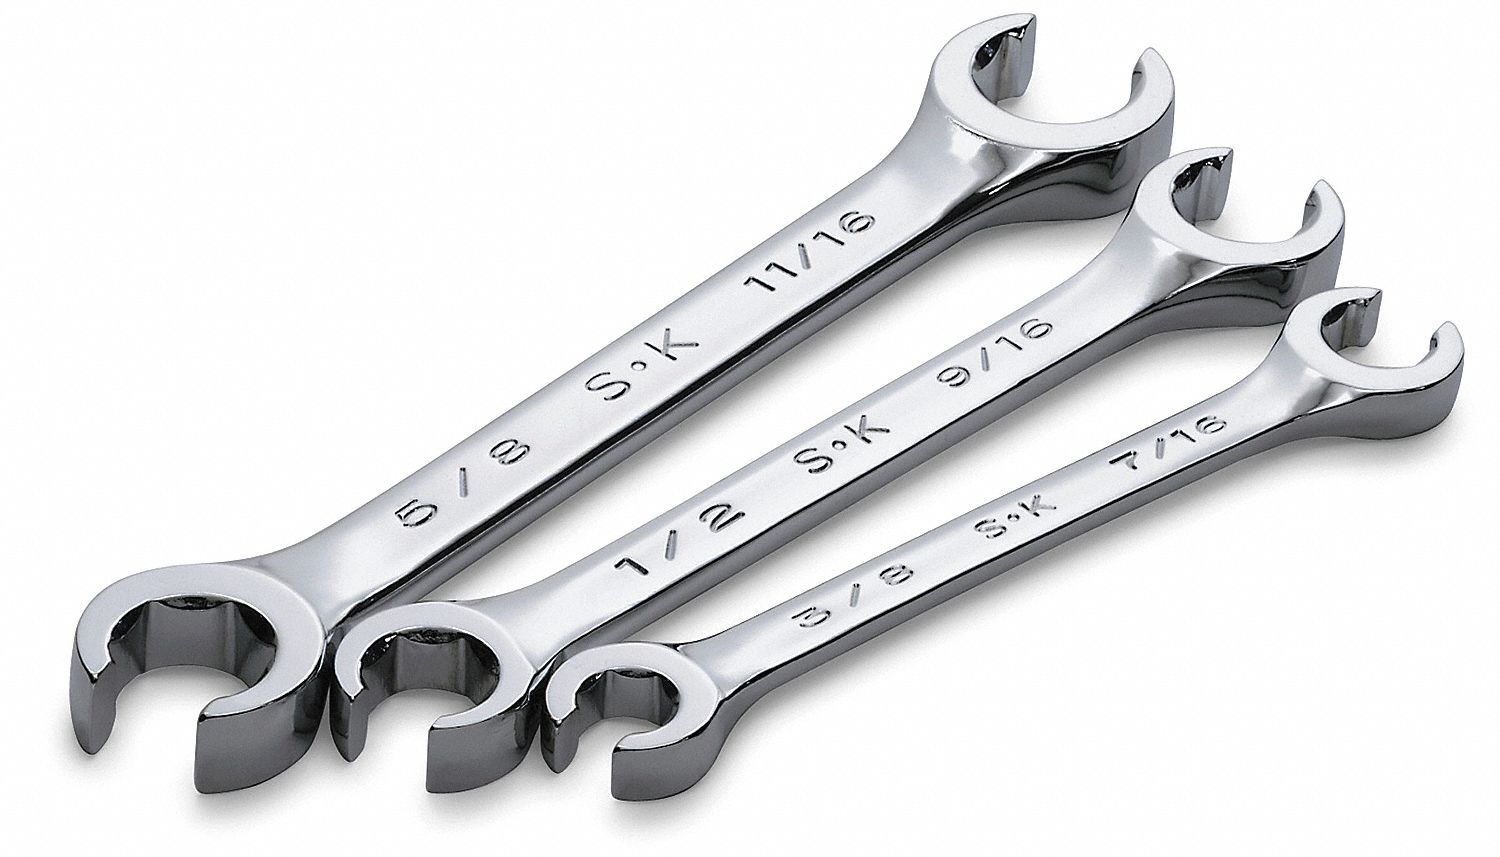
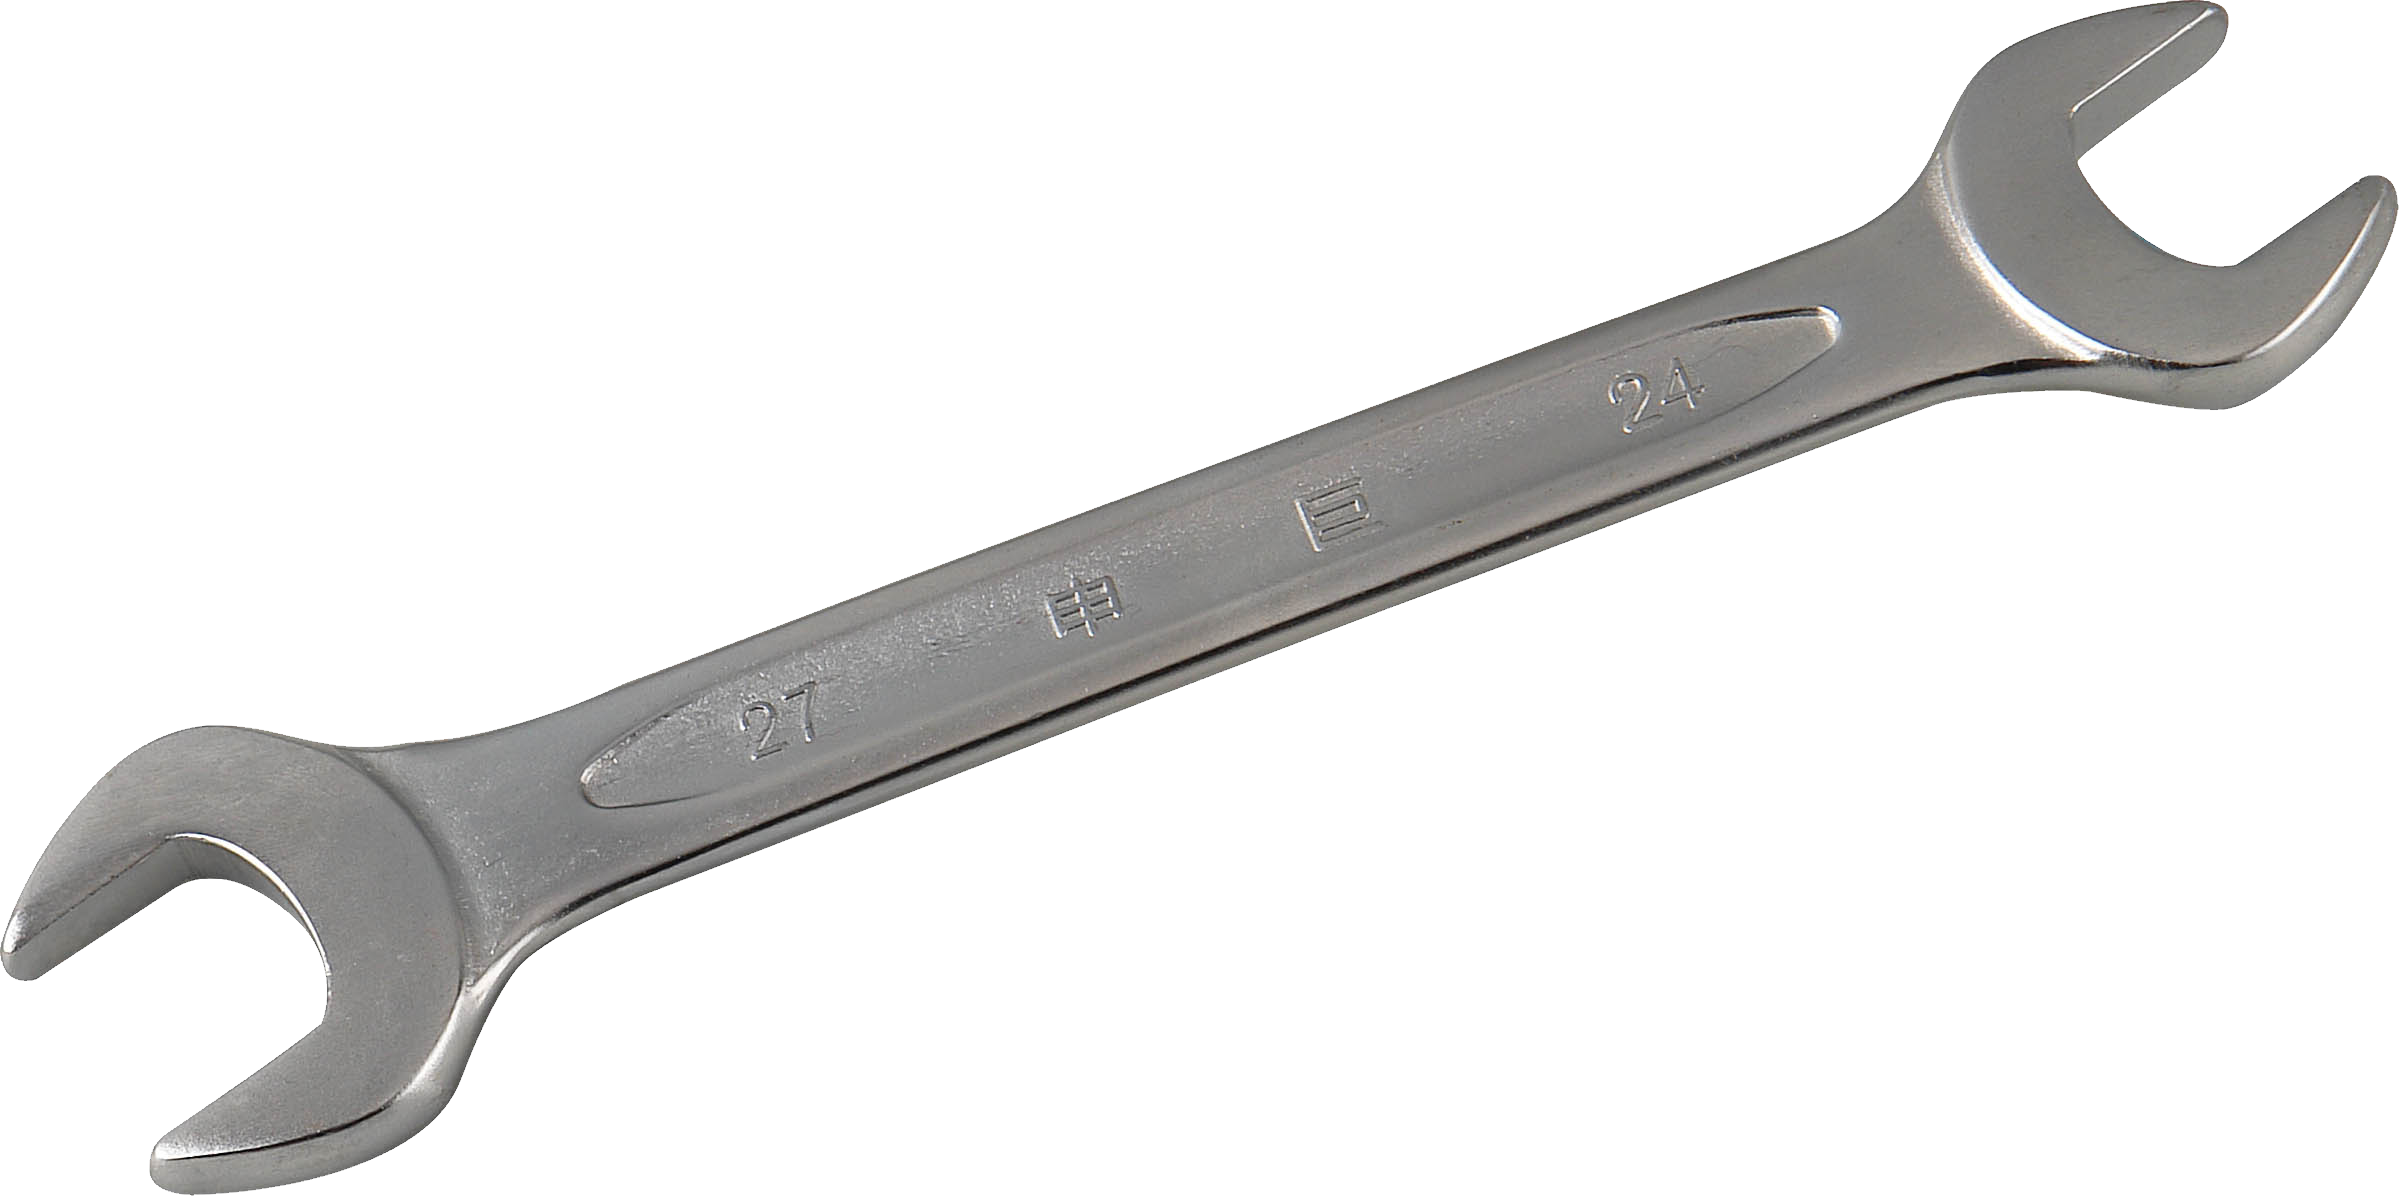
To assemble the u-bend, you will need a few essential tools. These include a wrench, pliers, and a screwdriver. The wrench will be used to tighten any nuts or bolts, while the pliers can be used to hold pipes in place. The screwdriver may be needed to remove or adjust any screws. Additionally, it is recommended to have a sealant on hand to ensure a leak-free connection.4. Wrench | pliers | screwdriver | sealant


assembly 2. Under sink


/how-to-install-a-sink-drain-2718789-hero-b5b99f72b5a24bb2ae8364e60539cece.jpg)


U-bends are available in various materials, including PVC, metal, and rubber. PVC is a popular choice due to its affordability and durability. Metal u-bends, such as chrome or brass, are more aesthetically pleasing but may come at a higher cost. Rubber gaskets are also important to create a tight seal between the pipes and prevent any leaks.5. PVC | metal | rubber | gaskets


plumbing
/GettyImages-98064882-5a3684ef4e46ba003693c061.jpg)
/Plastic-Plumbing-Pipe-183508152-58a47c925f9b58819c9c8ac6.jpg)


In addition to the main components of the u-bend, you may also need coupling, compression fittings, a slip joint, and nuts to complete the assembly. Coupling is used to connect two pipes together, while compression fittings are used to join pipes of different materials. The slip joint is a flexible section of pipe that allows for adjustments, and nuts are used to secure the pipes in place.6. Coupling | compression fittings | slip joint | nut


hardware
/computer-hardware-2625895-final-v1-8c909b8a32434e26a225db2314823bb2.jpg)


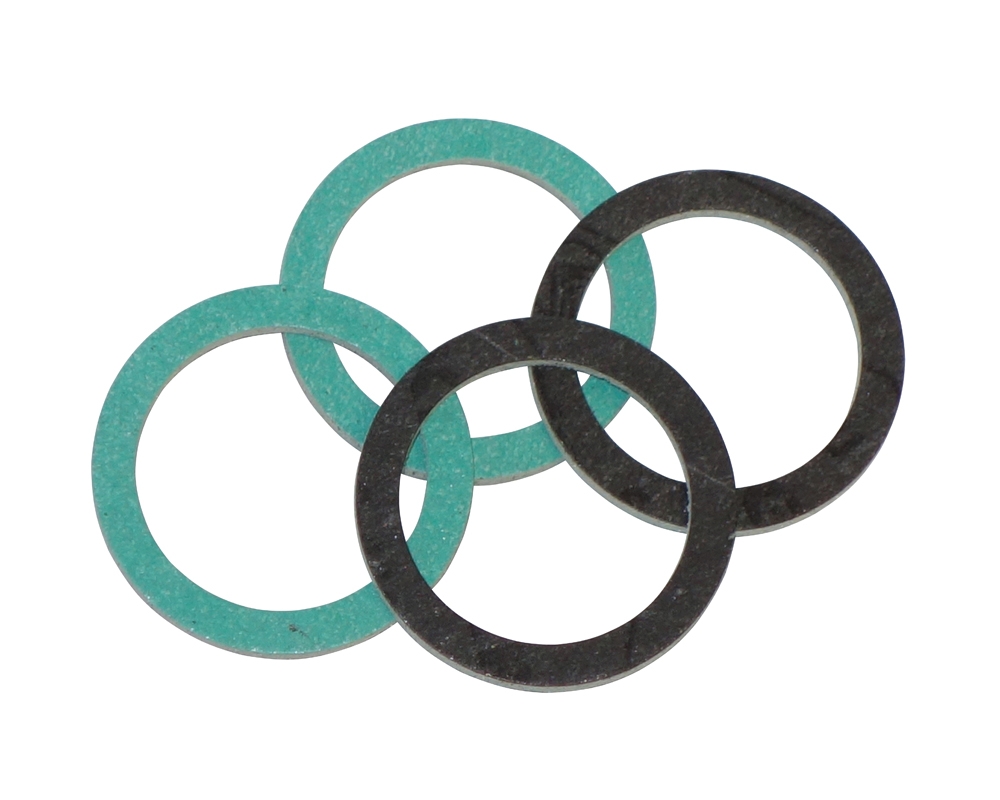
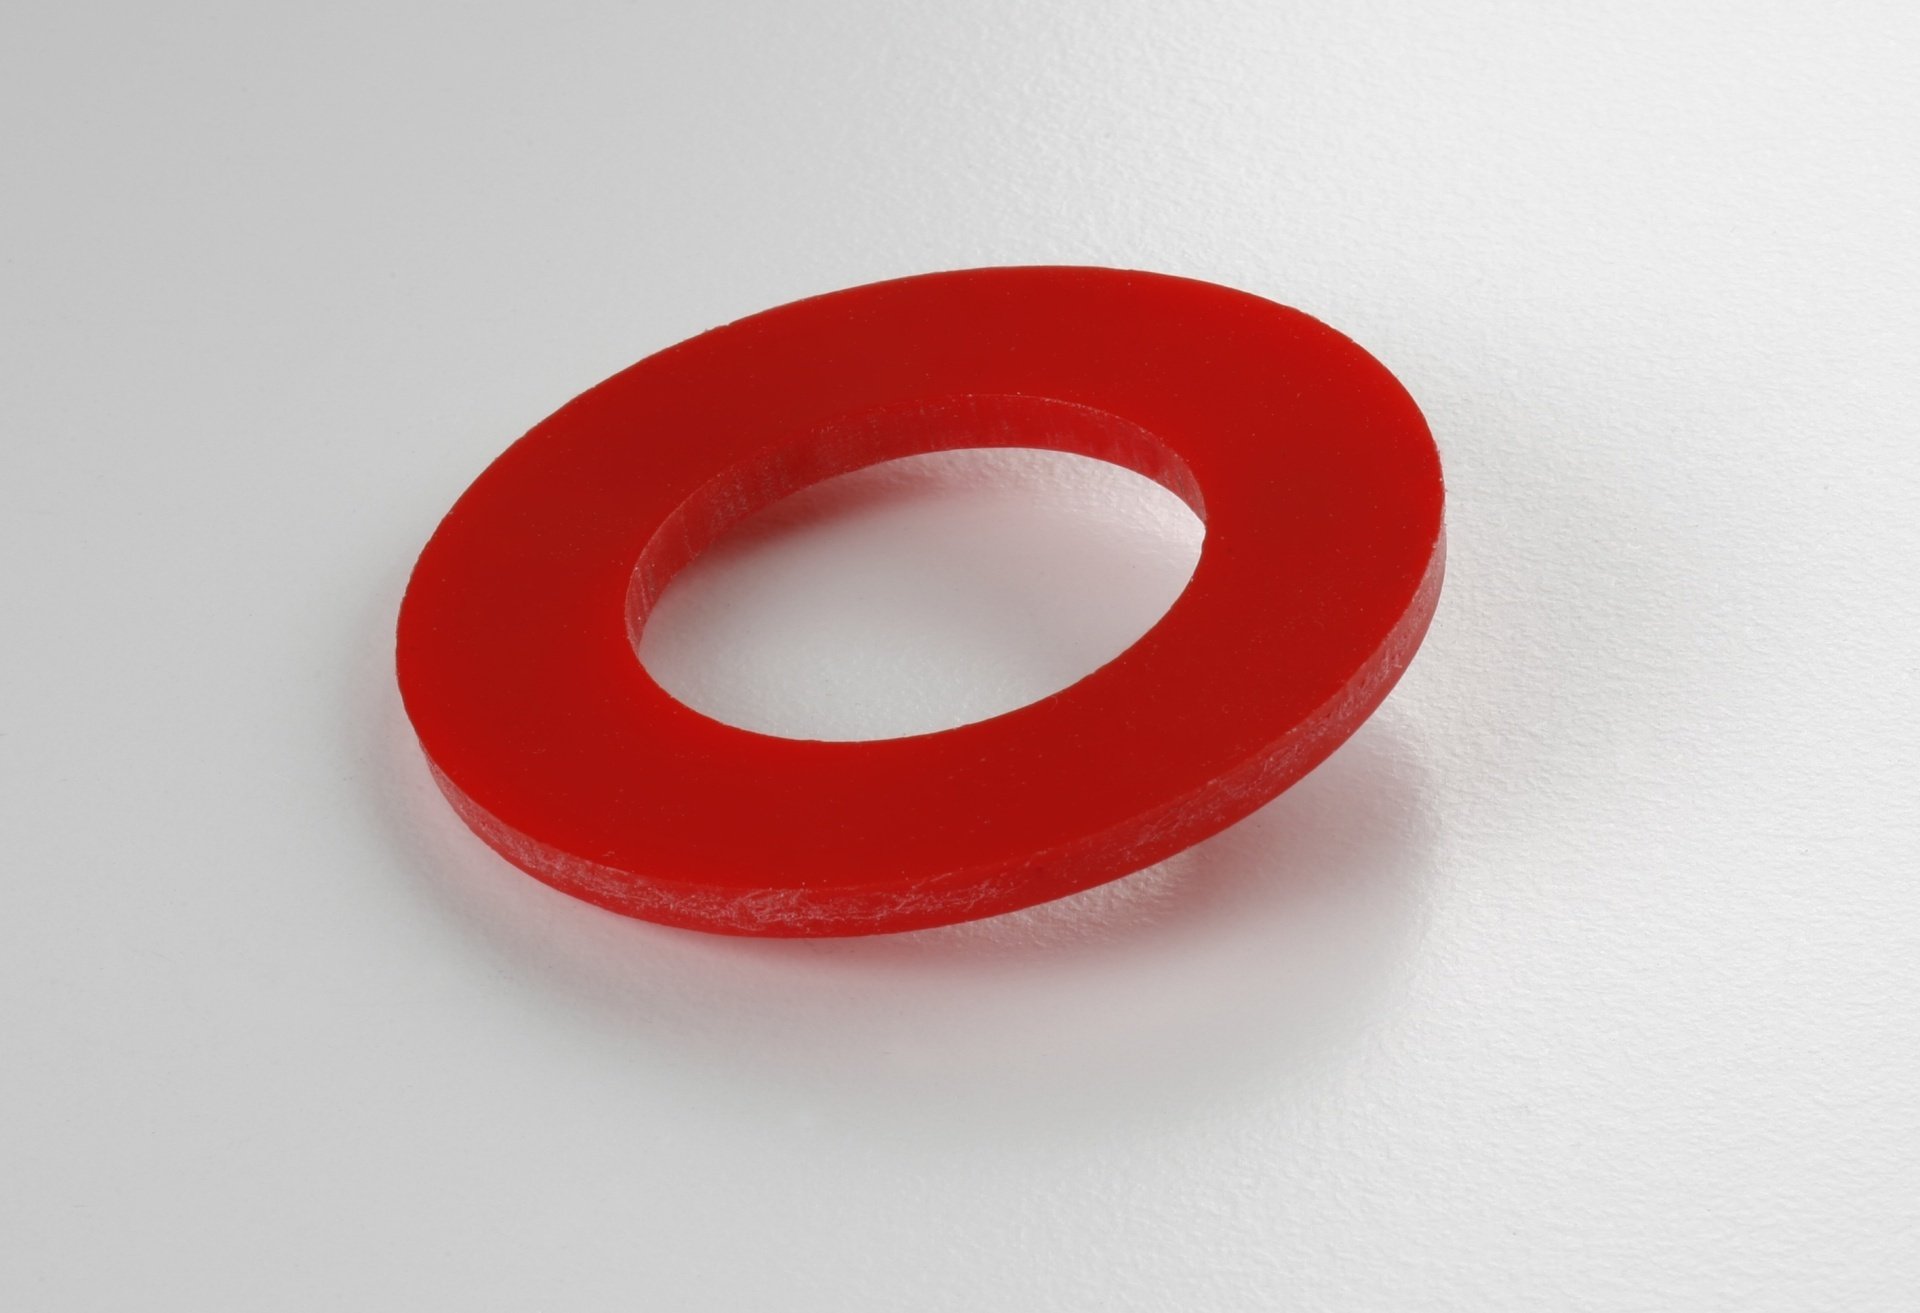
When assembling the u-bend, you may also come across other smaller parts such as a flange, gasket, locknut, and washer. The flange is a flat piece that connects the u-bend to the sink drain. The gasket is placed between the flange and the sink to create a watertight seal. The locknut and washer are used to secure the u-bend to the sink.7. Flange | gasket | locknut | washer


installation 3. Drain pipe


Before beginning the assembly process, it is essential to measure and cut the pipes to the correct length. A pipe cutter or hacksaw can be used to make precise cuts. A tape measure and level are also helpful to ensure that the pipes are cut and installed at the correct angle.8. Pipe cutter | hacksaw | tape measure | level


P-trap

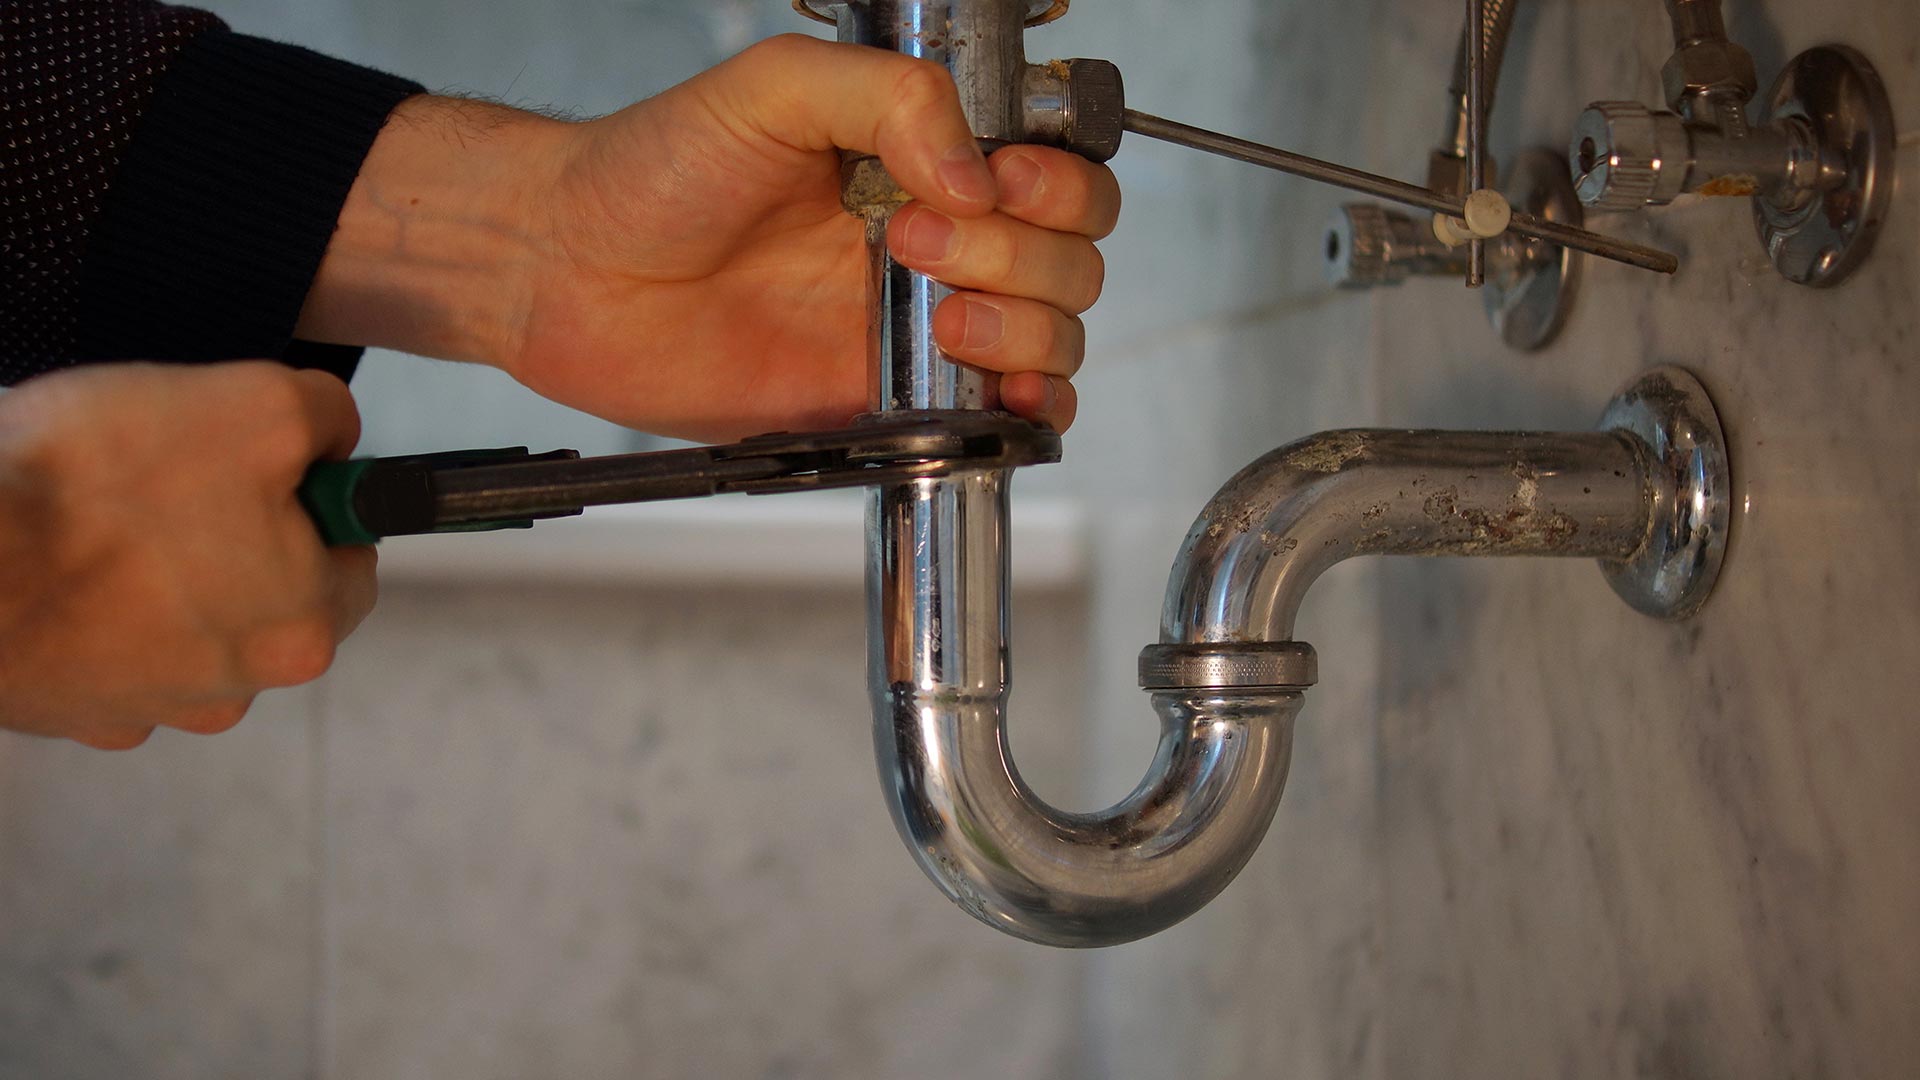


To ensure a secure and leak-free u-bend assembly, it is recommended to use Teflon tape, putty, plumber's putty, and silicone caulk. Teflon tape is used to create a tight seal between threaded connections. Putty and plumber's putty can be applied to the threads of fittings for additional sealing. Silicone caulk is used to seal any gaps or joints that may not be completely watertight.9. Teflon tape | putty | plumber's putty | silicone caulk


tailpiece


Finally, it is essential to have instructions, a manual, or a guide on hand when assembling the u-bend. These resources can provide step-by-step instructions, tips, and diagrams to help you properly assemble the u-bend. It is crucial to follow these instructions carefully to avoid any mistakes or potential issues with your plumbing system. In conclusion, assembling a u-bend under your bathroom sink requires specific parts and tools. These include the u-bend itself, plumbing hardware, and installation tools. It is also essential to have instructions and resources on hand to guide you through the assembly process. With these top 10 main parts, you can easily assemble a u-bend and keep your bathroom sink plumbing functioning properly. 10. Instructions | manual | guide | diagram


washers 4. Wrench


Additional Parts Needed for Assembling a U-bend Under a Bathroom Sink

Understanding the U-bend
 The
U-bend
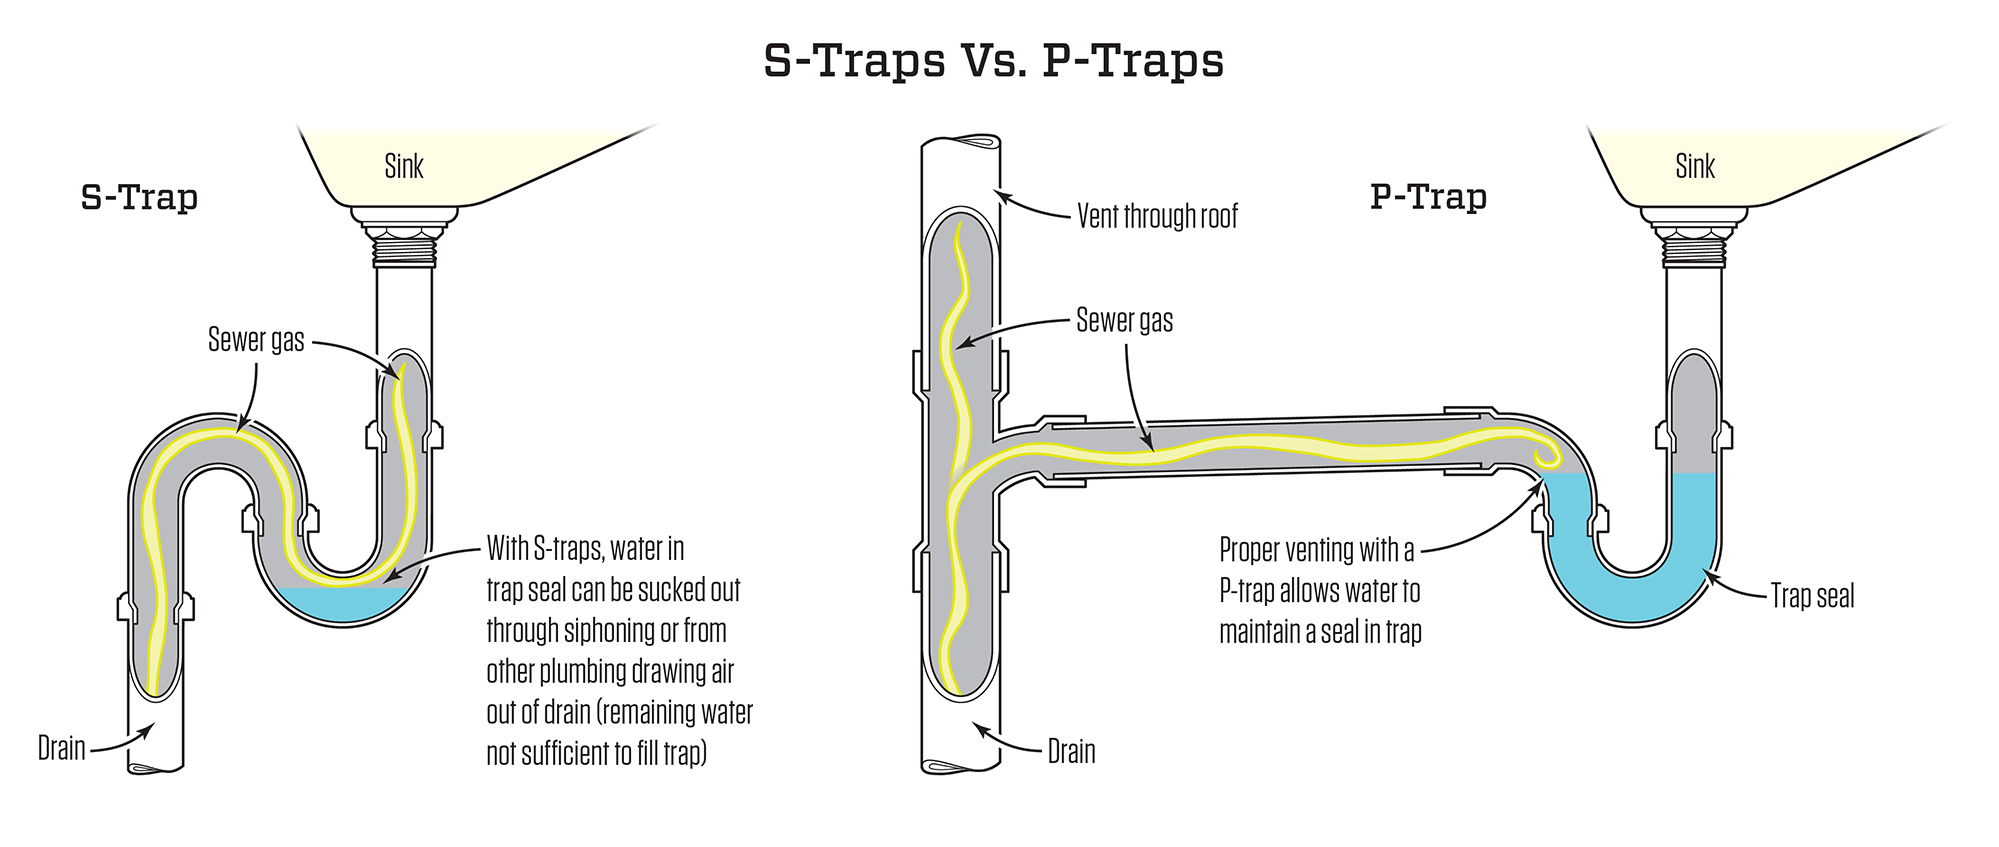
is an essential component of a bathroom sink's drainage system. This
curved pipe
is responsible for trapping water and preventing sewer gases from entering your home. It is also known as a
trap
or a
P-trap
and is typically made of
plastic or metal
. Assembling a U-bend under your bathroom sink may seem like a daunting task, but with the right parts and tools, it can be done easily.
The
U-bend
is an essential component of a bathroom sink's drainage system. This
curved pipe
is responsible for trapping water and preventing sewer gases from entering your home. It is also known as a
trap
or a
P-trap
and is typically made of
plastic or metal
. Assembling a U-bend under your bathroom sink may seem like a daunting task, but with the right parts and tools, it can be done easily.
Additional Parts Needed
 Apart from the
U-bend
itself, there are a few other
parts
that are necessary for assembling it under your bathroom sink. These include
washers, nuts, and gaskets
. These small but crucial parts help to
seal
the joints and prevent any leaks in your sink's drainage system. It is important to ensure that these parts are made of
durable materials
to ensure the longevity and efficiency of your sink's drainage.
Apart from the
U-bend
itself, there are a few other
parts
that are necessary for assembling it under your bathroom sink. These include
washers, nuts, and gaskets
. These small but crucial parts help to
seal
the joints and prevent any leaks in your sink's drainage system. It is important to ensure that these parts are made of
durable materials
to ensure the longevity and efficiency of your sink's drainage.
Tools Required
 In addition to the necessary parts, you will also need a few
tools
to assemble the U-bend under your bathroom sink. These include
pliers, a wrench, and a screwdriver
. These tools will help you to tighten and secure the different parts of the U-bend, ensuring a
sturdy and leak-free
installation.
In addition to the necessary parts, you will also need a few
tools
to assemble the U-bend under your bathroom sink. These include
pliers, a wrench, and a screwdriver
. These tools will help you to tighten and secure the different parts of the U-bend, ensuring a
sturdy and leak-free
installation.
Considerations
 When purchasing the additional parts for your U-bend, it is important to keep in mind the
size and shape
of your sink's drainage. These components come in various sizes and shapes, and it is essential to choose the right ones to ensure a proper fit. It is also important to
test the parts
before assembling to ensure they are the correct size and will work effectively.
When purchasing the additional parts for your U-bend, it is important to keep in mind the
size and shape
of your sink's drainage. These components come in various sizes and shapes, and it is essential to choose the right ones to ensure a proper fit. It is also important to
test the parts
before assembling to ensure they are the correct size and will work effectively.
Conclusion
 Assembling a U-bend under your bathroom sink may seem like a daunting task, but with the right parts and tools, it can be done easily. Remember to choose durable materials, test the parts before assembly, and use the necessary tools to ensure a proper and efficient installation. By following these tips, you can have a
well-functioning and leak-free
U-bend under your bathroom sink in no time.
Assembling a U-bend under your bathroom sink may seem like a daunting task, but with the right parts and tools, it can be done easily. Remember to choose durable materials, test the parts before assembly, and use the necessary tools to ensure a proper and efficient installation. By following these tips, you can have a
well-functioning and leak-free
U-bend under your bathroom sink in no time.