If you've noticed a constant dripping or puddle of water under your Moen kitchen sink, you may have a leaky faucet. Not only is this annoying, but it can also lead to higher water bills and potential water damage. But don't worry, fixing a leaky Moen kitchen sink is a relatively simple task that you can do yourself. Follow this step-by-step guide to learn how to fix a leaky faucet and get your sink back in working order.1. Moen Kitchen Sink Leak Repair: How to Fix a Leaky Faucet


1. Moen Kitchen Sink Leak Repair: How to Fix a Leaky Faucet


Before you begin repairing your Moen kitchen sink, it's important to identify the cause of the leak. In some cases, it may be a simple fix such as a loose connection or worn-out part. However, if the issue is more complex, it may require the help of a professional plumber. Some common causes of a leaky Moen kitchen sink include a worn-out O-ring, damaged cartridge, or a loose handle.2. Moen Kitchen Sink Leak Repair: Troubleshooting Common Issues


2. Moen Kitchen Sink Leak Repair: Troubleshooting Common Issues


Now that you've identified the issue, it's time to start repairing your Moen kitchen sink. First, shut off the water supply to your sink by turning the shut-off valves located under the sink. Next, remove the handle of the faucet by unscrewing the set screw with an Allen wrench. Then, use pliers to remove the retaining nut and pull out the cartridge. Inspect the cartridge for any damage and replace it if necessary. Finally, reassemble the faucet and turn the water supply back on to test for leaks.3. Moen Kitchen Sink Leak Repair: Step-by-Step Guide


3. Moen Kitchen Sink Leak Repair: Step-by-Step Guide


While fixing a leaky Moen kitchen sink can be a DIY project, it may be best to leave it to the professionals if you're not confident in your plumbing skills. If the issue is more complex or you're unsure of the cause, it's better to hire a professional plumber to ensure the problem is fixed correctly. This can save you time and potential headaches in the long run.4. Moen Kitchen Sink Leak Repair: DIY or Hire a Professional?
4. Moen Kitchen Sink Leak Repair: DIY or Hire a Professional?

Understanding the common causes of leaks in a Moen kitchen sink can help you prevent them from occurring in the first place. Some common causes include worn-out parts, loose connections, and high water pressure. Regular maintenance and timely repairs can help prevent future leaks and extend the lifespan of your sink.5. Moen Kitchen Sink Leak Repair: Common Causes of Leaks

5. Moen Kitchen Sink Leak Repair: Common Causes of Leaks


If the cartridge in your Moen kitchen sink is damaged, it will need to be replaced to fix the leak. To do this, first, turn off the water supply and remove the handle and retaining nut as mentioned in step 3. Then, use pliers to pull out the old cartridge and replace it with a new one. Reassemble the faucet and turn the water supply back on to check for leaks.6. Moen Kitchen Sink Leak Repair: How to Replace a Faucet Cartridge

6. Moen Kitchen Sink Leak Repair: How to Replace a Faucet Cartridge


If you have a sprayer attached to your Moen kitchen sink, it may also be the source of a leak. To fix a leaky sprayer, first, turn off the water supply and remove the sprayer head. Check the O-ring and replace it if it's worn out or damaged. If the O-ring is fine, the issue may be with the sprayer hose, which will need to be replaced. Reattach the sprayer head and turn the water supply back on to test for leaks.7. Moen Kitchen Sink Leak Repair: How to Fix a Leaky Sprayer
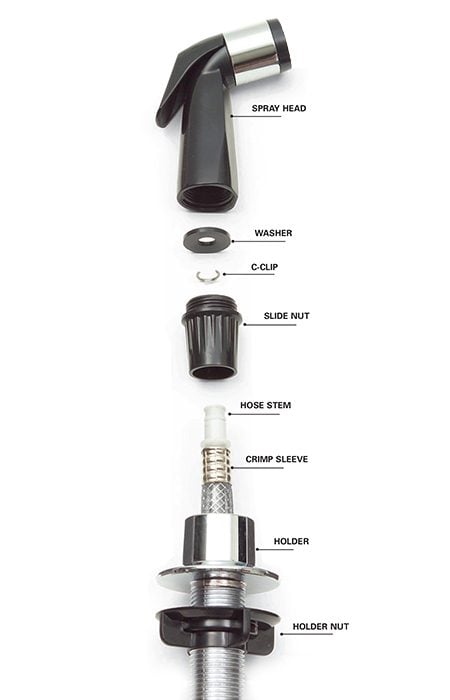


7. Moen Kitchen Sink Leak Repair: How to Fix a Leaky Sprayer


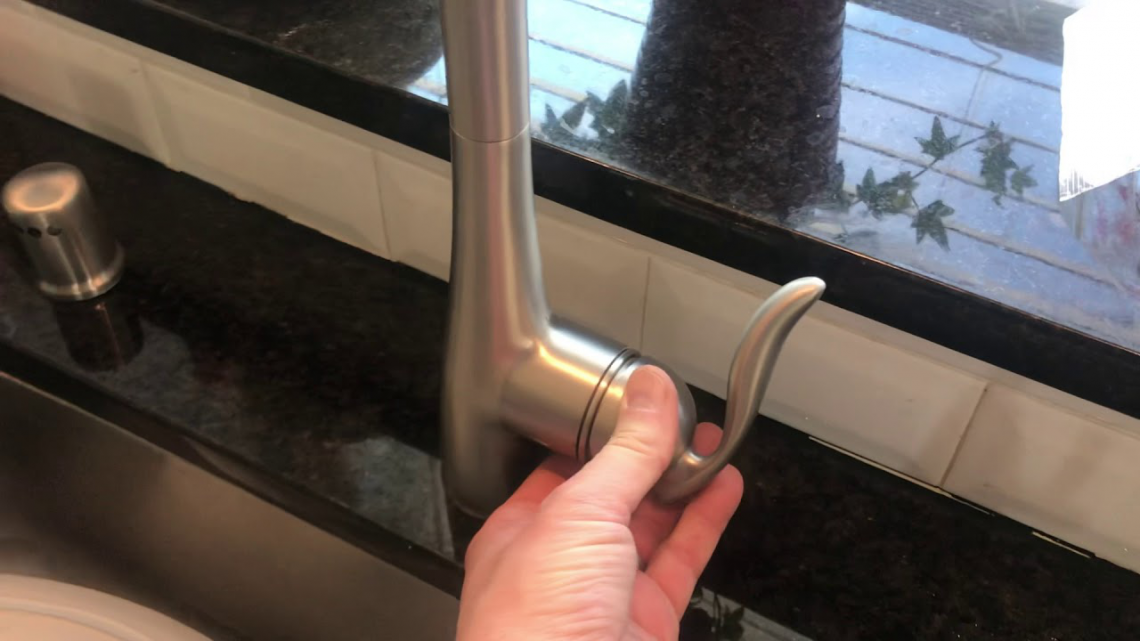
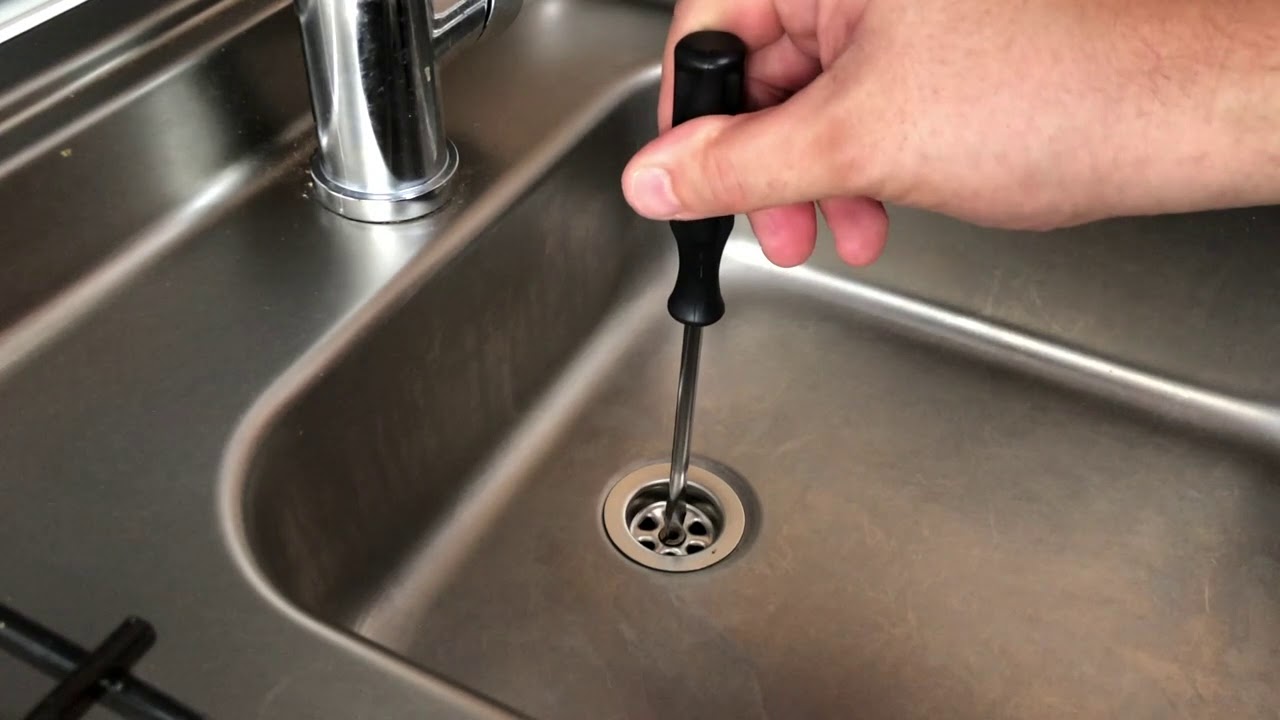
Over time, the handles on your Moen kitchen sink may become loose, leading to a leak. To fix this, first, turn off the water supply and remove the handle. Tighten the screw that holds the handle in place and reattach the handle. Turn the water supply back on to check for leaks.8. Moen Kitchen Sink Leak Repair: How to Tighten Loose Faucet Handles
8. Moen Kitchen Sink Leak Repair: How to Tighten Loose Faucet Handles


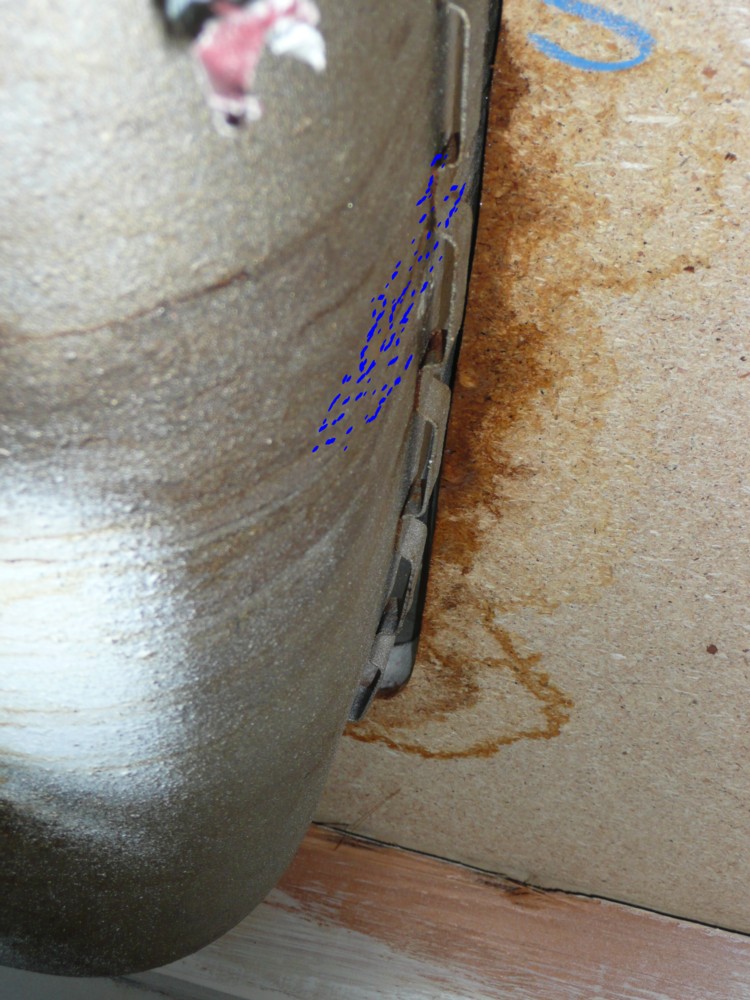
If the leak is coming from the drain of your Moen kitchen sink, it may be due to a faulty seal. To fix this, first, turn off the water supply and remove the drain cover. Clean the area around the drain and apply plumber's putty to create a new seal. Reattach the drain cover and turn the water supply back on to check for leaks.9. Moen Kitchen Sink Leak Repair: How to Seal a Sink Drain
9. Moen Kitchen Sink Leak Repair: How to Seal a Sink Drain


To prevent future leaks in your Moen kitchen sink, it's important to regularly maintain and inspect your sink. Check for any loose connections or worn-out parts and replace them as needed. Also, be mindful of your water pressure and avoid using harsh chemicals or cleaners that can damage your sink. By taking care of your sink, you can prevent leaks and prolong its lifespan.10. Moen Kitchen Sink Leak Repair: How to Prevent Future Leaks


10. Moen Kitchen Sink Leak Repair: How to Prevent Future Leaks

How to Repair a Moen Kitchen Sink Leak
Identifying the Problem
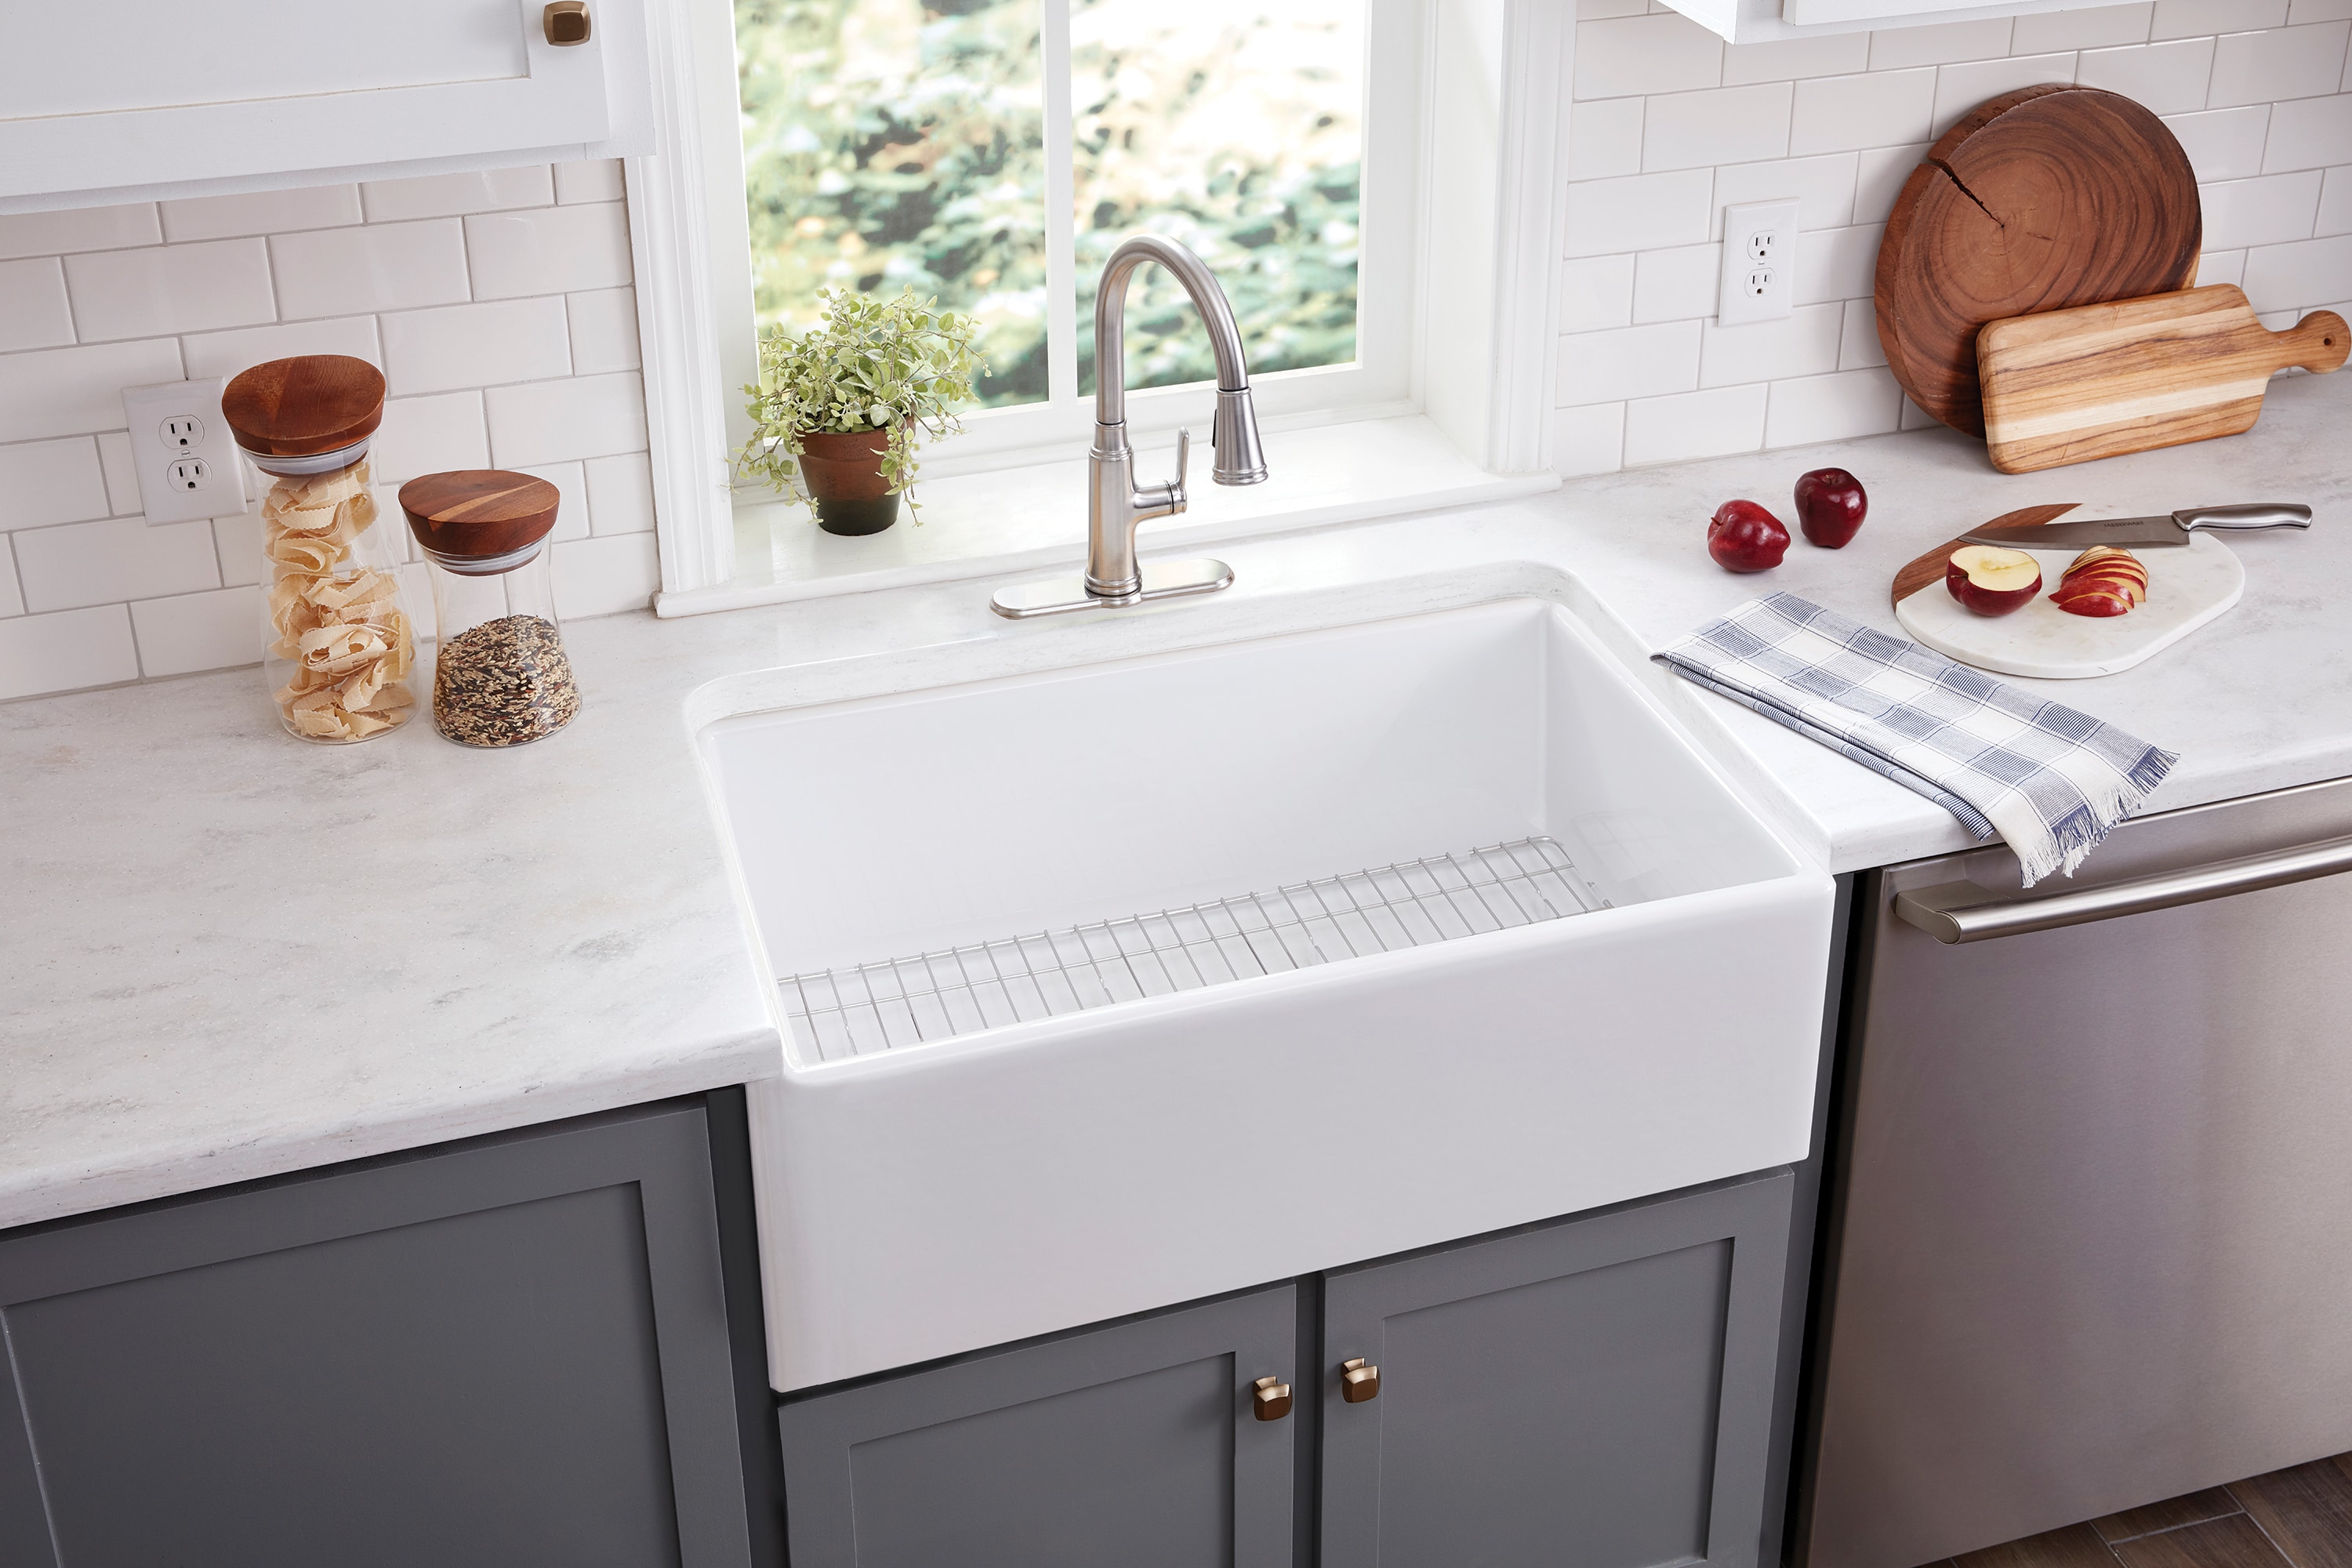
 Moen kitchen sinks
are known for their durability and quality, but like any other household item, they may develop leaks over time. A leaking kitchen sink can be a major inconvenience, causing water damage, mold growth, and higher water bills. It is important to address the issue as soon as possible to avoid further damage. The first step in repairing a
leaking Moen kitchen sink
is to identify the source of the leak.
Moen kitchen sinks
are known for their durability and quality, but like any other household item, they may develop leaks over time. A leaking kitchen sink can be a major inconvenience, causing water damage, mold growth, and higher water bills. It is important to address the issue as soon as possible to avoid further damage. The first step in repairing a
leaking Moen kitchen sink
is to identify the source of the leak.
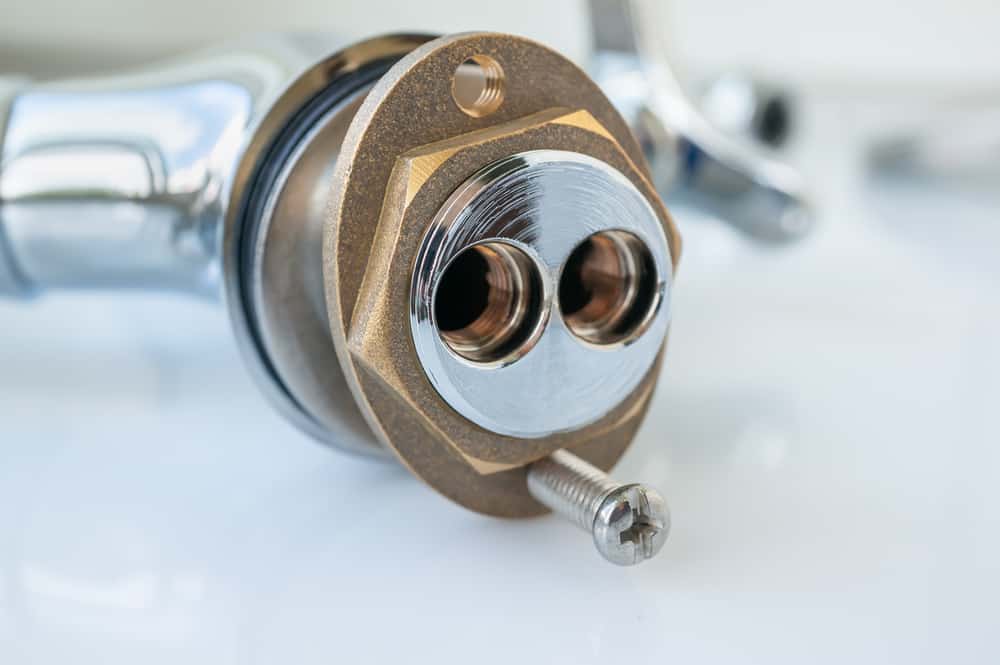
Common Causes of Moen Kitchen Sink Leaks
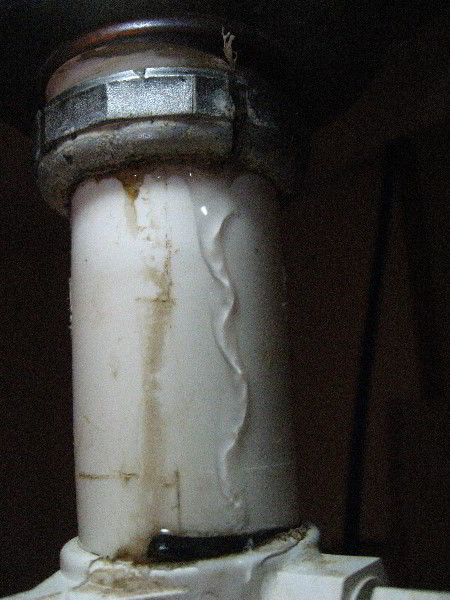
 There are several reasons why your
Moen kitchen sink
may be leaking. The most common causes include a worn out O-ring, a damaged cartridge, or loose connections. O-rings are small rubber rings that create a watertight seal between different parts of the sink. Over time, these O-rings can become worn or cracked, causing leaks. The cartridge is another important component of a
Moen kitchen sink
that can cause leaks if damaged. Loose connections, whether at the faucet or the pipes, can also lead to leaks.
There are several reasons why your
Moen kitchen sink
may be leaking. The most common causes include a worn out O-ring, a damaged cartridge, or loose connections. O-rings are small rubber rings that create a watertight seal between different parts of the sink. Over time, these O-rings can become worn or cracked, causing leaks. The cartridge is another important component of a
Moen kitchen sink
that can cause leaks if damaged. Loose connections, whether at the faucet or the pipes, can also lead to leaks.
The Repair Process
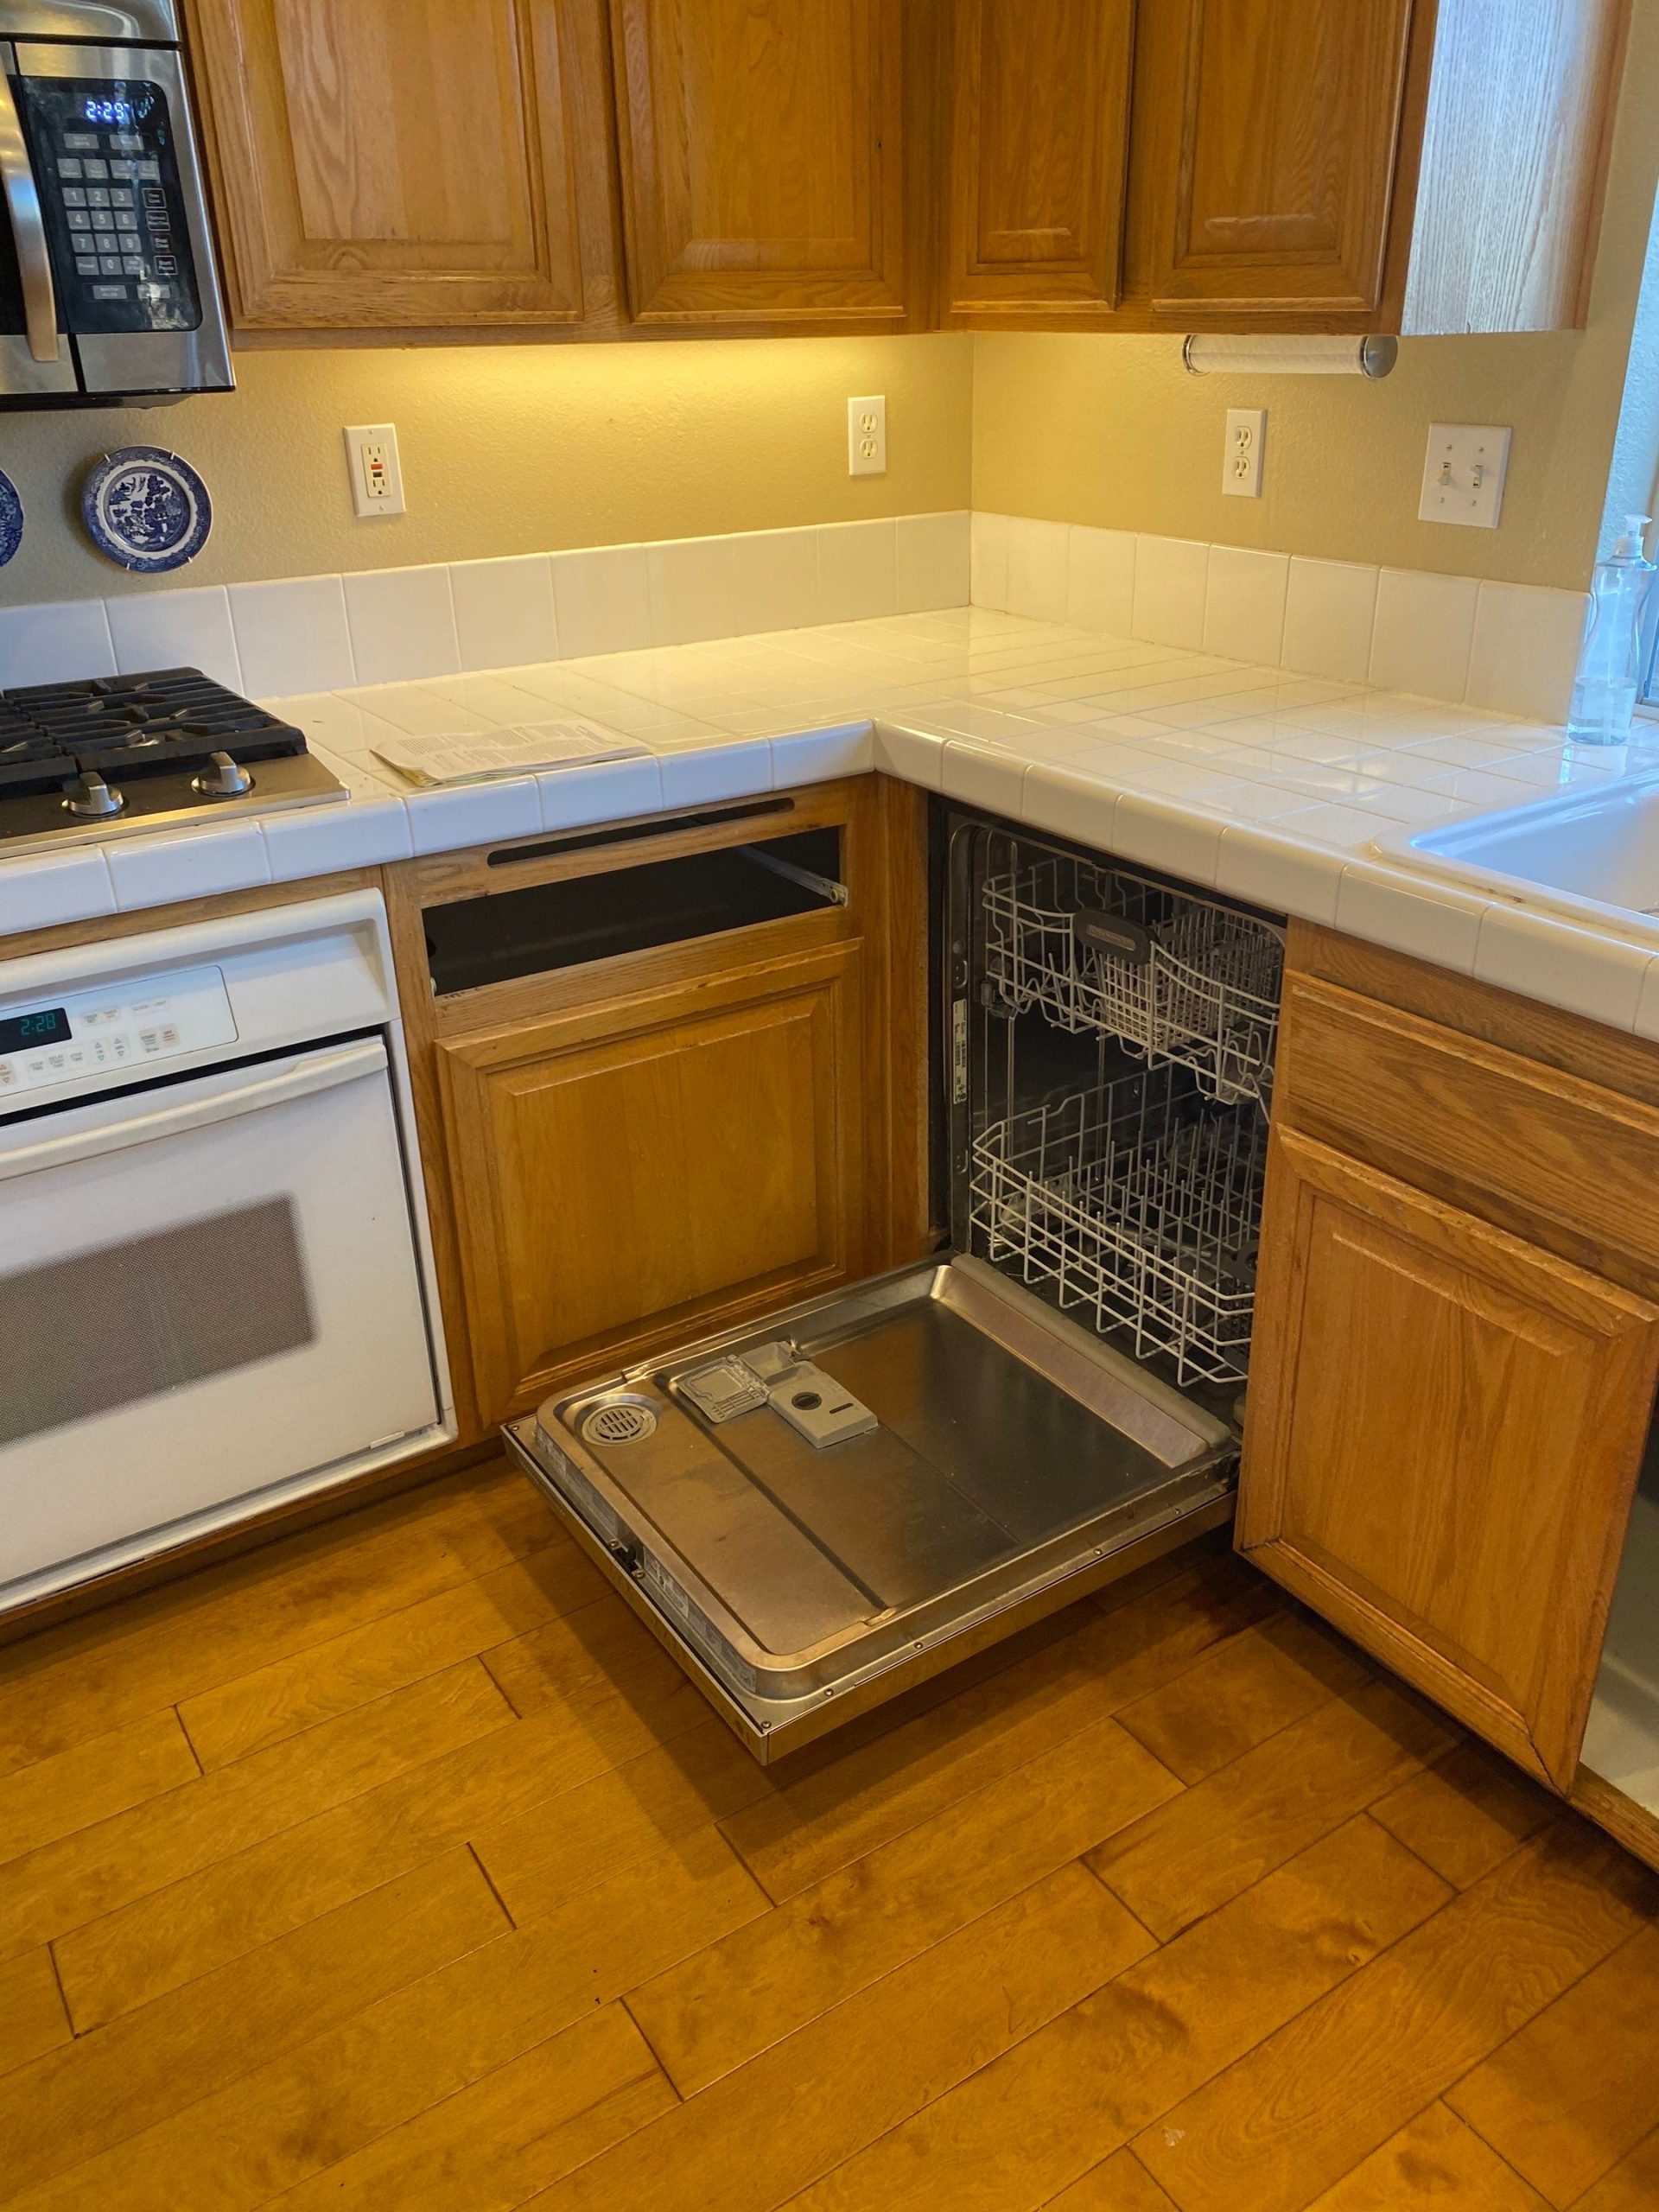
 Once you have identified the source of the leak, you can begin the repair process. The first step is to turn off the water supply to the sink. This can usually be done by turning off the shut-off valves located under the sink. Next, you will need to disassemble the faucet to access the cartridge and O-rings. Make sure to take note of the order in which the parts are removed, as this will make reassembly easier.
Replacing the Problematic Parts
 If the O-rings are worn or damaged, they will need to be replaced. You can find replacement O-rings at any hardware store. Simply remove the old ones and replace them with the new ones. If the cartridge is damaged, you will need to replace it as well. Moen offers replacement cartridges for their faucets, which can be easily installed following the manufacturer's instructions.
Final Steps
 Once the damaged parts have been replaced, reassemble the faucet and turn the water supply back on. Check for any leaks and make sure the faucet is functioning properly. If you notice any leaks or issues, double check that all connections are tight and secure. If the problem persists, it may be best to seek the help of a professional plumber.
Preventing Future Leaks
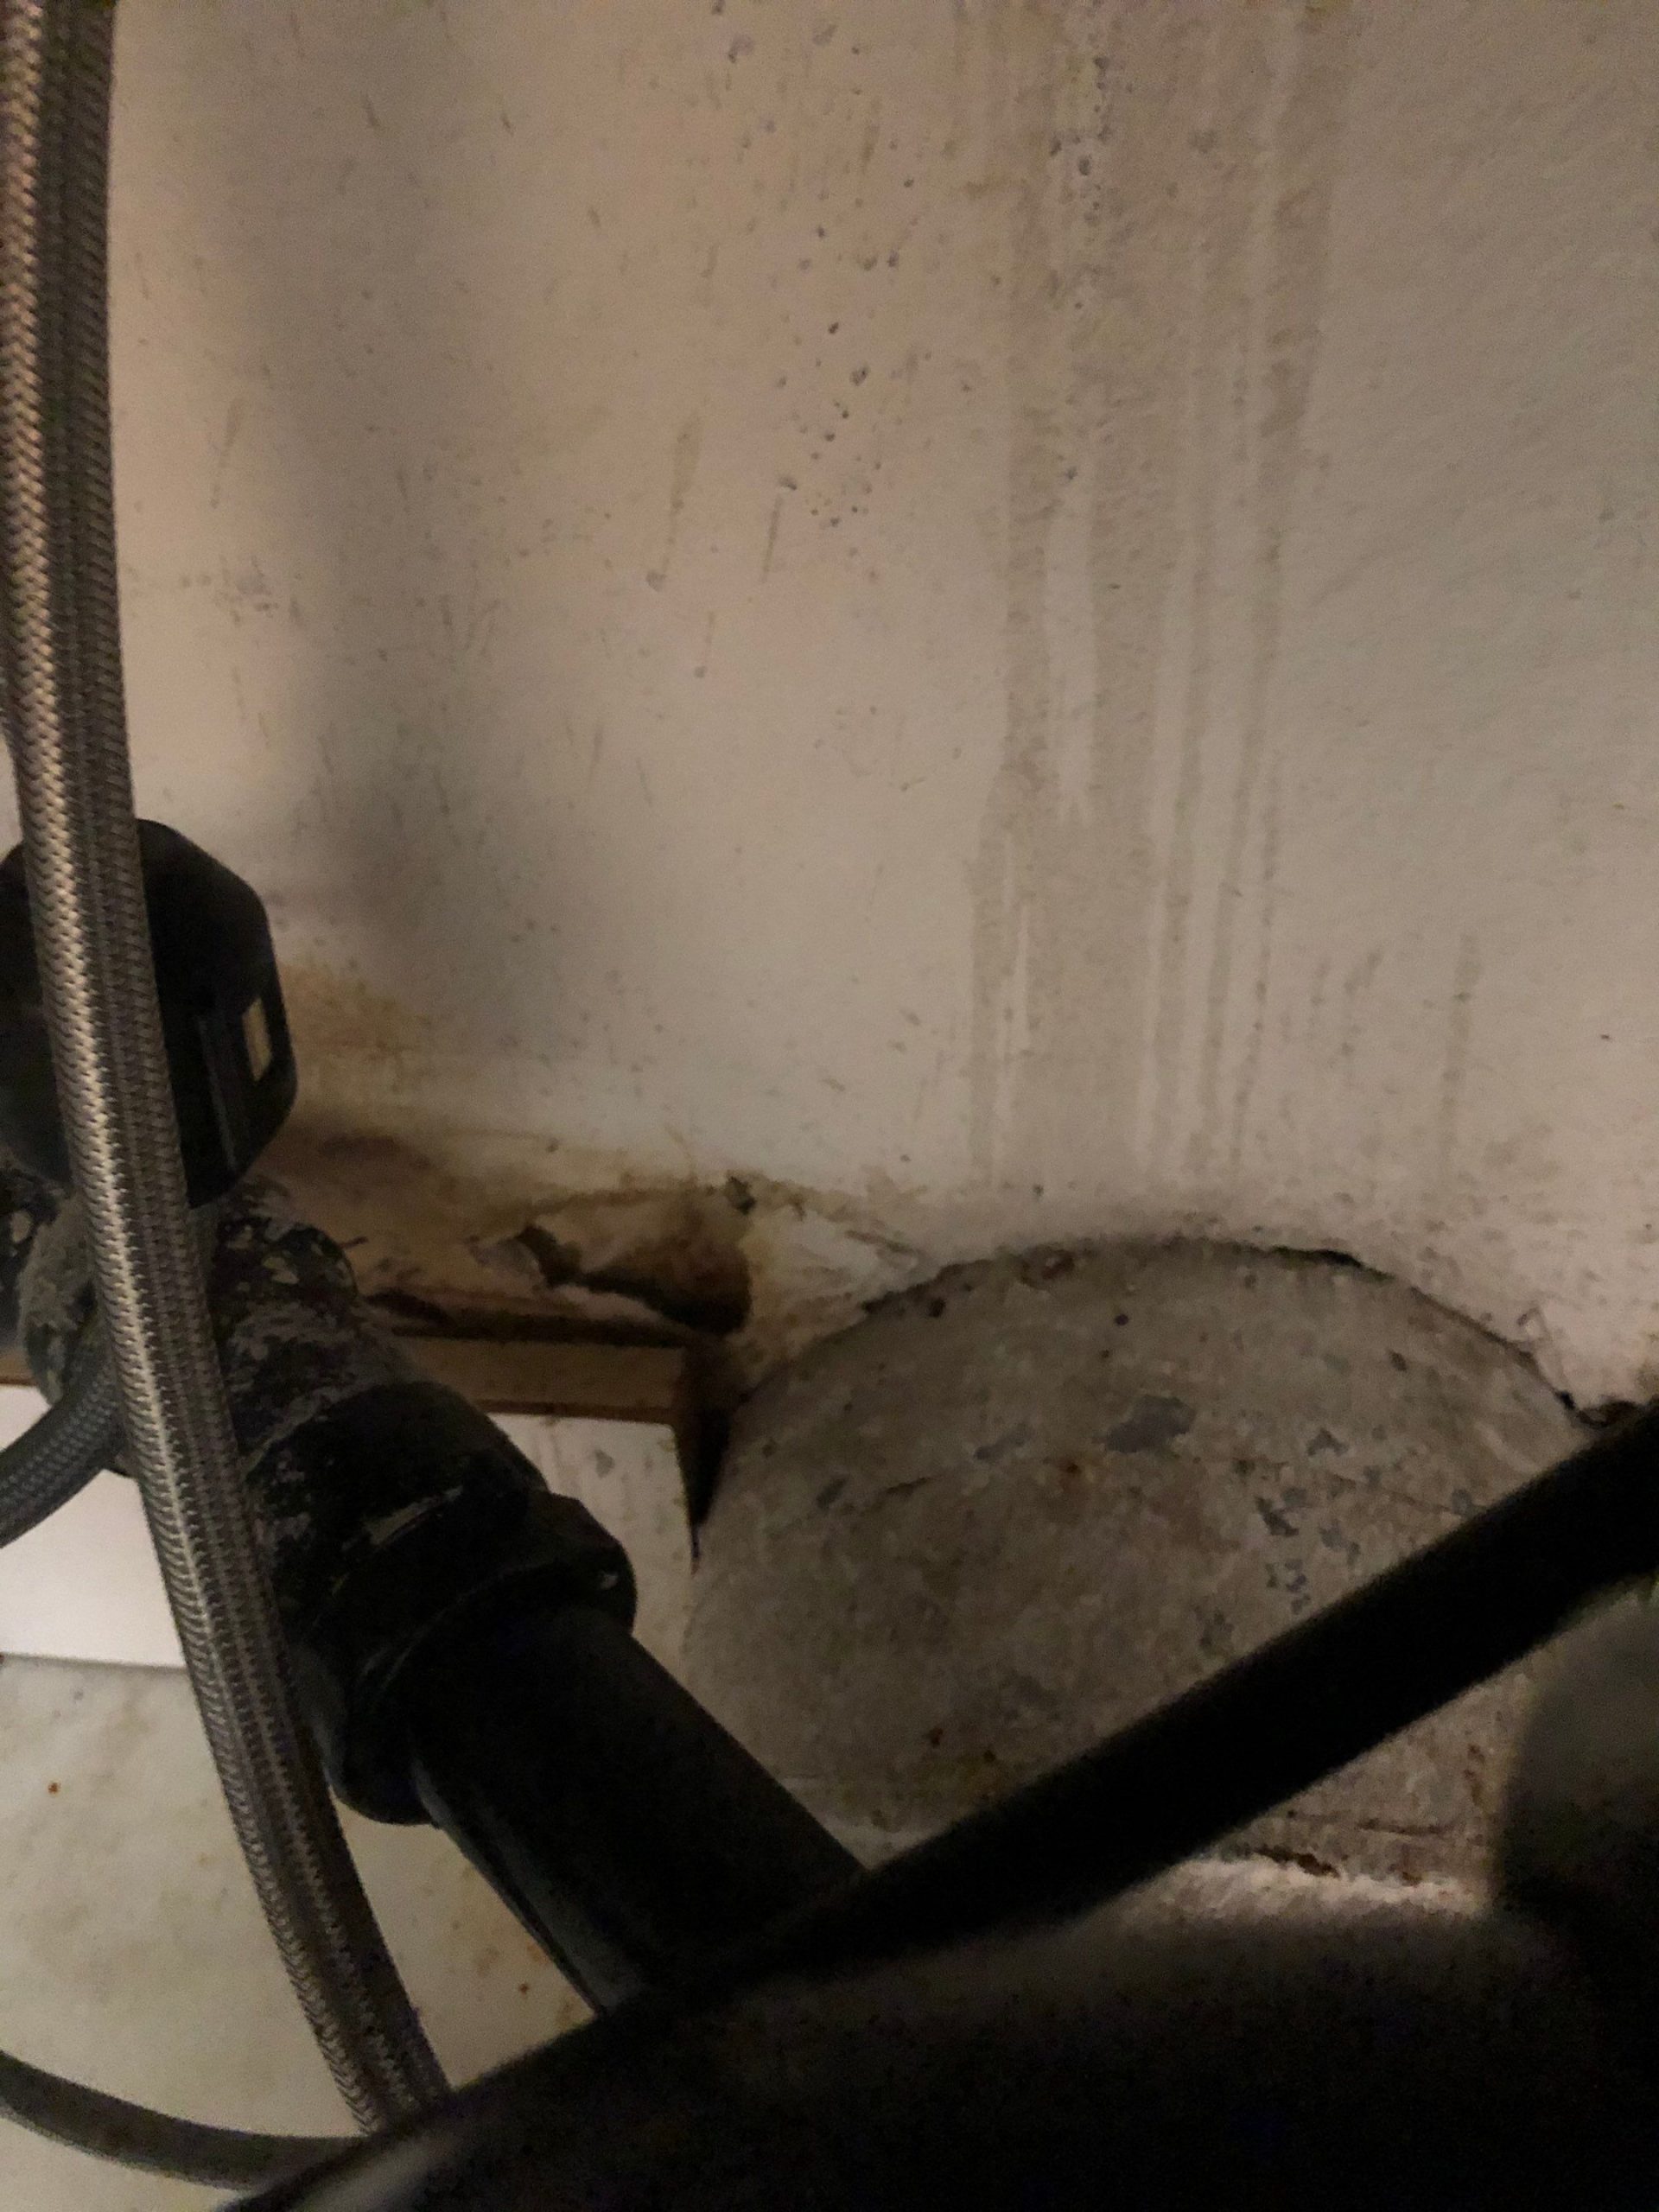
 To prevent
leaks in your Moen kitchen sink
in the future, it is important to regularly inspect and maintain your faucet. Check for any worn or damaged parts and replace them as needed. Also, be sure to tighten any loose connections. Additionally, avoid using harsh chemicals or abrasive cleaners on your sink, as they can cause damage to the O-rings and other components.
Repairing a Moen kitchen sink leak
may seem like a daunting task, but with the right tools and knowledge, it can be a simple and cost-effective DIY project. By regularly maintaining your sink and addressing any leaks promptly, you can ensure the longevity and functionality of your Moen kitchen sink for years to come.
To prevent
leaks in your Moen kitchen sink
in the future, it is important to regularly inspect and maintain your faucet. Check for any worn or damaged parts and replace them as needed. Also, be sure to tighten any loose connections. Additionally, avoid using harsh chemicals or abrasive cleaners on your sink, as they can cause damage to the O-rings and other components.
Repairing a Moen kitchen sink leak
may seem like a daunting task, but with the right tools and knowledge, it can be a simple and cost-effective DIY project. By regularly maintaining your sink and addressing any leaks promptly, you can ensure the longevity and functionality of your Moen kitchen sink for years to come.