Making your own kitchen cabinet doors can be a fun and rewarding DIY project, and using a table saw can make the process even easier. With the right techniques and tools, you can create beautiful and professional-looking doors for your kitchen cabinets. Here’s a step-by-step guide on how to make kitchen cabinet doors on a table saw.How to Make Kitchen Cabinet Doors on a Table Saw


How to Make Kitchen Cabinet Doors on a Table Saw


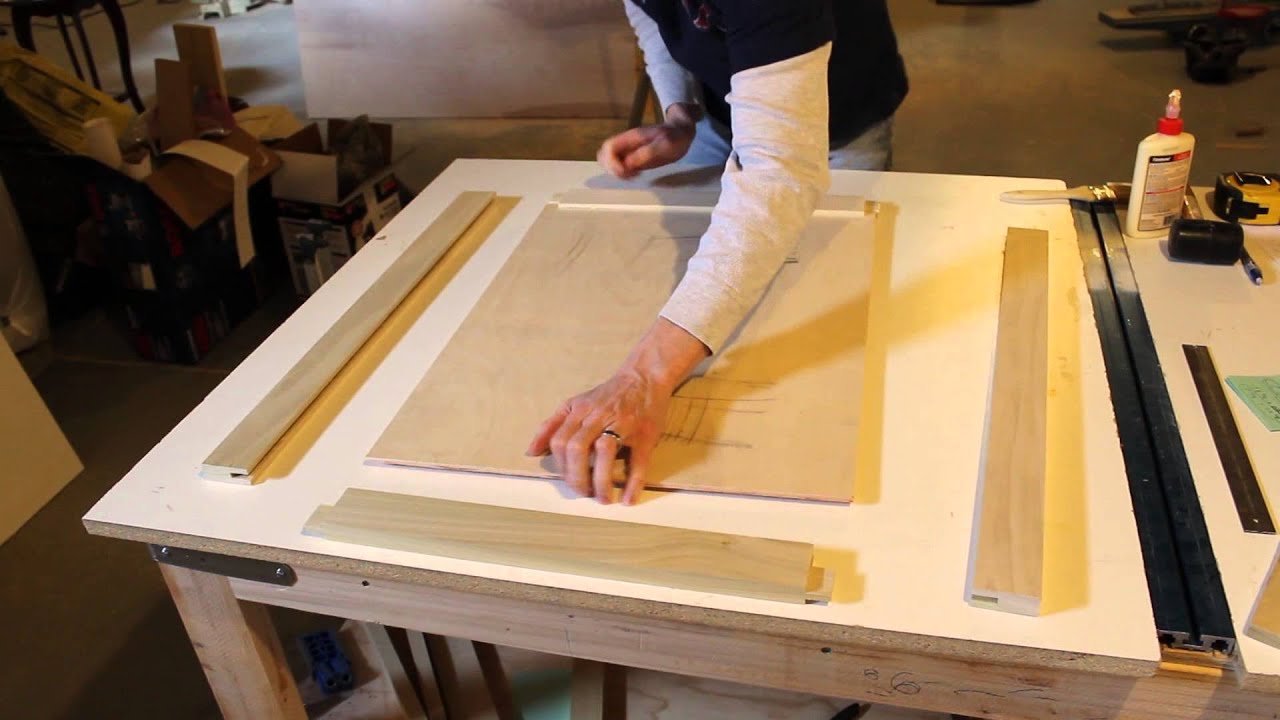
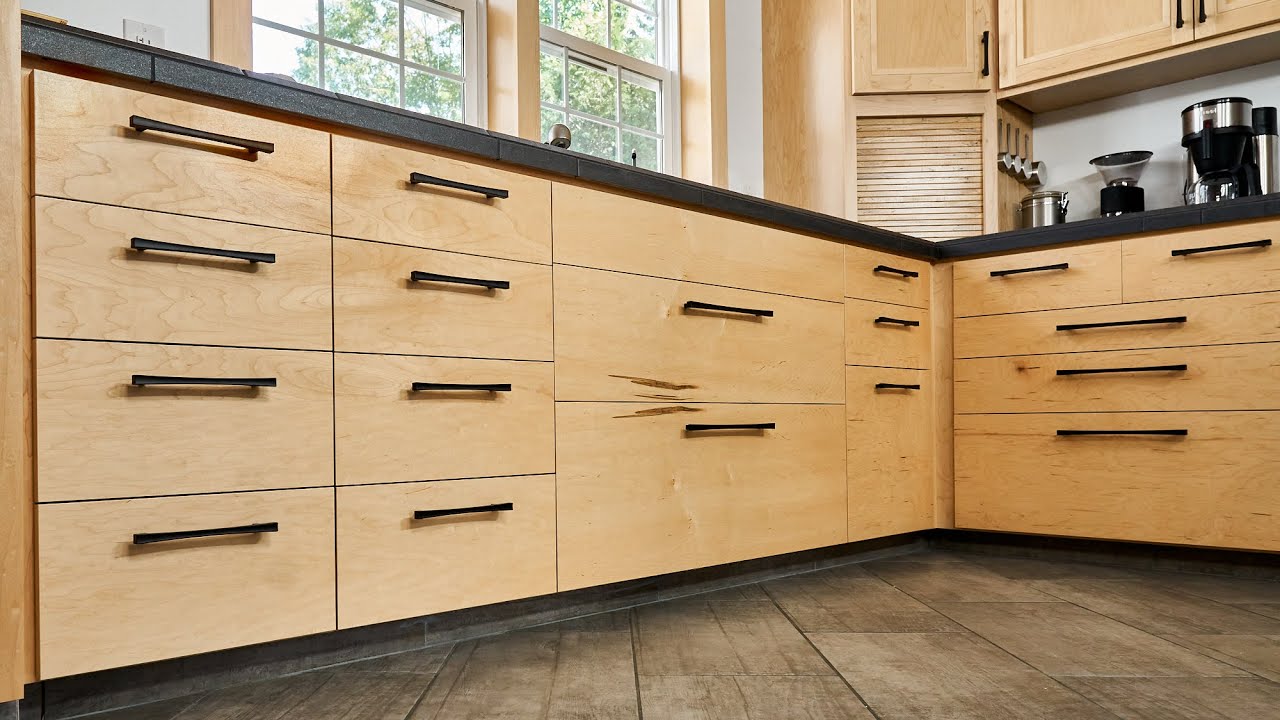
Making your own cabinet doors can save you a lot of money compared to buying them pre-made. Plus, you get to customize the doors to your exact specifications and style. Here’s a simple guide on how to make DIY kitchen cabinet doors with a table saw: 1. Measure the dimensions of your cabinet openings and add 1 inch to both the width and height for the door size. 2. Choose the type of wood you want to use for your doors. Popular choices include maple, oak, and cherry. 3. Cut the wood pieces to the size of your door using a table saw with a fine-toothed blade. 4. Use a router to create a decorative edge on the outside of the door, if desired. 5. Use a table saw to create a 3/8 inch deep groove on the inside edges of the door pieces to hold the panel. 6. Cut the panel to fit inside the grooves and insert it into the door frame. 7. Secure the panel in place with wood glue and clamps. Let it dry for at least 24 hours. 8. Use the table saw to cut the excess panel sticking out of the grooves. 9. Sand the door to smooth out any rough edges or imperfections. 10. Install the doors on your cabinets using hinges and screws.DIY Kitchen Cabinet Doors: Step-by-Step Instructions

DIY Kitchen Cabinet Doors: Step-by-Step Instructions
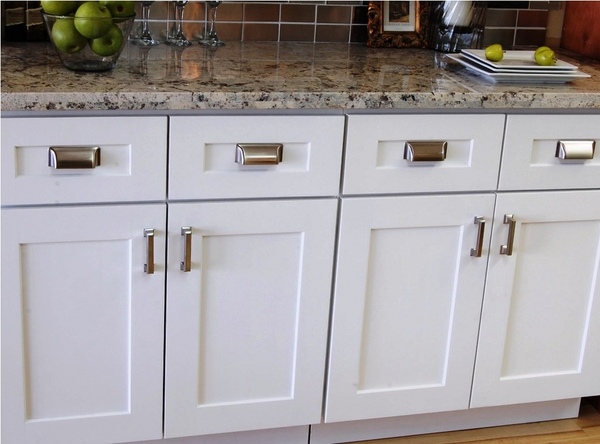


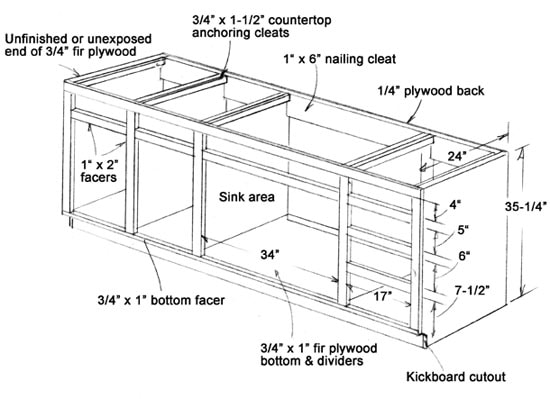
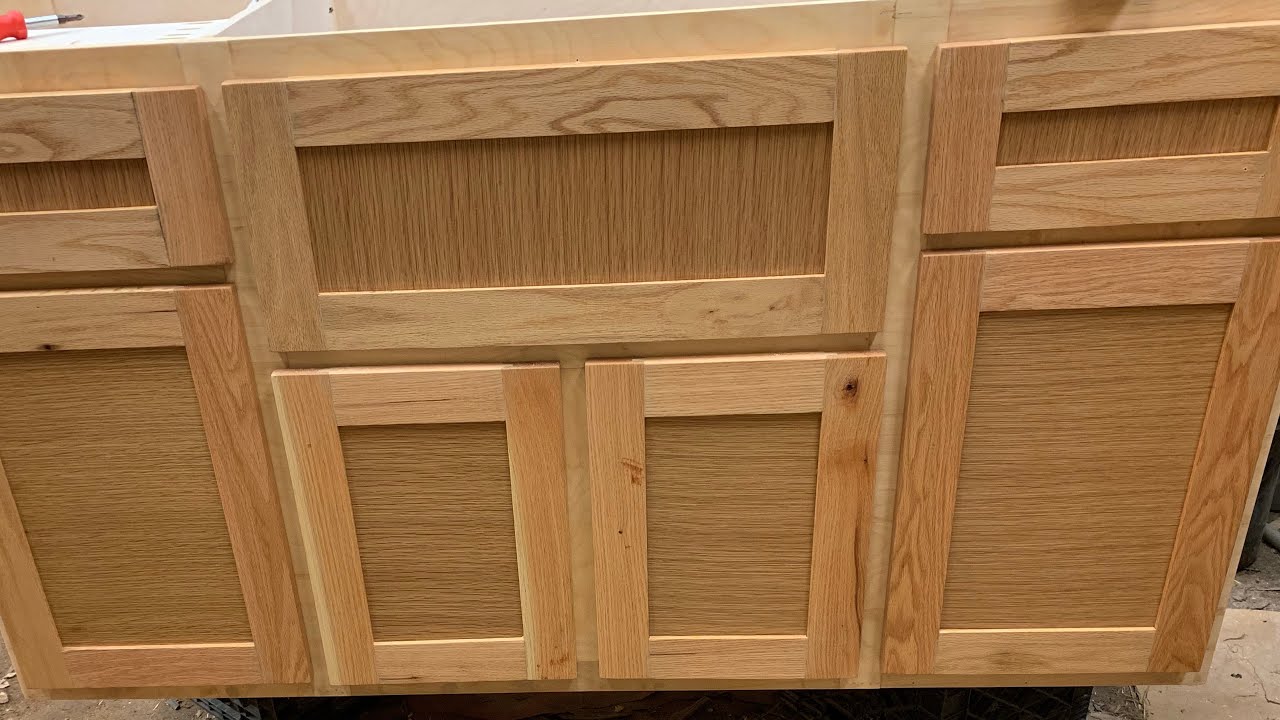
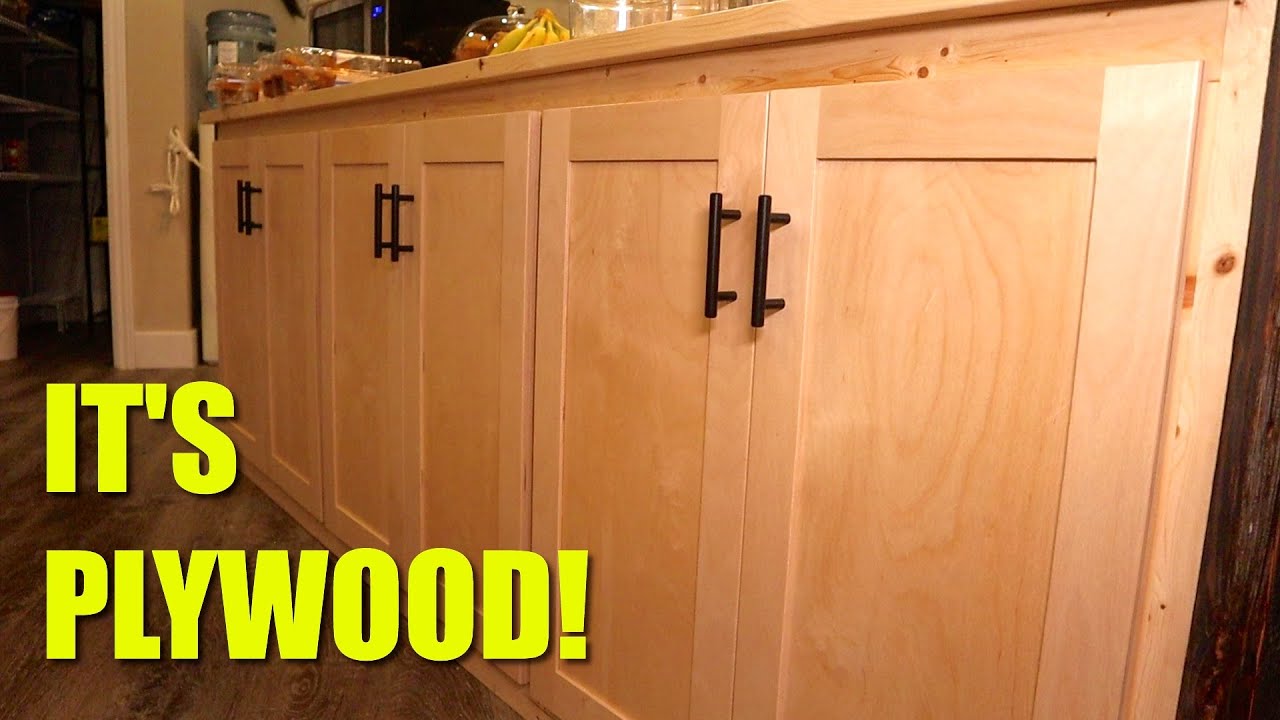
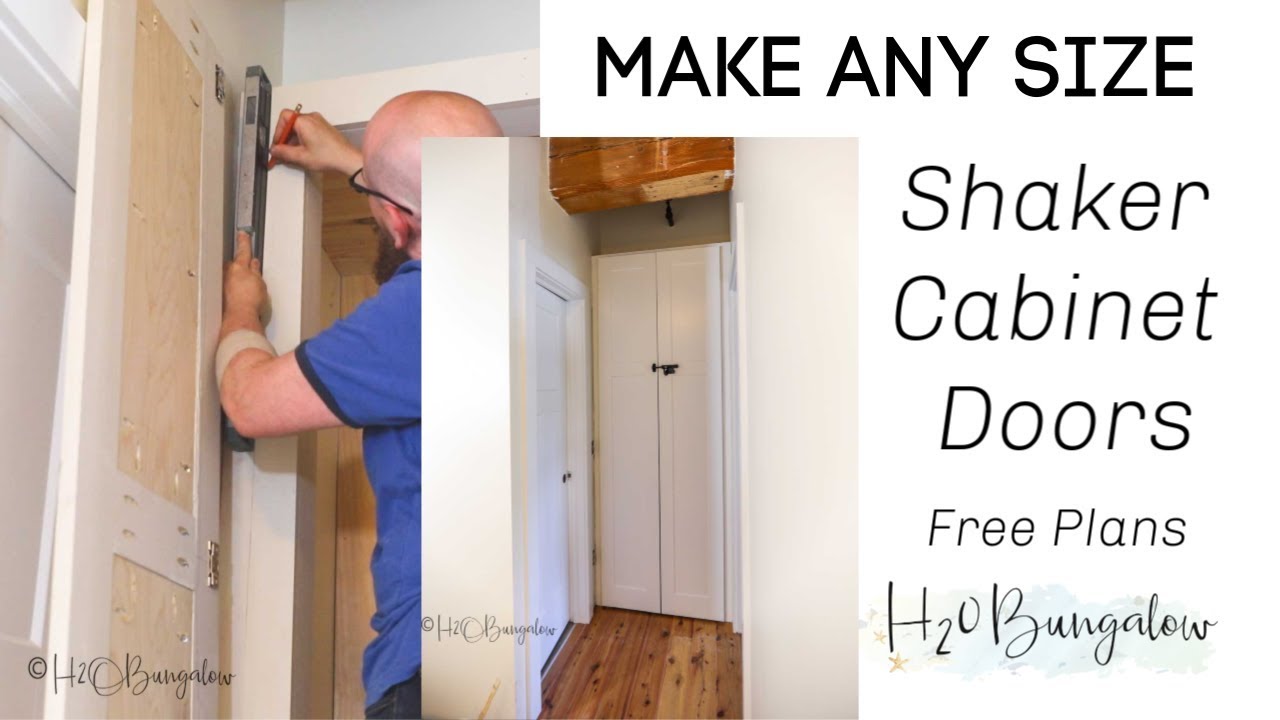
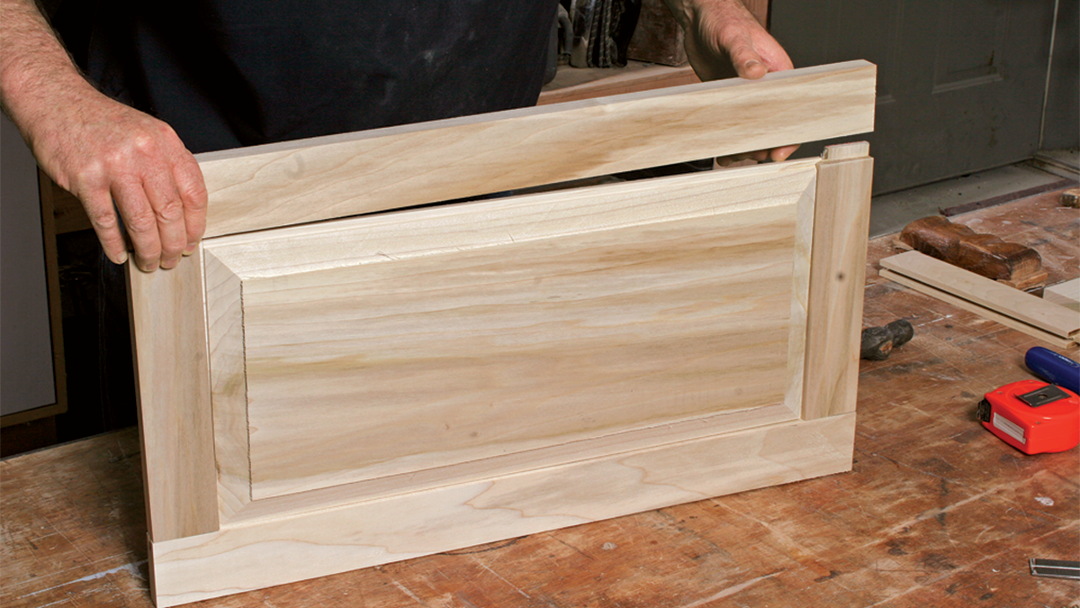
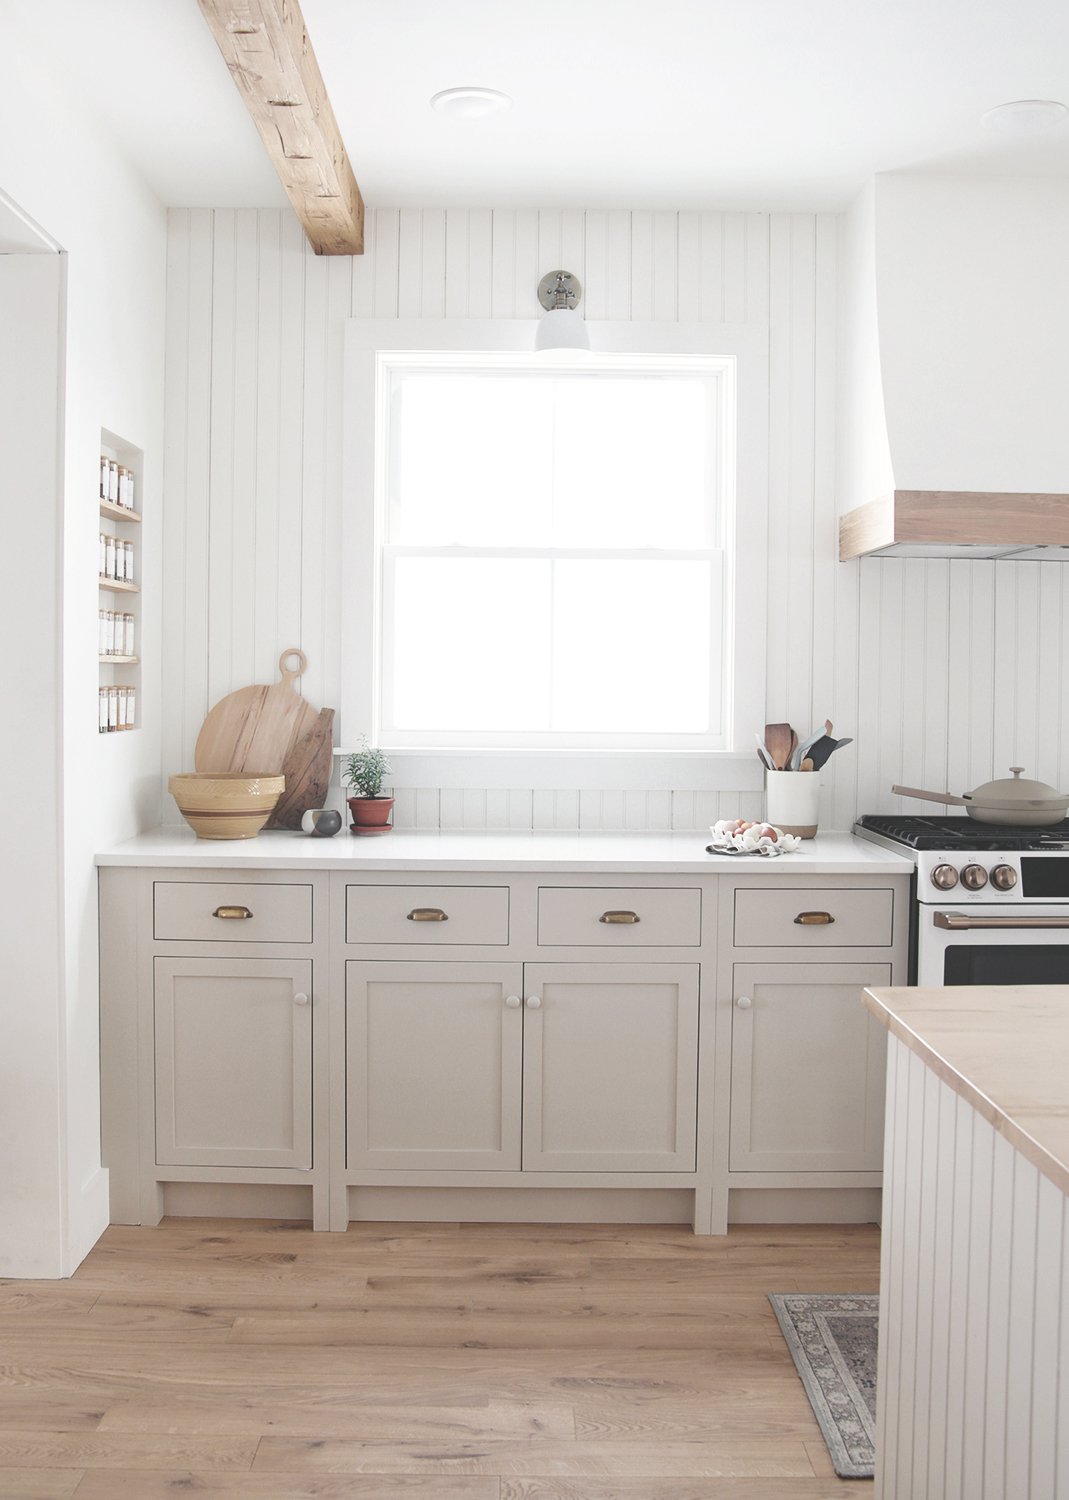
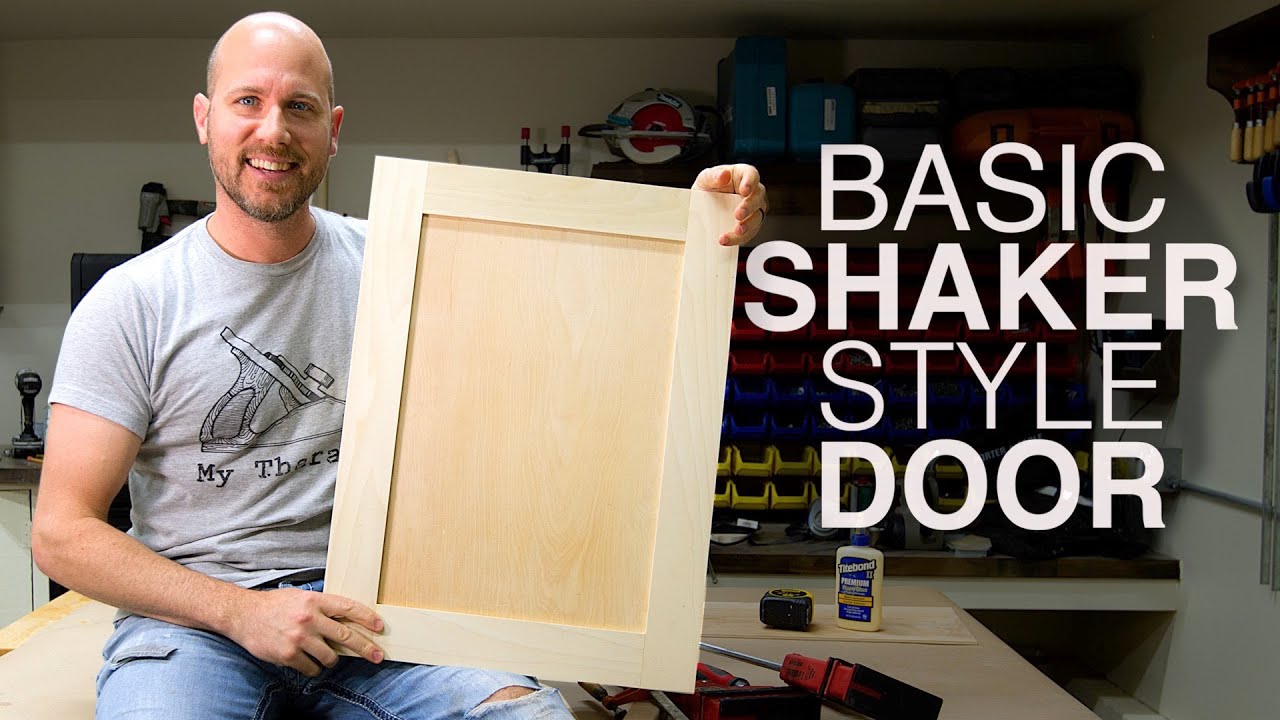
Shaker style cabinet doors are a popular choice for a clean and modern look in the kitchen. They are typically made with a flat panel and a simple frame. Here’s how you can build shaker style cabinet doors using a table saw: 1. Measure and cut the door pieces to size using a table saw. 2. Use a router to create a 1/4 inch deep groove around the inside edge of the door frame. 3. Cut the panel to fit inside the groove and secure it with wood glue and clamps. 4. Use a table saw to cut the excess panel. 5. Cut 45-degree miters on the ends of the frame pieces to create the shaker style look. 6. Assemble the pieces together using wood glue and clamps. 7. Sand the door to smooth out any rough edges or imperfections. 8. Install the doors on your cabinets using hinges and screws.Building Shaker Style Cabinet Doors with a Table Saw


Building Shaker Style Cabinet Doors with a Table Saw


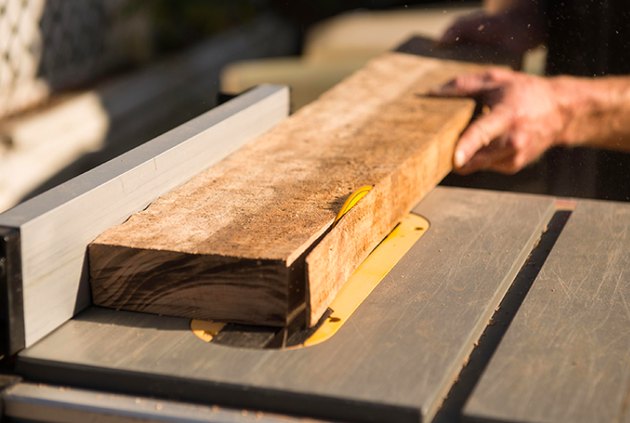
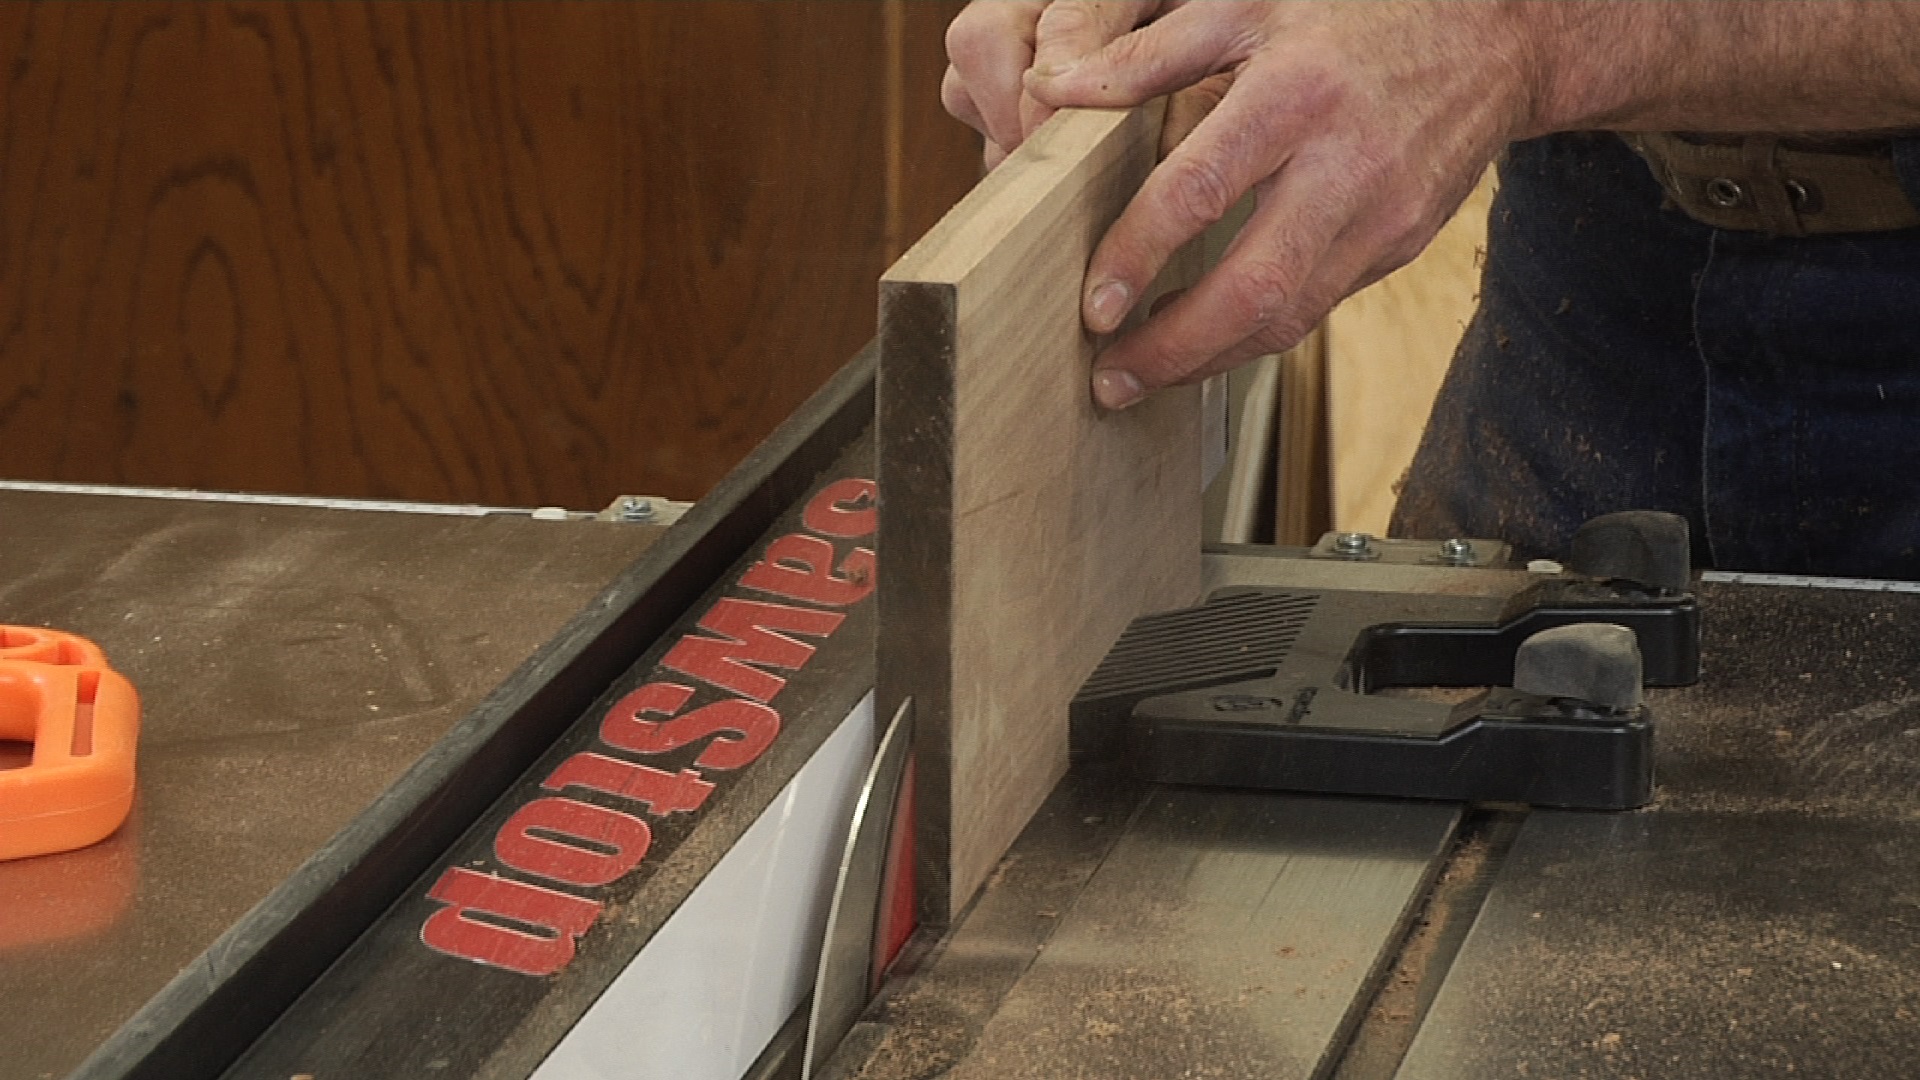
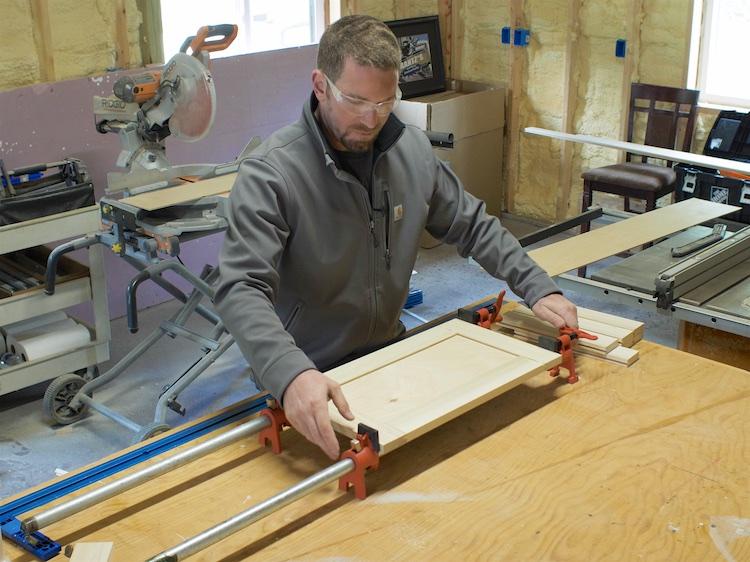
Using a table saw for cabinet door making requires some specific techniques to ensure the best results. Here are some tips to keep in mind: 1. Always use a fine-toothed blade to prevent splintering and ensure clean cuts. 2. Use a featherboard to keep the wood against the fence and prevent kickback. 3. Make sure the fence is parallel to the blade to ensure accurate cuts. 4. Use a push stick or push block to keep your hands safely away from the blade. 5. Wear protective gear, such as safety glasses and earplugs, when using a table saw.Table Saw Techniques for Making Cabinet Doors


Table Saw Techniques for Making Cabinet Doors


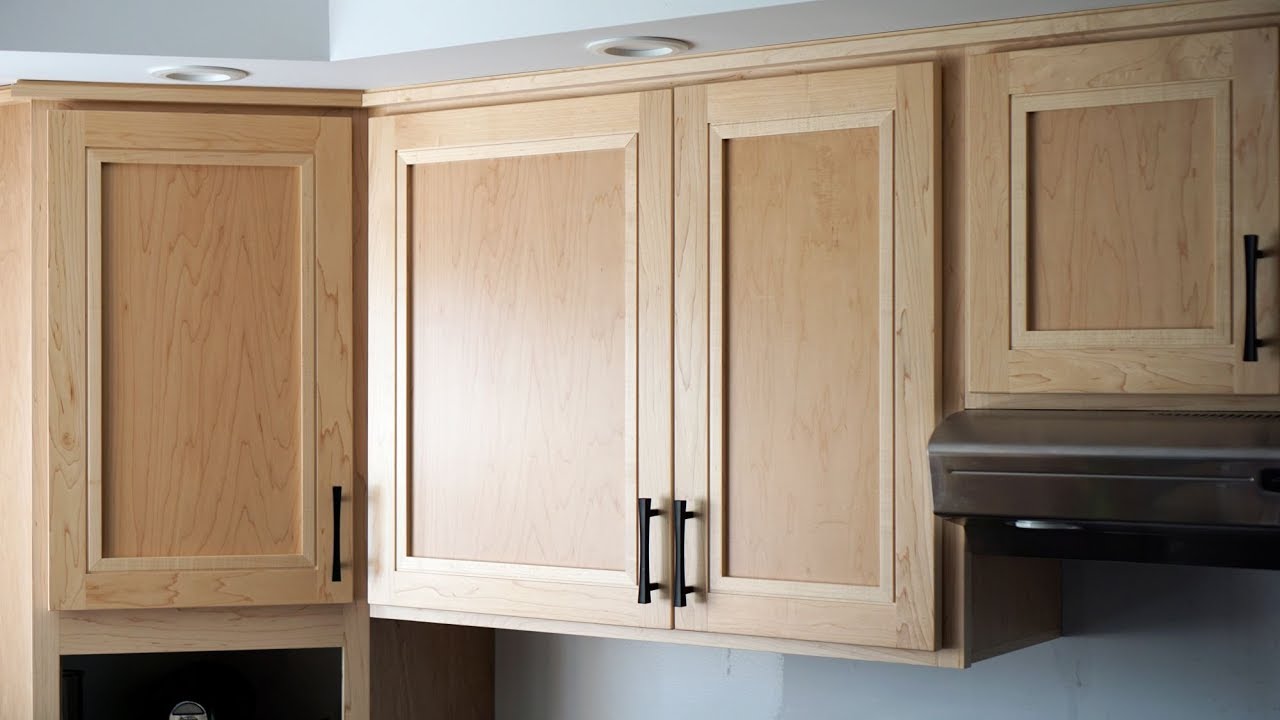
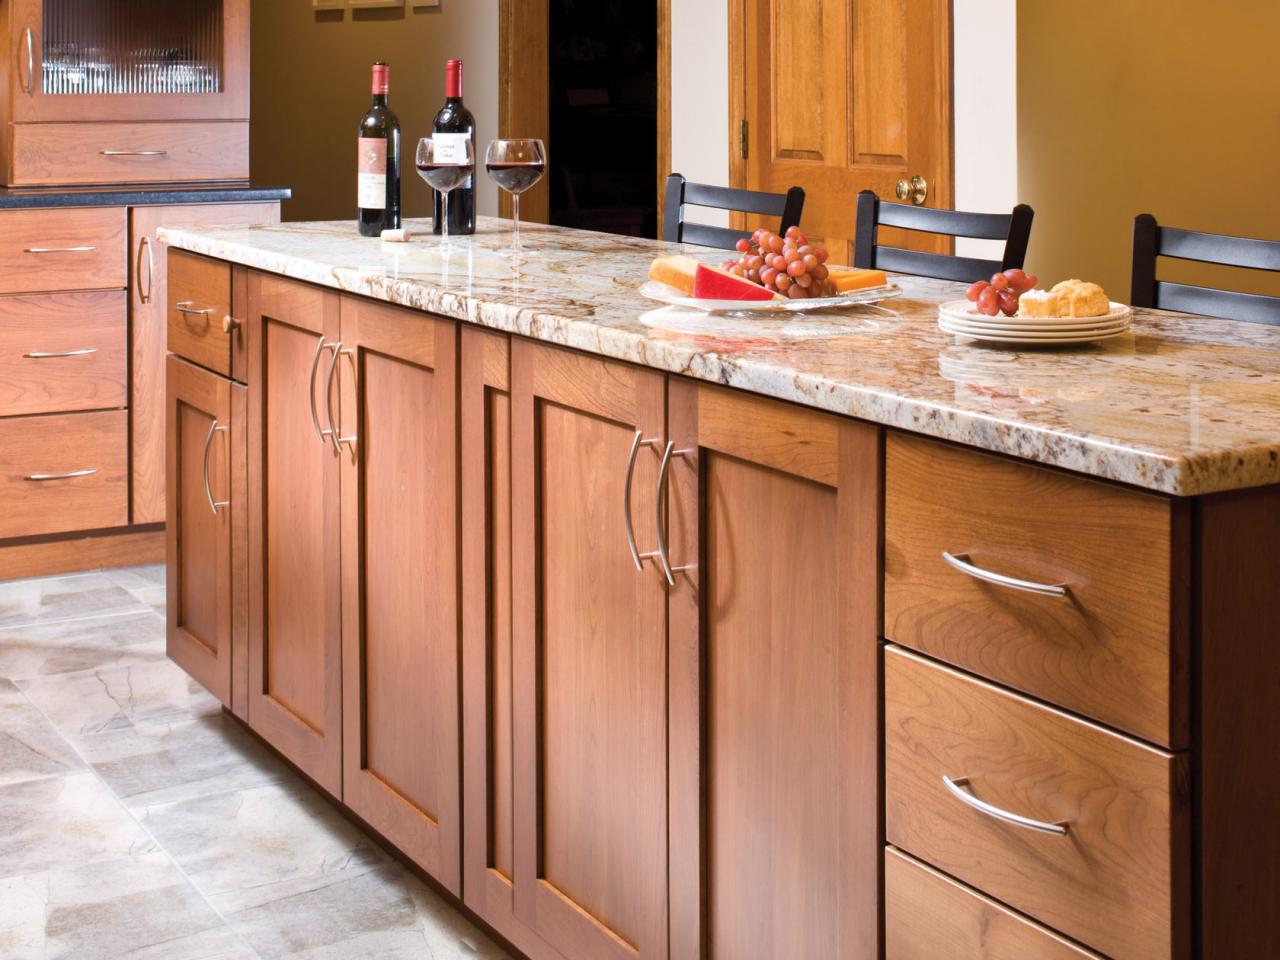
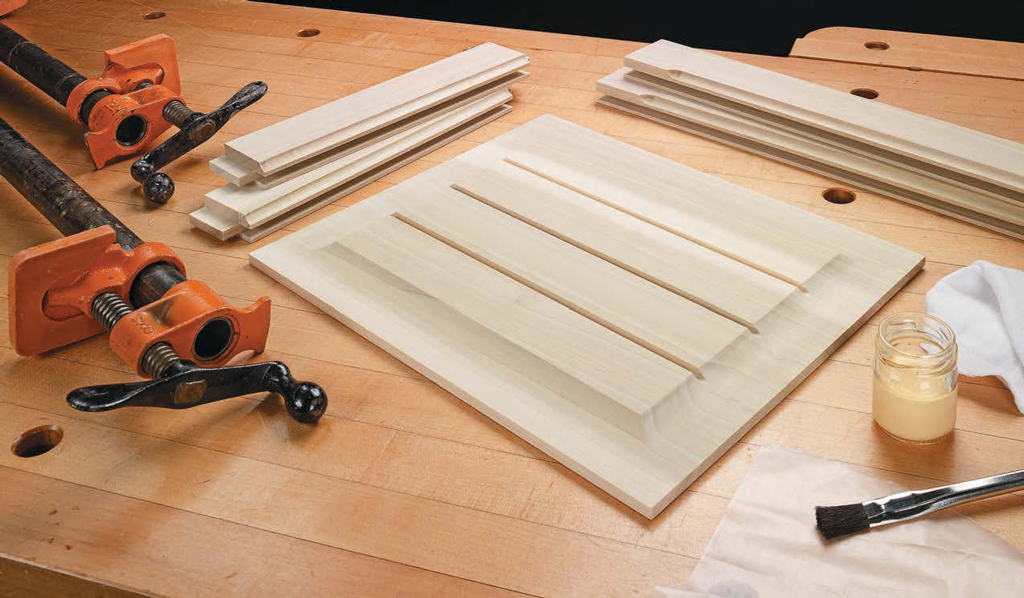
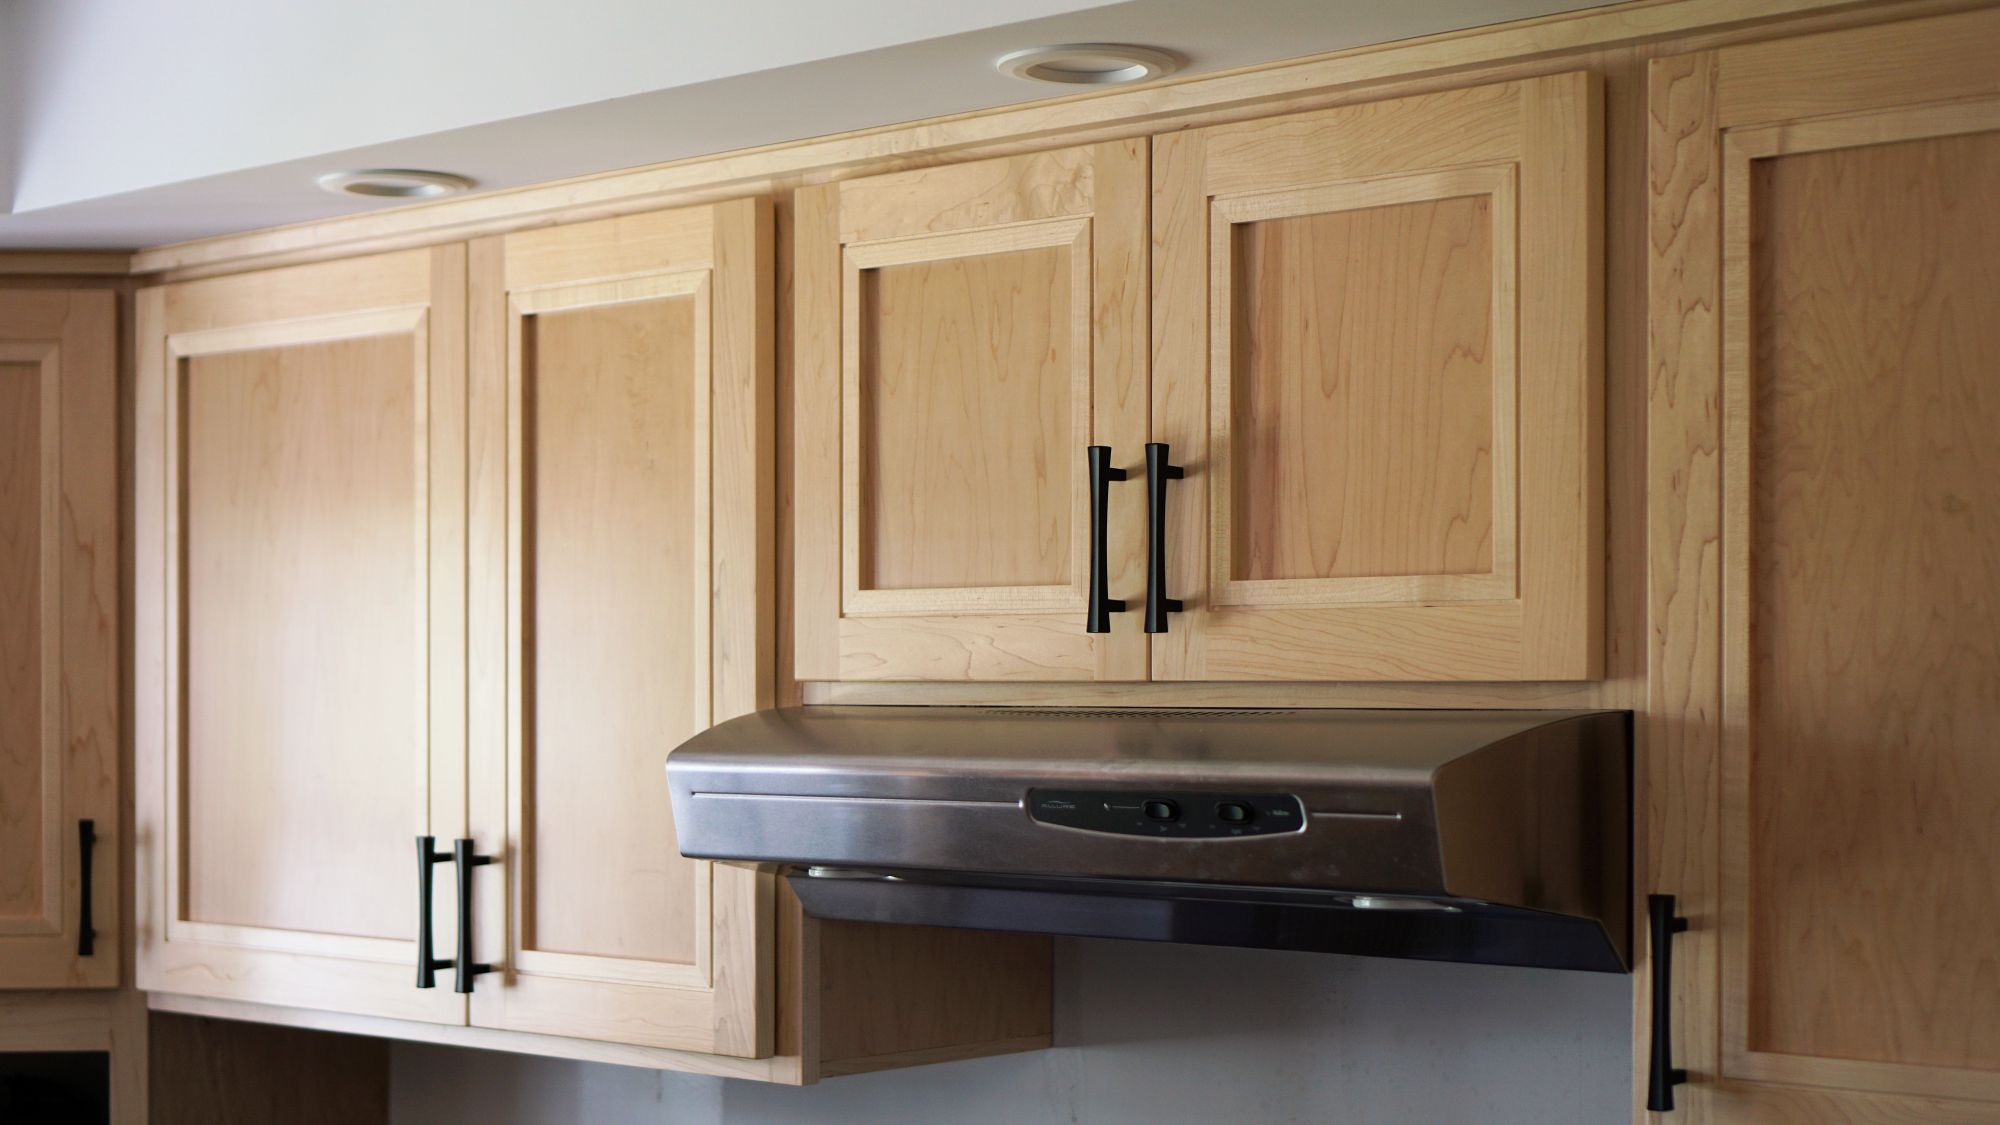
Raised panel cabinet doors add a touch of elegance to any kitchen. Here’s how you can create them using a table saw: 1. Measure and cut the door frame pieces to size using a table saw. 2. Use a router to create a 1/4 inch deep groove on the inside edge of the frame pieces. 3. Cut the panel to fit inside the grooves and secure it with wood glue and clamps. 4. Use a table saw to cut a 1/2 inch deep groove on the back of the door frame. 5. Use a router to shape the edges of the raised panel to fit into the groove on the frame. 6. Assemble the pieces together using wood glue and clamps. 7. Sand the door to smooth out any rough edges or imperfections. 8. Install the doors on your cabinets using hinges and screws.Creating Raised Panel Cabinet Doors on a Table Saw


Creating Raised Panel Cabinet Doors on a Table Saw


If you have a table saw and a router, you have all the tools you need to make your own cabinet doors. Here’s a simple method to create cabinet doors using these two tools: 1. Measure and cut the door pieces to size using a table saw. 2. Use a router to create a decorative edge on the outside of the door, if desired. 3. Cut a 1/4 inch deep groove on the inside edge of the door frame using a table saw. 4. Cut the panel to fit inside the groove and secure it with wood glue and clamps. 5. Use a table saw to cut the excess panel sticking out of the groove. 6. Sand the door to smooth out any rough edges or imperfections. 7. Install the doors on your cabinets using hinges and screws.Easy Cabinet Doors with a Table Saw and Router


Easy Cabinet Doors with a Table Saw and Router


A jig is a helpful tool that can make cabinet door making on a table saw even easier. Here’s how to make a simple jig for creating cabinet doors: 1. Cut a piece of wood to the size of your door frame. 2. Cut a 1/4 inch deep groove in the center of the wood piece. 3. Attach a stop block on each end of the wood piece to keep the frame pieces in place. 4. Use this jig as a guide to cut the grooves on your door frame pieces. 5. Cut the panel to fit inside the grooves and secure it with wood glue and clamps. 6. Sand the door to smooth out any rough edges or imperfections. 7. Install the doors on your cabinets using hinges and screws.Table Saw Cabinet Door Making Jig


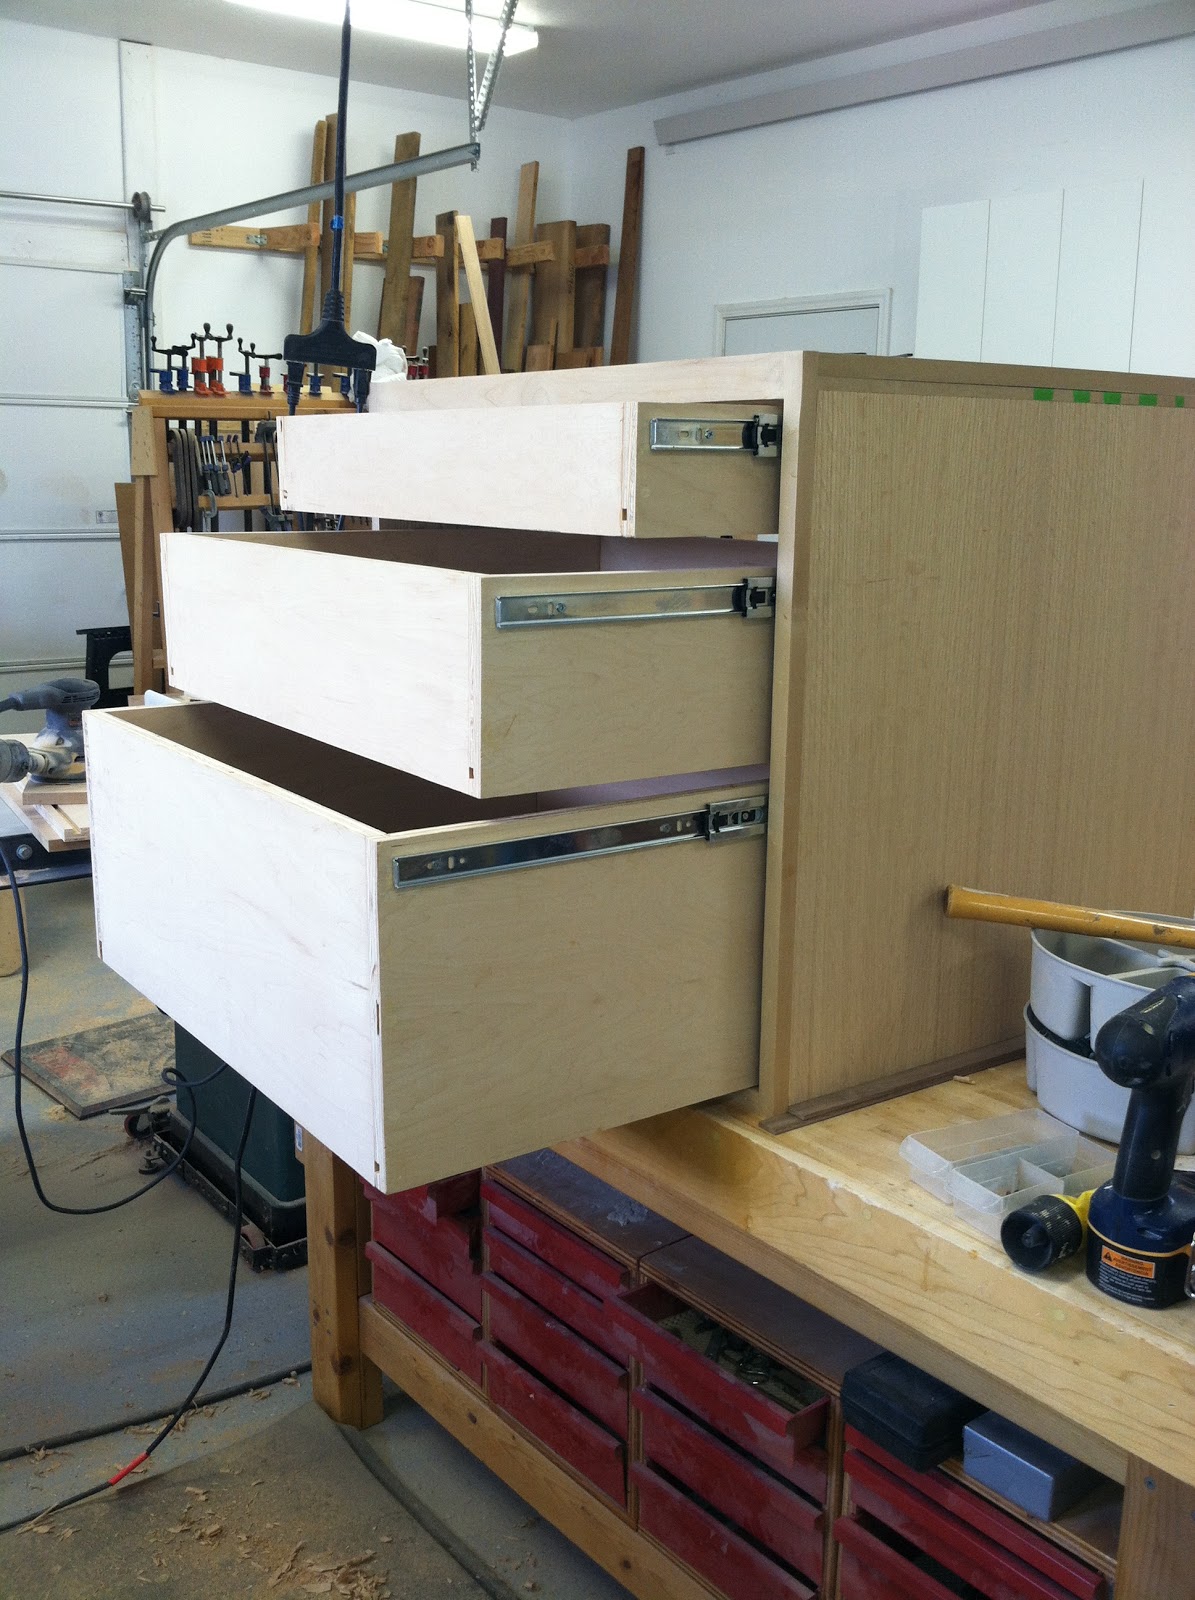
Table Saw Cabinet Door Making Jig


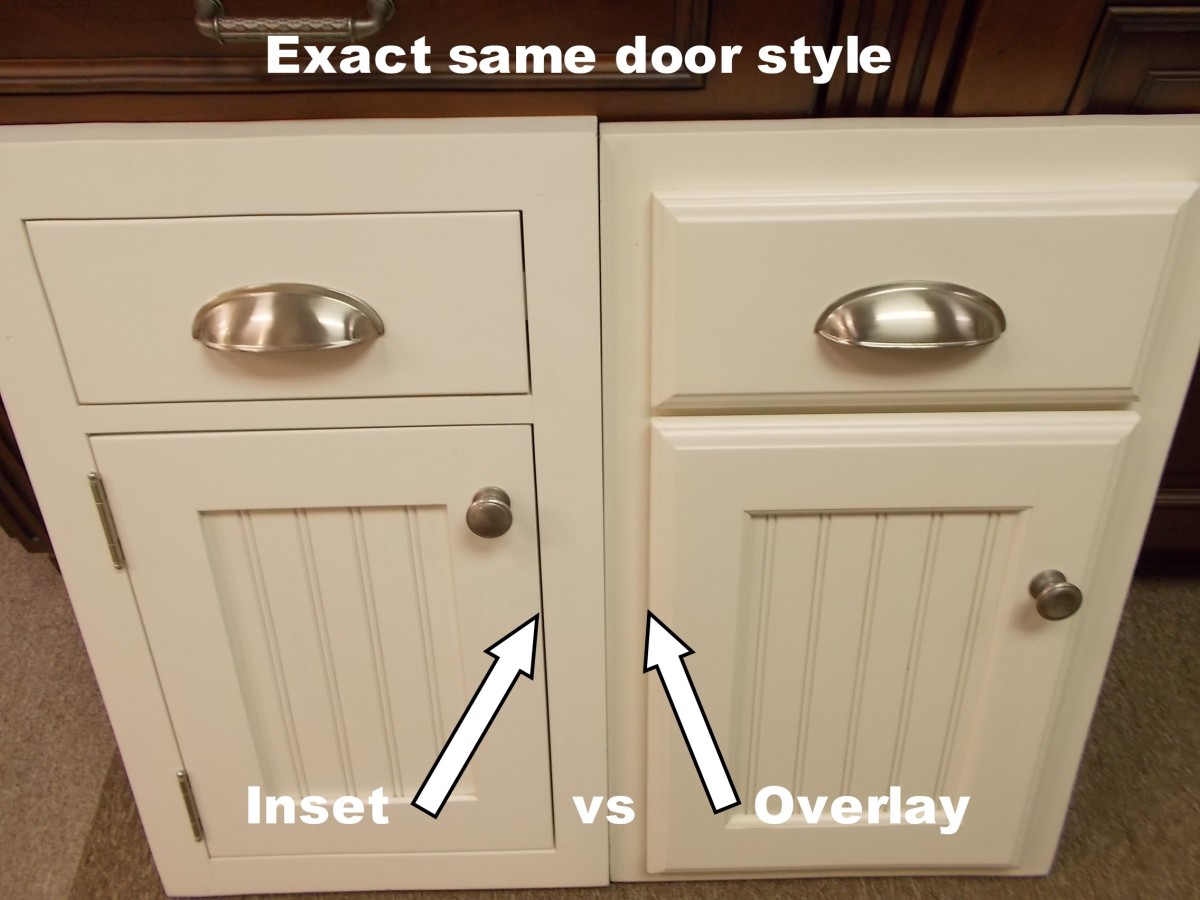
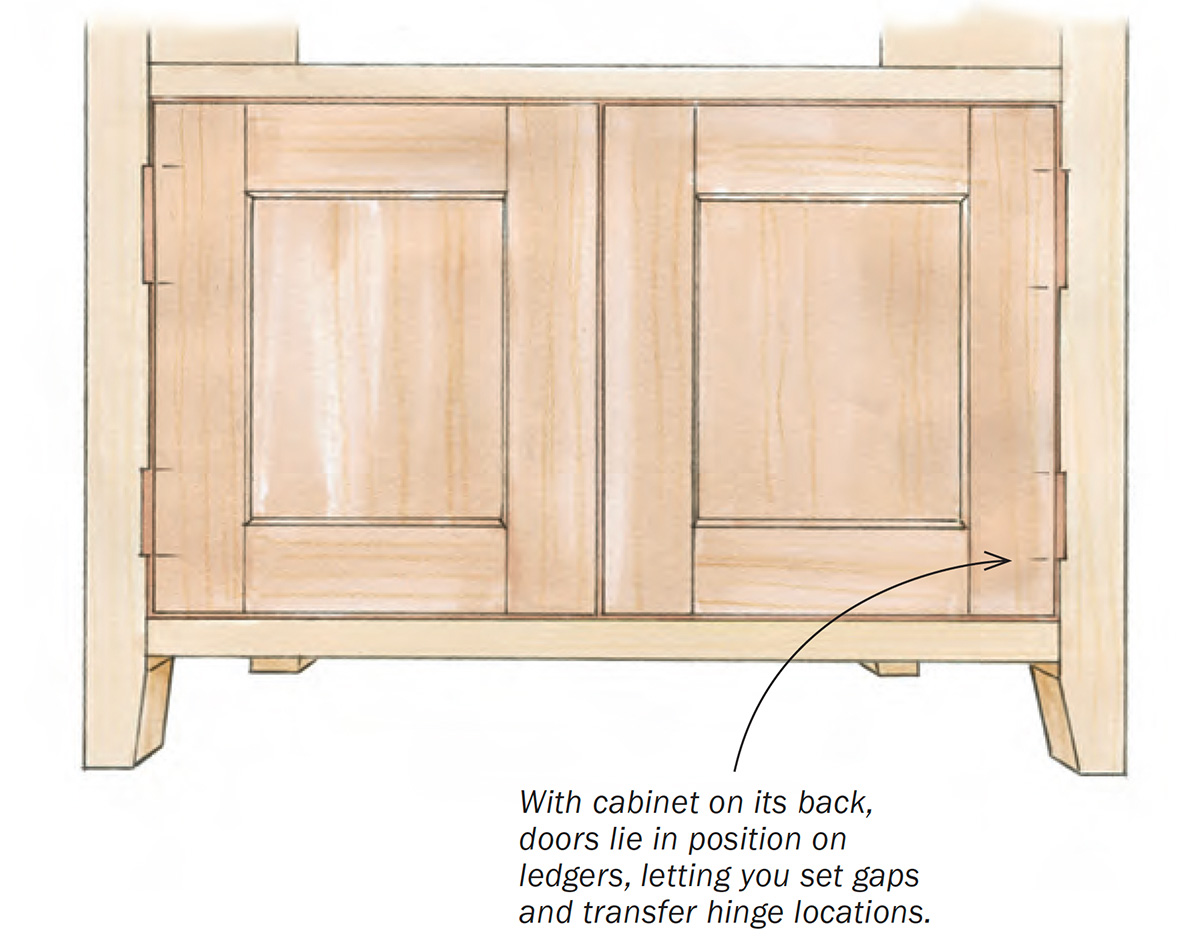
Inset cabinet doors are a traditional and elegant design choice for kitchen cabinets. Here’s how you can make them using a table saw: 1. Measure and cut the door frame pieces to size using a table saw. 2. Use a router to create a 1/4 inch deep groove on the inside edge of the frame pieces. 3. Cut the panel to fit inside the grooves and secure it with wood glue and clamps. 4. Use a table saw to cut a 1/4 inch deep groove on the back of the door frame. 5. Cut the panel to fit into the groove on the frame. 6. Assemble the pieces together using wood glue and clamps. 7. Sand the door to smooth out any rough edges or imperfections. 8. Install the doors on your cabinets using hinges and screws.How to Make Inset Cabinet Doors on a Table Saw

.jpg)
How to Make Inset Cabinet Doors on a Table Saw
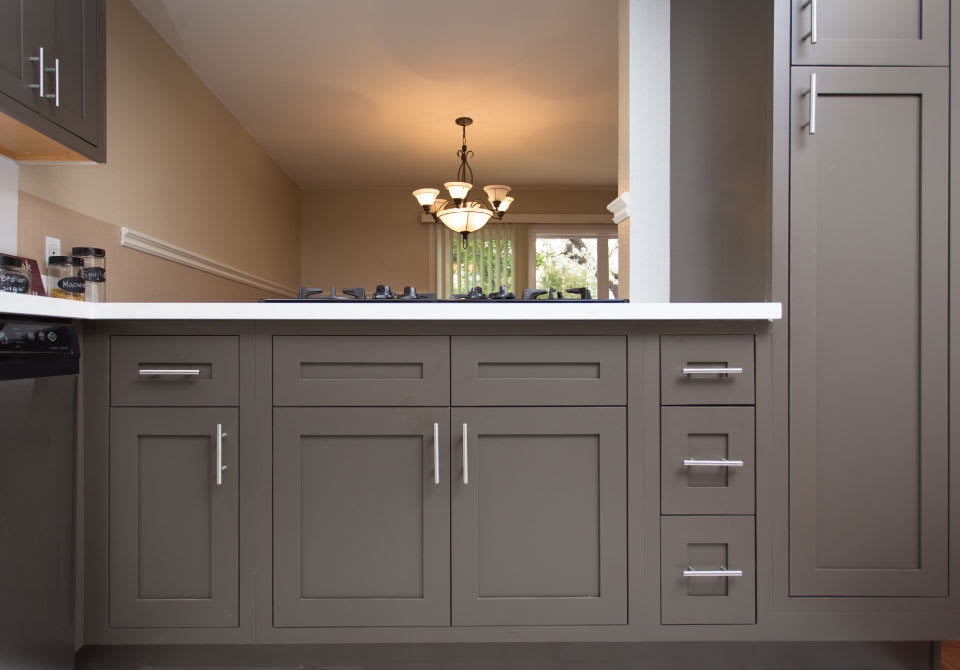


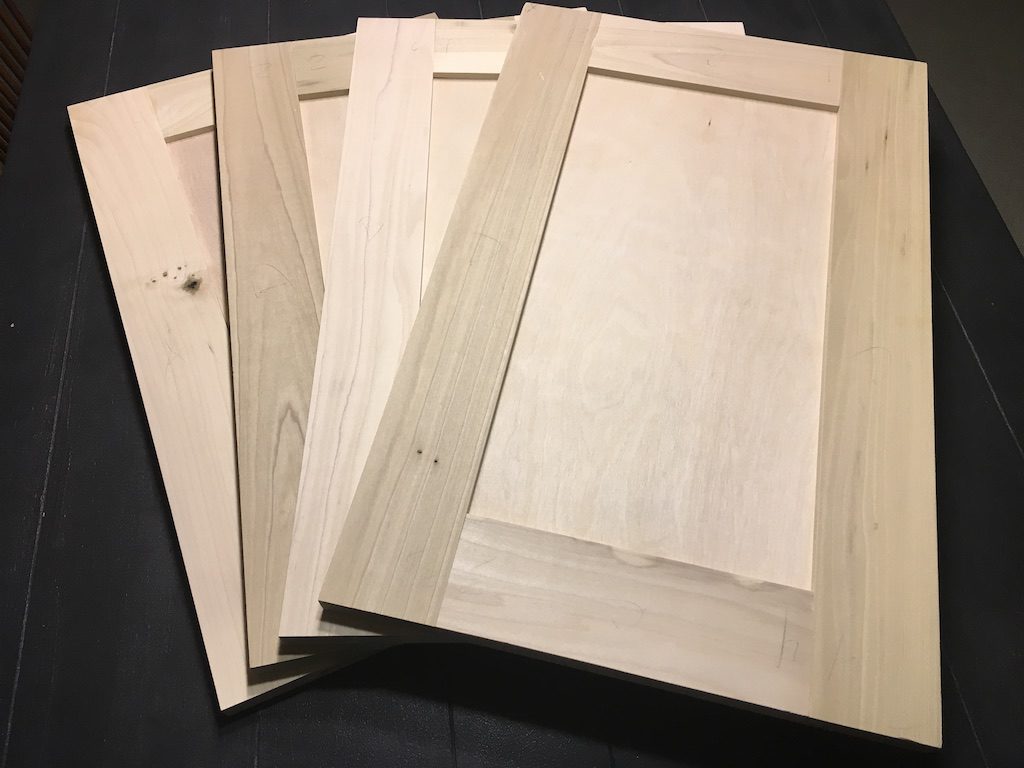
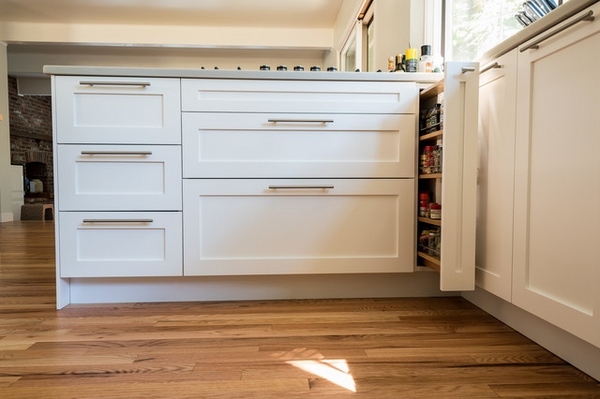
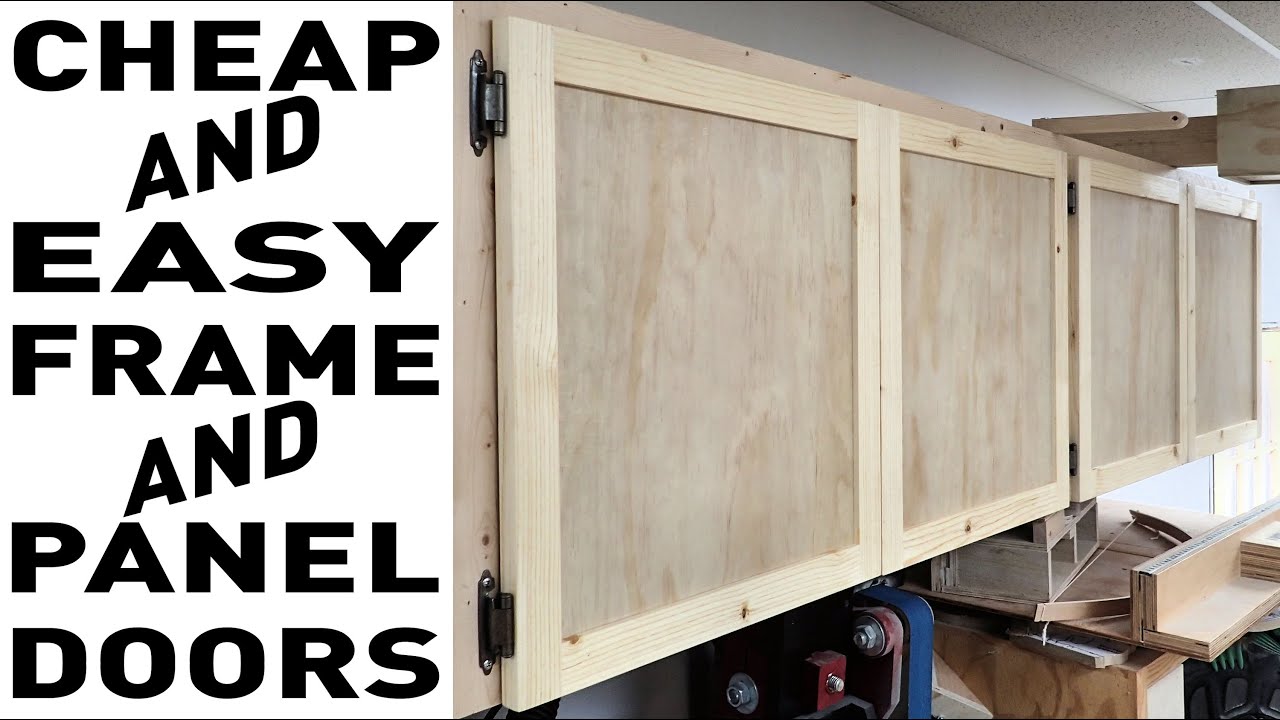
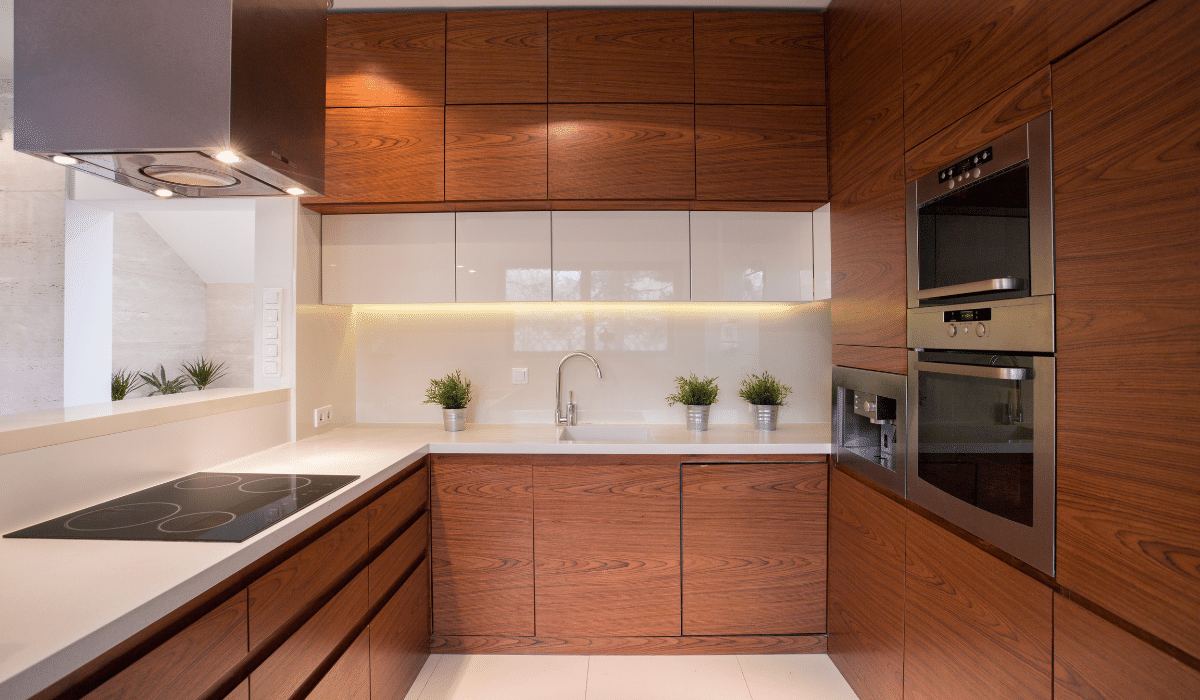
Flat panel cabinet doors are a simple and versatile option for any kitchen. Here’s how you can make them using a table saw: 1. Measure and cut the door frame pieces to size using a table saw. 2. Use a router to create a 1/4 inch deep groove on the inside edge of the frame pieces. 3. Cut the panel to fit inside the grooves and secure it with wood glue and clamps. 4. Use a table saw to cut a 1/4 inch deep groove on the back of the door frame. 5. Cut the panel to fit into the groove on the frame. 6. Sand the door to smooth out any rough edges or imperfections. 7. Install the doors on your cabinets using hinges and screws.Building Flat Panel Cabinet Doors with a Table Saw


Building Flat Panel Cabinet Doors with a Table Saw


Here are some additional tips and tricks to keep in mind when making cabinet doors on a table saw: 1. Always double check your measurements to ensure precise cuts. 2. Use high-quality wood for the best results. 3. Take your time and go slowly to avoid mistakes. 4. Use a miter gauge to make angled cuts for more intricate door designs. 5. Keep your table saw clean and well-maintained for optimal performance. With these techniques and tips, you can easily make beautiful and functional kitchen cabinet doors using a table saw. Get creative and experiment with different styles and designs to find the perfect doors for your kitchen. Happy DIY-ing!Table Saw Cabinet Door Making Tips and Tricks


Table Saw Cabinet Door Making Tips and Tricks


Introduction to Making Kitchen Cabinet Doors on a Table Saw
The Importance of Kitchen Cabinets in House Design
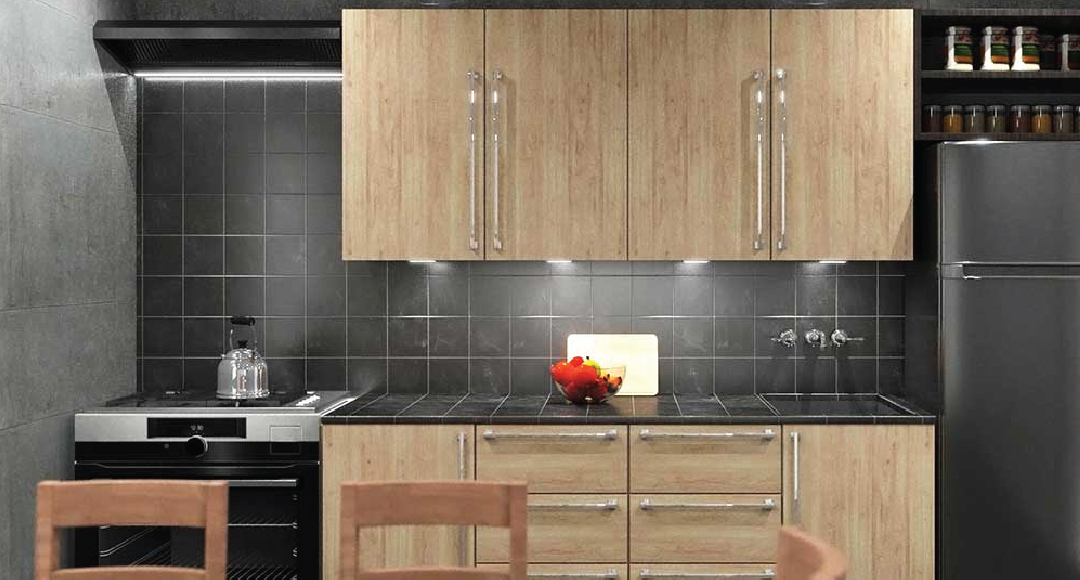
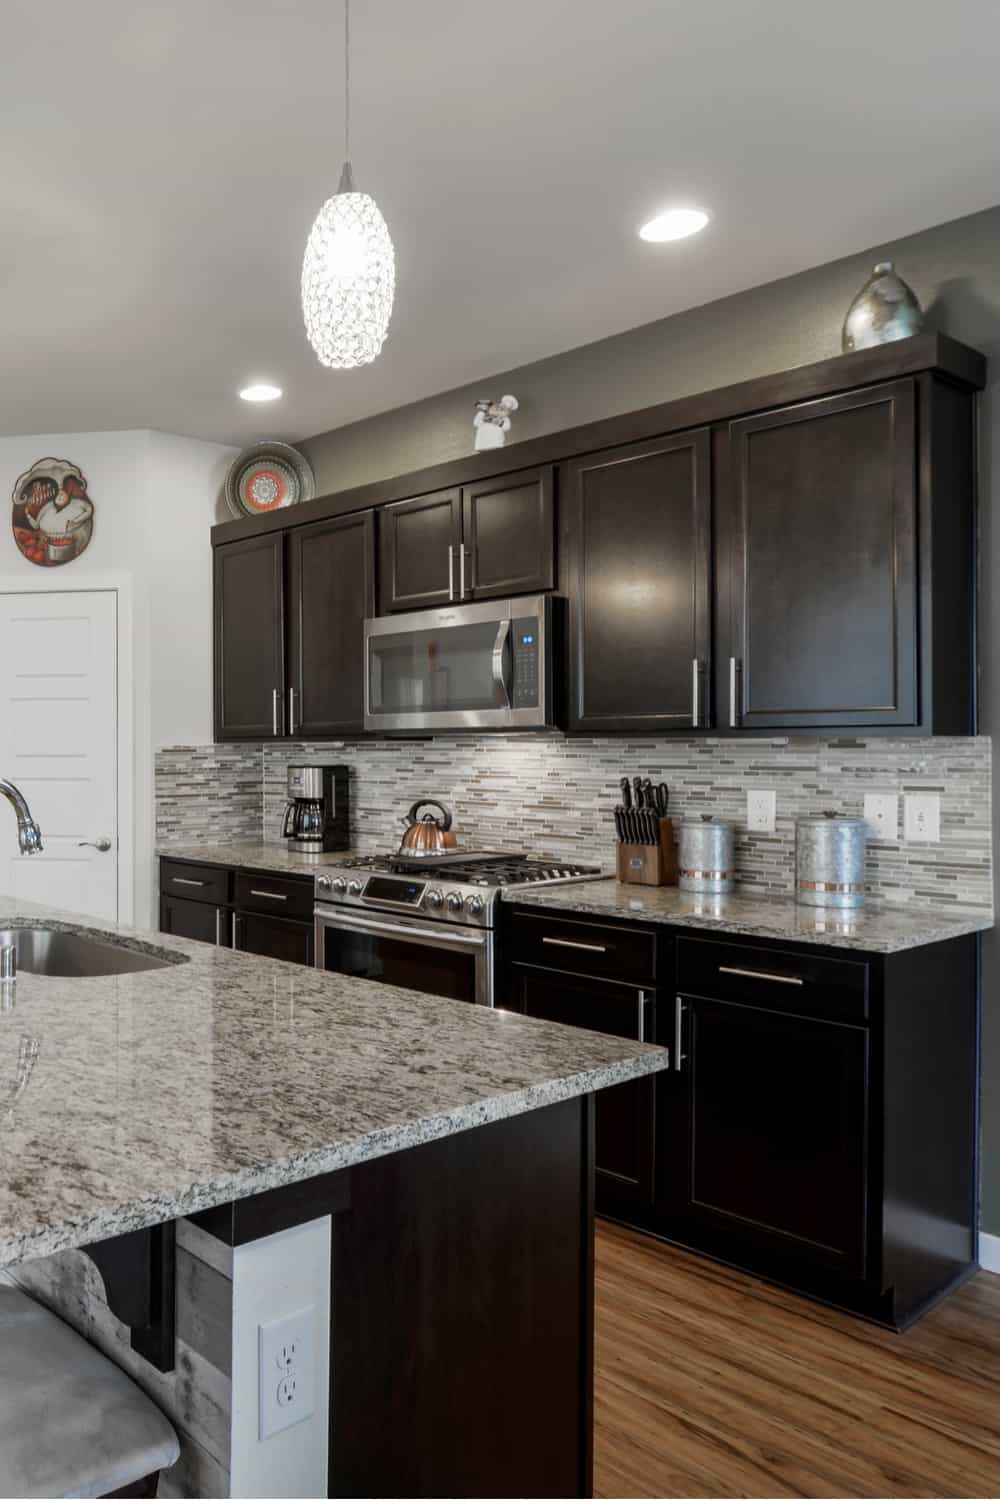
 When it comes to house design, the kitchen is often considered the heart of the home. It is where meals are prepared, memories are made, and families gather. That's why it's essential to have functional and aesthetically pleasing kitchen cabinets. These cabinets not only provide storage space but also add to the overall design and style of the kitchen. And what better way to achieve the perfect kitchen cabinets than by making them yourself using a table saw?
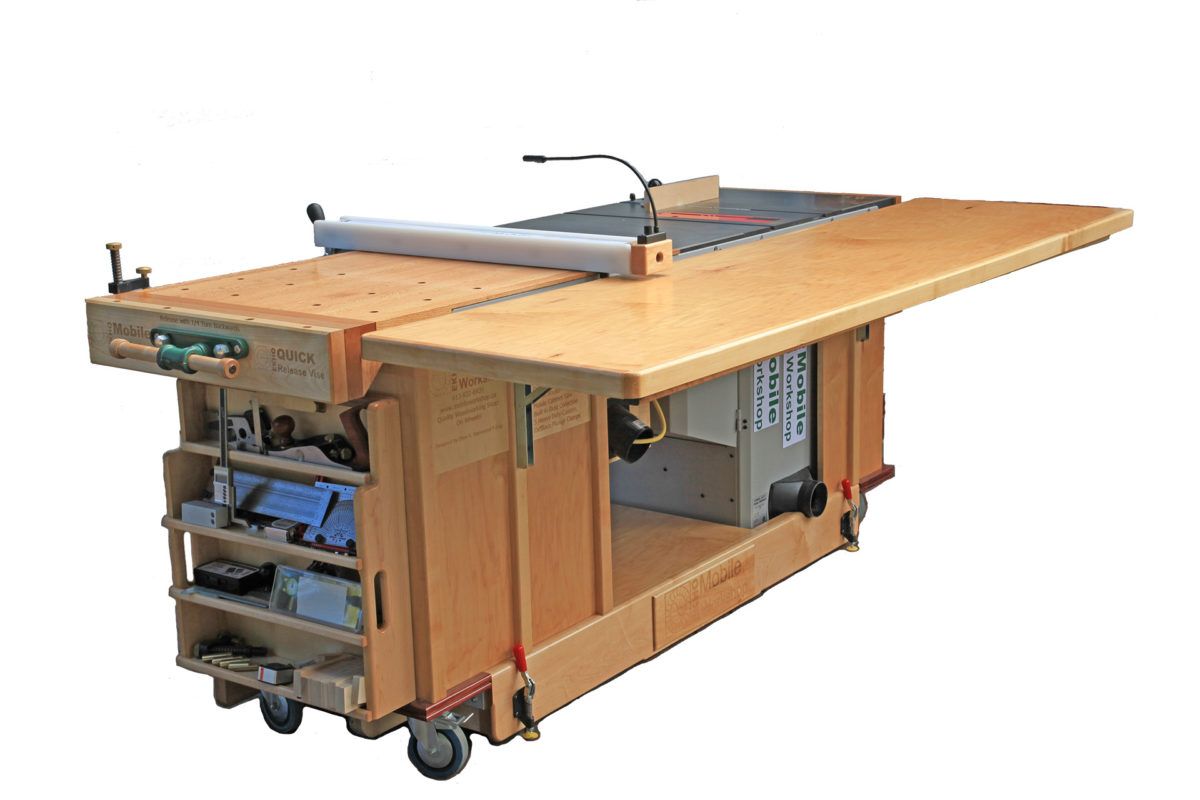
The Benefits of Using a Table Saw for Making Kitchen Cabinet Doors
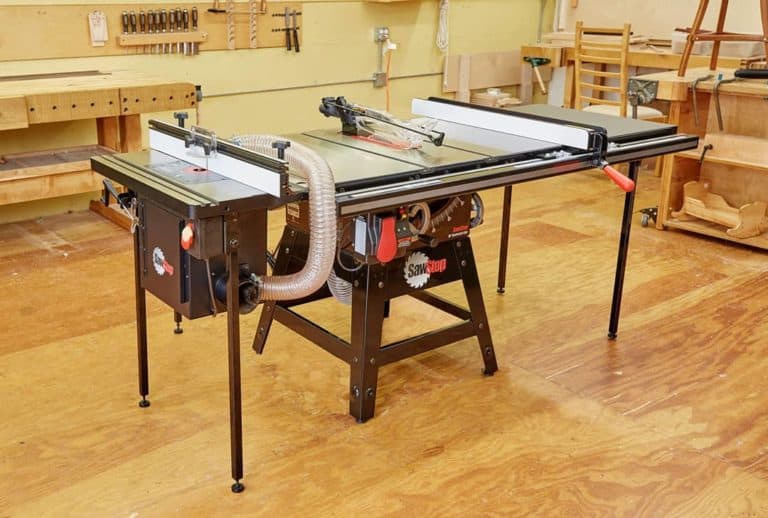
 Using a table saw to make your kitchen cabinet doors has many advantages. Firstly, it allows for precise and accurate cuts, ensuring that each door is the same size and shape. This is crucial for a smooth and professional finish. Additionally, a table saw can handle a variety of materials, from solid wood to plywood, making it versatile for any design or budget. It also saves time and effort compared to hand-cutting each door, allowing you to focus on other aspects of your house design.
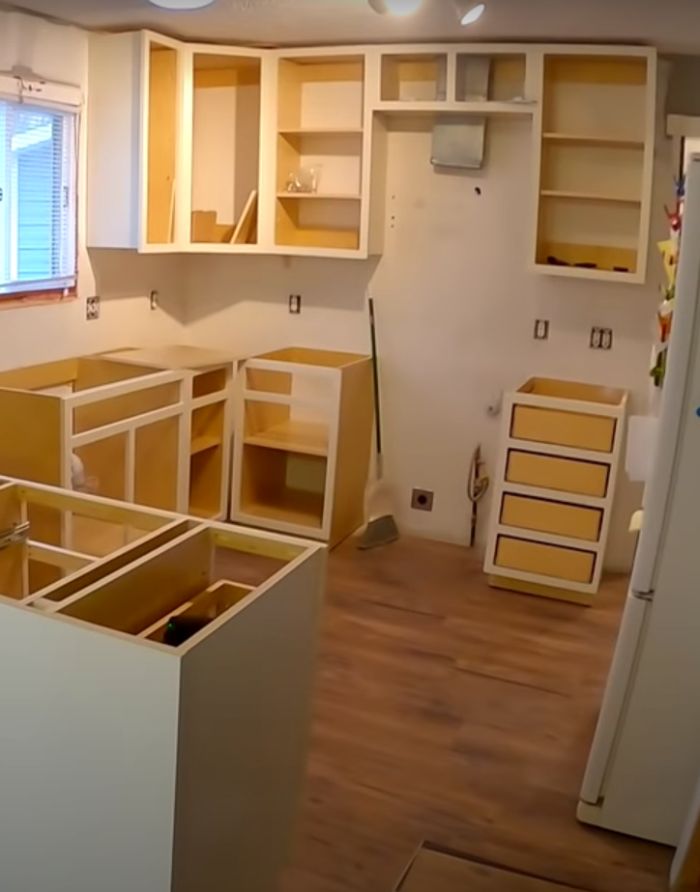
Step-by-Step Guide to Making Kitchen Cabinet Doors on a Table Saw
 Now that you understand the importance and benefits of using a table saw for making kitchen cabinet doors, let's dive into the process. The first step is to measure and cut the material for your cabinet doors using the table saw. Remember to account for any hinges or handles you plan to add. Next, use the table saw to create the desired design on each door, whether it be a simple panel or a more intricate pattern. Then, sand down the edges to smooth out any roughness. Finally, attach the hinges and handles, and your custom-made kitchen cabinet doors are ready to be installed.
Conclusion
 In conclusion, making kitchen cabinet doors on a table saw is a cost-effective and efficient way to achieve the perfect cabinets for your house design. With the precision and versatility of a table saw, you can create custom-made doors that not only fit your space but also elevate the overall look of your kitchen. So why settle for generic, store-bought cabinets when you can put your woodworking skills to use and create something truly unique and beautiful? Give it a try and see the difference it makes in your house design.