Are you looking for a fun and budget-friendly way to enjoy a day out on the water? Look no further than making your own raft with an air mattress! With just a few simple materials, you can create your own floating oasis and have a great time with family and friends. In this article, we'll go through the step-by-step process of making a raft with an air mattress and share some tips and tricks to help you get the most out of your DIY project.1. DIY Raft with Air Mattress


1. DIY Raft with Air Mattress


The first step in making a raft with an air mattress is to gather all of your materials. You will need an air mattress, some rope or twine, and a few sturdy sticks or poles. Make sure you choose an air mattress that is large enough to comfortably fit the number of people you want to float with. Next, find a flat and open area to start building your raft. Lay out your air mattress and inflate it to your desired level of firmness. Then, take your rope or twine and tie the sticks or poles to the corners of the air mattress. This will provide stability and prevent the mattress from flipping over when you're on the water.2. How to Make a Raft with an Air Mattress


2. How to Make a Raft with an Air Mattress


Now that your raft is built, it's time to put it to the test! Take your newly constructed raft to a nearby lake, river, or even a pool and carefully get on board. Make sure to distribute weight evenly and have someone hold onto the rope or twine to keep the raft from drifting too far from shore. You may need to make some adjustments to your raft, such as adding more sticks or poles for support, depending on how it performs in the water. Once you're satisfied with the stability and comfort of your raft, it's time to relax and enjoy your day on the water!3. Floating on an Air Mattress: Building a Raft


3. Floating on an Air Mattress: Building a Raft


To recap, here's a step-by-step guide to making a raft with an air mattress: 1. Gather materials: air mattress, rope or twine, and sticks or poles. 2. Find a flat and open area to build your raft. 3. Inflate the air mattress to desired firmness. 4. Tie sticks or poles to the corners of the air mattress for stability. 5. Test your raft in the water and make any necessary adjustments. 6. Enjoy a day of floating on your DIY raft!4. Step-by-Step Guide to Making a Raft with an Air Mattress

4. Step-by-Step Guide to Making a Raft with an Air Mattress


While the traditional method of making a raft with an air mattress involves tying sticks or poles to the corners, there are other creative ways to use an air mattress for raft building. For example, you could use pool noodles or inflatable pool toys instead of sticks for added comfort and color. You could also try using multiple air mattresses to create a larger raft, or even combine it with other DIY floating devices like inner tubes or inflatable boats. Get creative and see what works best for you and your group!5. Creative Ways to Use an Air Mattress for Raft Building


5. Creative Ways to Use an Air Mattress for Raft Building


As mentioned before, the main materials needed for making a raft with an air mattress are the air mattress itself, rope or twine, and sticks or poles. However, you may also want to consider bringing along some other items for added comfort and convenience. For instance, you could bring along a small pump to quickly inflate the air mattress, or a cooler filled with drinks and snacks to keep on board. You may also want to bring towels or a waterproof bag to keep your belongings dry while on the water.6. Materials Needed for Making a Raft with an Air Mattress


6. Materials Needed for Making a Raft with an Air Mattress


Here are some tips and tricks to keep in mind when making a raft with an air mattress: - Make sure to choose a sturdy and durable air mattress to avoid any unexpected holes or tears. - For added stability, tie multiple ropes or twine to the corners of the air mattress and secure them to the sticks or poles. - If using pool noodles or inflatable pool toys, make sure they are tightly secured to the air mattress to prevent them from slipping off. - Always have a designated person to hold onto the rope or twine to avoid drifting too far from shore. - If using the raft in a pool, make sure to have adult supervision at all times.7. Tips and Tricks for Successfully Making a Raft with an Air Mattress


7. Tips and Tricks for Successfully Making a Raft with an Air Mattress


While purchasing an inflatable raft may seem like the easier option, there are pros and cons to both methods of floating on the water. Here are some things to consider: Inflatable raft: Pros: Can hold more weight, often has built-in features like cup holders, and can be deflated for easy storage. Cons: Can be more expensive, may be less stable in rough waters, and can be more difficult to repair if punctured. DIY raft with air mattress: Pros: Budget-friendly, can be customized to your liking, and can be easily repaired if punctured. Cons: May not hold as much weight, may not have as many built-in features, and may take more time and effort to construct.8. Inflatable Raft vs. DIY Raft with Air Mattress: Pros and Cons


8. Inflatable Raft vs. DIY Raft with Air Mattress: Pros and Cons


While floating on an air mattress can be a fun and relaxing experience, it's important to take some safety precautions to ensure a safe and enjoyable time on the water. Here are a few things to keep in mind: - Always wear a life jacket, especially if you're not a strong swimmer. - Make sure to have adult supervision if using the raft in a pool or with children. - Avoid using the raft in strong currents or rough waters. - Keep an eye on the weather and avoid going out if there is a risk of a storm or high winds.9. Safety Precautions for Using an Air Mattress as a Raft


9. Safety Precautions for Using an Air Mattress as a Raft


Aside from the obvious activity of floating on the water, there are plenty of other fun things you can do with a DIY raft made from an air mattress. Here are just a few ideas to get you started: - Have a picnic on the water by bringing along some snacks and drinks. - Play water games like water tag or capture the flag. - Go on a sightseeing adventure by exploring different areas of the lake or river. - Have a friendly race with other DIY rafts or inflatable devices. With these tips and tricks in mind, you're ready to make your own raft with an air mattress and have a memorable day on the water. So grab your materials and get ready to float your way to a great time! 10. Fun Activities to Do with a DIY Raft Made from an Air Mattress


10. Fun Activities to Do with a DIY Raft Made from an Air Mattress


Making a Raft with an Air Mattress: A Fun and Easy DIY Project
Why Build a Raft with an Air Mattress?
 When it comes to outdoor activities, there's nothing quite like floating down a river or across a calm lake on a homemade raft. But building a raft from scratch can be time-consuming and require specialized materials. That's where using an air mattress as the base of your raft comes in. Not only is it easily accessible and affordable, but it also provides a stable and buoyant base for your raft. Plus, it's a fun and unique way to repurpose an old air mattress that may otherwise end up in a landfill. So let's dive in and learn how to make a raft with an air mattress!
Materials Needed
 To create your own air mattress raft, you'll need the following materials:
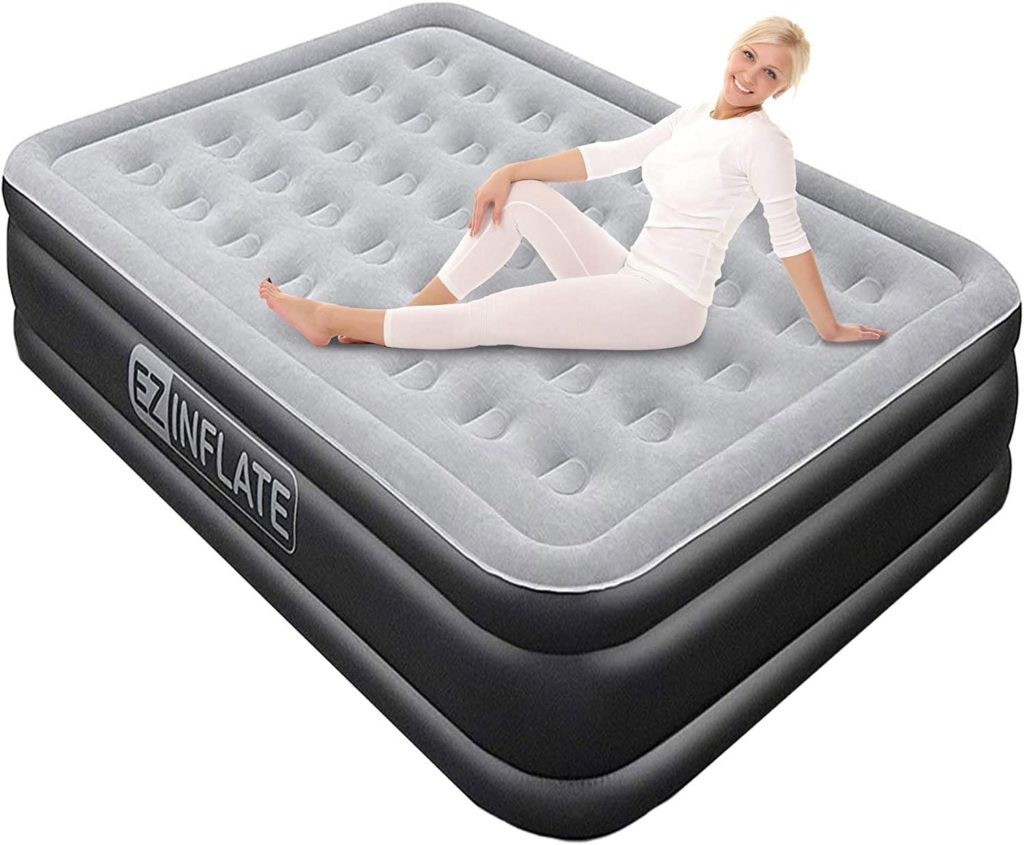
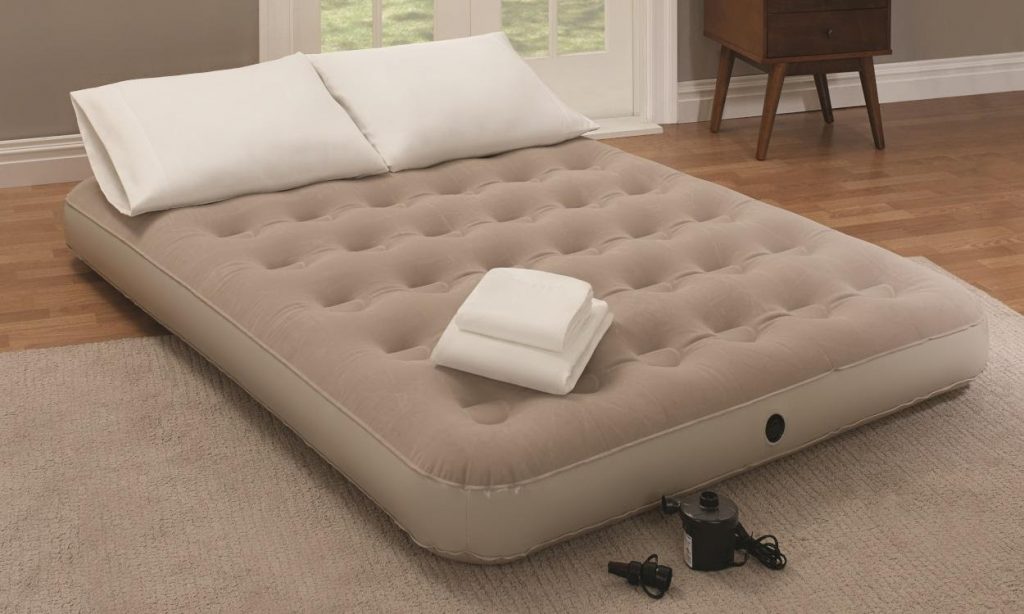
- Air Mattress: Choose a sturdy air mattress with no holes or leaks. It's best to use one that is at least twin-sized for a more stable raft.
- Rope: You'll need enough rope to secure the air mattress to your floating objects.
- Floatation Devices: Gather some floatation devices such as pool noodles, inner tubes, or inflatable pool toys to attach to the sides of the air mattress.
- Air Pump: Don't forget to have an air pump handy to inflate your air mattress and any other floating objects you may use.
- Optional Materials: You can also add other optional materials such as a tarp to provide shade, a cooler with snacks and drinks, or even a small anchor to keep your raft in one spot.
Step-by-Step Guide
 Now that you have all your materials, it's time to start building your raft!
- Inflate the Air Mattress: Use an air pump to fully inflate your air mattress and make sure there are no leaks.
- Attach Floatation Devices: Using your rope, secure the floatation devices to the sides of the air mattress. This will provide additional stability and keep your raft afloat.
- Add Optional Materials: If you're using a tarp, spread it over the air mattress and secure it with rope or bungee cords. You can also attach a cooler or other items using rope.
- Test it Out: Before setting sail, test your raft in a pool or calm body of water to make sure it's stable and everything is securely attached.
- Enjoy Your Raft: Now that your raft is complete, it's time to sit back, relax, and enjoy floating on the water!
Conclusion
 Building a raft with an air mattress is a fun and easy DIY project that can provide hours of entertainment on the water. Not only is it a great way to repurpose an old air mattress, but it's also a budget-friendly option for creating your own raft. So grab your materials and get ready to embark on your next water adventure with your homemade air mattress raft!


:max_bytes(150000):strip_icc()/how-to-install-a-sink-drain-2718789-hero-24e898006ed94c9593a2a268b57989a3.jpg)

