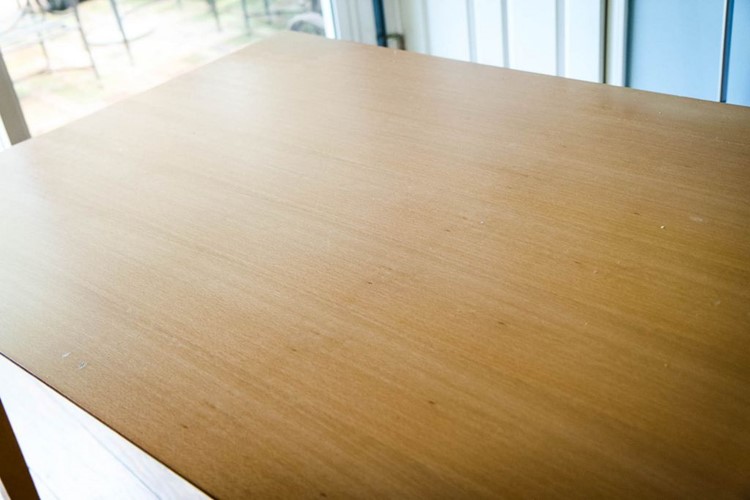
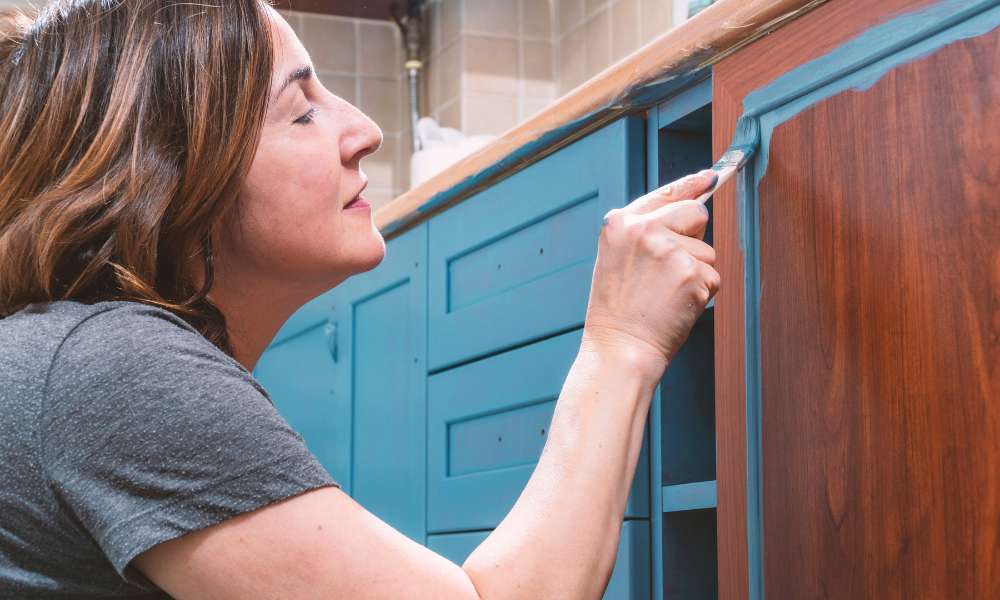
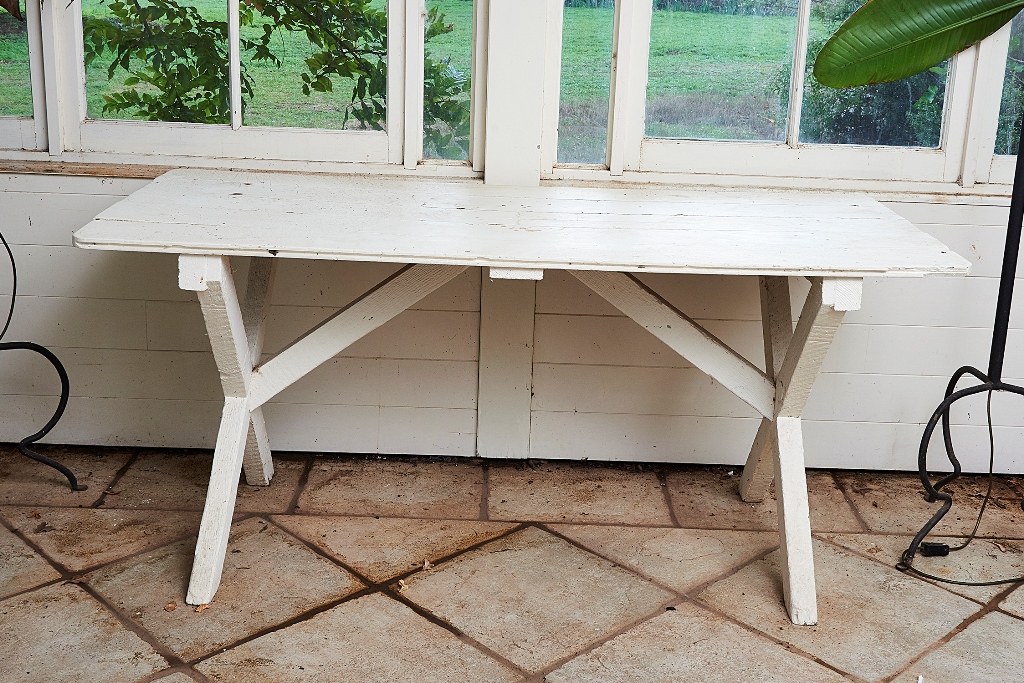
Painting a kitchen table is a great way to give new life to an old, worn out piece of furniture. Not only is it a budget-friendly option, but it also allows you to customize the look of your kitchen table to match your personal style. However, before you dive into the project, it's important to know the right techniques and materials to use for a successful and long-lasting finish. Start by thoroughly cleaning and sanding your kitchen table to remove any dirt, grime, or imperfections on the surface. This will ensure that the paint adheres properly and provides a smooth finish. Next, choose a high-quality paint specifically designed for furniture to ensure durability and longevity. You can opt for traditional latex or oil-based paint, or try newer options like chalk or milk paint for a unique look. When applying the paint, use a brush for intricate details and corners, and a roller for larger surfaces. Apply thin and even coats to avoid drips and runs. Let the first coat dry completely before applying a second coat for better coverage and depth of color. Finally, seal the paint with a clear finish to protect your kitchen table from everyday wear and tear.1. How to Paint a Kitchen Table


1. How to Paint a Kitchen Table


Choosing the right paint for your kitchen table is crucial for achieving a professional and long-lasting finish. While there are many options available, some work better than others for this specific project. Latex and oil-based paints are popular choices for their durability and easy application. However, if you're looking for a more unique and trendy finish, consider using chalk or milk paint. Chalk paint is a popular choice for its ability to adhere to almost any surface without the need for sanding or priming. It also dries quickly and has a matte finish, perfect for achieving a distressed or vintage look. Milk paint is another option that provides a similar textured finish, but it requires bonding agent and topcoat for proper adhesion and protection. No matter which type of paint you choose, make sure to select a high-quality brand and color that complements your kitchen's overall design. Don't be afraid to mix and match different finishes and techniques to create a unique and personalized look for your kitchen table.2. Best Paint for Kitchen Table


2. Best Paint for Kitchen Table


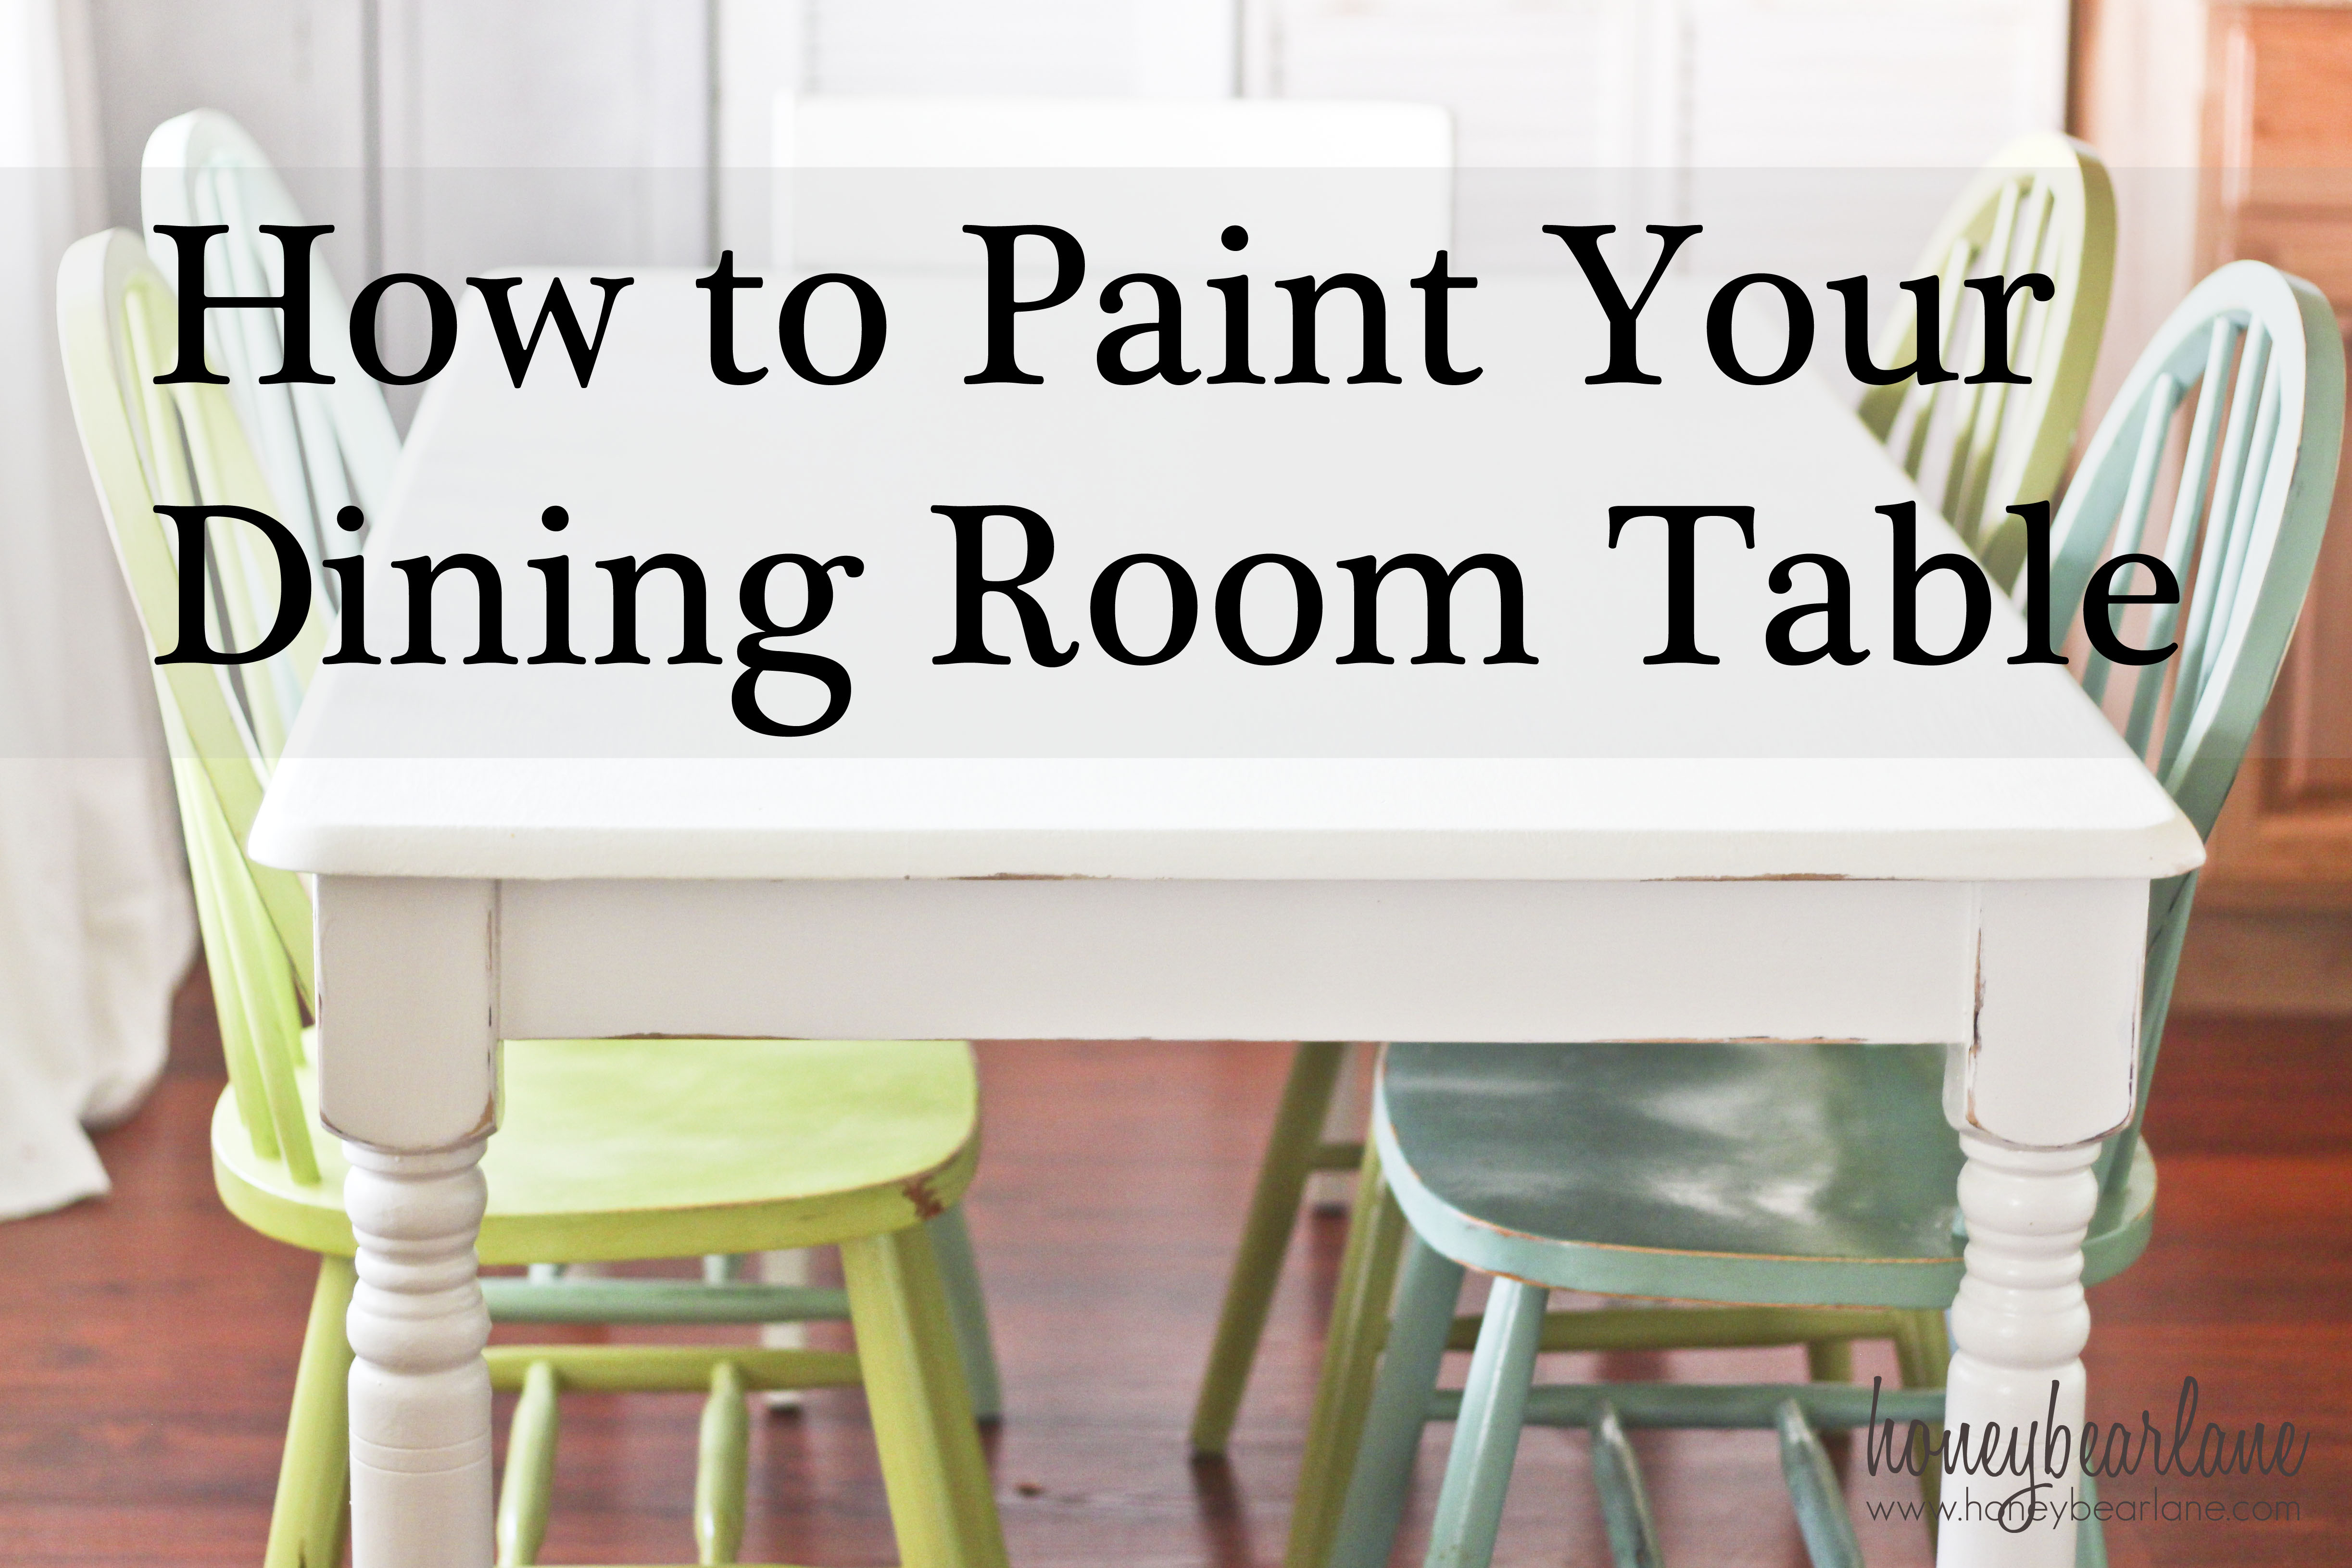
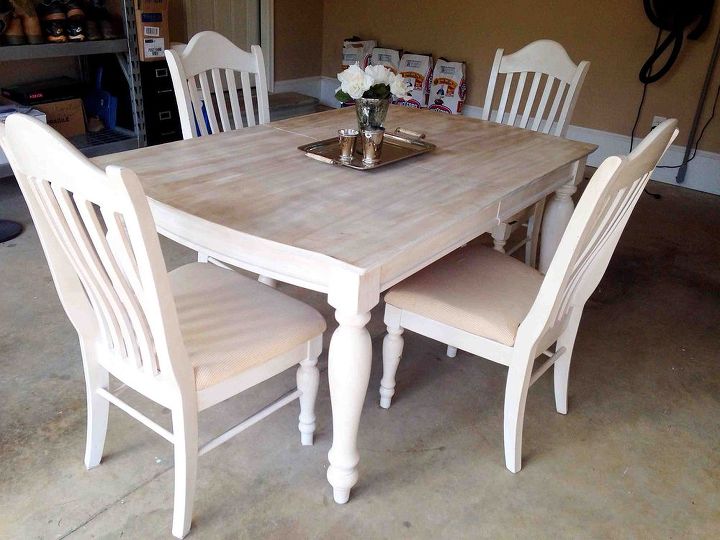
Painting your kitchen table can be a fun and rewarding DIY project to take on. Not only does it save you money, but it also allows you to put your own personal touch on your furniture. Before you begin, make sure you have all the necessary materials, including sandpaper, paint, brushes, rollers, and sealer. Start by cleaning and sanding your kitchen table to remove any dirt, grime, or imperfections. This step is essential to ensure that the paint adheres properly and provides a smooth finish. Next, use a primer to create a base for the paint to adhere to. Then, follow the instructions for your chosen paint type and apply thin and even coats for best results. Once the paint is dry, you can add additional touches like distressing, stenciling, or using different colors for a unique design. Finally, seal the paint with a clear finish to protect your kitchen table from daily use. With a little patience and creativity, you can transform your kitchen table into a beautiful and personalized piece of furniture.3. DIY Kitchen Table Painting


3. DIY Kitchen Table Painting

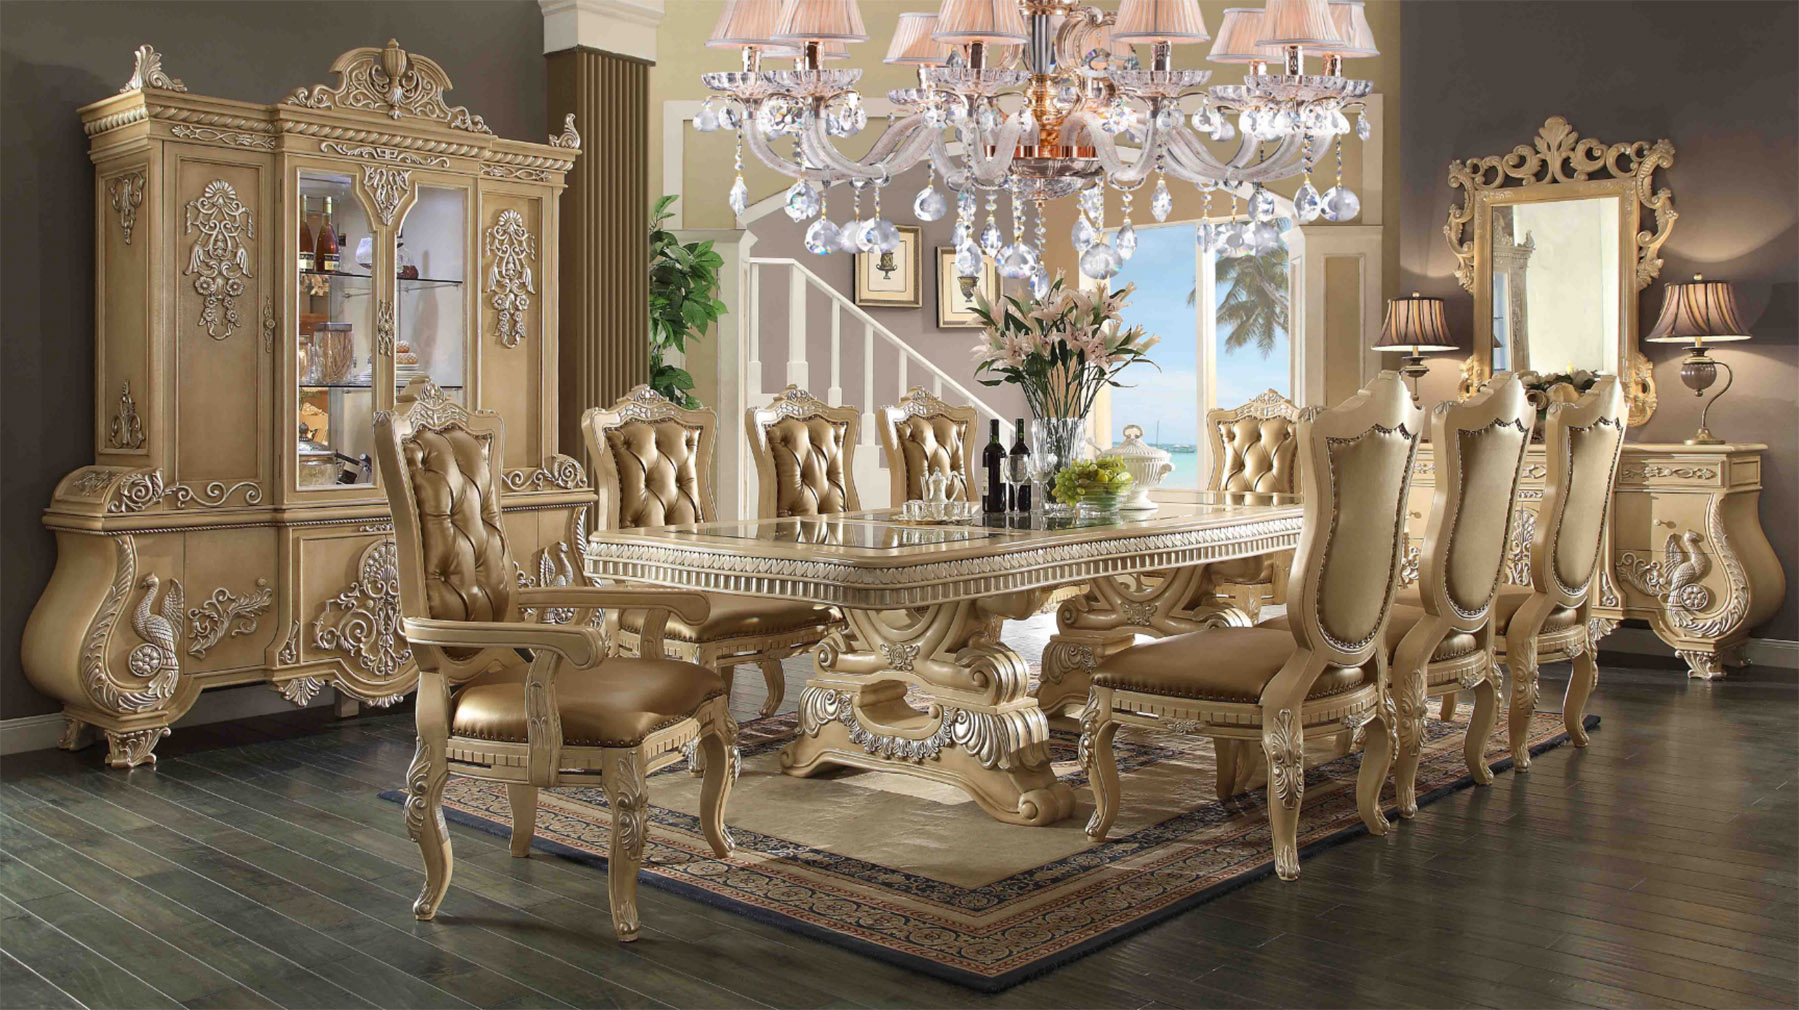


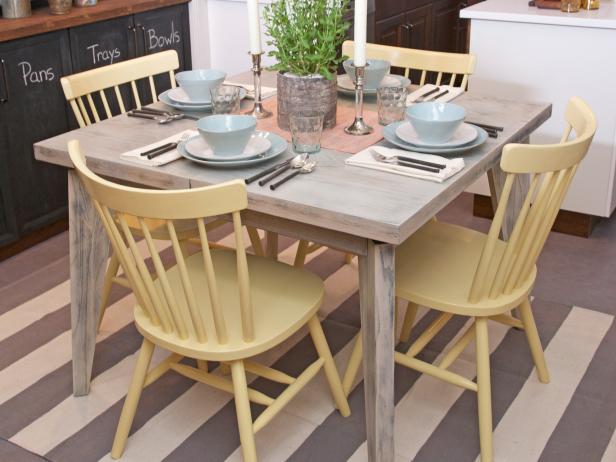
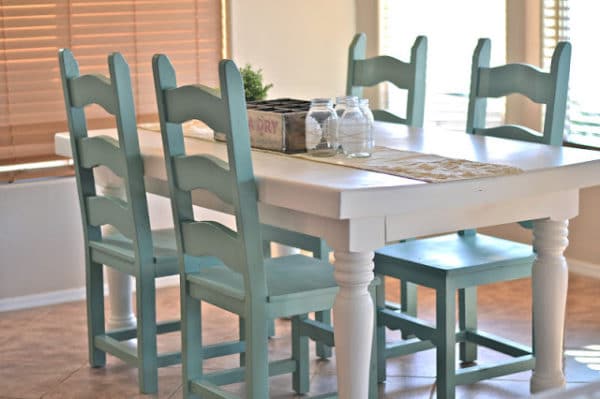
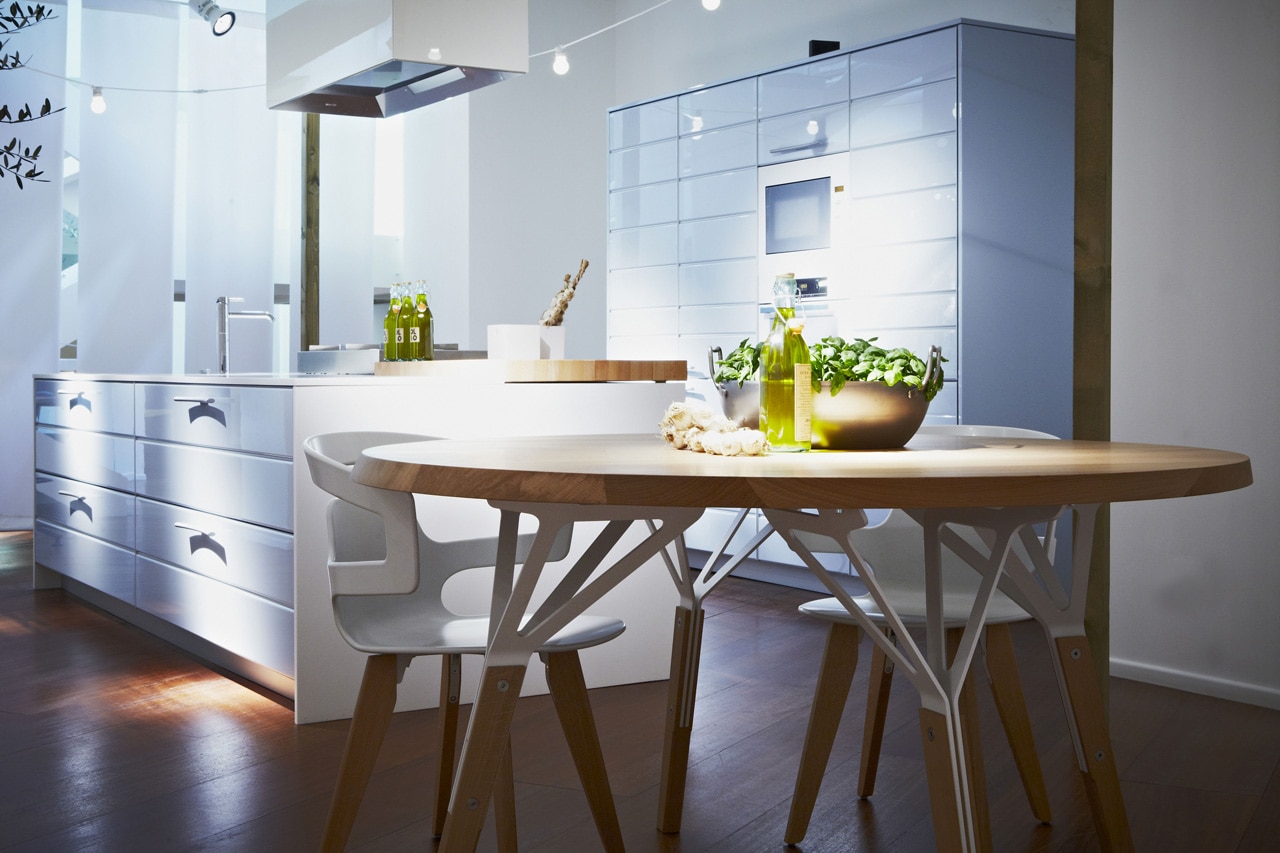
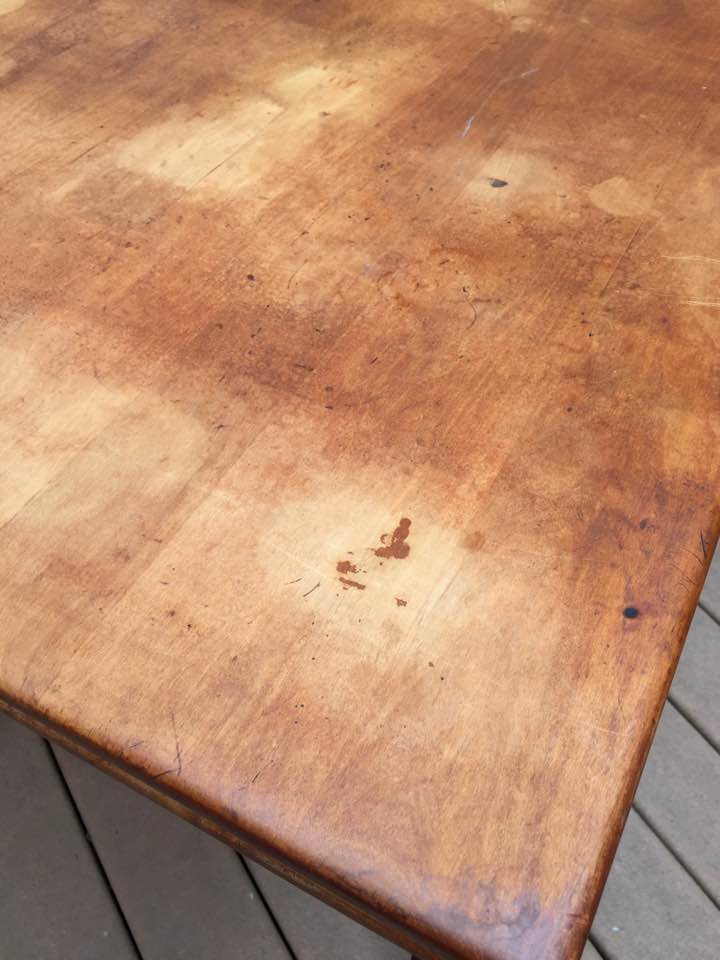
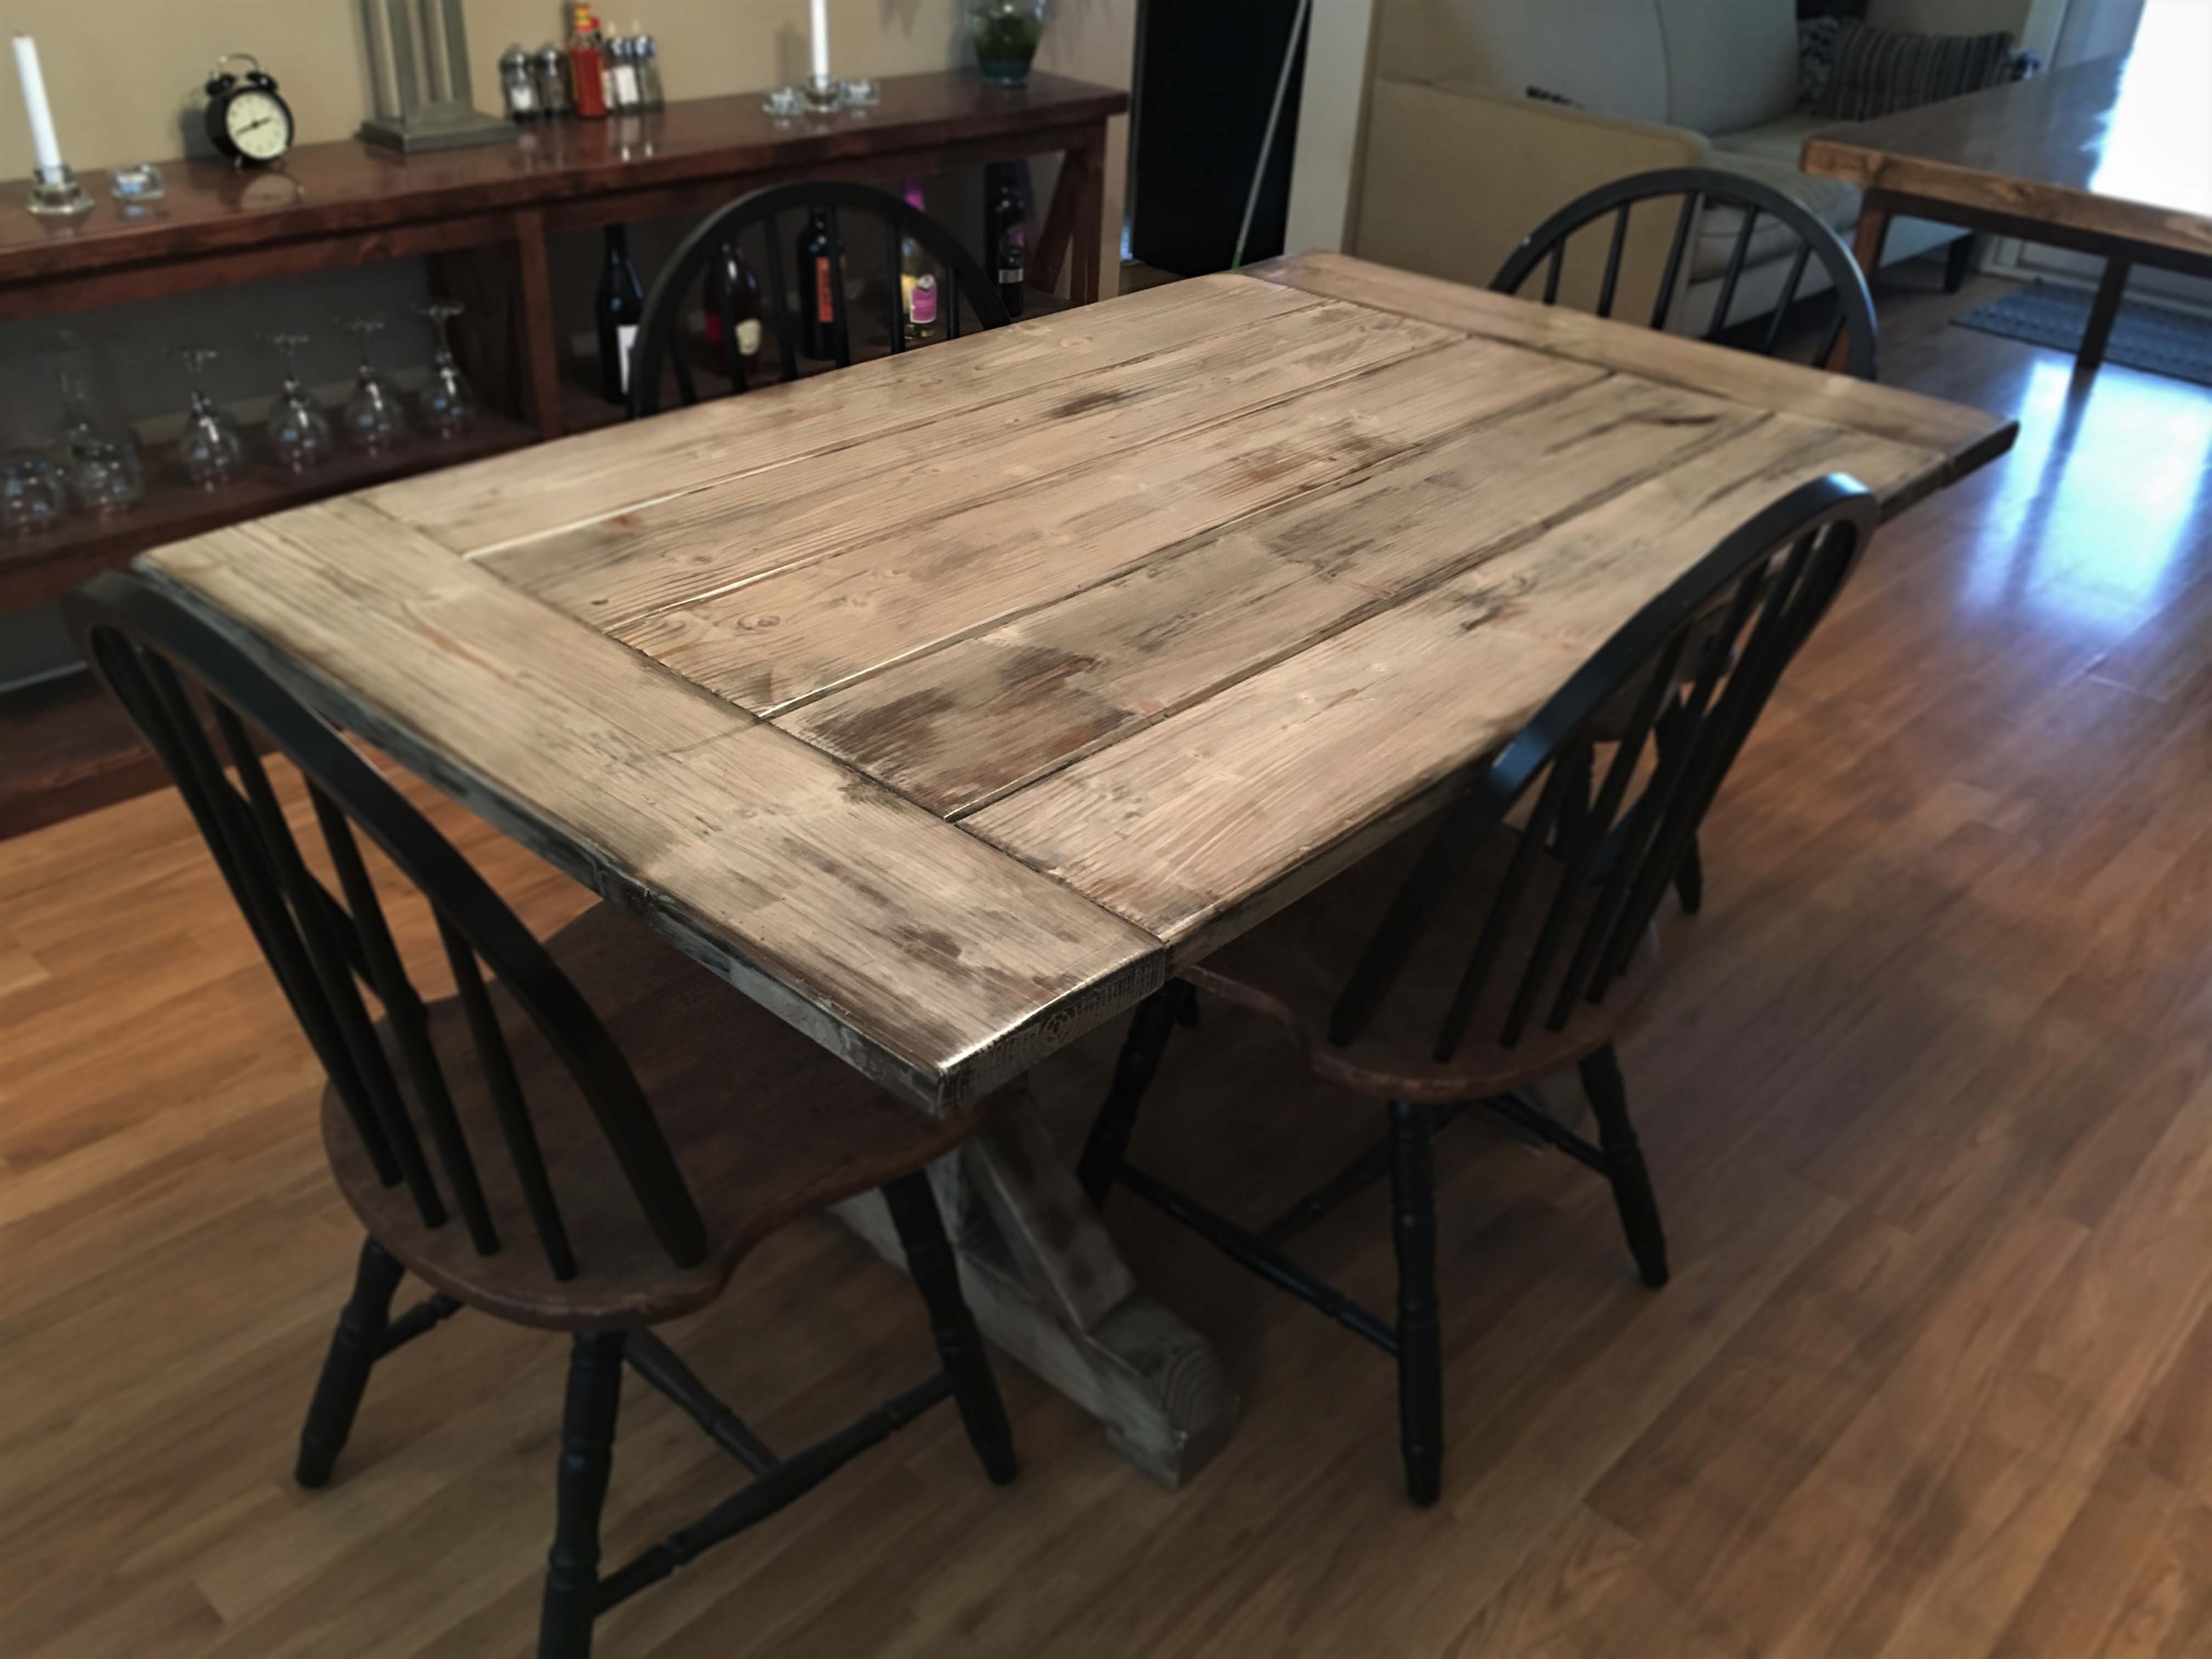
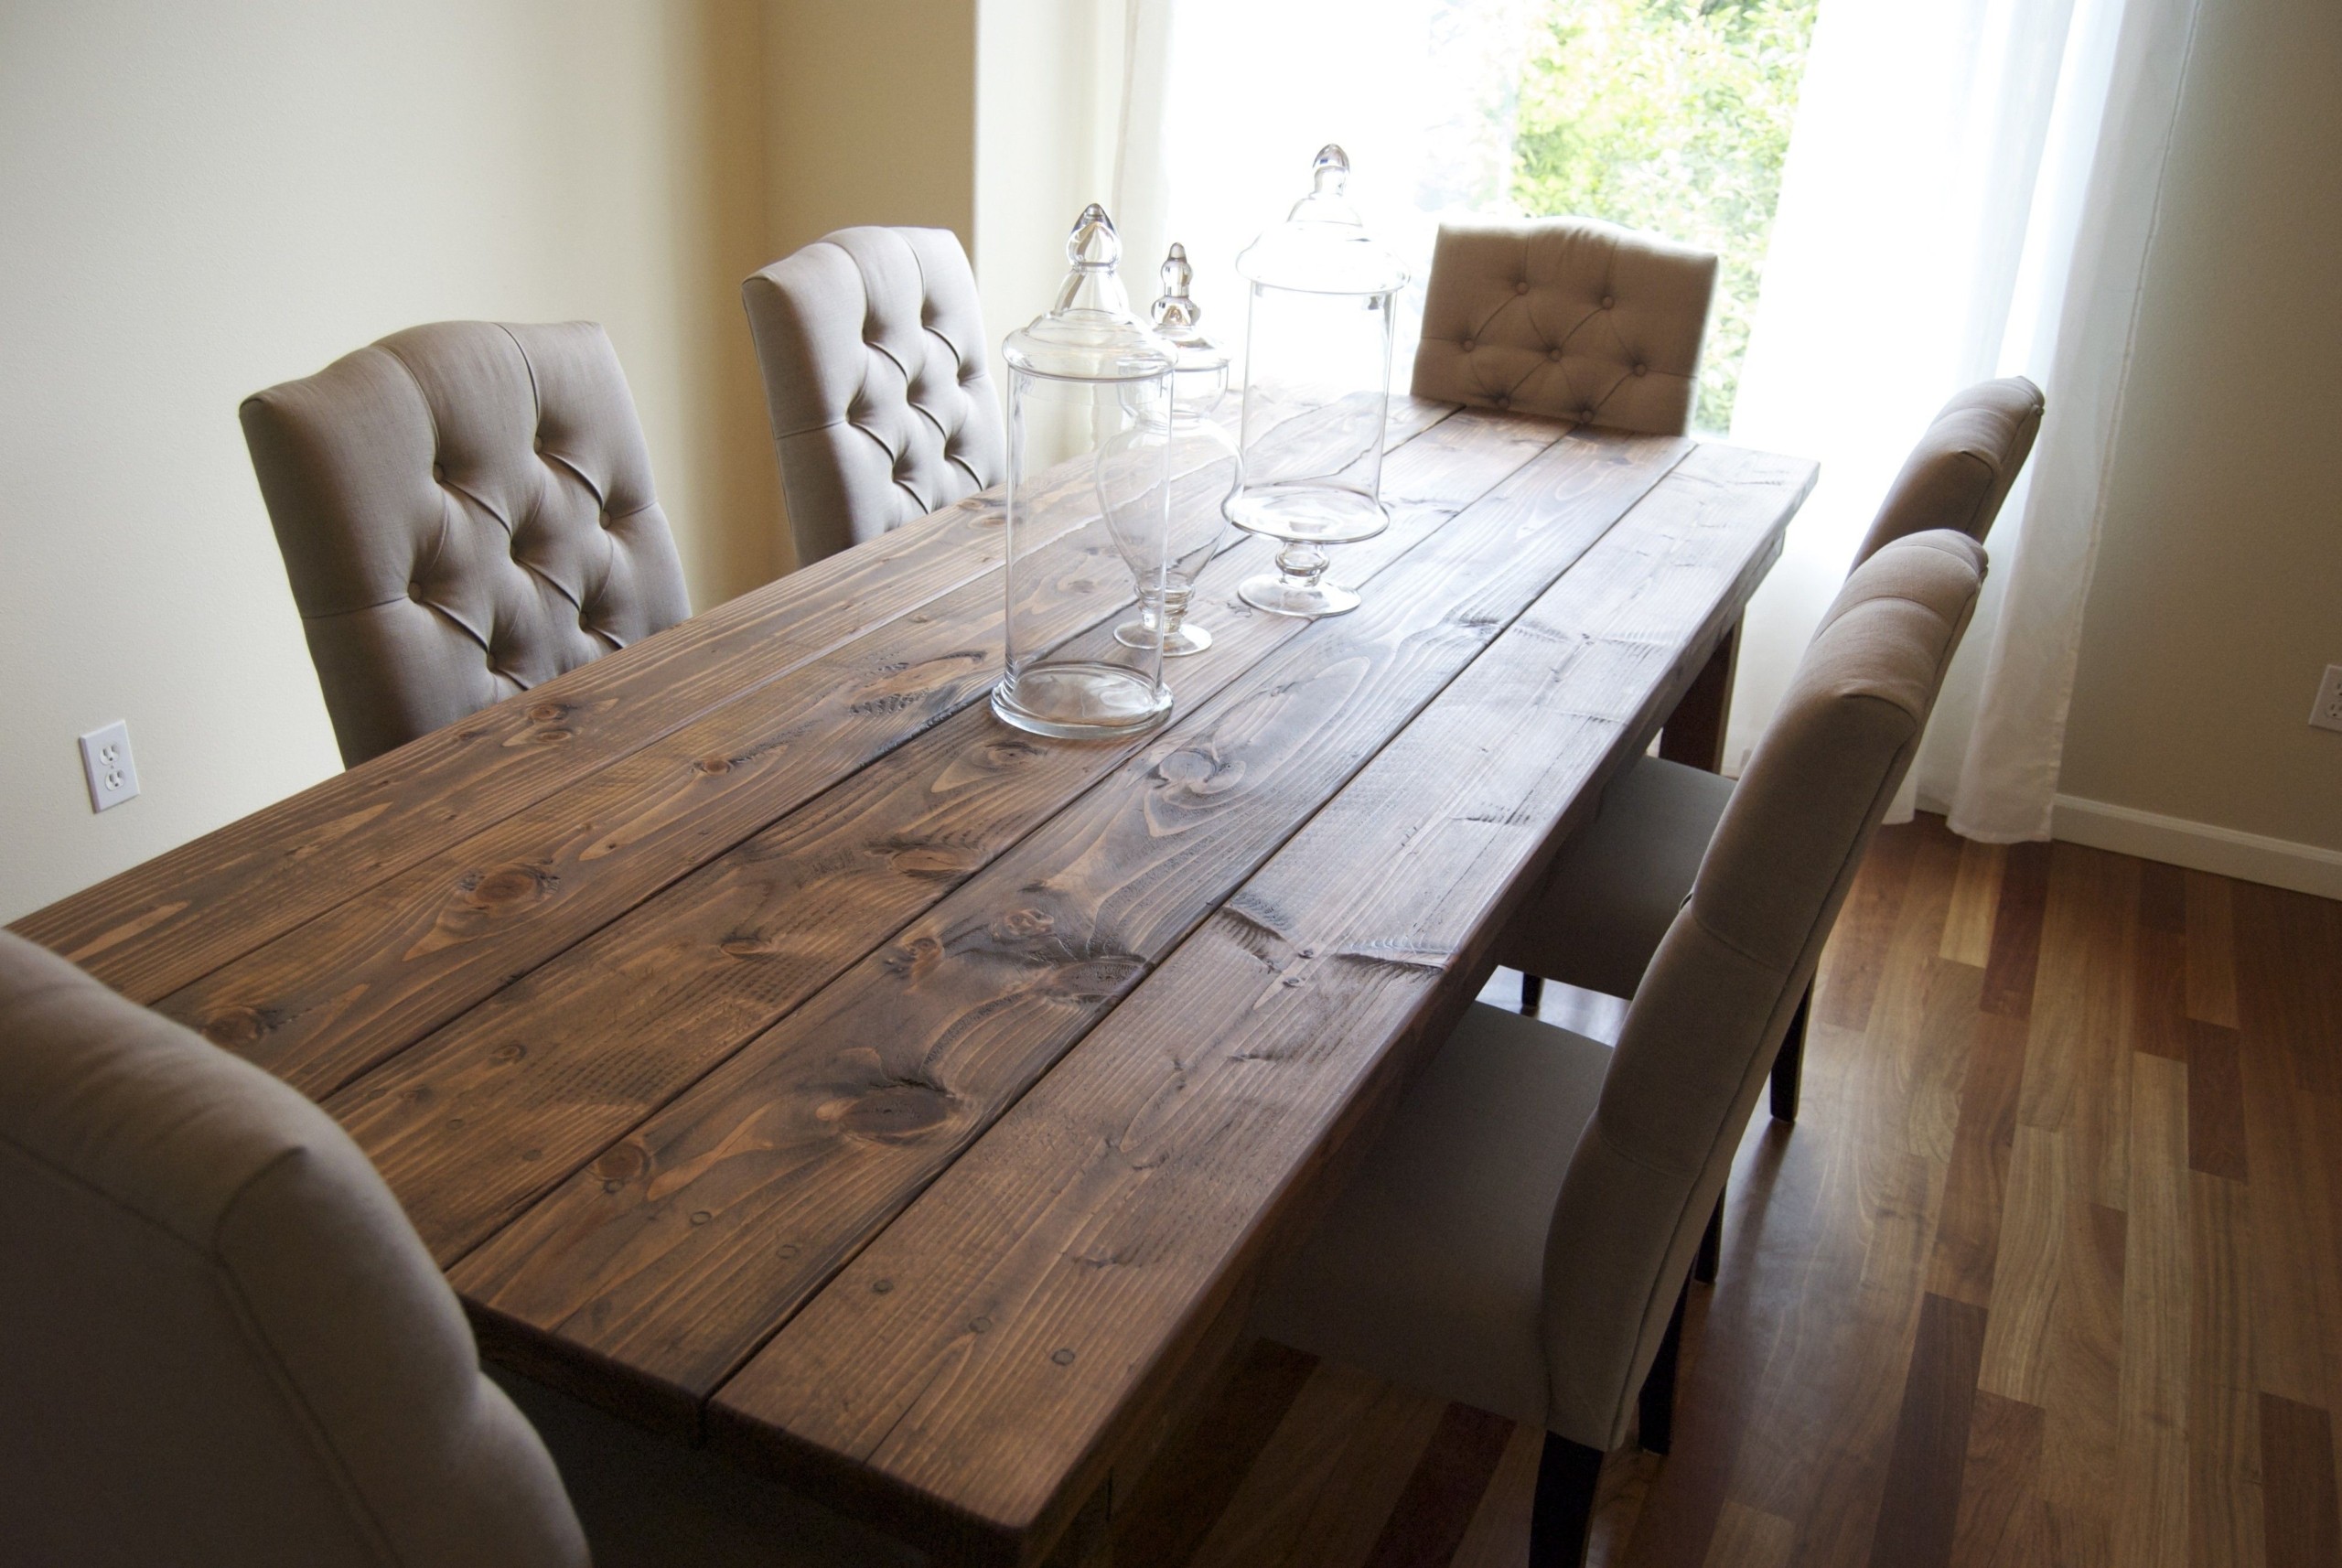
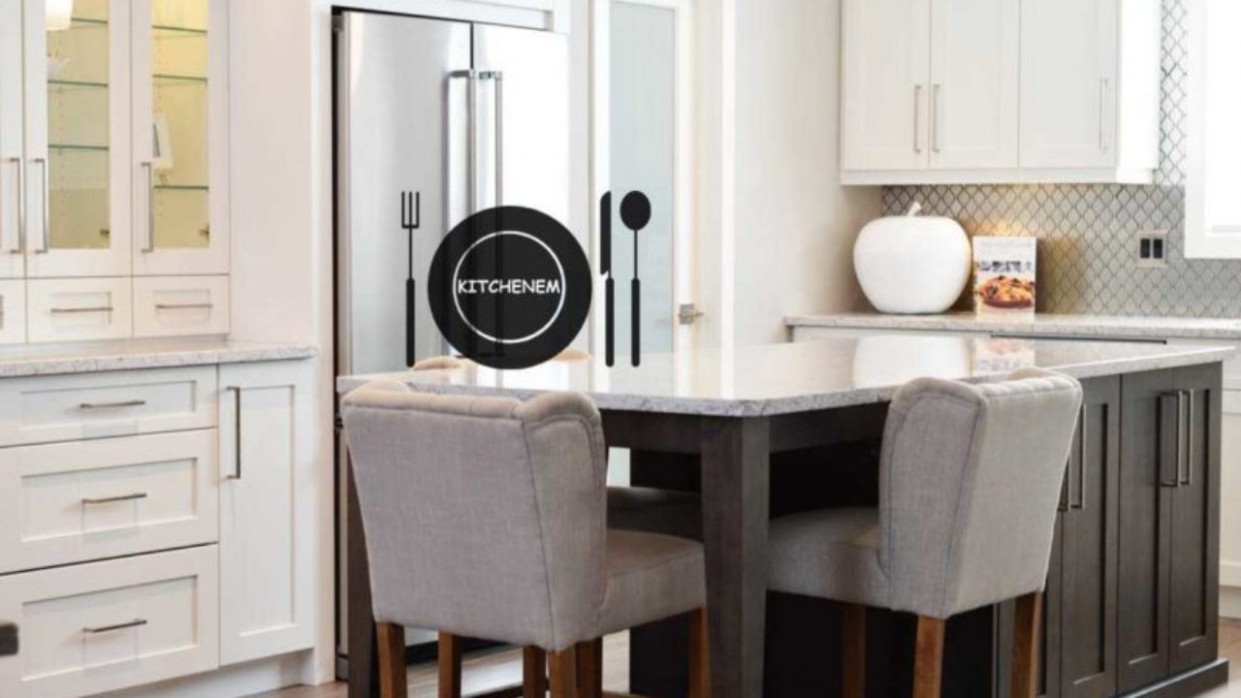
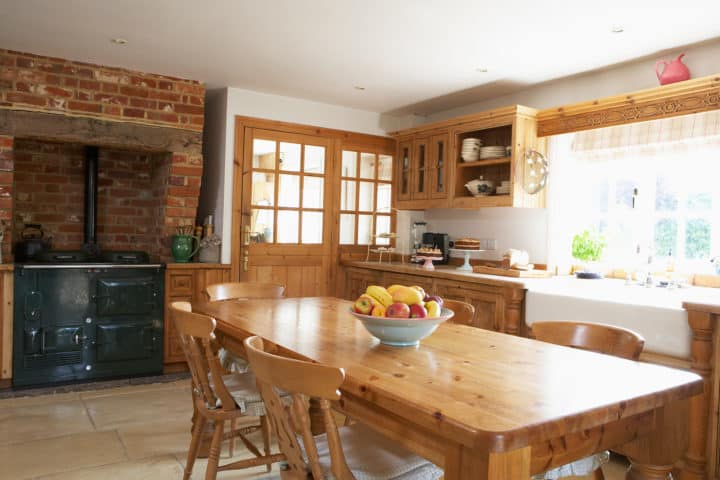
The finish you choose for your kitchen table can impact both the look and durability of the paint job. While a glossy finish may be more visually appealing, it may not be the most practical option for a high-traffic area like a kitchen. Satin or semi-gloss finishes are more commonly used for kitchen tables as they provide a good balance between durability and aesthetics. If you decide to use a glossy finish, make sure to properly prepare and prime the surface to ensure the paint adheres and dries evenly. Use a high-quality brush and apply thin and even coats to avoid drips and runs. You may also want to consider using a topcoat to protect the glossy finish from scratches and stains. Matte and flat finishes are not recommended for kitchen tables as they are not as durable and can be more difficult to clean. However, you can use them for a more rustic or distressed look if desired. Just keep in mind that they may require more frequent touch-ups and maintenance.4. Choosing the Right Finish for Your Kitchen Table


4. Choosing the Right Finish for Your Kitchen Table


Painting a kitchen table with a glossy finish can be a bit trickier than using a matte or satin option. However, with the right techniques and tools, you can achieve a smooth and professional-looking finish. Here are some tips to keep in mind: Prepare the surface: Properly clean and sand the surface before painting to ensure the paint adheres evenly. Use a high-quality brush: Invest in a good quality brush to avoid leaving brush marks or streaks in the finish. Apply thin coats: Thin coats of paint are key to achieving a glossy finish without drips or runs. Let each coat dry completely before applying the next one. Lightly sand between coats: Sand the surface lightly with fine-grit sandpaper between coats to create a smooth and even finish. Consider using a topcoat: Applying a clear topcoat can protect the paint from scratches and stains, and also give it a shiny and polished look.5. Tips for Painting a Kitchen Table with a Glossy Finish


5. Tips for Painting a Kitchen Table with a Glossy Finish


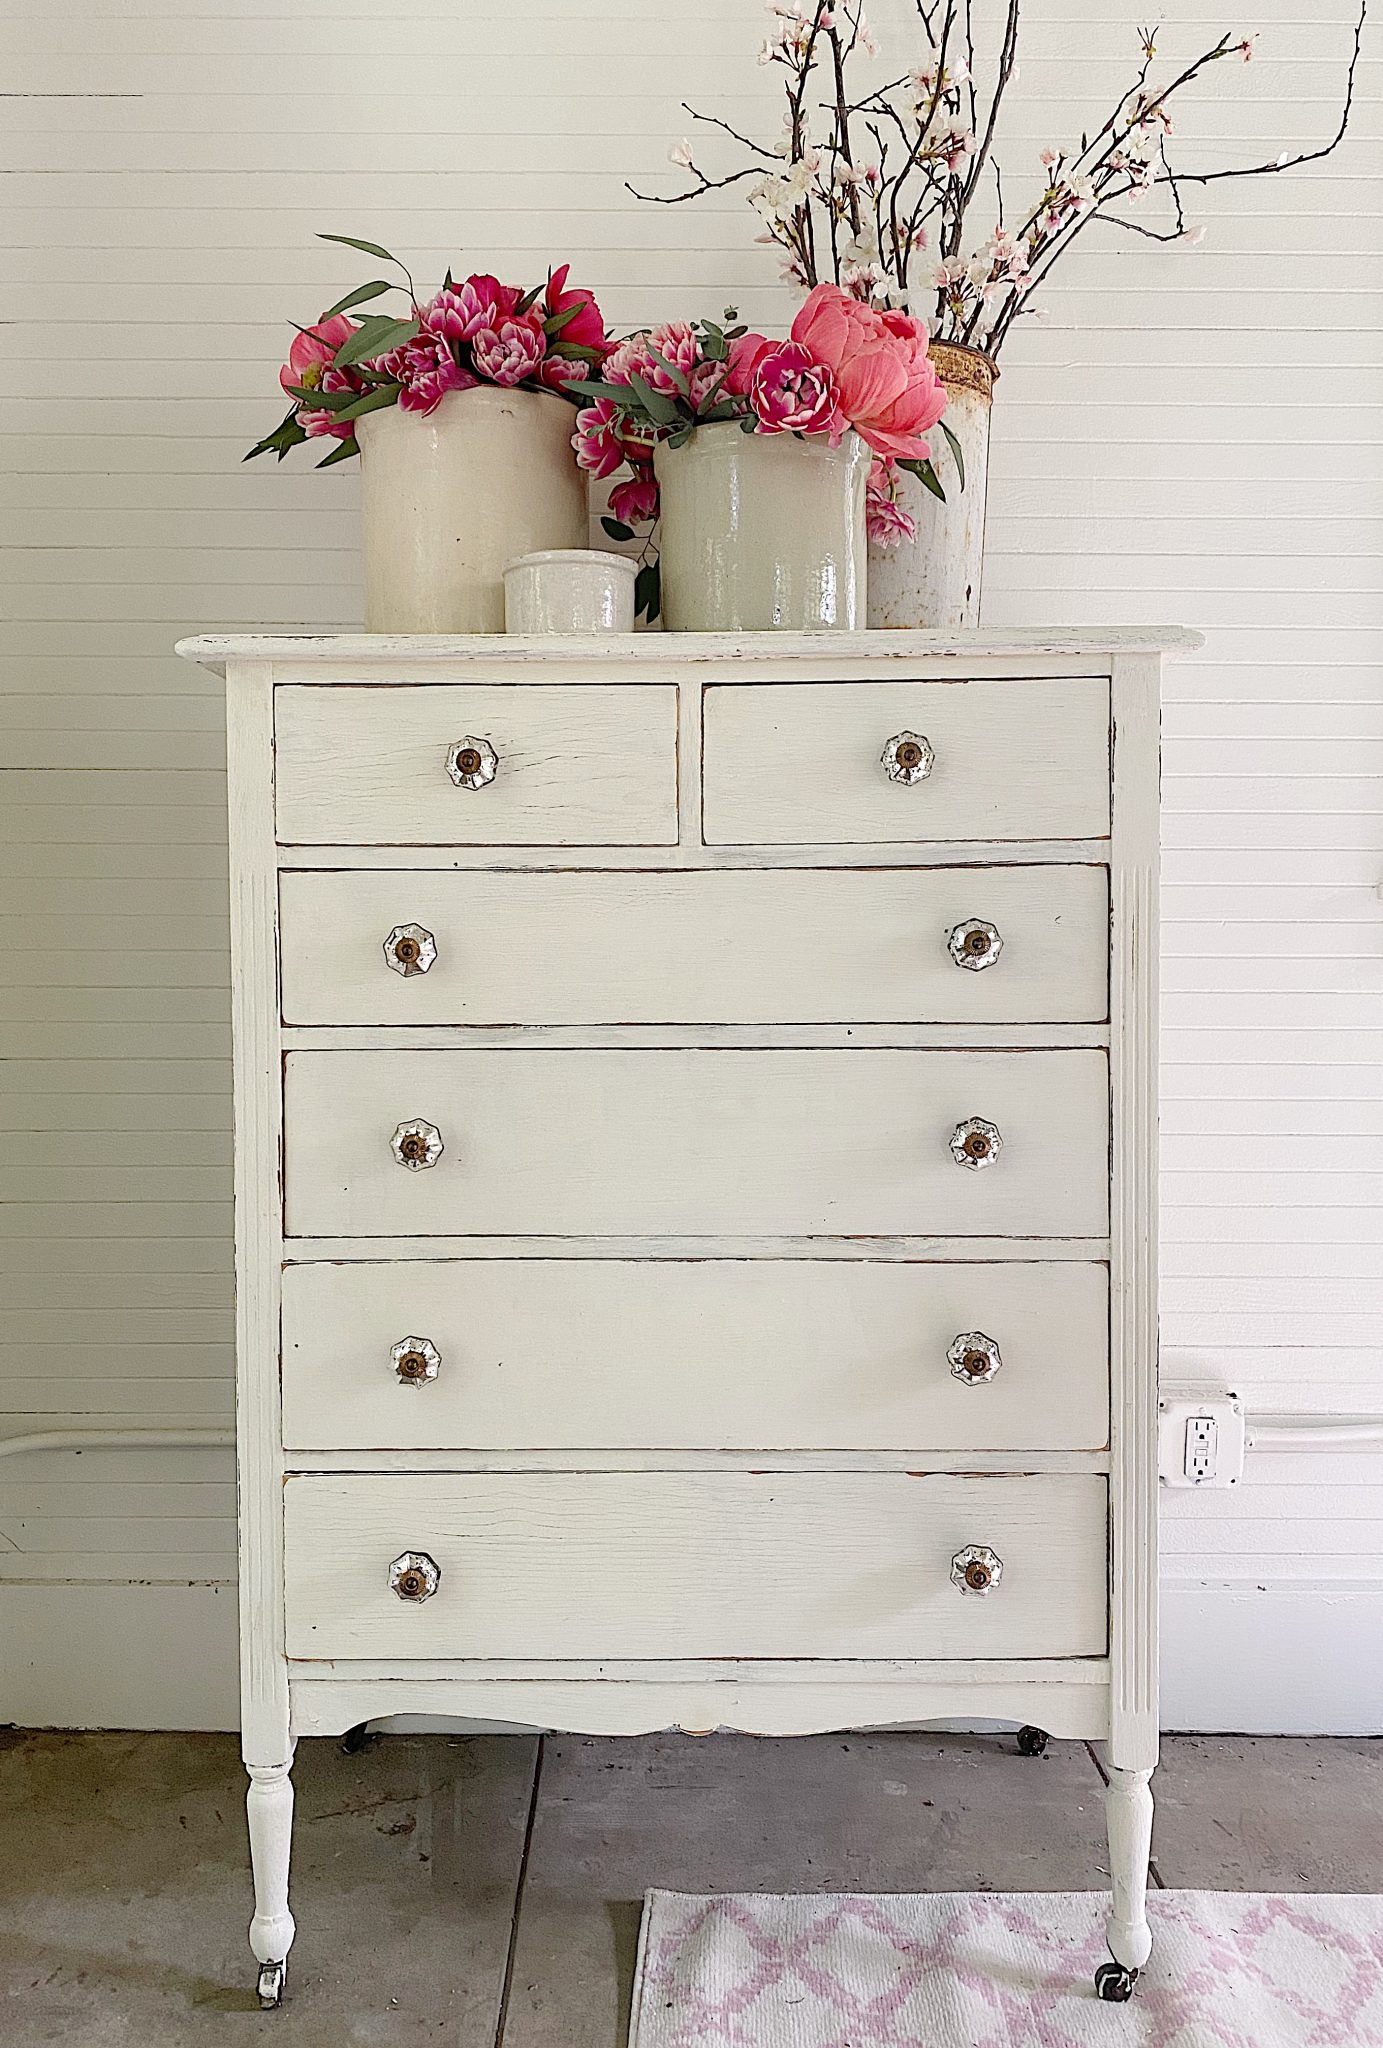
Chalk paint is a popular choice for refinishing furniture due to its ease of use and versatile finish. It can be used on almost any surface without the need for sanding or priming, making it a quick and easy option for updating your kitchen table. Here are some tips for using chalk paint on your kitchen table: Choose the right color: Chalk paint comes in a variety of colors, so choose one that complements your kitchen's overall design. You can also mix different colors to create a custom shade. Apply with a brush or roller: Chalk paint can be applied with a brush or roller, depending on the look you want to achieve. A brush will provide a more textured and rustic finish, while a roller will give a smoother look. Distress for a vintage look: If you want a distressed or vintage look, use sandpaper to lightly sand the edges and corners of your kitchen table after the paint has dried. Seal with wax: Chalk paint requires a topcoat of wax to protect the surface and provide a smooth finish. Apply the wax with a brush or cloth, and buff it with a clean cloth for a polished look.6. Refinishing a Kitchen Table with Chalk Paint


6. Refinishing a Kitchen Table with Chalk Paint


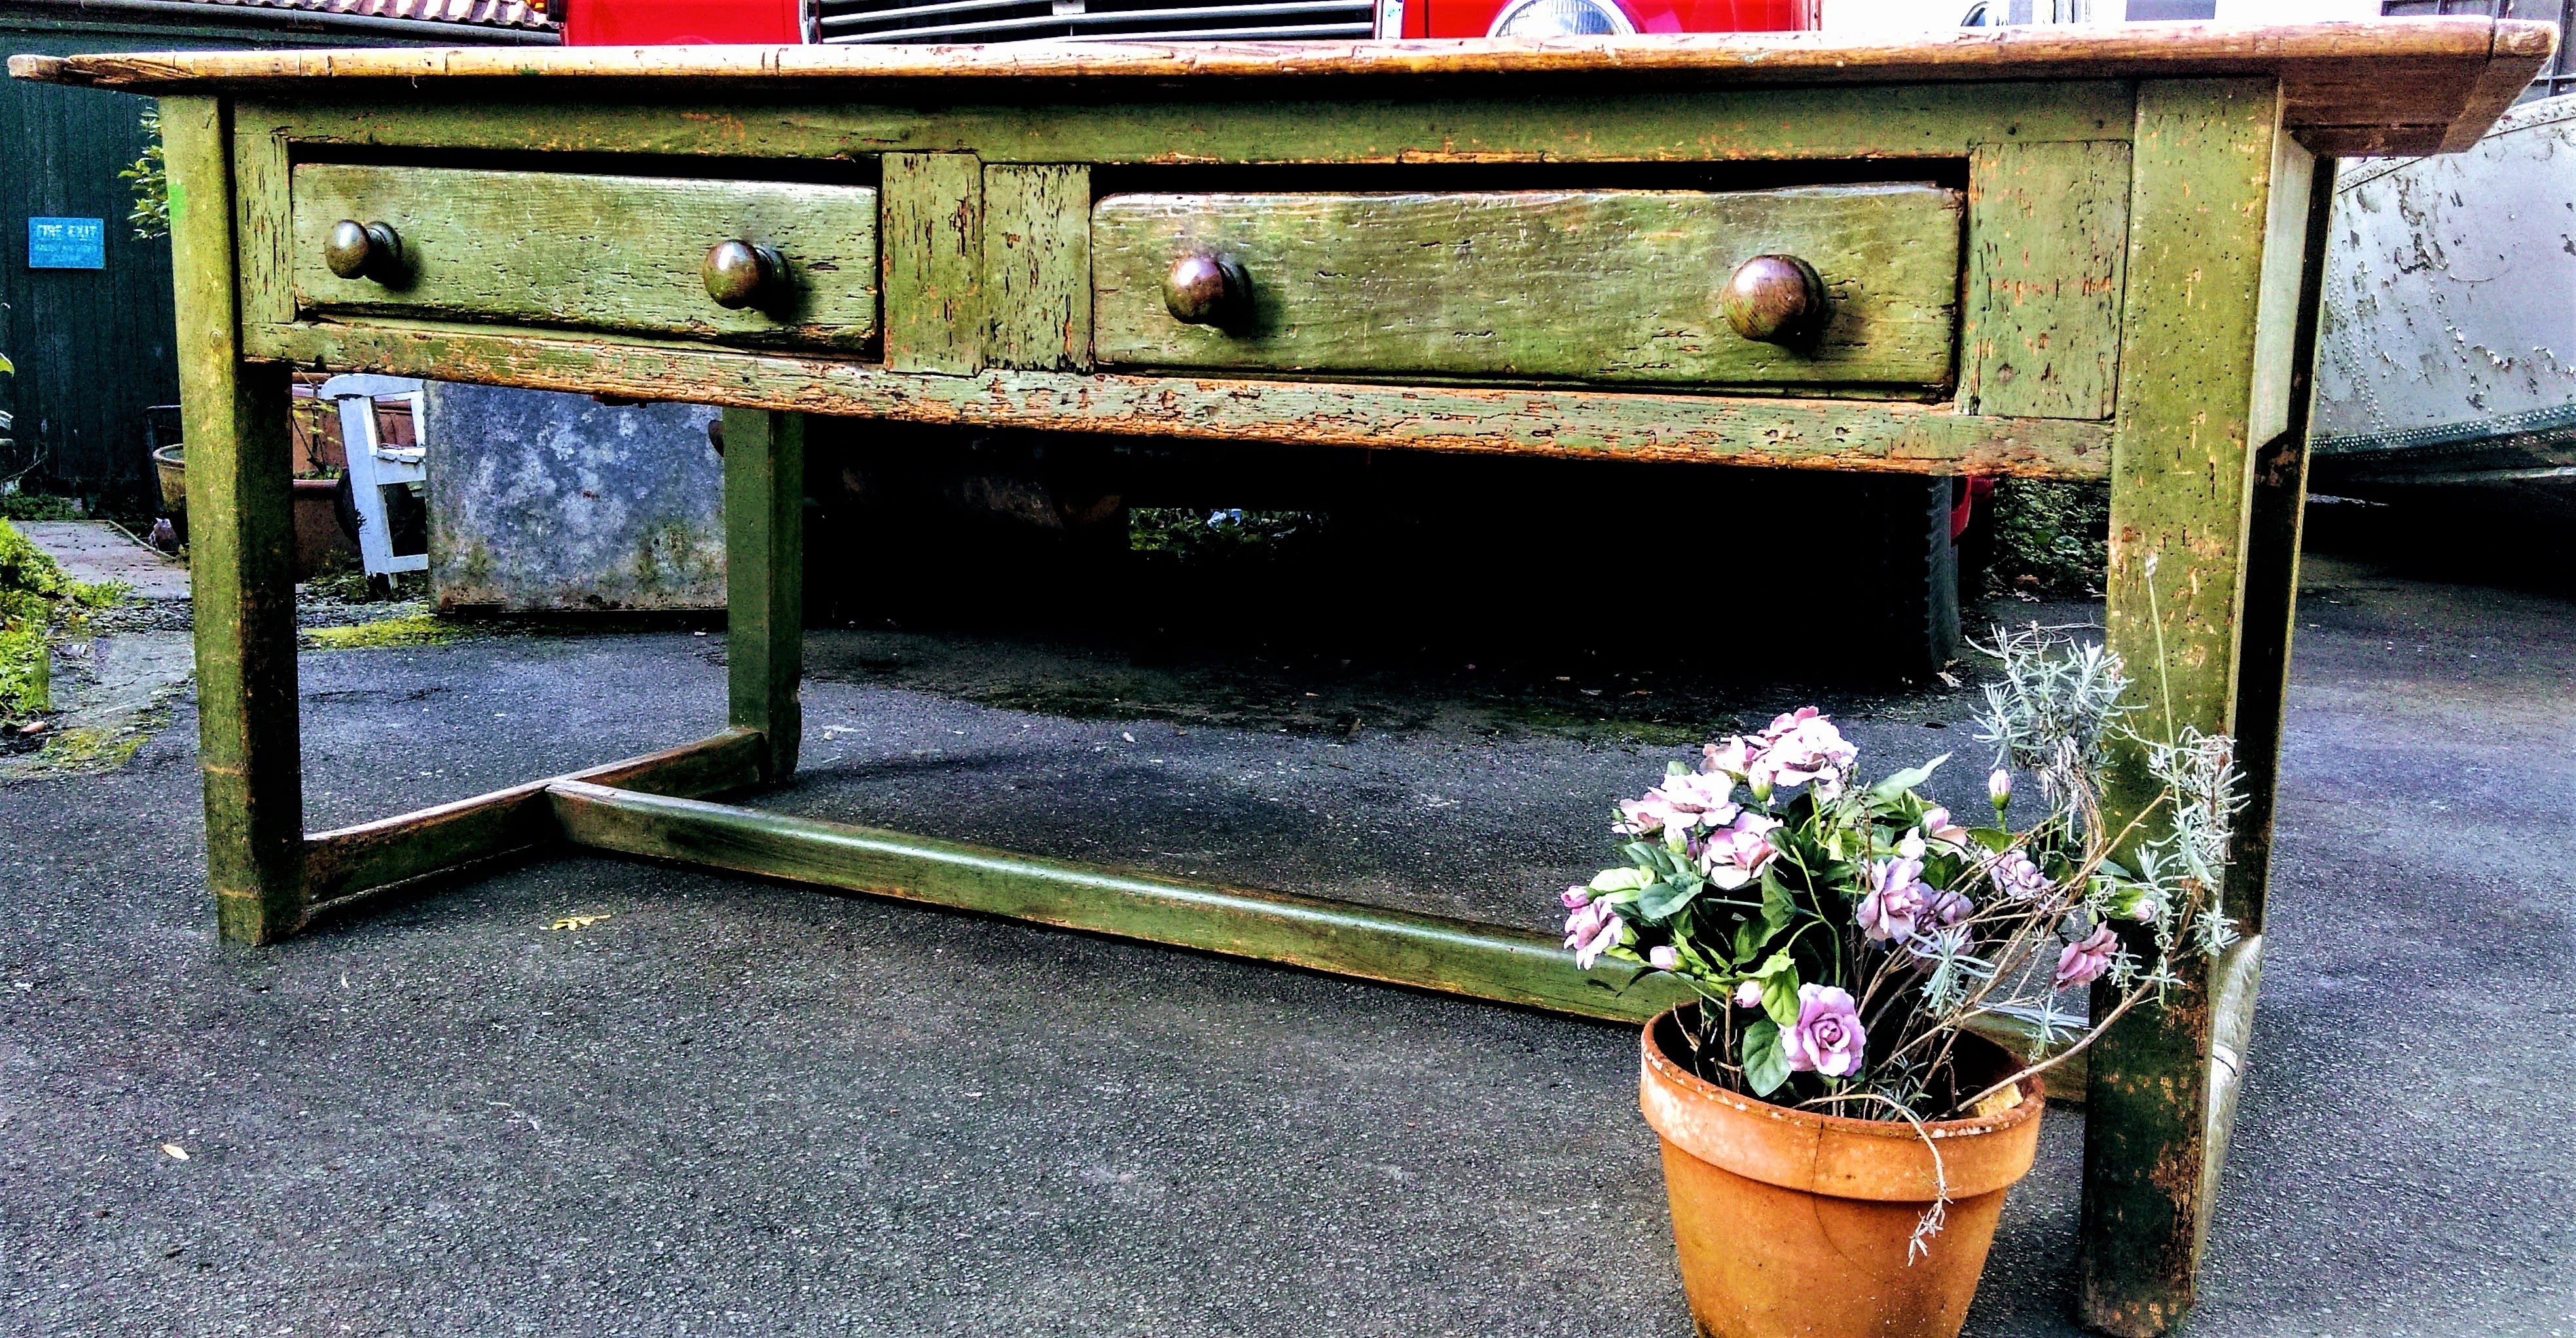
A distressed finish can add character and charm to your kitchen table. It's a popular technique that involves giving the furniture an aged and weathered look. Here's how you can achieve a distressed finish on your kitchen table: Sand the edges: Using sandpaper, lightly sand the edges and corners of your kitchen table to create a worn and weathered look. Add layers of paint: Apply multiple layers of paint in different colors, allowing each layer to dry before adding the next one. Sanding between layers can also help achieve a more distressed look. Use a dry brush technique: Dip a dry brush into your paint and lightly brush it over the surface of your kitchen table. This will create a streaky and textured look. Distress with sandpaper: After the final coat of paint, use sandpaper to gently sand the surface in areas that would naturally show wear and tear, such as edges, corners, and around hardware. Seal with wax or topcoat: To protect the finish and achieve a smooth surface, seal the distressed paint with a wax or topcoat.7. How to Achieve a Distressed Finish on a Kitchen Table


7. How to Achieve a Distressed Finish on a Kitchen Table


Milk paint is a popular choice for achieving a vintage or antique look on furniture. It's made from natural ingredients and is environmentally friendly, making it a great option for those looking for an eco-friendly paint. Here's how you can paint your kitchen table with milk paint: Choose the right color: Milk paint comes in a variety of colors, including traditional and vibrant shades. Choose a color that complements your kitchen's design. Mix with bonding agent: Milk paint requires a bonding agent to help it adhere to the surface. Mix the paint and bonding agent according to the manufacturer's instructions. Apply thin coats: Apply thin and even coats of milk paint with a brush or roller. Let each coat dry completely before applying the next one. Distress for a vintage look: After the final coat of paint has dried, use sandpaper to lightly sand the edges and corners of your kitchen table for a distressed look. Seal with topcoat: After distressing, seal the paint with a topcoat to protect the finish and provide a smooth surface.8. Painting a Kitchen Table with Milk Paint


8. Painting a Kitchen Table with Milk Paint


Sealing and protecting your painted kitchen table is essential for ensuring the durability and longevity of the finish. Here are some tips for properly sealing and protecting your kitchen table: Choose the right sealer: There are various options for sealing and protecting your painted kitchen table, including polyurethane, wax, and topcoat. Each has its own pros and cons, so choose one that best suits your needs and preferences. Apply thin coats: Whichever sealer you choose, it's important to apply thin and even coats to avoid drips and runs. Let each coat dry completely before applying the next one. Use a high-quality brush or applicator: Using a good quality brush or applicator will help ensure a smooth and even application of the sealer. Consider multiple coats: For extra protection, you may want to consider applying multiple coats of sealer, especially if your kitchen table will be subject to heavy use. Follow manufacturer's instructions: It's important to follow the manufacturer's instructions for the specific sealer you are using to ensure the best results.9. How to Seal and Protect a Painted Kitchen Table


9. How to Seal and Protect a Painted Kitchen Table


If you're looking for a quick and easy way to update your kitchen table, consider using spray paint. Not only is it budget-friendly, but it also allows you to achieve a smooth and even finish without the need for brushes or rollers. Here are some tips for using spray paint on your kitchen table: Choose the right spray paint: Make sure to choose a high-quality spray paint specifically designed for furniture. This will ensure durability and a professional finish. Prepare the surface: Thoroughly clean and sand your kitchen table before spraying to ensure proper adhesion. Cover any areas you don't want to be painted with tape or plastic. Apply thin coats: Use a back-and-forth motion to apply thin and even coats of spray paint for best results. Let each coat dry completely before applying the next one. Use multiple colors: For a unique and fun look, consider using multiple colors of spray paint and creating a pattern or design on your kitchen table.10. Using Spray Paint to Update Your Kitchen Table


10. Using Spray Paint to Update Your Kitchen Table


Choosing the Right Finish for Your Kitchen Table Paint

Why the Right Finish is Important
 When it comes to painting your kitchen table, choosing the right finish is just as important as choosing the right color. A good finish not only provides protection for your table, but it also enhances the overall look of your kitchen. With so many finish options available, it can be overwhelming to determine which one is best for your kitchen table. In this article, we will discuss the different types of finishes and help you decide which one will work best for your kitchen table.
The Different Types of Finishes
 Before we dive into the different types of finishes, it's important to understand the purpose of a finish. A finish is a protective topcoat that is applied over the paint to seal and protect the surface. It also adds a glossy or matte sheen to the paint, depending on the type of finish used. There are three main types of finishes: gloss, satin, and matte.
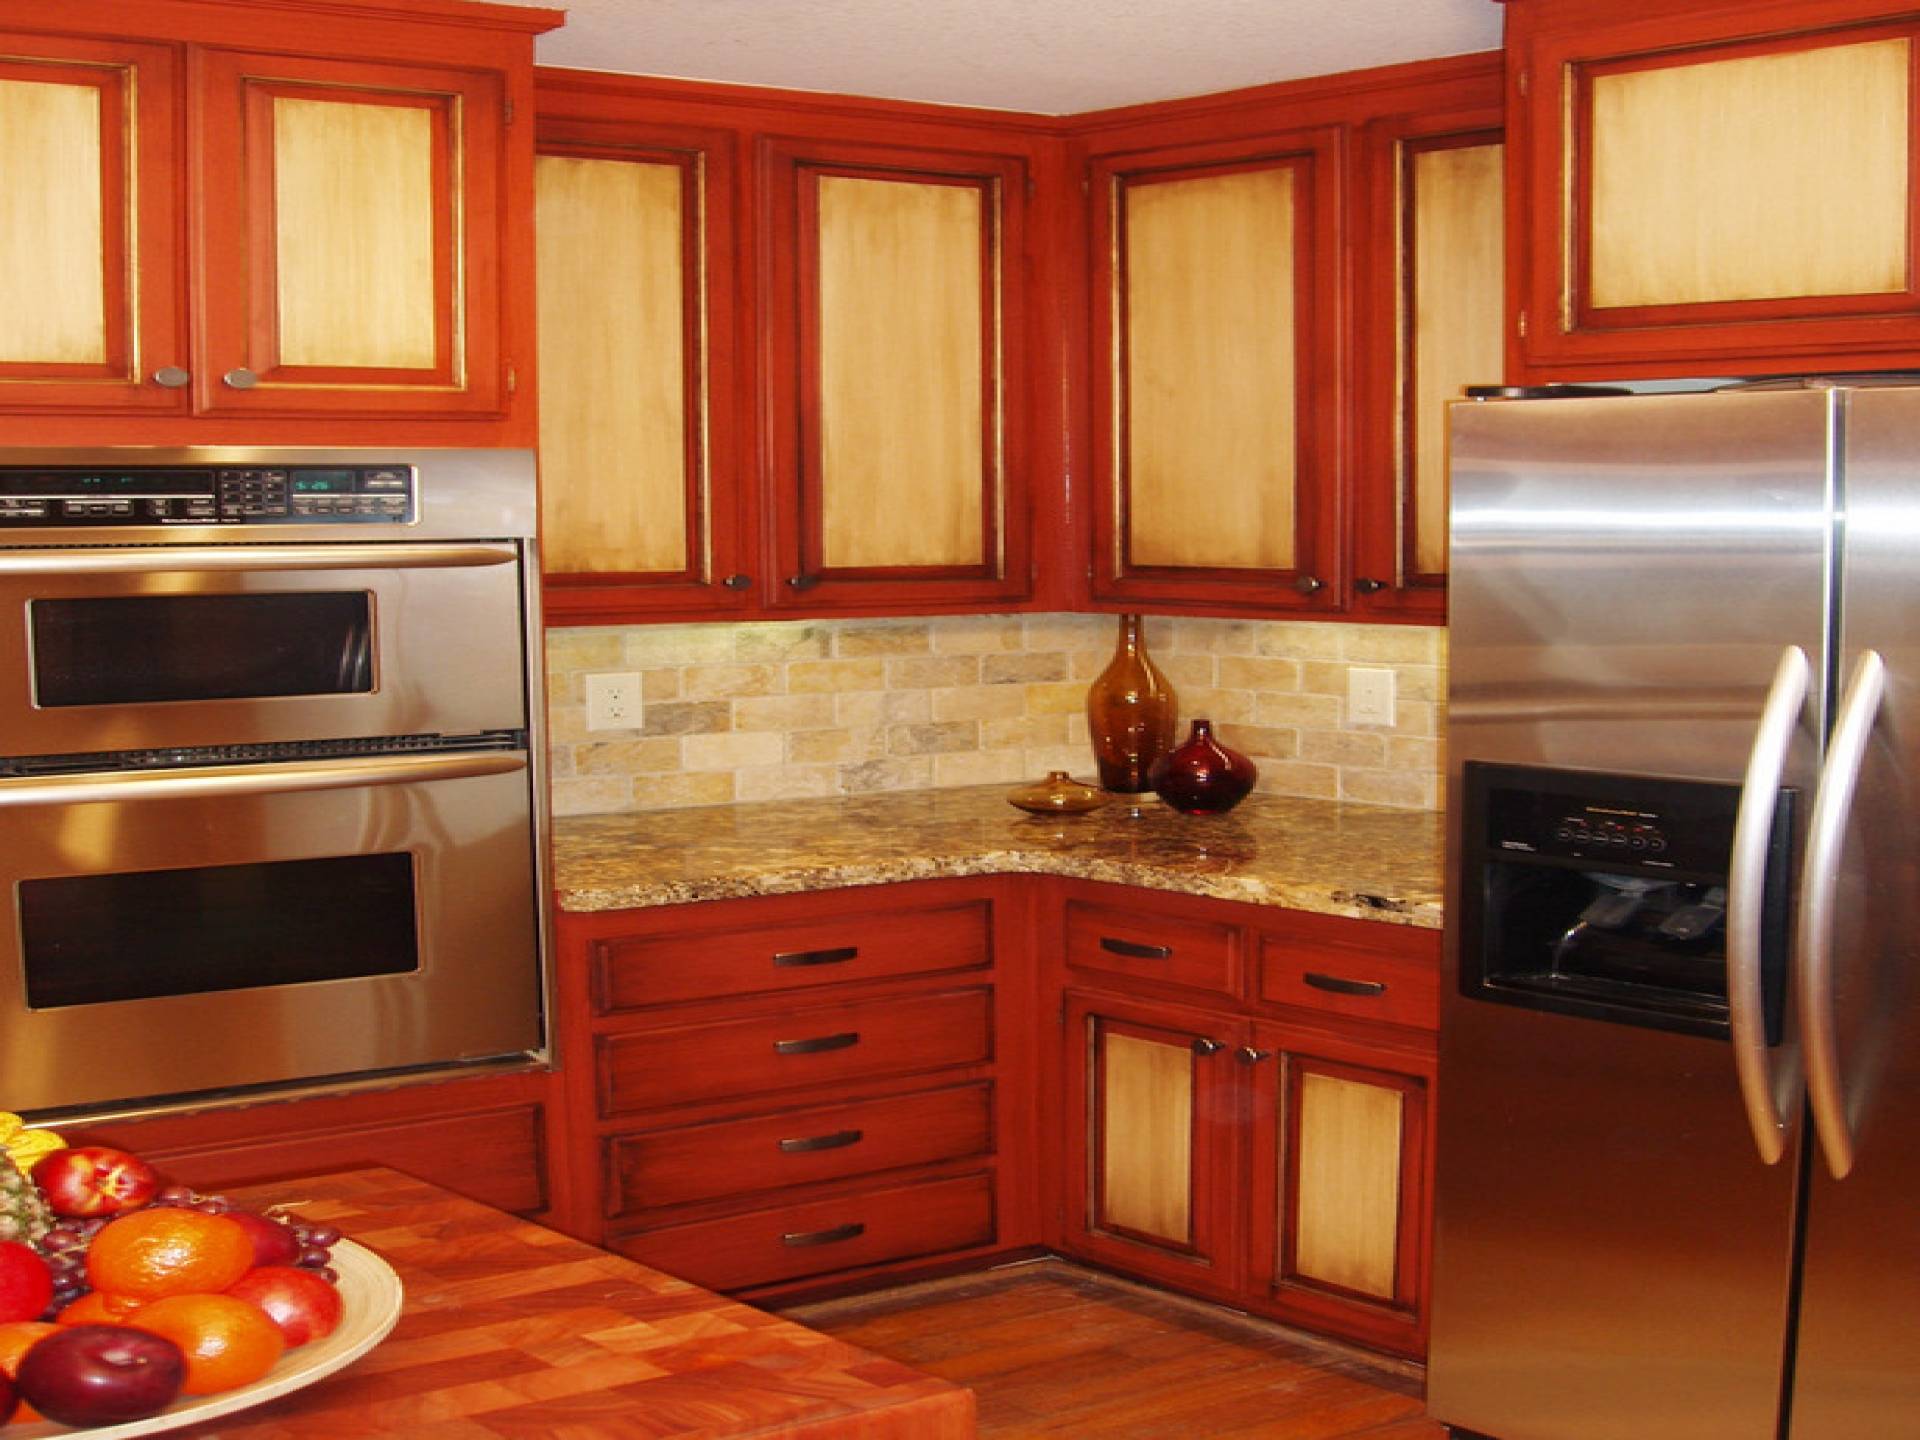
Gloss Finish:
This finish is the shiniest of the three and provides a high-gloss, reflective surface. It is the most durable and is easy to clean, making it a popular choice for kitchen tables. However, keep in mind that a gloss finish will show imperfections more easily than other finishes.
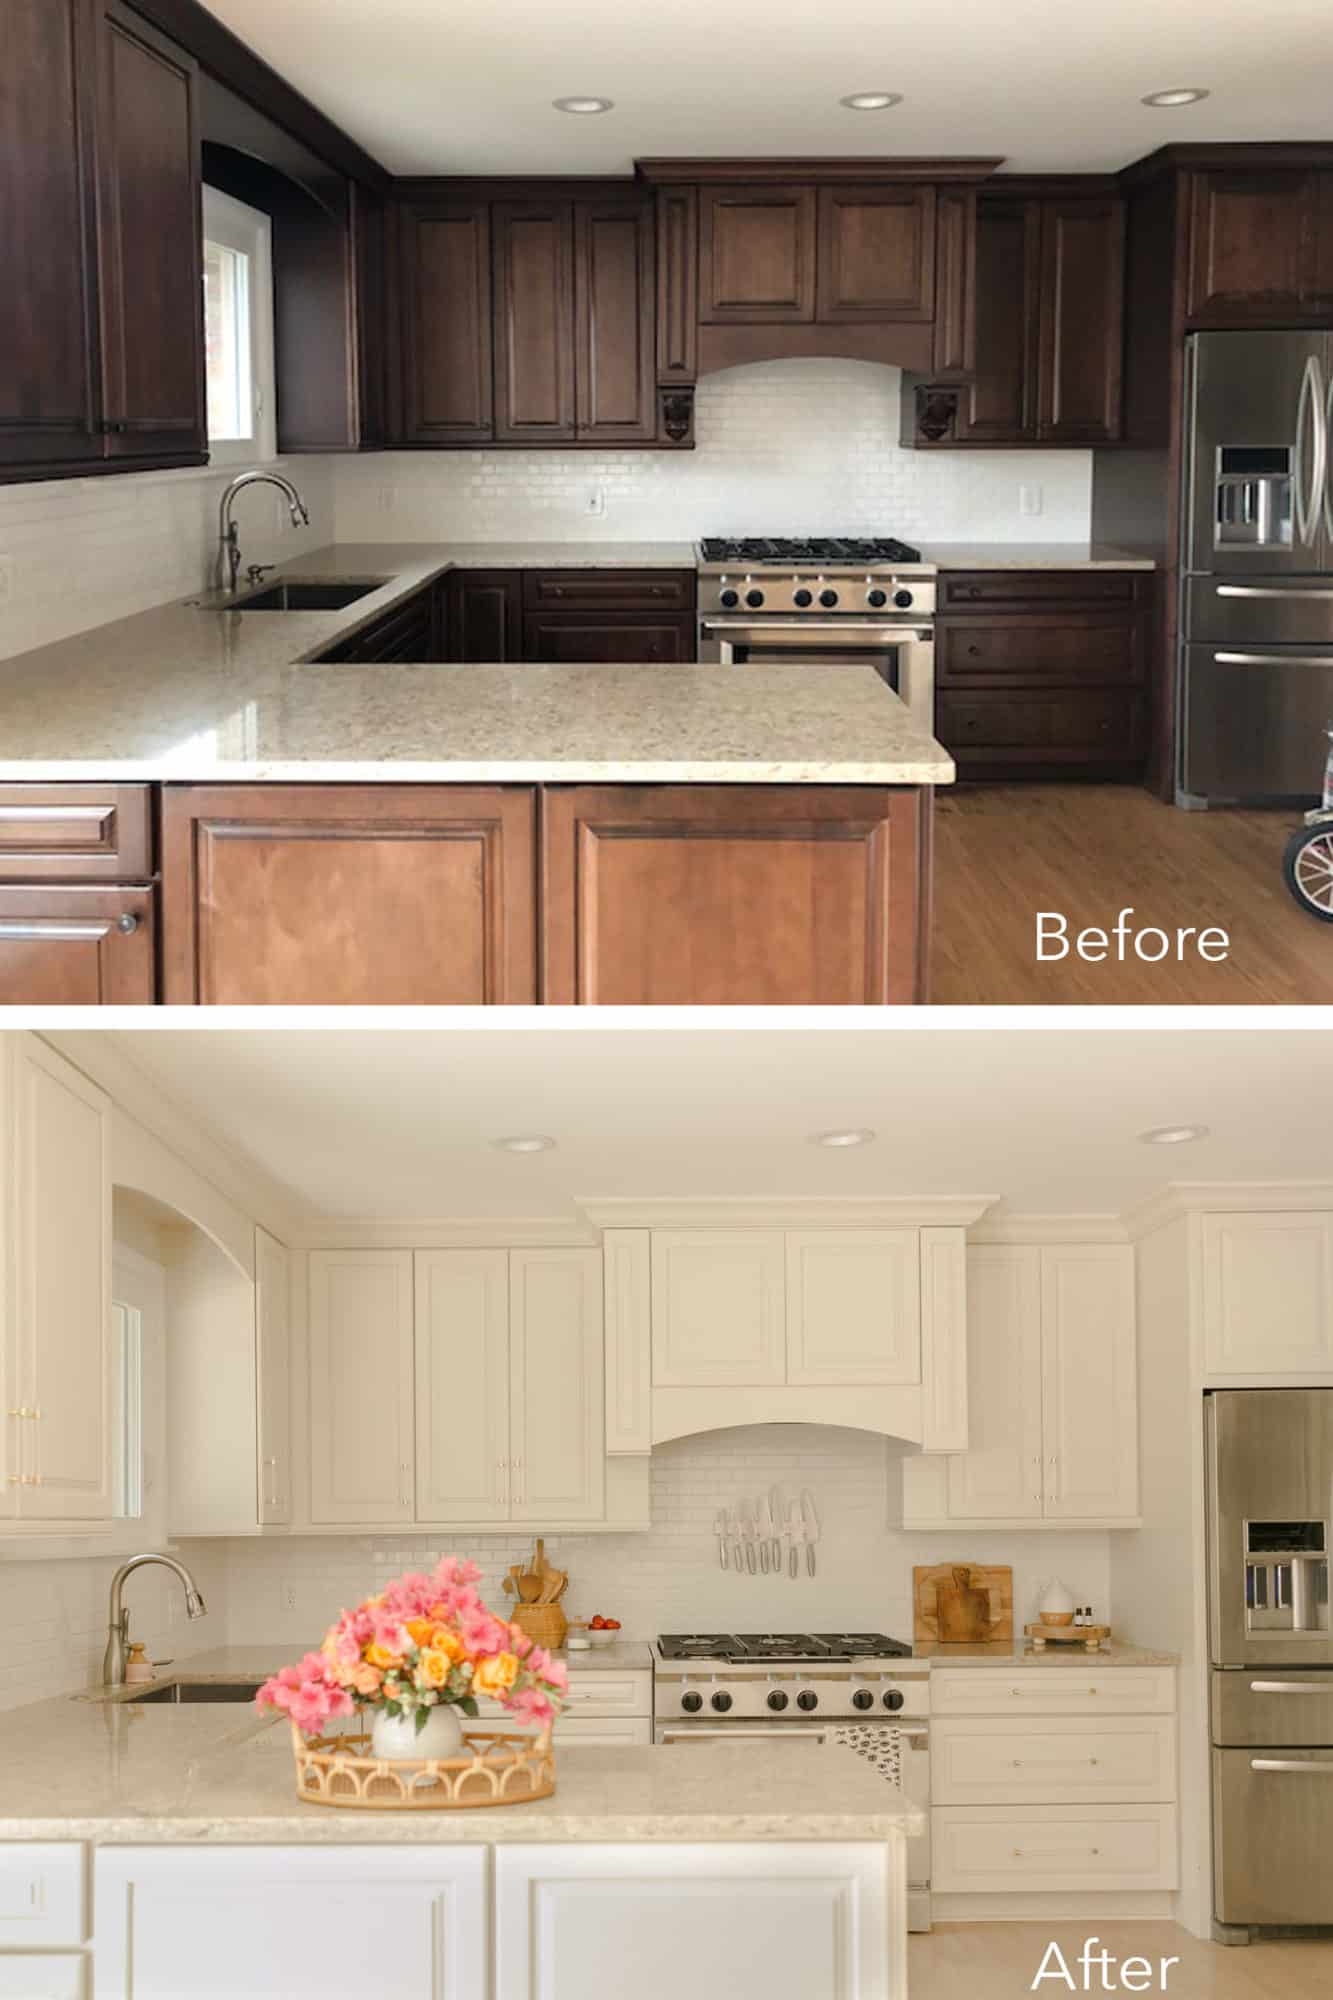
Satin Finish:
A satin finish falls in between a gloss and matte finish, providing a subtle sheen. It is more forgiving of imperfections and still offers good durability. It's a popular choice for kitchen tables as it provides a smooth and sleek look.
Matte Finish:
A matte finish is the most subtle and has the least amount of shine. It is great for hiding imperfections and provides a more natural, rustic look. However, it is not as durable as a gloss or satin finish and may require more frequent touch-ups.
Before we dive into the different types of finishes, it's important to understand the purpose of a finish. A finish is a protective topcoat that is applied over the paint to seal and protect the surface. It also adds a glossy or matte sheen to the paint, depending on the type of finish used. There are three main types of finishes: gloss, satin, and matte.
Gloss Finish:
This finish is the shiniest of the three and provides a high-gloss, reflective surface. It is the most durable and is easy to clean, making it a popular choice for kitchen tables. However, keep in mind that a gloss finish will show imperfections more easily than other finishes.
Satin Finish:
A satin finish falls in between a gloss and matte finish, providing a subtle sheen. It is more forgiving of imperfections and still offers good durability. It's a popular choice for kitchen tables as it provides a smooth and sleek look.
Matte Finish:
A matte finish is the most subtle and has the least amount of shine. It is great for hiding imperfections and provides a more natural, rustic look. However, it is not as durable as a gloss or satin finish and may require more frequent touch-ups.
Factors to Consider When Choosing a Finish
 When deciding which finish to use for your kitchen table, consider the following factors:
Usage:
How often will your kitchen table be used? If it's a high-traffic area, a gloss or satin finish may be more suitable as they are more durable and easier to clean.
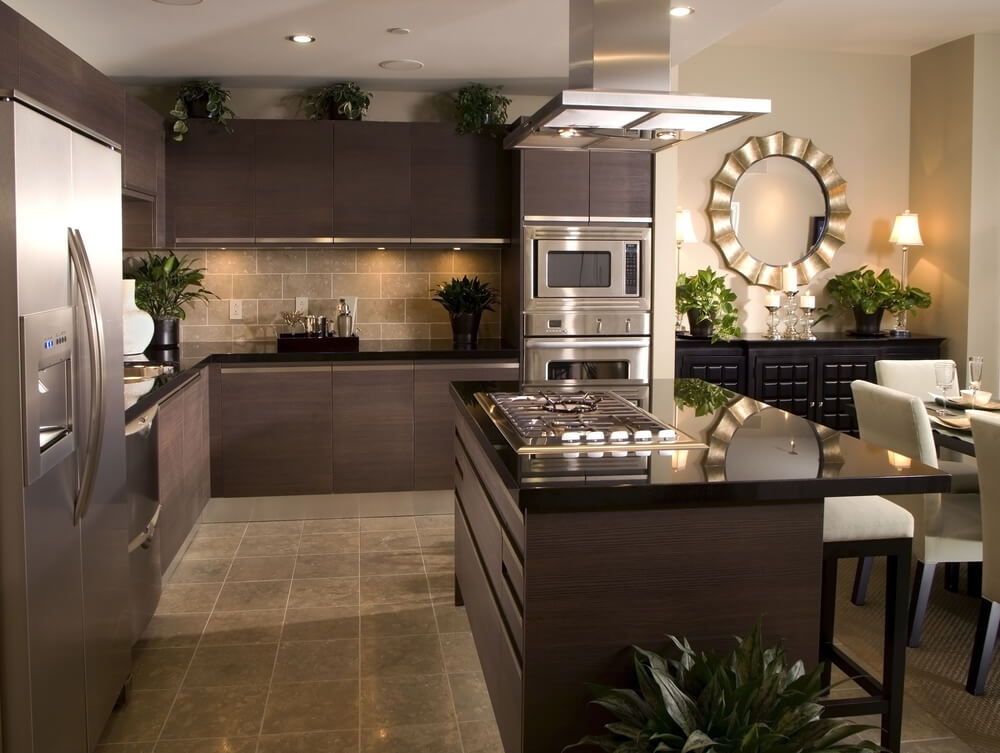
Style:
What style are you going for in your kitchen? If you want a modern, sleek look, a gloss finish may be the best choice. For a more rustic or farmhouse style, a matte finish could be a better fit.
Existing Finishes:
Take into consideration the finishes of other furniture in your kitchen. If your cabinets have a gloss finish, a gloss finish on your table will create a cohesive look.
When deciding which finish to use for your kitchen table, consider the following factors:
Usage:
How often will your kitchen table be used? If it's a high-traffic area, a gloss or satin finish may be more suitable as they are more durable and easier to clean.
Style:
What style are you going for in your kitchen? If you want a modern, sleek look, a gloss finish may be the best choice. For a more rustic or farmhouse style, a matte finish could be a better fit.
Existing Finishes:
Take into consideration the finishes of other furniture in your kitchen. If your cabinets have a gloss finish, a gloss finish on your table will create a cohesive look.
Conclusion
 Choosing the right finish for your kitchen table paint is crucial in achieving the perfect look for your kitchen. Consider the usage, style, and existing finishes in your kitchen when deciding which finish is right for you. Whether you opt for a glossy, satin, or matte finish, make sure to properly prepare and apply the finish to ensure a beautiful and long-lasting result.