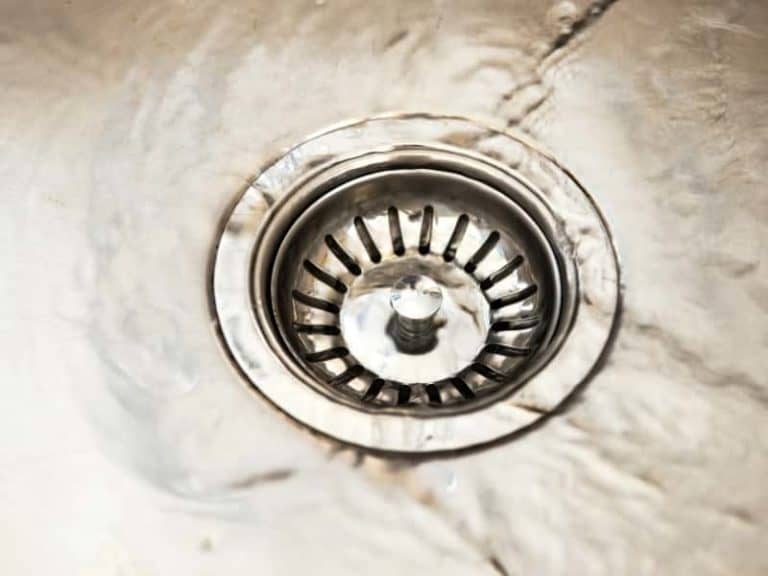
If you're experiencing a clogged or slow draining kitchen sink, it may be time to remove and clean your kitchen sink strainer. This essential component of your sink helps to catch food scraps and debris, preventing them from clogging your pipes. In this guide, we'll go through the steps to remove a kitchen sink strainer and get your sink draining smoothly again.How to Remove a Kitchen Sink Strainer


How to Remove a Kitchen Sink Strainer


If your kitchen sink strainer is damaged or worn out, it's important to replace it to prevent future clogs. Thankfully, replacing a kitchen sink strainer is a relatively simple process. In this guide, we'll walk you through the steps to replace a kitchen sink strainer and get your sink back in working order.How to Replace a Kitchen Sink Strainer


How to Replace a Kitchen Sink Strainer


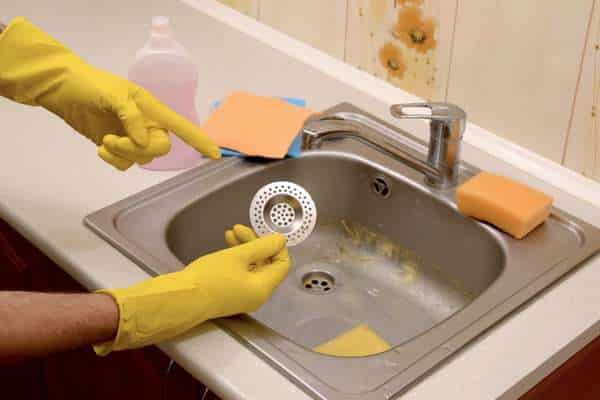
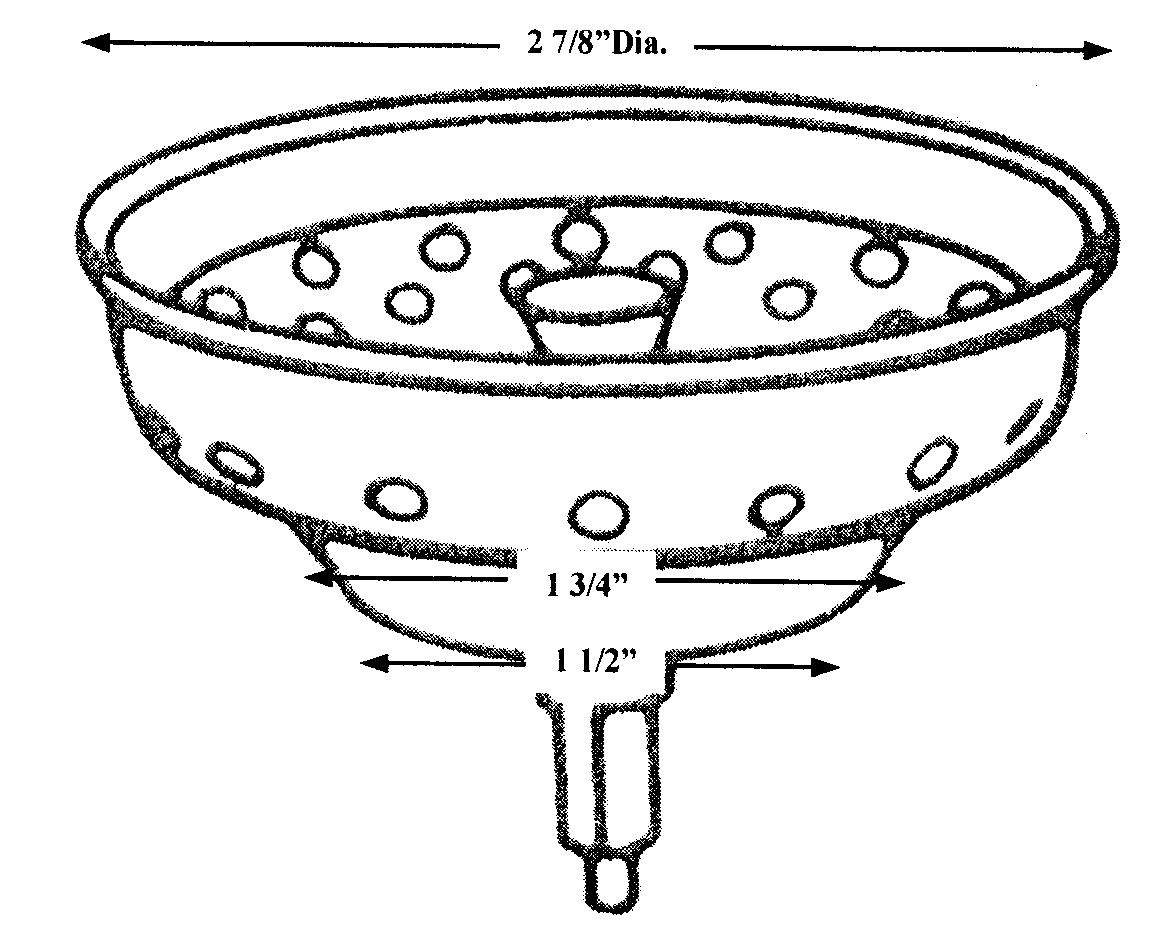
The first step in removing a kitchen sink strainer is to remove the strainer basket. This is the part of the strainer that sits inside the sink and catches food scraps. To remove the basket, first, clear out any debris from the sink and then locate the locknut underneath the sink. Use a pair of pliers to loosen the locknut and then remove it completely. The strainer basket should now be loose and can be lifted out of the sink.Removing a Kitchen Sink Strainer Basket


Removing a Kitchen Sink Strainer Basket


If you're replacing a worn out or damaged strainer basket, the process is similar to removing it. Once you've removed the old basket, simply place the new one in its place, making sure it fits securely. Then, reattach the locknut underneath the sink and tighten with pliers. Your new strainer basket should now be in place and ready to use.Replacing a Kitchen Sink Strainer Basket


Replacing a Kitchen Sink Strainer Basket


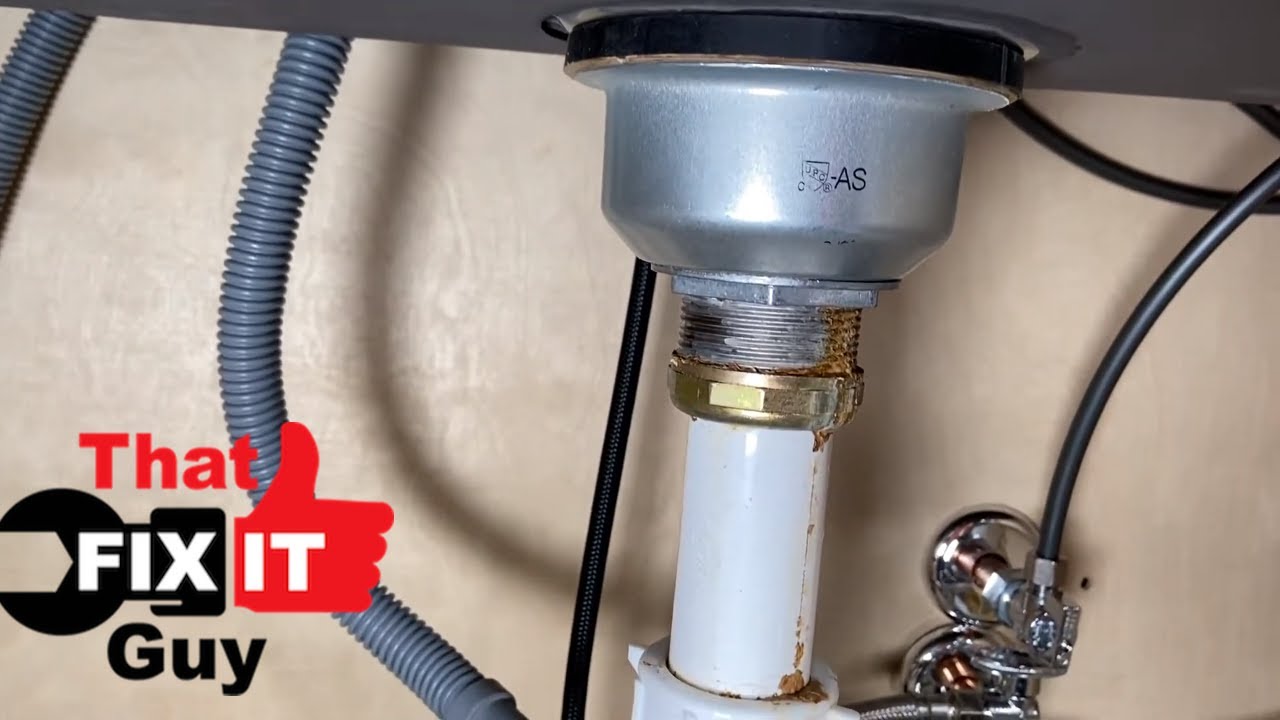
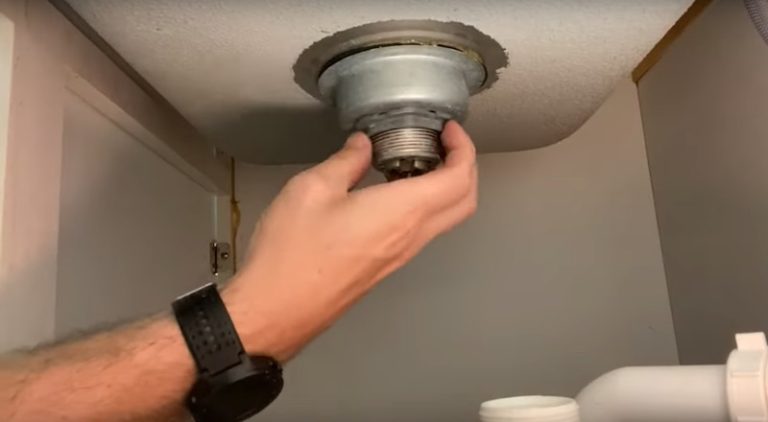
The locknut is the component that holds the kitchen sink strainer in place underneath the sink. If you're replacing your strainer or need to access the pipes for repairs, you'll need to remove the locknut. To do this, first clear out any debris from the sink and then use pliers to loosen and remove the locknut. It may be tight, so you may need to use a bit of force. Once removed, the kitchen sink strainer should be easily lifted out.Removing a Kitchen Sink Strainer Locknut


Removing a Kitchen Sink Strainer Locknut


After removing the old locknut, it's important to replace it with a new one to ensure a secure fit for your kitchen sink strainer. Simply place the new locknut over the strainer and tighten with pliers. Make sure it is secure and tight to prevent any leaks or movement of the strainer.Replacing a Kitchen Sink Strainer Locknut
Replacing a Kitchen Sink Strainer Locknut


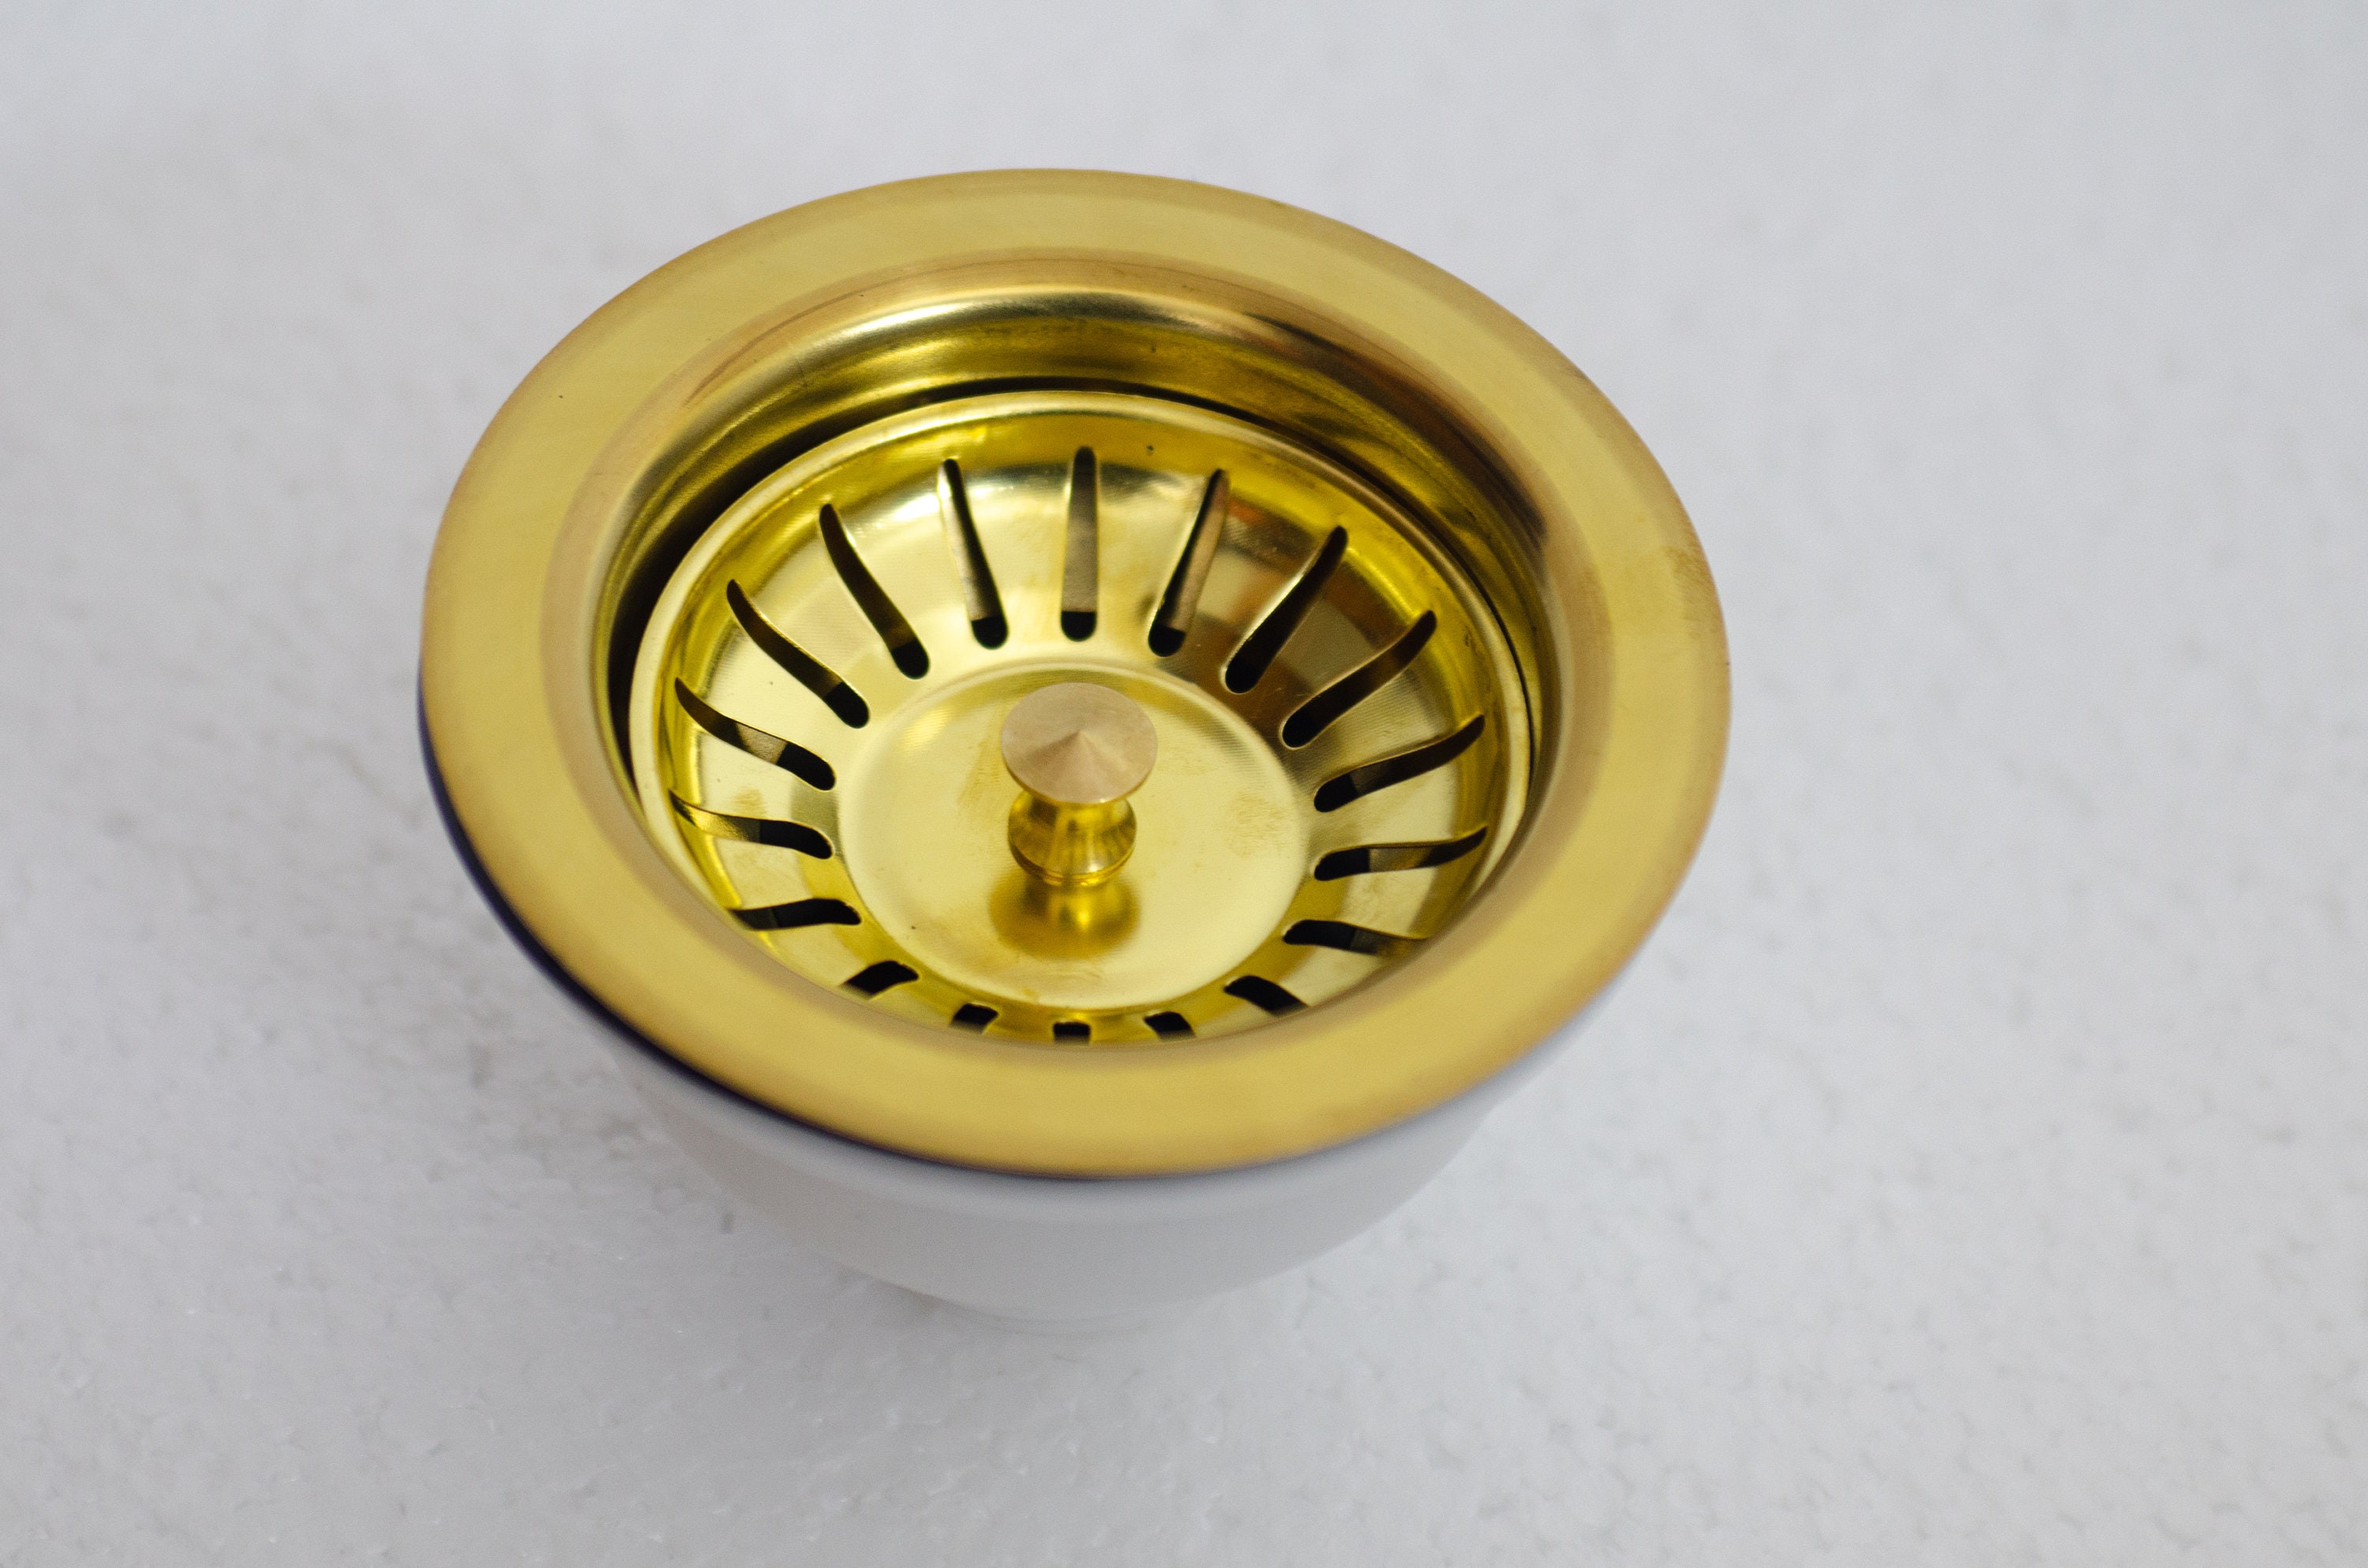

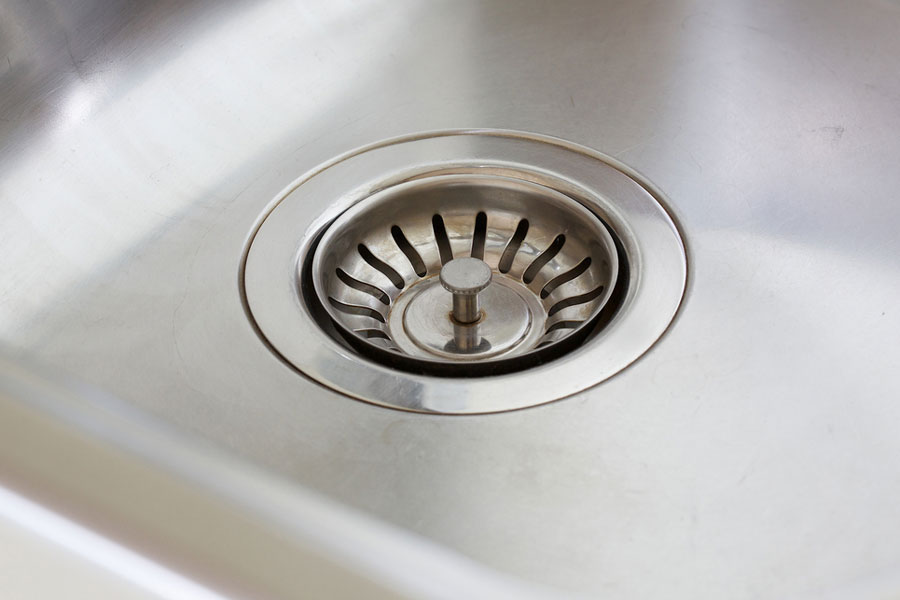
The flange is the part of the kitchen sink strainer that sits on top of the sink and is visible from above. If you need to replace the flange or access the pipes underneath it, you'll need to remove it first. To do this, first, remove the strainer basket and locknut as described above. Then, use a putty knife to gently pry the flange away from the sink. Be careful not to scratch or damage the sink while doing this. Once the flange is loose, it can be lifted out.Removing a Kitchen Sink Strainer Flange

Removing a Kitchen Sink Strainer Flange


If you're replacing a worn out or damaged flange, the process is similar to removing it. Once you've removed the old flange, simply place the new one in its place and use a putty knife to press it firmly against the sink. Then, reattach the strainer basket and locknut as described above. Your new flange should now be securely in place.Replacing a Kitchen Sink Strainer Flange

Replacing a Kitchen Sink Strainer Flange


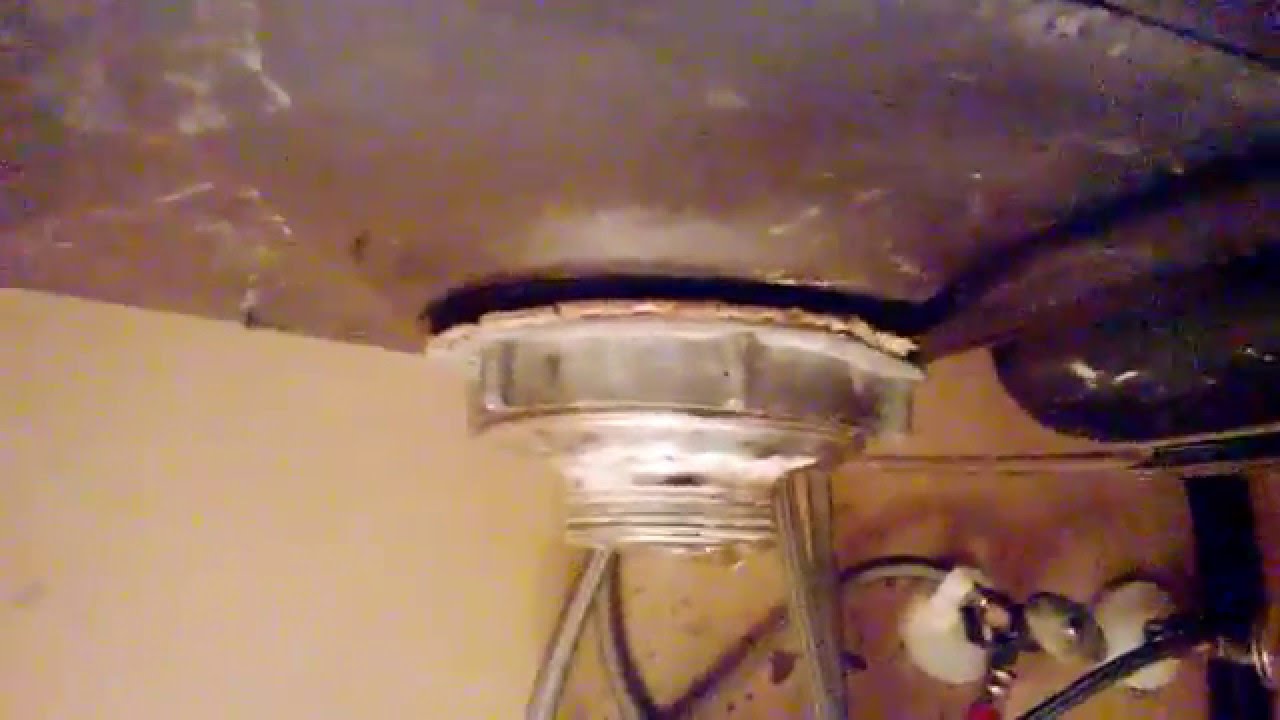
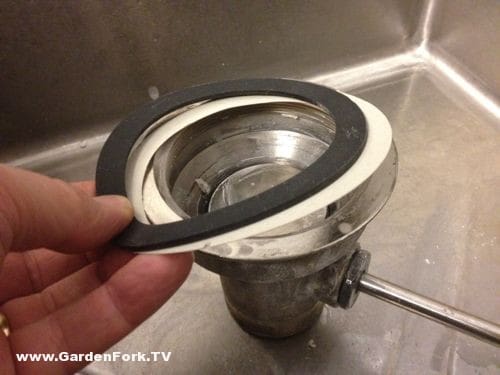
The gasket is the rubber or silicone ring that sits between the kitchen sink strainer and the sink itself. It helps to create a watertight seal and prevent leaks. If your gasket is worn out or damaged, it's important to replace it. To do this, first, remove the strainer basket and locknut as described above. Then, gently pry the gasket away from the sink using a putty knife. Once removed, the new gasket can be placed in its place.Removing a Kitchen Sink Strainer Gasket
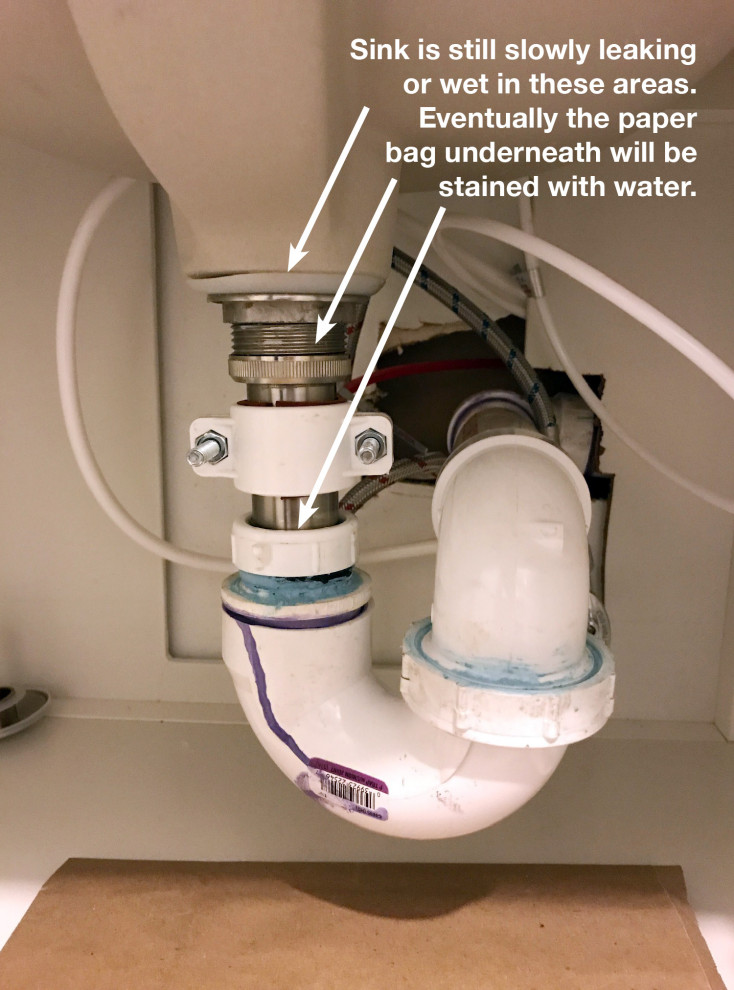

Removing a Kitchen Sink Strainer Gasket


To replace a worn out or damaged gasket, simply place the new gasket in its place and use a putty knife to press it firmly against the sink. Then, reattach the strainer basket and locknut as described above. Your new gasket should create a tight seal and prevent any leaks. In conclusion, removing and replacing a kitchen sink strainer may seem like a daunting task, but with the right tools and knowledge, it can be a simple process. By following these steps, you can ensure that your sink is functioning properly and free from clogs. Remember to always use caution when working with plumbing and if you're unsure, it's best to consult a professional.Replacing a Kitchen Sink Strainer Gasket

Replacing a Kitchen Sink Strainer Gasket

How to Easily Remove a Kitchen Sink Strainer

A Crucial Step in Your Home Design Journey
 When it comes to designing your dream home, every detail matters. From the color of the walls to the type of flooring, every decision plays a role in creating the perfect space. And one important aspect that often gets overlooked is the kitchen sink strainer. While it may seem like a small and insignificant part of your kitchen, it actually plays a crucial role in keeping your sink clean and functioning properly. In this article, we will guide you through the simple steps of removing a kitchen sink strainer, so you can have a hassle-free and efficient kitchen design.
Step 1: Gather Your Tools
Before you begin the removal process, make sure you have all the necessary tools at hand. You will need a pair of pliers, a screwdriver, and a putty knife. These tools will make the process much easier and quicker.
Step 2: Turn off the Water Supply
Before you start working on the sink strainer, it's important to turn off the water supply. This will prevent any water from spilling out and making a mess. You can usually find the shut-off valve under the sink or in the basement.
Step 3: Loosen the Locknut
Using your pliers, loosen the locknut that holds the sink strainer in place. This can be found underneath the sink, where the strainer connects to the drain pipe. Once the locknut is loose, you can easily unscrew it by hand.
Step 4: Remove the Strainer
With the locknut removed, you can now gently pull the sink strainer out of the sink. If it's stuck, you can use a putty knife to loosen it. Be careful not to damage the sink or the surrounding area.
Step 5: Clean the Area
With the strainer removed, you can now clean the area around the sink. Use a mild cleaner and a sponge to remove any grime or residue. This will ensure a clean and smooth surface for the new strainer to be installed.
Step 6: Install the New Strainer
Once the area is clean, you can install the new sink strainer. Simply place it in the hole and screw on the locknut to hold it in place. Make sure it's tight enough to prevent any leaks.
Congratulations, you have successfully removed and replaced your kitchen sink strainer! This may seem like a minor task, but it can make a big difference in the overall functionality and cleanliness of your kitchen. Plus, having a fresh and new strainer can also add a touch of style to your sink area.
In conclusion, removing a kitchen sink strainer is a simple and important step in your home design journey. Whether you're renovating your kitchen or just looking to upgrade your sink, this is a task that can easily be done on your own. Just remember to have the right tools, turn off the water supply, and clean the area before installing the new strainer. With these easy steps, you can have a clean and efficient sink in no time.
When it comes to designing your dream home, every detail matters. From the color of the walls to the type of flooring, every decision plays a role in creating the perfect space. And one important aspect that often gets overlooked is the kitchen sink strainer. While it may seem like a small and insignificant part of your kitchen, it actually plays a crucial role in keeping your sink clean and functioning properly. In this article, we will guide you through the simple steps of removing a kitchen sink strainer, so you can have a hassle-free and efficient kitchen design.
Step 1: Gather Your Tools
Before you begin the removal process, make sure you have all the necessary tools at hand. You will need a pair of pliers, a screwdriver, and a putty knife. These tools will make the process much easier and quicker.
Step 2: Turn off the Water Supply
Before you start working on the sink strainer, it's important to turn off the water supply. This will prevent any water from spilling out and making a mess. You can usually find the shut-off valve under the sink or in the basement.
Step 3: Loosen the Locknut
Using your pliers, loosen the locknut that holds the sink strainer in place. This can be found underneath the sink, where the strainer connects to the drain pipe. Once the locknut is loose, you can easily unscrew it by hand.
Step 4: Remove the Strainer
With the locknut removed, you can now gently pull the sink strainer out of the sink. If it's stuck, you can use a putty knife to loosen it. Be careful not to damage the sink or the surrounding area.
Step 5: Clean the Area
With the strainer removed, you can now clean the area around the sink. Use a mild cleaner and a sponge to remove any grime or residue. This will ensure a clean and smooth surface for the new strainer to be installed.
Step 6: Install the New Strainer
Once the area is clean, you can install the new sink strainer. Simply place it in the hole and screw on the locknut to hold it in place. Make sure it's tight enough to prevent any leaks.
Congratulations, you have successfully removed and replaced your kitchen sink strainer! This may seem like a minor task, but it can make a big difference in the overall functionality and cleanliness of your kitchen. Plus, having a fresh and new strainer can also add a touch of style to your sink area.
In conclusion, removing a kitchen sink strainer is a simple and important step in your home design journey. Whether you're renovating your kitchen or just looking to upgrade your sink, this is a task that can easily be done on your own. Just remember to have the right tools, turn off the water supply, and clean the area before installing the new strainer. With these easy steps, you can have a clean and efficient sink in no time.