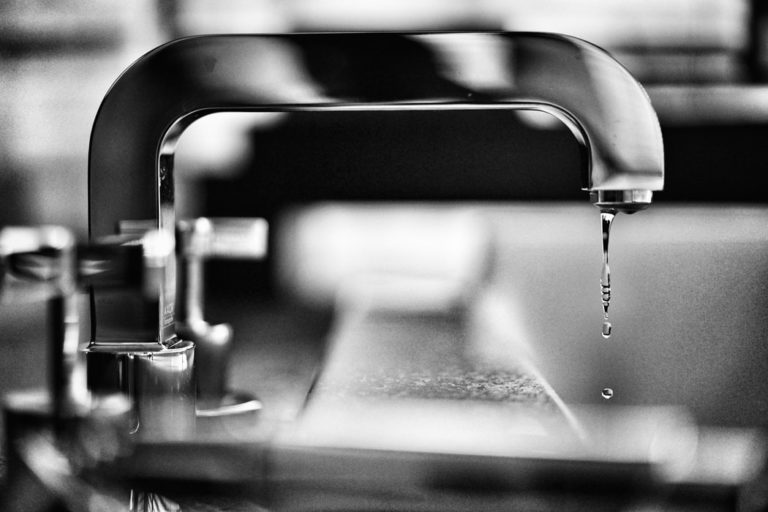
If you've noticed a constant drip or leak from your kitchen sink sprayer, it's time to address the issue. Not only can a leaky sprayer be annoying, but it can also waste water and increase your utility bill. But don't worry, fixing a leaky kitchen sink sprayer is a simple task that you can easily do yourself. To fix a leaky kitchen sink sprayer, start by turning off the water supply to the sink. This can usually be done by turning off the shut-off valves under the sink. Next, unscrew the sprayer head from the hose and check for any cracks or damage. If the sprayer head is damaged, replace it with a new one. If the sprayer head is in good condition, check the hose for any clogs or kinks. Clear out any debris or straighten out any kinks in the hose. Finally, reattach the sprayer head to the hose and turn the water supply back on. Your leaky kitchen sink sprayer should now be fixed!How to Fix a Leaky Kitchen Sink Sprayer


How to Fix a Leaky Kitchen Sink Sprayer


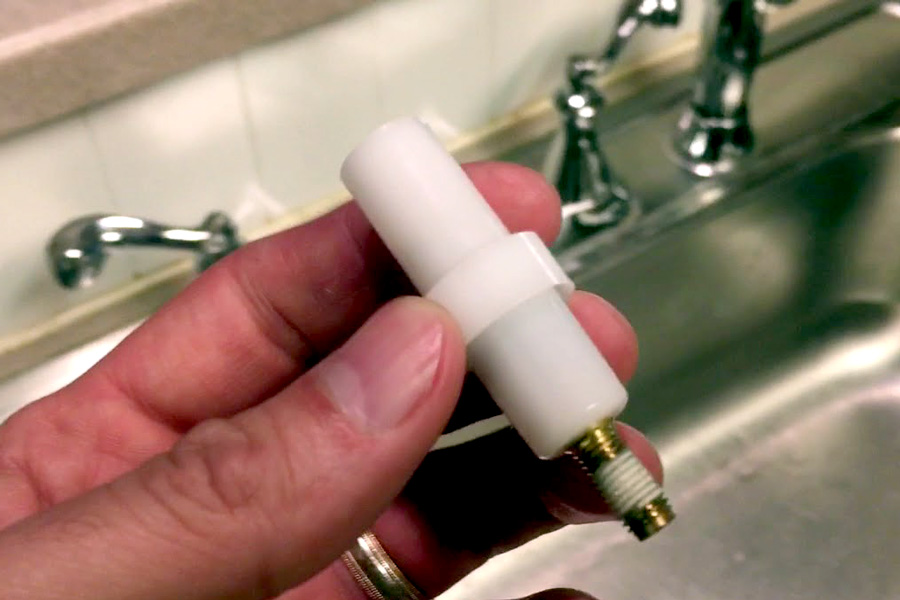
If your kitchen sink sprayer is beyond repair, you may need to replace it. Thankfully, replacing a kitchen sink sprayer is not a difficult task and can be done in just a few simple steps. To replace a kitchen sink sprayer, start by turning off the water supply to the sink. Next, unscrew the sprayer head from the hose and remove the hose from the faucet. Then, remove the mounting nut that holds the sprayer in place and pull out the old sprayer. Install the new sprayer by following the reverse steps and make sure to securely tighten the mounting nut. Finally, turn the water supply back on and test the new sprayer. It should now be working properly.How to Replace a Kitchen Sink Sprayer


How to Replace a Kitchen Sink Sprayer


/25089301983_c5145fe85d_o-58418ef15f9b5851e5f392b5.jpg)


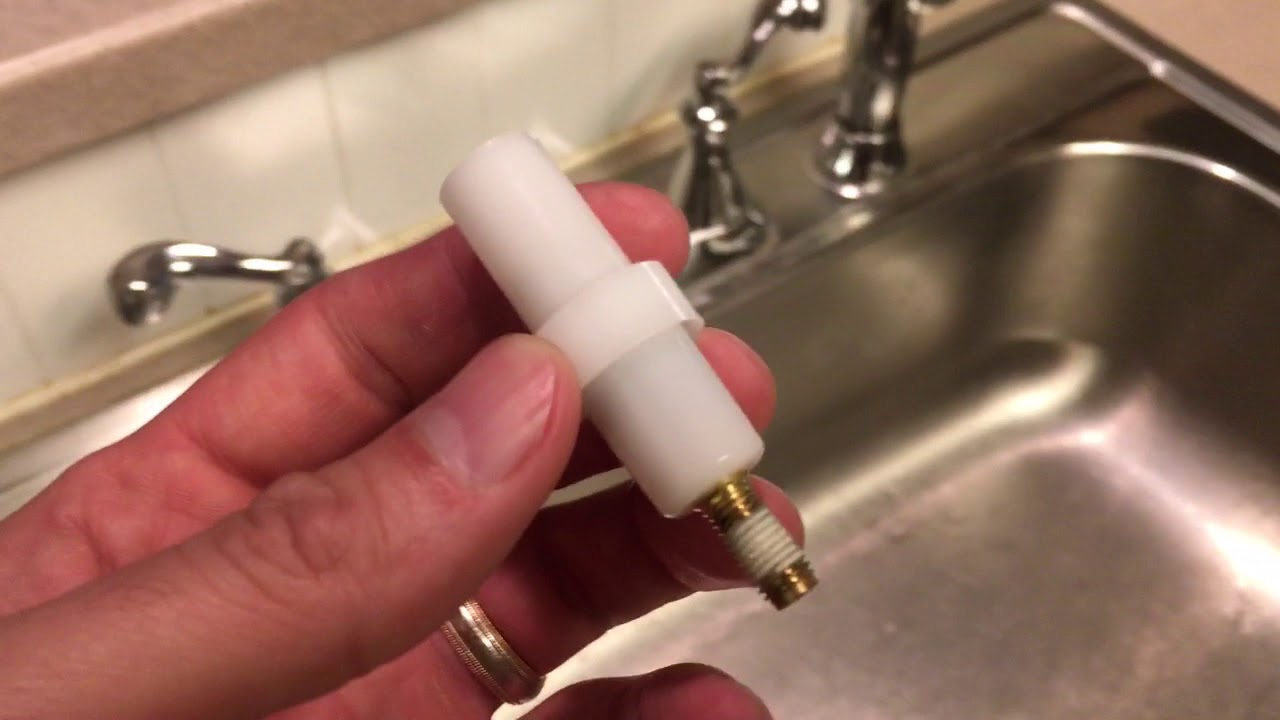
If you're adding a new kitchen sink sprayer to your sink, you'll need to know how to install it properly. While the process may seem daunting, it's actually quite simple and can be done in just a few steps. To install a kitchen sink sprayer, start by turning off the water supply to the sink. Then, gather all the necessary tools and materials, including the sprayer, hose, mounting nut, and Teflon tape. Next, attach the mounting nut to the sprayer and wrap Teflon tape around the threads to prevent leaks. Install the sprayer into the designated hole on your sink and secure it with the mounting nut. Finally, attach the hose to the faucet and turn the water supply back on. Your new kitchen sink sprayer should now be installed and ready to use.How to Install a Kitchen Sink Sprayer


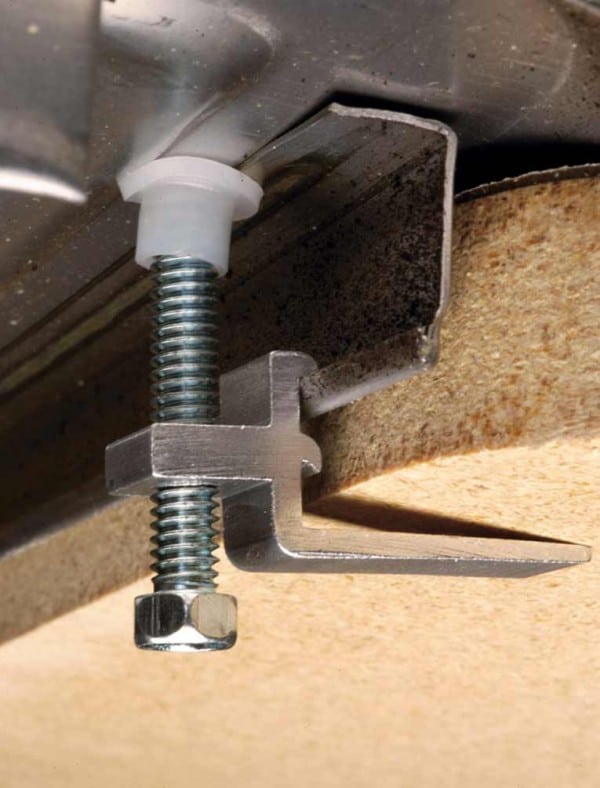
How to Install a Kitchen Sink Sprayer


/25089301983_c5145fe85d_o-58418ef15f9b5851e5f392b5.jpg)
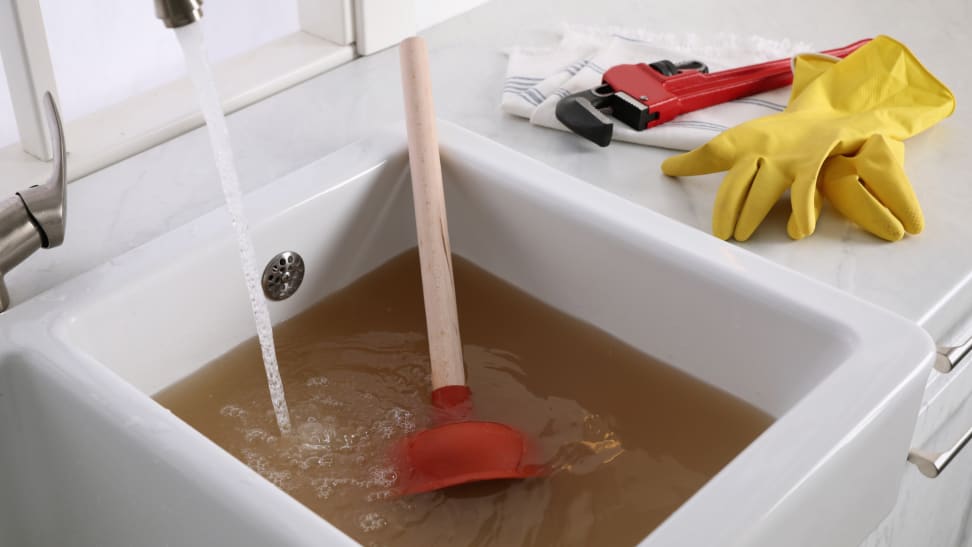
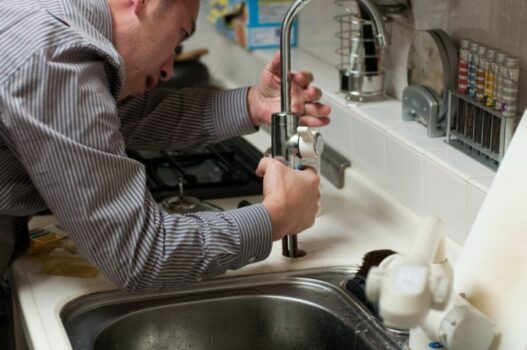
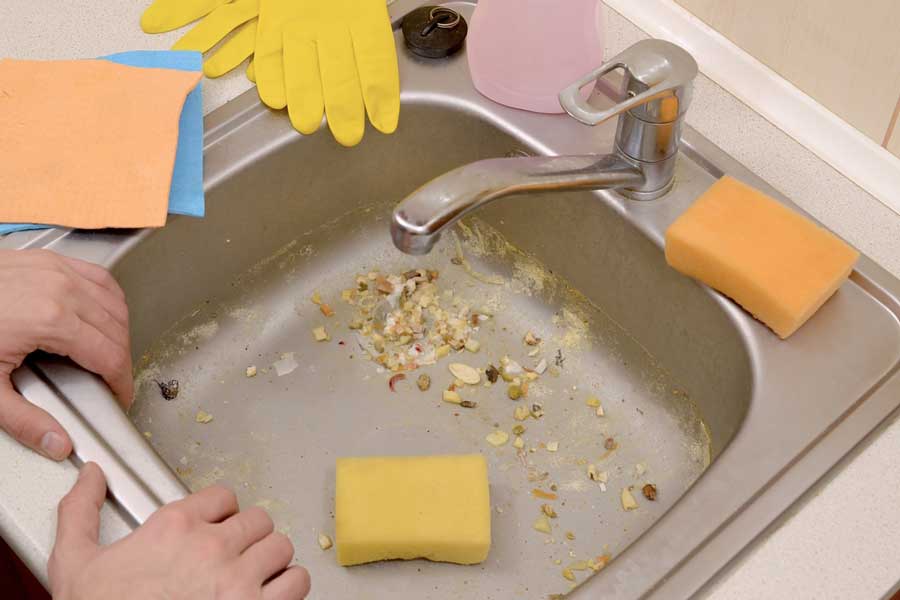
If your kitchen sink sprayer is not working properly, it may be due to a clog. Over time, debris and mineral buildup can clog the sprayer, causing it to spray weakly or not at all. But don't worry, unclogging a kitchen sink sprayer is a simple process that can be done with just a few household items. To unclog a kitchen sink sprayer, start by removing the sprayer head from the hose. Then, fill a small bowl or cup with equal parts vinegar and water. Place the sprayer head in the mixture and let it soak for about 15 minutes. After soaking, use a toothbrush or small brush to gently scrub away any debris or buildup. Rinse the sprayer head with water and reattach it to the hose. Your kitchen sink sprayer should now be unclogged and working properly.How to Unclog a Kitchen Sink Sprayer


How to Unclog a Kitchen Sink Sprayer


/how-to-unclog-a-kitchen-sink-2718799_sketch_FINAL-8c5caa805a69493ab22dfb537c72a1b7.png)
Regularly cleaning your kitchen sink sprayer is important to maintain its functionality and prevent any clogs or buildup. Luckily, cleaning a kitchen sink sprayer is a quick and easy task. To clean a kitchen sink sprayer, start by removing the sprayer head from the hose. Then, fill a small bowl or cup with equal parts vinegar and water. Place the sprayer head in the mixture and let it soak for about 15 minutes. After soaking, use a toothbrush or small brush to gently scrub away any debris or buildup. Rinse the sprayer head with water and reattach it to the hose. Your kitchen sink sprayer should now be clean and ready to use.How to Clean a Kitchen Sink Sprayer


How to Clean a Kitchen Sink Sprayer


If you need to replace or repair your kitchen sink sprayer, you'll need to know how to remove it first. Removing a kitchen sink sprayer is a simple process that can be done in just a few steps. To remove a kitchen sink sprayer, start by turning off the water supply to the sink. Next, unscrew the sprayer head from the hose and remove the hose from the faucet. Then, remove the mounting nut that holds the sprayer in place and pull out the old sprayer. Your kitchen sink should now be free of the sprayer.How to Remove a Kitchen Sink Sprayer


How to Remove a Kitchen Sink Sprayer


If your kitchen sink sprayer is not working properly, it may be due to a malfunction or damage. In this case, you may need to repair the sprayer rather than replace it. Repairing a kitchen sink sprayer may seem daunting, but it can be done with just a few simple steps. To repair a kitchen sink sprayer, start by turning off the water supply to the sink. Then, gather all the necessary tools and materials, including the sprayer, hose, and any replacement parts. Next, disassemble the sprayer and inspect it for any damage or malfunction. If necessary, replace any damaged or broken parts. Then, reassemble the sprayer and reattach it to the hose. Turn the water supply back on and test the sprayer. It should now be working properly.How to Repair a Kitchen Sink Sprayer


How to Repair a Kitchen Sink Sprayer


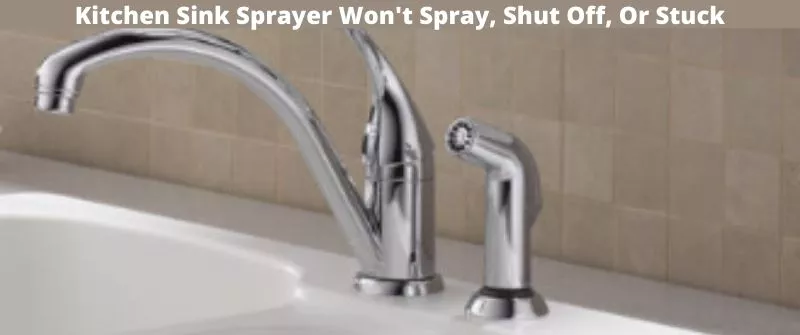
If your kitchen sink sprayer is not working properly, there may be a simple solution that you can troubleshoot on your own. By following a few troubleshooting steps, you may be able to fix the issue without having to replace or repair the sprayer. To troubleshoot a kitchen sink sprayer, start by turning off the water supply to the sink. Next, check for any clogs or kinks in the hose and clear them if necessary. Then, inspect the sprayer head for any damage or debris and clean or replace it if necessary. Finally, turn the water supply back on and test the sprayer. If it still doesn't work, there may be a more serious issue that requires professional help.How to Troubleshoot a Kitchen Sink Sprayer


How to Troubleshoot a Kitchen Sink Sprayer


Using a kitchen sink sprayer may seem straightforward, but there are a few tips to keep in mind to ensure its proper usage and longevity. To use a kitchen sink sprayer, start by turning off the water supply to the sink. Then, pull out the sprayer and aim it at the area you want to clean or fill. When finished, make sure to push the sprayer back into its designated hole to prevent any water from leaking out. It's also important to regularly clean and maintain the sprayer to prevent any clogs or damage.How to Use a Kitchen Sink Sprayer


How to Use a Kitchen Sink Sprayer

/installing-a-kitchen-sink-sprayer-2718817-hero-2b7047468d594da6be2494ba0eebb480.jpg)

Maintaining your kitchen sink sprayer is important to ensure its functionality and longevity. By following a few simple tips, you can prevent any issues with your sprayer and avoid having to replace or repair it. To maintain a kitchen sink sprayer, start by regularly cleaning it to prevent any clogs or buildup. It's also important to check for any leaks or damage and address them as soon as possible. Additionally, make sure to turn off the water supply to the sink when not in use to prevent any unnecessary wear and tear on the sprayer. By properly maintaining your kitchen sink sprayer, you can ensure it will continue to work efficiently for years to come.How to Maintain a Kitchen Sink Sprayer


How to Maintain a Kitchen Sink Sprayer


The Benefits of Using a Kitchen Sink Sprayer Taped for Your House Design

Improved Functionality and Convenience
 One of the main reasons why homeowners choose to install a
kitchen sink sprayer taped
is for its improved functionality and convenience. Traditional kitchen faucets only have a single stream of water, making it challenging to clean large or bulky items such as pots and pans. However, with a sprayer taped to your kitchen sink, you can easily switch between a steady stream of water and a powerful spray to tackle tough messes and reach every nook and cranny of your sink.
One of the main reasons why homeowners choose to install a
kitchen sink sprayer taped
is for its improved functionality and convenience. Traditional kitchen faucets only have a single stream of water, making it challenging to clean large or bulky items such as pots and pans. However, with a sprayer taped to your kitchen sink, you can easily switch between a steady stream of water and a powerful spray to tackle tough messes and reach every nook and cranny of your sink.
Enhanced Aesthetics
 Aside from its practical uses, a
kitchen sink sprayer taped
can also add a touch of elegance to your kitchen design. With various styles and finishes available, you can choose one that complements your existing fixtures and adds a modern or classic touch to your space. Whether you have a traditional or contemporary kitchen, a sprayer taped to your sink can elevate the overall look and feel of your space.
Aside from its practical uses, a
kitchen sink sprayer taped
can also add a touch of elegance to your kitchen design. With various styles and finishes available, you can choose one that complements your existing fixtures and adds a modern or classic touch to your space. Whether you have a traditional or contemporary kitchen, a sprayer taped to your sink can elevate the overall look and feel of your space.
Cost-Efficient Solution
 Installing a
kitchen sink sprayer taped
is a cost-efficient solution for those looking to upgrade their kitchen without breaking the bank. Compared to a complete kitchen remodel, adding a sprayer taped to your sink is a budget-friendly option that can still make a significant impact on the functionality and design of your space. Plus, with its easy installation process, you can save on labor costs and do it yourself.
Installing a
kitchen sink sprayer taped
is a cost-efficient solution for those looking to upgrade their kitchen without breaking the bank. Compared to a complete kitchen remodel, adding a sprayer taped to your sink is a budget-friendly option that can still make a significant impact on the functionality and design of your space. Plus, with its easy installation process, you can save on labor costs and do it yourself.
Customizable Options
 Another advantage of using a
kitchen sink sprayer taped
is the customizable options it offers. You can choose from different spray patterns, such as a wide spray or a powerful jet, to suit your cleaning needs. Some models even come with a pause function, allowing you to control the water flow and conserve water while washing dishes or food items. With a sprayer taped to your sink, you have the freedom to customize your kitchen experience.
In conclusion, a
kitchen sink sprayer taped
is a practical and stylish addition to any home. It offers improved functionality, enhanced aesthetics, cost-efficiency, and customizable options, making it an excellent investment for your house design. So why settle for a basic kitchen faucet when you can upgrade to a sprayer taped to your sink? With its many benefits, it's time to consider adding this feature to your kitchen.
Another advantage of using a
kitchen sink sprayer taped
is the customizable options it offers. You can choose from different spray patterns, such as a wide spray or a powerful jet, to suit your cleaning needs. Some models even come with a pause function, allowing you to control the water flow and conserve water while washing dishes or food items. With a sprayer taped to your sink, you have the freedom to customize your kitchen experience.
In conclusion, a
kitchen sink sprayer taped
is a practical and stylish addition to any home. It offers improved functionality, enhanced aesthetics, cost-efficiency, and customizable options, making it an excellent investment for your house design. So why settle for a basic kitchen faucet when you can upgrade to a sprayer taped to your sink? With its many benefits, it's time to consider adding this feature to your kitchen.