Are you tired of constantly wiping down your kitchen counters and walls after doing the dishes? A kitchen sink splash guard can help prevent water and soap suds from splashing onto other surfaces, keeping your kitchen clean and dry. But buying a splash guard can be expensive, which is why we have put together a guide on how to make your own DIY kitchen sink splash guard.How to Make a DIY Kitchen Sink Splash Guard


How to Make a DIY Kitchen Sink Splash Guard


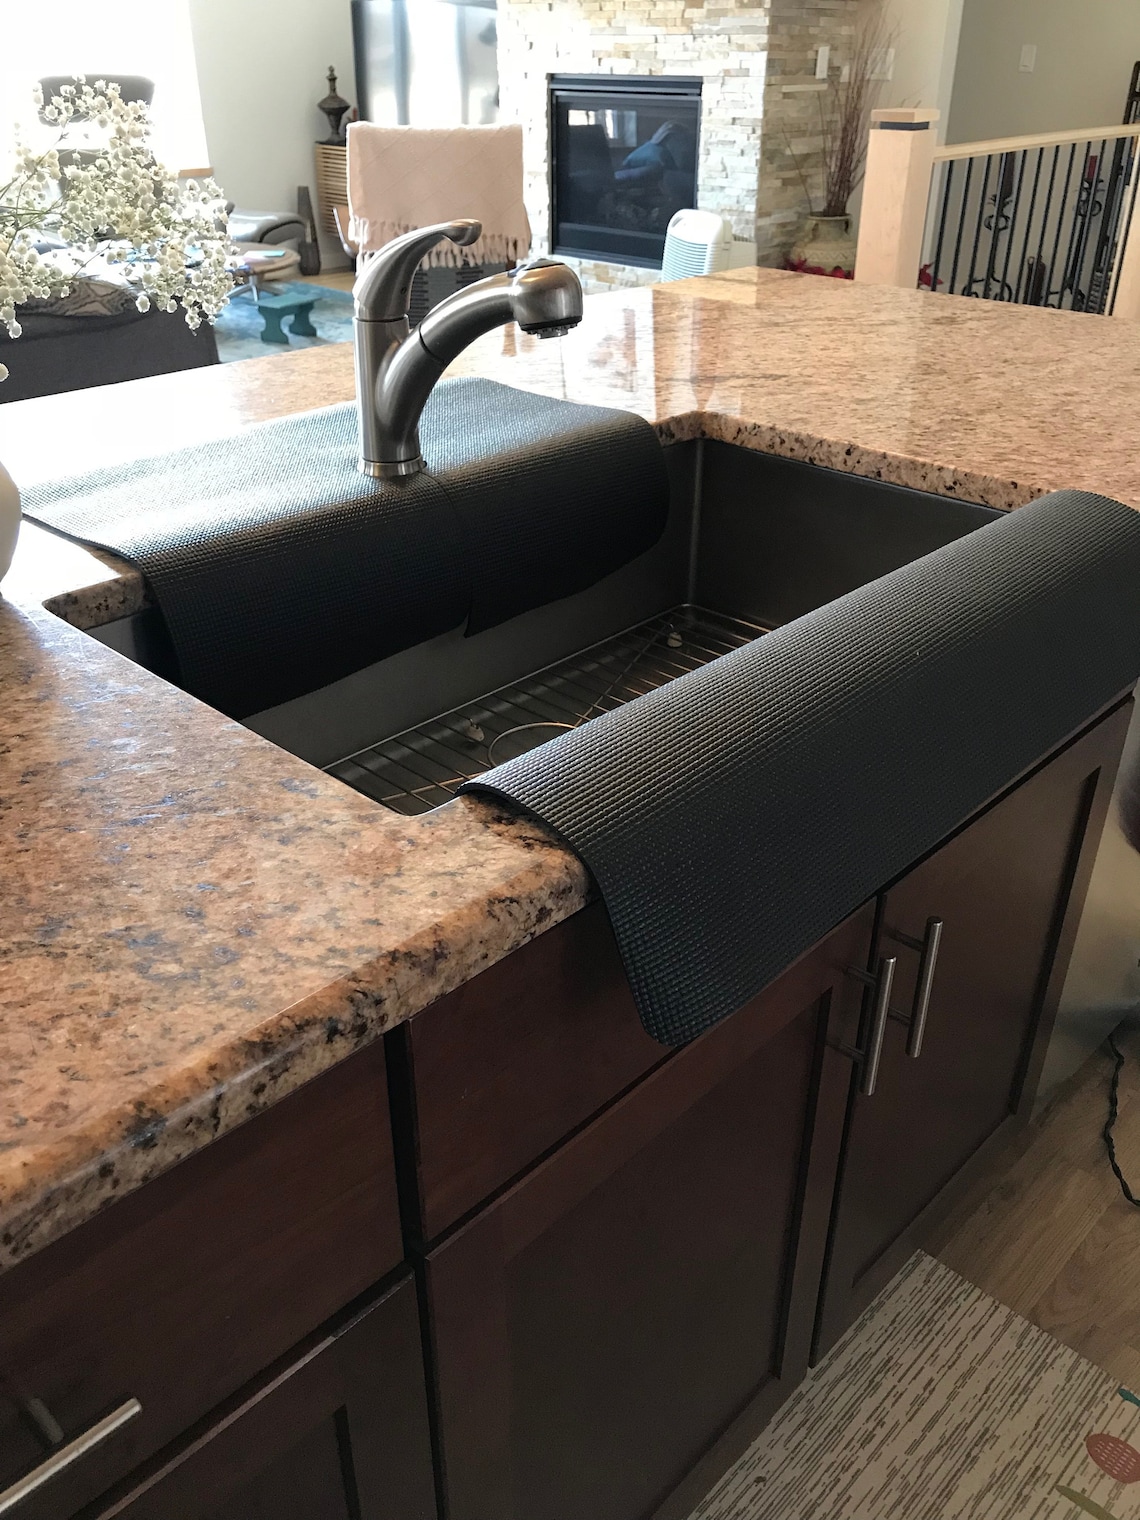
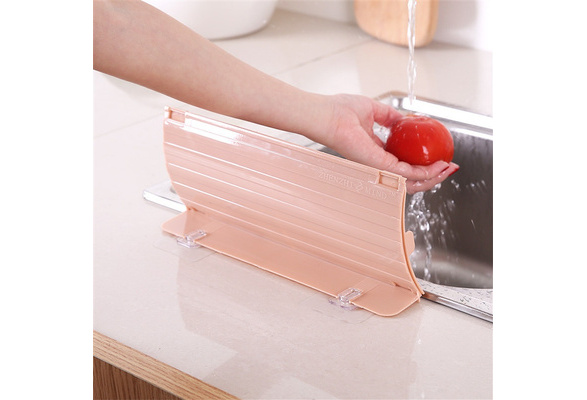
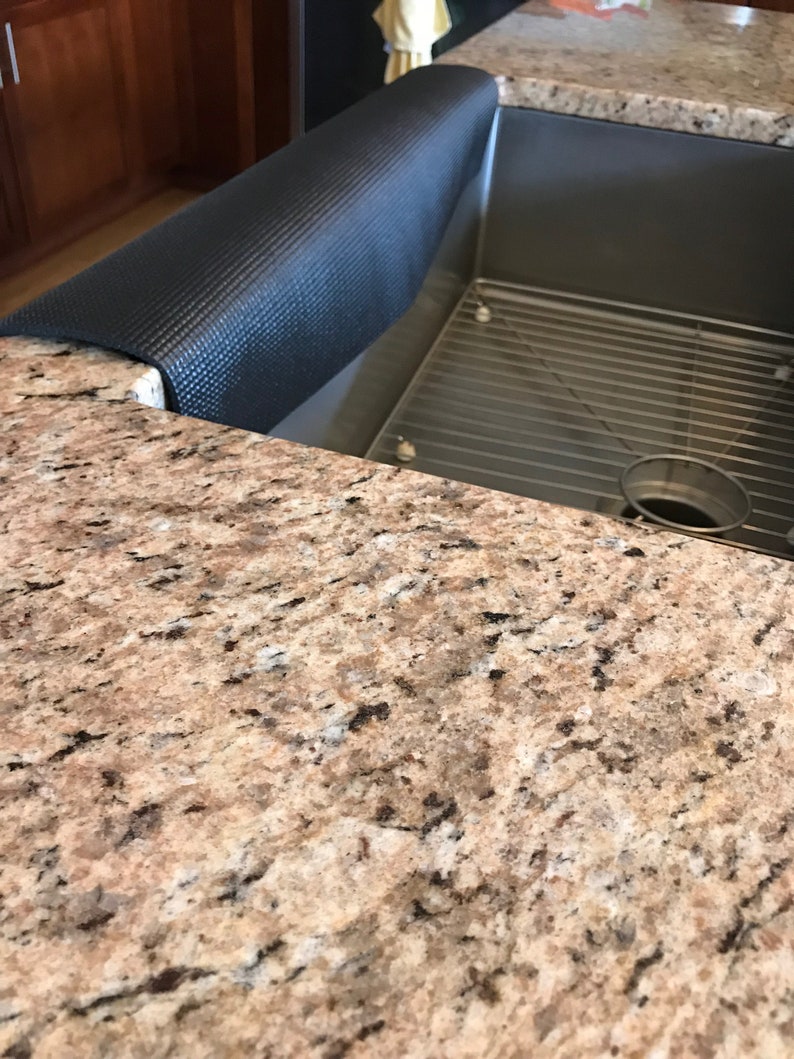
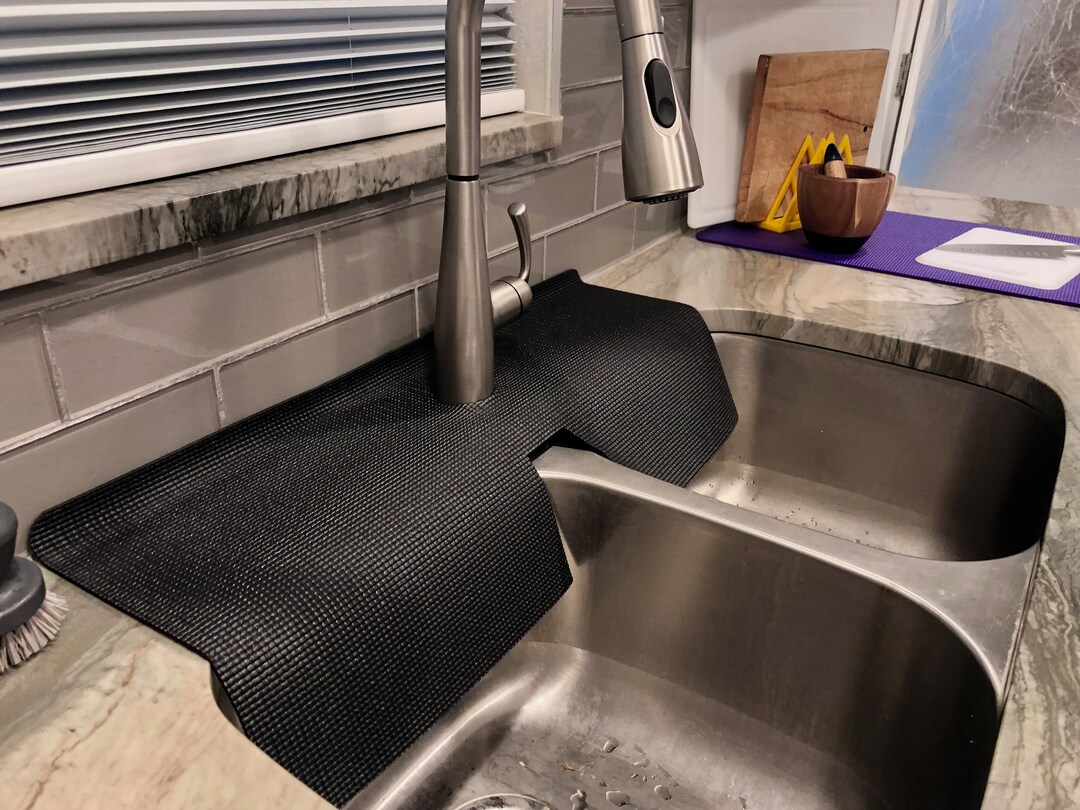
There are many creative and affordable ways to make a DIY kitchen sink splash guard. One idea is to repurpose an old cutting board and attach it to the back of your sink using adhesive strips or suction cups. Another option is to use a clear plastic cutting mat, which can easily be cut to fit the size of your sink and can be easily removed for cleaning.DIY Kitchen Sink Splash Guard Ideas


DIY Kitchen Sink Splash Guard Ideas

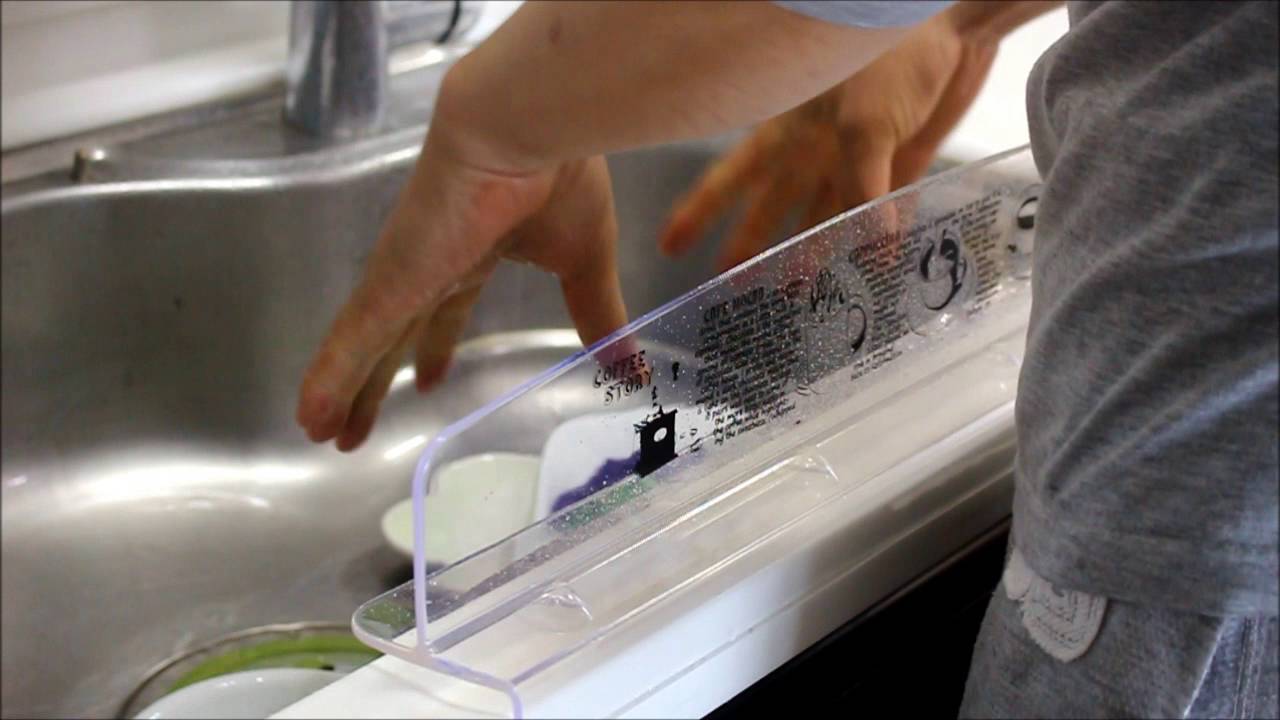
To make your own kitchen sink splash guard, you will need the following materials:DIY Kitchen Sink Splash Guard Tutorial


DIY Kitchen Sink Splash Guard Tutorial
:max_bytes(150000):strip_icc()/poyang-kitchen-splash-guard-cff8abe27a14458d9f8397dbd2626a3b.jpg)
The materials needed for a DIY kitchen sink splash guard are easy to find and budget-friendly. Aside from the items mentioned in the tutorial, you may also need a measuring tape and a pencil to mark the measurements on the cutting mat or cutting board.DIY Kitchen Sink Splash Guard Materials

DIY Kitchen Sink Splash Guard Materials


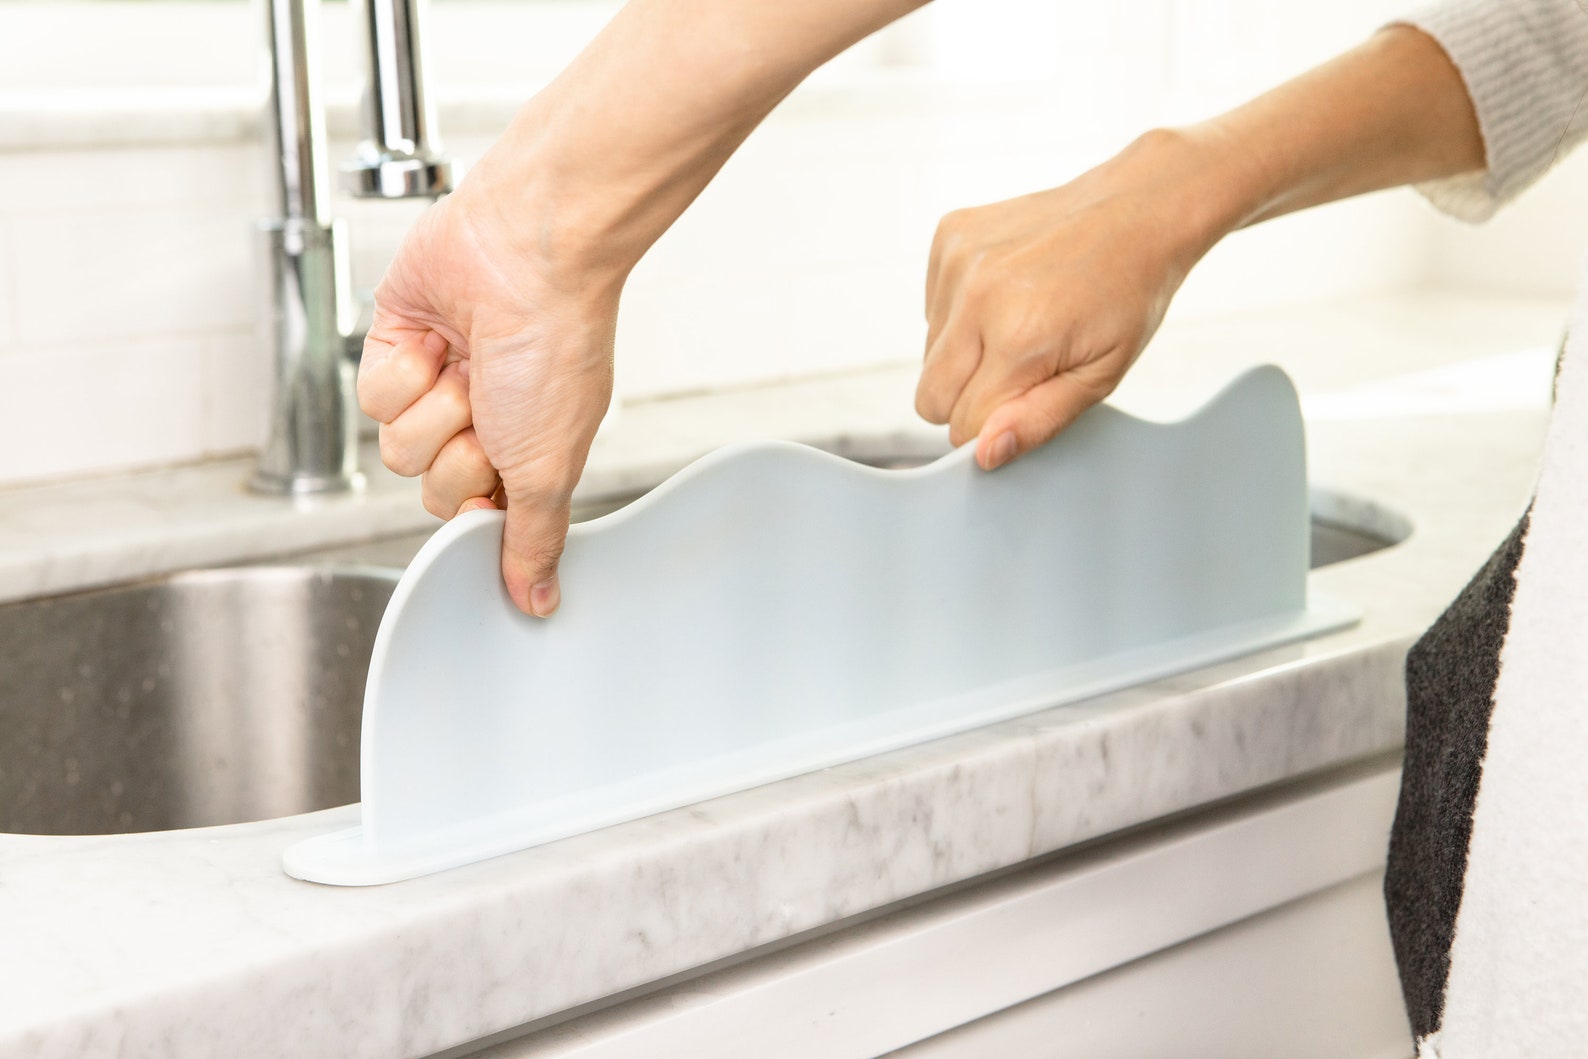
The installation process for a DIY kitchen sink splash guard is simple and can be completed in just a few steps. The key is to make sure the surface of your sink is clean and dry before attaching the splash guard. This will ensure that the adhesive strips or suction cups stick properly and securely.DIY Kitchen Sink Splash Guard Installation

DIY Kitchen Sink Splash Guard Installation
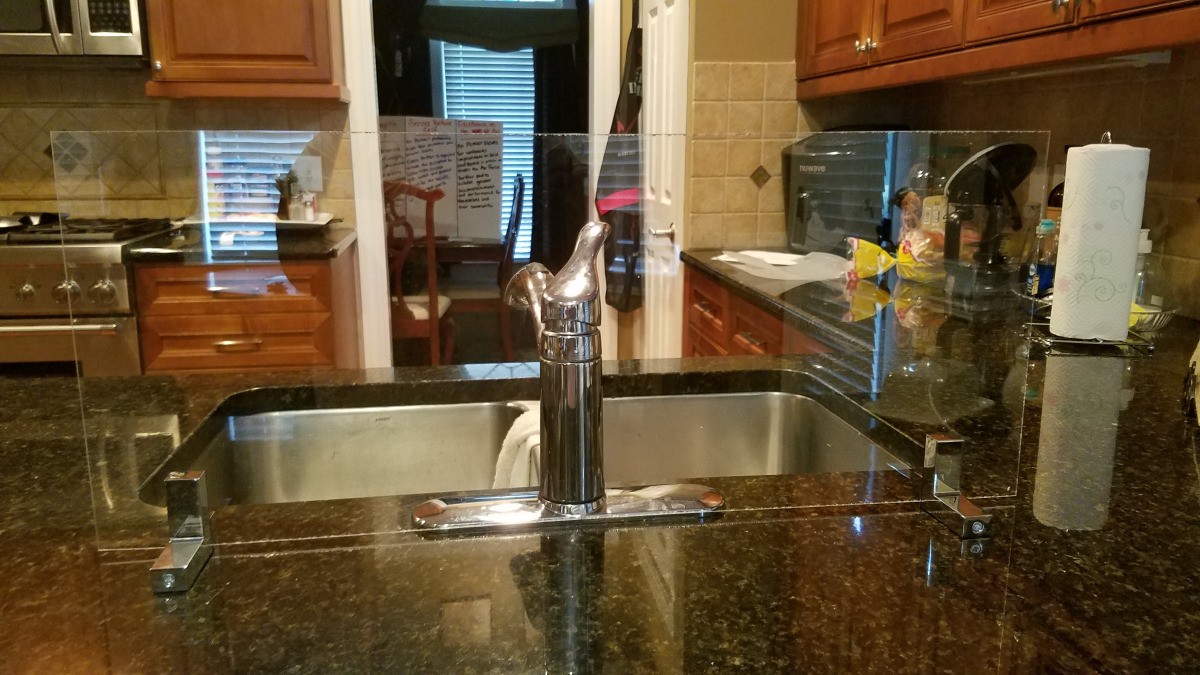
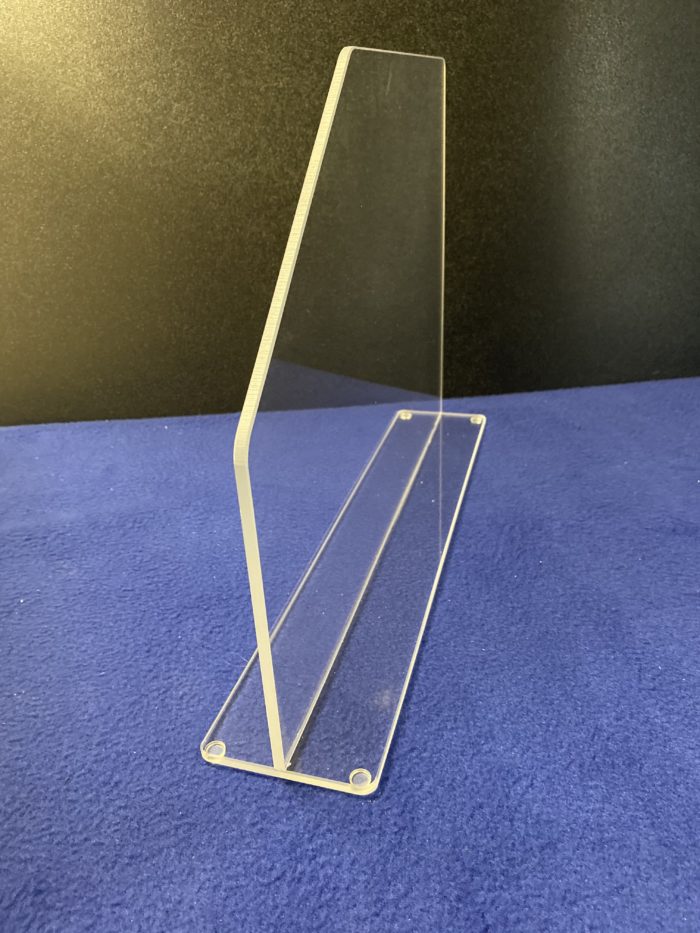
If you don't have a clear plastic cutting mat or an old cutting board, there are other budget-friendly alternatives for a DIY kitchen sink splash guard. Some ideas include using a piece of plexiglass or a shower curtain liner. These materials can also be easily cut to fit the size of your sink and attached using adhesive strips or suction cups.DIY Kitchen Sink Splash Guard Alternatives


DIY Kitchen Sink Splash Guard Alternatives
One of the main purposes of a kitchen sink splash guard is to protect your walls and counters from water and soap suds. To ensure that your DIY splash guard is fully waterproof, you can use a silicone sealant around the edges of the guard. This will prevent any water from seeping through and damaging your walls or counters.DIY Kitchen Sink Splash Guard Waterproofing

DIY Kitchen Sink Splash Guard Waterproofing

A silicone sealant is the best option for waterproofing your DIY kitchen sink splash guard. Make sure to choose a clear sealant to maintain the transparency of the splash guard. Apply a thin and even layer along the edges of the guard, and let it dry completely before using.DIY Kitchen Sink Splash Guard Sealant

DIY Kitchen Sink Splash Guard Sealant
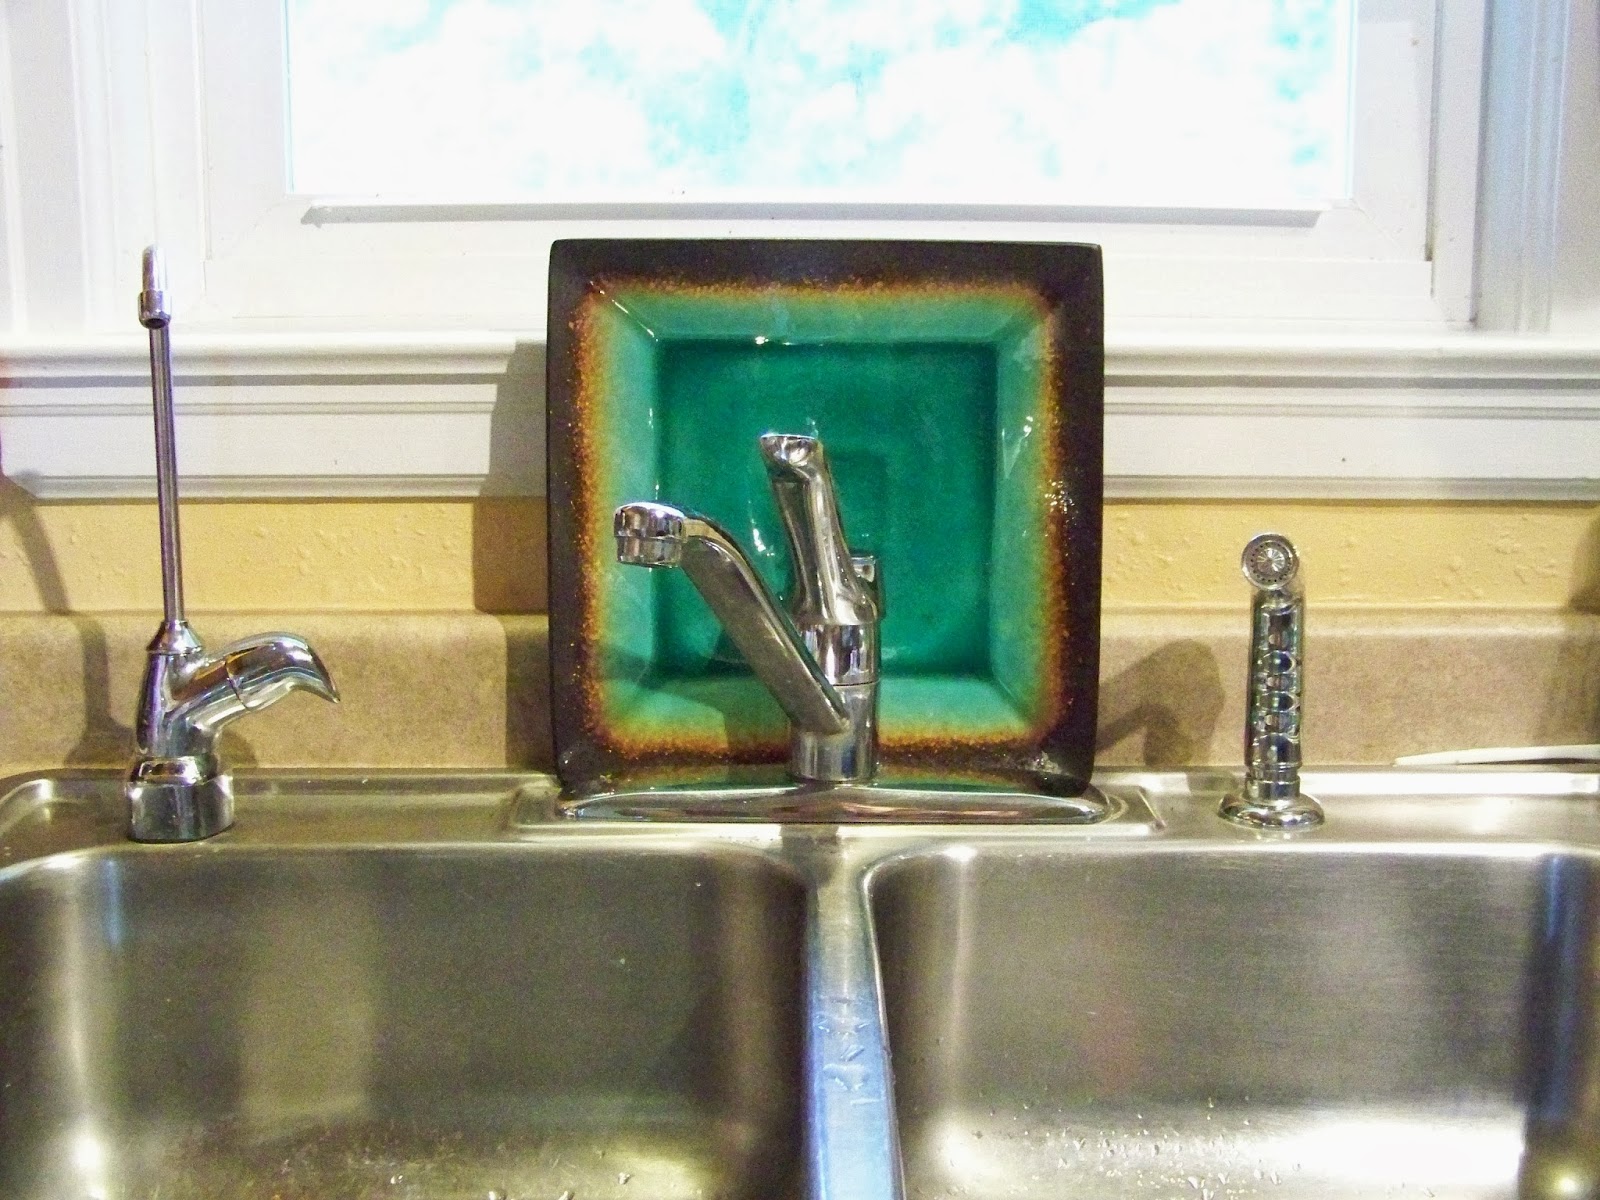
One of the benefits of making your own kitchen sink splash guard is the ability to customize the design. You can choose a clear plastic cutting mat with a colorful pattern, or paint and decorate an old cutting board. You can also add a personal touch by using stencils or stickers to create a unique design.DIY Kitchen Sink Splash Guard Design
DIY Kitchen Sink Splash Guard Design
The measurements for your DIY kitchen sink splash guard will depend on the size and shape of your sink. Remember to measure the width and height of your sink and add an extra inch to each measurement to ensure proper coverage. If you are using a clear plastic cutting mat, you can easily cut it to fit the exact dimensions of your sink.DIY Kitchen Sink Splash Guard Measurements
DIY Kitchen Sink Splash Guard Measurements

How a Kitchen Sink Splash Guard Can Enhance Your House Design
What is a Kitchen Sink Splash Guard?
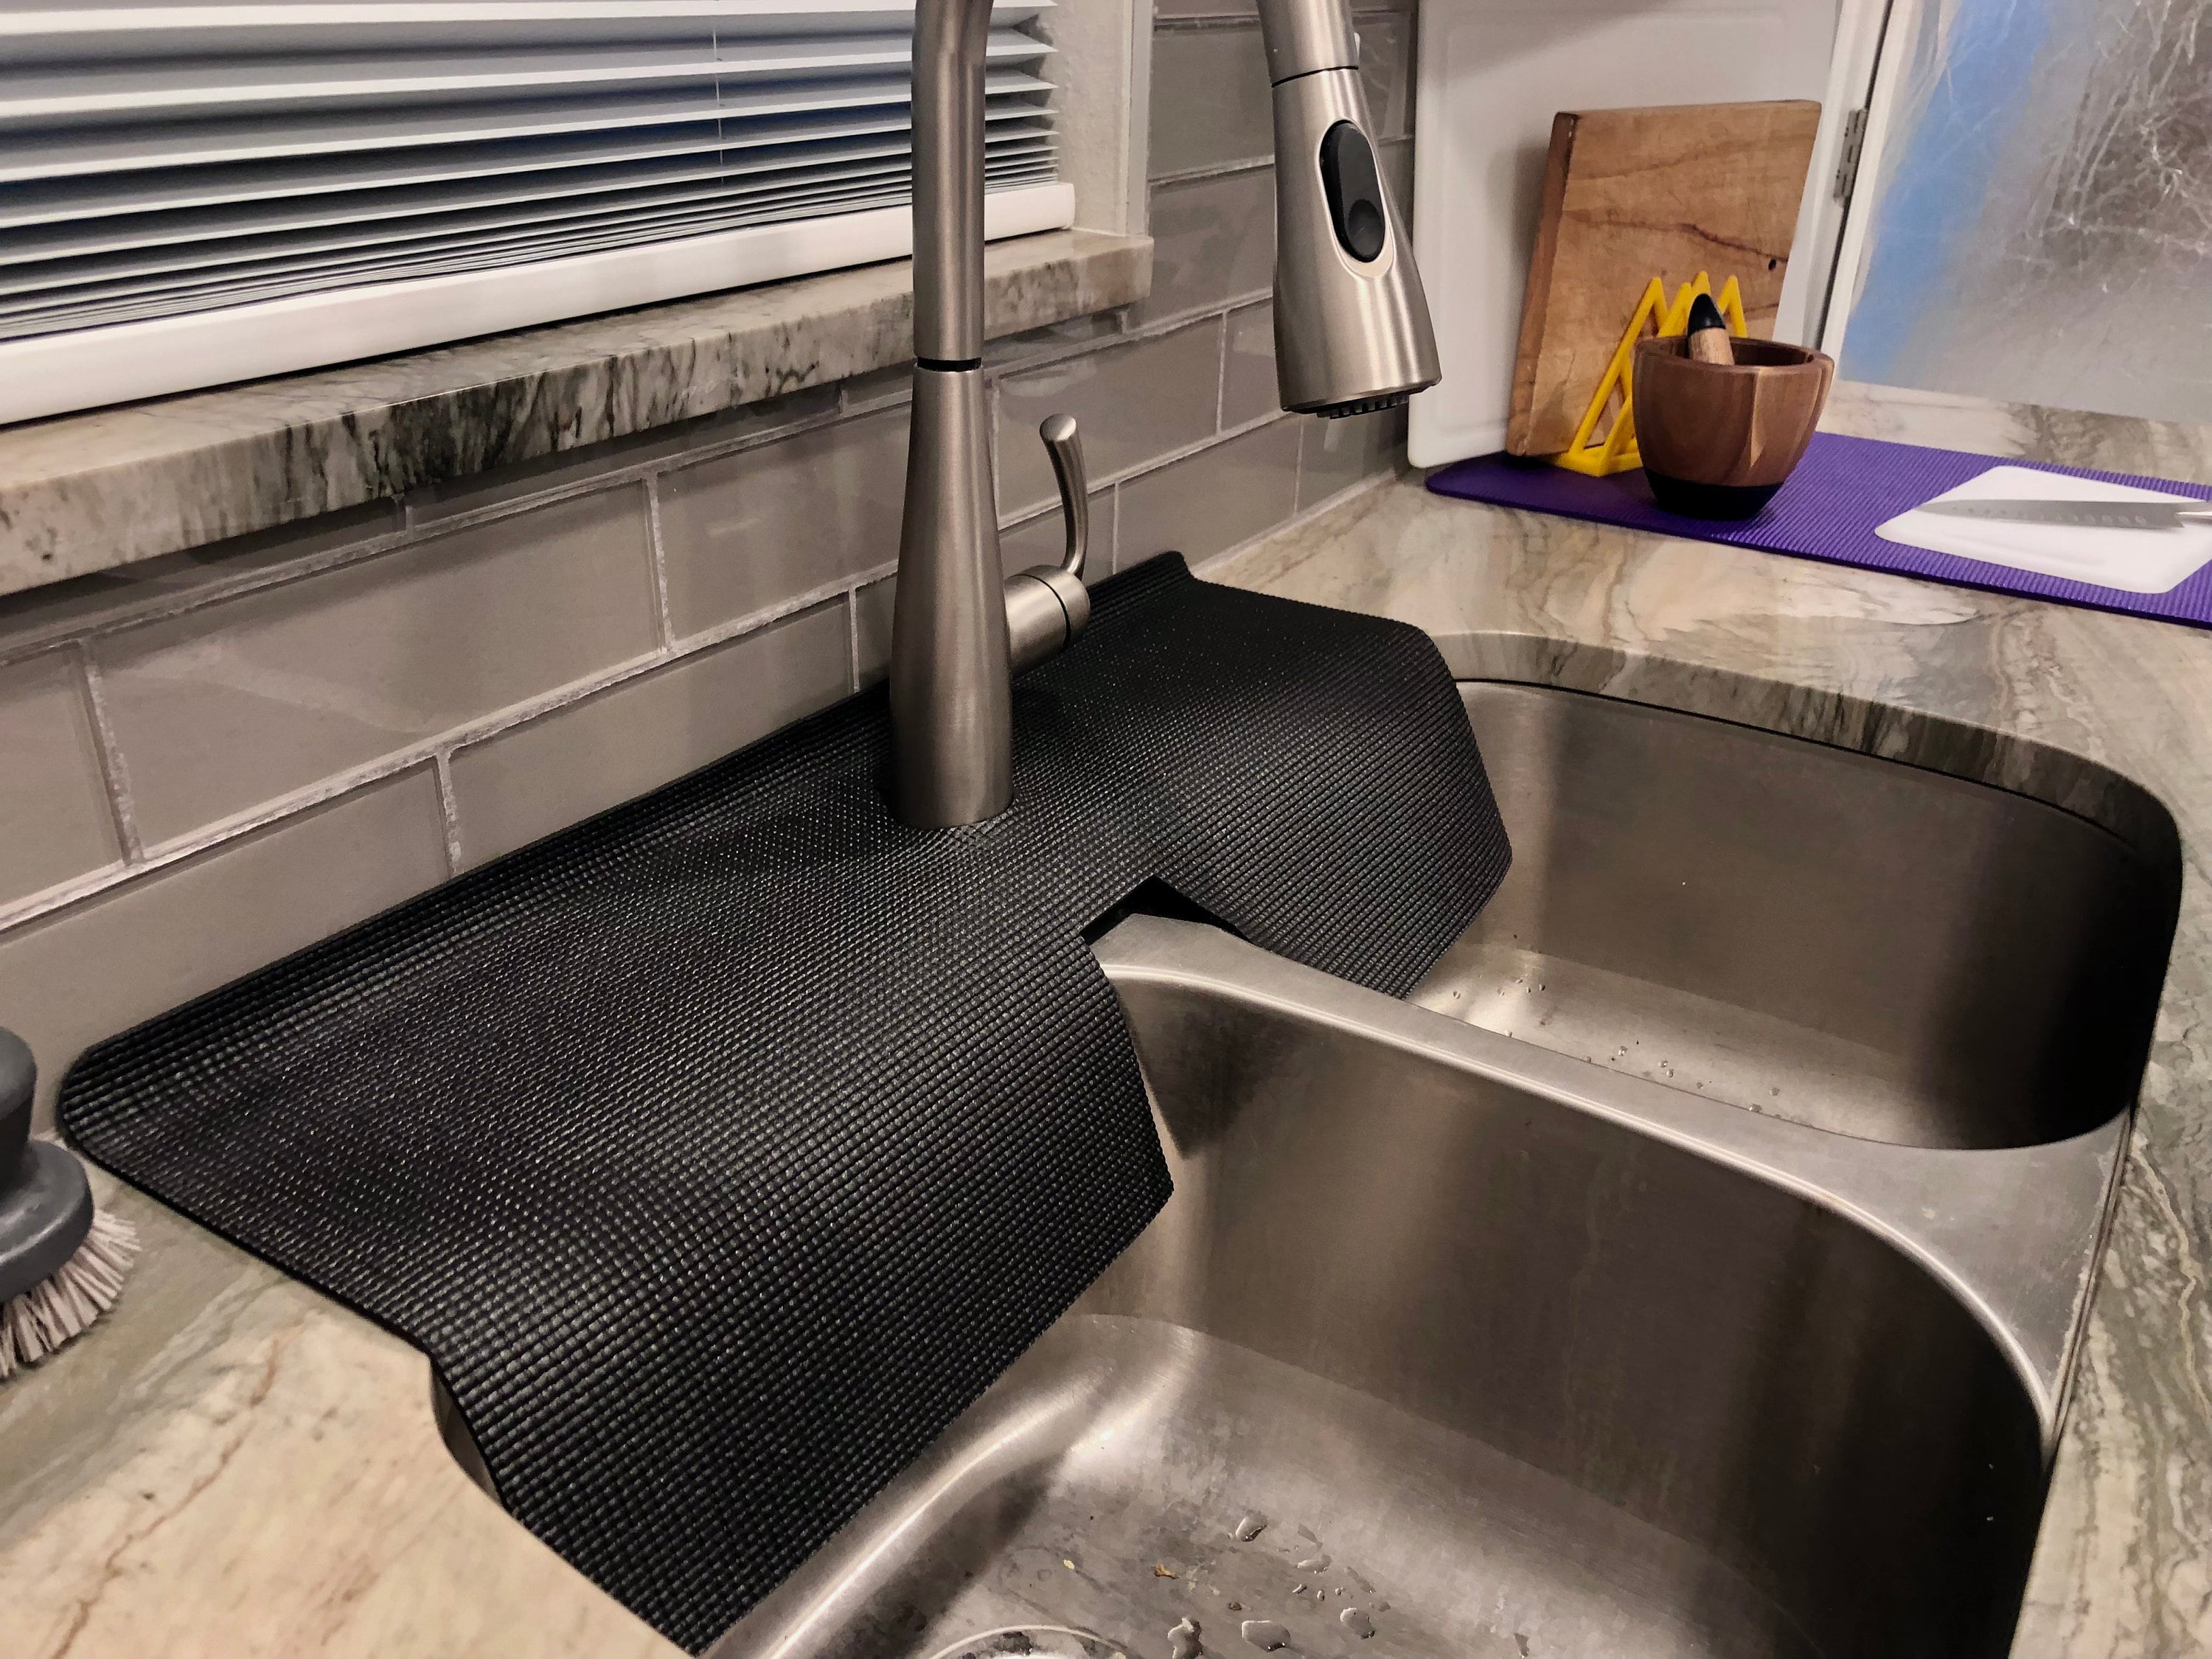
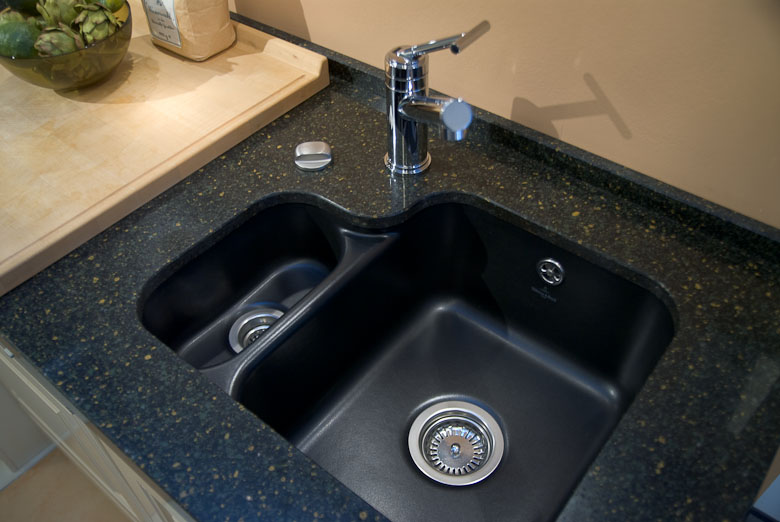
 A kitchen sink splash guard is a barrier that is placed behind the sink to prevent water and other liquid splashes from getting onto the walls and surrounding surfaces. It is usually made of a waterproof material such as tile, stainless steel, or plastic, and can come in a variety of styles and designs to fit your kitchen aesthetic.
The Importance of a Kitchen Sink Splash Guard
 A kitchen sink splash guard may seem like a small and insignificant addition to your house design, but it can actually serve many important purposes. First and foremost, it helps to keep your kitchen clean and tidy by preventing water and food splatters from staining your walls and countertops. This can save you time and effort in cleaning up after every meal.
Additionally, a kitchen sink splash guard can also protect your walls from water damage. Over time, continuous exposure to water can cause paint to peel and walls to deteriorate. By installing a splash guard, you can prevent this damage and prolong the lifespan of your kitchen walls.
A kitchen sink splash guard may seem like a small and insignificant addition to your house design, but it can actually serve many important purposes. First and foremost, it helps to keep your kitchen clean and tidy by preventing water and food splatters from staining your walls and countertops. This can save you time and effort in cleaning up after every meal.
Additionally, a kitchen sink splash guard can also protect your walls from water damage. Over time, continuous exposure to water can cause paint to peel and walls to deteriorate. By installing a splash guard, you can prevent this damage and prolong the lifespan of your kitchen walls.
The Benefits of DIY-ing a Kitchen Sink Splash Guard
 While you can certainly purchase a pre-made kitchen sink splash guard, opting to DIY one can bring about many advantages. For one, you have the freedom to choose the exact size, style, and material you want for your splash guard. This allows for a more personalized and unique touch to your kitchen design.
Moreover, DIY-ing a kitchen sink splash guard can also be a cost-effective option. You can easily find materials at a lower cost and save on labor fees by doing it yourself. Plus, it can be a fun and satisfying DIY project for those who enjoy hands-on tasks.
While you can certainly purchase a pre-made kitchen sink splash guard, opting to DIY one can bring about many advantages. For one, you have the freedom to choose the exact size, style, and material you want for your splash guard. This allows for a more personalized and unique touch to your kitchen design.
Moreover, DIY-ing a kitchen sink splash guard can also be a cost-effective option. You can easily find materials at a lower cost and save on labor fees by doing it yourself. Plus, it can be a fun and satisfying DIY project for those who enjoy hands-on tasks.
How to Create a Kitchen Sink Splash Guard
 Creating a kitchen sink splash guard can be a simple and straightforward process. First, measure the width and height of your sink area to determine the size of your splash guard. Next, choose your desired material and cut it to fit the measurements. You can then attach the splash guard to the wall behind your sink using adhesive or screws, depending on the material.
In Conclusion
 A kitchen sink splash guard may not be the first thing that comes to mind when designing your house, but it can make a significant impact on the overall aesthetic and functionality of your kitchen. By DIY-ing a splash guard, you can not only add a personal touch to your design, but also reap the benefits of a cleaner and more durable kitchen space. So why not give it a try and see the difference it can make in your house design?