Kitchen sink side sprayers are a convenient and useful addition to any kitchen. However, like any other fixture, they can experience issues and need to be repaired. Whether it’s a leak, a clog, or a broken part, repairing a kitchen sink side sprayer is a simple and cost-effective solution. In this guide, we will walk you through the steps of repairing a kitchen sink side sprayer.How to Repair a Kitchen Sink Side Sprayer


How to Repair a Kitchen Sink Side Sprayer


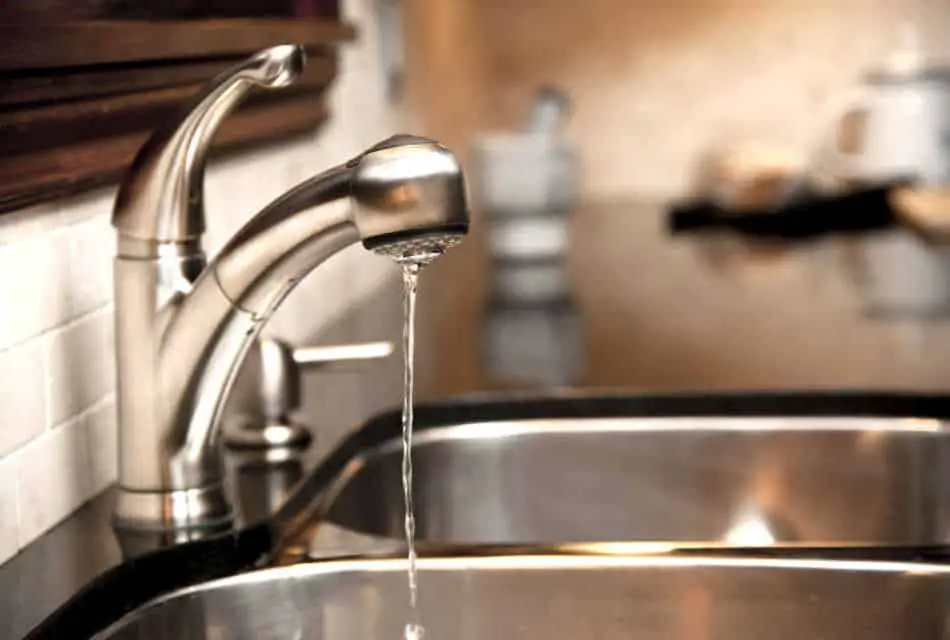
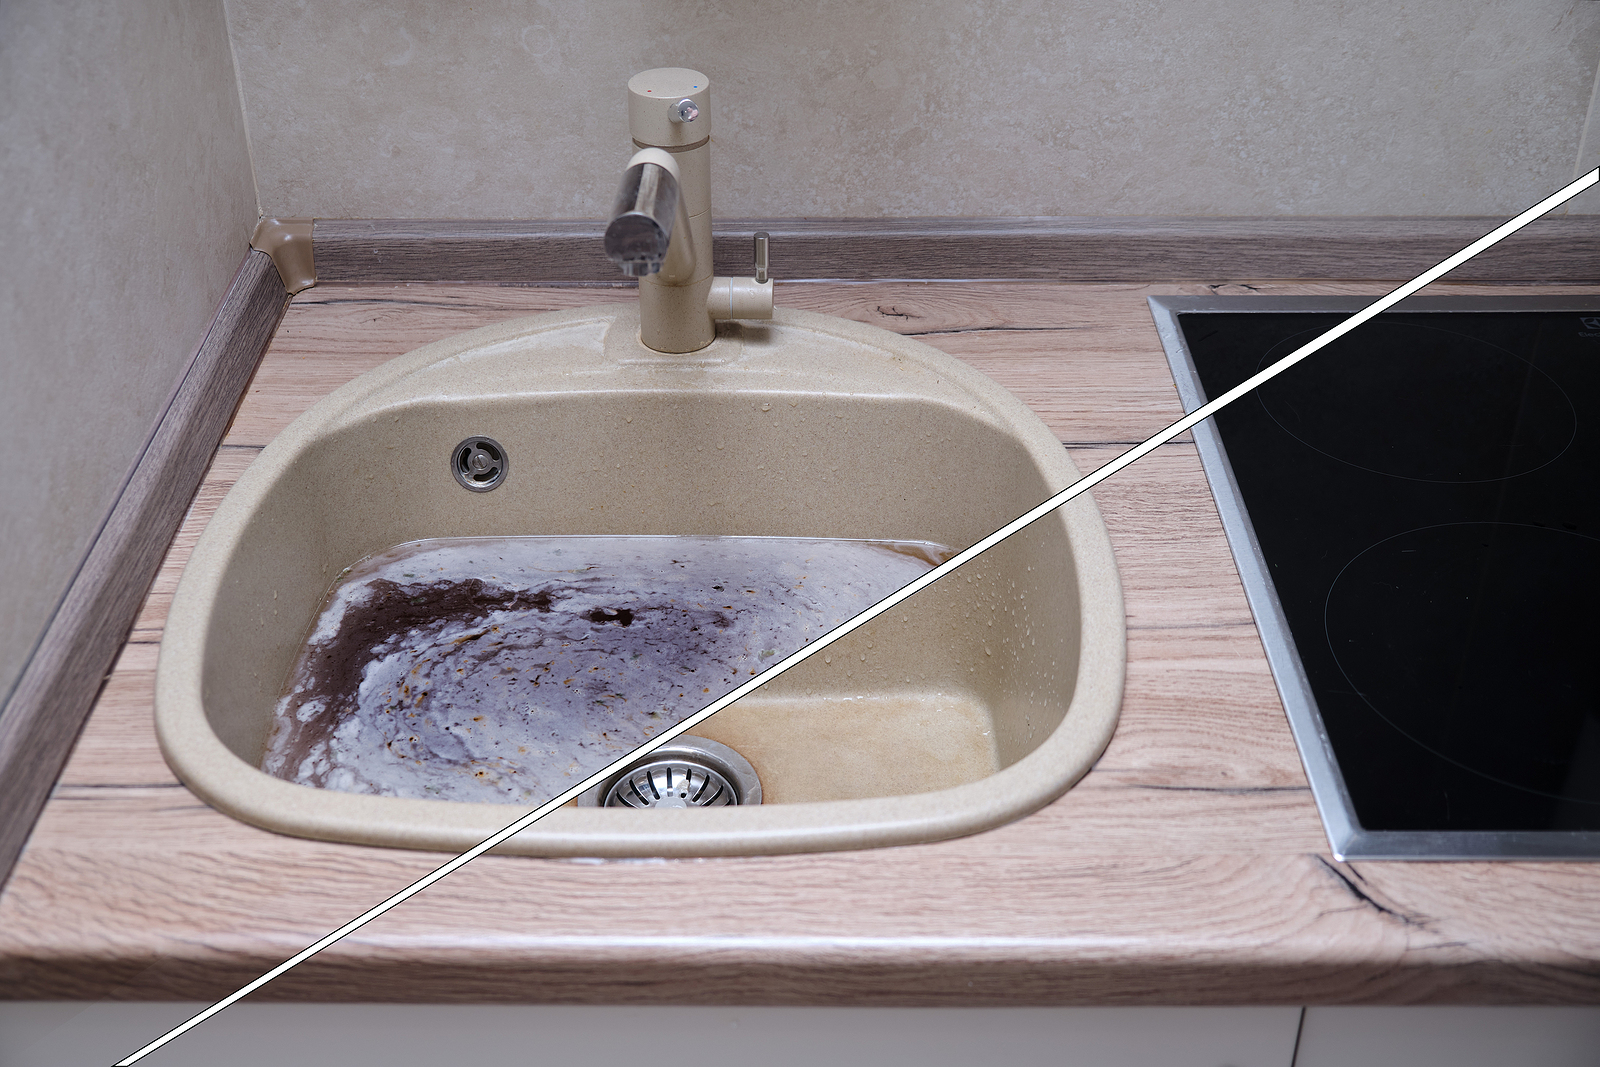
A leaking kitchen sink sprayer can be a frustrating problem. Not only does it waste water, but it can also lead to mold and mildew growth. The first step in fixing a leak is to identify the source. It could be a loose connection, a worn-out O-ring, or a damaged hose. Start by checking the connections and tightening them if necessary. If the leak persists, try replacing the O-ring or the hose. Always remember to turn off the water supply before attempting any repair.How to Fix a Leaking Kitchen Sink Sprayer

How to Fix a Leaking Kitchen Sink Sprayer


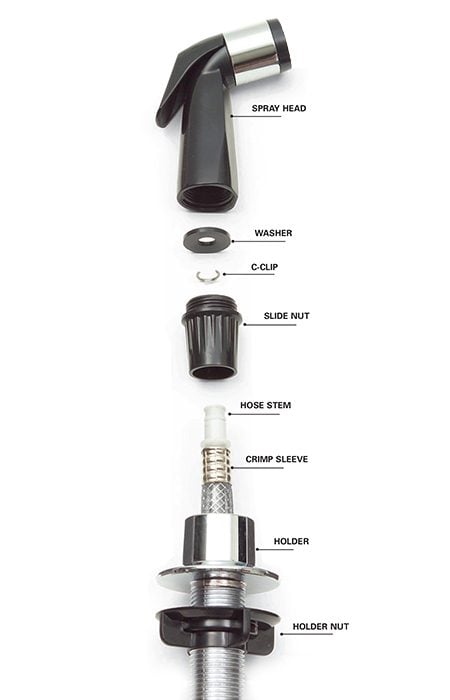
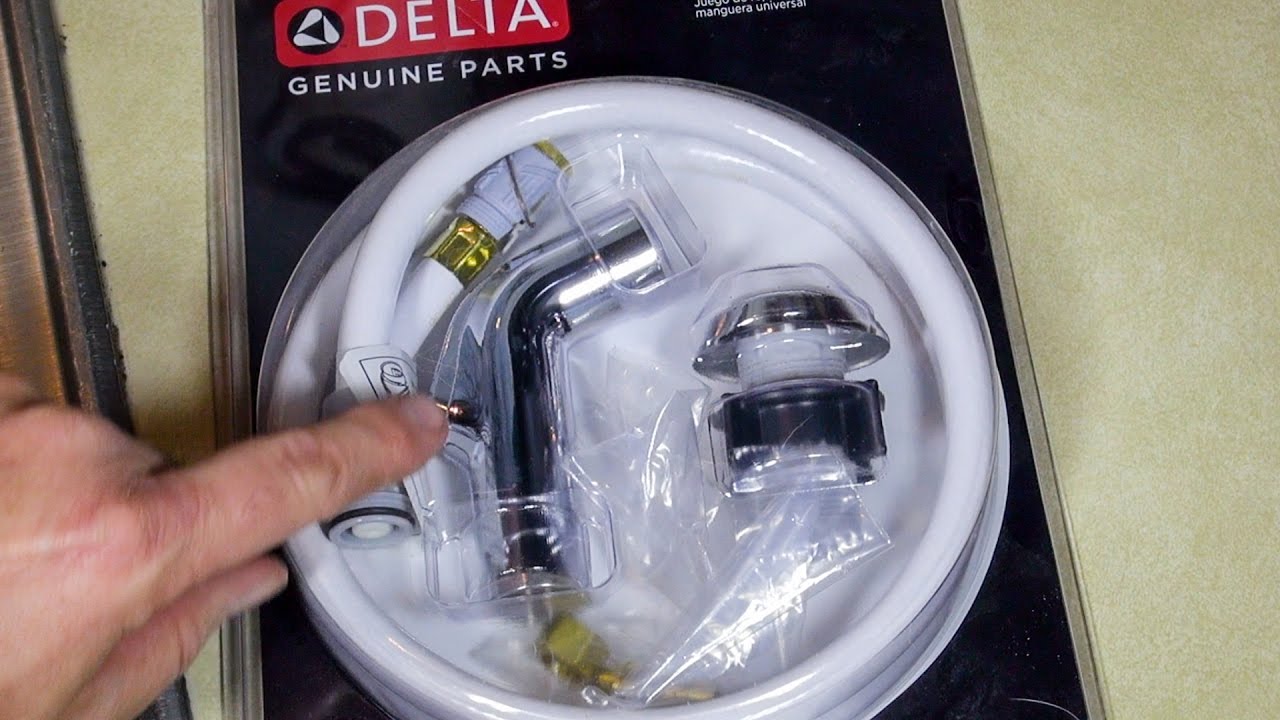
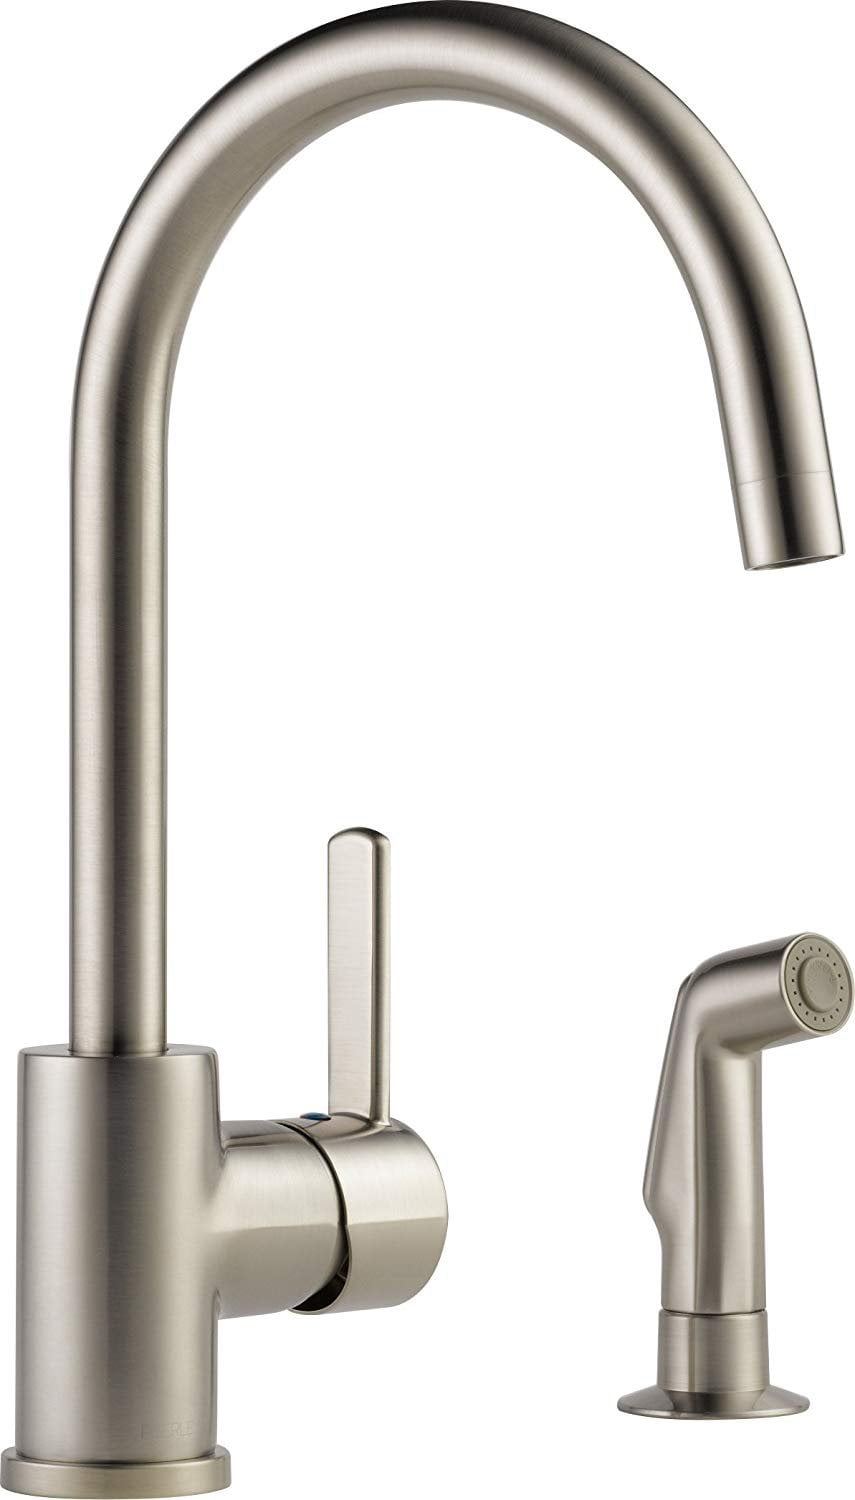
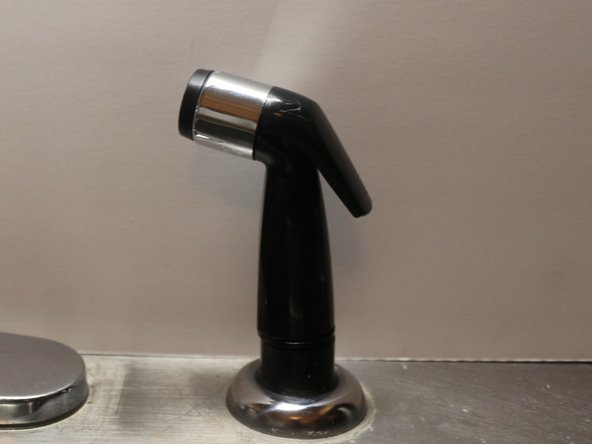
If your kitchen sink side sprayer is beyond repair, you may need to replace it altogether. This is a relatively easy and inexpensive process. Start by purchasing a new sprayer that is compatible with your sink. Then, follow the manufacturer’s instructions to remove the old sprayer and install the new one. This will involve connecting the sprayer to the hose and securing it to the sink. Once everything is in place, test the sprayer to ensure it is working properly.Replacing a Kitchen Sink Side Sprayer


Replacing a Kitchen Sink Side Sprayer


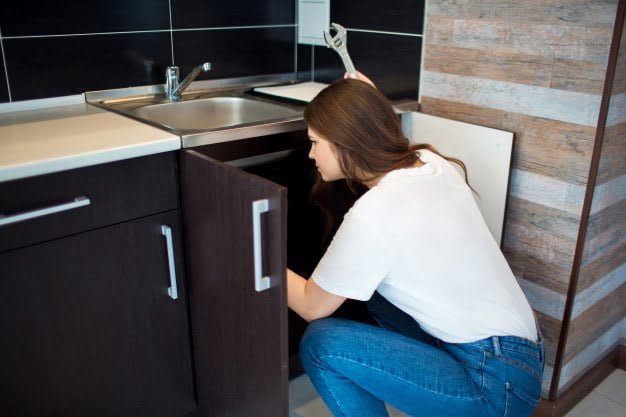
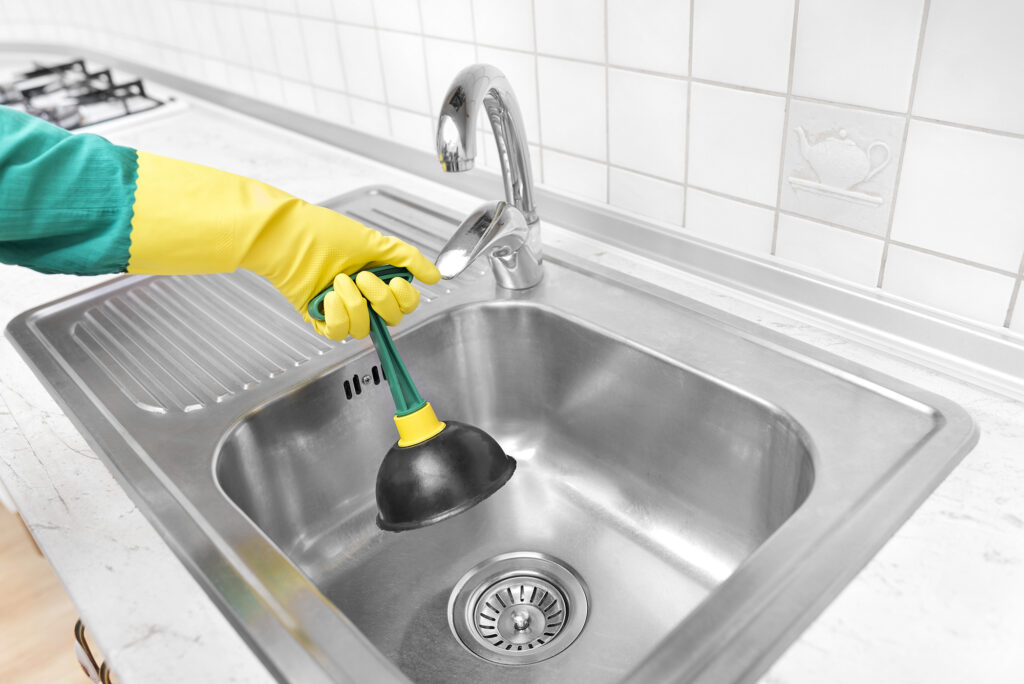
Repairing a kitchen sink side sprayer can be a DIY project, even for those with little to no plumbing experience. With the right tools and instructions, you can save time and money by fixing the issue yourself. The most common problems with kitchen sink side sprayers can be easily fixed with basic tools such as pliers, a screwdriver, and an adjustable wrench. However, if you are unsure or uncomfortable with attempting the repair, it’s always best to call a professional.DIY Kitchen Sink Side Sprayer Repair


DIY Kitchen Sink Side Sprayer Repair


While kitchen sink side sprayers are generally reliable, they can experience some common issues. These include leaks, clogs, and low water pressure. Leaks can be caused by loose connections, worn-out O-rings, or damaged hoses. Clogs can occur due to debris buildup or a kinked hose. Low water pressure can be a sign of a clog or a faulty sprayer. Identifying the problem is the first step in repairing it.Common Problems with Kitchen Sink Side Sprayers


Common Problems with Kitchen Sink Side Sprayers


Before attempting any repair, it’s important to troubleshoot the issue to determine the cause. This will save you time and effort in trying to fix the wrong problem. Check the connections, the O-rings, and the hose for any issues. If everything appears to be in good condition, the problem could be with the sprayer itself. In this case, it may need to be replaced.Troubleshooting a Kitchen Sink Side Sprayer


Troubleshooting a Kitchen Sink Side Sprayer

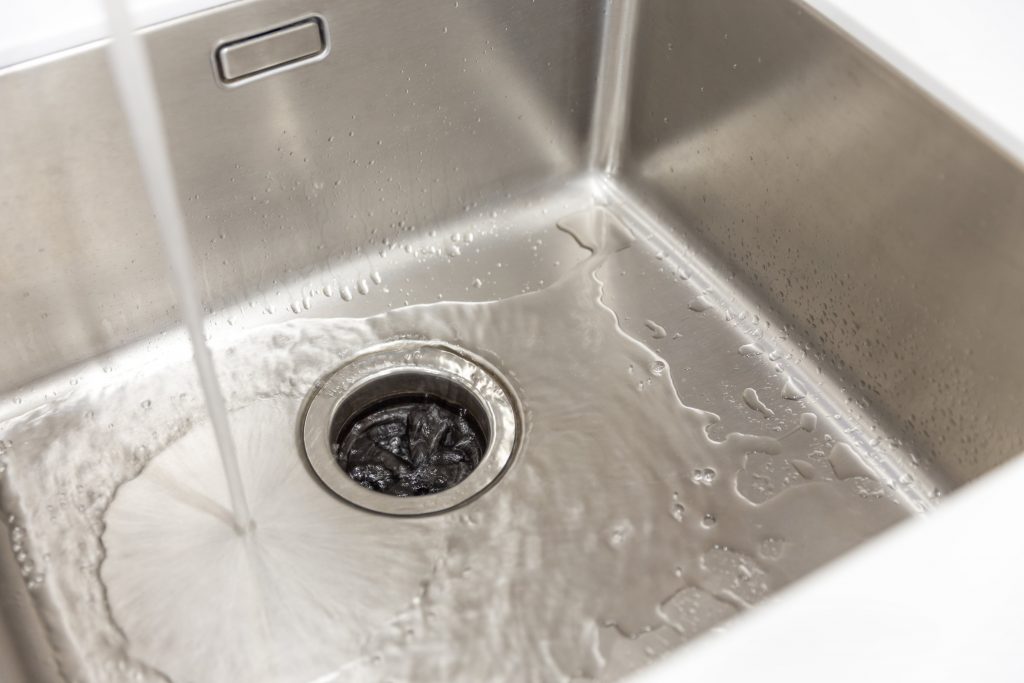

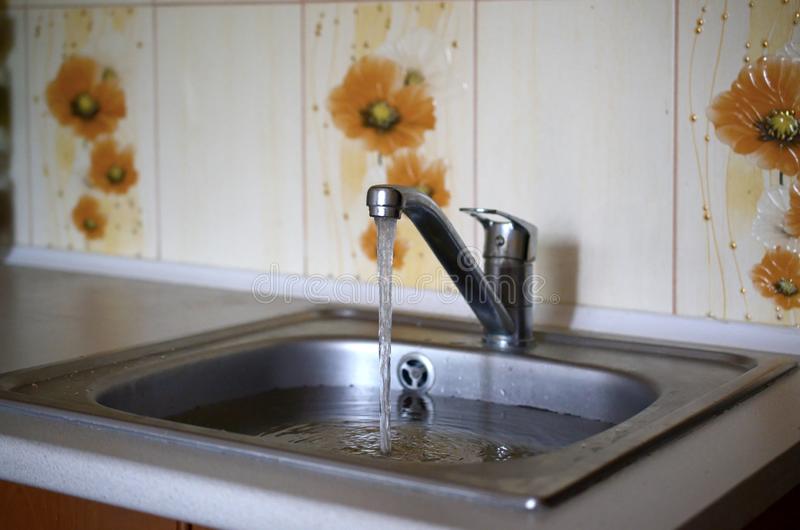
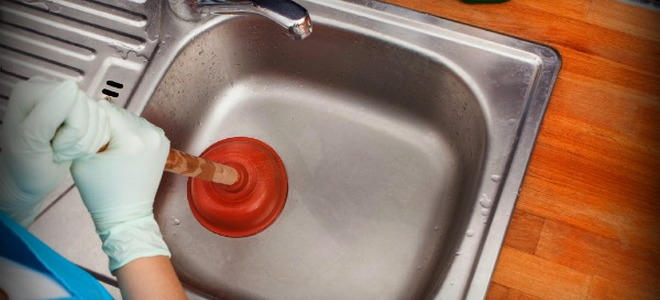
A clogged kitchen sink side sprayer can be a frustrating problem, but it’s usually an easy fix. Start by removing the sprayer head and soaking it in a solution of warm water and vinegar. This will help break down any mineral deposits or debris that may be causing the clog. Next, check the hose for any kinks or blockages. If necessary, use a plumbing snake to clear any stubborn clogs. Once the sprayer head is clean and the hose is clear, reattach the sprayer and test it.Fixing a Clogged Kitchen Sink Side Sprayer

Fixing a Clogged Kitchen Sink Side Sprayer


/25089301983_c5145fe85d_o-58418ef15f9b5851e5f392b5.jpg)
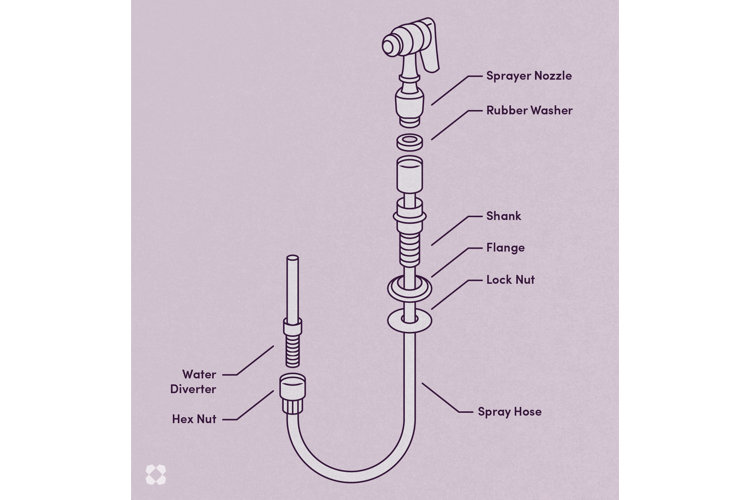
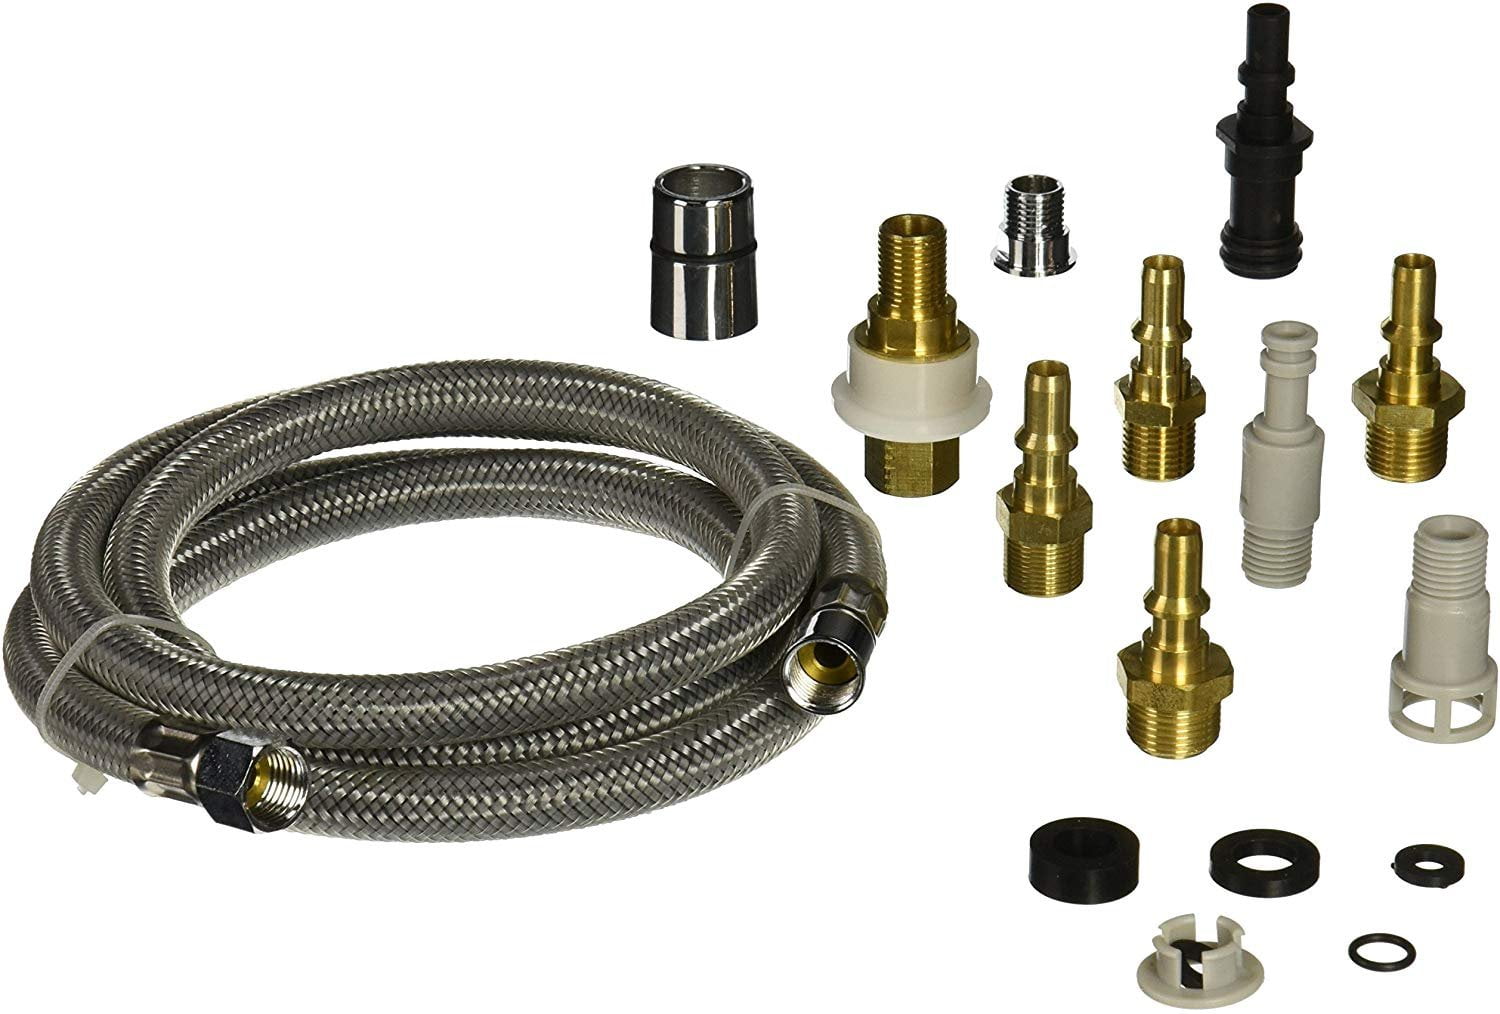
If you have identified the issue to be with the hose, it may need to be replaced. Start by turning off the water supply and disconnecting the old hose from the sprayer and the water source. Then, install the new hose following the manufacturer’s instructions. This may involve using a Teflon tape or plumber’s putty to ensure a tight and leak-free seal. Once the new hose is in place, turn the water supply back on and test the sprayer.Replacing a Kitchen Sink Side Sprayer Hose


Replacing a Kitchen Sink Side Sprayer Hose


To repair a kitchen sink side sprayer, you will need a few basic tools. These include pliers, a screwdriver, an adjustable wrench, a plumbing snake, and a new sprayer or hose if necessary. It’s always best to have these tools on hand in case of any unexpected issues with your kitchen sink side sprayer.Tools Needed for Kitchen Sink Side Sprayer Repair


Tools Needed for Kitchen Sink Side Sprayer Repair


Here is a step-by-step guide for repairing a kitchen sink side sprayer:Step-by-Step Guide for Kitchen Sink Side Sprayer Repair


Step-by-Step Guide for Kitchen Sink Side Sprayer Repair


Why Kitchen Sink Side Sprayer Repair is Essential for Your House Design

A Functional and Aesthetically Pleasing Addition
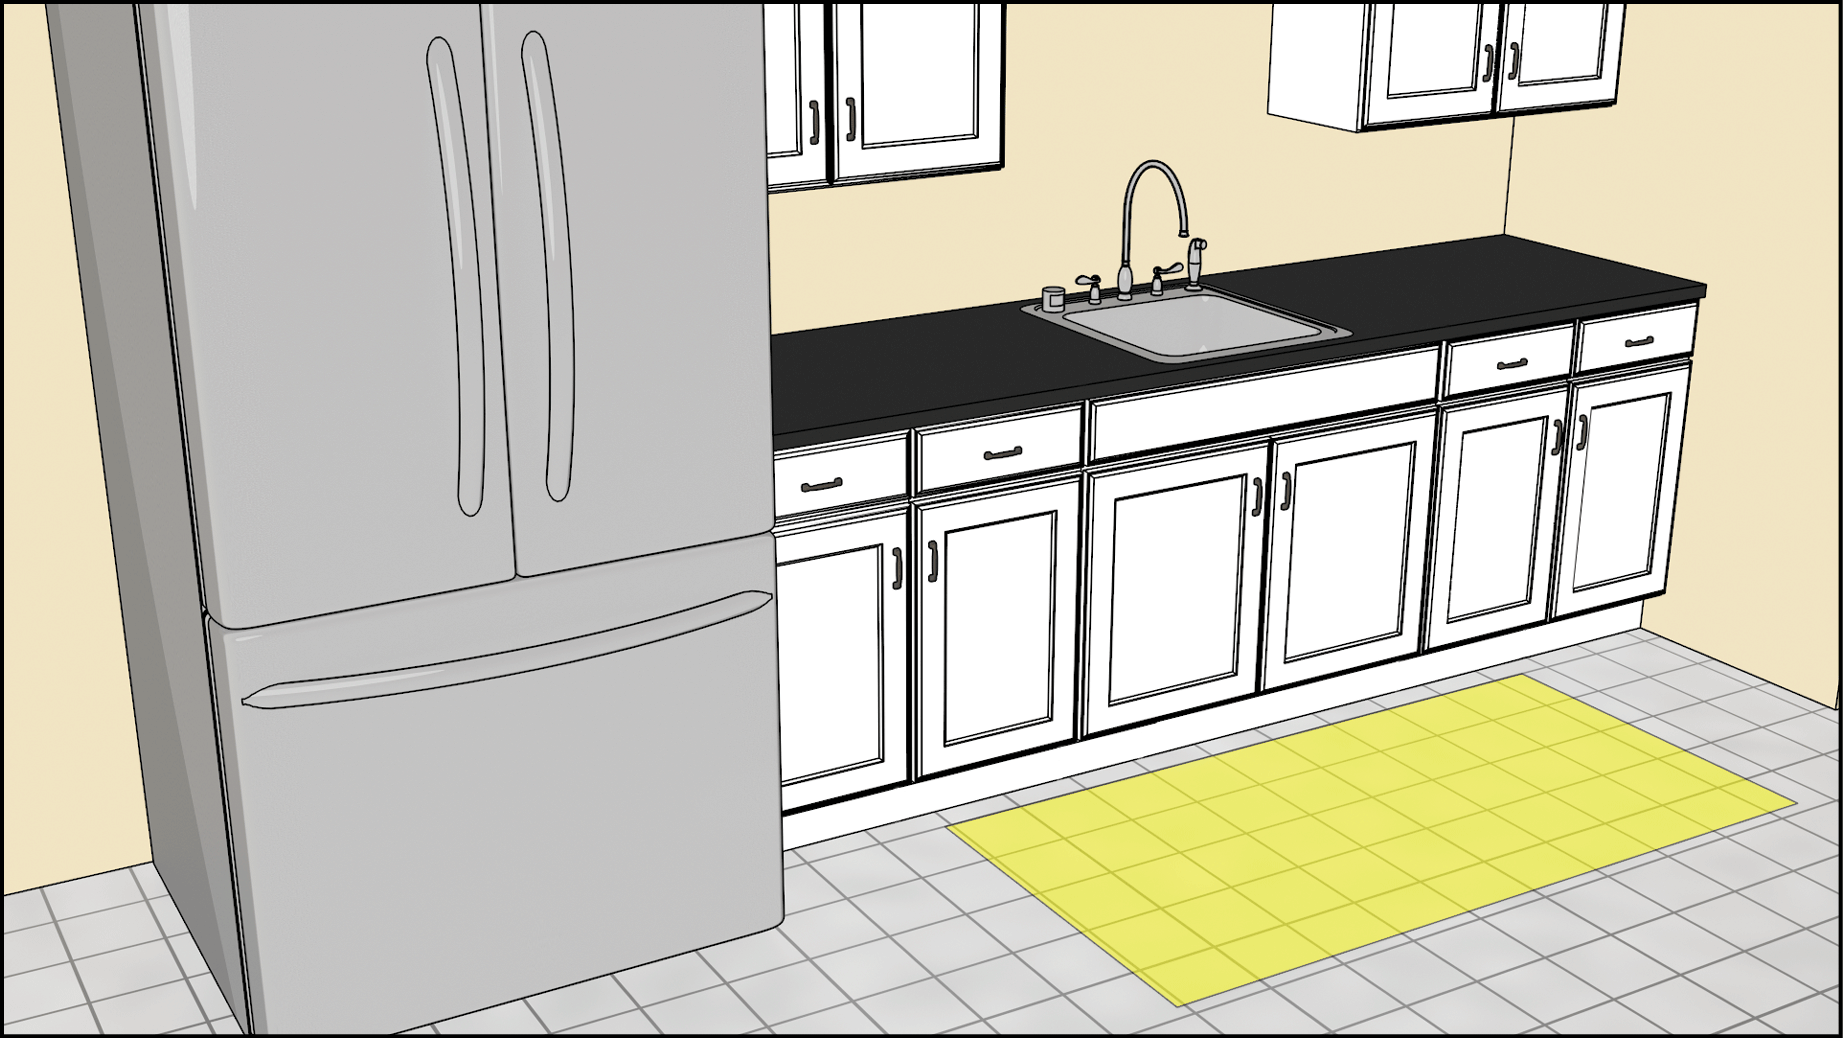
 When it comes to designing a house, every little detail matters. From the paint color on the walls to the type of flooring, each element contributes to the overall look and functionality of your home. One often overlooked but crucial aspect of house design is the
kitchen sink side sprayer
. This small but mighty feature not only adds a touch of elegance to your kitchen but also serves a practical purpose in your daily routine.
When it comes to designing a house, every little detail matters. From the paint color on the walls to the type of flooring, each element contributes to the overall look and functionality of your home. One often overlooked but crucial aspect of house design is the
kitchen sink side sprayer
. This small but mighty feature not only adds a touch of elegance to your kitchen but also serves a practical purpose in your daily routine.
Preventing Water Wastage and Damage
 A malfunctioning kitchen sink side sprayer can lead to a lot of water wastage. A leaky sprayer can cause water to continuously drip, resulting in a significant increase in your water bill.
Repairing
the sprayer not only helps you save money but also prevents any damage to your kitchen cabinets or flooring due to water seepage. It is essential to regularly check and maintain your kitchen sink sprayer to avoid any potential disasters.
A malfunctioning kitchen sink side sprayer can lead to a lot of water wastage. A leaky sprayer can cause water to continuously drip, resulting in a significant increase in your water bill.
Repairing
the sprayer not only helps you save money but also prevents any damage to your kitchen cabinets or flooring due to water seepage. It is essential to regularly check and maintain your kitchen sink sprayer to avoid any potential disasters.
Increasing the Lifespan of Your Kitchen Sink
 The kitchen sink is often one of the most used areas in a house. From washing dishes to cleaning fruits and vegetables, it undergoes a lot of wear and tear. With a broken or malfunctioning kitchen sink side sprayer, the pressure on the main faucet increases, causing it to wear out faster. By repairing the side sprayer, you can distribute the workload and increase the lifespan of your kitchen sink.
Quick and Easy Repair Process
 Many people may put off
repairing
their kitchen sink side sprayer, thinking it requires a complex and time-consuming process. However, with the right tools and knowledge, it can be a quick and easy fix. Most repair kits come with detailed instructions, and there are many online tutorials available for guidance. With a little bit of effort, you can have a fully functioning and aesthetically pleasing kitchen sink side sprayer in no time.
Many people may put off
repairing
their kitchen sink side sprayer, thinking it requires a complex and time-consuming process. However, with the right tools and knowledge, it can be a quick and easy fix. Most repair kits come with detailed instructions, and there are many online tutorials available for guidance. With a little bit of effort, you can have a fully functioning and aesthetically pleasing kitchen sink side sprayer in no time.
Conclusion
 In conclusion, a
kitchen sink side sprayer
is not just a small detail in house design but an essential element that plays a significant role in both functionality and aesthetics. By regularly maintaining and repairing your sprayer, you can save money, prevent damage, and increase the lifespan of your kitchen sink. So, don't overlook this small but mighty feature when designing your dream home.
In conclusion, a
kitchen sink side sprayer
is not just a small detail in house design but an essential element that plays a significant role in both functionality and aesthetics. By regularly maintaining and repairing your sprayer, you can save money, prevent damage, and increase the lifespan of your kitchen sink. So, don't overlook this small but mighty feature when designing your dream home.