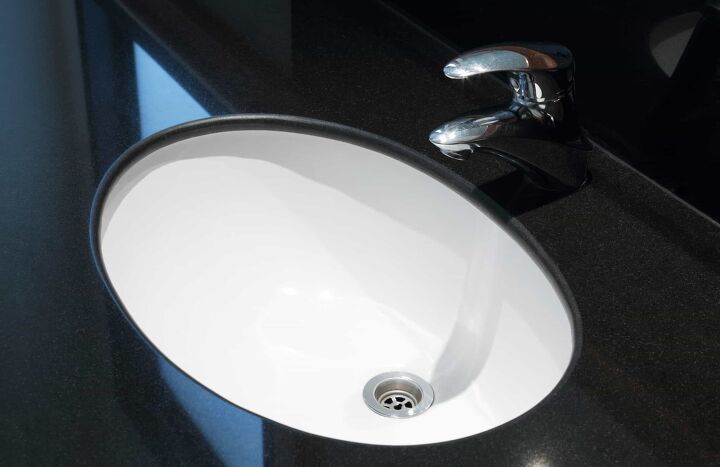
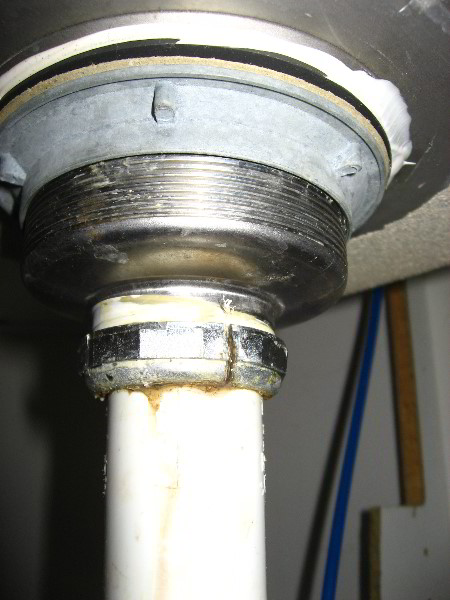
Dealing with a stuck kitchen sink drain flange can be frustrating, especially when you need to use your sink. But don't worry, with the right tools and techniques, you can easily remove it and get your sink back in working order. Start by turning off the water supply to your sink and gathering the necessary tools, such as a plunger, pliers, and a screwdriver. Then, follow these steps: Step 1: Apply some lubricant to the flange and the drain opening. This will help loosen the flange and make it easier to remove. Step 2: Place the plunger over the drain and plunge a few times to create suction. This will help loosen the flange even more. Step 3: Use pliers to grip the flange and twist it counterclockwise. If it doesn't budge, try using a hairdryer to heat up the flange and make it more pliable. Step 4: If the flange is still stuck, use a screwdriver to break it loose by tapping it lightly with a hammer. Be careful not to damage the surrounding area. Step 5: Once the flange is loosened, use the pliers to twist it out completely. You may need to use some force, but be careful not to damage the pipes or the sink. Step 6: Clean the drain opening and the flange before reinstalling it. Then, follow the manufacturer's instructions to properly install the new flange.1. How to Remove a Stuck Kitchen Sink Drain Flange


1. How to Remove a Stuck Kitchen Sink Drain Flange


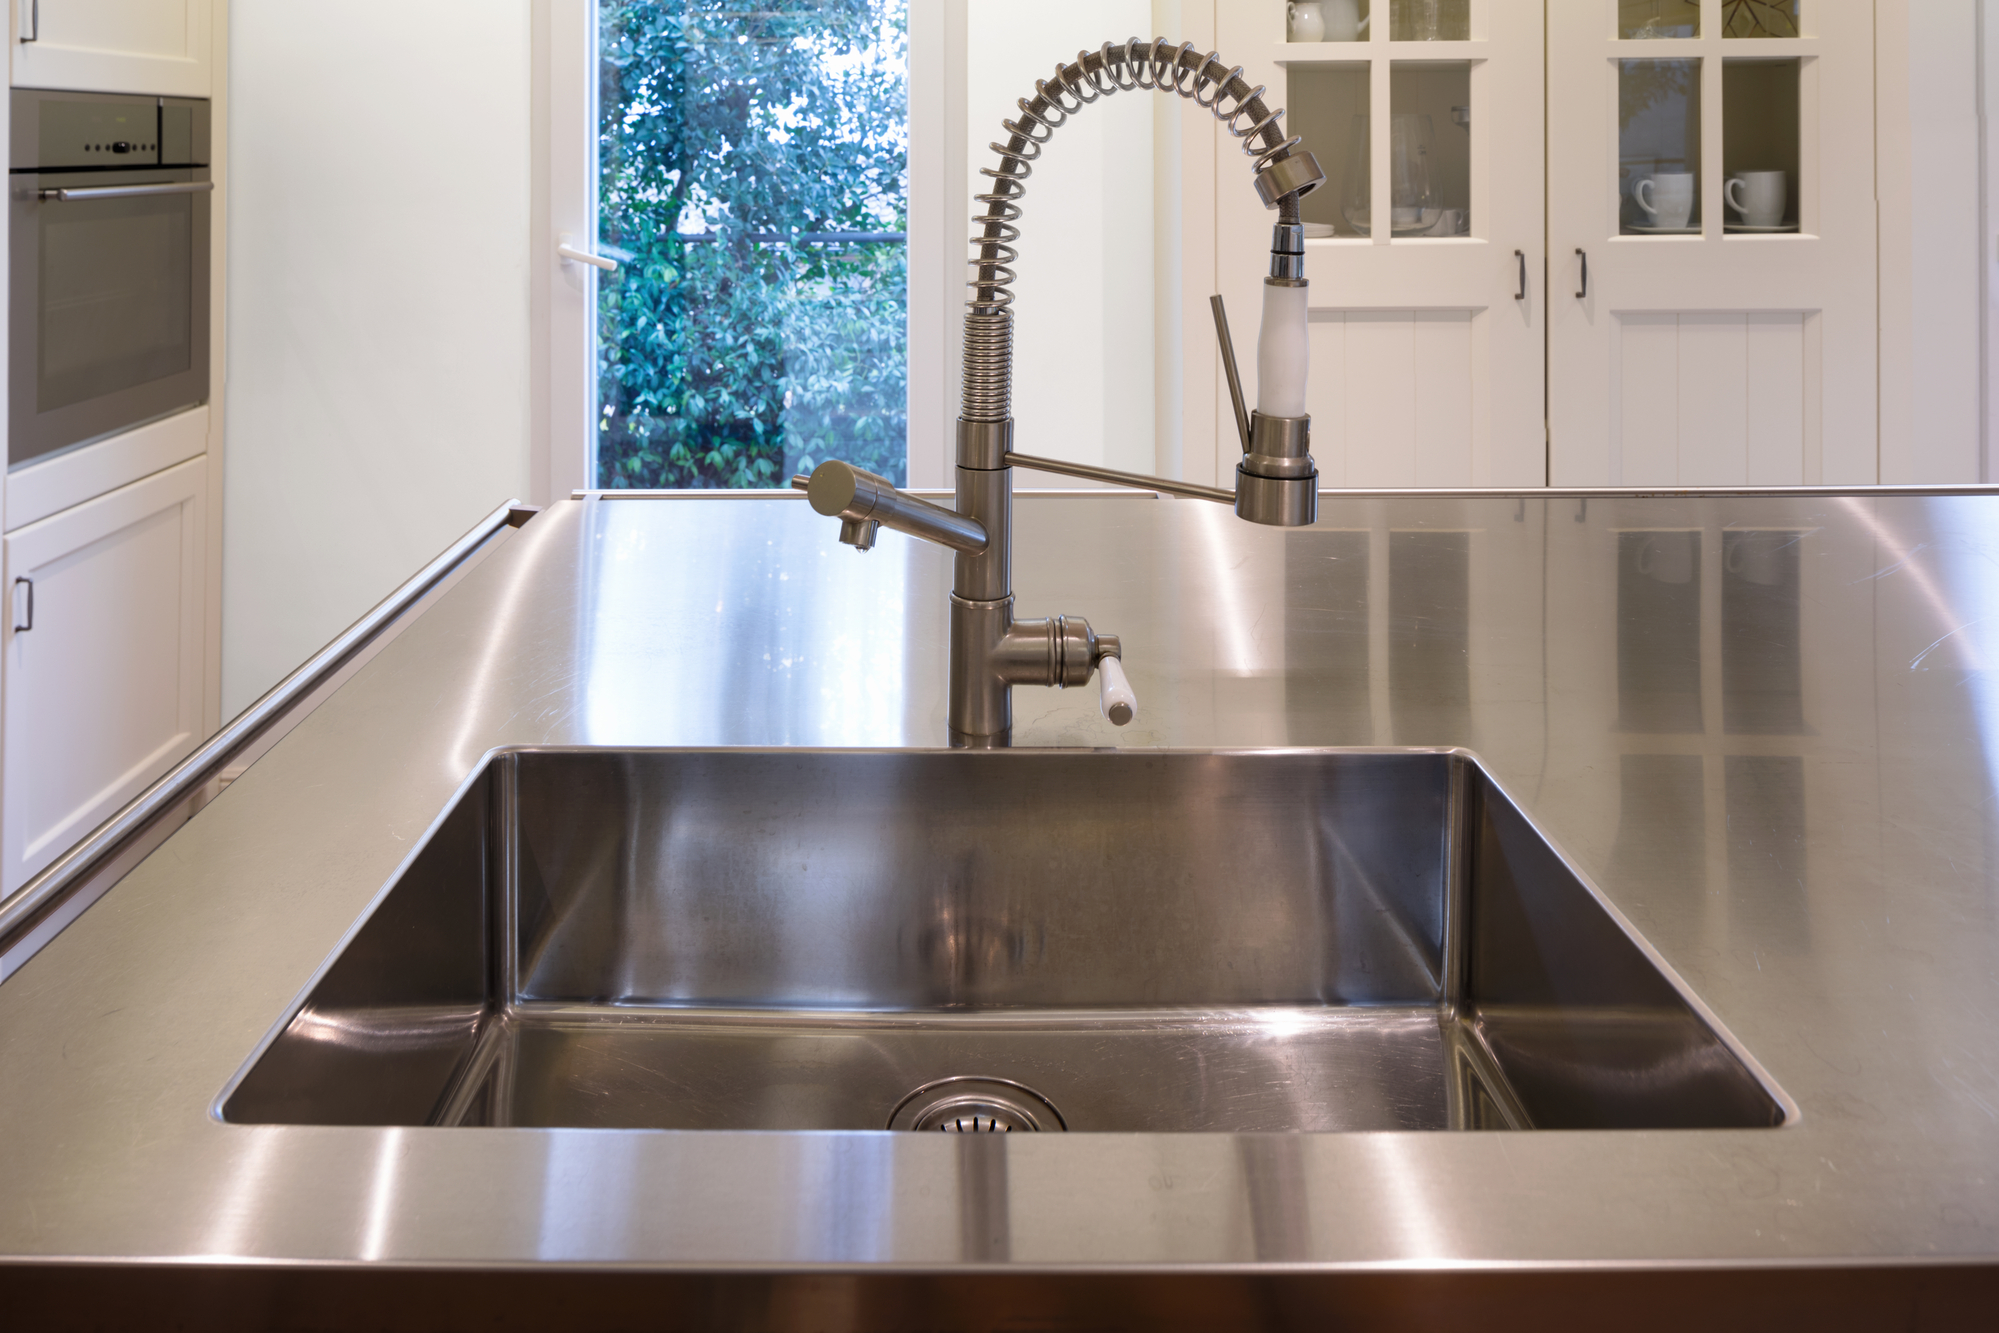


As a vital component of your kitchen sink, the drain needs to be functioning properly for your sink to work efficiently. But when it gets clogged or damaged, it can be a headache to remove and replace. Here's a step-by-step guide on how to remove a kitchen sink drain: Step 1: Turn off the water supply to your sink and gather the necessary tools, including a plunger, pliers, and a screwdriver. Step 2: Start by plunging the drain a few times to see if that loosens the drain. If not, move on to the next step. Step 3: Use pliers to grip the drain and twist it counterclockwise. If it's stuck, try heating it up with a hairdryer to make it more pliable. Step 4: If the drain is still stuck, use a screwdriver to break it loose by tapping it lightly with a hammer. Be careful not to cause any damage. Step 5: Once the drain is loosened, twist it out completely using the pliers. Clean the opening before installing the new drain. Step 6: Follow the manufacturer's instructions to properly install the new drain, making sure to tighten it securely.2. Removing a Kitchen Sink Drain: How to Remove a Kitchen Sink Drain


2. Removing a Kitchen Sink Drain: How to Remove a Kitchen Sink Drain

:max_bytes(150000):strip_icc()/how-to-install-a-sink-drain-2718789-hero-24e898006ed94c9593a2a268b57989a3.jpg)


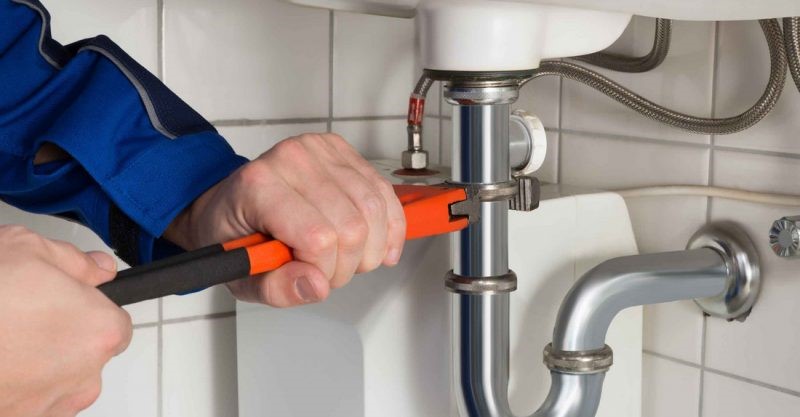
Removing a kitchen sink drain may seem like a daunting task, but with a few simple steps, you can do it yourself in no time. Here's a step-by-step guide with pictures to help you through the process: Step 1: Start by turning off the water supply to your sink and gathering the necessary tools, such as a plunger, pliers, and a screwdriver. Step 2: Apply some lubricant to the drain and the flange. This will help loosen the drain and make it easier to remove. Step 3: Place the plunger over the drain and plunge a few times to create suction. This will help loosen the drain even more. Step 4: Use pliers to grip the drain and twist it counterclockwise. If it doesn't budge, try using a hairdryer to heat up the drain and make it more pliable. Step 5: If the drain is still stuck, use a screwdriver to break it loose by tapping it lightly with a hammer. Be careful not to damage the surrounding area. Step 6: Once the drain is loosened, use the pliers to twist it out completely. You may need to use some force, but be careful not to damage the pipes or the sink. Step 7: Clean the drain opening and the flange before reinstalling it. Then, follow the manufacturer's instructions to properly install the new drain.3. How to Remove a Kitchen Sink Drain: 14 Steps (with Pictures)


3. How to Remove a Kitchen Sink Drain: 14 Steps (with Pictures)


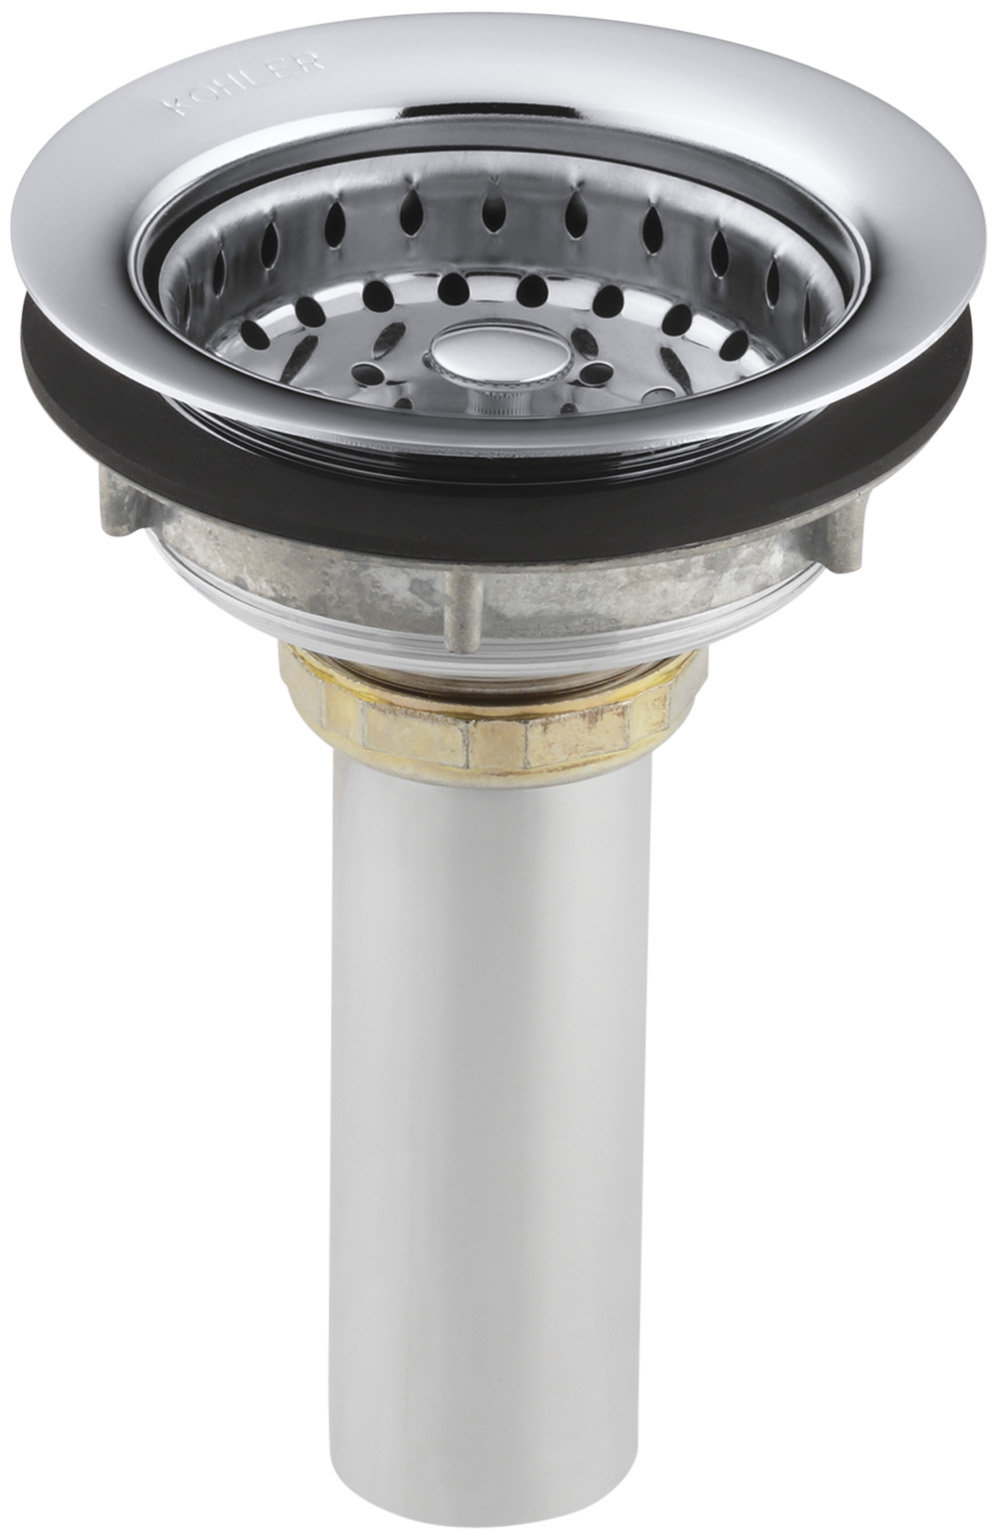
Is your kitchen sink drain clogged or damaged? Don't panic! With a few simple steps and pictures to guide you, you can easily remove it and get your sink back to its former glory. Here's what you need to do: Step 1: Turn off the water supply to your sink and gather the necessary tools, including a plunger, pliers, and a screwdriver. Step 2: Apply some lubricant to the drain and the flange. This will help loosen the drain and make it easier to remove. Step 3: Place the plunger over the drain and plunge a few times to create suction. This will help loosen the drain even more. Step 4: Use pliers to grip the drain and twist it counterclockwise. If it's stuck, try heating it up with a hairdryer to make it more pliable. Step 5: If the drain is still stuck, use a screwdriver to break it loose by tapping it lightly with a hammer. Be careful not to cause any damage. Step 6: Once the drain is loosened, twist it out completely using the pliers. Clean the opening before installing the new drain. Step 7: Follow the manufacturer's instructions to properly install the new drain, making sure to tighten it securely.4. How to Remove a Kitchen Sink Drain: 13 Steps (with Pictures)

4. How to Remove a Kitchen Sink Drain: 13 Steps (with Pictures)


Removing a kitchen sink drain can be a simple task with the right tools and techniques. Here's a quick and easy guide with pictures to show you how: Step 1: Turn off the water supply to your sink and gather the necessary tools, like a plunger, pliers, and a screwdriver. Step 2: Apply some lubricant to the drain and the flange. This will help loosen the drain and make it easier to remove. Step 3: Place the plunger over the drain and plunge a few times to create suction. This will help loosen the drain even more. Step 4: Use pliers to grip the drain and twist it counterclockwise. If it's stuck, try heating it up with a hairdryer to make it more pliable. Step 5: Once the drain is loosened, twist it out completely using the pliers. Clean the opening before installing the new drain.5. How to Remove a Kitchen Sink Drain: 5 Steps (with Pictures)

5. How to Remove a Kitchen Sink Drain: 5 Steps (with Pictures)


Removing a kitchen sink drain is a task that anyone can tackle with the right tools and knowledge. Here's a step-by-step guide with pictures to help you through the process: Step 1: Start by turning off the water supply to your sink and gathering the necessary tools, such as a plunger, pliers, and a screwdriver. Step 2: Apply some lubricant to the drain and the flange. This will help loosen the drain and make it easier to remove. Step 3: Place the plunger over the drain and plunge a few times to create suction. This will help loosen the drain even more. Step 4: Use pliers to grip the drain and twist it counterclockwise. If it's stuck, try heating it up with a hairdryer to make it more pliable. Step 5: Once the drain is loosened, twist it out completely using the pliers. Clean the opening before installing the new drain.6. How to Remove a Kitchen Sink Drain: 4 Steps (with Pictures)


6. How to Remove a Kitchen Sink Drain: 4 Steps (with Pictures)

Having a clogged or damaged kitchen sink drain can be a headache, but removing it doesn't have to be. With a few simple steps and pictures to guide you, you can do it yourself in no time. Here's what you need to do: Step 1: Turn off the water supply to your sink and gather the necessary tools, including a plunger, pliers, and a screwdriver. Step 2: Apply some lubricant to the drain and the flange. This will help loosen the drain and make it easier to remove. Step 3: Use pliers to grip the drain and twist it counterclockwise. If it's stuck, try heating it up with a hairdryer to make it more pliable. Step 4: Once the drain is loosened, twist it out completely using the pliers. Clean the opening before installing the new drain.7. How to Remove a Kitchen Sink Drain: 3 Steps (with Pictures)

7. How to Remove a Kitchen Sink Drain: 3 Steps (with Pictures)


Removing a kitchen sink drain can be a simple task with the right tools and techniques. Here's a quick and easy guide with pictures to show you how: Step 1: Turn off the water supply to your sink and gather the necessary tools, like a plunger, pliers, and a screwdriver. Step 2: Use pliers to grip the drain and twist it counterclockwise. If it's stuck, try heating it up with a hairdryer to make it more pliable. Step 3: Once the drain is loosened, twist it out completely using the pliers. Clean the opening before installing the new drain.8. How to Remove a Kitchen Sink Drain: 2 Steps (with Pictures)
8. How to Remove a Kitchen Sink Drain: 2 Steps (with Pictures)
/how-to-install-a-sink-drain-2718789-hero-24e898006ed94c9593a2a268b57989a3.jpg)
Removing a kitchen sink drain is a task that anyone can tackle with the right tools and knowledge. Here's a step-by-step guide with pictures to help you through the process: Step 1: Use pliers to grip the drain and twist it counterclockwise. If it's stuck, try heating it up with a hairdryer to make it more pliable. Step 2: Once the drain is loosened, twist it out completely using the pliers. Clean the opening before installing the new drain.9. How to Remove a Kitchen Sink Drain: 1 Step (with Pictures)

9. How to Remove a Kitchen Sink Drain: 1 Step (with Pictures)

When it comes to removing a kitchen sink drain, there are a few different methods you can try. Depending on the type of drain you have and the tools you have at your disposal, some methods may be more effective than others. But with this ultimate guide, you'll have all the knowledge and steps you need to successfully remove your kitchen sink drain, no matter the circumstances. Start by gathering the necessary tools, such as a plunger, pliers, and a screwdriver. Then, follow the steps outlined in this guide to remove your kitchen sink drain and get your sink back in working order.10. How to Remove a Kitchen Sink Drain: The Ultimate Guide

10. How to Remove a Kitchen Sink Drain: The Ultimate Guide

The Inconvenience of Uncloggable Kitchen Sinks with Long Rods
The Importance of a Functional Kitchen Sink
 When it comes to house design, the kitchen is often considered the heart of the home. It is where meals are prepared, memories are made, and family and friends gather. With all the time spent in the kitchen, it is vital to have functional and efficient appliances, especially the kitchen sink. However, some homeowners may face the frustrating issue of a clogged sink, despite using long rods to unclog it.
The Problem with Long Rods in Kitchen Sinks
 Long rods are commonly used as a DIY method to unclog kitchen sinks. While they may seem like a convenient solution, they often end up causing more harm than good. These long rods can push the clog further down the drain, making it even more difficult to remove. They can also damage the inside of the pipes, leading to more costly repairs in the future.
Moreover, long rods are not effective in removing certain types of clogs, such as solid food particles, grease, and soap scum. These types of clogs require specialized tools and techniques to be removed effectively. As a result, using long rods can be a waste of time and effort, causing unnecessary stress and inconvenience for homeowners.
Featured Keywords: uncloggable kitchen sinks, long rods, functional kitchen sink, house design
Long rods are commonly used as a DIY method to unclog kitchen sinks. While they may seem like a convenient solution, they often end up causing more harm than good. These long rods can push the clog further down the drain, making it even more difficult to remove. They can also damage the inside of the pipes, leading to more costly repairs in the future.
Moreover, long rods are not effective in removing certain types of clogs, such as solid food particles, grease, and soap scum. These types of clogs require specialized tools and techniques to be removed effectively. As a result, using long rods can be a waste of time and effort, causing unnecessary stress and inconvenience for homeowners.
Featured Keywords: uncloggable kitchen sinks, long rods, functional kitchen sink, house design
The Solution: Professional Plumbing Services
 Instead of relying on long rods to unclog kitchen sinks, it is best to seek professional plumbing services. Certified plumbers have the knowledge, skills, and tools to efficiently and effectively remove clogs from kitchen sinks. They can also identify the root cause of the clog and provide solutions to prevent future clogs.
By hiring professional plumbers, homeowners can save time, effort, and money in the long run. They can also have peace of mind knowing that their kitchen sink is functioning properly and that their pipes are not at risk of being damaged.
Related Main Keywords: professional plumbing services, certified plumbers, efficient, effective, prevent future clogs
Instead of relying on long rods to unclog kitchen sinks, it is best to seek professional plumbing services. Certified plumbers have the knowledge, skills, and tools to efficiently and effectively remove clogs from kitchen sinks. They can also identify the root cause of the clog and provide solutions to prevent future clogs.
By hiring professional plumbers, homeowners can save time, effort, and money in the long run. They can also have peace of mind knowing that their kitchen sink is functioning properly and that their pipes are not at risk of being damaged.
Related Main Keywords: professional plumbing services, certified plumbers, efficient, effective, prevent future clogs
The Importance of Regular Maintenance
 In addition to seeking professional help when dealing with clogged kitchen sinks, regular maintenance is also crucial. Professional plumbers can provide routine maintenance services to prevent clogs from occurring in the first place. They can also identify any potential issues and address them before they turn into costly repairs.
In conclusion, while long rods may seem like a quick fix for clogged kitchen sinks, they often end up causing more harm than good. It is best to seek professional plumbing services for efficient and effective clog removal, as well as regular maintenance to prevent future clogs. By doing so, homeowners can ensure a functional and stress-free kitchen sink, making their house design even more enjoyable.
In addition to seeking professional help when dealing with clogged kitchen sinks, regular maintenance is also crucial. Professional plumbers can provide routine maintenance services to prevent clogs from occurring in the first place. They can also identify any potential issues and address them before they turn into costly repairs.
In conclusion, while long rods may seem like a quick fix for clogged kitchen sinks, they often end up causing more harm than good. It is best to seek professional plumbing services for efficient and effective clog removal, as well as regular maintenance to prevent future clogs. By doing so, homeowners can ensure a functional and stress-free kitchen sink, making their house design even more enjoyable.