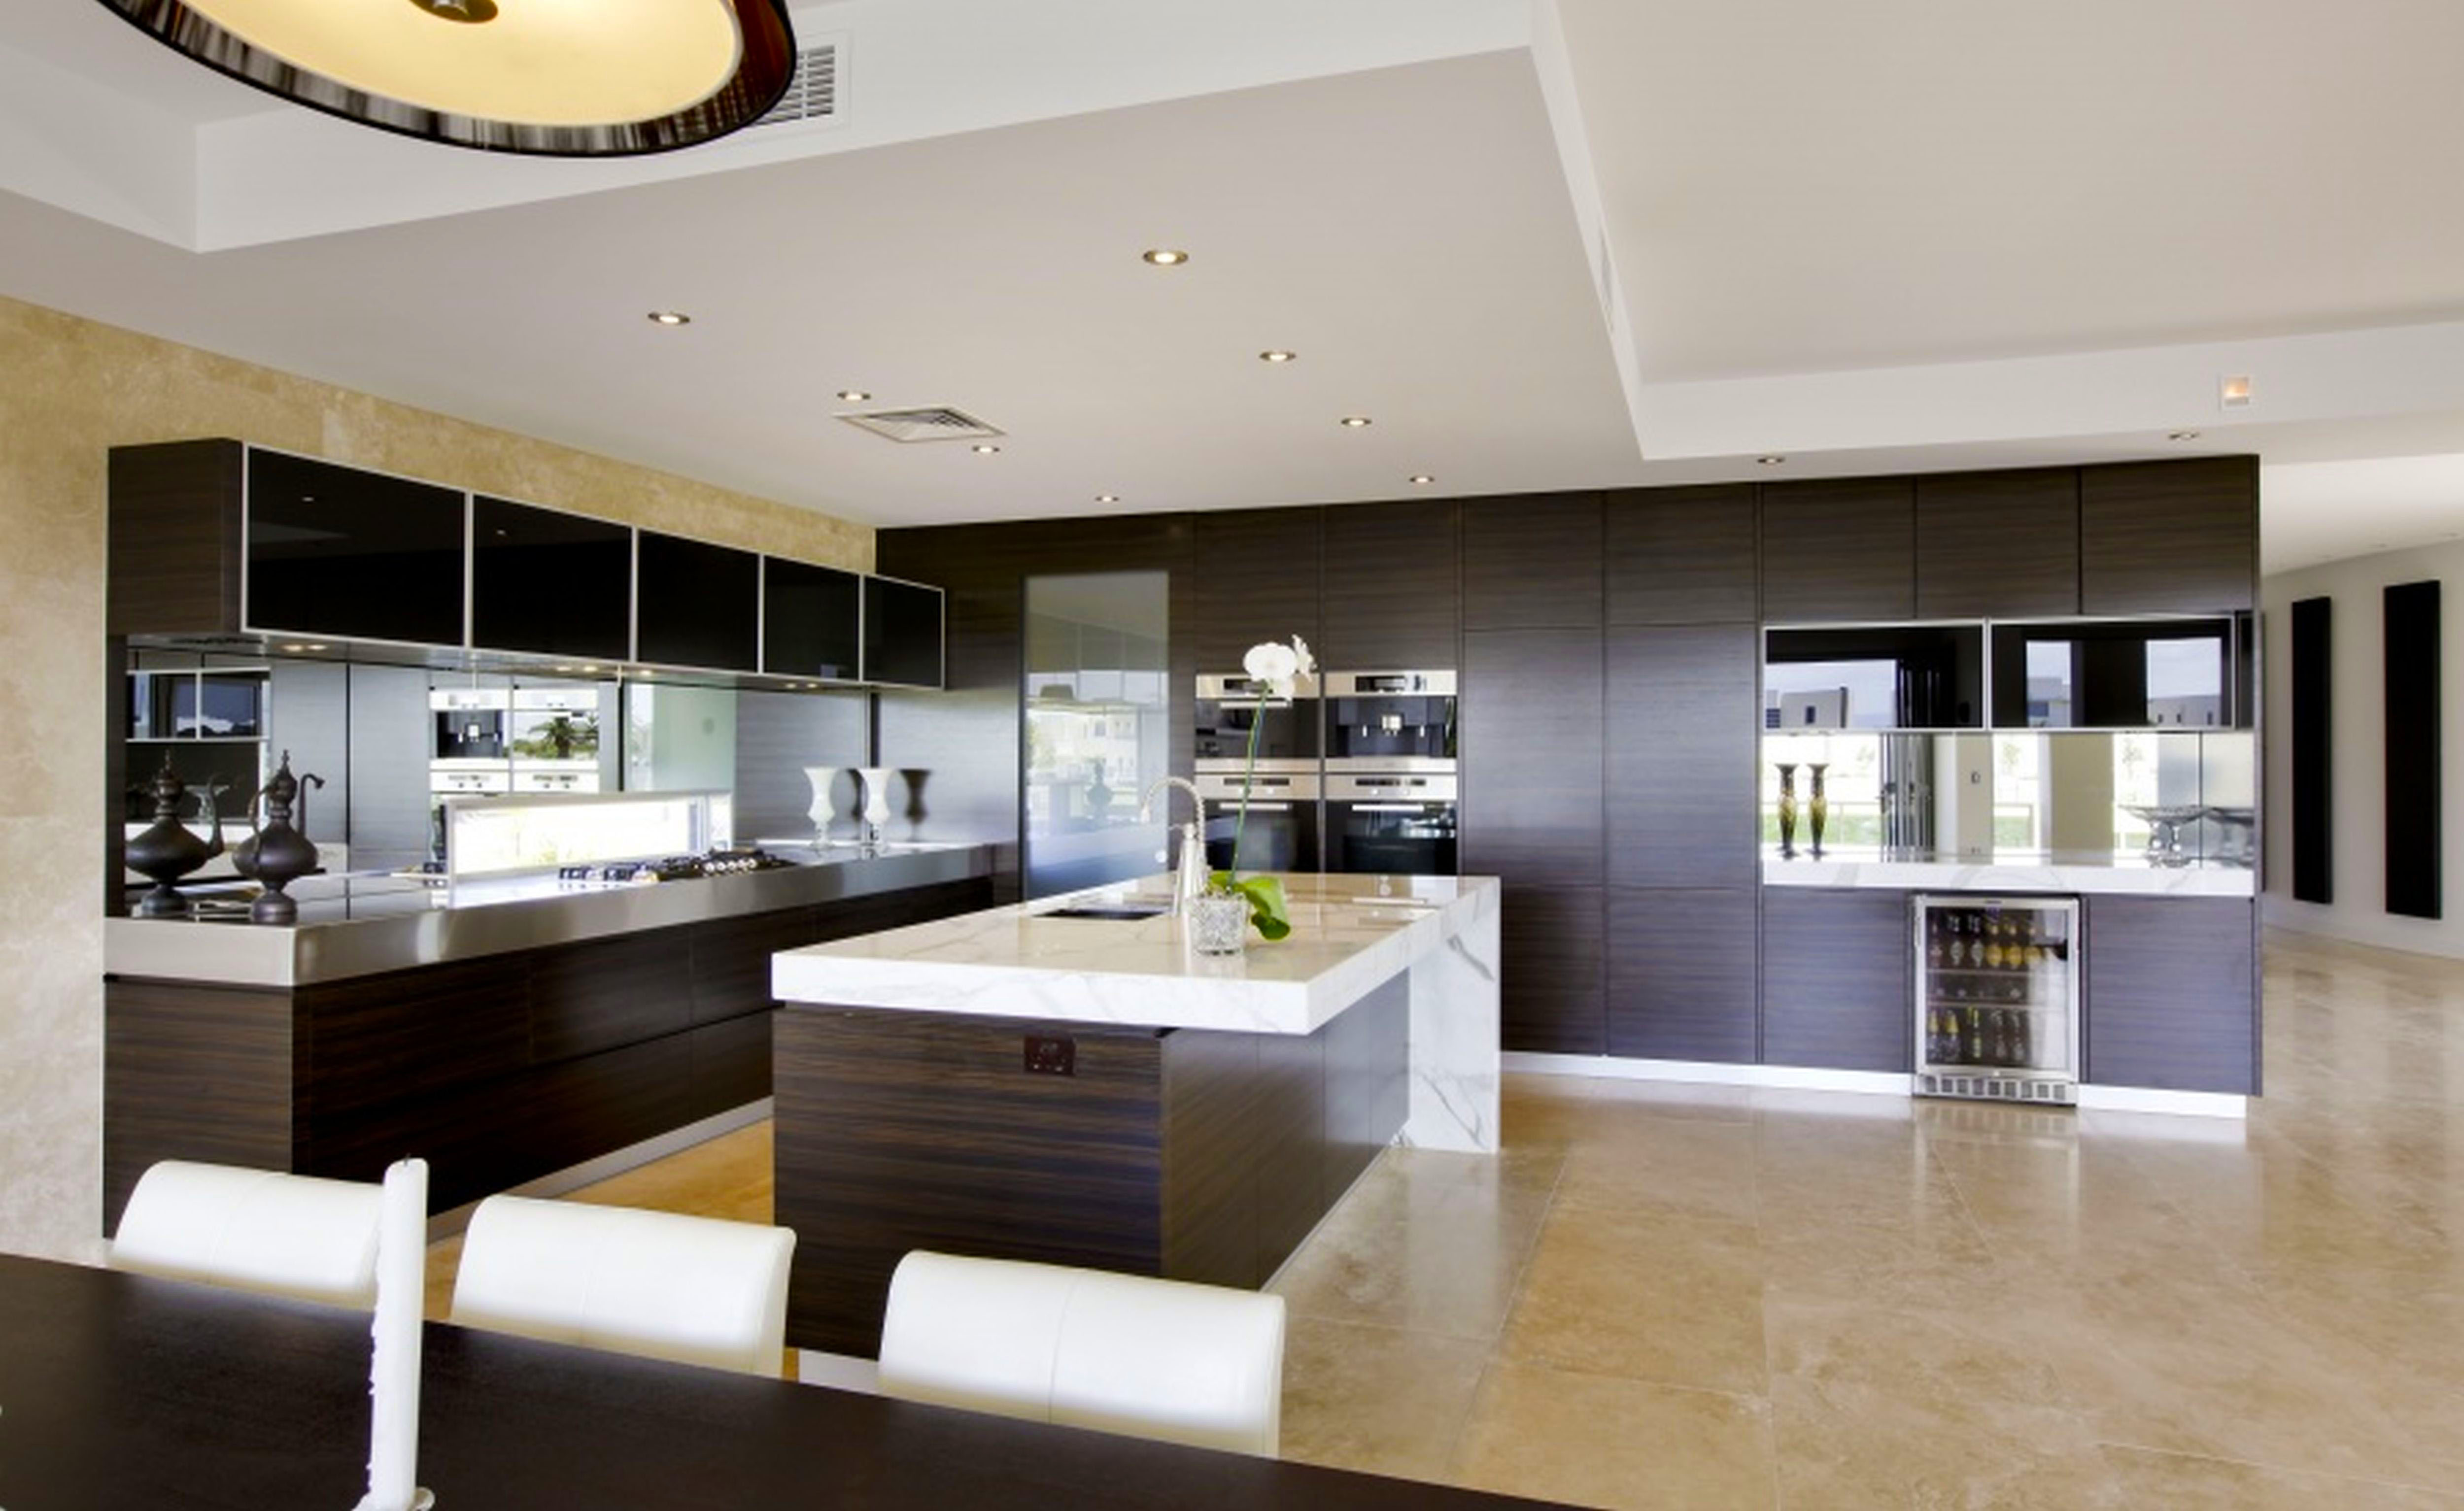
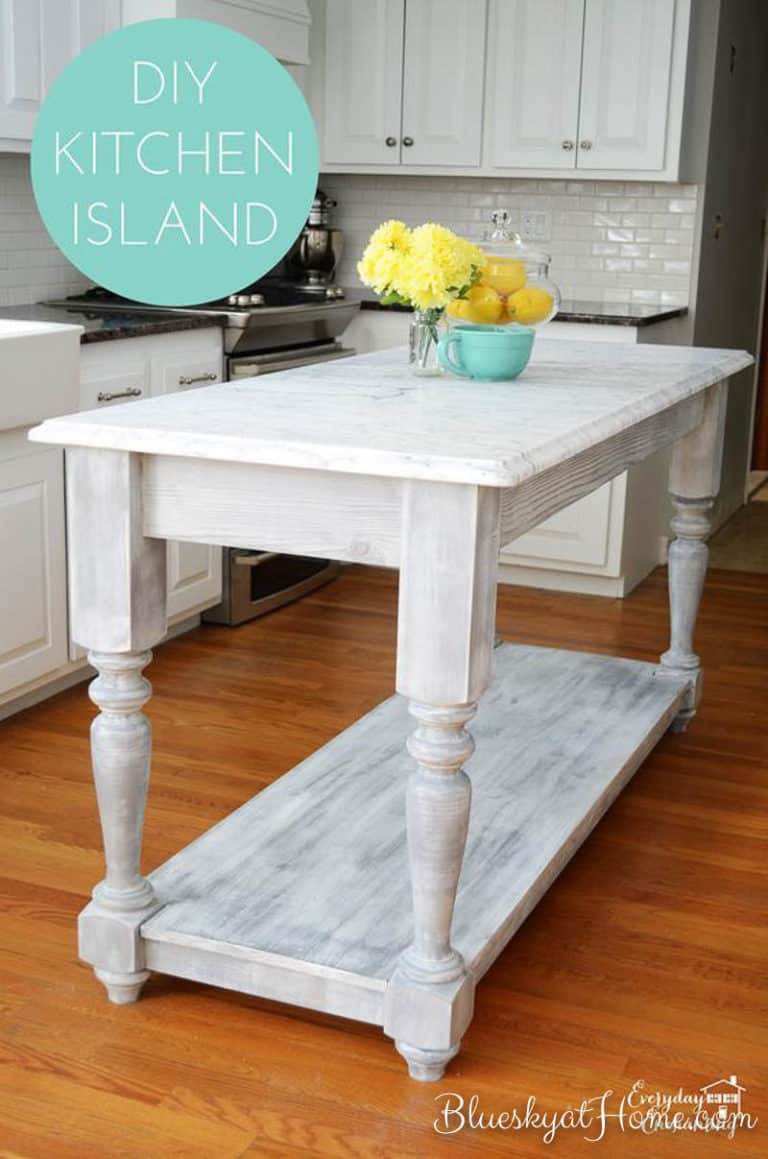
Are you looking to upgrade your kitchen without breaking the bank? Look no further than the IKEA Lack table. This simple and affordable piece of furniture can easily be transformed into a stylish and functional kitchen island. With some creativity and a few simple tools, you can have a custom kitchen island that fits your space and budget perfectly.DIY Kitchen Island Using IKEA Lack Table


DIY Kitchen Island Using IKEA Lack Table


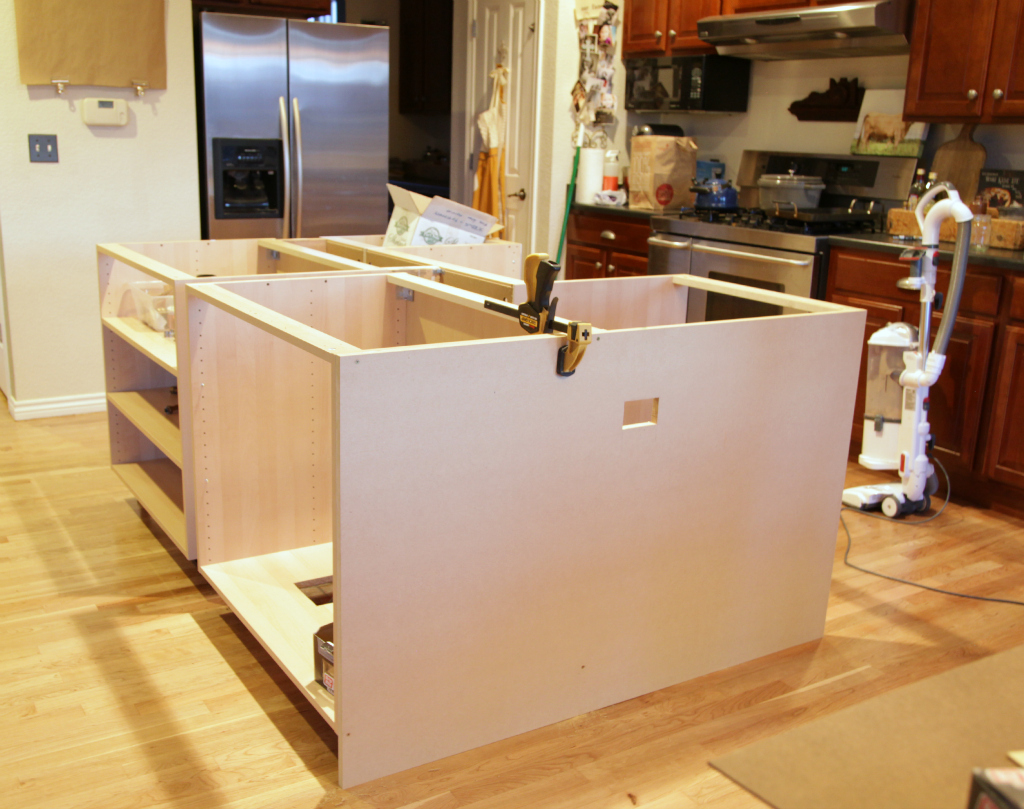
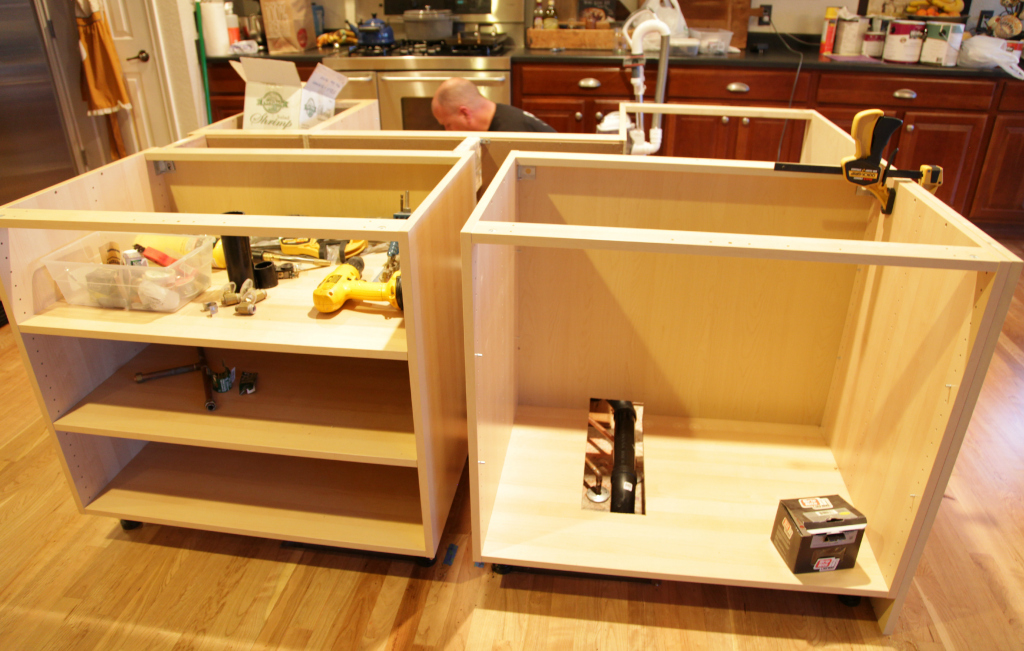
The first step in creating your DIY kitchen island is to gather all the materials you will need. This includes an IKEA Lack table, wood glue, screws, a drill, and some paint or stain of your choice. It's also helpful to have a measuring tape and a level to ensure that your island is sturdy and level.How to Turn an IKEA Lack Table into a Kitchen Island

How to Turn an IKEA Lack Table into a Kitchen Island
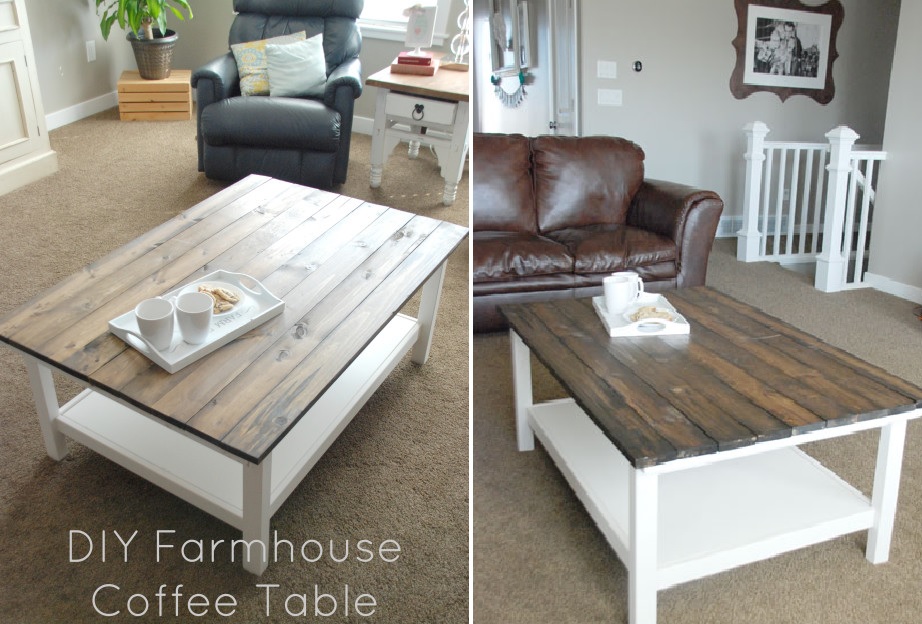


The next step is to assemble the IKEA Lack table according to the instructions provided. Once the table is put together, you can start customizing it to fit your needs. If you want a larger island, you can stack two Lack tables on top of each other and secure them with wood glue and screws.Easy DIY Kitchen Island with IKEA Lack Table

Easy DIY Kitchen Island with IKEA Lack Table


Now comes the fun part - adding your own personal touch to the island. You can paint or stain the table to match your kitchen decor. You can also add shelves or hooks to the sides of the island for extra storage and convenience. Get creative and make it your own!IKEA Hack: Kitchen Island from Lack Table


IKEA Hack: Kitchen Island from Lack Table
:max_bytes(150000):strip_icc()/FullUnit-DaphneK-4ecfb6449567437fb40bb8cc7b372109.jpeg)

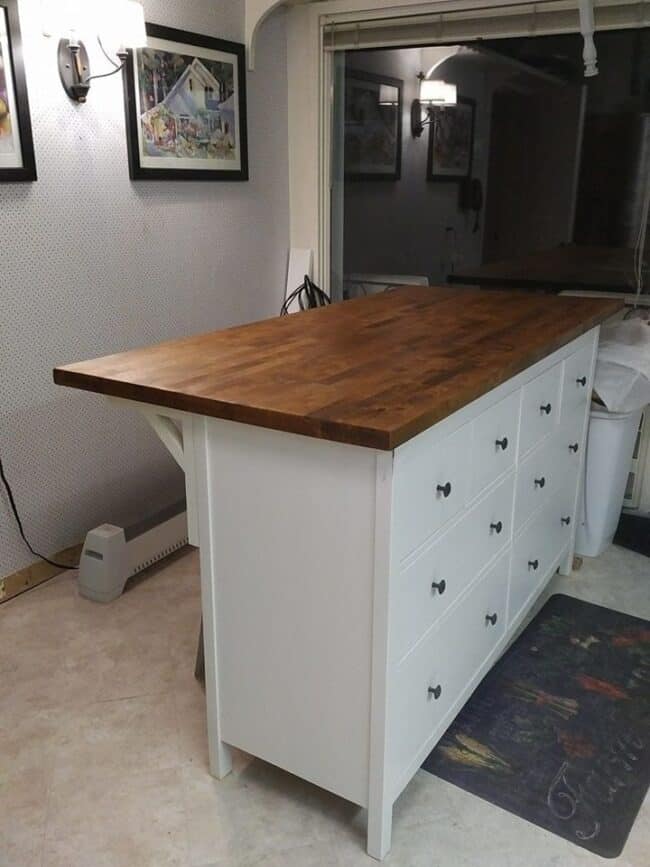
The final step is to secure the island to your kitchen floor. This will ensure that it doesn't move or wobble while in use. Simply use screws to attach the legs of the island to the floor. You can also add caster wheels to the bottom of the legs if you want a more mobile island.Transforming an IKEA Lack Table into a Kitchen Island


Transforming an IKEA Lack Table into a Kitchen Island
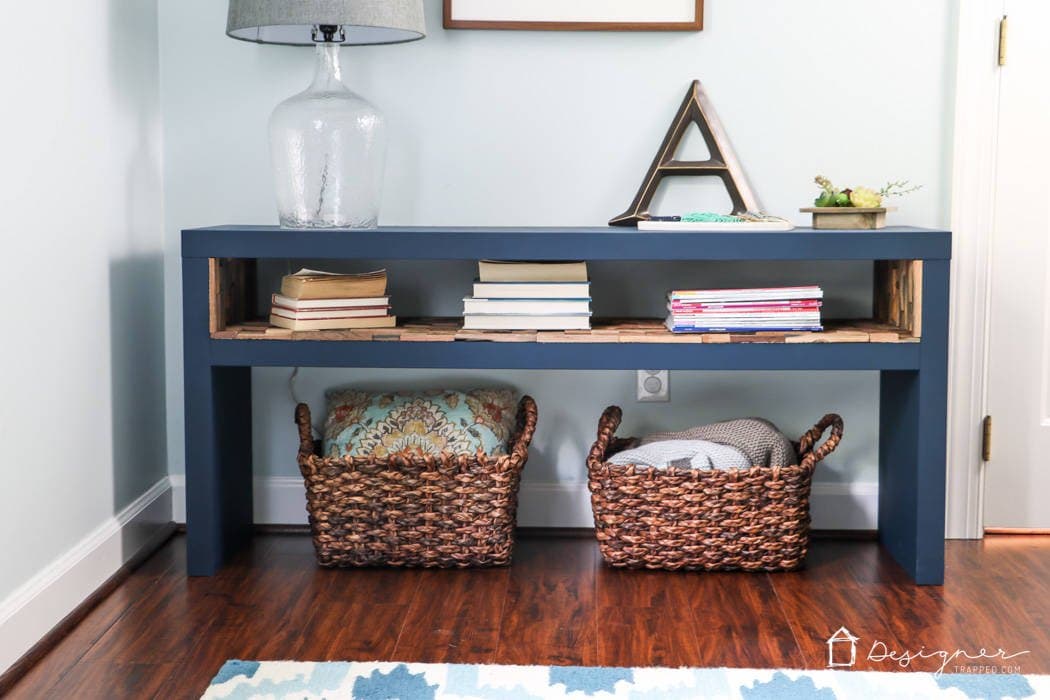


With just a few easy steps, you now have a beautiful and functional kitchen island that you created yourself. Not only does it add extra counter space and storage to your kitchen, but it also adds character and charm.Step-by-Step Guide to Building a Kitchen Island with IKEA Lack Table


Step-by-Step Guide to Building a Kitchen Island with IKEA Lack Table


The best part about this project is that it is budget-friendly. The IKEA Lack table is affordable, and the additional materials needed are also relatively inexpensive. You can have a high-end looking kitchen island without the high-end price tag.Affordable Kitchen Island DIY with IKEA Lack Table


Affordable Kitchen Island DIY with IKEA Lack Table


Another great thing about this DIY project is that it can be customized to fit your specific needs. You can add extra shelves, hooks, or even a small sink if you desire. The possibilities are endless, and you can make it exactly what you want.Using an IKEA Lack Table to Create a Custom Kitchen Island


Using an IKEA Lack Table to Create a Custom Kitchen Island


If you're in need of more storage in your kitchen, this project is perfect for you. The shelves and hooks that you can add to the sides of the island are great for storing pots, pans, and other kitchen essentials. You can even add a towel rack for easy access to kitchen towels.DIY Kitchen Island with Storage Using IKEA Lack Table
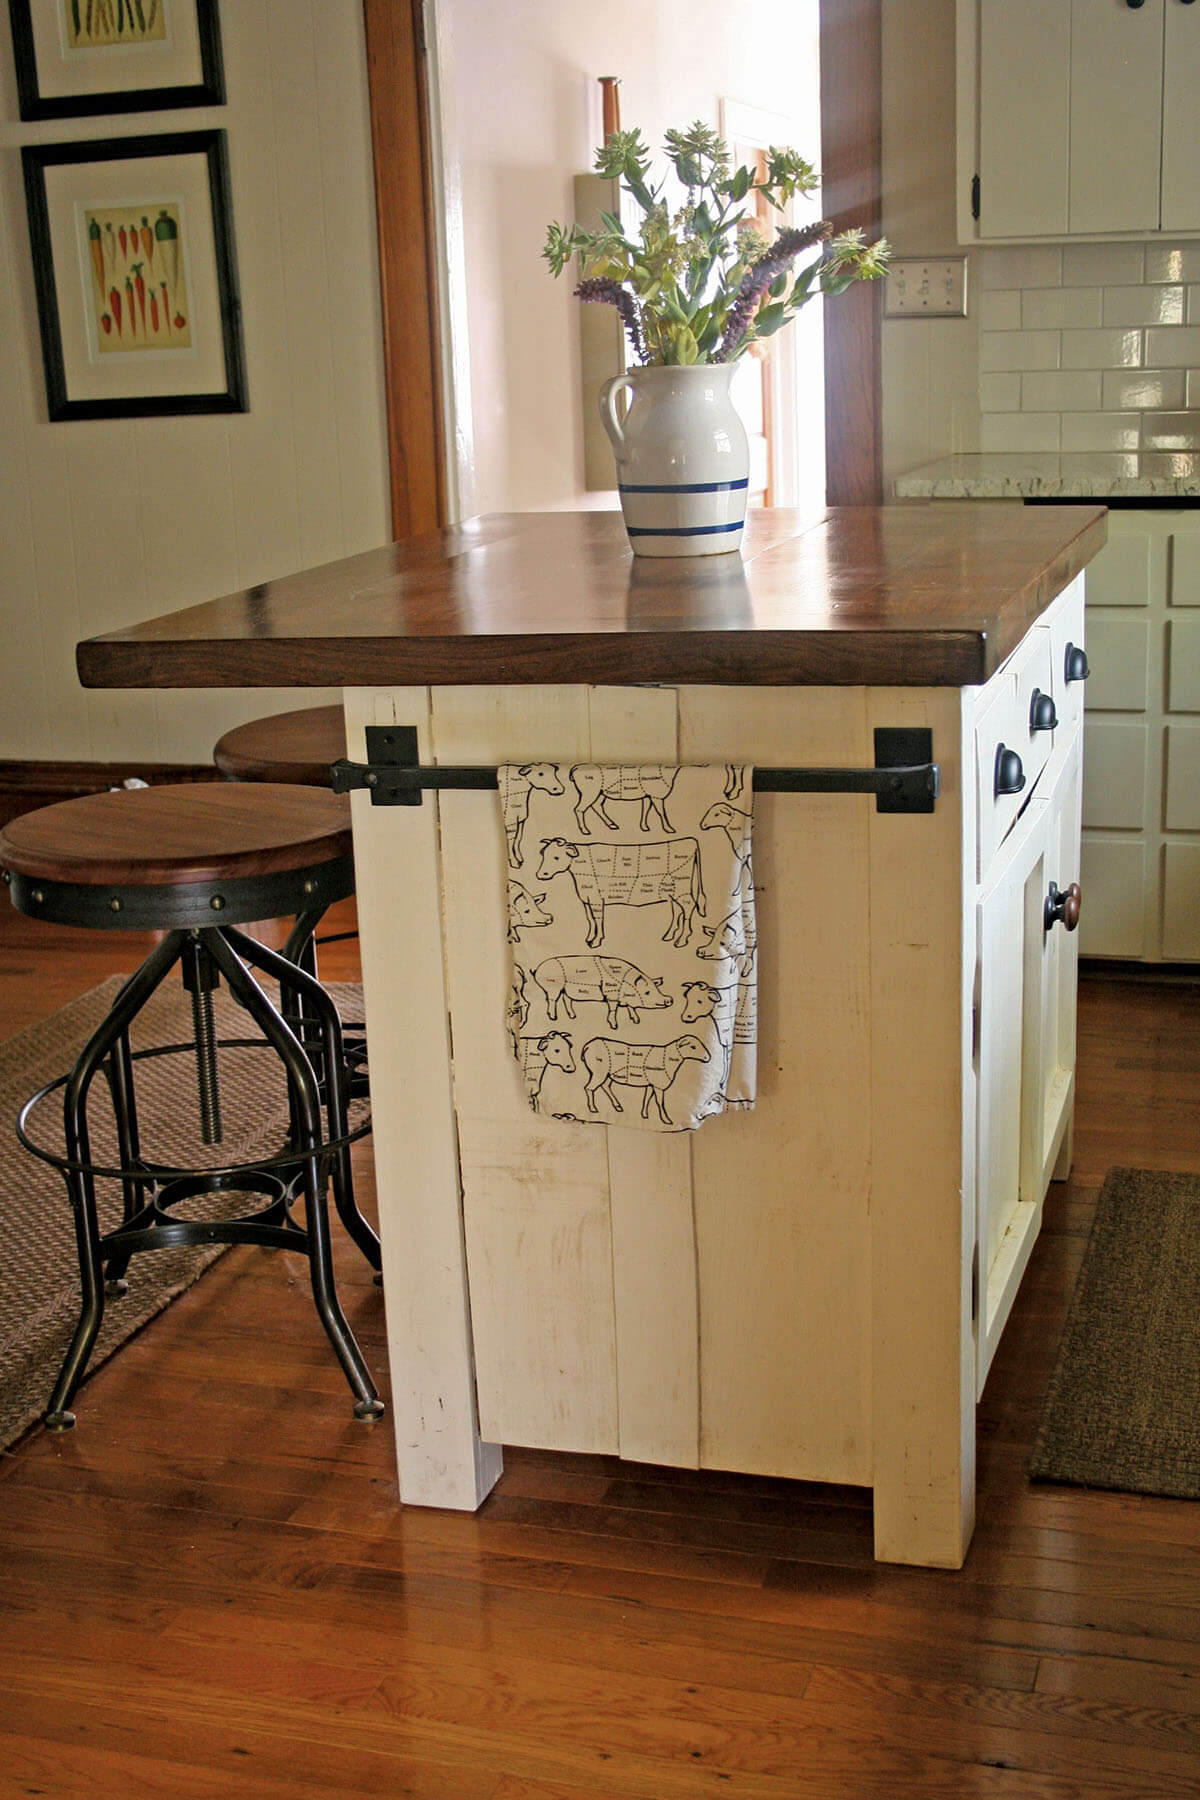

DIY Kitchen Island with Storage Using IKEA Lack Table


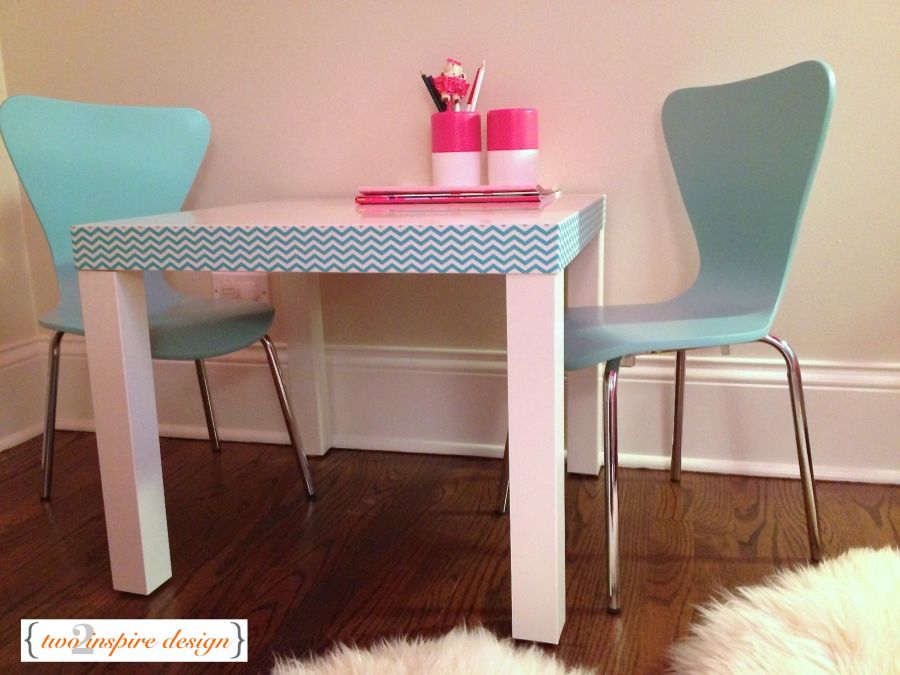
The IKEA Lack table is not just limited to a kitchen island. You can also use it as a kitchen cart or a portable bar for entertaining. With its compact size and versatility, it can be used in many different ways to enhance your kitchen space.How to Upgrade Your Kitchen with an IKEA Lack Table Island


How to Upgrade Your Kitchen with an IKEA Lack Table Island

:strip_icc()/ikea-kitchen-island-hacks-2-6a797e44ecec4461b9a98eb584259e0c.jpg)
:max_bytes(150000):strip_icc()/farmhouse-style-kitchen-island-7d12569a-85b15b41747441bb8ac9429cbac8bb6b.jpg)

Transforming Your Kitchen with a DIY IKEA Lack Table Island

Creating a Functional and Stylish Addition to Your Home
 When it comes to house design, the kitchen is often considered the heart of the home. It is where meals are prepared, memories are made, and families gather together. However, a functional and well-designed kitchen can also add value and appeal to your home. One way to upgrade your kitchen is by adding a
DIY IKEA Lack table island
. This simple and affordable project can transform your kitchen into a stylish and functional space.
When it comes to house design, the kitchen is often considered the heart of the home. It is where meals are prepared, memories are made, and families gather together. However, a functional and well-designed kitchen can also add value and appeal to your home. One way to upgrade your kitchen is by adding a
DIY IKEA Lack table island
. This simple and affordable project can transform your kitchen into a stylish and functional space.
Why Choose an IKEA Lack Table?
 IKEA Lack tables are known for their sleek and modern design, making them a popular choice for DIY projects. They are also affordable and easy to assemble, making them perfect for a budget-friendly kitchen upgrade. Additionally, the Lack table's compact size and light weight make it a versatile piece of furniture that can be easily moved and repurposed.
Materials and Tools Needed
 To create your own
kitchen island DIY IKEA Lack table
, you will need the following materials and tools:
To create your own
kitchen island DIY IKEA Lack table
, you will need the following materials and tools:
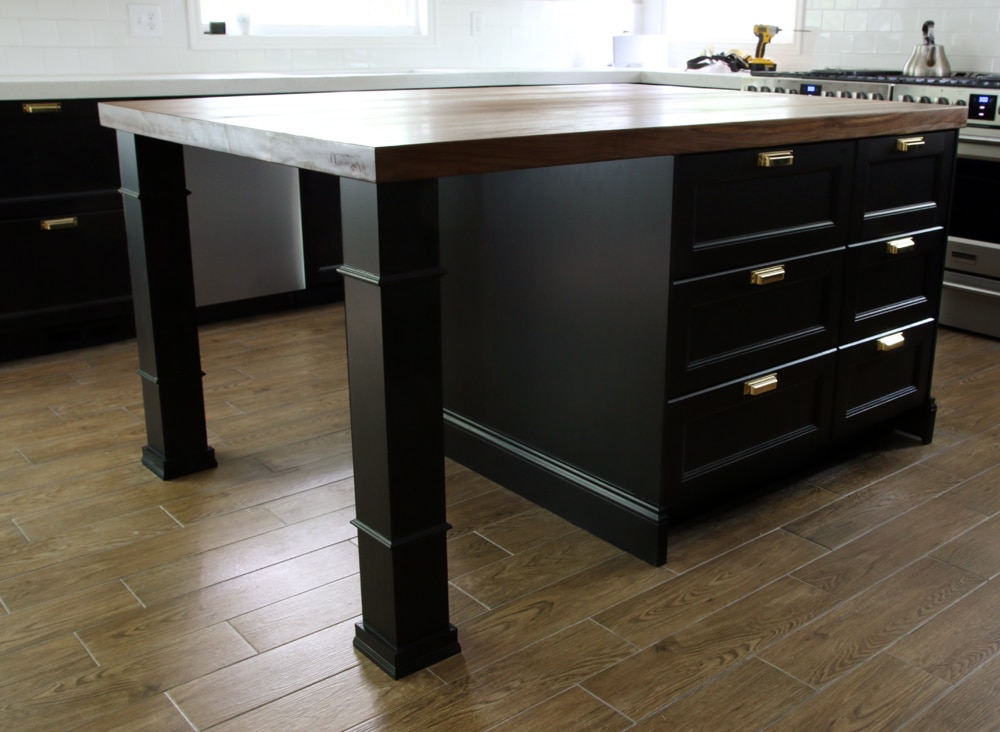
- 1 IKEA Lack table
- 4 furniture legs
- 4 mounting plates
- Drill
- Screws
- Measuring tape
- Pencil
- Screwdriver
- Optional: paint or stain
Step-by-Step Guide
 Now that you have all the necessary materials and tools, it's time to start creating your
DIY IKEA Lack table island
. Follow these simple steps:
Now that you have all the necessary materials and tools, it's time to start creating your
DIY IKEA Lack table island
. Follow these simple steps:
- Assemble the IKEA Lack table according to the instructions provided.
- Measure and mark the placement of the furniture legs on each corner of the table.
- Drill holes for the mounting plates on the marked spots.
- Attach the mounting plates to the table using screws.
- Insert the furniture legs into the mounting plates and secure them with screws.
- If desired, paint or stain the table to match your kitchen's color scheme.
- Your kitchen island DIY IKEA Lack table is now ready to use!
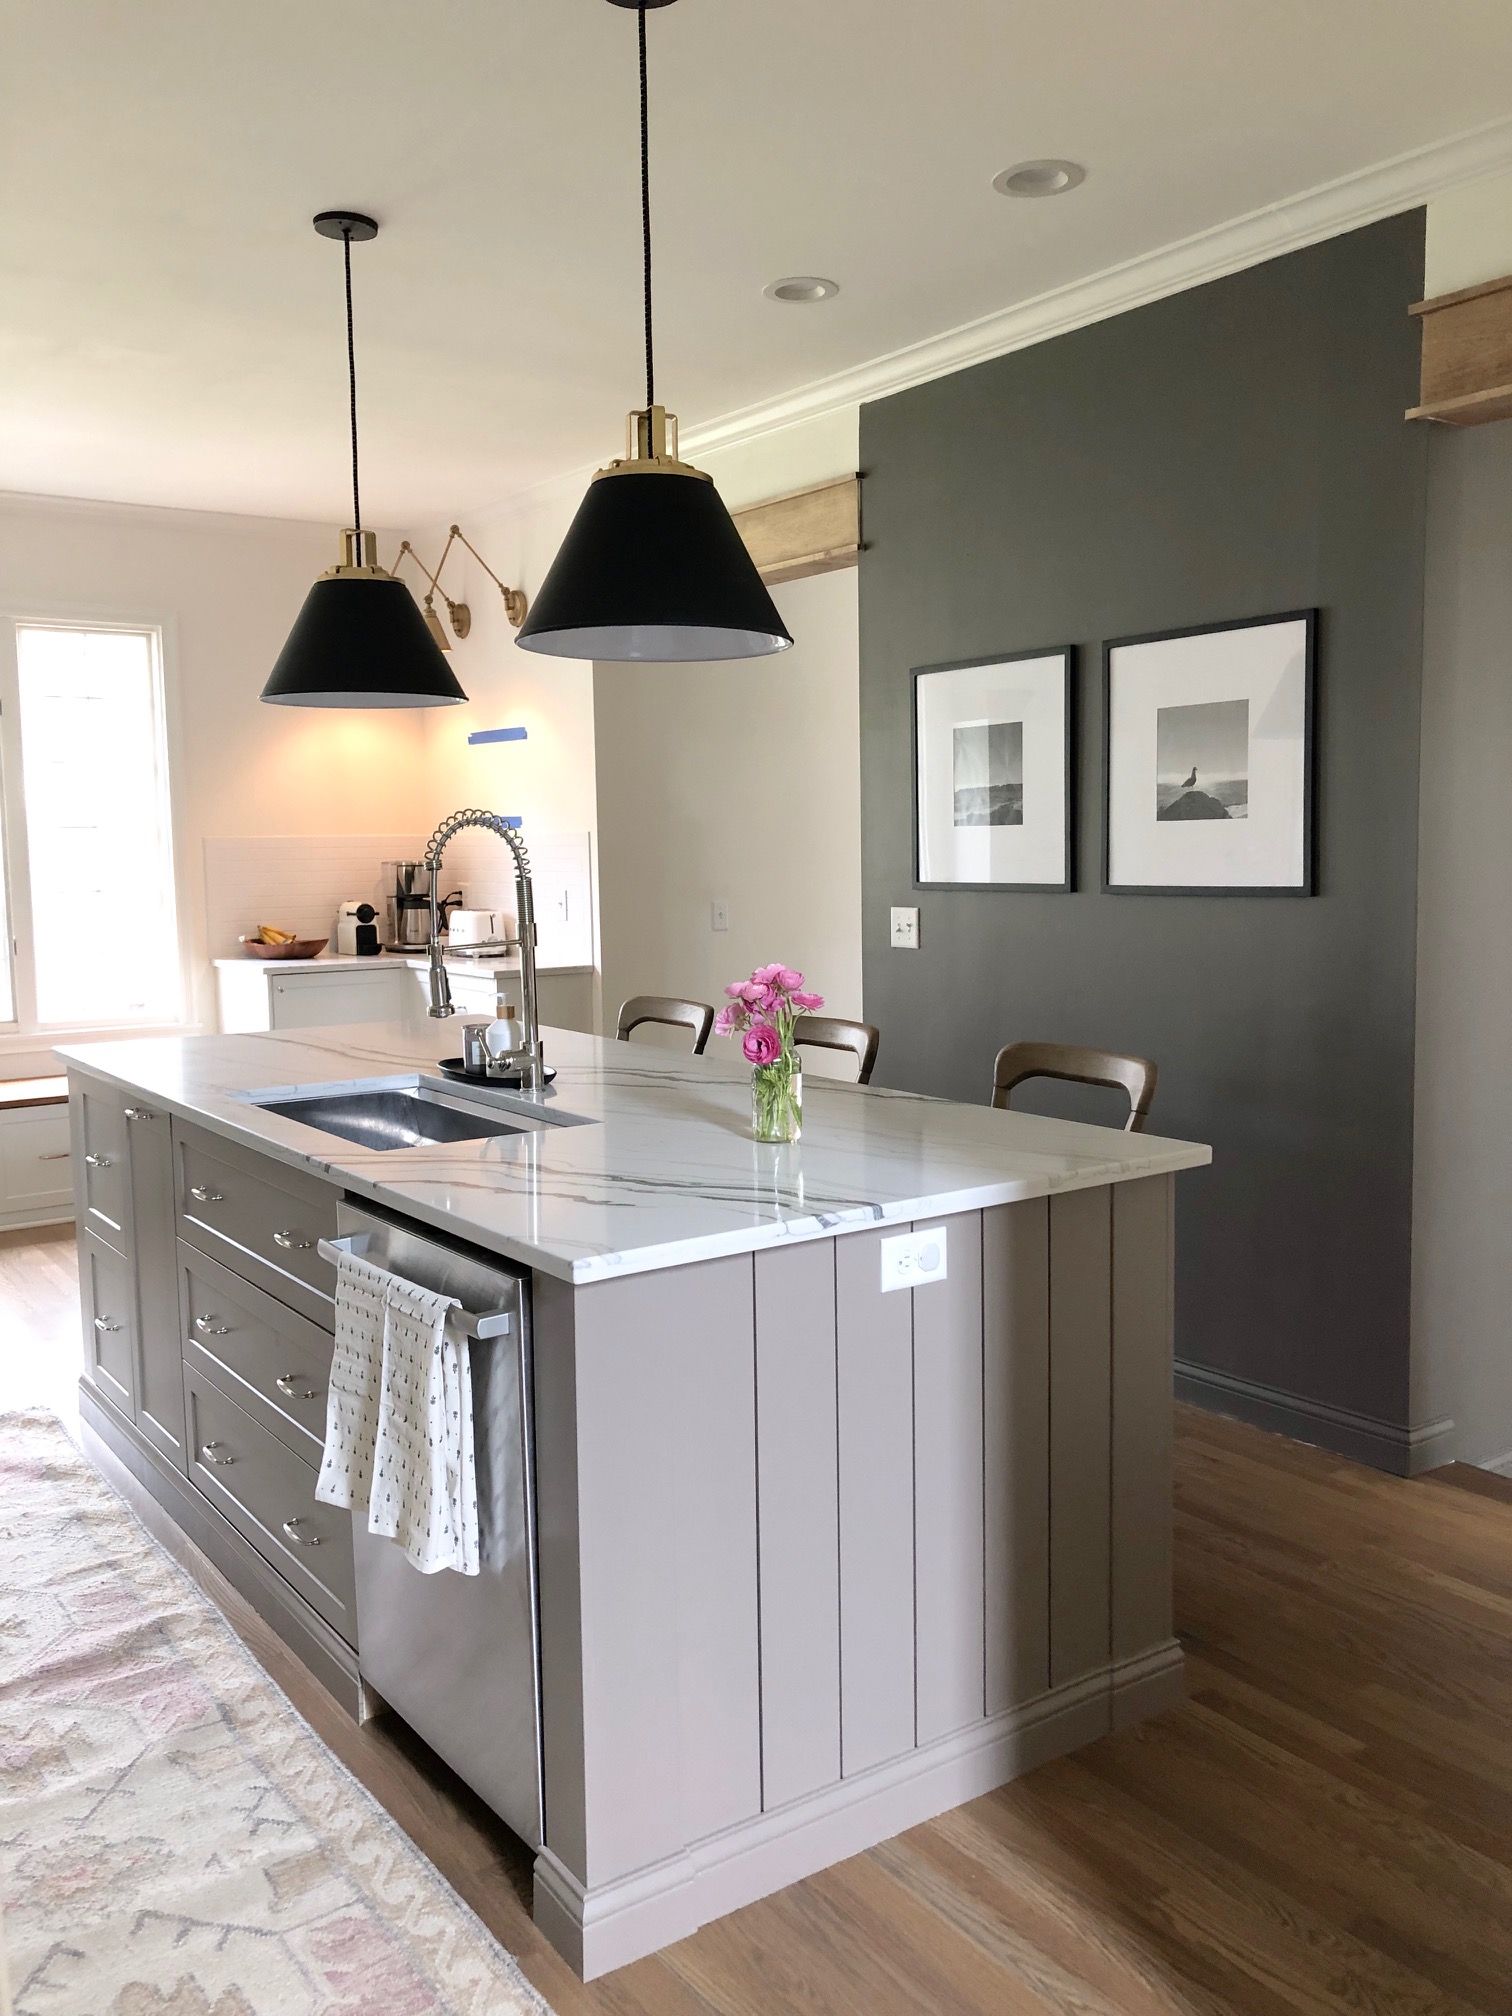
The Benefits of a DIY Kitchen Island
 Aside from the aesthetic appeal of a
DIY IKEA Lack table island
, there are also practical benefits to adding one to your kitchen. These include:
Aside from the aesthetic appeal of a
DIY IKEA Lack table island
, there are also practical benefits to adding one to your kitchen. These include:
- Extra counter space for food preparation and serving.
- Additional storage for kitchen tools and appliances.
- A designated space for casual dining or entertaining guests.
- The ability to easily move the island to different locations within the kitchen or even to other rooms in the house.
- The satisfaction of creating a functional and stylish piece of furniture for your home.
In Conclusion
 A
kitchen island DIY IKEA Lack table
is a great way to upgrade your kitchen without breaking the bank. With a few simple materials and tools, you can create a functional and stylish addition to your home. So why wait? Start your DIY project today and transform your kitchen into a space that is both practical and visually appealing.
A
kitchen island DIY IKEA Lack table
is a great way to upgrade your kitchen without breaking the bank. With a few simple materials and tools, you can create a functional and stylish addition to your home. So why wait? Start your DIY project today and transform your kitchen into a space that is both practical and visually appealing.
:no_upscale()/cdn.vox-cdn.com/uploads/chorus_asset/file/19495086/drain_0.jpg)