Installing a kitchen exhaust vent to the wall is an essential step for proper ventilation in any kitchen. Not only does it help remove smoke, odors, and grease, but it also prevents the build-up of harmful pollutants. If you're looking to install a kitchen exhaust vent to the wall, here's a step-by-step guide to help you through the process.How to Install a Kitchen Exhaust Vent to the Wall

How to Install a Kitchen Exhaust Vent to the Wall


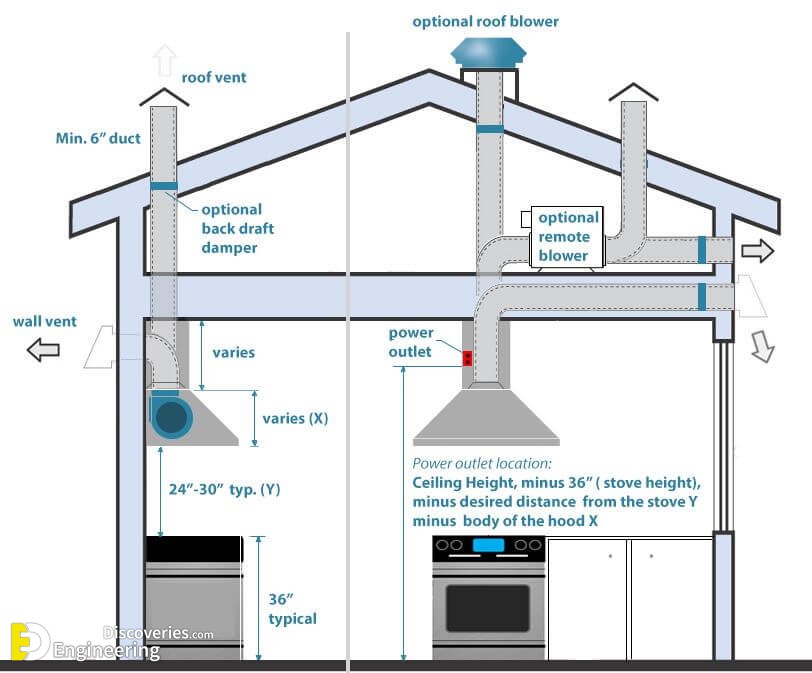


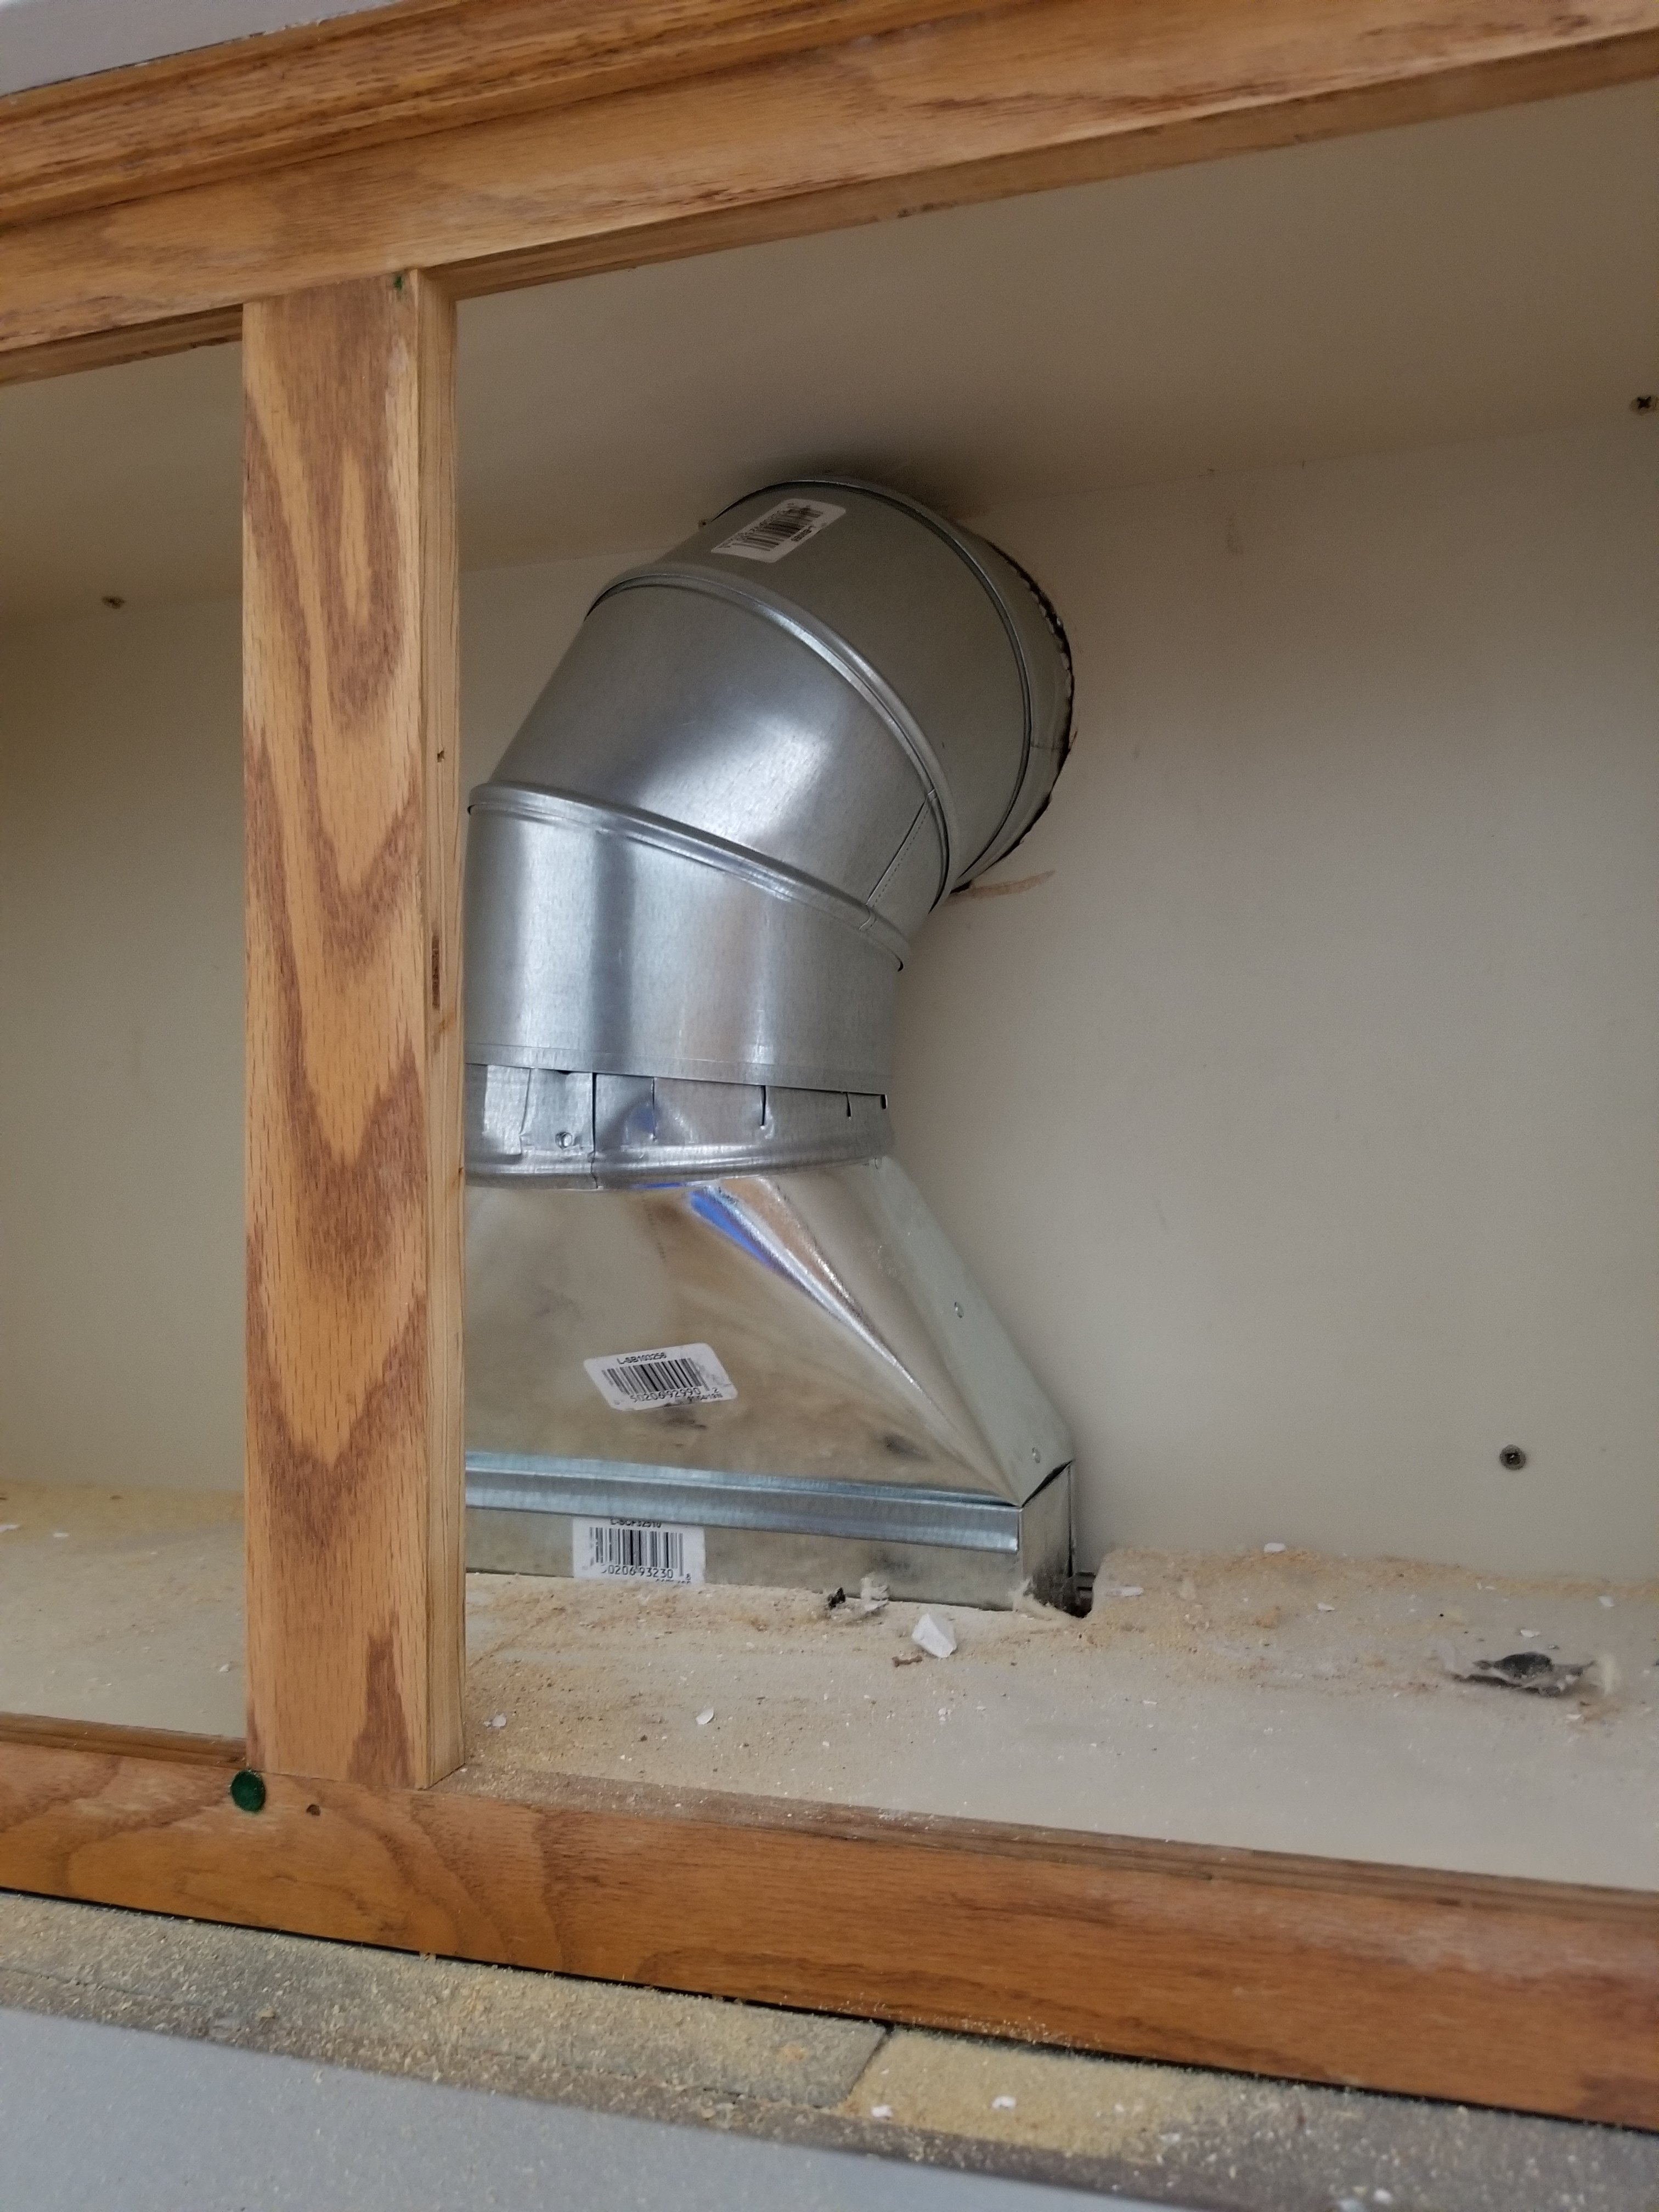
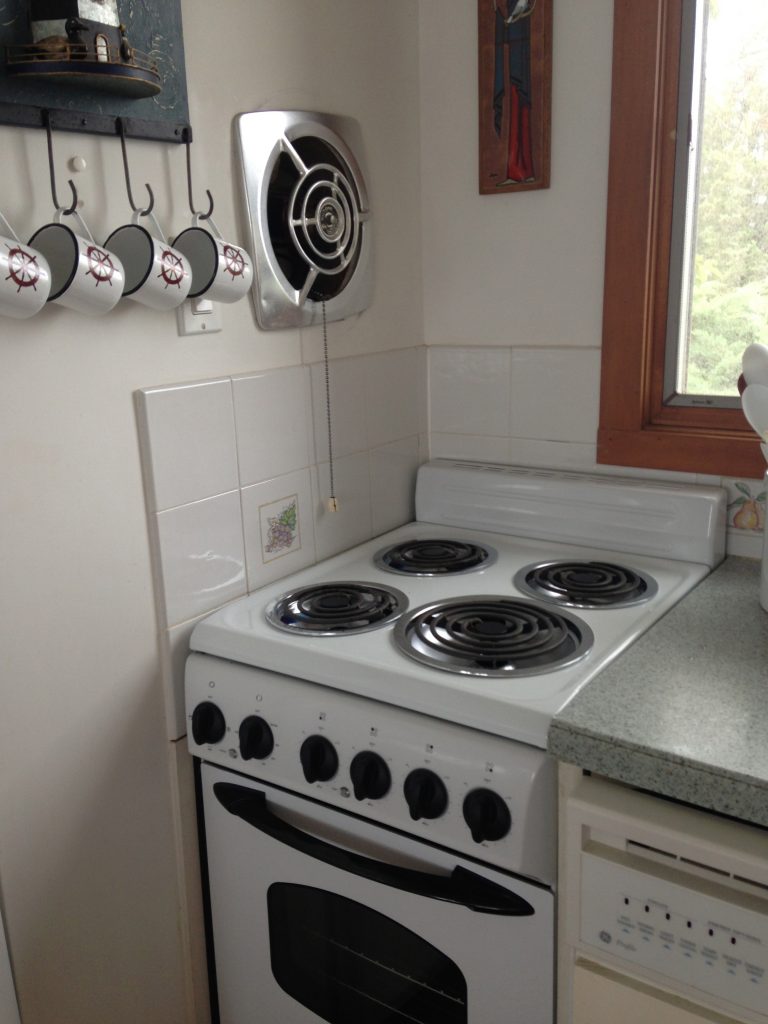
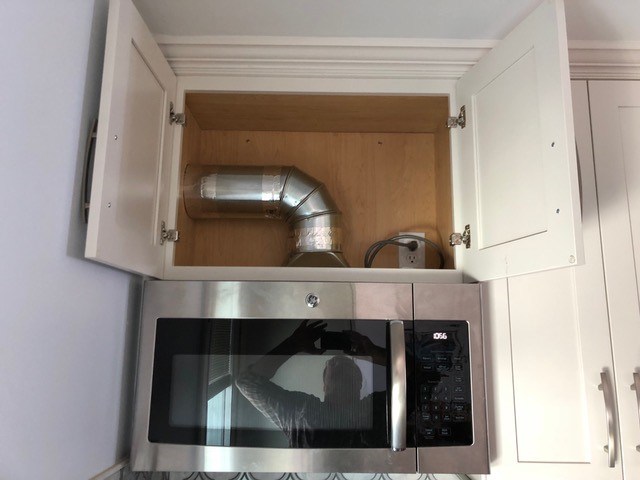
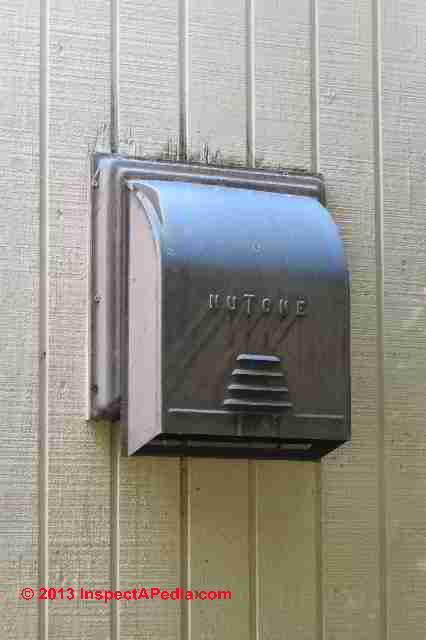
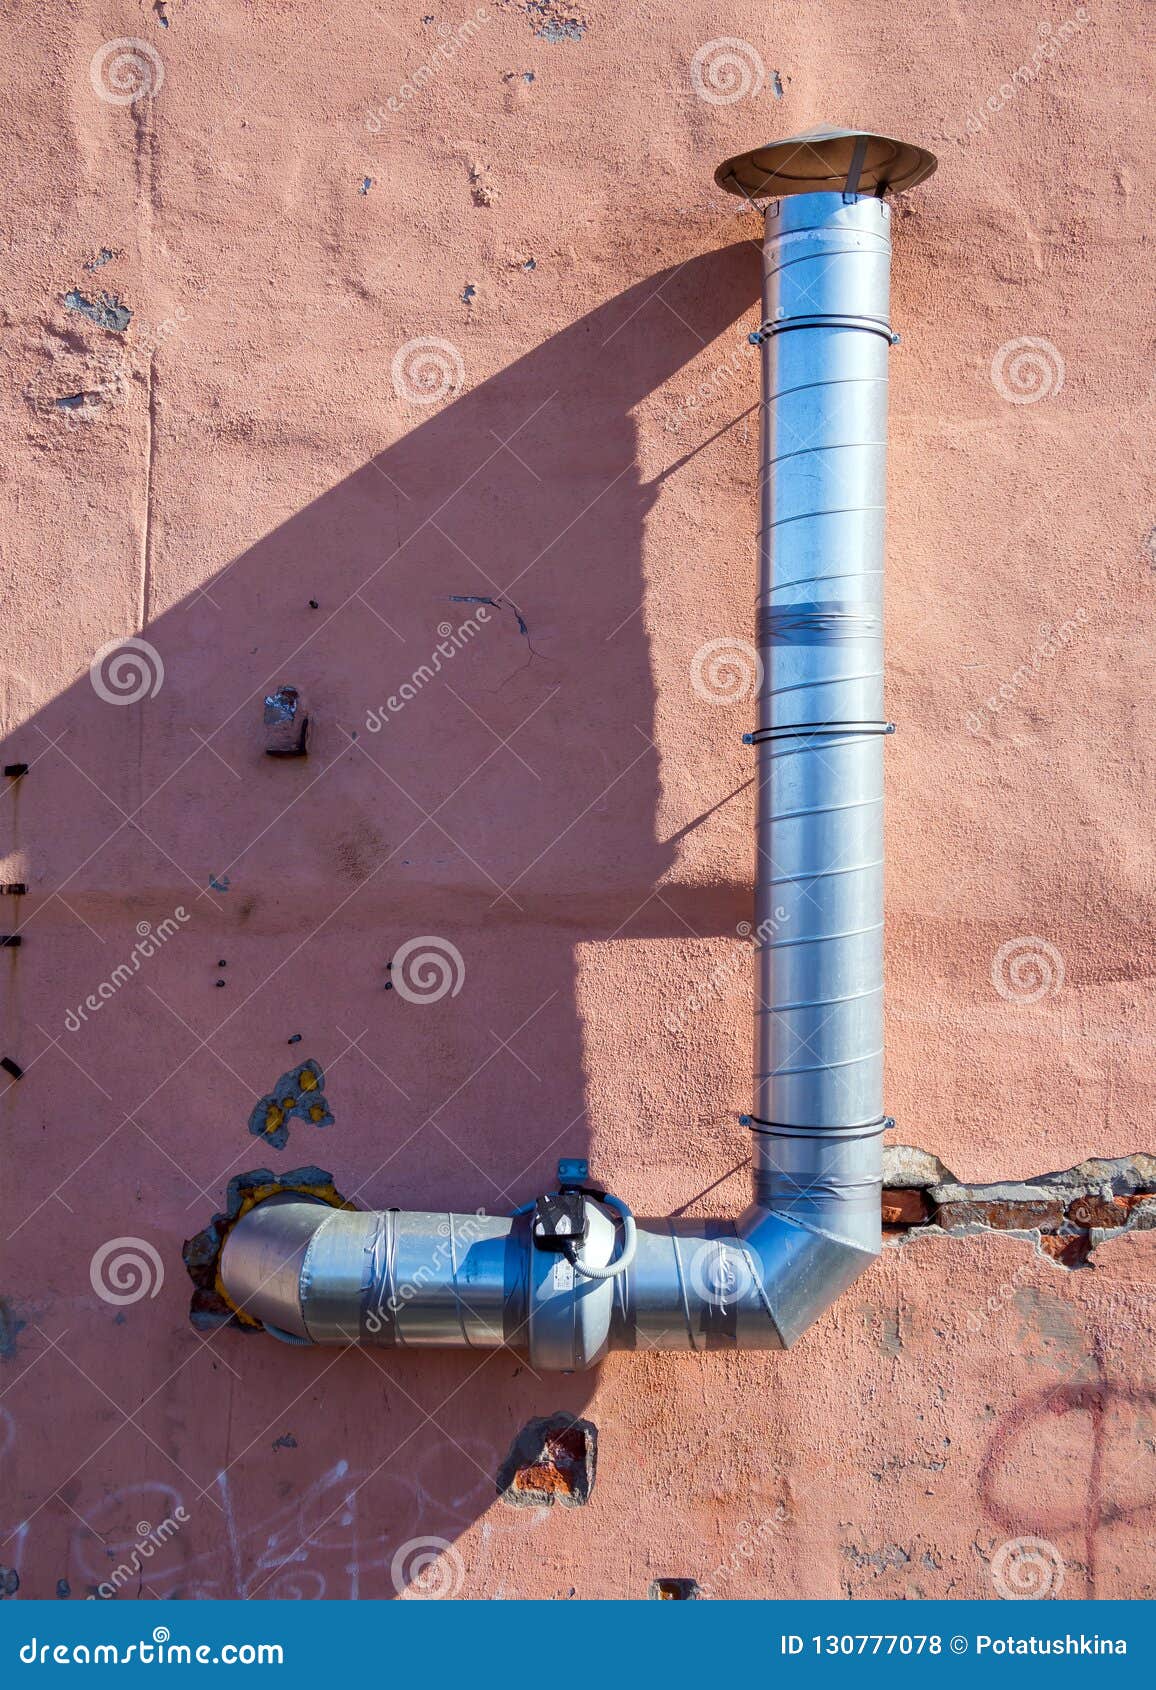
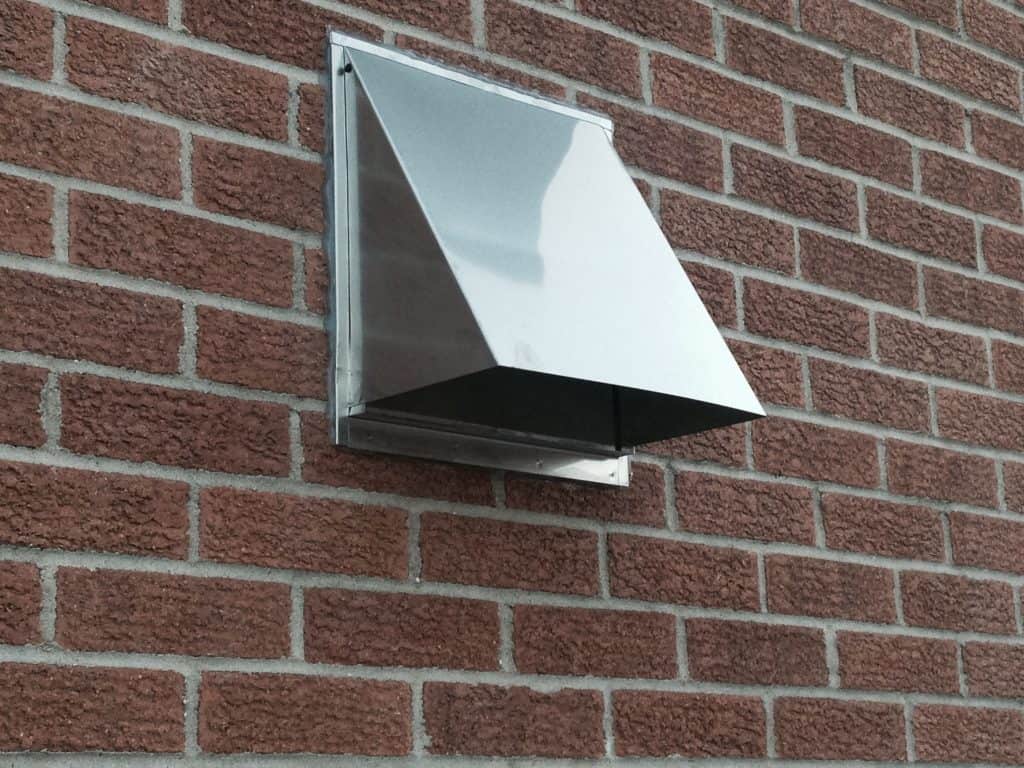
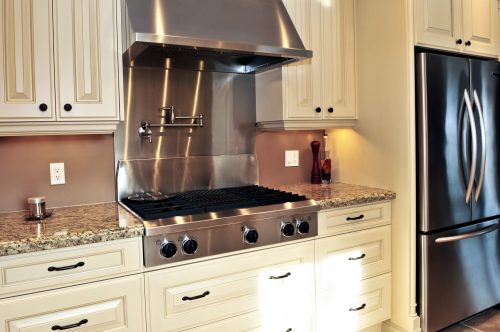
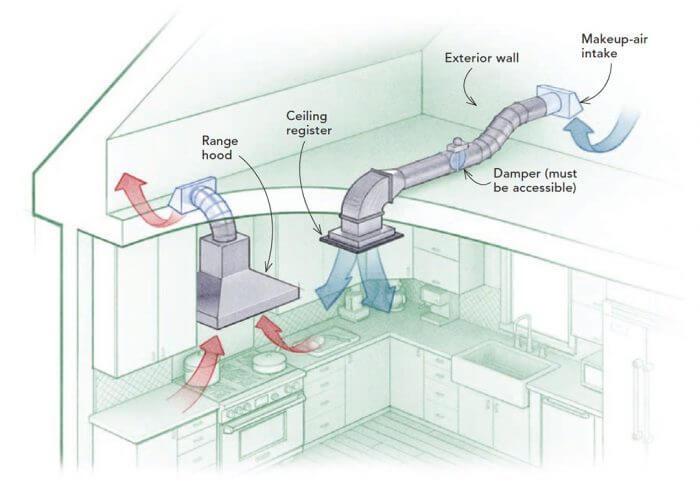
The first step in installing a kitchen exhaust vent to the wall is to determine the placement of the vent. Ideally, it should be placed above your stovetop or cooktop for maximum effectiveness. Once you have identified the location, measure and mark the area where the vent will be installed. Next, using a reciprocating saw, cut a hole in the wall according to the measurements. Make sure to wear protective gear, such as goggles and gloves, while cutting. Once the hole is cut, install the vent hood by securing it to the wall with screws. It is essential to follow the manufacturer's instructions for proper installation. After the hood is secured, attach the vent duct to the back of the hood and run it through the hole in the wall. Use foil tape to seal any gaps between the duct and the vent hood. Finally, connect the duct to the exterior vent cap and secure it with screws. Make sure the vent cap is properly sealed to prevent any air leaks.Step-by-Step Guide for Installing a Kitchen Exhaust Vent to the Wall

Step-by-Step Guide for Installing a Kitchen Exhaust Vent to the Wall


Installing a kitchen exhaust vent to the wall can be a DIY project for those with basic home improvement skills. However, it is essential to follow the proper guidelines and safety precautions to ensure a successful installation. Before starting the installation, make sure to gather all the necessary tools and materials. These may include a reciprocating saw, drill, screws, foil tape, and a vent cap. It is also crucial to refer to the manufacturer's instructions for specific guidelines and any special requirements for your particular vent hood model.DIY Kitchen Exhaust Vent Installation to the Wall


DIY Kitchen Exhaust Vent Installation to the Wall


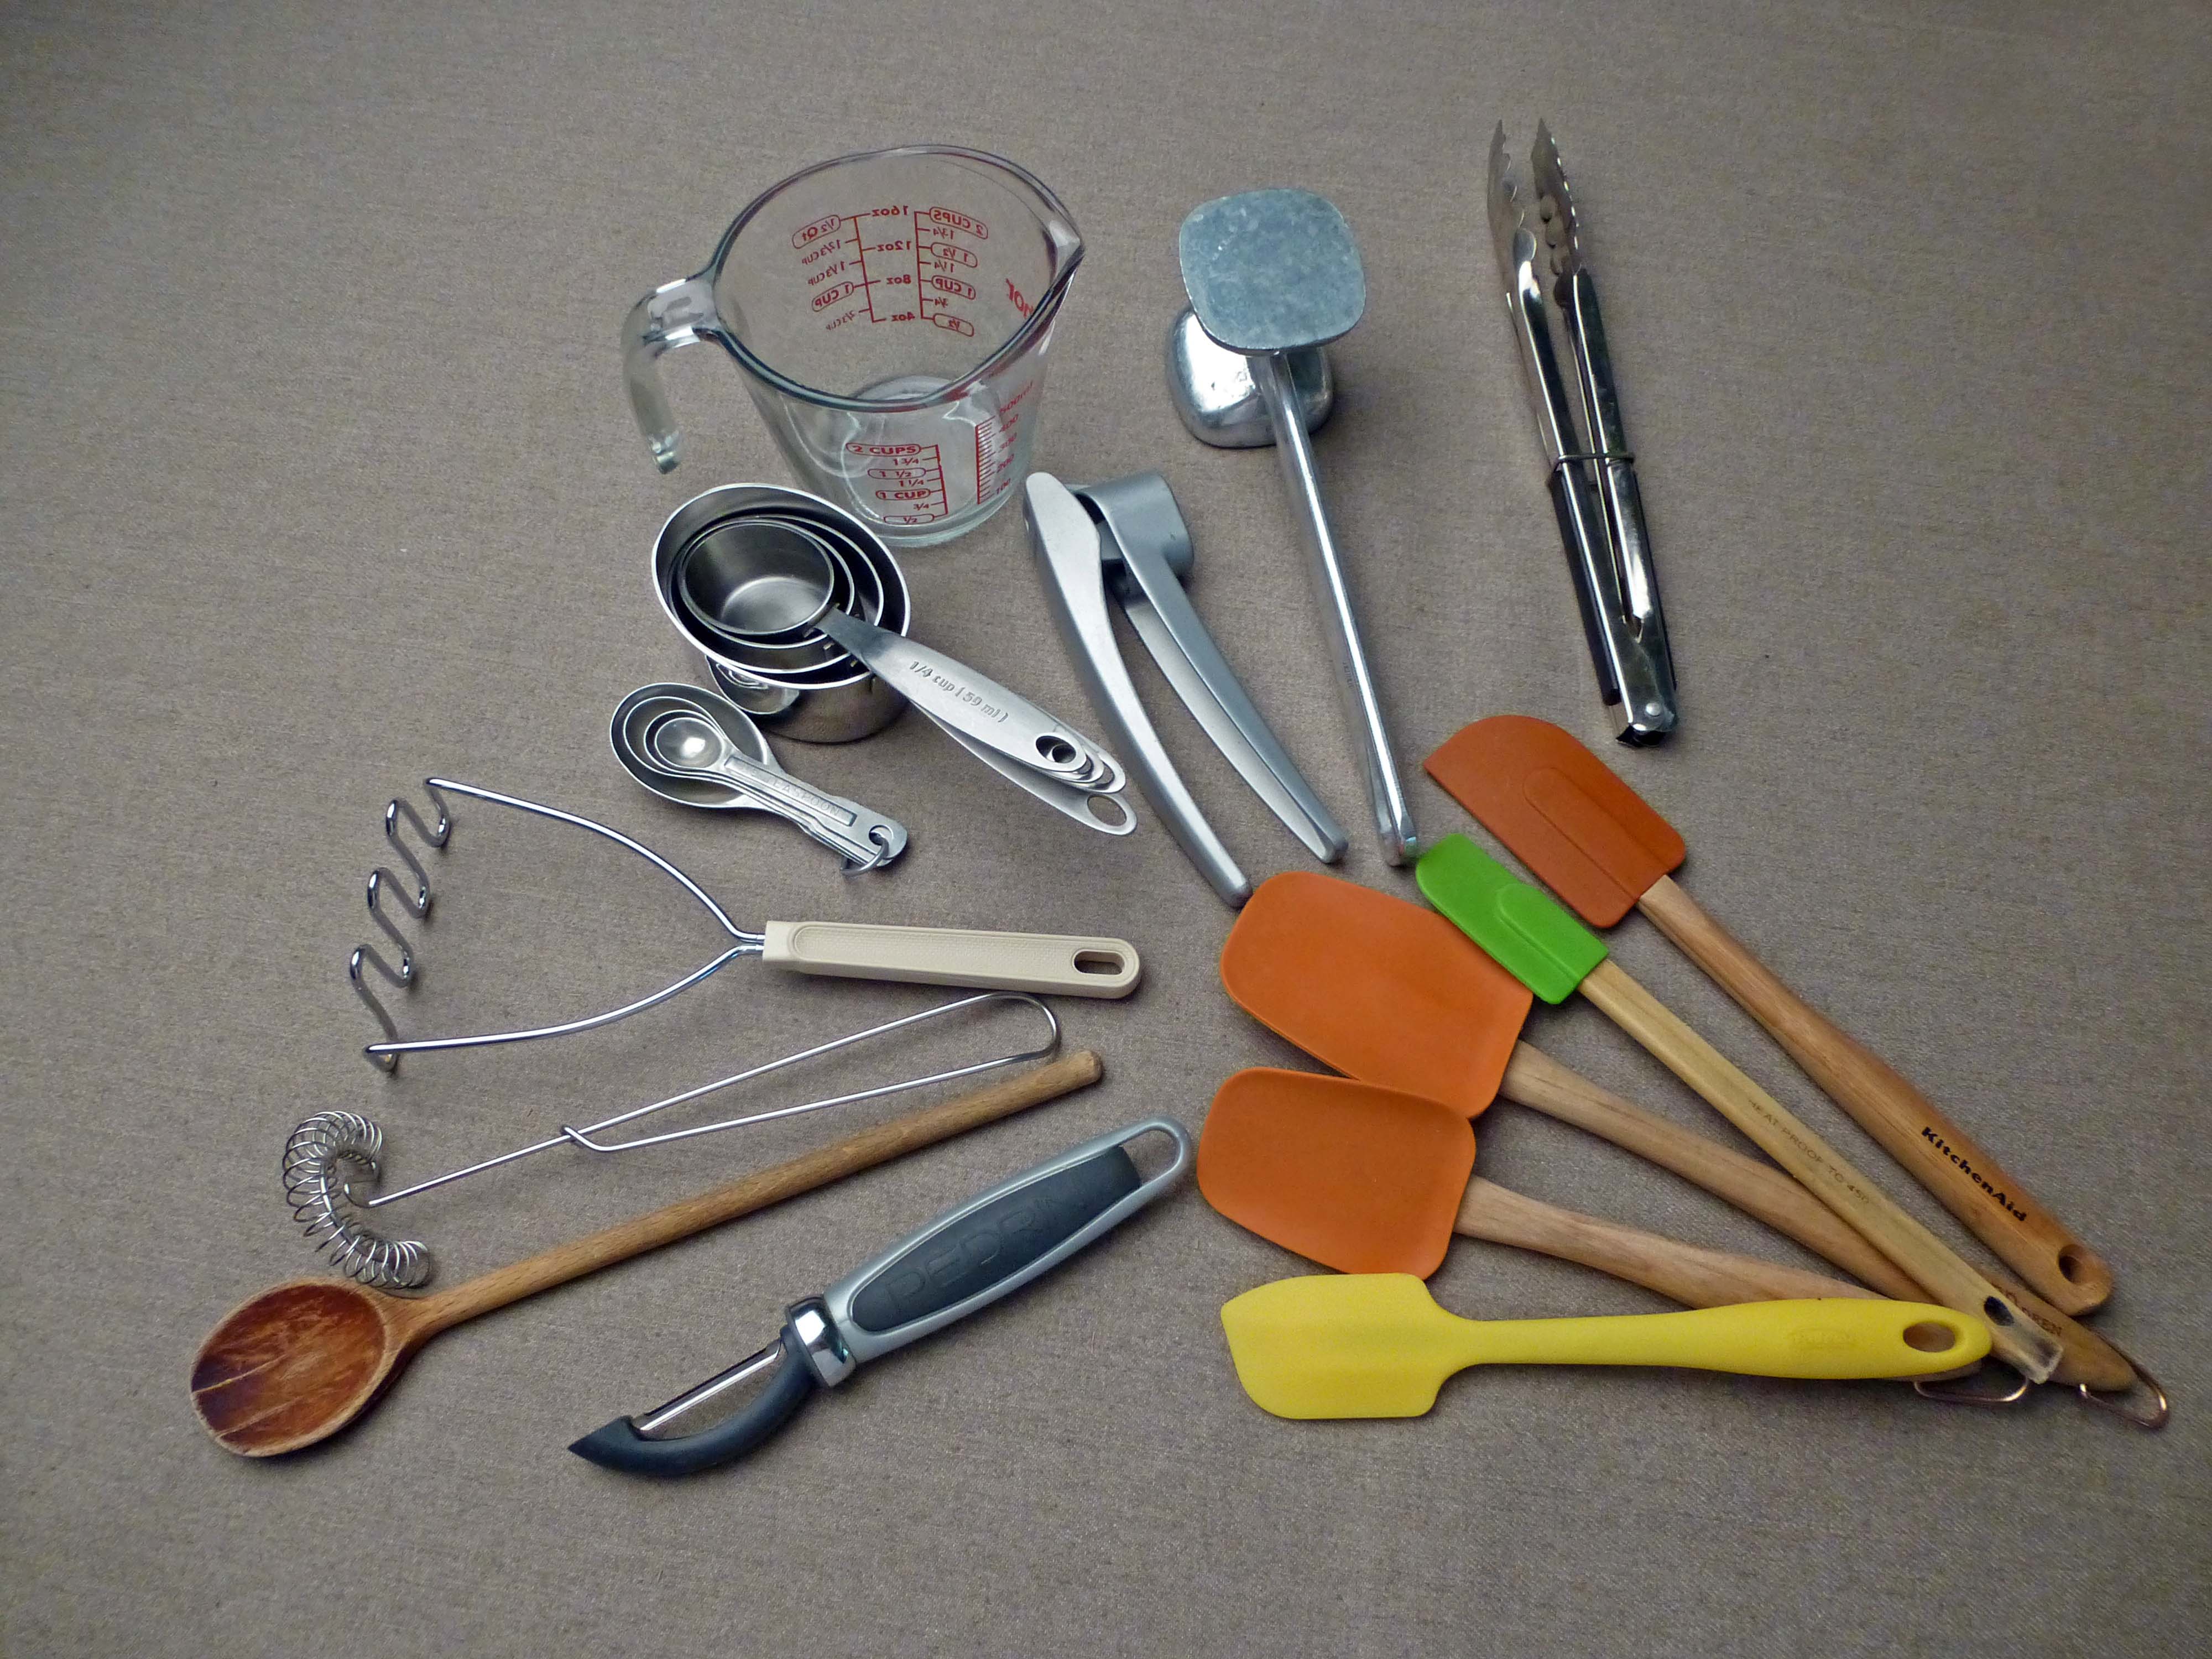
Here's a list of tools and materials you will need for installing a kitchen exhaust vent to the wall:Tools and Materials Needed for Installing a Kitchen Exhaust Vent to the Wall


Tools and Materials Needed for Installing a Kitchen Exhaust Vent to the Wall
Here are some tips to keep in mind while installing a kitchen exhaust vent to the wall:Tips for Properly Installing a Kitchen Exhaust Vent to the Wall
Tips for Properly Installing a Kitchen Exhaust Vent to the Wall


Here are some common mistakes to avoid when installing a kitchen exhaust vent to the wall:Common Mistakes to Avoid When Installing a Kitchen Exhaust Vent to the Wall


Common Mistakes to Avoid When Installing a Kitchen Exhaust Vent to the Wall


The cost of installing a kitchen exhaust vent to the wall can vary depending on the materials used and the complexity of the installation. On average, the cost can range from $200 to $500. The time it takes to install a kitchen exhaust vent to the wall can also vary depending on the skill level and experience of the installer. However, a DIY project can take anywhere from 1-2 hours to complete.Costs and Time Estimates for Installing a Kitchen Exhaust Vent to the Wall


Costs and Time Estimates for Installing a Kitchen Exhaust Vent to the Wall


If you're not comfortable with DIY projects or are unsure about the installation process, it is best to hire a professional for wall mounting your kitchen exhaust vent. They have the necessary skills, tools, and experience to ensure a successful installation. Professional installation services can cost anywhere from $500 to $1000, depending on the complexity of the project and the location of your kitchen.Professional Kitchen Exhaust Vent Installation Services for Wall Mounting


Professional Kitchen Exhaust Vent Installation Services for Wall Mounting


Properly installing a kitchen exhaust vent to the wall can have numerous benefits, including:Benefits of Installing a Kitchen Exhaust Vent to the Wall


Benefits of Installing a Kitchen Exhaust Vent to the Wall
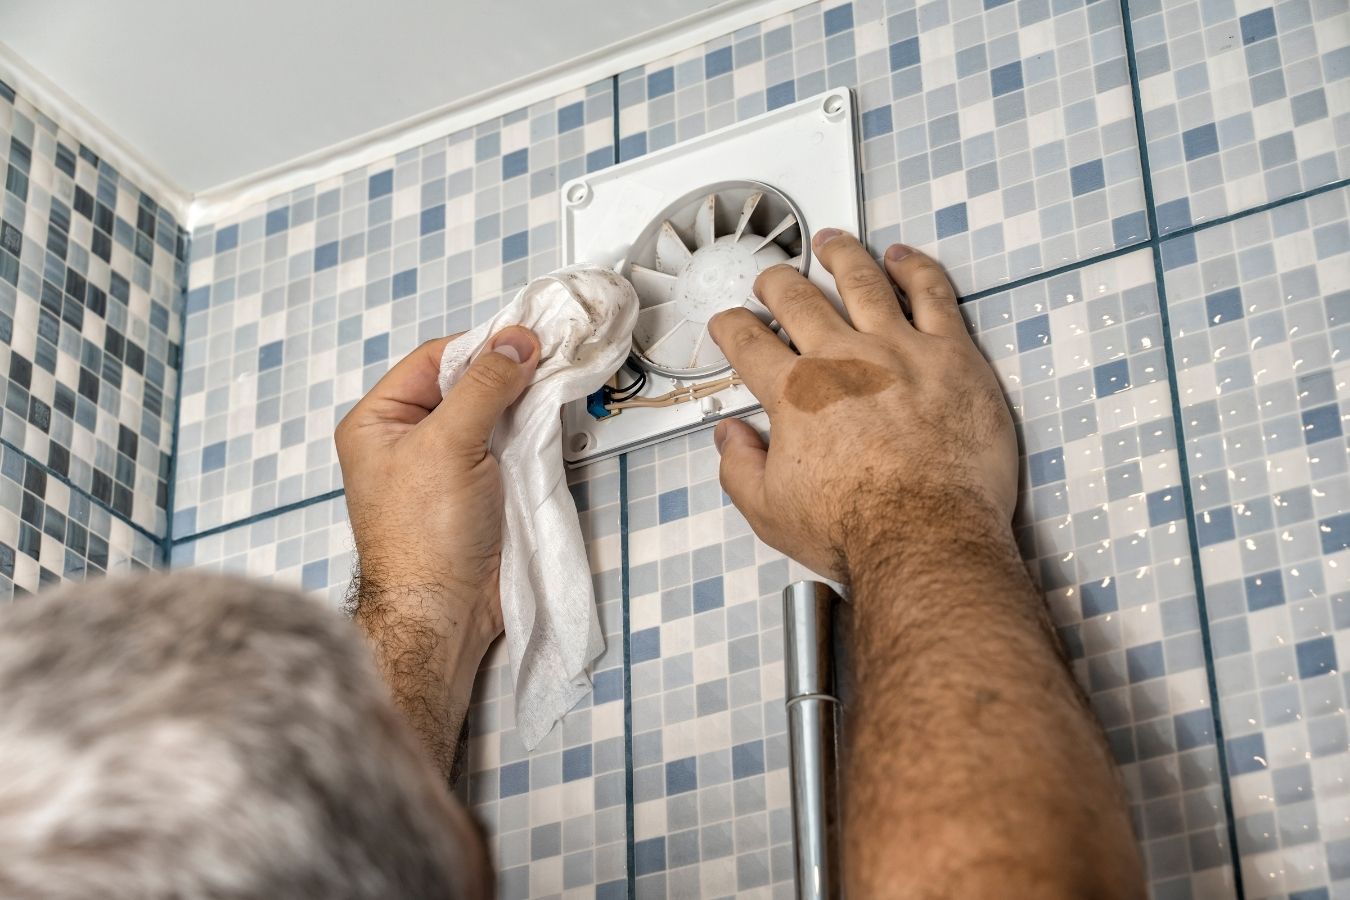
Regular maintenance and cleaning are essential for the proper functioning of your kitchen exhaust vent. Here's how you can maintain and clean your vent installed to the wall:How to Maintain and Clean a Kitchen Exhaust Vent Installed to the Wall


How to Maintain and Clean a Kitchen Exhaust Vent Installed to the Wall


The Importance of Proper Kitchen Exhaust Vent Installation to Wall

Why You Need a Kitchen Exhaust Vent
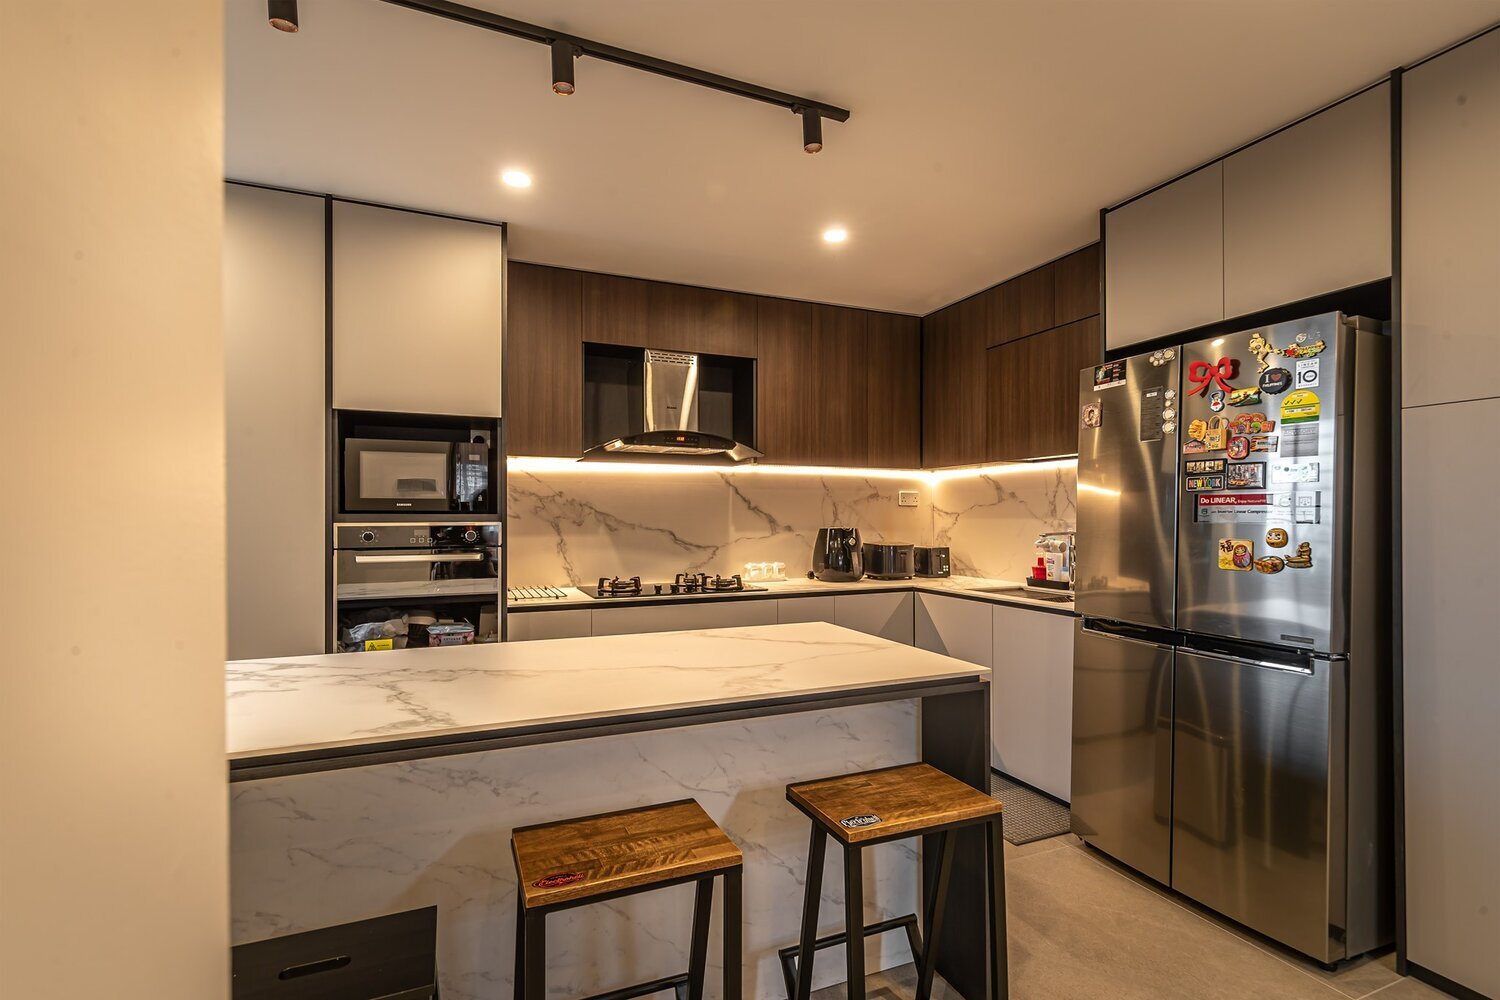
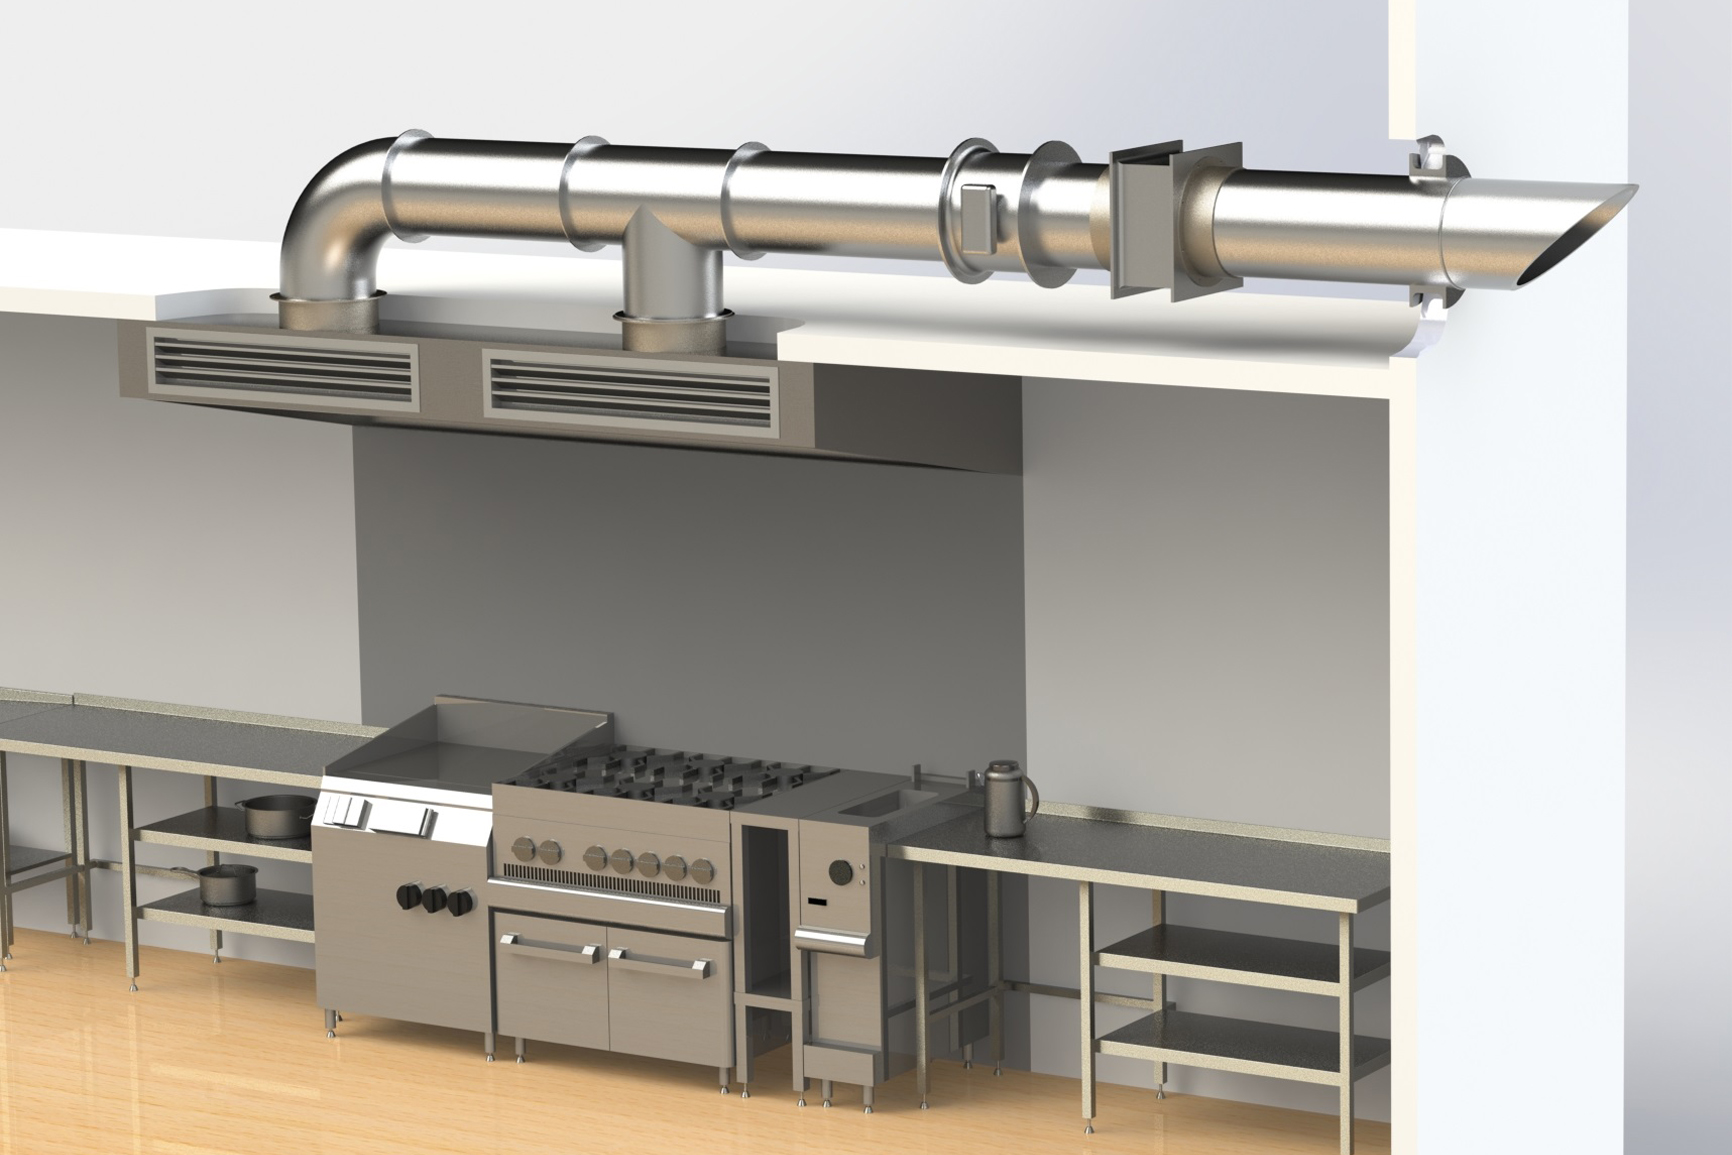
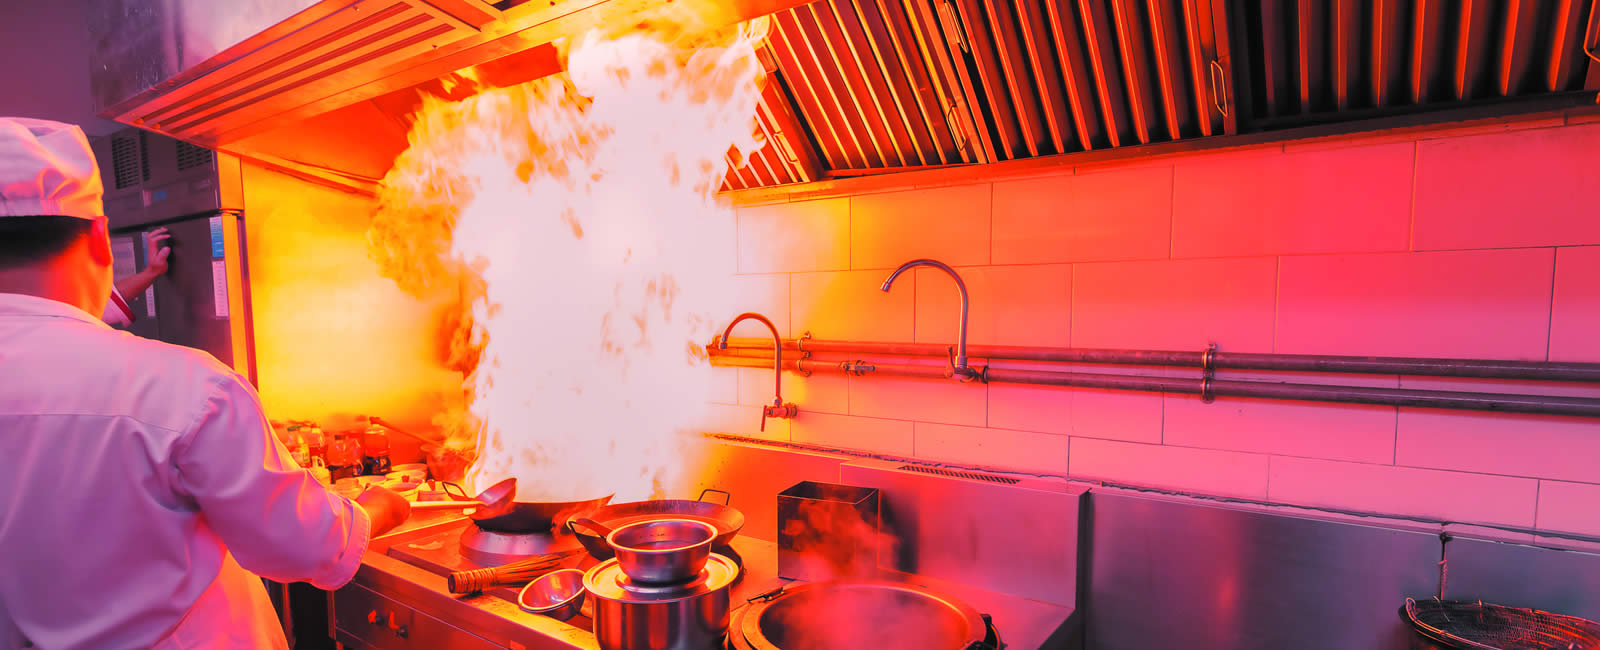
 When it comes to house design, the kitchen is often considered the heart of the home. With the daily use of stoves, ovens, and other cooking appliances, it's essential to have proper ventilation in place. Without it, your kitchen can become a hot and stuffy space, filled with unpleasant odors and grease buildup. This is where a kitchen exhaust vent comes in. It helps remove excess heat, steam, and cooking odors, keeping your kitchen clean, comfortable, and safe to use.
The Risks of Improper Installation
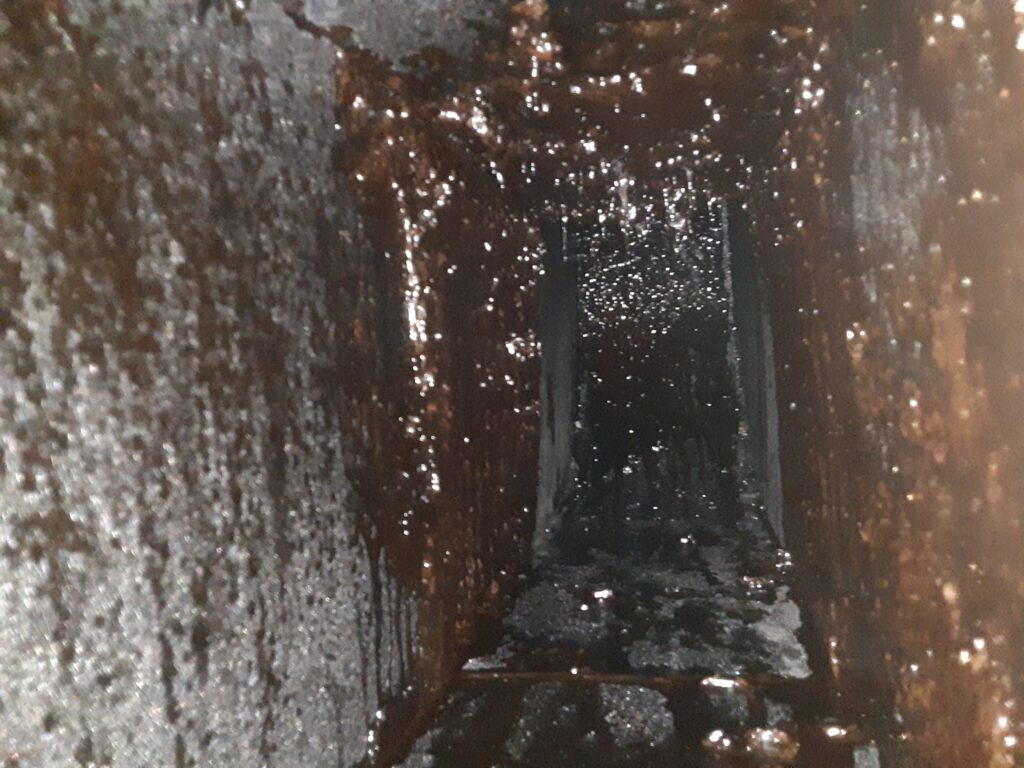
 While a kitchen exhaust vent is a crucial element of any kitchen, it's important to note that proper installation is just as important. Improper installation can lead to a variety of issues that can affect the performance and safety of your kitchen exhaust vent. For example, if the vent is not properly connected to the outside, it can cause a buildup of moisture and grease, which can lead to mold growth and fire hazards. Additionally, if the vent is not secured properly to the wall, it can become loose and fall, posing a potential danger to anyone in the kitchen.
Why Install to the Wall?
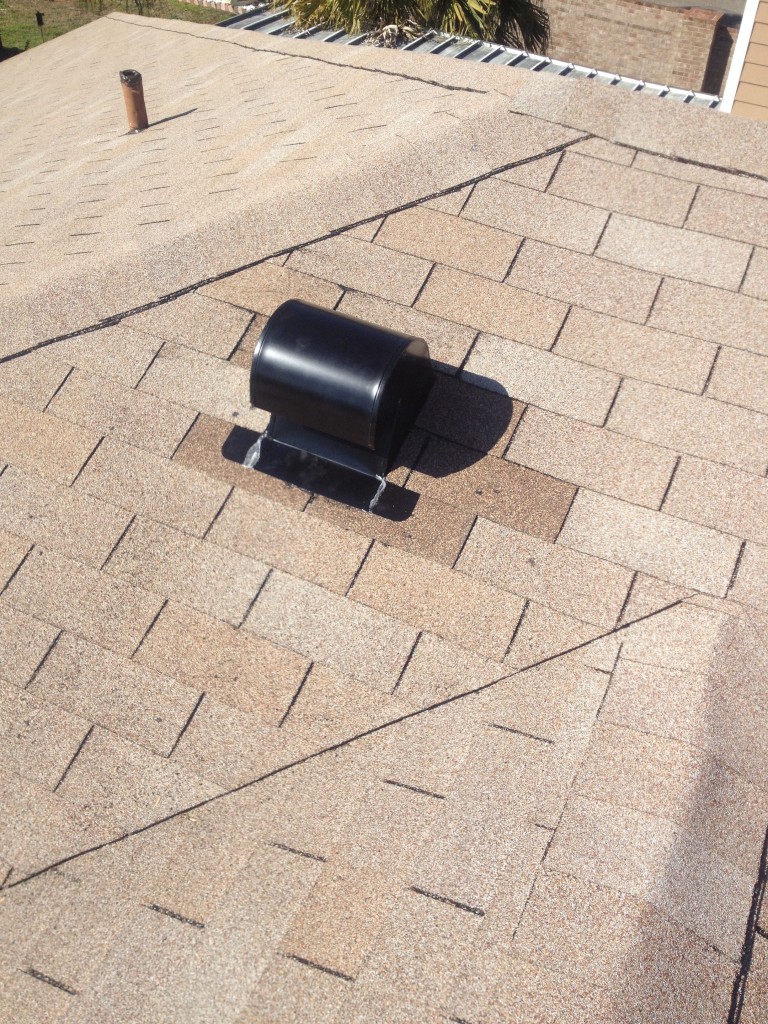
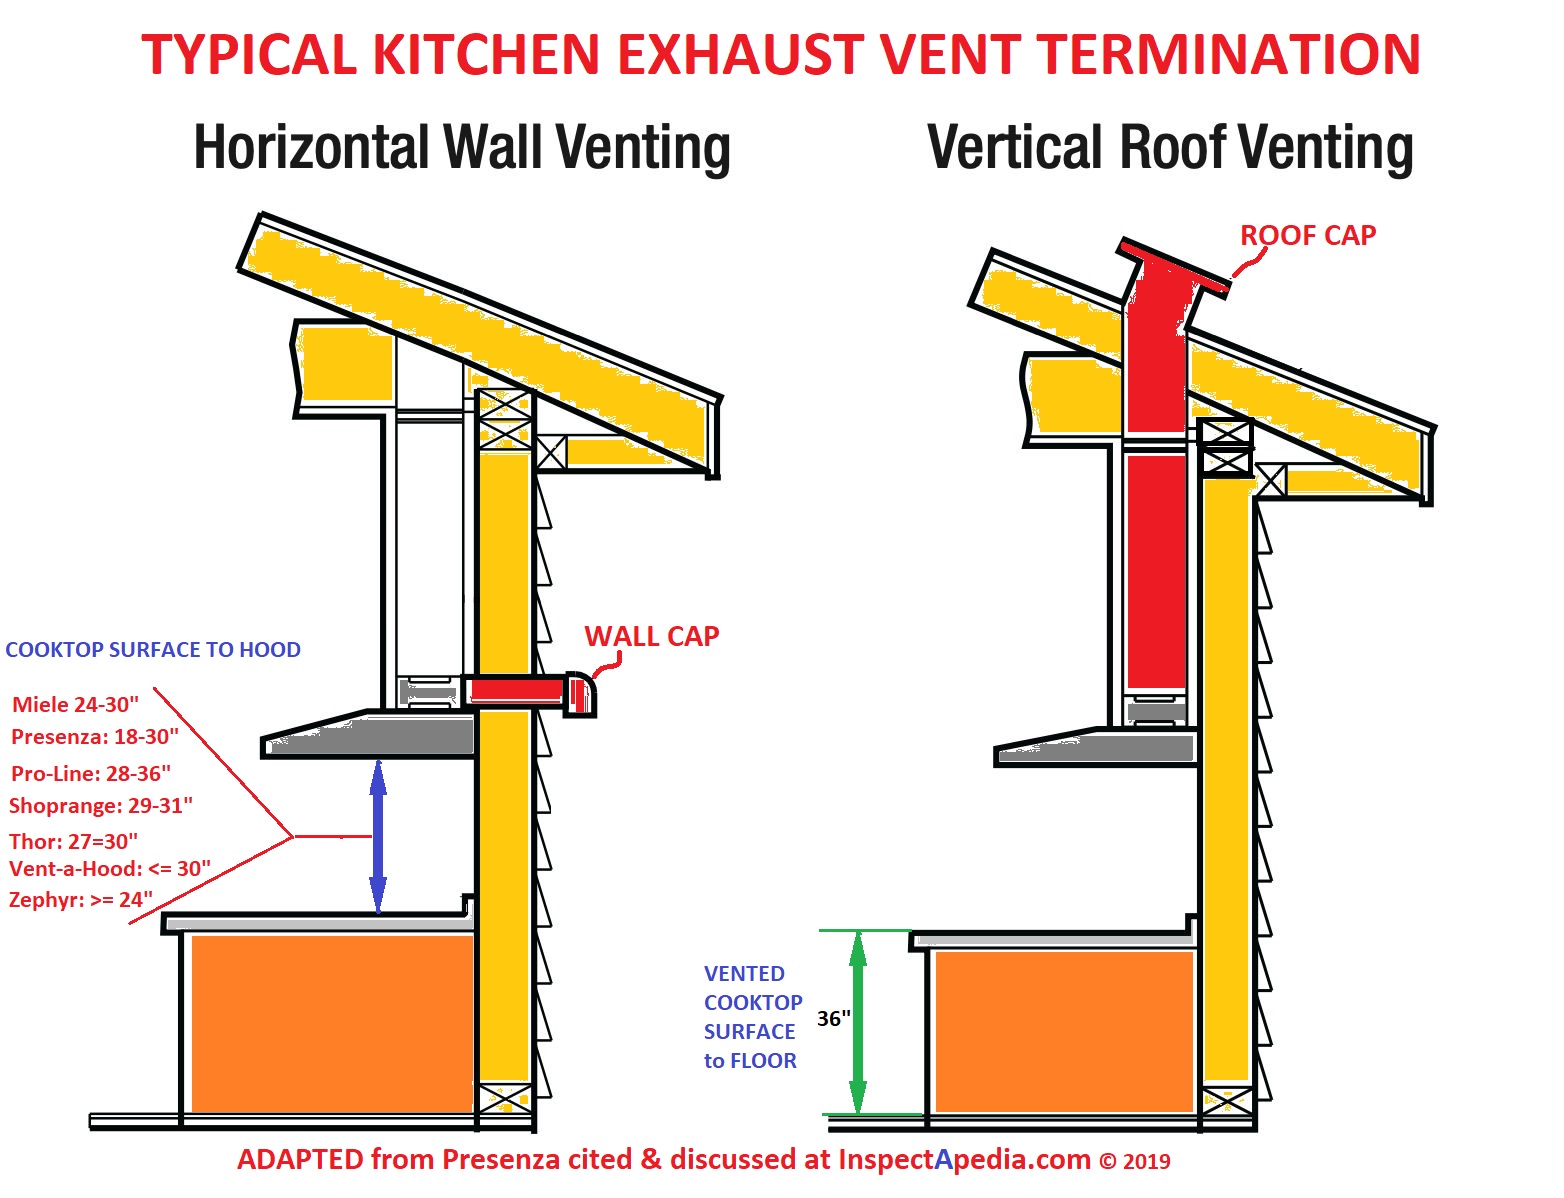
 When it comes to installing a kitchen exhaust vent, one of the most common options is to install it to the wall. This is because it allows for easy access to the outside, minimizing the risk of moisture and grease buildup. Additionally, installing to the wall can also save space in your kitchen, as it doesn't require any ceiling or roof installation. This makes it a convenient and efficient option for many homeowners.
How to Properly Install to the Wall
 Now that you understand the importance of a kitchen exhaust vent and why it should be installed to the wall, let's take a look at the proper installation process. Firstly, it's crucial to choose the right location for your vent, preferably near the cooking range and away from any windows or doors. Then, you'll need to properly measure and mark the area where the vent will be installed. Make sure to follow the manufacturer's instructions for cutting the hole and securing the vent to the wall. It's also important to properly seal any gaps with caulk to prevent any air leaks.
In conclusion
, a kitchen exhaust vent is an essential component of any kitchen, and proper installation to the wall is crucial for its effectiveness and safety. Make sure to hire a professional for the installation process to ensure it's done correctly and to avoid any potential risks. With a properly installed kitchen exhaust vent, you can enjoy a clean, comfortable, and safe cooking environment in your home.
Now that you understand the importance of a kitchen exhaust vent and why it should be installed to the wall, let's take a look at the proper installation process. Firstly, it's crucial to choose the right location for your vent, preferably near the cooking range and away from any windows or doors. Then, you'll need to properly measure and mark the area where the vent will be installed. Make sure to follow the manufacturer's instructions for cutting the hole and securing the vent to the wall. It's also important to properly seal any gaps with caulk to prevent any air leaks.
In conclusion
, a kitchen exhaust vent is an essential component of any kitchen, and proper installation to the wall is crucial for its effectiveness and safety. Make sure to hire a professional for the installation process to ensure it's done correctly and to avoid any potential risks. With a properly installed kitchen exhaust vent, you can enjoy a clean, comfortable, and safe cooking environment in your home.