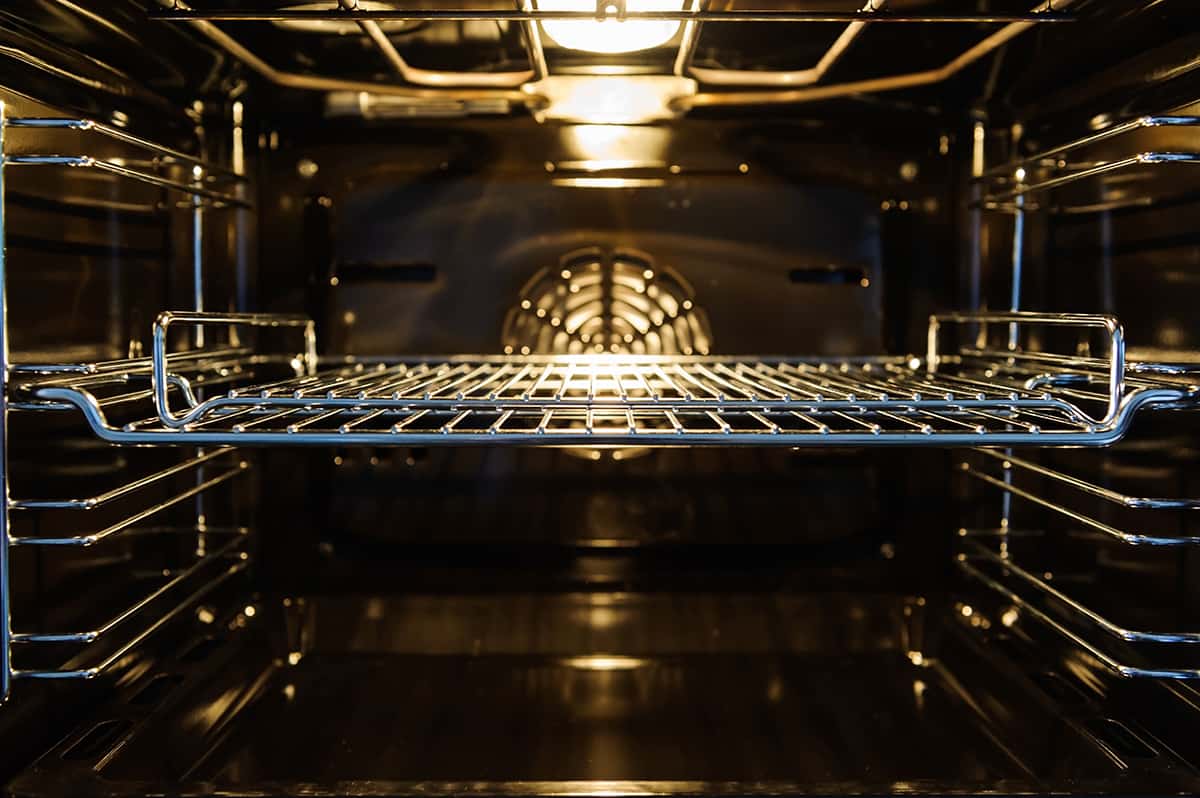
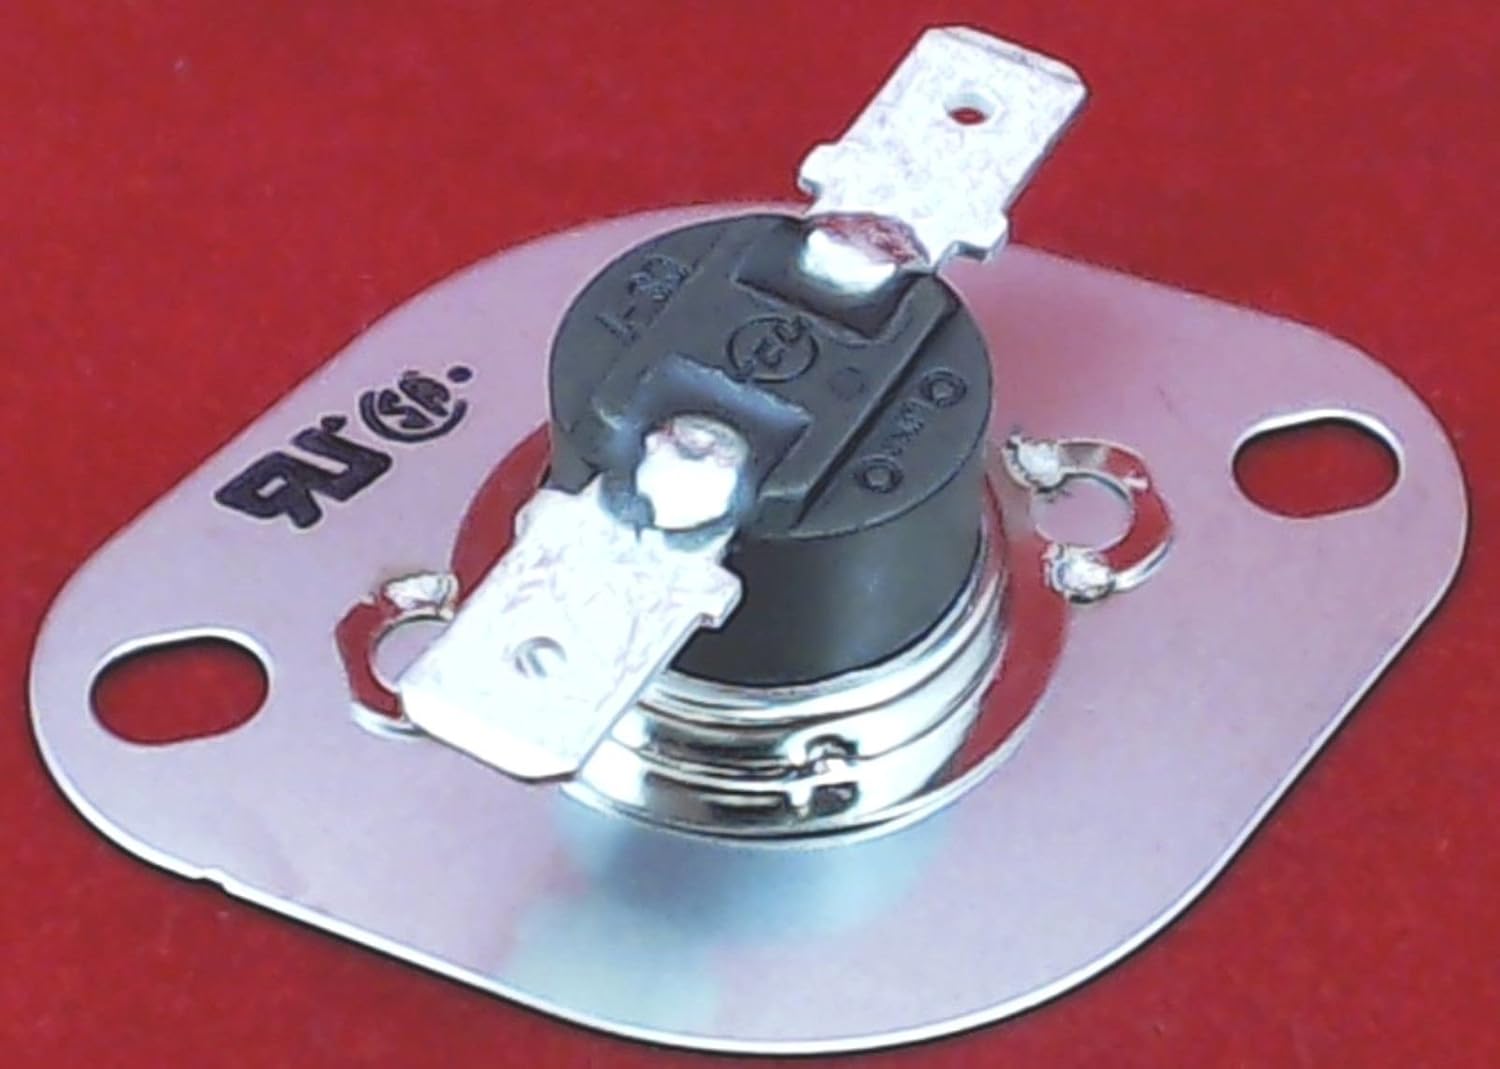
If your KitchenAid oven suddenly stops heating, one possible culprit could be a blown thermal fuse. This small but important part is responsible for cutting off the power to the oven if it overheats, preventing a potential fire hazard. Fortunately, replacing the thermal fuse is a simple task that can be done at home with just a few tools. To begin, make sure the oven is unplugged and cool before beginning any repairs. Locate the thermal fuse, which is typically located behind the back panel of the oven. Carefully remove the panel and locate the fuse, which looks like a small tube with two wires attached to it. Use a multimeter to test the fuse for continuity. If there is no continuity, the fuse is likely blown and needs to be replaced. To replace the thermal fuse, you will need to purchase a replacement part from a hardware or appliance store. Once you have the new fuse, simply disconnect the old one and attach the wires to the new fuse. Reattach the back panel of the oven and plug it back in. Your KitchenAid oven should now be working properly again.How to Replace the Thermal Fuse in a KitchenAid Oven

How to Replace the Thermal Fuse in a KitchenAid Oven


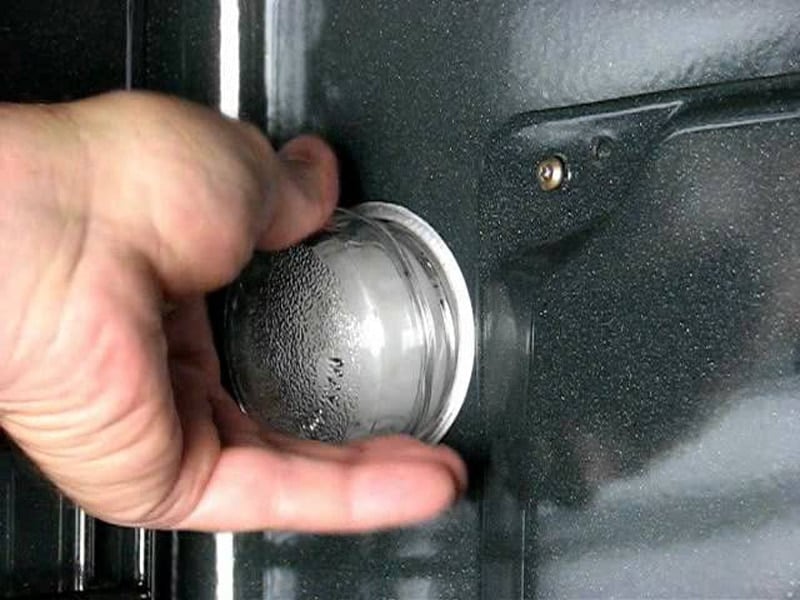
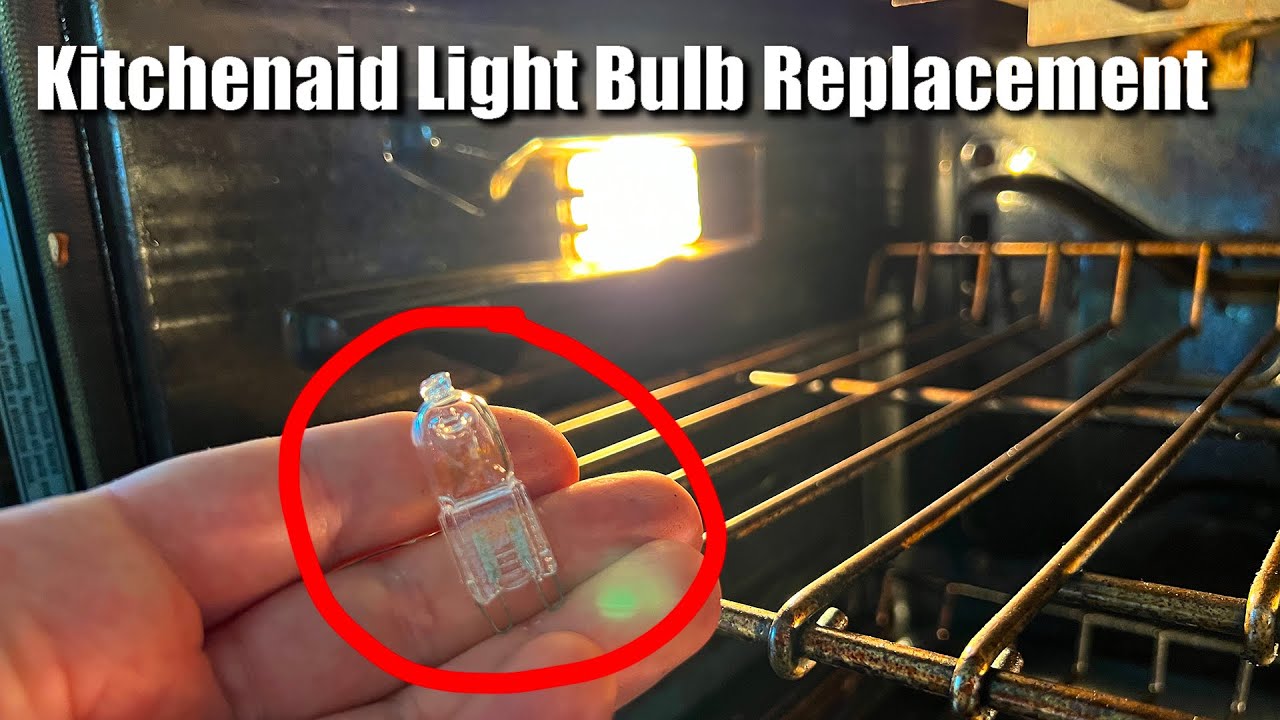
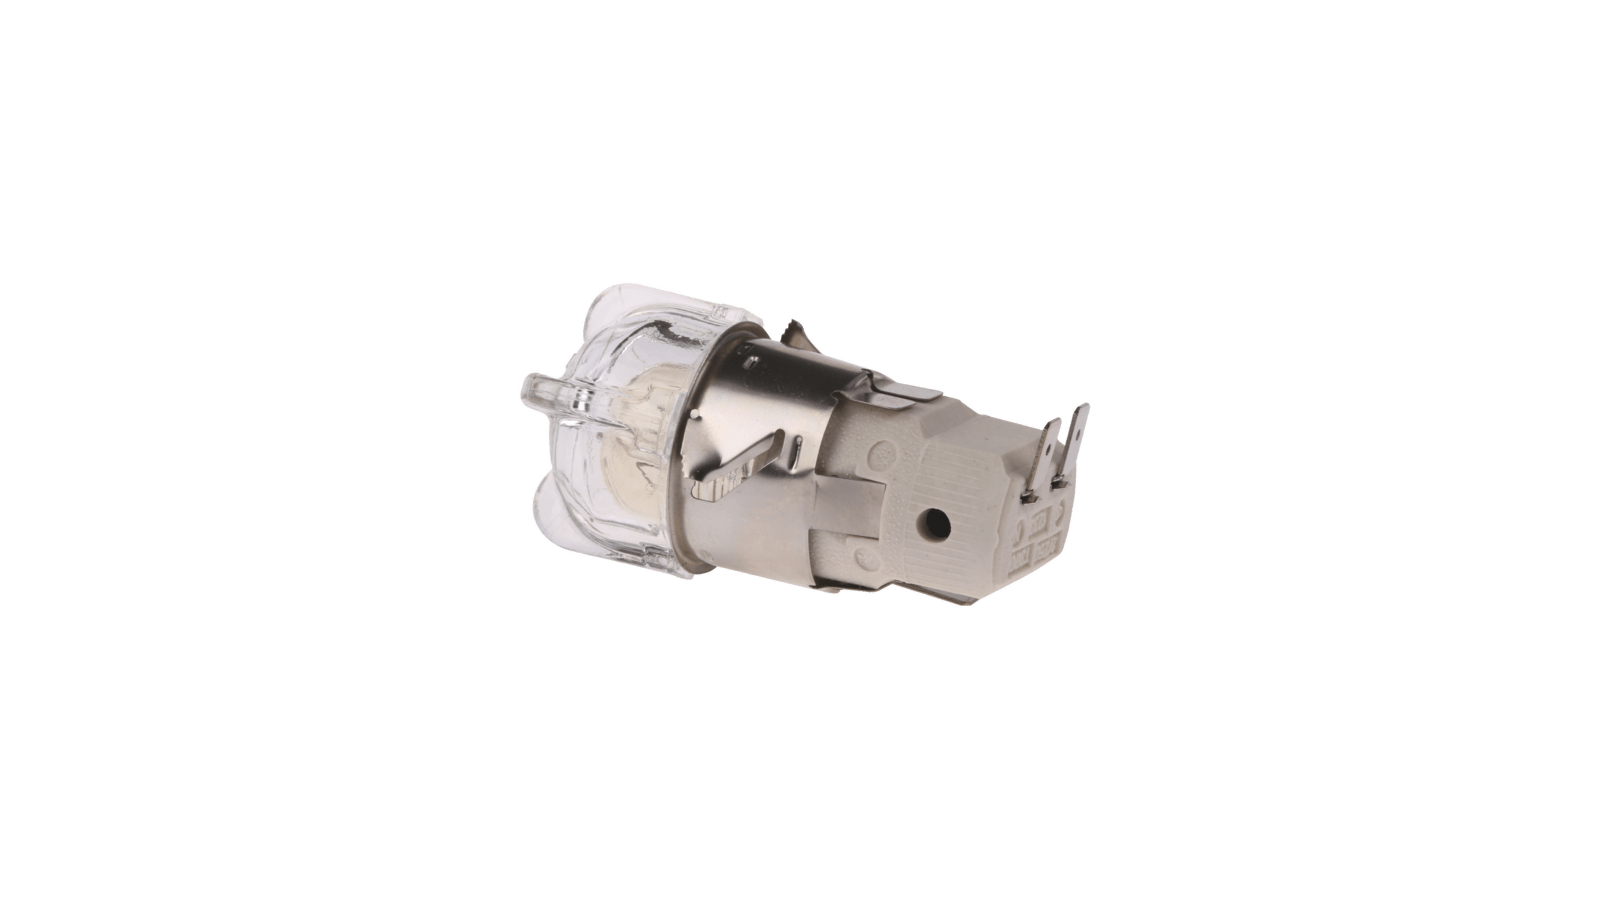
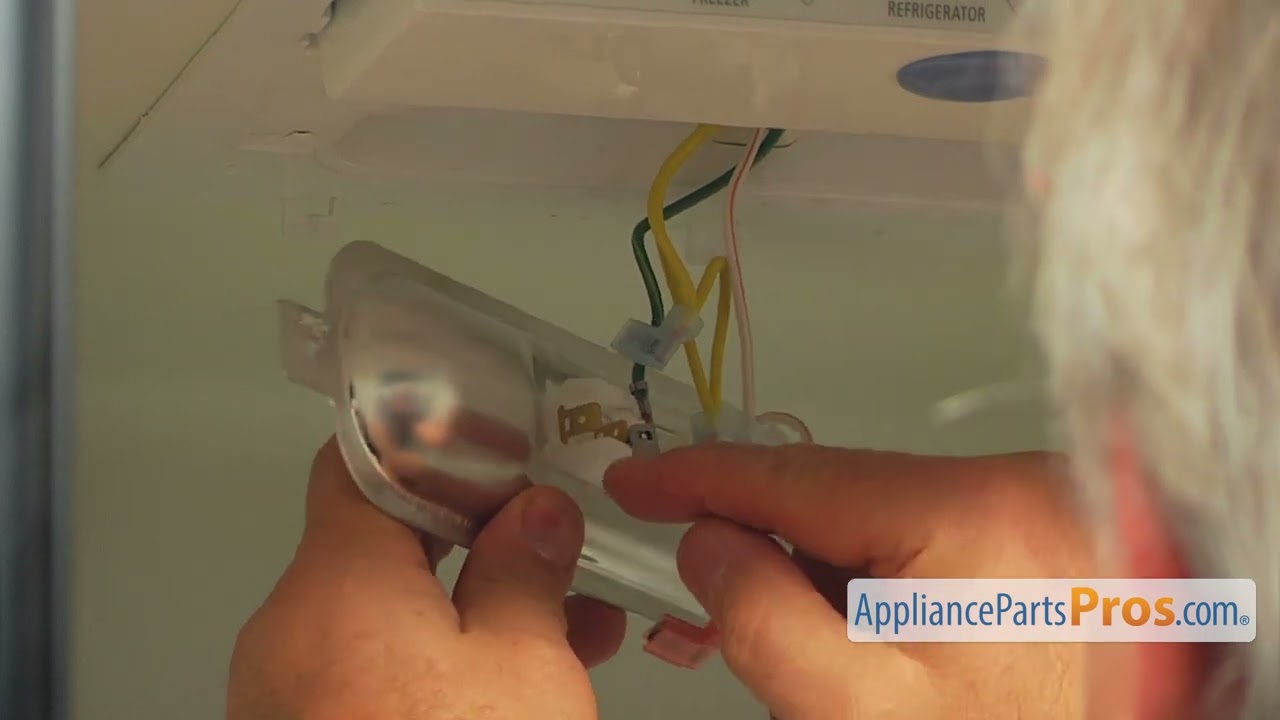
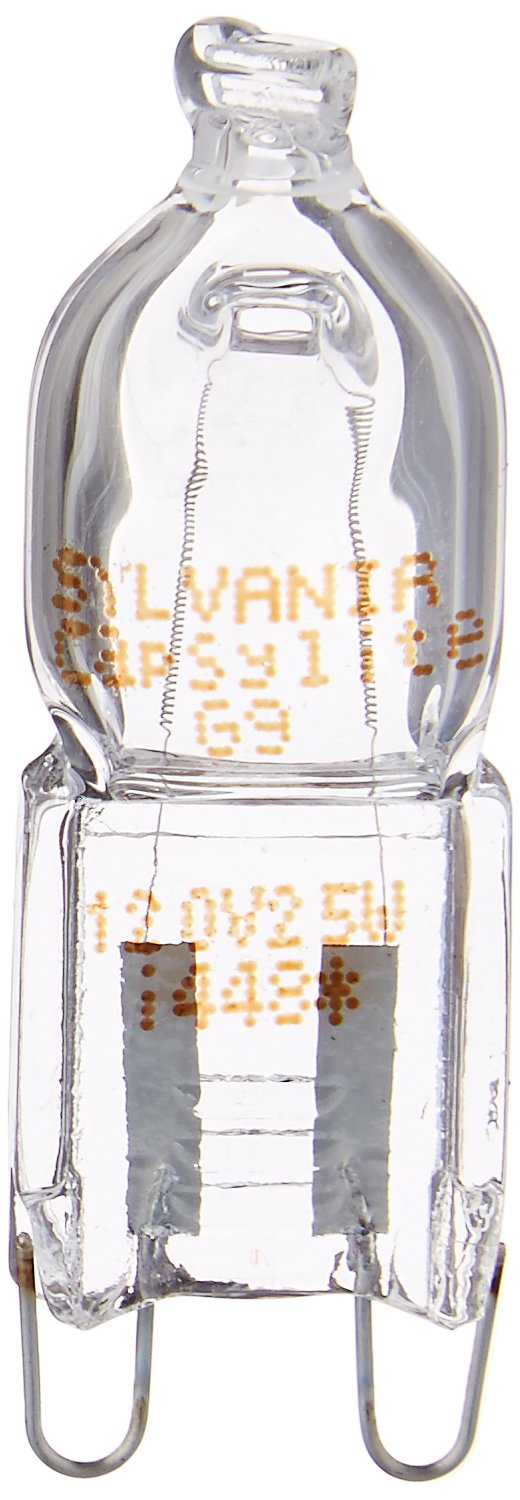
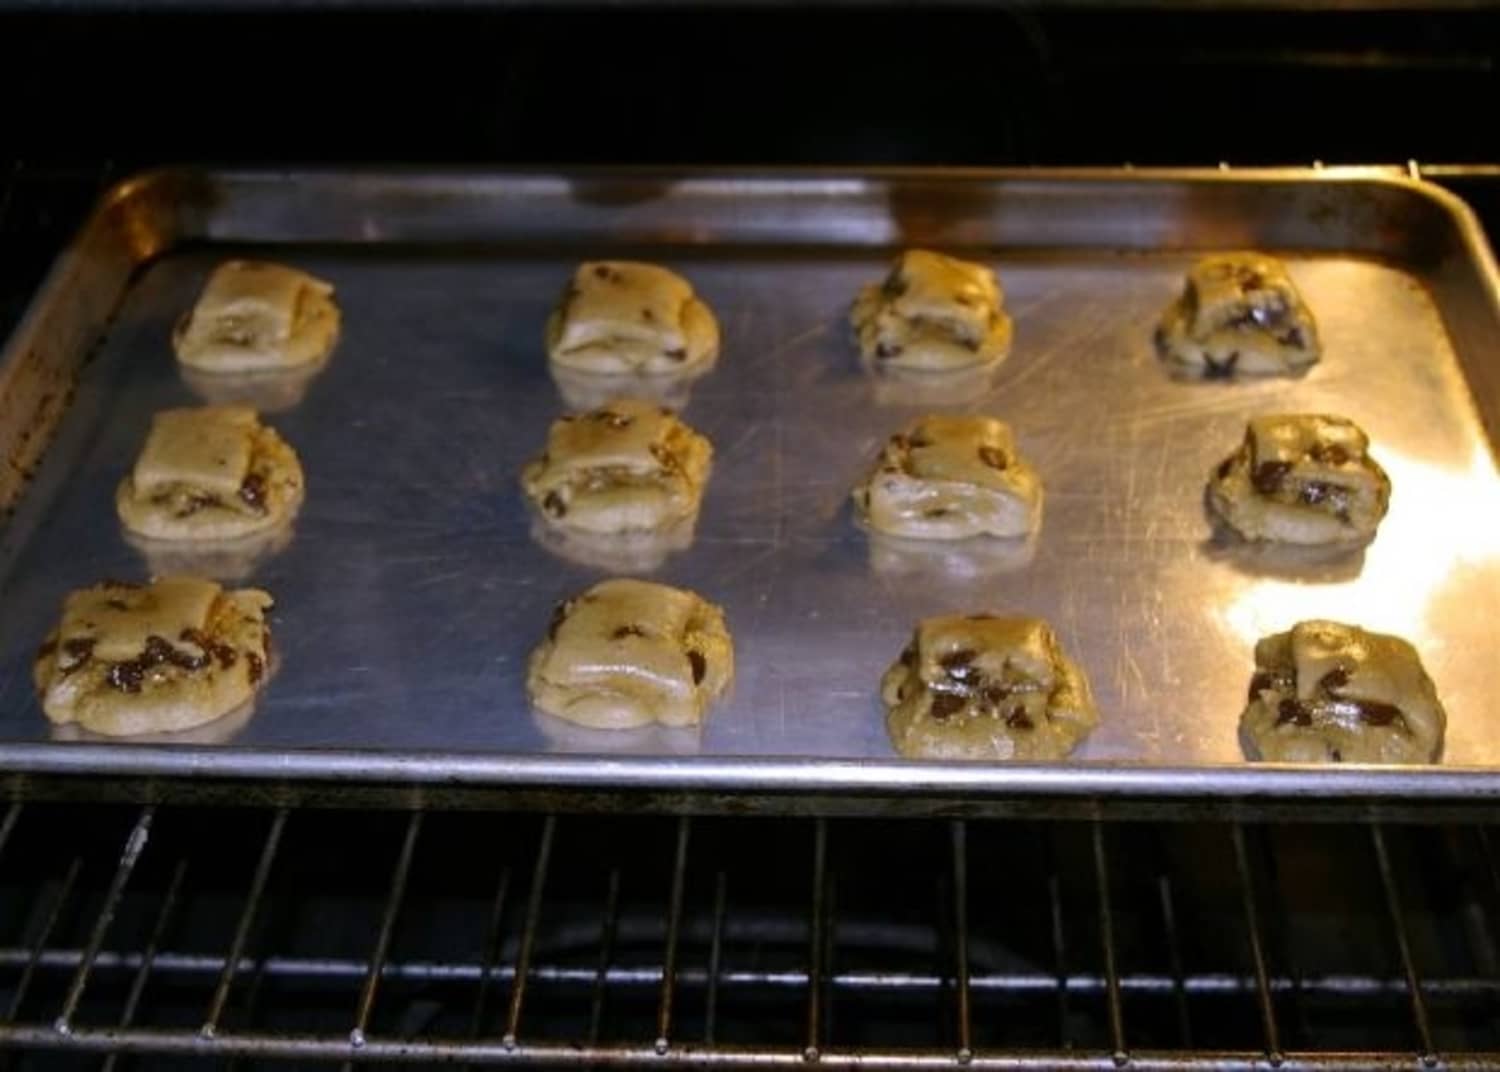
A burnt out light bulb in your KitchenAid oven can make it difficult to see the progress of your cooking. Fortunately, replacing the light bulb is a quick and easy process that can be done in just a few simple steps. Start by unplugging the oven and removing the light cover, which is typically located on the back wall of the oven. Carefully remove the old bulb and replace it with a new one. Make sure to handle the new bulb with a cloth or gloves to prevent any oils from your hands from damaging the bulb. Once the new bulb is in place, replace the light cover and plug the oven back in. You should now have a well-lit oven to cook with.How to Replace the Light Bulb in a KitchenAid Oven


How to Replace the Light Bulb in a KitchenAid Oven


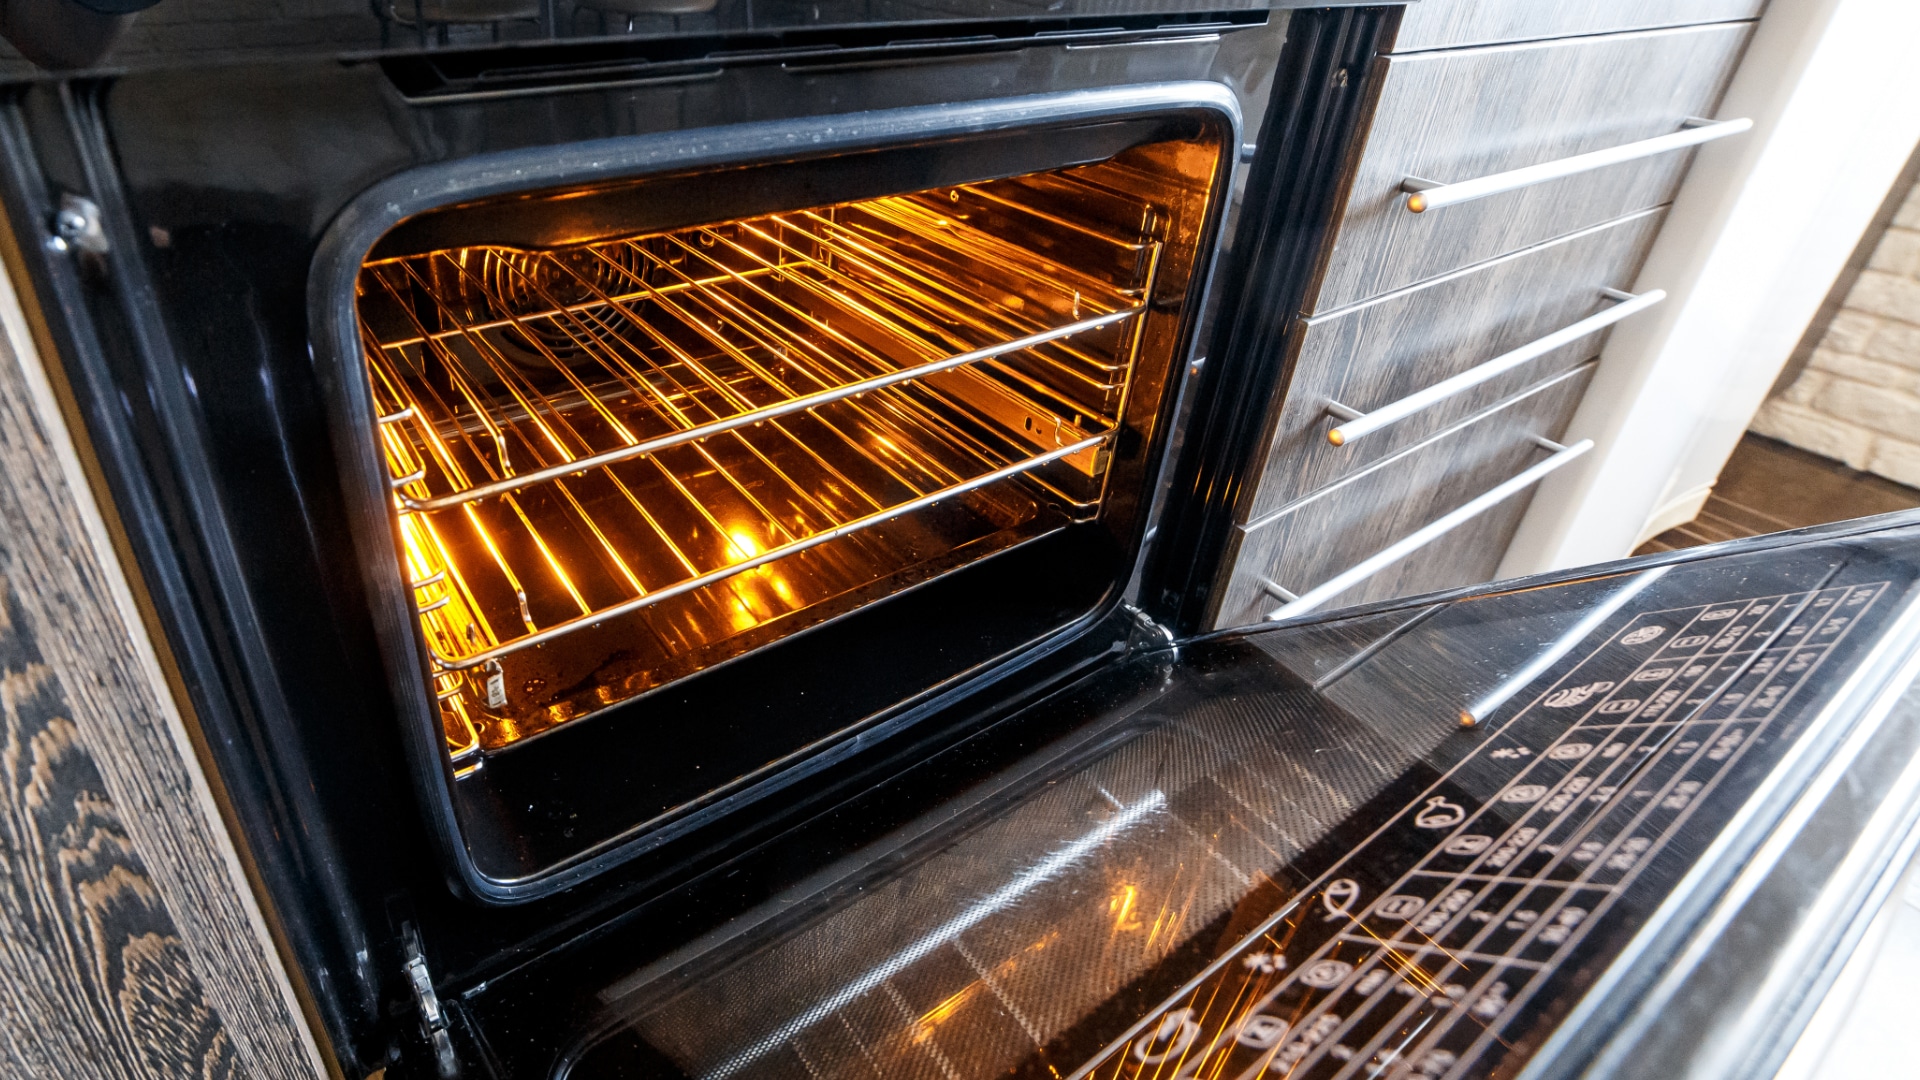
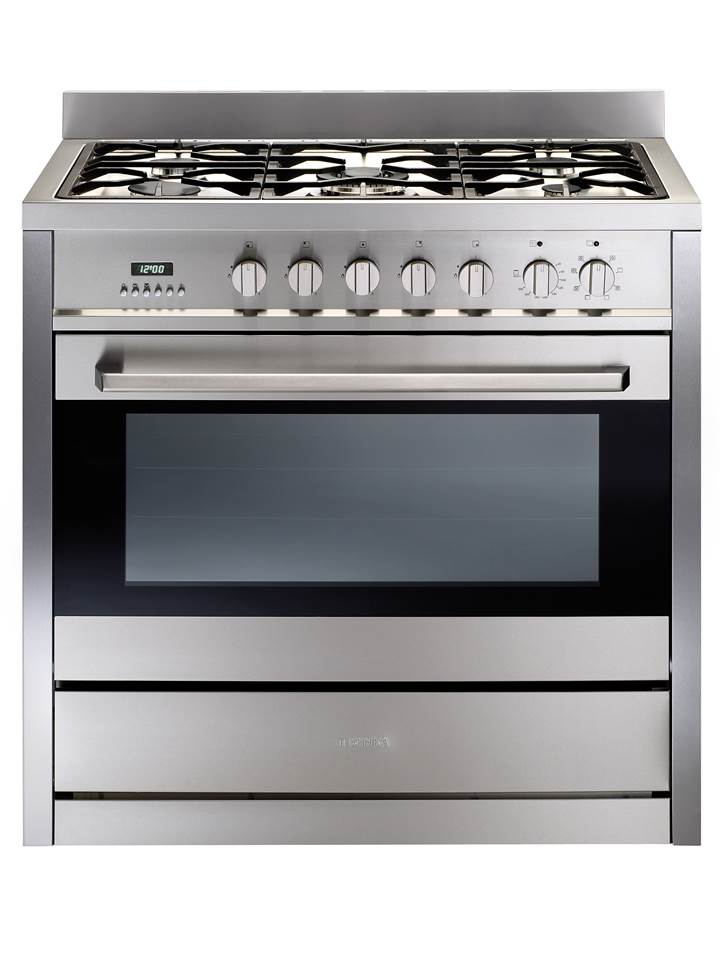
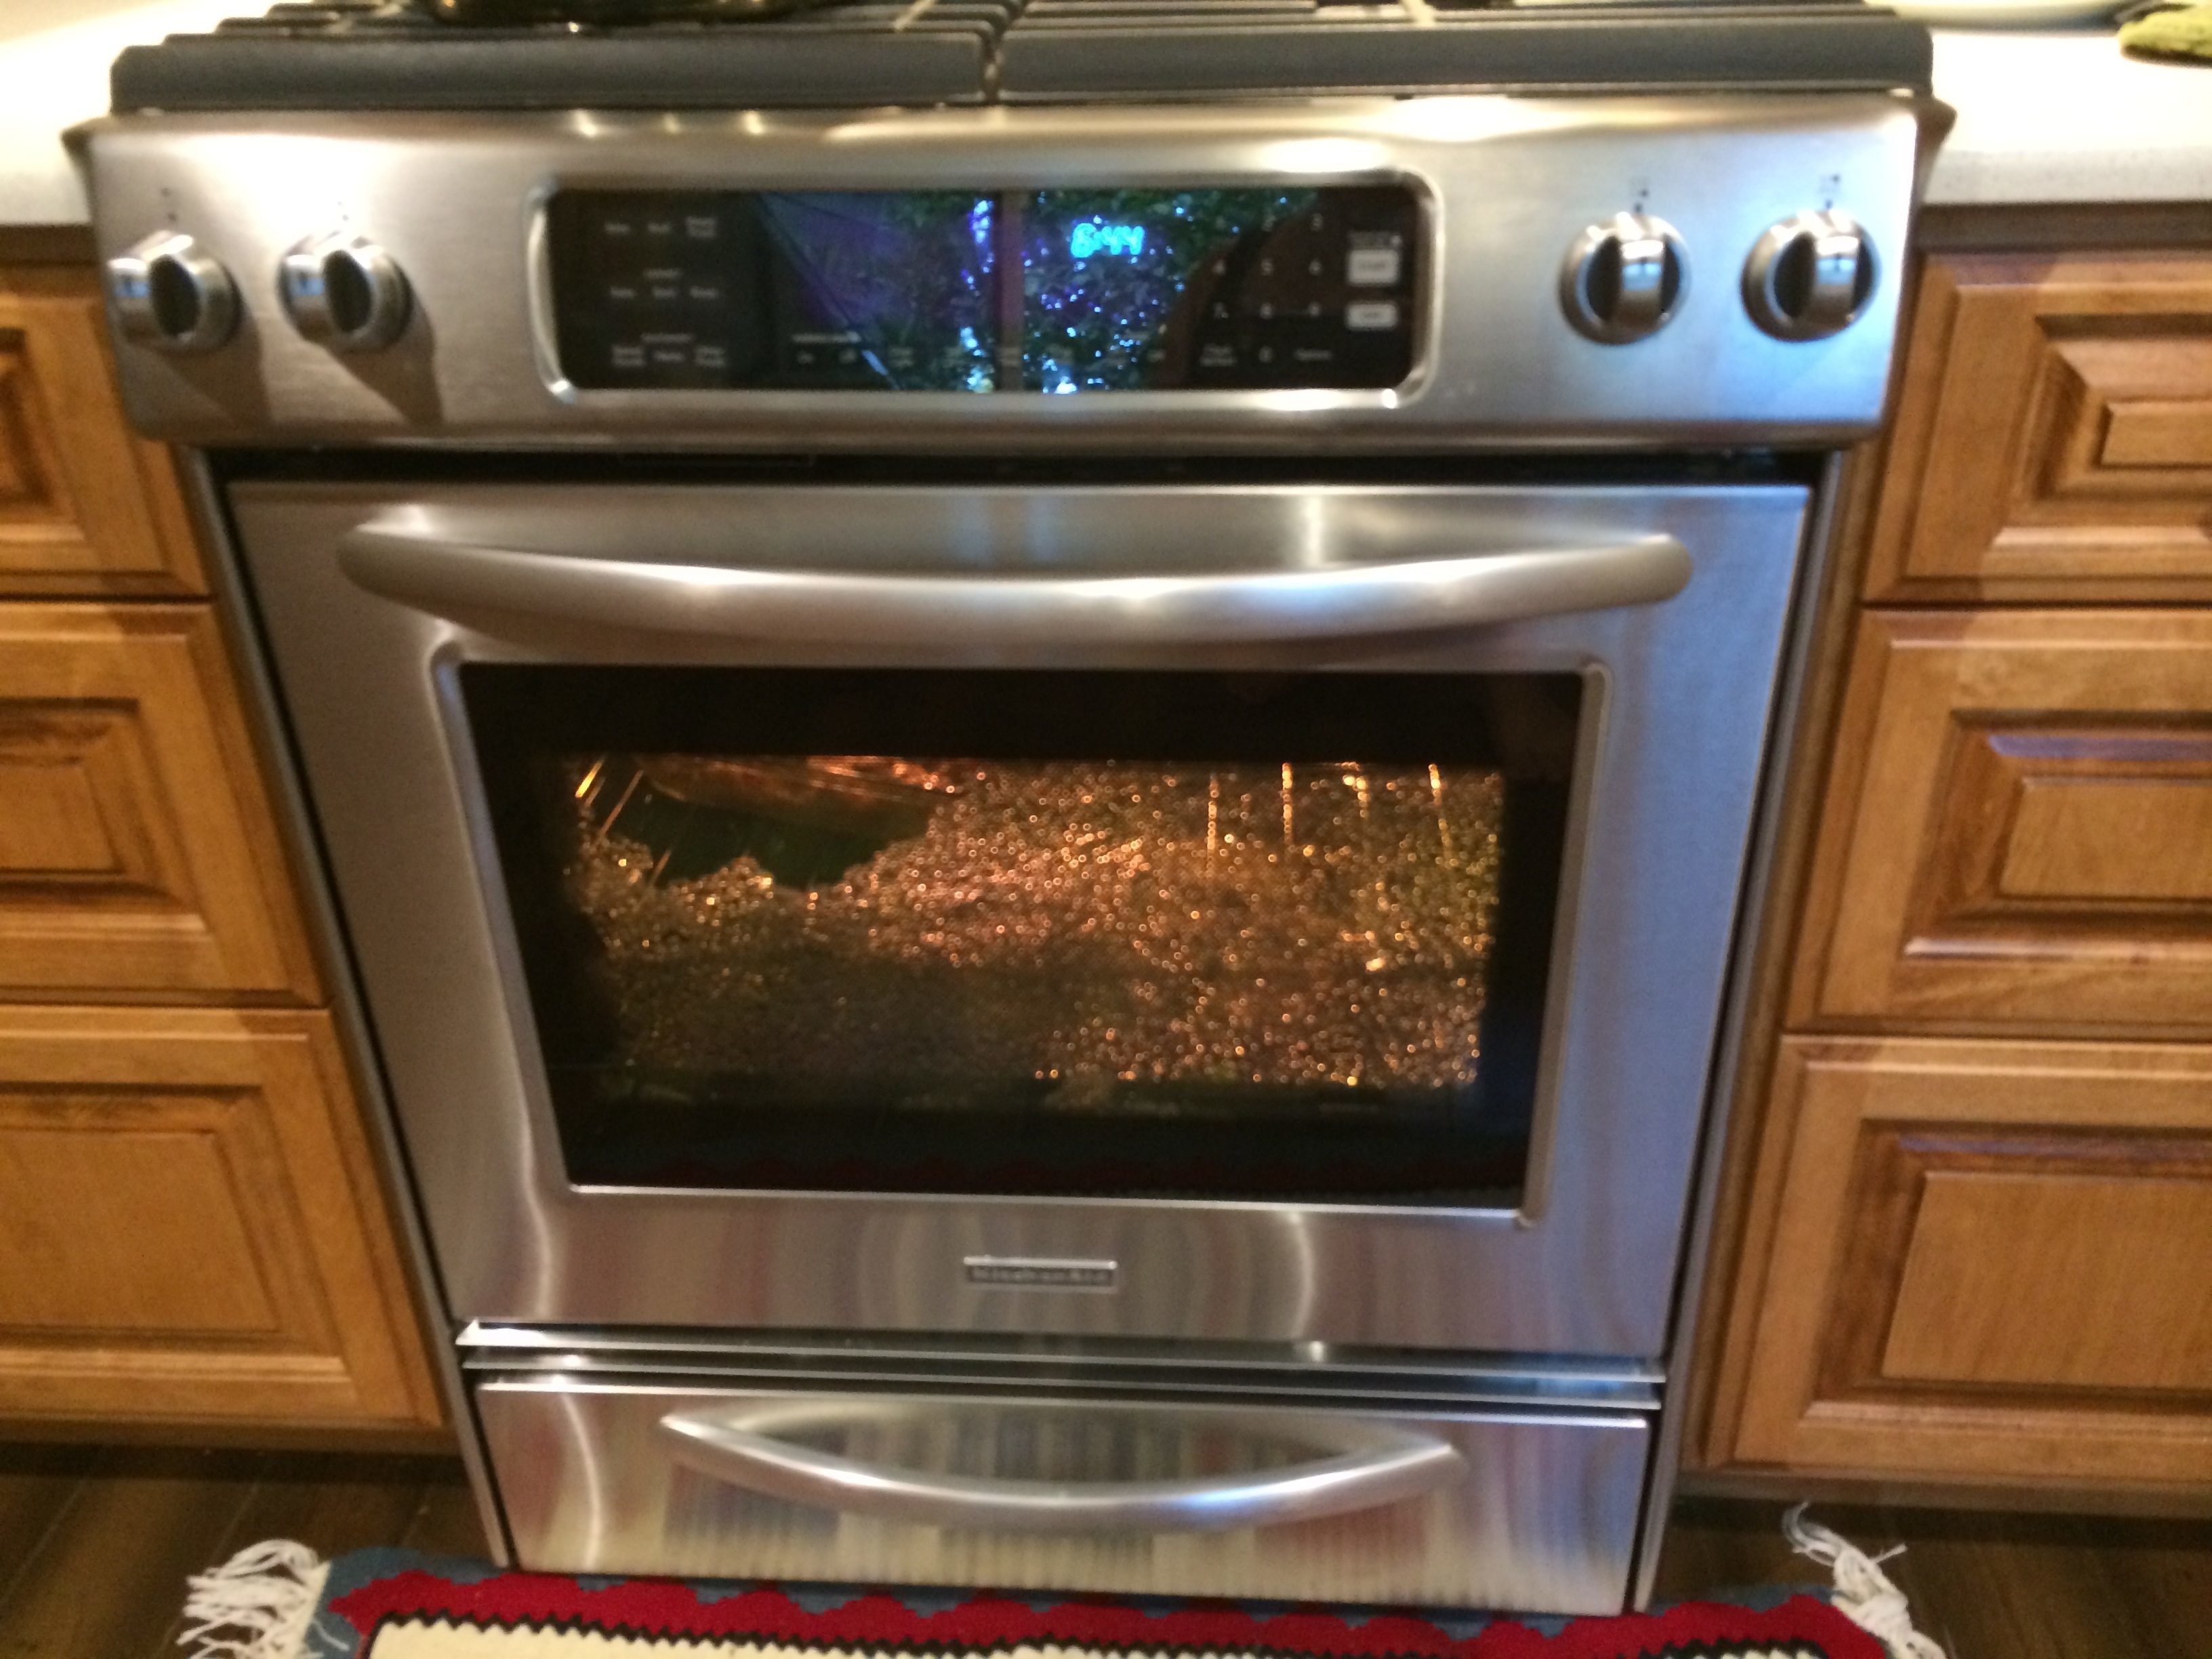
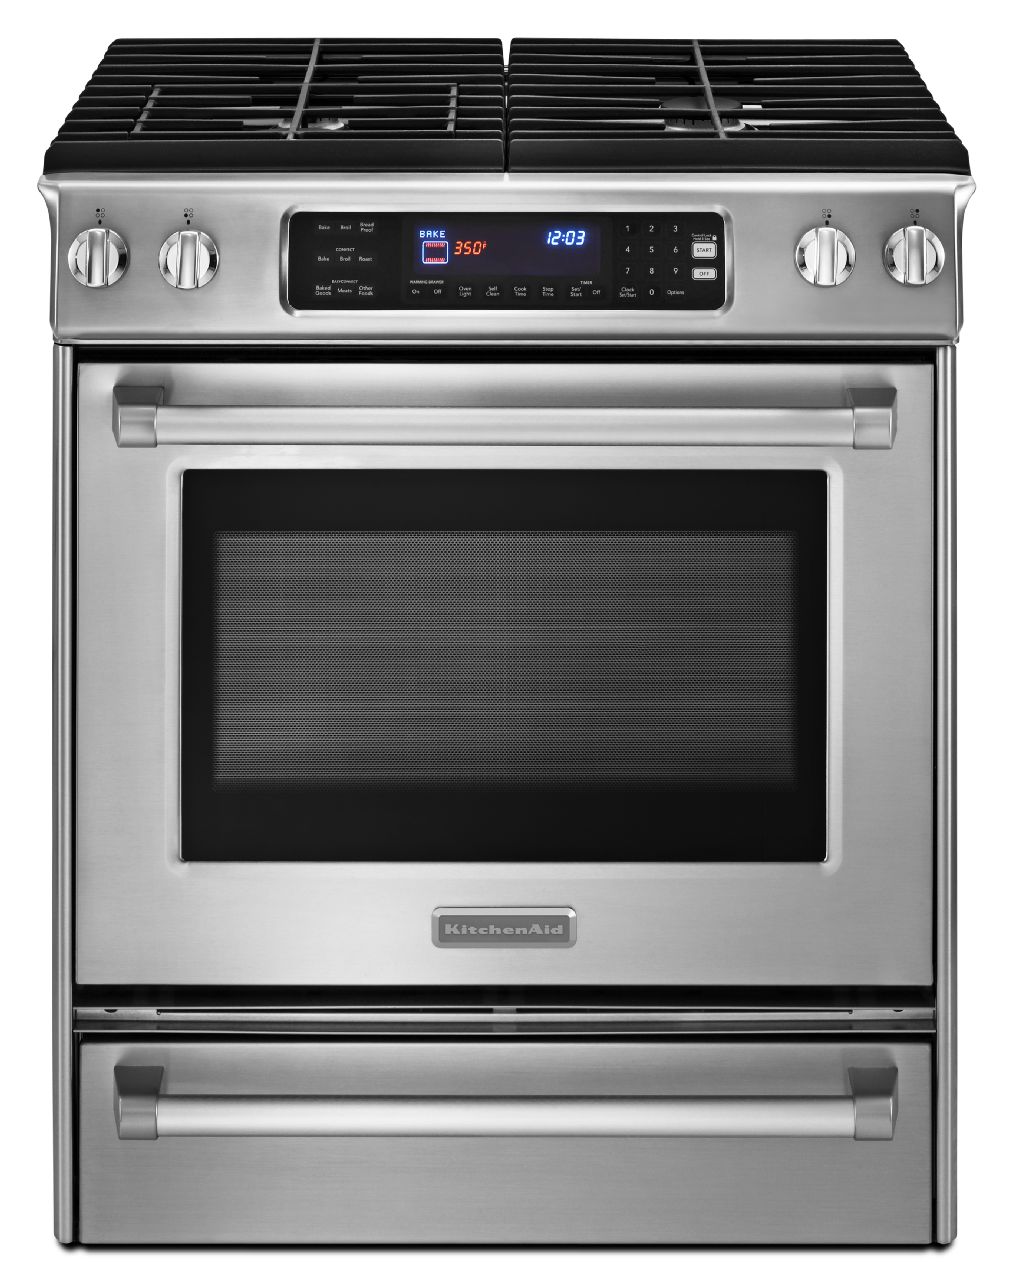
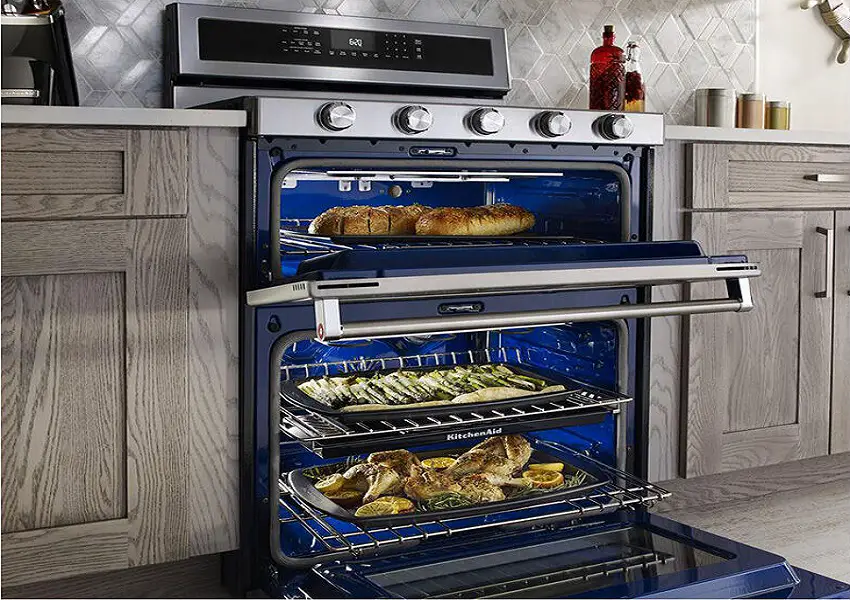
There are few things more frustrating than turning on your KitchenAid oven and discovering that it is not heating up. This problem can have several different causes, so it is important to troubleshoot and identify the specific issue before attempting any repairs. The most common cause for an oven not heating is a faulty heating element. This can be easily tested with a multimeter and replaced if necessary. Other possible causes include a blown thermal fuse, a malfunctioning thermostat, or a broken control board. It is important to properly diagnose the issue before attempting any repairs to ensure the problem is fixed correctly.Common Causes for a KitchenAid Oven Not Heating


Common Causes for a KitchenAid Oven Not Heating


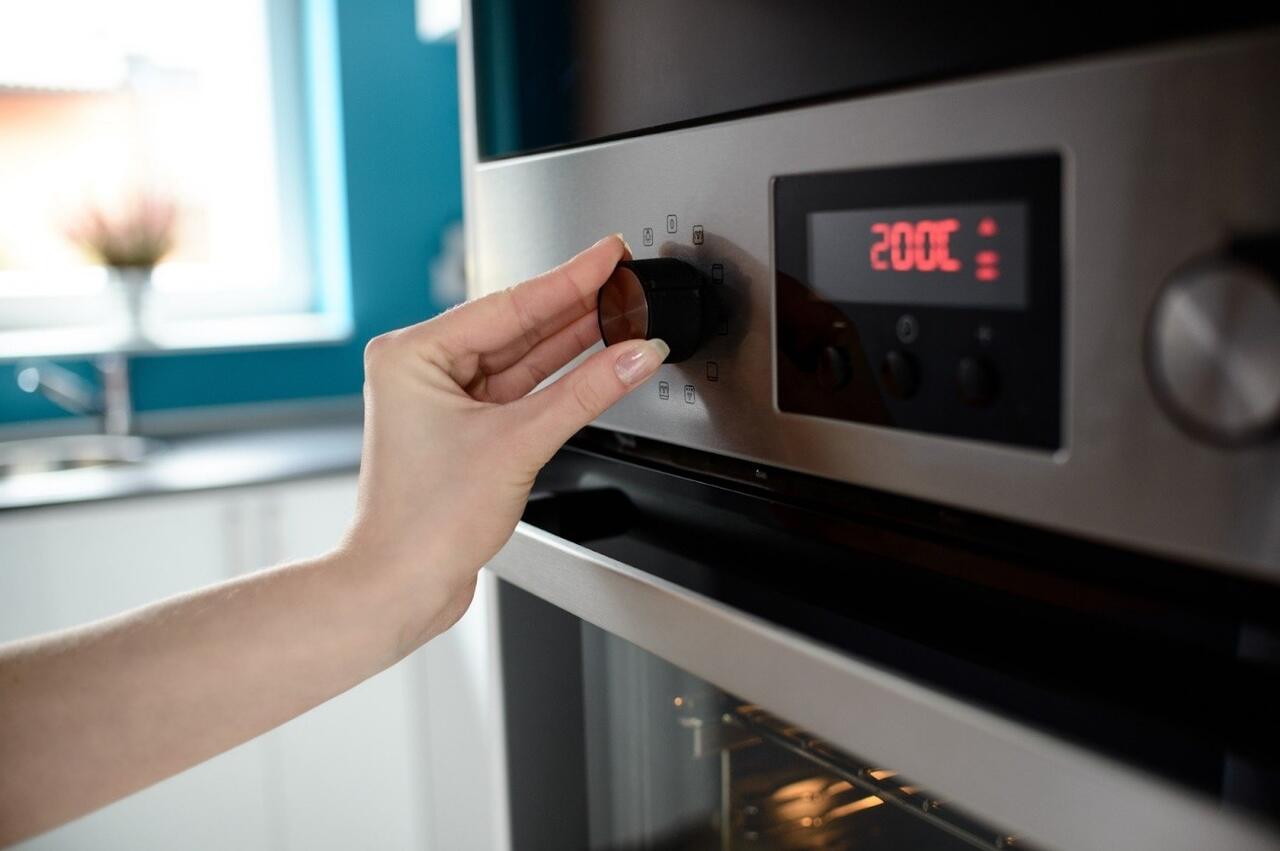


If your KitchenAid oven is not turning on at all, there are a few things you can check before calling a professional for repairs. Start by checking the power source and making sure the oven is plugged in. If it is, check the circuit breaker to make sure it has not been tripped. If the power source is not the issue, you may need to check the door latch and switch. Some KitchenAid ovens will not turn on if the door is not properly closed or if the latch or switch is not functioning properly. If these steps do not resolve the issue, it may be best to call a professional for assistance.How to Troubleshoot a KitchenAid Oven That Won't Turn On


How to Troubleshoot a KitchenAid Oven That Won't Turn On

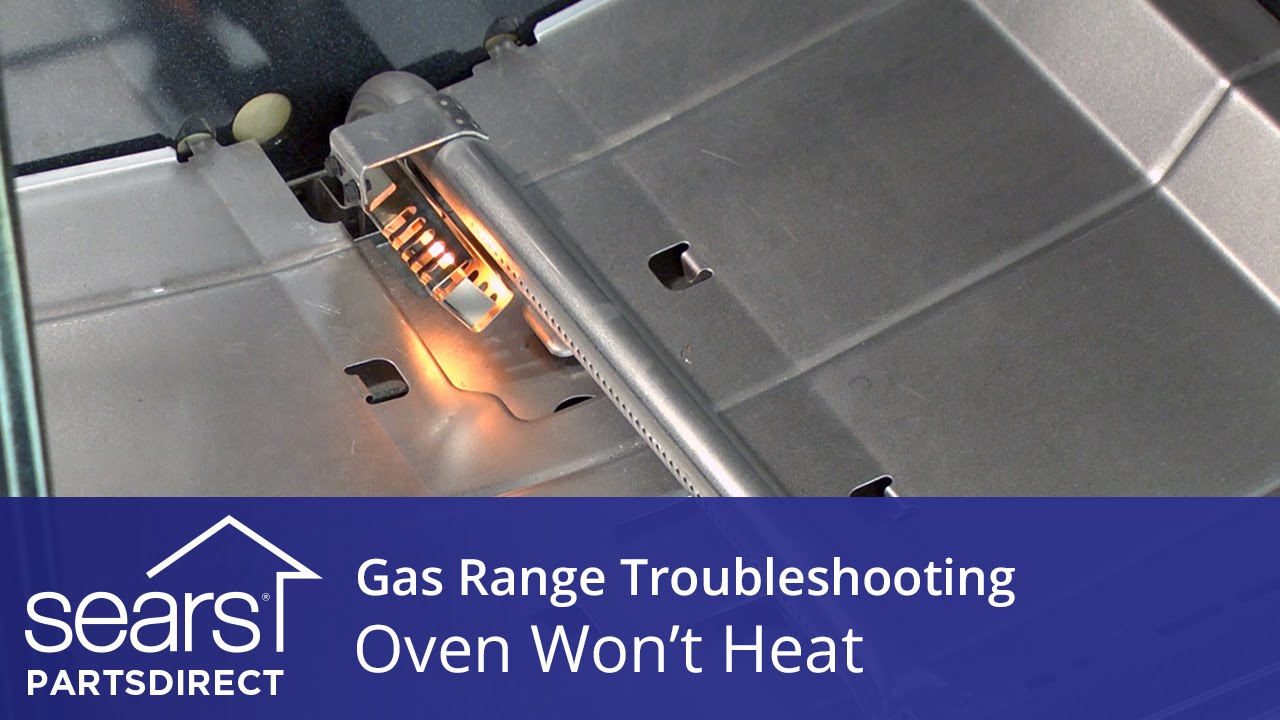


The thermal fuse is an important safety feature in a KitchenAid oven, as it cuts off the power if the oven overheats. If you suspect that the thermal fuse is the issue, it can be easily tested and replaced at home. To test the thermal fuse, use a multimeter to check for continuity. If there is no continuity, the fuse is blown and needs to be replaced. To replace the fuse, simply disconnect the old one and attach the wires to the new fuse. Reattach the back panel of the oven and plug it back in. Your KitchenAid oven should now be working properly again.How to Test and Replace a KitchenAid Oven Thermal Fuse


How to Test and Replace a KitchenAid Oven Thermal Fuse


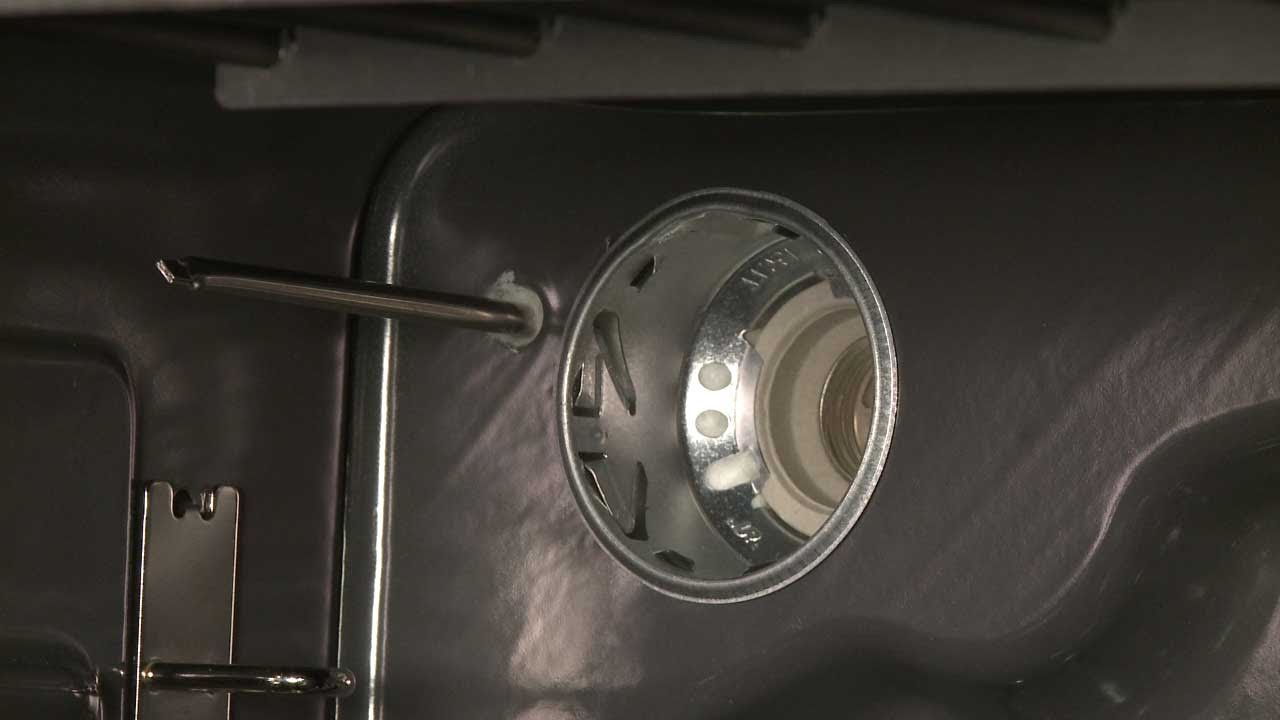
If the light in your KitchenAid oven is not working, the issue may be a faulty light socket. This can be easily replaced with a few simple steps. Start by unplugging the oven and removing the light cover. Use a flathead screwdriver to carefully remove the old light socket, making sure to disconnect the wires attached to it. Attach the wires to the new light socket and replace it in the oven. Replace the light cover and plug the oven back in. Your oven light should now be working properly again.How to Replace the Light Socket in a KitchenAid Oven


How to Replace the Light Socket in a KitchenAid Oven

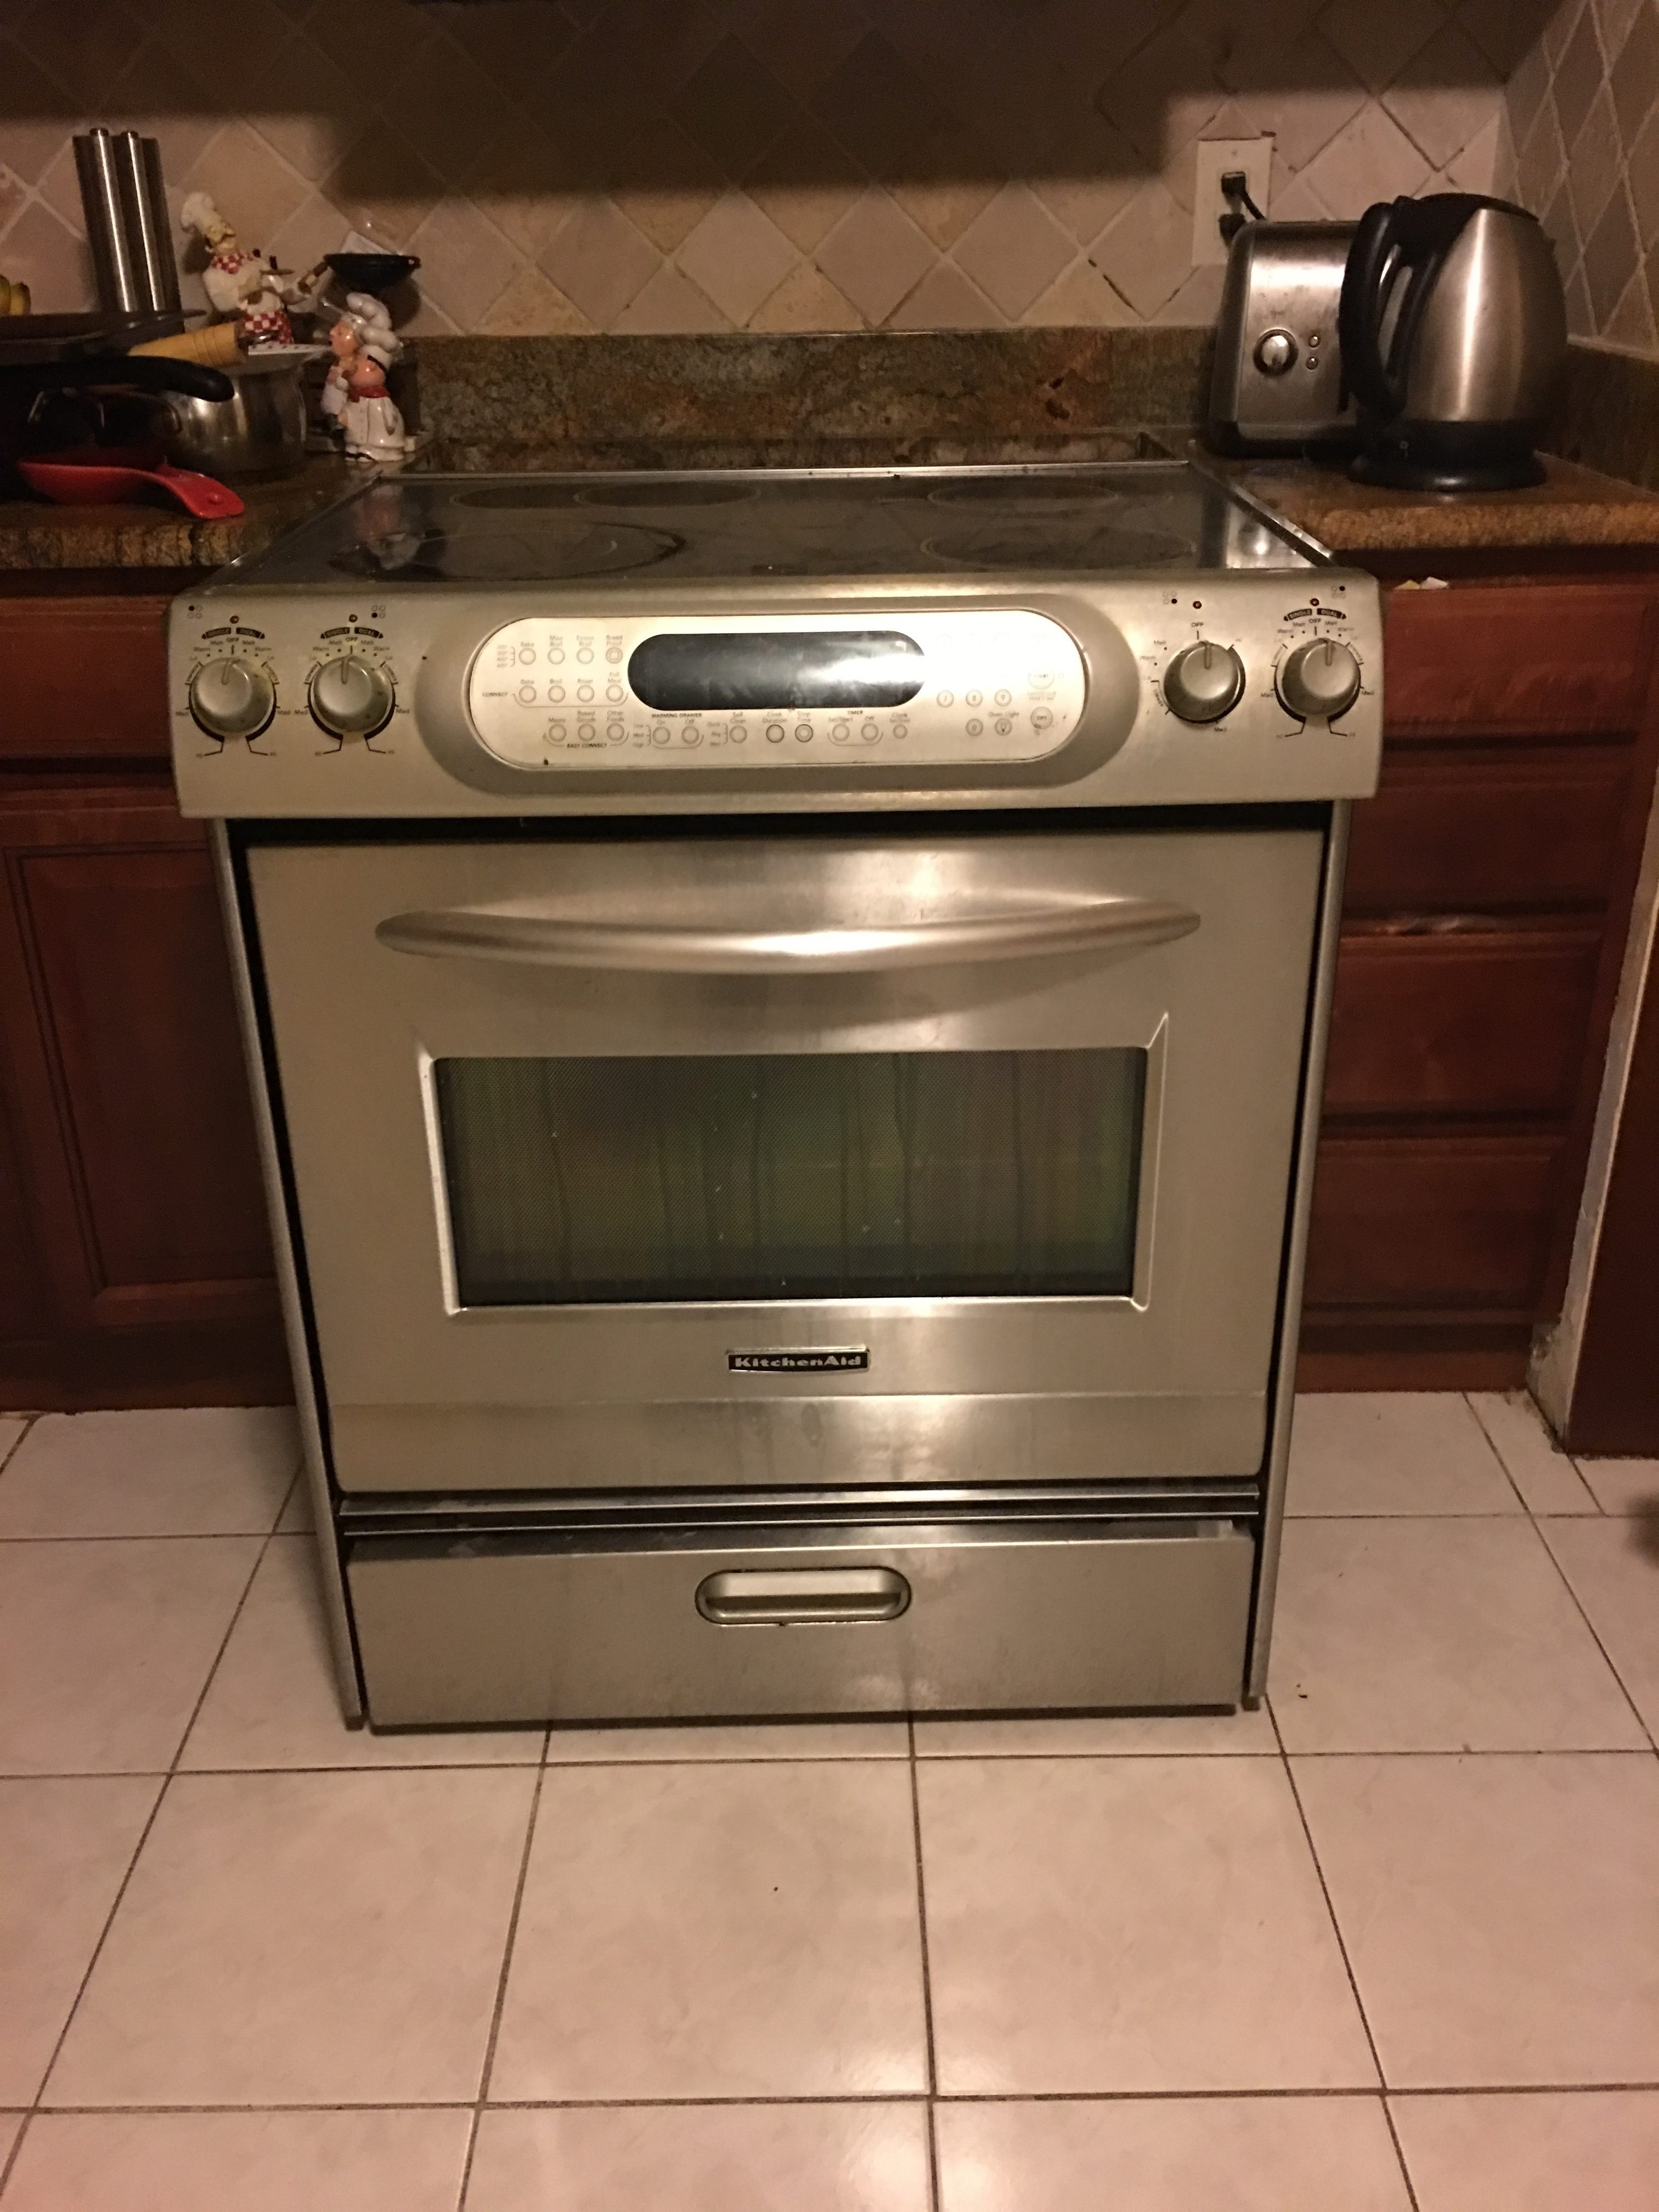
If your KitchenAid oven is not heating up at all, it may be due to a faulty heating element. This can be easily tested with a multimeter and replaced if necessary. Start by unplugging the oven and removing the back panel. Use a multimeter to test the heating element for continuity. If there is no continuity, the element is likely faulty and needs to be replaced. Purchase a new element from a hardware or appliance store and replace it in the oven. Replace the back panel and plug the oven back in. Your KitchenAid oven should now be heating up properly.How to Fix a KitchenAid Oven That Won't Heat

How to Fix a KitchenAid Oven That Won't Heat


If the light in your KitchenAid oven is not turning on or off properly, the issue may be a faulty light switch. This can be easily replaced with a few simple steps. Start by unplugging the oven and removing the light cover. Carefully remove the old light switch and attach the wires to the new switch. Replace the light cover and plug the oven back in. Your oven light should now be functioning properly again.How to Replace the Light Switch in a KitchenAid Oven

How to Replace the Light Switch in a KitchenAid Oven


Replacing the light bulb in a KitchenAid oven is a simple task that can be done in just a few steps. Start by unplugging the oven and removing the light cover. Carefully remove the old bulb and replace it with a new one. Replace the light cover and plug the oven back in. Your oven should now be well-lit and ready for use.How to Replace the Oven Light Bulb in a KitchenAid Oven

How to Replace the Oven Light Bulb in a KitchenAid Oven
If your KitchenAid oven's light assembly is damaged or broken, it may need to be replaced. This can be easily done with a few simple steps. Start by unplugging the oven and removing the light cover. Carefully remove the old light assembly and replace it with a new one. Replace the light cover and plug the oven back in. Your oven light should now be functioning properly again.How to Replace the Oven Light Assembly in a KitchenAid Oven
How to Replace the Oven Light Assembly in a KitchenAid Oven


How to Easily Repair Your Kitchen Aid Oven Light Fuse

A Guide to Fixing Your Kitchen Aid Oven Light in Just a Few Simple Steps
 If you're experiencing issues with your Kitchen Aid oven light not turning on, it could be due to a blown fuse. The oven light fuse is an essential component that powers the light in your oven, making it easier to check on your food while it's cooking. Fortunately, replacing a blown fuse is a relatively simple and inexpensive task that you can do yourself. In this article, we'll guide you through the process of repairing your Kitchen Aid oven light fuse in just a few easy steps.
Gather Your Tools and Materials
 Before you begin, make sure you have the necessary tools and materials on hand. You will need a screwdriver, a new fuse, and a pair of pliers. You can purchase a replacement fuse at most hardware stores or online. Be sure to check your oven's manual for the specific type of fuse you need for your model.
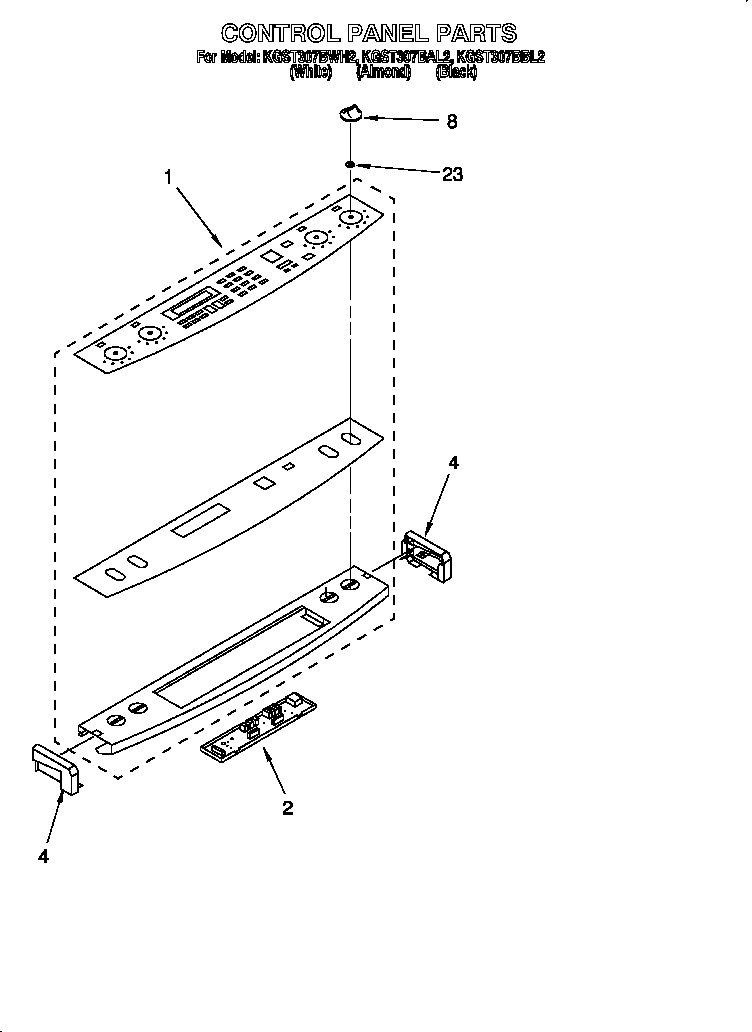
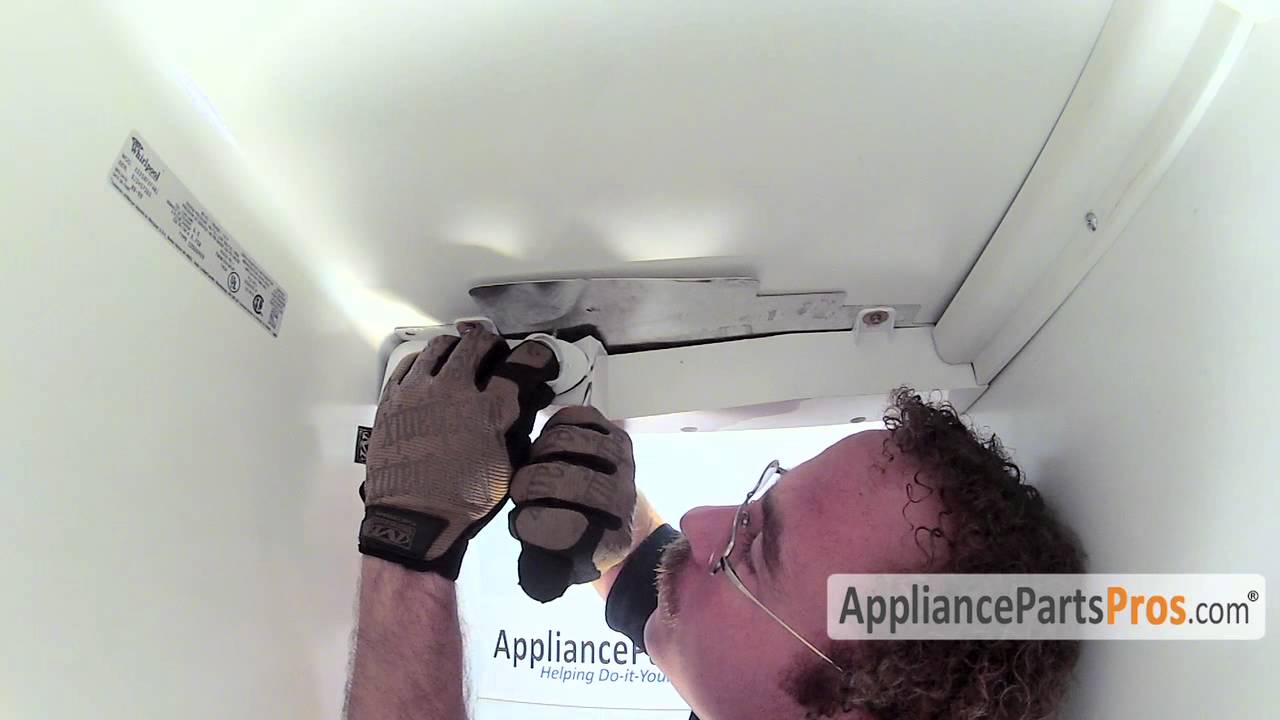
Turn Off the Power and Access the Fuse
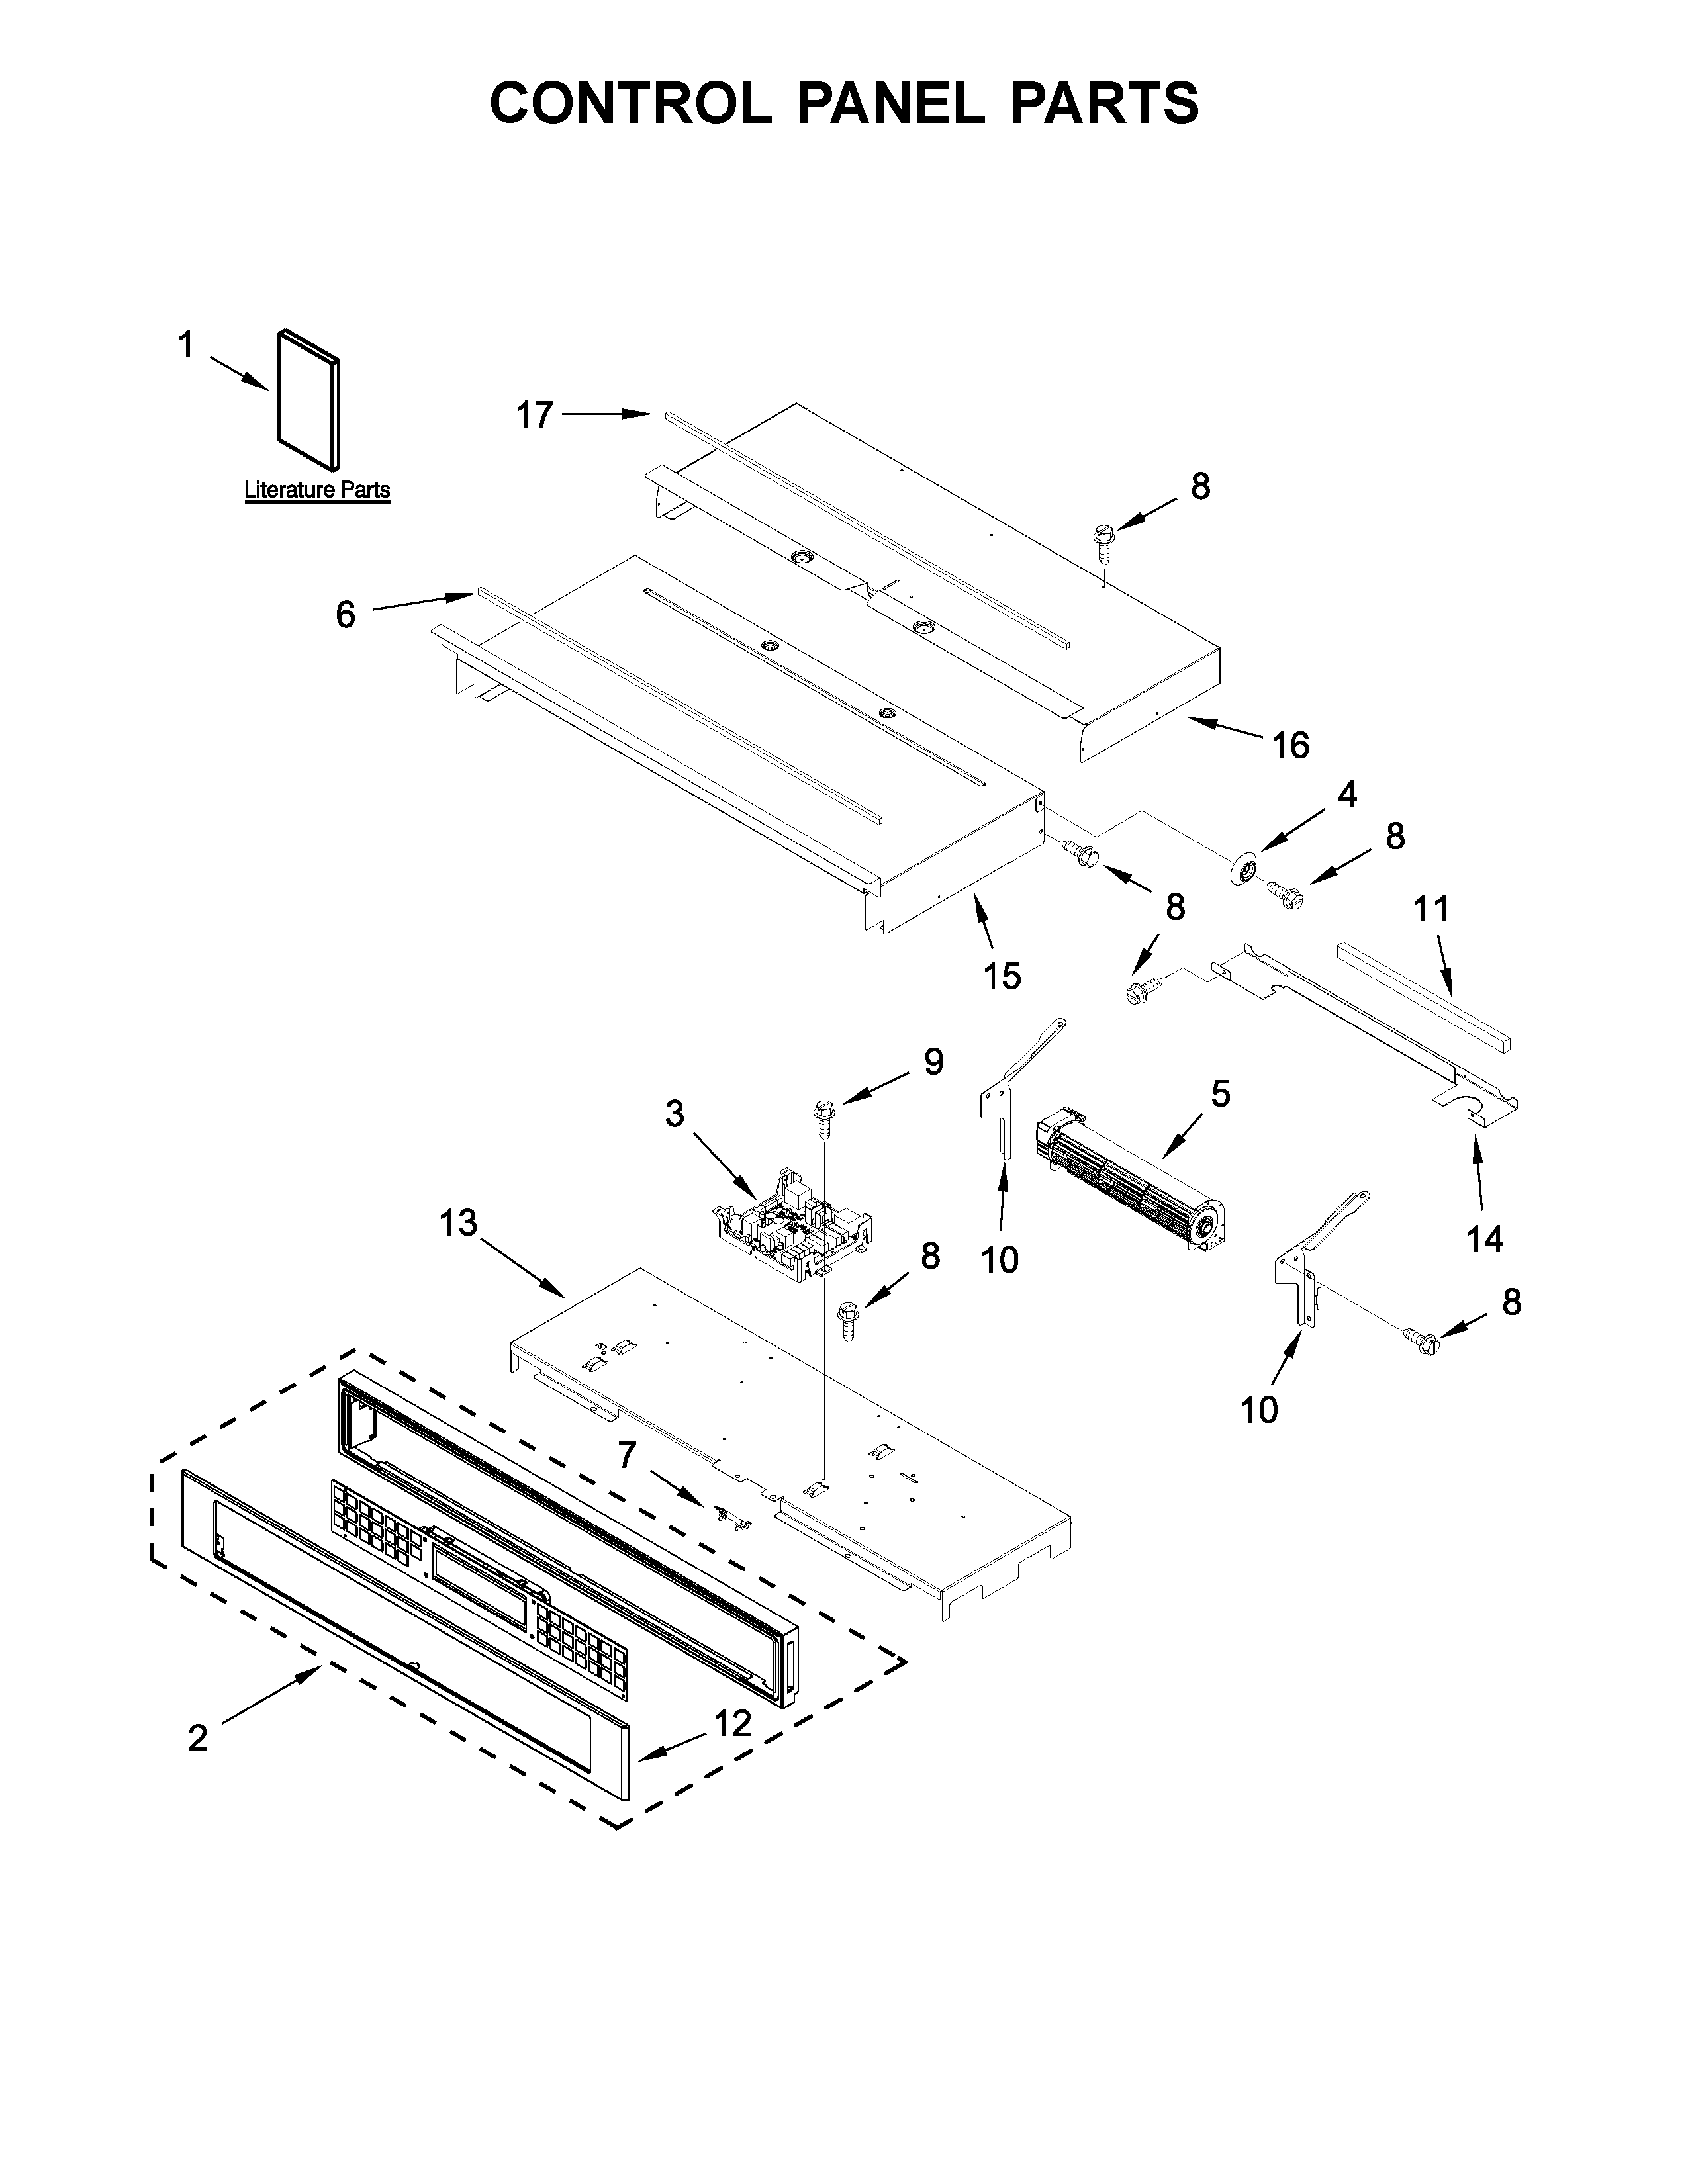
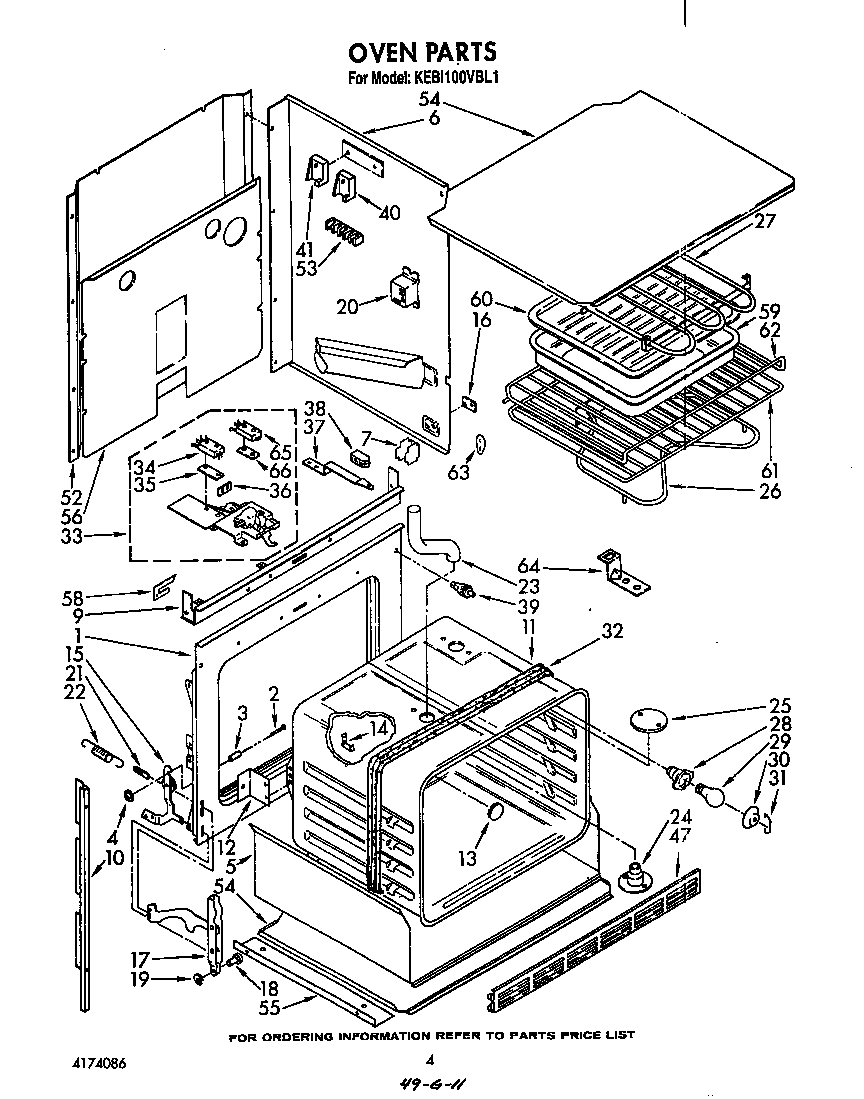
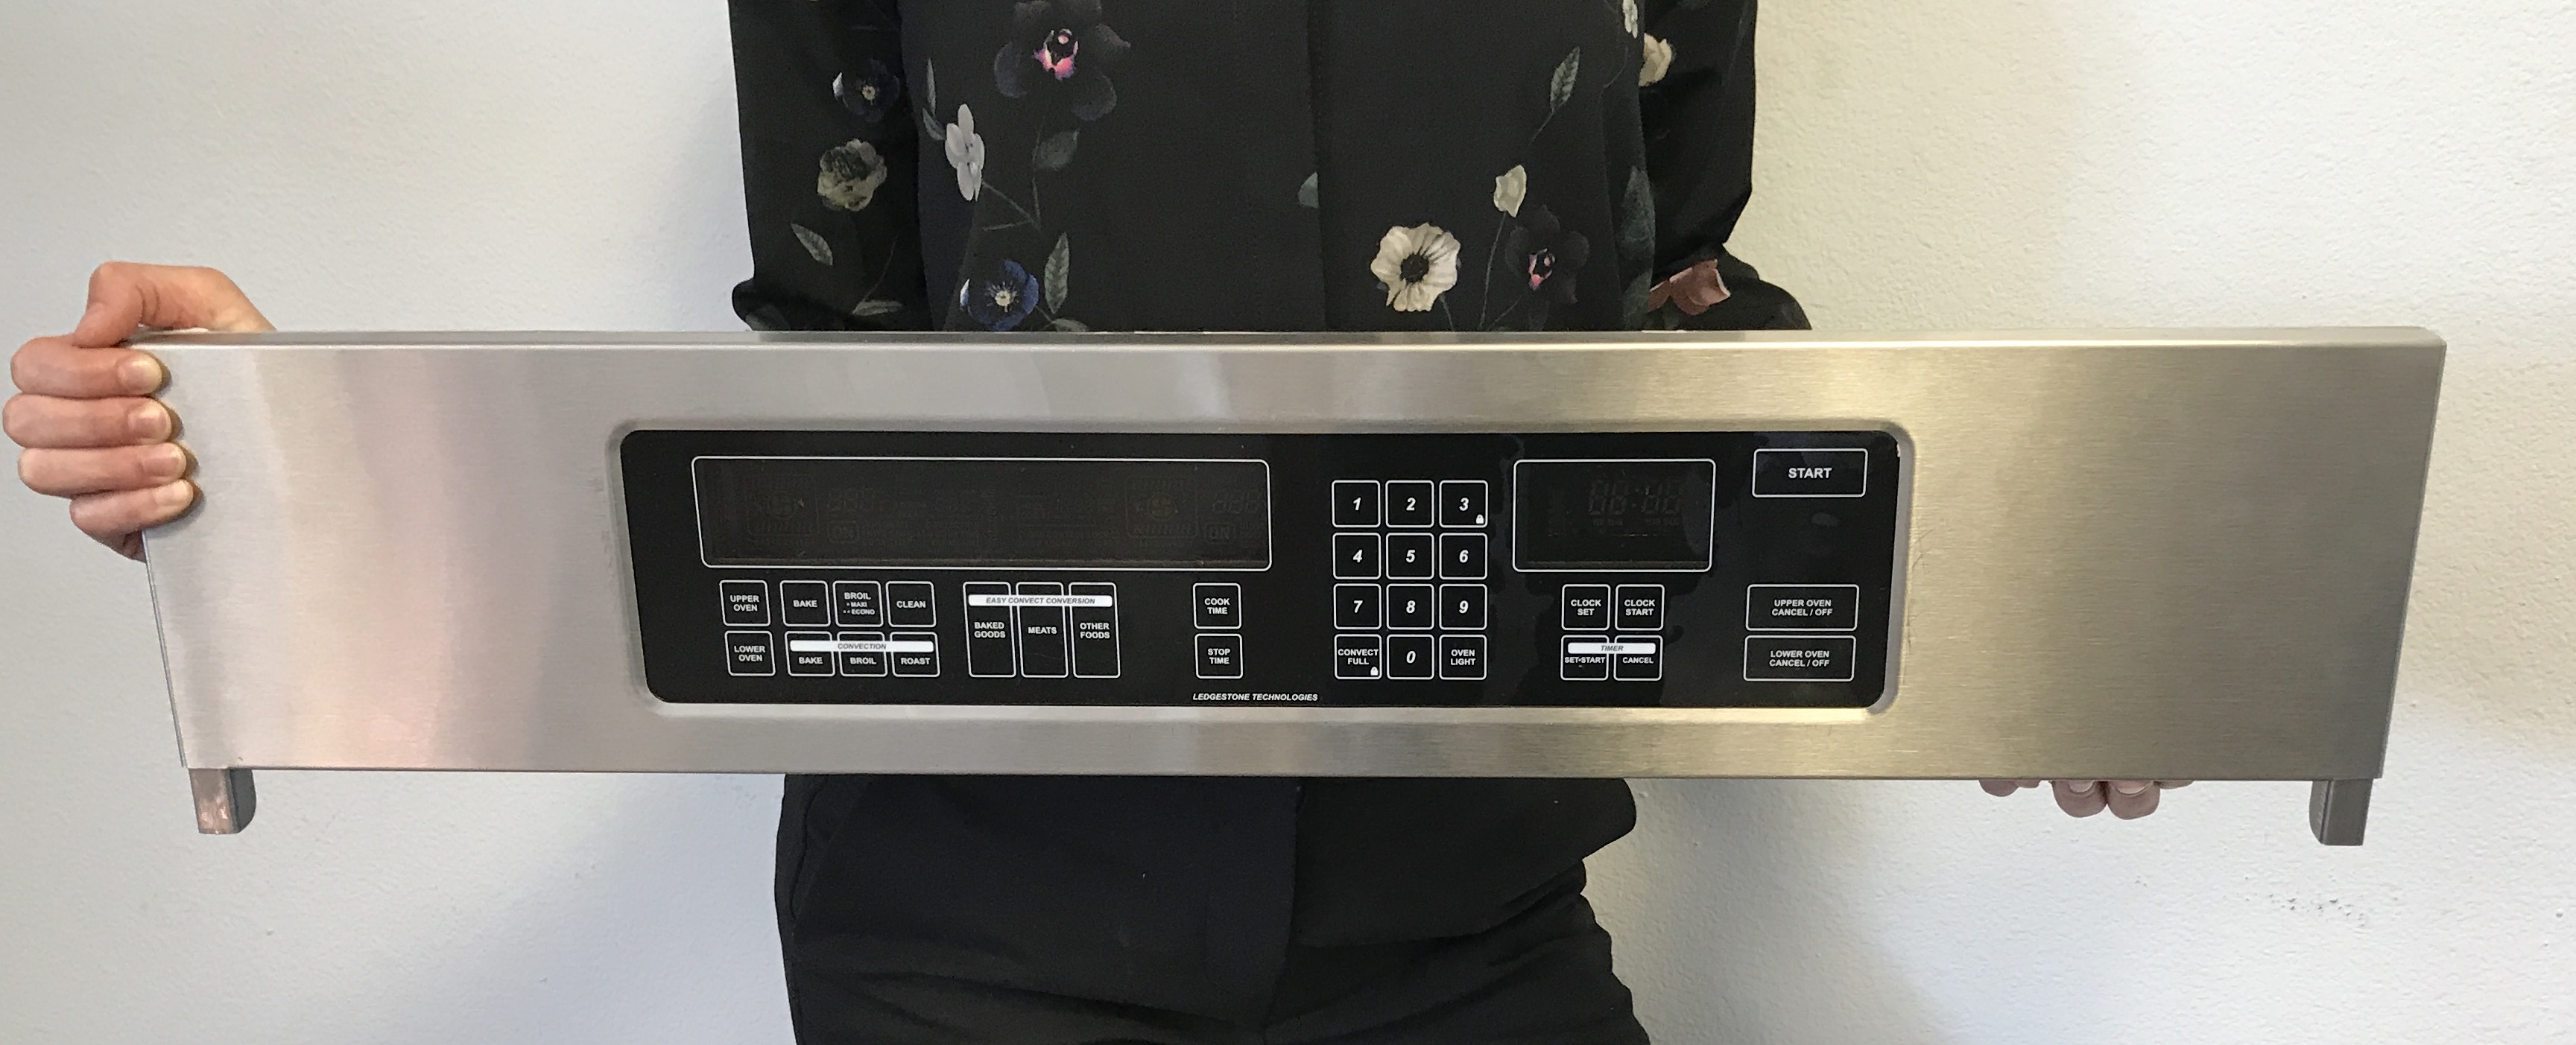 The first step is to turn off the power to your oven. Locate your circuit breaker box and switch off the breaker that controls your oven. This will prevent any electrical shocks while you're working on the oven. Next, you'll need to access the fuse, which is usually located near the top of the oven, behind the control panel.
Replace the Fuse
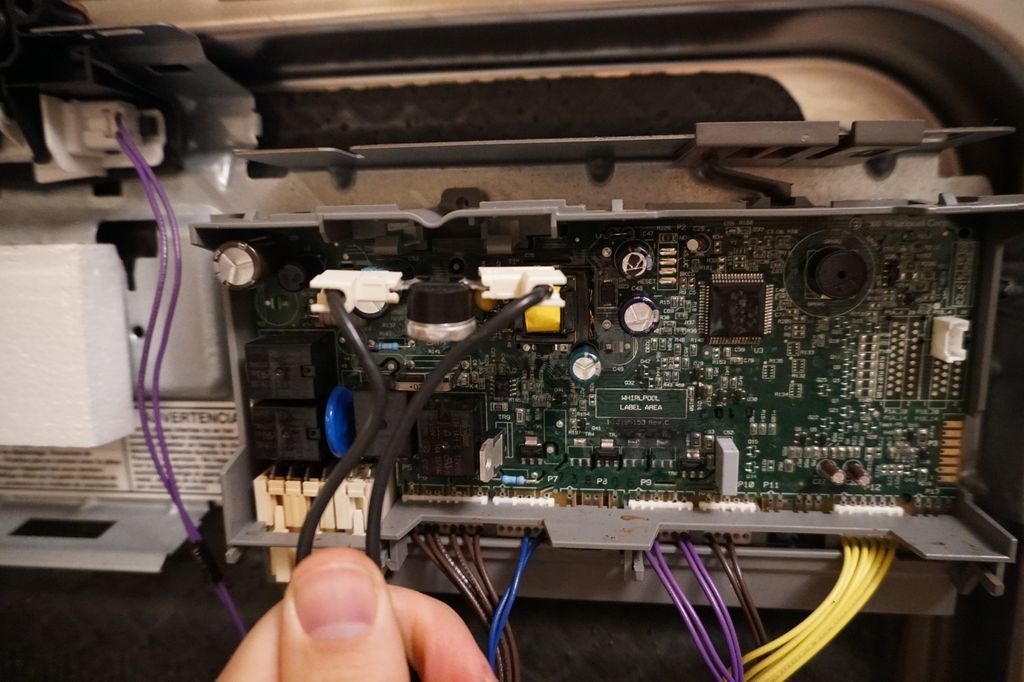
 Using a screwdriver, remove the screws that hold the control panel in place. Carefully pull the control panel away from the oven, being mindful of any wires that may be attached. You should be able to see the fuse once the control panel is removed. Using your pliers, gently pull out the old fuse and replace it with the new one.
Test the Light and Reassemble
 With the new fuse in place, turn the power back on and test the oven light. If it turns on, you have successfully replaced the fuse. If the light still does not turn on, it may be due to a different issue, and you may need to consult a professional. Once you have confirmed that the light is working, reattach the control panel and secure it with the screws.
In Conclusion
, replacing a blown fuse in your Kitchen Aid oven light is a simple task that you can easily do yourself. With the right tools and materials, you can have your oven light back up and running in no time. Remember to always follow safety precautions and consult a professional if you encounter any difficulties.
With the new fuse in place, turn the power back on and test the oven light. If it turns on, you have successfully replaced the fuse. If the light still does not turn on, it may be due to a different issue, and you may need to consult a professional. Once you have confirmed that the light is working, reattach the control panel and secure it with the screws.
In Conclusion
, replacing a blown fuse in your Kitchen Aid oven light is a simple task that you can easily do yourself. With the right tools and materials, you can have your oven light back up and running in no time. Remember to always follow safety precautions and consult a professional if you encounter any difficulties.


/small-living-room-ideas-4129044-hero-25cff5d762a94ccba3472eaca79e56cb.jpg)
