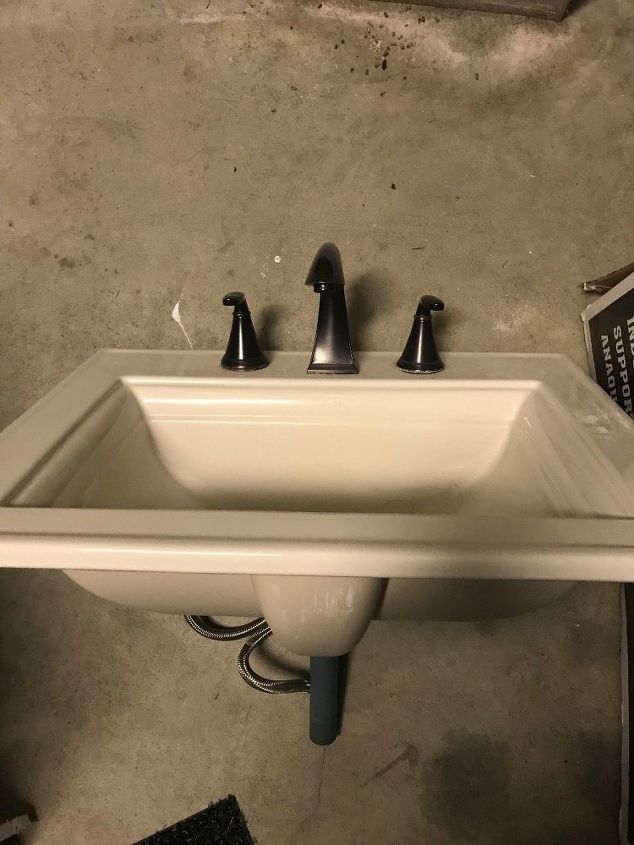
Dealing with dried caulk on your bathroom sink can be a frustrating and time-consuming task. Not only does it make your sink look dirty and unkempt, but it can also lead to mold and mildew growth if left untreated. However, with the right techniques and tools, removing dried caulk from your bathroom sink can be a breeze. In this article, we will discuss the top 10 ways to effectively remove dried caulk from your bathroom sink.Removing Dried Caulk from Bathroom Sink


Removing Dried Caulk from Bathroom Sink

Before we dive into the different methods, it's important to know the basic steps of removing dried caulk from a bathroom sink. First, you'll need to gather your tools, which may include a scraper, razor blade, caulk remover, rubbing alcohol, and a cloth. Next, you'll want to soften the caulk by using a caulk remover or applying heat with a hairdryer. Once the caulk is softened, use a scraper or razor blade to gently scrape it off. Finally, clean the area with rubbing alcohol to remove any residue.How to Remove Dried Caulk from a Bathroom Sink

How to Remove Dried Caulk from a Bathroom Sink


:max_bytes(150000):strip_icc()/how-to-remove-old-caulk-1824827-01-3d0370c59e124dbbaa6560c68bab111c.jpg)
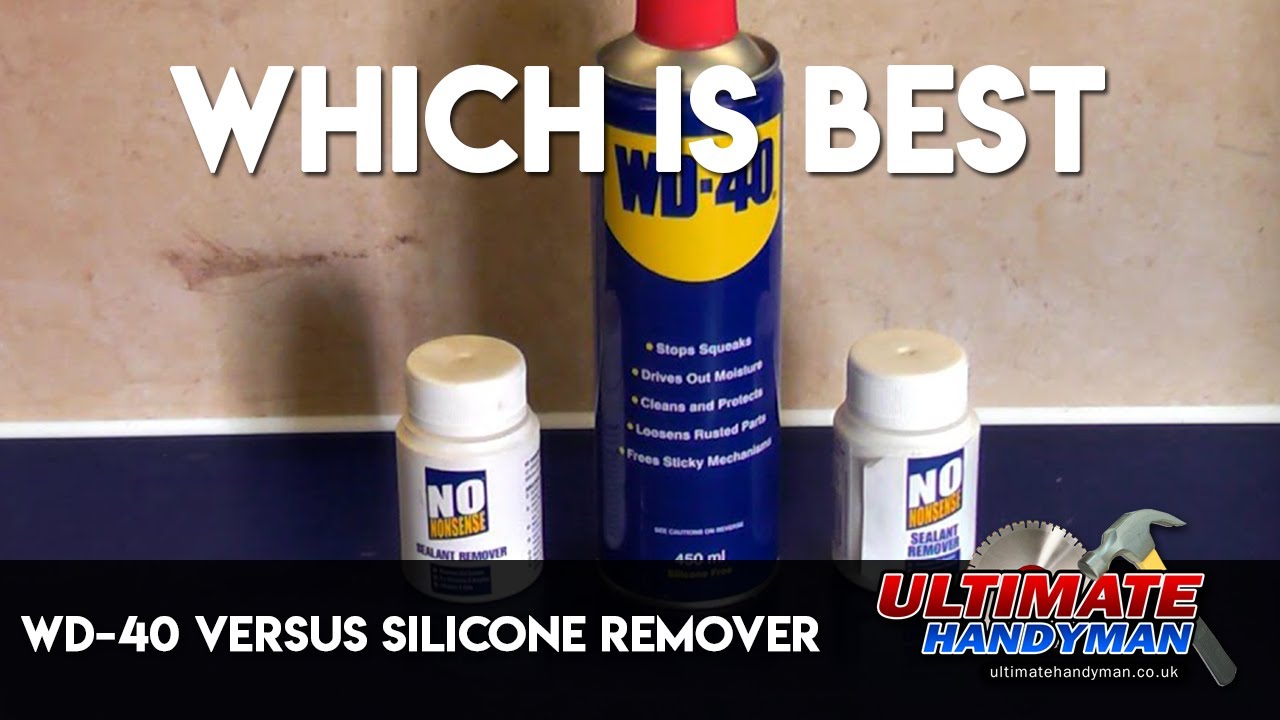
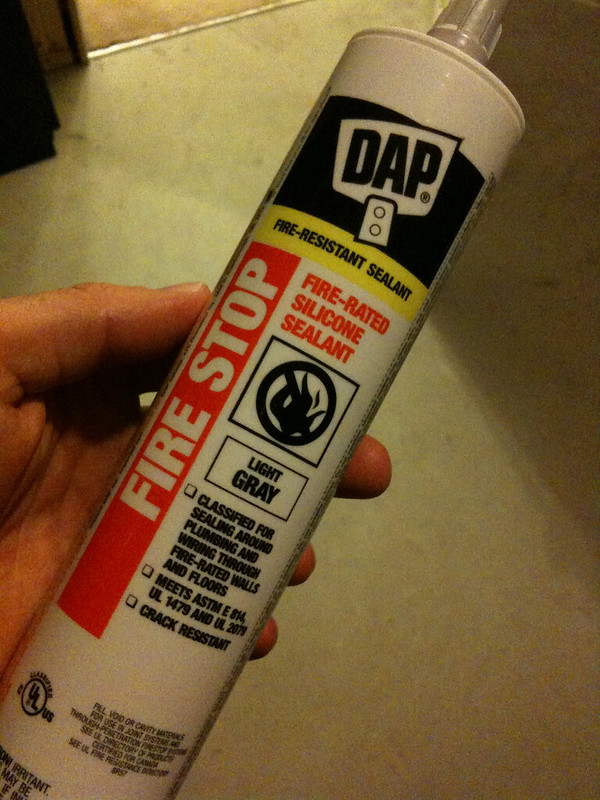
The best way to remove dried caulk from a bathroom sink will depend on the type of caulk and the severity of the build-up. However, one of the most effective methods is to use a caulk remover solution. This product is specifically designed to soften caulk, making it easier to scrape off. It also contains chemicals that break down the caulk, making it easier to remove.Best Way to Remove Dried Caulk from Bathroom Sink


Best Way to Remove Dried Caulk from Bathroom Sink


If you don't have a caulk remover on hand, don't worry. There are several household items that can be used to remove dried caulk from your bathroom sink. One option is to use a mixture of baking soda and water to create a paste. Apply the paste to the caulk and let it sit for a few hours before scraping it off. Another household item that can be effective is vinegar. Simply soak a cloth in vinegar and place it over the caulk for a few hours before scraping.Removing Dried Caulk from Bathroom Sink with Household Items


Removing Dried Caulk from Bathroom Sink with Household Items


If you prefer a more detailed approach, here is a step-by-step guide for removing dried caulk from your bathroom sink: Step 1: Gather your tools, including a scraper, razor blade, caulk remover, rubbing alcohol, and a cloth. Step 2: Soften the caulk by using a caulk remover or applying heat with a hairdryer. Step 3: Use a scraper or razor blade to gently scrape off the caulk. Step 4: Clean the area with rubbing alcohol to remove any residue.Step-by-Step Guide for Removing Dried Caulk from Bathroom Sink


Step-by-Step Guide for Removing Dried Caulk from Bathroom Sink


Here are a few tips and tricks to make the process of removing dried caulk from your bathroom sink easier and more effective: Tip 1: Use a caulk remover solution for better results. Tip 2: Apply heat with a hairdryer to soften the caulk before scraping. Tip 3: Use a razor blade to gently scrape off stubborn caulk. Tip 4: Clean the area with rubbing alcohol to remove any residue.Removing Dried Caulk from Bathroom Sink: Tips and Tricks


Removing Dried Caulk from Bathroom Sink: Tips and Tricks


If you prefer a more hands-on approach, there are several DIY methods that can effectively remove dried caulk from your bathroom sink. As mentioned earlier, a mixture of baking soda and water or vinegar can be used to soften and remove caulk. You can also try using a mixture of dish soap and warm water to scrub away the caulk.DIY Methods for Removing Dried Caulk from Bathroom Sink


DIY Methods for Removing Dried Caulk from Bathroom Sink


While removing dried caulk from your bathroom sink may seem like a simple task, there are a few common mistakes that can make the process more difficult. These include using a dull scraper or razor blade, not applying enough heat to soften the caulk, and not cleaning the area properly after removing the caulk. Avoiding these mistakes can save you time and effort in the long run.Removing Dried Caulk from Bathroom Sink: Common Mistakes to Avoid


Removing Dried Caulk from Bathroom Sink: Common Mistakes to Avoid

If you're not confident in your ability to remove dried caulk from your bathroom sink, you may be considering hiring a professional. While this can be a good option for more severe cases, it can also be costly. If you're on a budget, it's worth trying some DIY methods first before resorting to professional services.Removing Dried Caulk from Bathroom Sink: Professional Services vs. DIY


Removing Dried Caulk from Bathroom Sink: Professional Services vs. DIY

Once you've successfully removed the dried caulk from your bathroom sink, it's important to take preventative measures to avoid future build-up. One way to do this is to regularly clean your sink and remove any caulk residue before it has a chance to dry and harden. You can also consider using a caulk with mold and mildew resistance to prevent future growth. With these 10 tips and tricks, you'll be able to effectively remove dried caulk from your bathroom sink and keep it looking clean and pristine. Remember to take your time and use the right tools and techniques to achieve the best results. Happy cleaning!Removing Dried Caulk from Bathroom Sink: How to Prevent Future Build-Up

Removing Dried Caulk from Bathroom Sink: How to Prevent Future Build-Up
Why Removing Dried Caulk from Your Bathroom Sink is Essential for a Beautiful House Design

The Importance of a Clean and Well-Maintained Bathroom
 A beautiful house design not only includes the exterior and interior aesthetic, but also the cleanliness and maintenance of every part of the house. One of the most important areas to keep clean and well-maintained is the bathroom, as it is where we start and end our day. However, over time, the caulk around your bathroom sink can become discolored, cracked, and even moldy, making your bathroom look unappealing and unhygienic. That's why it's essential to regularly remove dried caulk from your bathroom sink to maintain a beautiful house design.
Why Dried Caulk is a Common Problem in Bathrooms
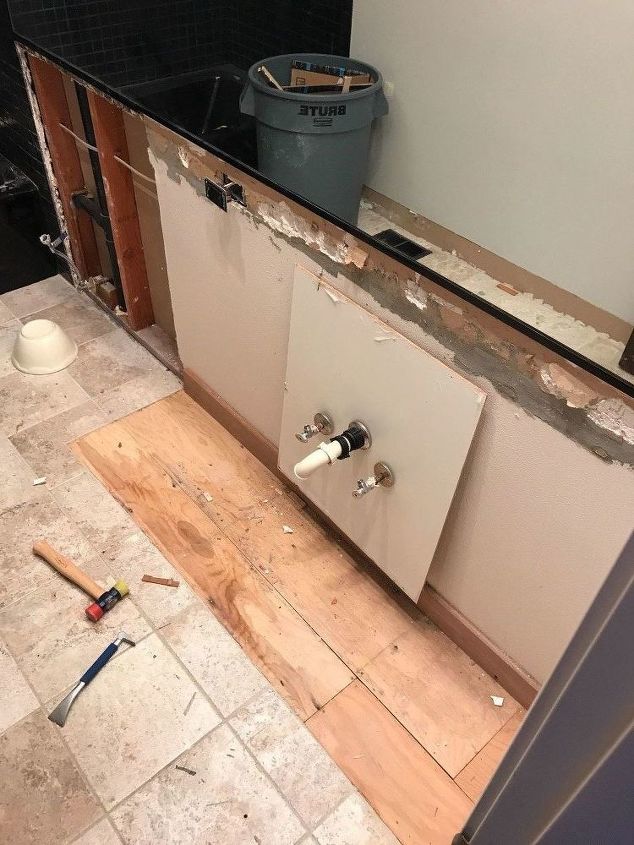
 Caulk is a waterproof sealant used to fill gaps and cracks around your bathroom sink, tub, and shower. Over time, due to exposure to water, heat, and humidity, caulk can dry out, shrink, and crack, creating an unsightly and unhygienic mess. This not only affects the overall appearance of your bathroom but also creates a breeding ground for mold and mildew, which can be harmful to your health. Furthermore, dried caulk can also cause water leakage, leading to potential water damage and expensive repairs.
The Benefits of Removing Dried Caulk from Your Bathroom Sink
 By regularly removing dried caulk from your bathroom sink, you not only improve the appearance and cleanliness of your bathroom but also prevent potential health hazards and costly repairs. Removing the old and cracked caulk and replacing it with fresh caulk will create a watertight seal, preventing any water leakage and reducing the risk of mold and mildew growth. This will not only make your bathroom more visually appealing but also ensure a safe and healthy environment for you and your family.
How to Successfully Remove Dried Caulk from Your Bathroom Sink
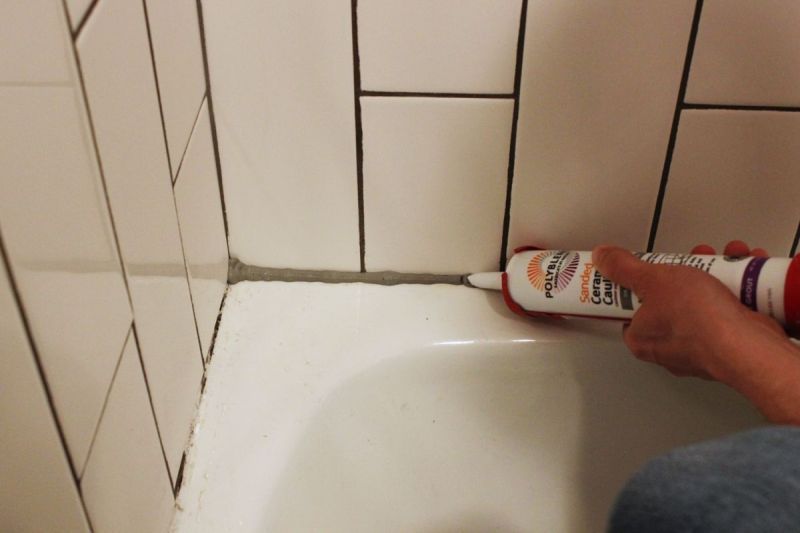
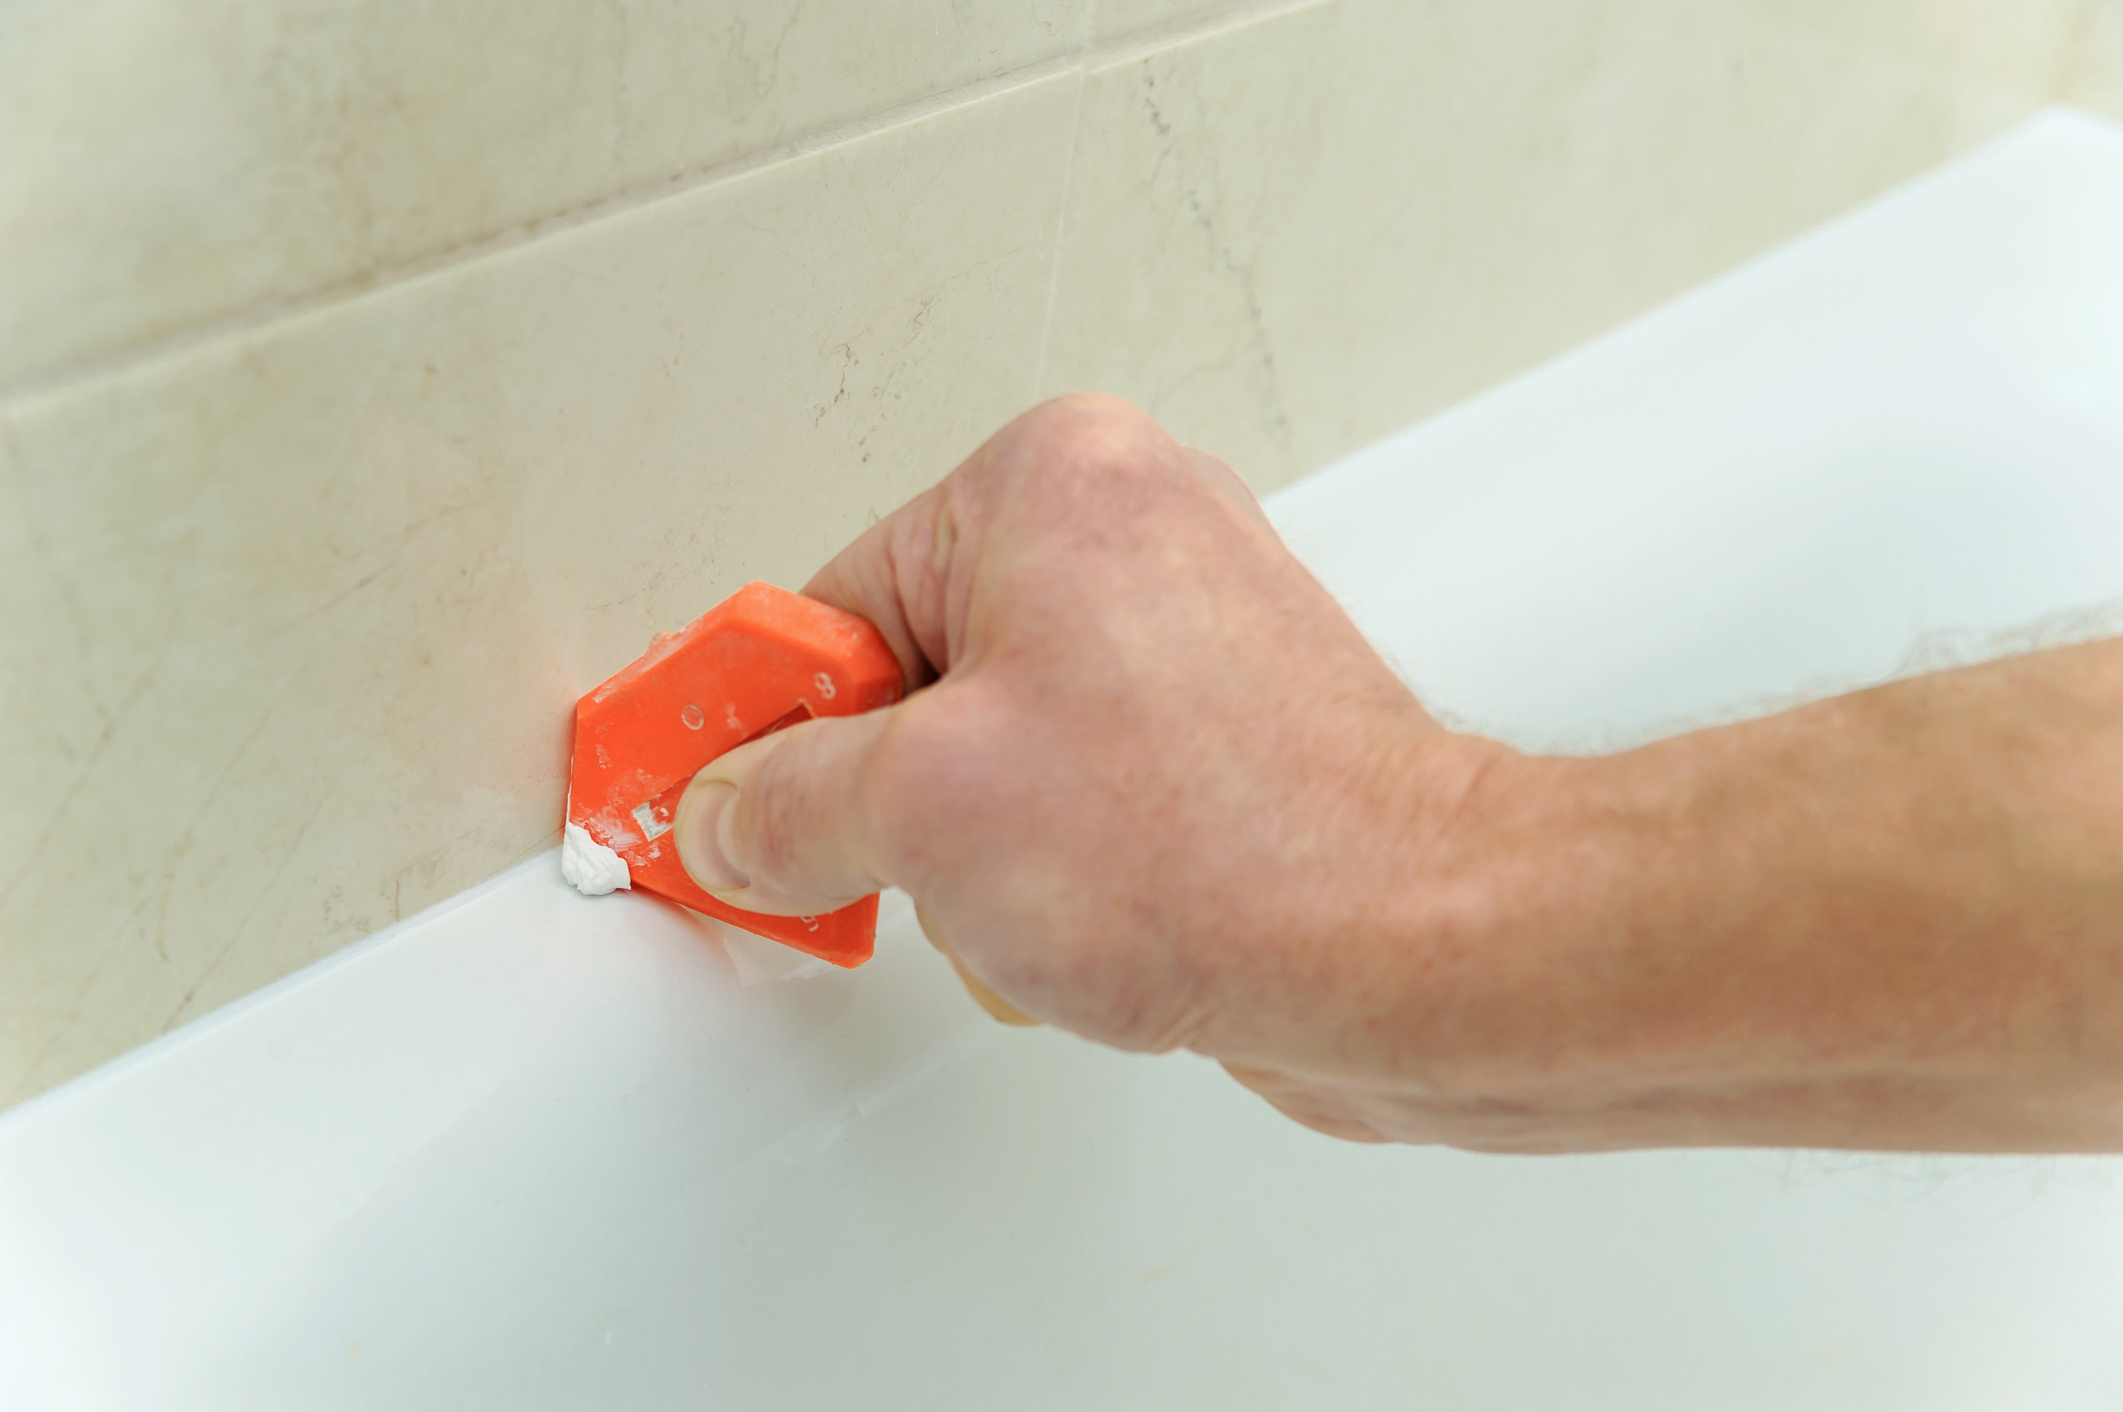
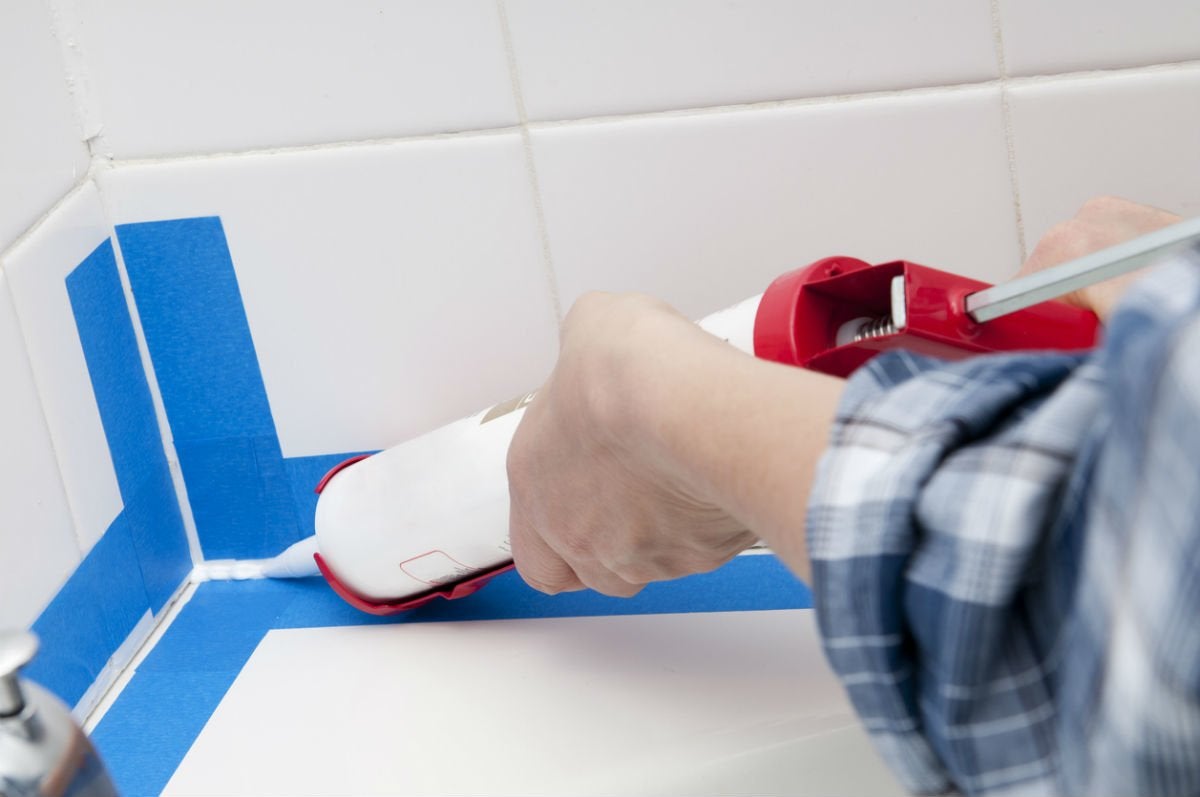
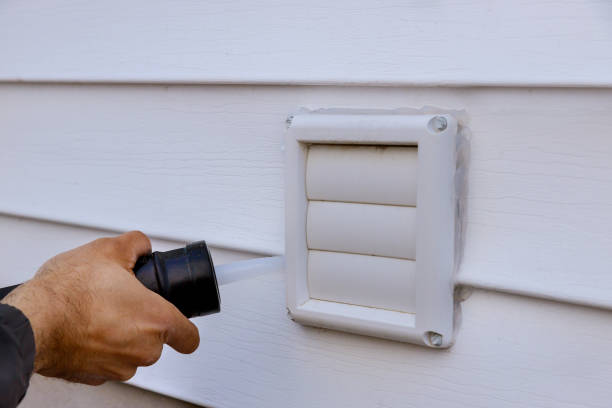
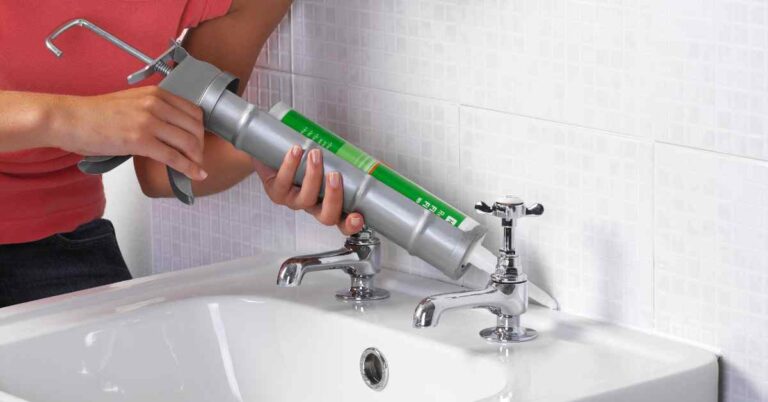
 Removing dried caulk from your bathroom sink may seem like a daunting task, but with the right tools and techniques, it can be done easily and effectively. First, use a caulk softener to loosen the dried caulk, then use a scraper or putty knife to gently remove it from the surface. Next, clean the area thoroughly with a mixture of warm water and mild soap, then let it dry completely. Finally, apply fresh caulk around the sink, making sure to create a smooth and even seal. For a professional and long-lasting result, consider hiring a handyman or contractor who specializes in bathroom repairs.
Conclusion
 In conclusion, removing dried caulk from your bathroom sink is essential for maintaining a beautiful house design. It not only improves the appearance of your bathroom but also prevents potential health hazards and costly repairs. Regularly checking and replacing dried caulk will ensure a clean, hygienic, and safe environment for you and your family to enjoy. Don't neglect this important task and keep your bathroom looking beautiful and well-maintained.