Are you tired of your old, outdated bathroom sink faucet? Want to give your bathroom an upgrade without breaking the bank? Look no further than a wall mounted bathroom sink faucet. Not only does it add a modern touch to your space, but it also frees up counter space and makes cleaning a breeze. With the right tools and some basic knowledge, you can easily install a wall mounted bathroom sink faucet yourself. Follow these steps for a successful installation.Installing a Wall Mounted Bathroom Sink Faucet


Installing a Wall Mounted Bathroom Sink Faucet


Before you begin, make sure you have all the necessary tools and materials. You will need a basin wrench, adjustable wrench, plumber's tape, silicone sealant, and a screwdriver. You will also need a new wall mounted bathroom sink faucet, which can be purchased at any home improvement store.How to Install a Wall Mounted Bathroom Sink Faucet


How to Install a Wall Mounted Bathroom Sink Faucet


Step 1: Turn off the water supply to your sink. Look for the shut-off valves located under the sink and turn them clockwise to shut off the water. Step 2: Remove the old faucet by unscrewing the nuts that hold it in place. Use a basin wrench to reach tight spaces. Step 3: Clean the area where the old faucet was installed. Use a mild cleaner to remove any residue or build-up. Step 4: Follow the manufacturer's instructions to install the new faucet. Apply plumber's tape to the threads of the water supply pipes to prevent leaks. Step 5: Place the faucet on the wall and secure it with the mounting hardware provided. Use an adjustable wrench to tighten the nuts. Step 6: Connect the water supply lines to the faucet. Use an adjustable wrench to tighten the connections. Step 7: Apply silicone sealant around the base of the faucet to prevent water from seeping behind the wall. Step 8: Turn the water supply back on and test the faucet for any leaks. If there are any, tighten the connections as needed. Step 9: Clean up any excess sealant and enjoy your newly installed wall mounted bathroom sink faucet.Step-by-Step Guide for Installing a Wall Mounted Bathroom Sink Faucet


Step-by-Step Guide for Installing a Wall Mounted Bathroom Sink Faucet


Installing a wall mounted bathroom sink faucet is a relatively simple task that can be done by anyone with basic plumbing knowledge. Not only will you save money by doing it yourself, but you will also have the satisfaction of completing a DIY project.DIY: Installing a Wall Mounted Bathroom Sink Faucet


DIY: Installing a Wall Mounted Bathroom Sink Faucet


Make sure you have all the necessary tools and materials before starting the installation process. This will save you time and frustration in case you need to make a trip to the store. You will need a basin wrench, adjustable wrench, plumber's tape, silicone sealant, and a screwdriver. It is also important to have the new faucet and any additional mounting hardware provided by the manufacturer.Tools and Materials Needed for Installing a Wall Mounted Bathroom Sink Faucet


Tools and Materials Needed for Installing a Wall Mounted Bathroom Sink Faucet


Tip: Before beginning the installation, make sure to read the manufacturer's instructions carefully. Each faucet may have slightly different installation steps, so it is important to follow the specific instructions for your model. Tip: If your sink does not have pre-drilled holes for the faucet, you will need to use a drill and the appropriate size drill bit to create the holes. Tip: Use plumber's tape on all threaded connections to prevent leaks. Tip: If you are unsure of any step in the installation process, consult a professional plumber for assistance.Tips and Tricks for Installing a Wall Mounted Bathroom Sink Faucet

Tips and Tricks for Installing a Wall Mounted Bathroom Sink Faucet


While installing a wall mounted bathroom sink faucet may seem straightforward, there are some common mistakes that can lead to issues down the road. Make sure to avoid these mistakes to ensure a successful installation: Mistake: Not turning off the water supply before starting the installation process. Mistake: Forgetting to use plumber's tape on threaded connections. Mistake: Overtightening connections, which can lead to leaks or damage to the faucet.Common Mistakes to Avoid When Installing a Wall Mounted Bathroom Sink Faucet

Common Mistakes to Avoid When Installing a Wall Mounted Bathroom Sink Faucet


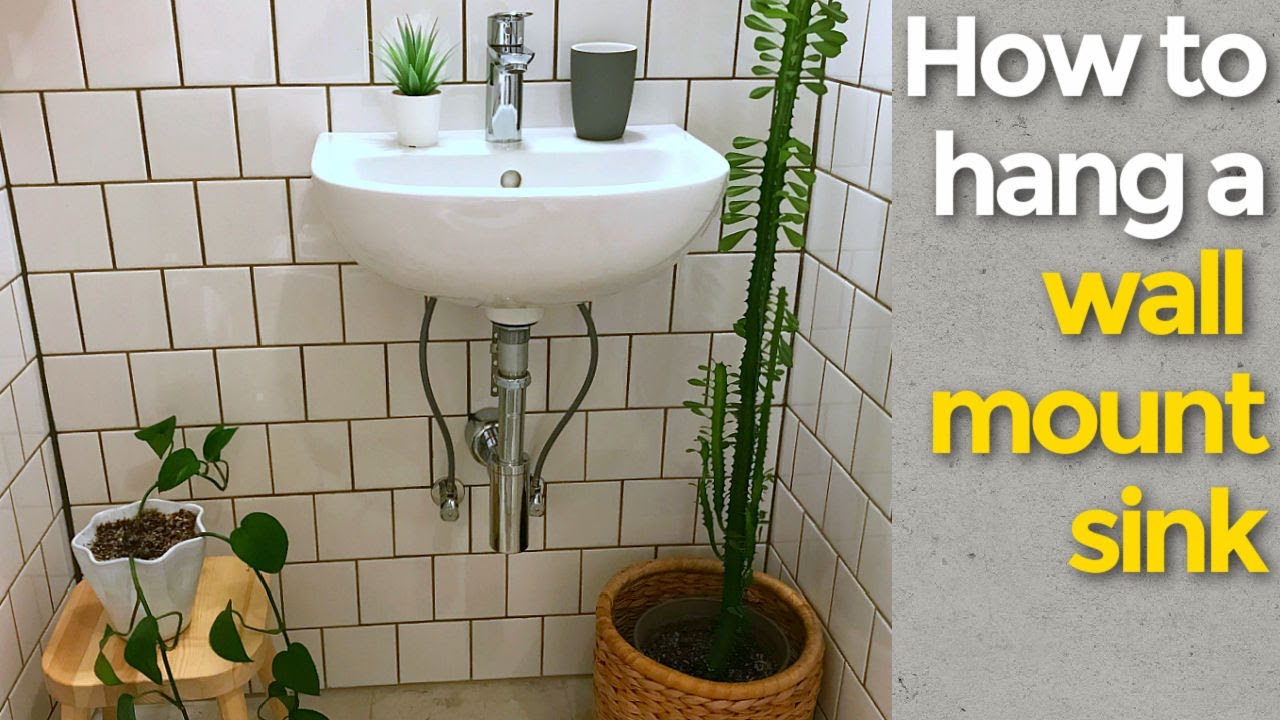
If you are a visual learner, there are many helpful video tutorials available online that show the step-by-step process of installing a wall mounted bathroom sink faucet. These tutorials can provide additional guidance and tips to ensure a successful installation.Video Tutorial: Installing a Wall Mounted Bathroom Sink Faucet


Video Tutorial: Installing a Wall Mounted Bathroom Sink Faucet

While installing a wall mounted bathroom sink faucet can be done by a DIY enthusiast, it is important to consider your own plumbing skills and comfort level. If you are unsure of any step or do not have the necessary tools, it may be best to hire a professional plumber to ensure a proper installation.Professional Installation vs. DIY: Wall Mounted Bathroom Sink Faucet

Professional Installation vs. DIY: Wall Mounted Bathroom Sink Faucet


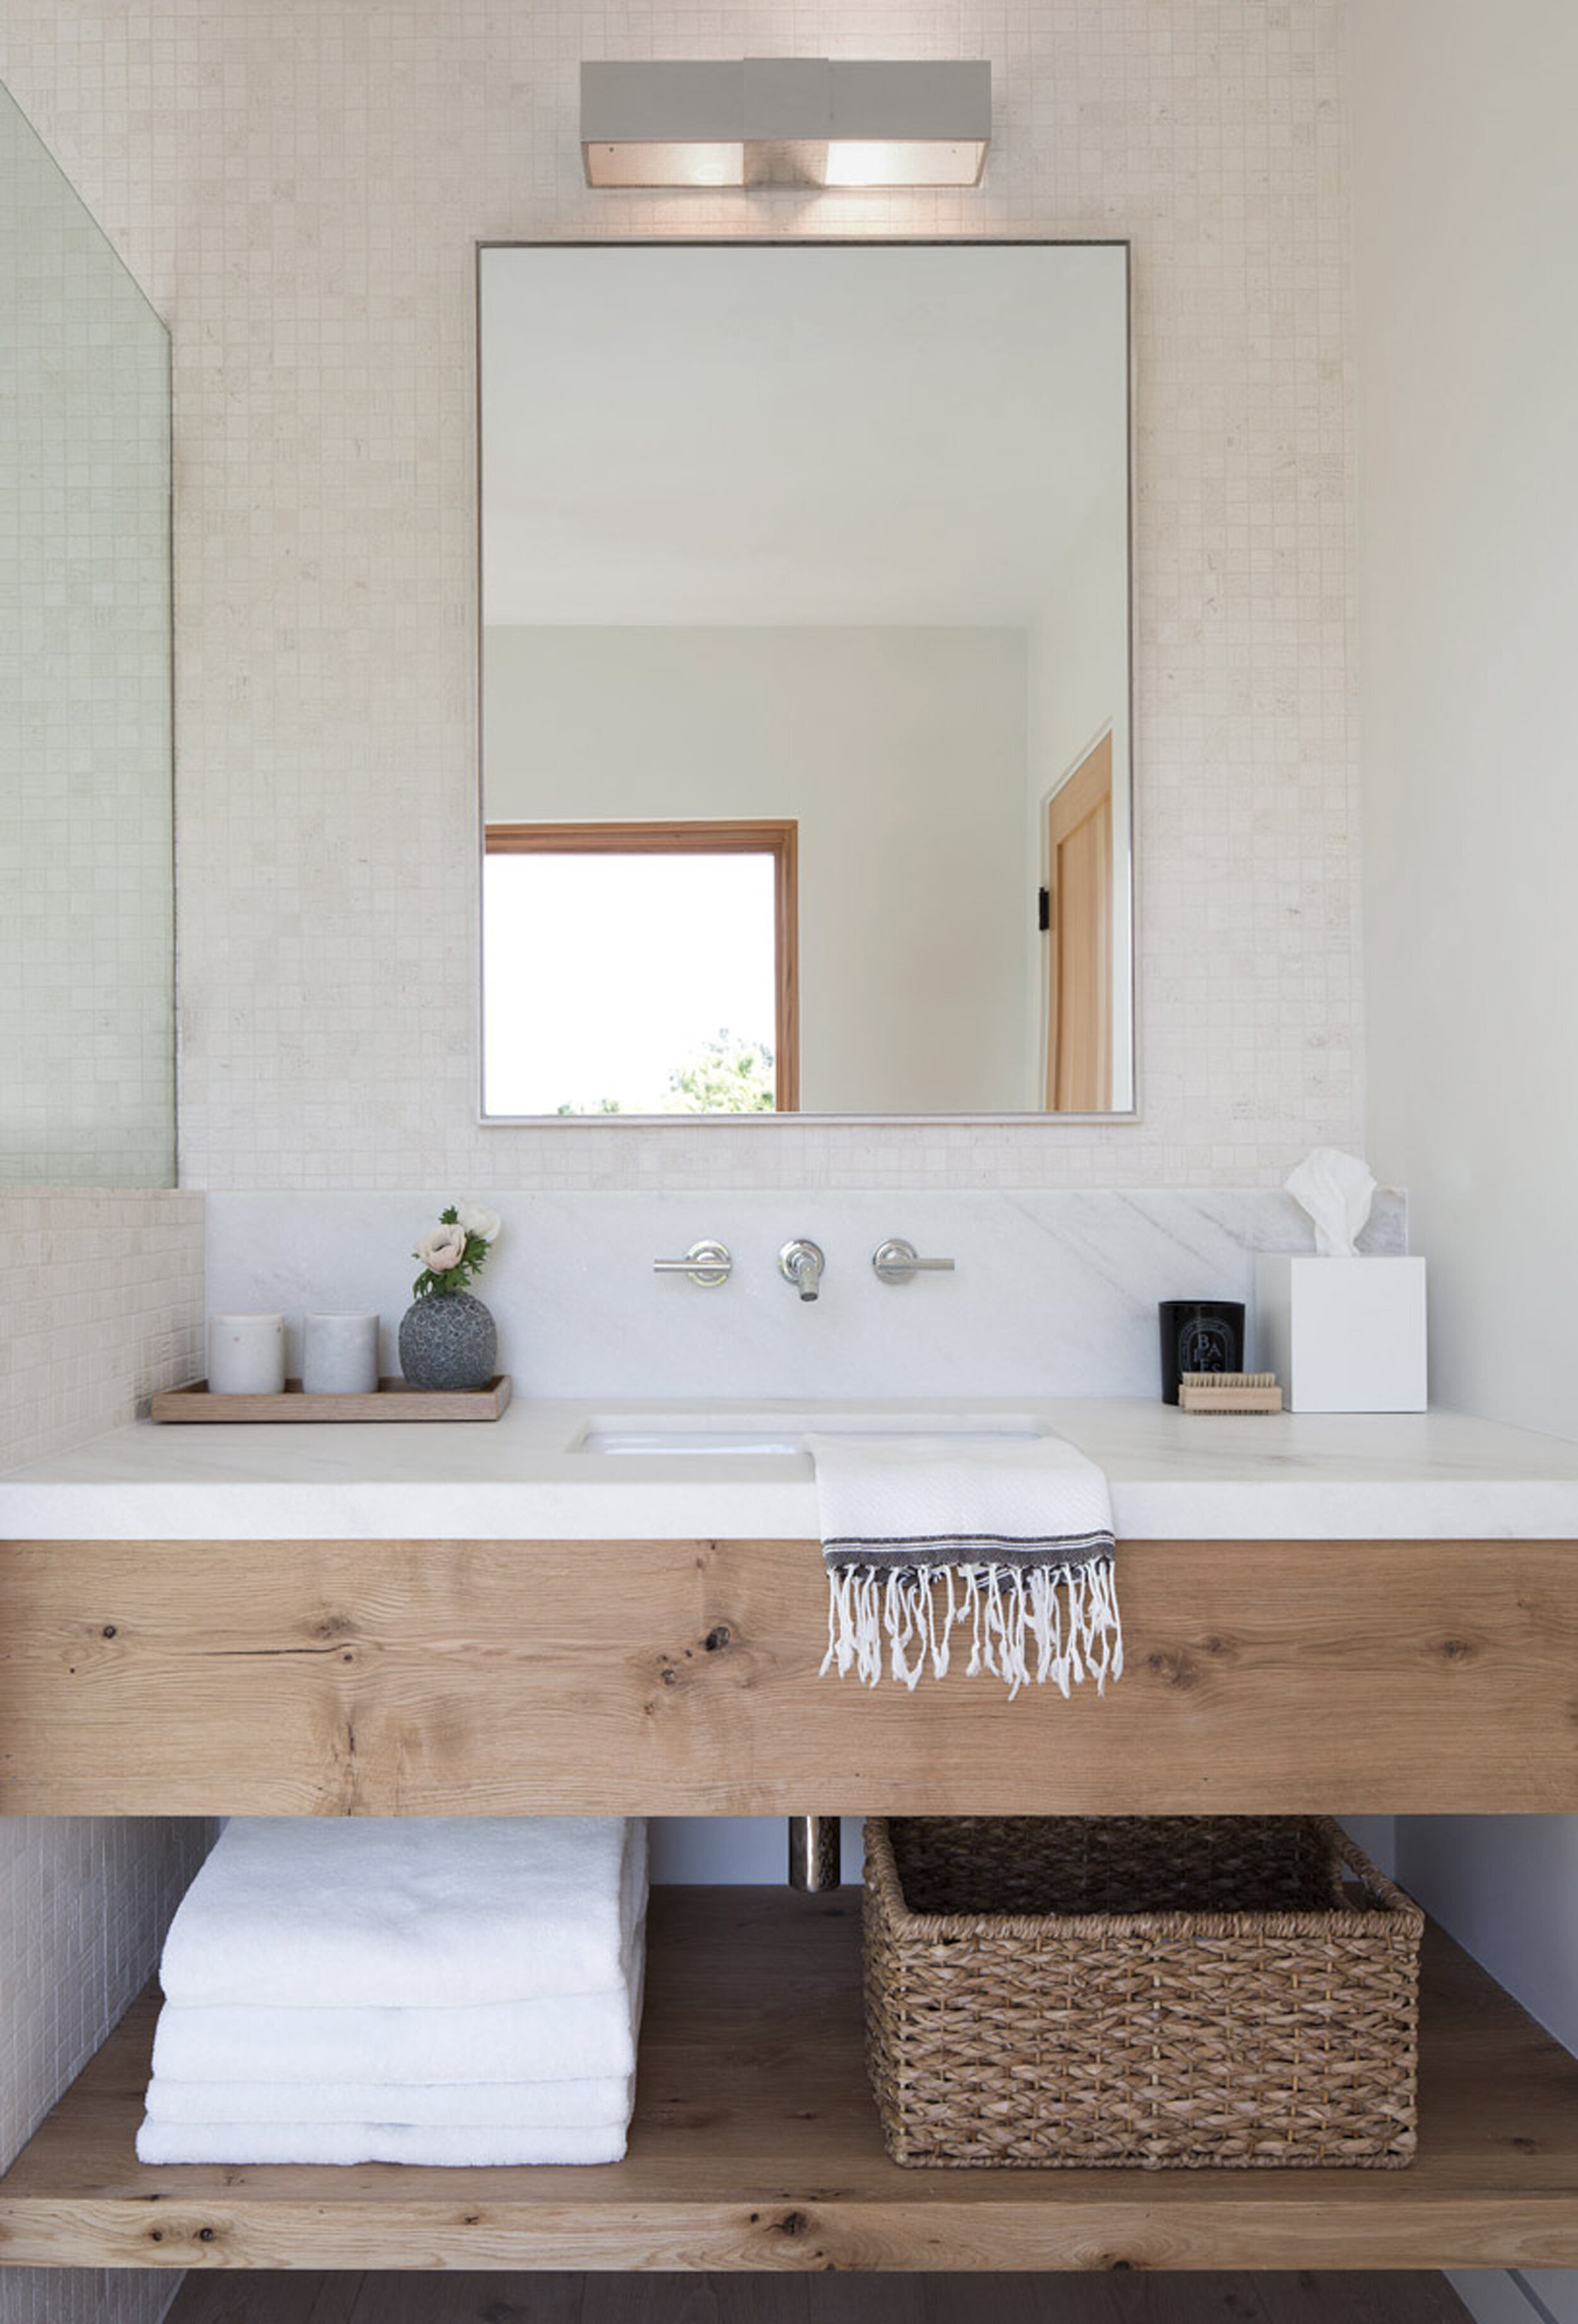
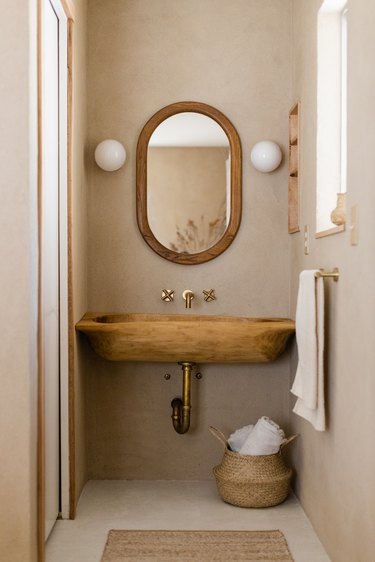
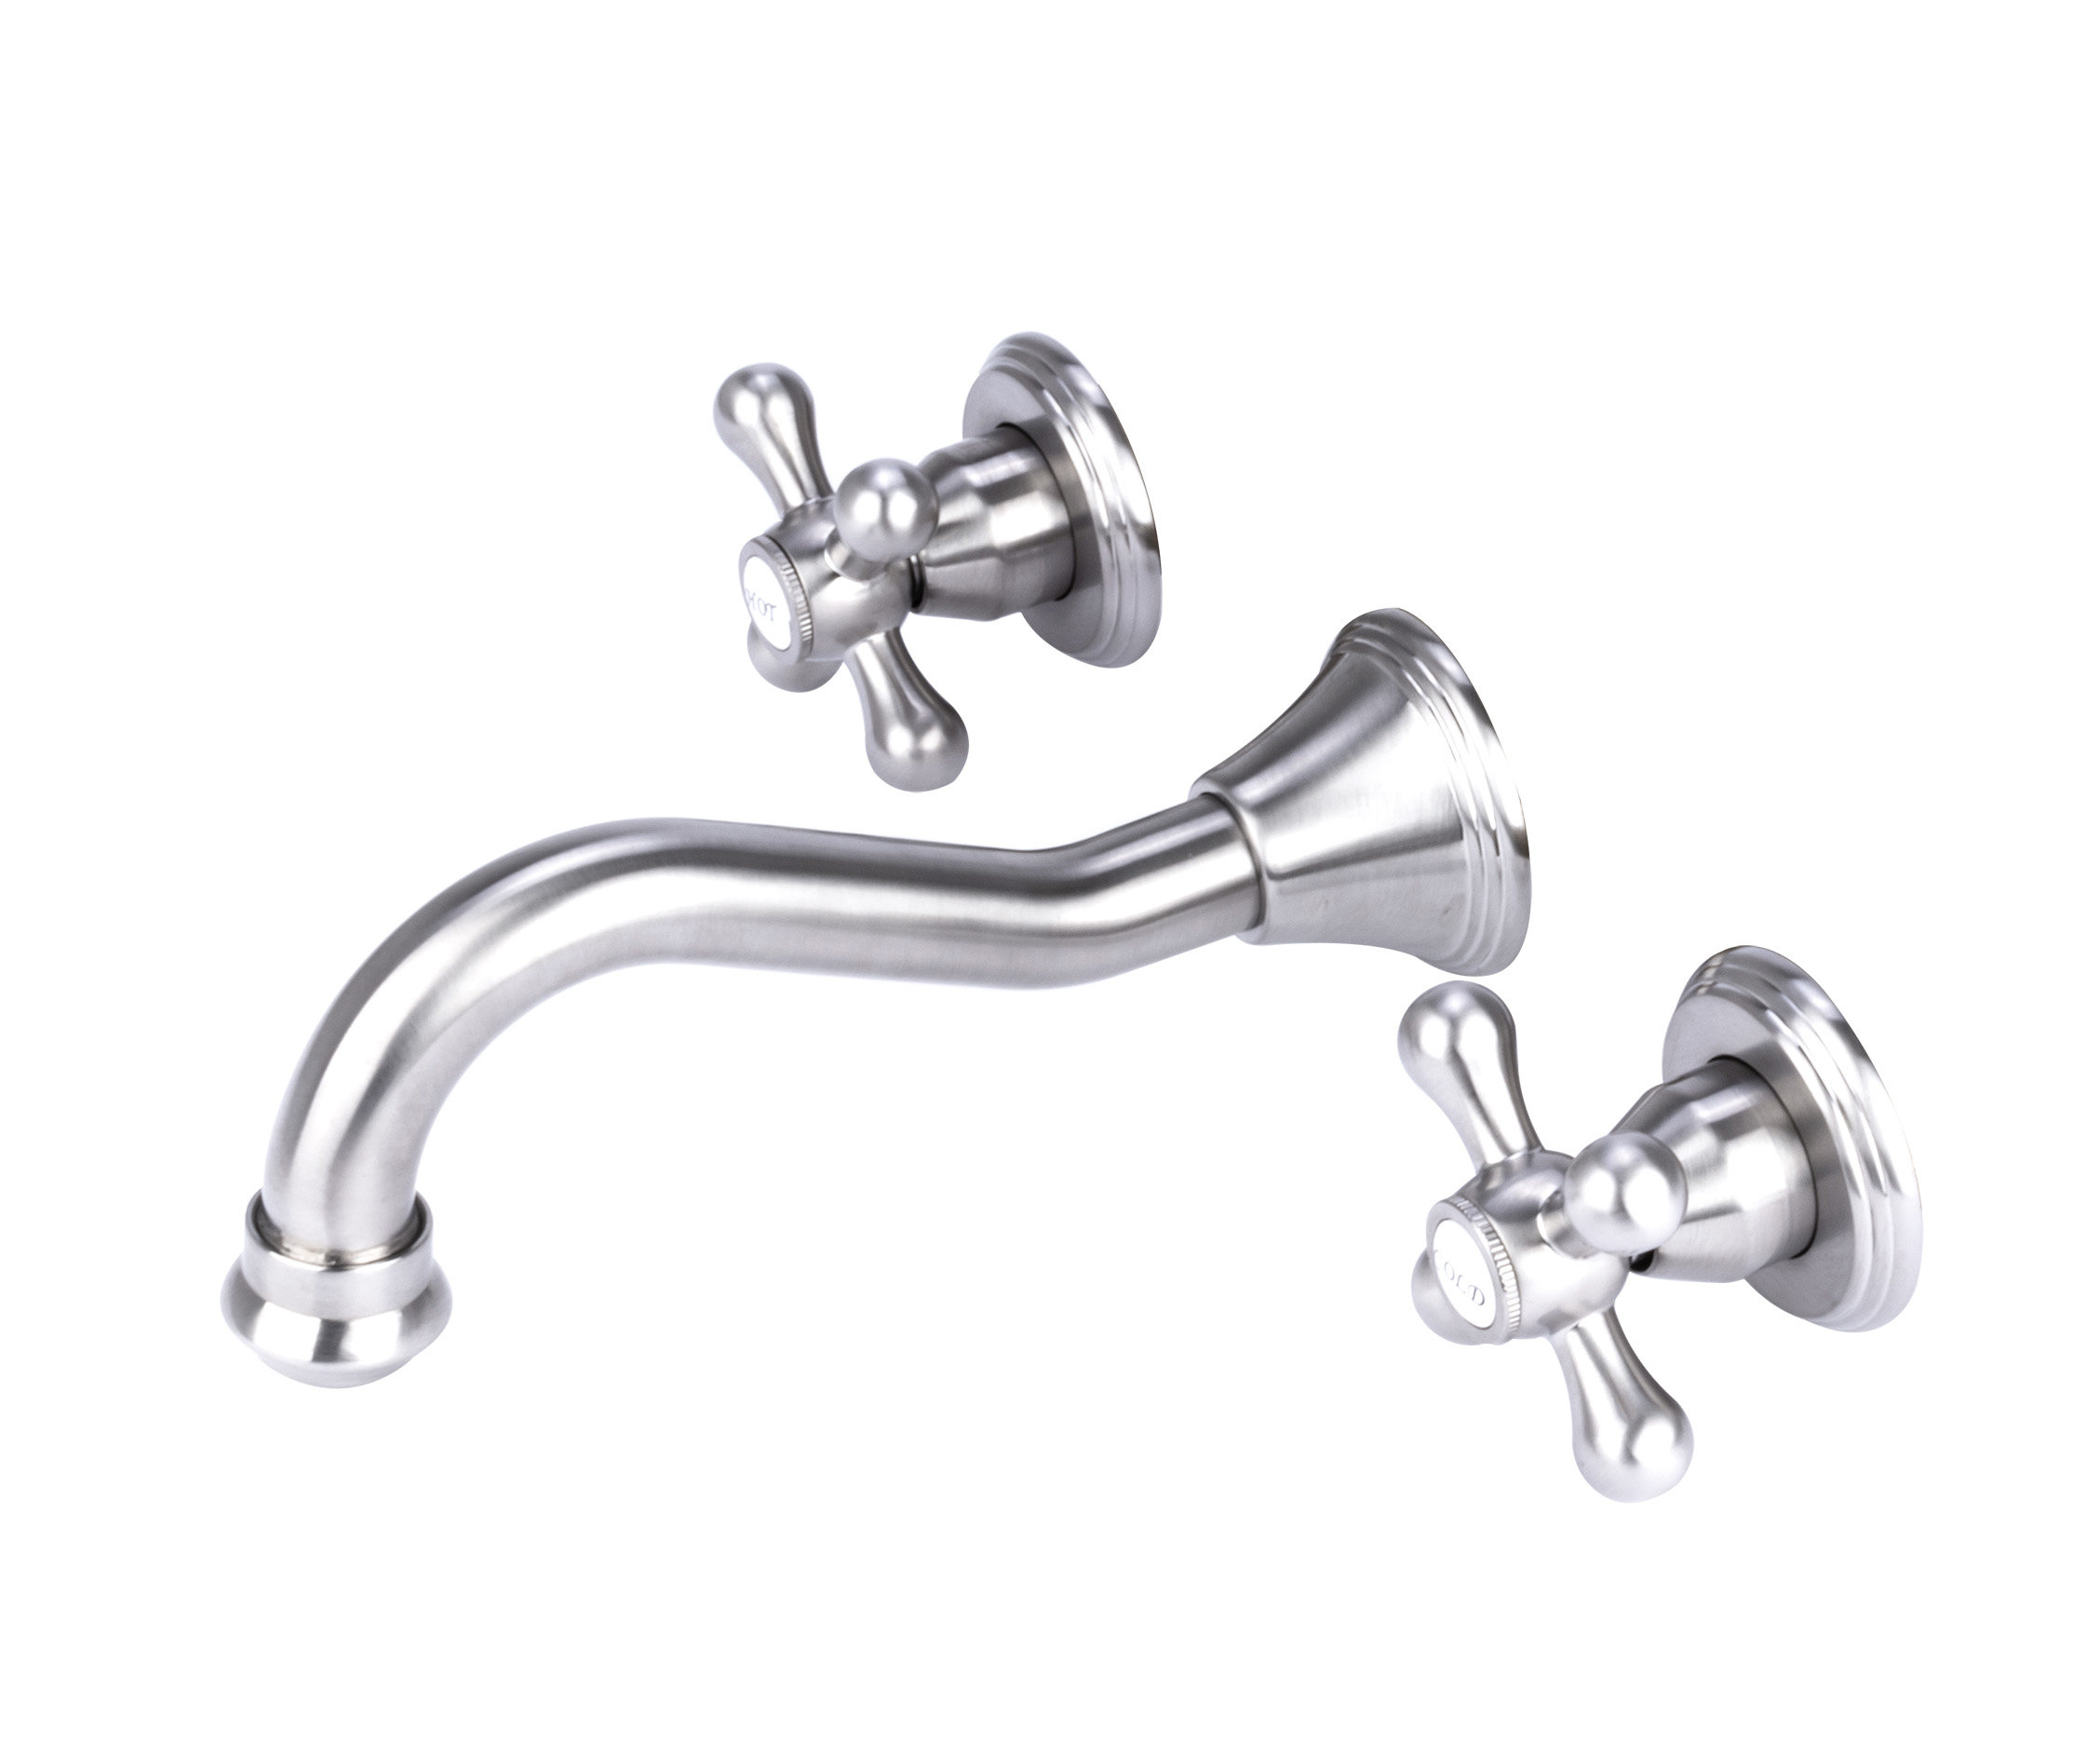
When choosing a wall mounted bathroom sink faucet, consider the style and design of your bathroom. You want the faucet to complement the overall aesthetic of the space. Additionally, make sure to choose a faucet with the appropriate reach and height for your sink and counter space. Installing a wall mounted bathroom sink faucet can instantly update the look of your bathroom and make your daily routine more convenient. Follow these tips and steps for a successful installation and enjoy your new faucet for years to come.Choosing the Right Wall Mounted Bathroom Sink Faucet for Your Space


Choosing the Right Wall Mounted Bathroom Sink Faucet for Your Space


How to Properly Install a Wall Mounted Bathroom Sink Faucet
Why Choose a Wall Mounted Bathroom Sink Faucet?
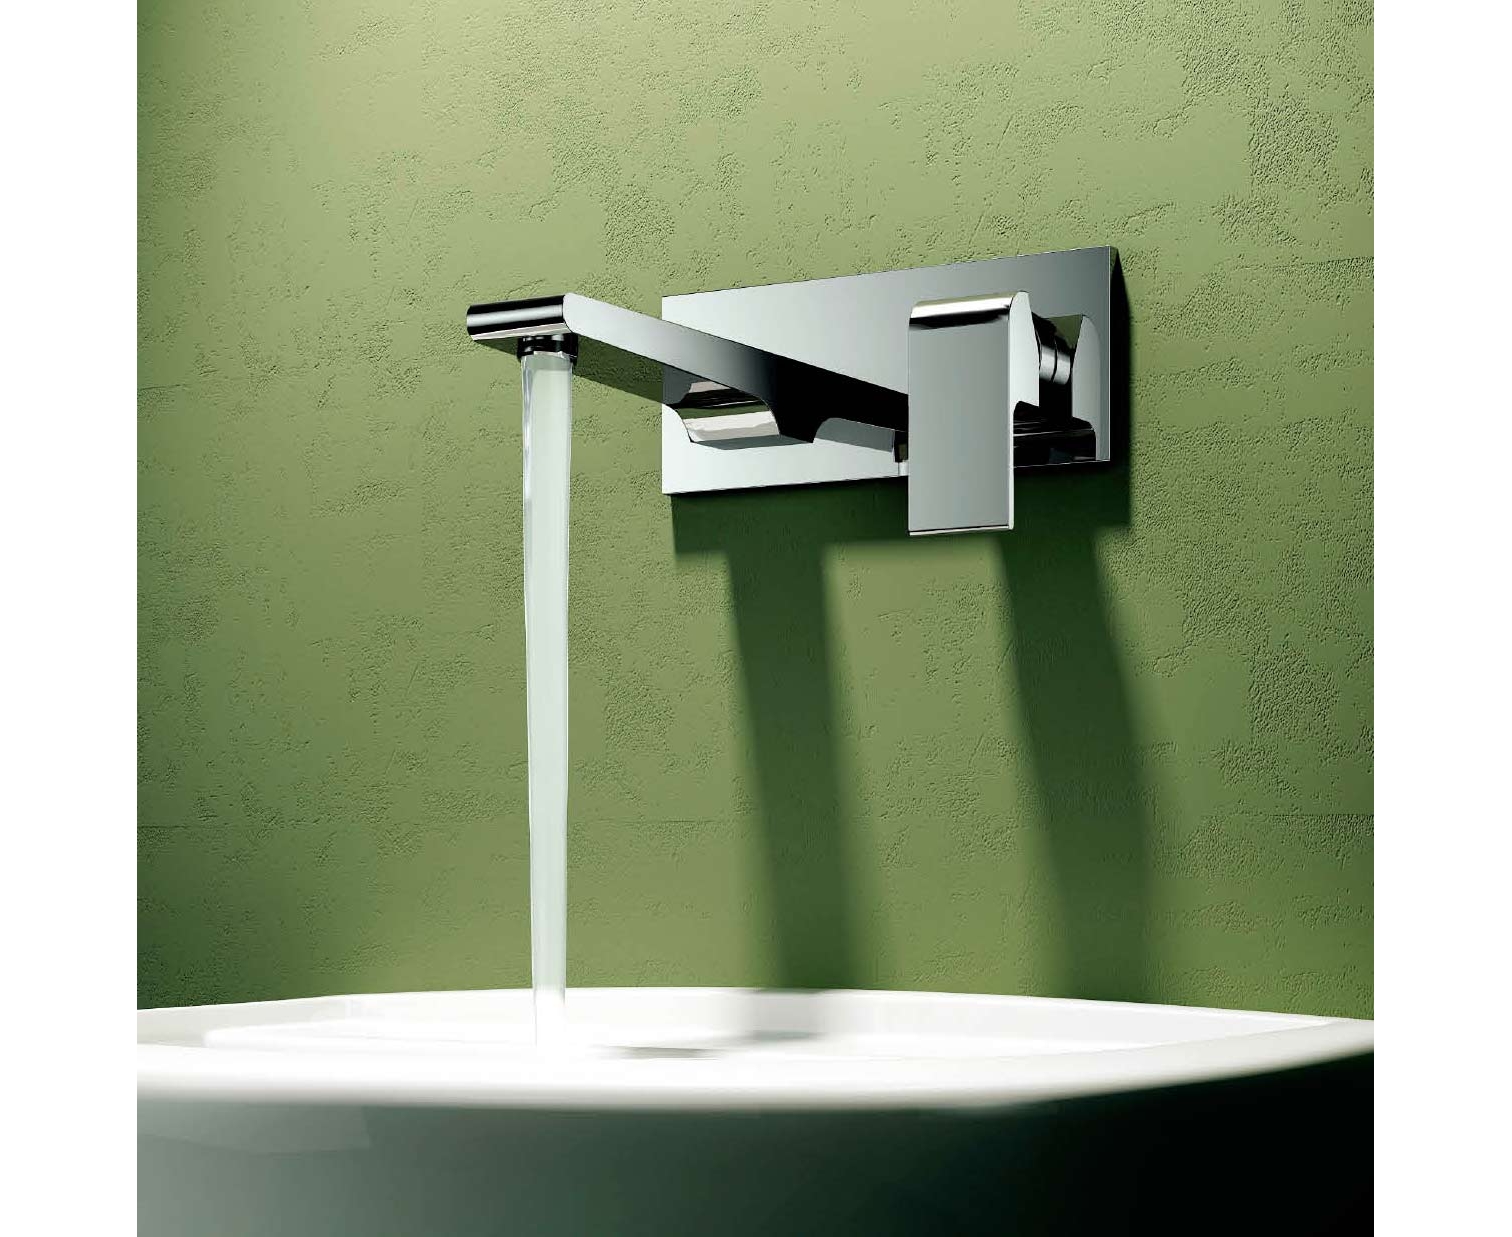
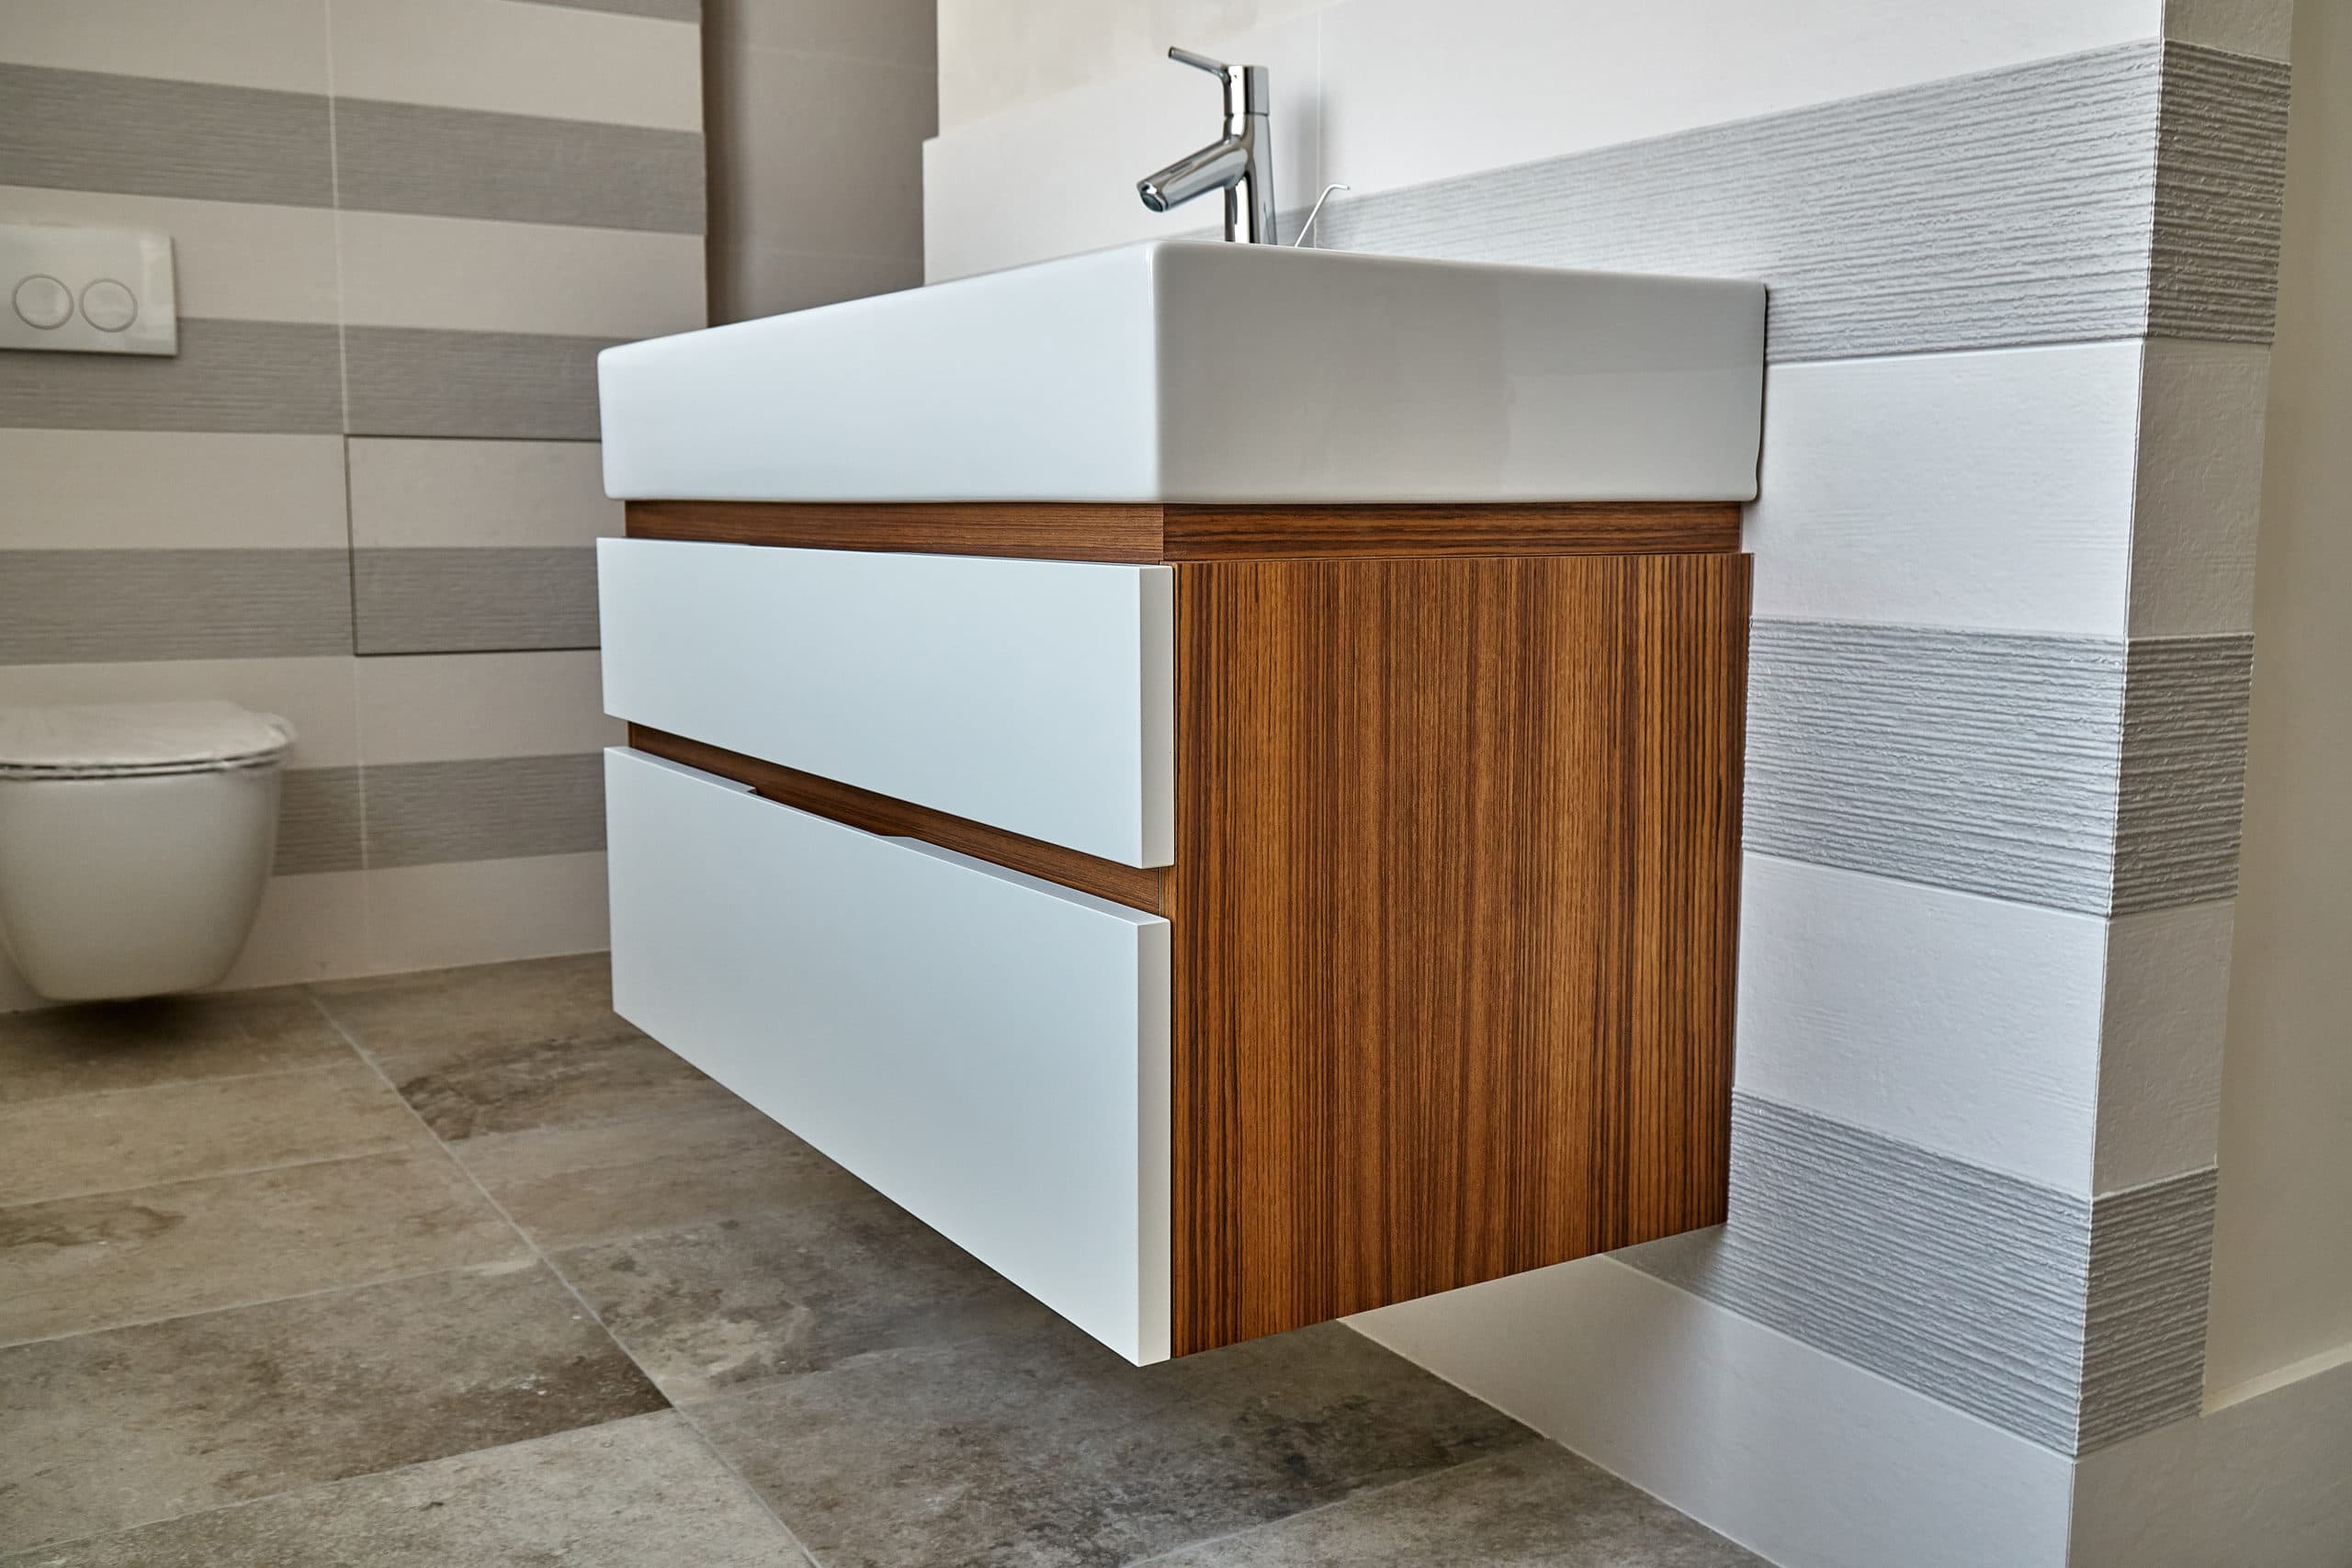
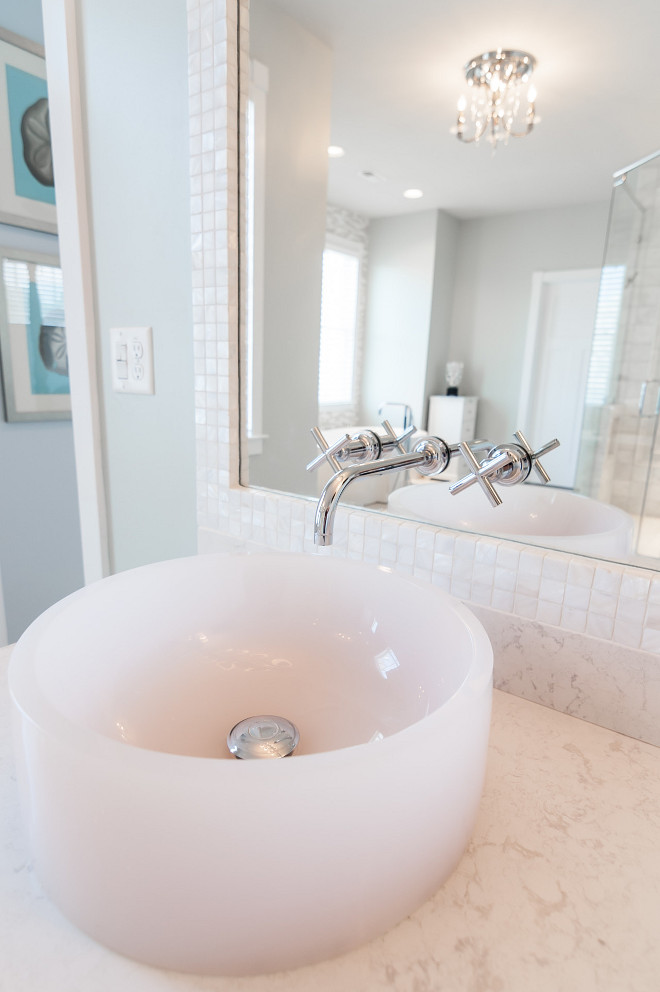
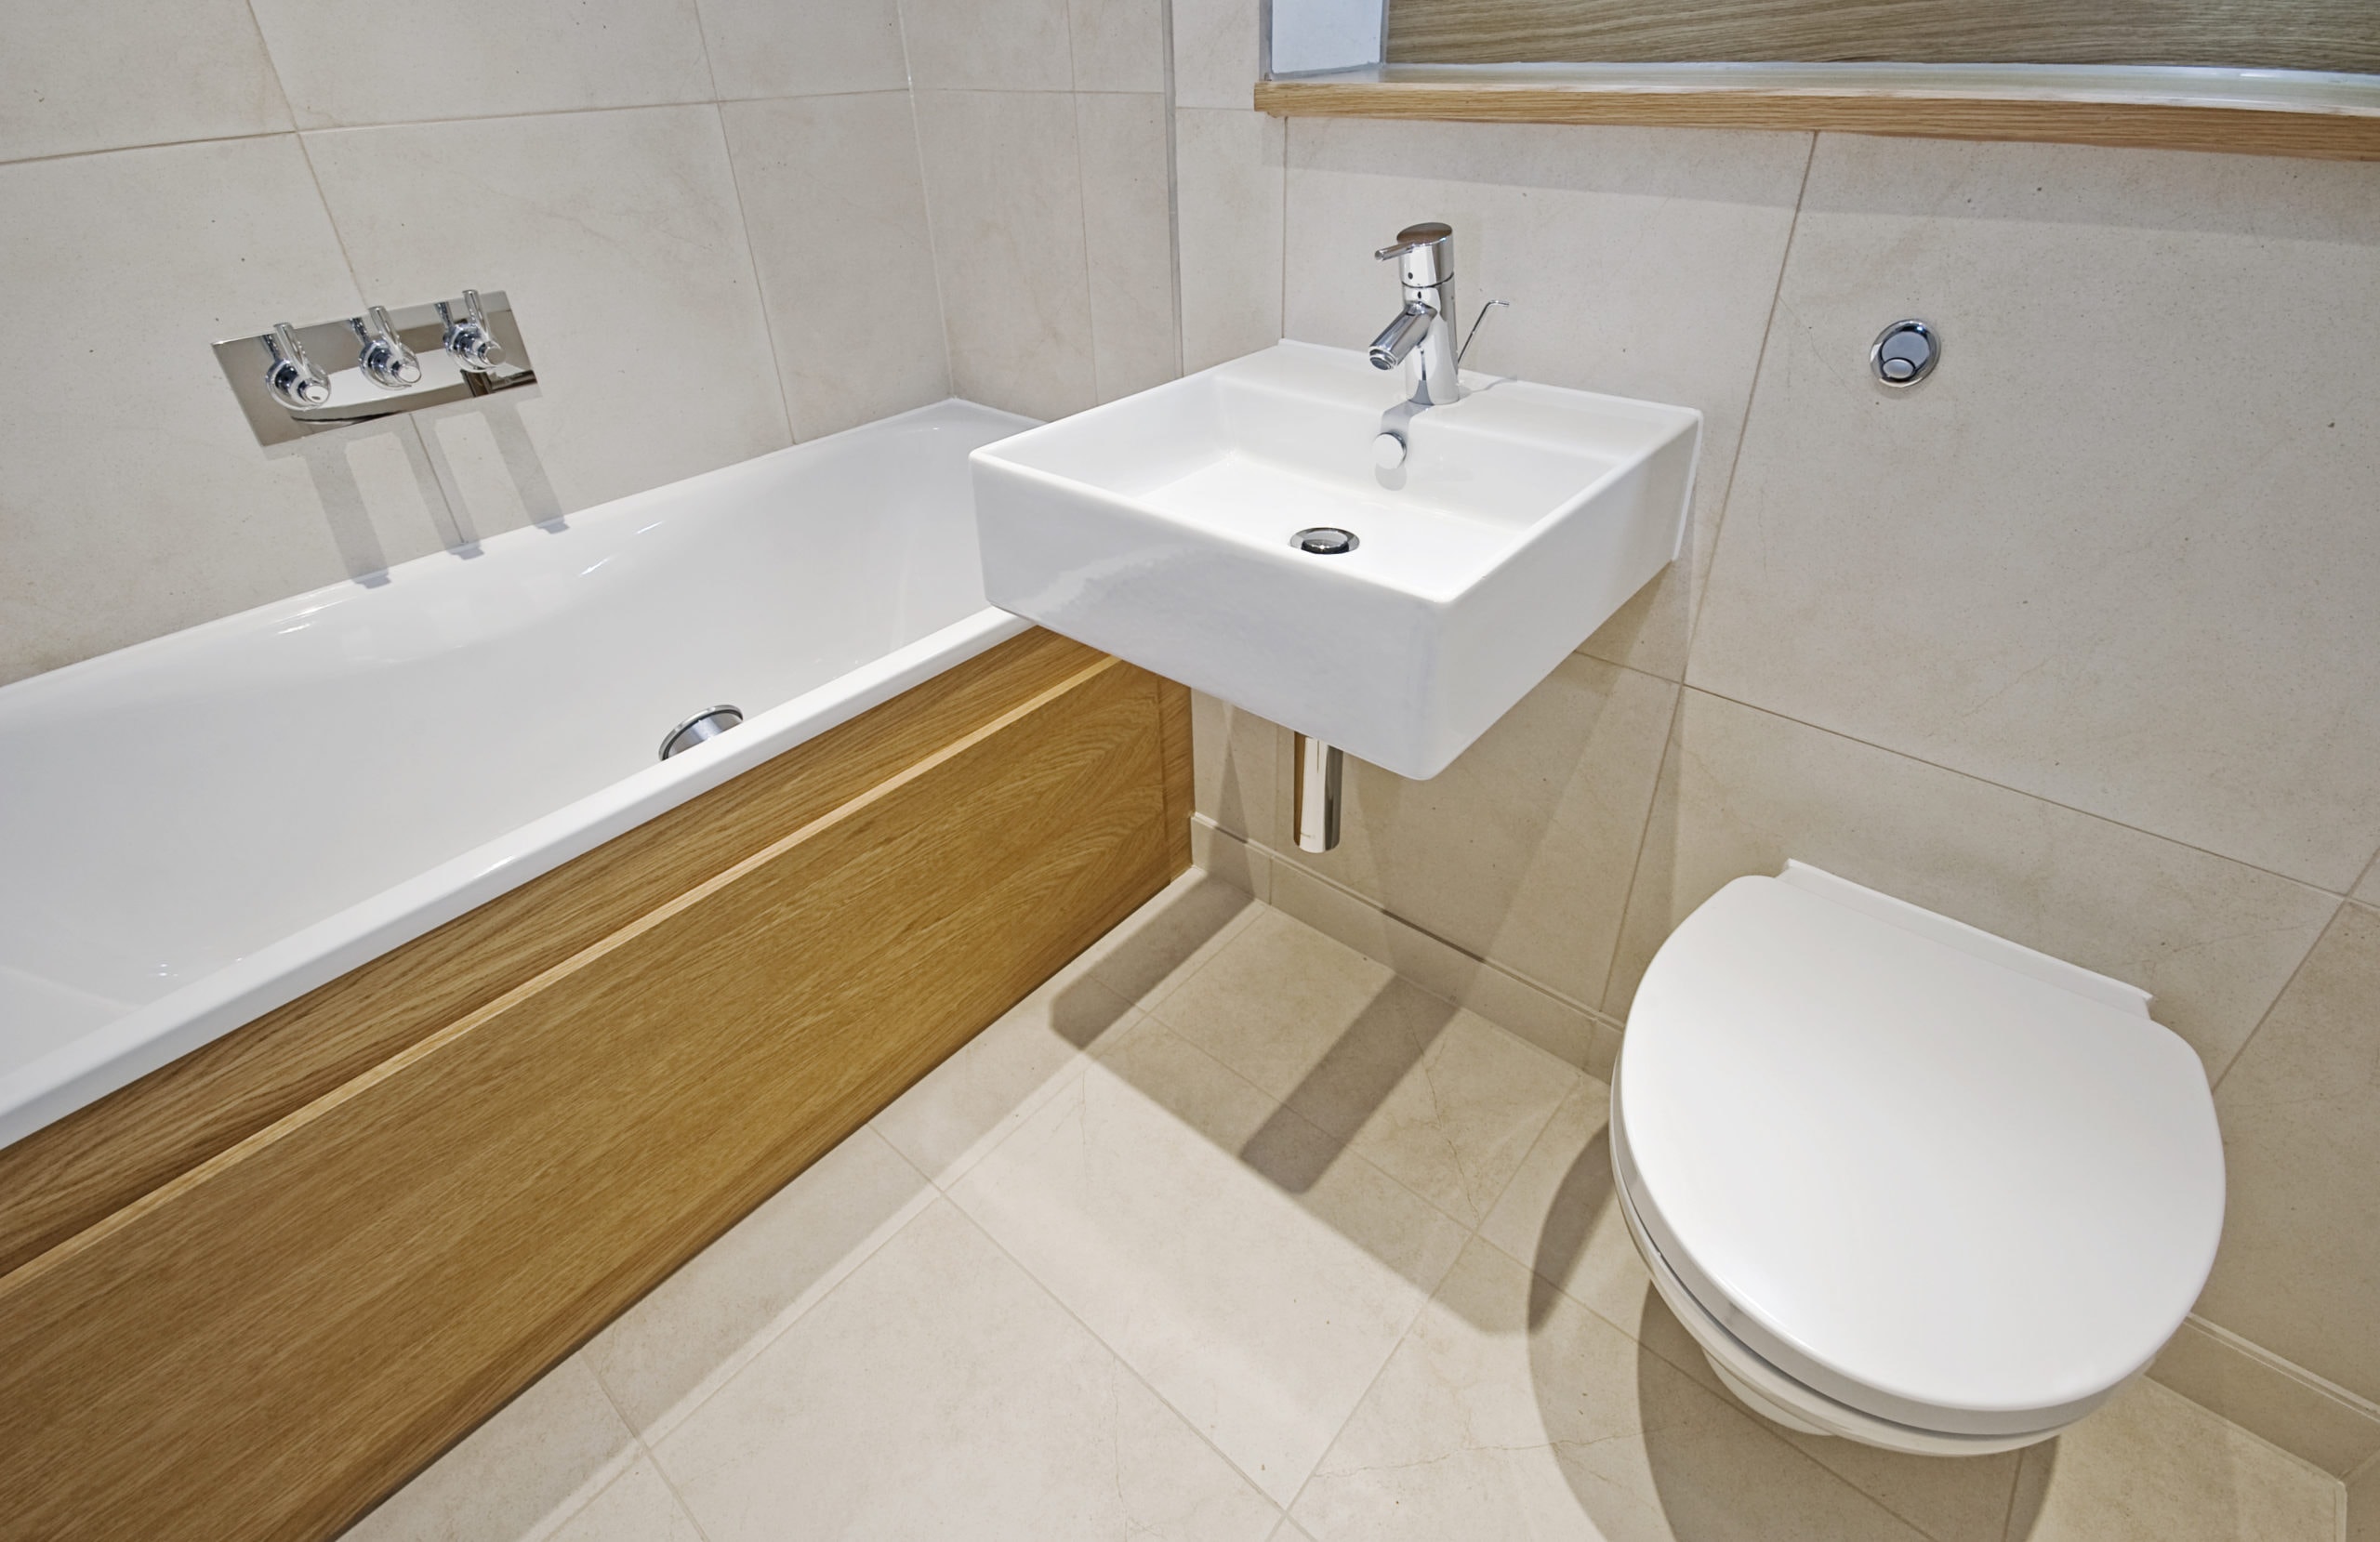
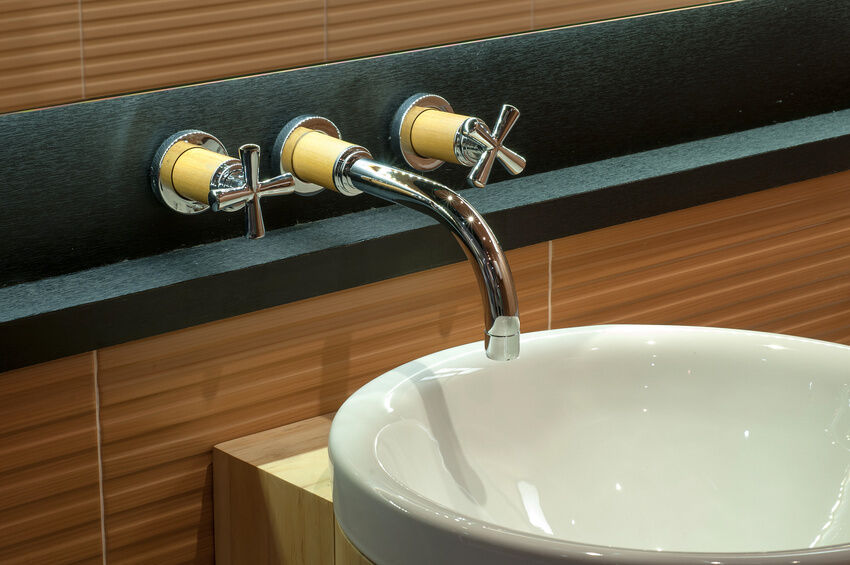
 When it comes to designing your bathroom, every detail counts. One of the most overlooked but essential elements is the bathroom sink faucet. Not only does it serve a functional purpose but it also adds to the overall aesthetic of your space. A popular and stylish option for modern bathrooms is the wall mounted bathroom sink faucet. This type of faucet is attached to the wall rather than the sink, creating a sleek and minimalist look. Not to mention, it also frees up counter space for a more spacious and organized bathroom.
Gather Necessary Tools and Materials
 Before starting the installation process, it is important to gather all the necessary tools and materials. These include the wall mounted bathroom sink faucet, a basin wrench, a wrench set, plumber's tape, a drill, and silicone caulk. Make sure to also have a bucket and towels on hand in case of any leaks.
Step-by-Step Installation Process
 Step 1: Turn off the Water Supply
The first step in any plumbing project is to turn off the water supply. Locate the shut-off valves under the sink and turn them clockwise until the water stops running.
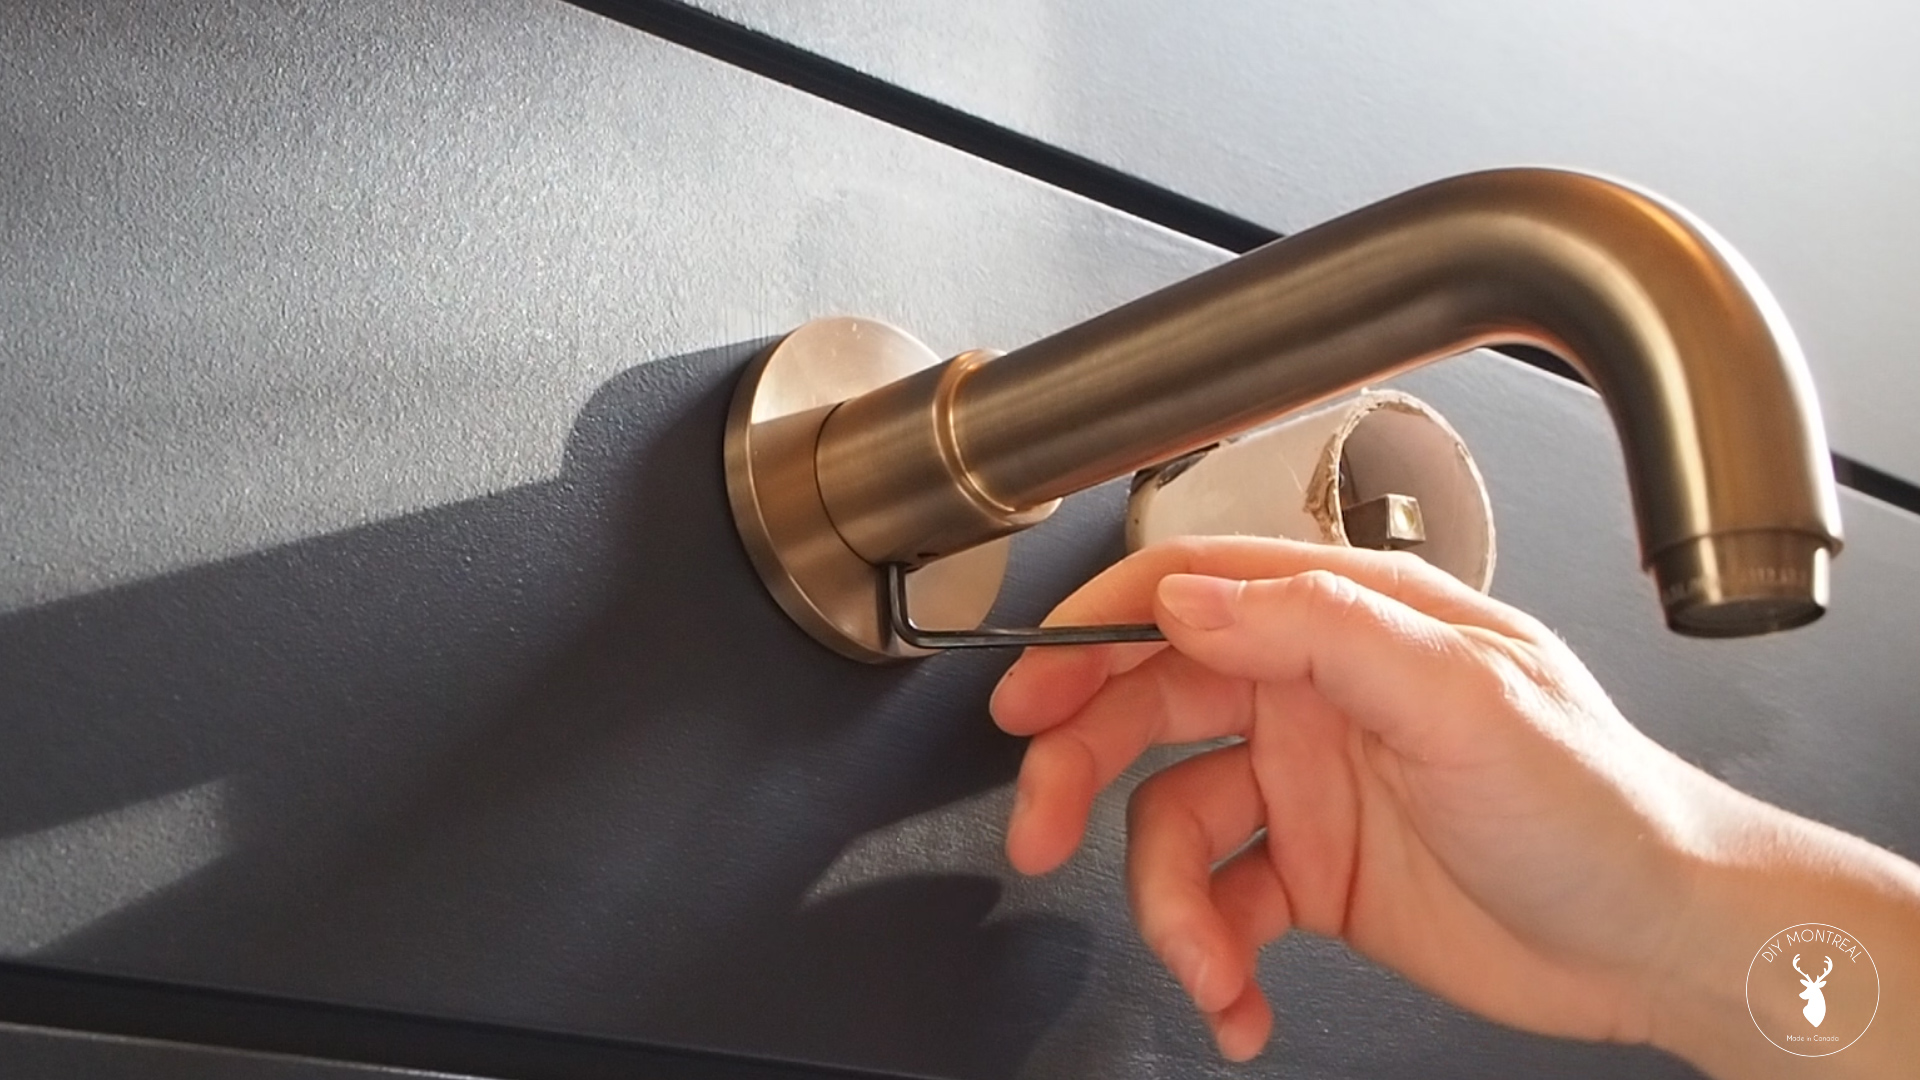
Step 2: Remove Old Faucet
Using a wrench, unscrew the nuts and bolts that hold the old faucet in place. Once removed, carefully take out the old faucet and clean the area where it was attached.
Step 3: Install Mounting Bracket
Attach the mounting bracket to the wall with screws and a drill. Make sure it is level and sturdy.
Step 4: Attach Water Supply Lines
Using plumber's tape, wrap the threads of the water supply lines to ensure a tight seal. Then, attach the water supply lines to the corresponding hot and cold water valves under the sink.
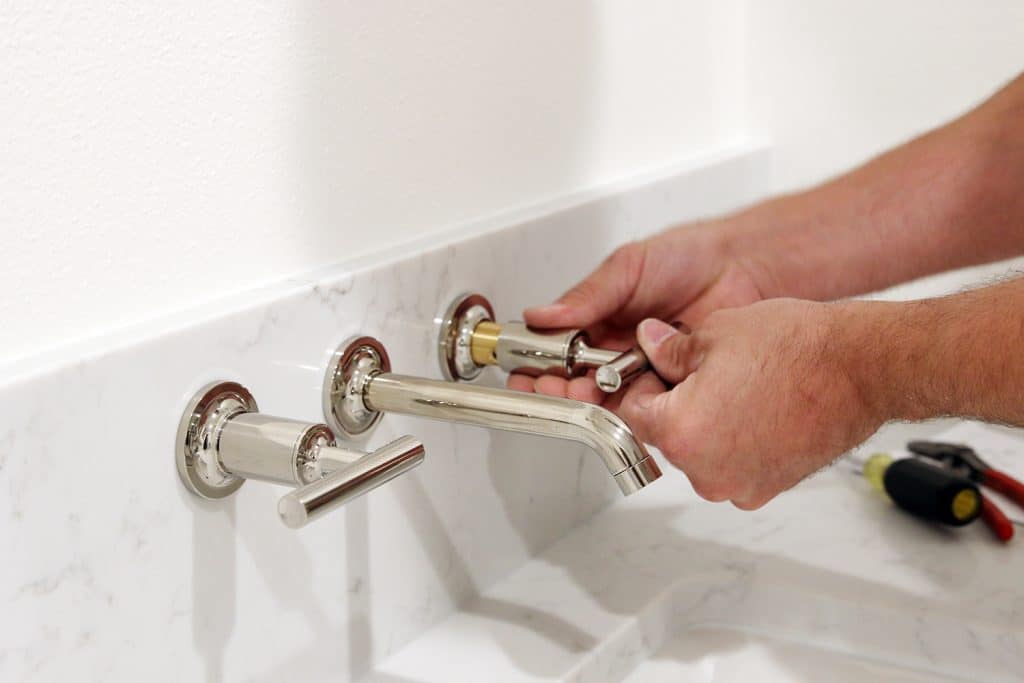
Step 5: Secure Faucet to Mounting Bracket
Place the faucet onto the mounting bracket and secure it with the provided nuts and bolts. Use a basin wrench to tighten the bolts and ensure a secure fit.
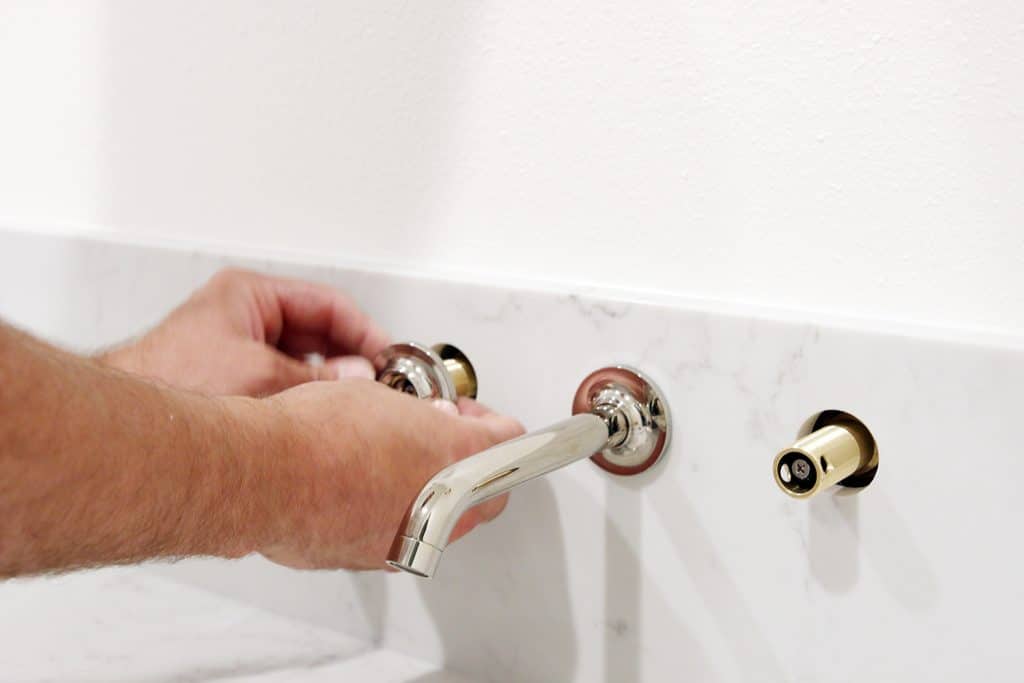
Step 6: Apply Silicone Caulk
To prevent any water leakage, apply a line of silicone caulk around the base of the faucet where it meets the wall.
Step 7: Turn on Water Supply
Once the caulk has dried, turn on the water supply and test the faucet for any leaks. If there are no leaks, you have successfully installed your wall mounted bathroom sink faucet!
Step 1: Turn off the Water Supply
The first step in any plumbing project is to turn off the water supply. Locate the shut-off valves under the sink and turn them clockwise until the water stops running.
Step 2: Remove Old Faucet
Using a wrench, unscrew the nuts and bolts that hold the old faucet in place. Once removed, carefully take out the old faucet and clean the area where it was attached.
Step 3: Install Mounting Bracket
Attach the mounting bracket to the wall with screws and a drill. Make sure it is level and sturdy.
Step 4: Attach Water Supply Lines
Using plumber's tape, wrap the threads of the water supply lines to ensure a tight seal. Then, attach the water supply lines to the corresponding hot and cold water valves under the sink.
Step 5: Secure Faucet to Mounting Bracket
Place the faucet onto the mounting bracket and secure it with the provided nuts and bolts. Use a basin wrench to tighten the bolts and ensure a secure fit.
Step 6: Apply Silicone Caulk
To prevent any water leakage, apply a line of silicone caulk around the base of the faucet where it meets the wall.
Step 7: Turn on Water Supply
Once the caulk has dried, turn on the water supply and test the faucet for any leaks. If there are no leaks, you have successfully installed your wall mounted bathroom sink faucet!
Final Thoughts
 Installing a wall mounted bathroom sink faucet may seem like a daunting task, but with the right tools and proper technique, it can be a simple and rewarding DIY project. Remember to take your time and follow the steps carefully to ensure a successful installation. With its sleek design and practicality, a wall mounted bathroom sink faucet is the perfect addition to any modern bathroom. So go ahead and elevate your bathroom design with this stylish and functional faucet.