Installing an outlet under a kitchen sink may seem like a daunting task, but with the right tools and knowledge, it can be a simple and straightforward process. Having an outlet under your kitchen sink can provide easy access to power for various appliances, such as garbage disposals or dishwashers. In this DIY guide, we will walk you through the step-by-step process of installing an outlet under your kitchen sink and provide useful tips and tricks to ensure a successful installation.Installing an Outlet Under a Kitchen Sink


Installing an Outlet Under a Kitchen Sink

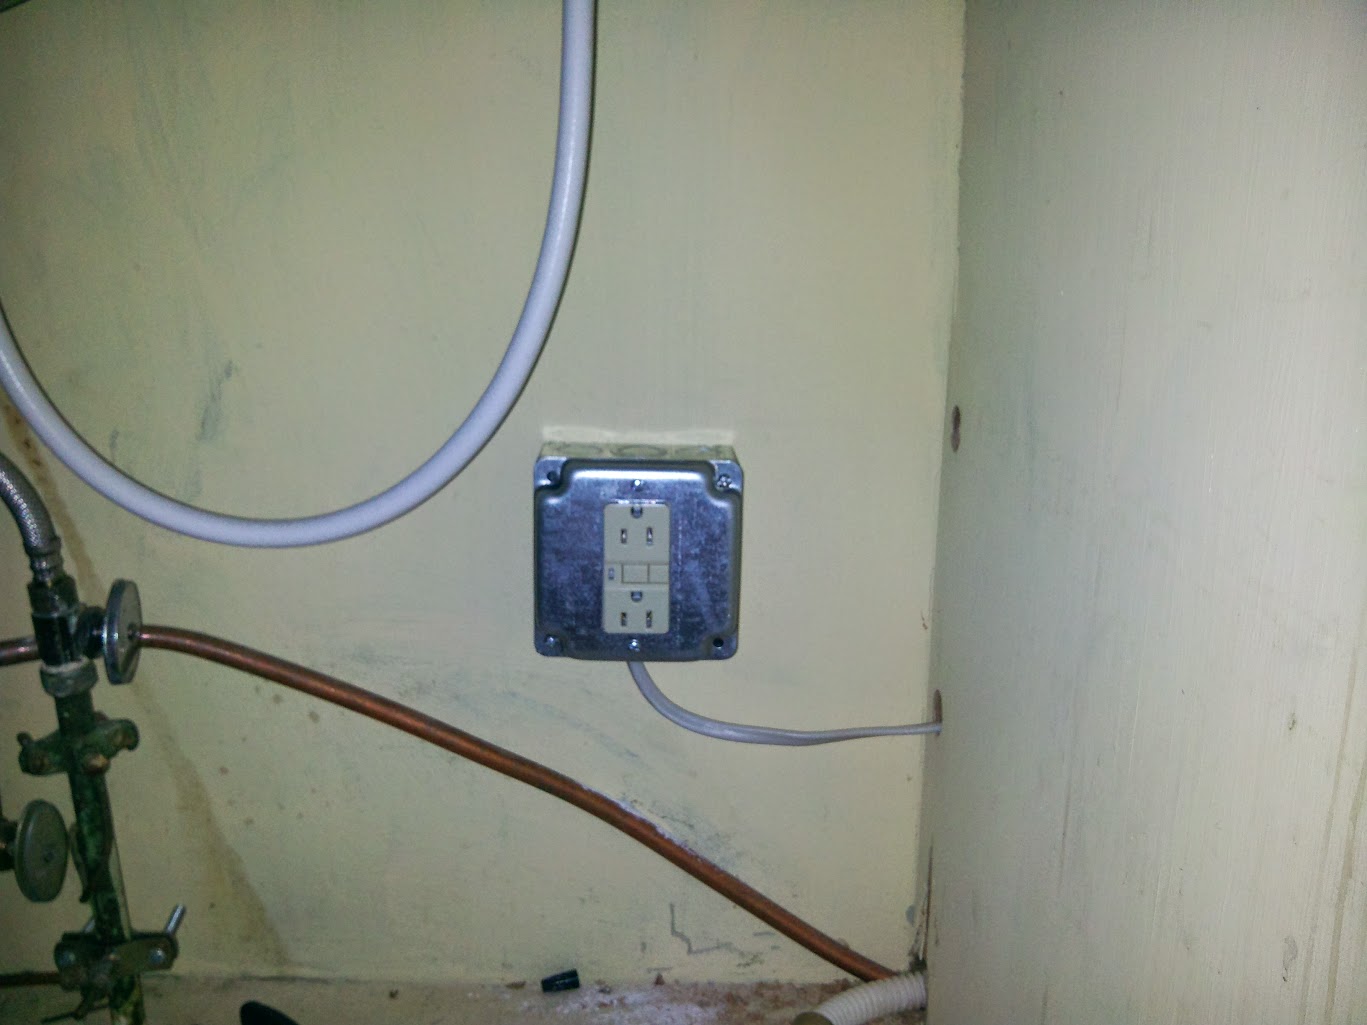


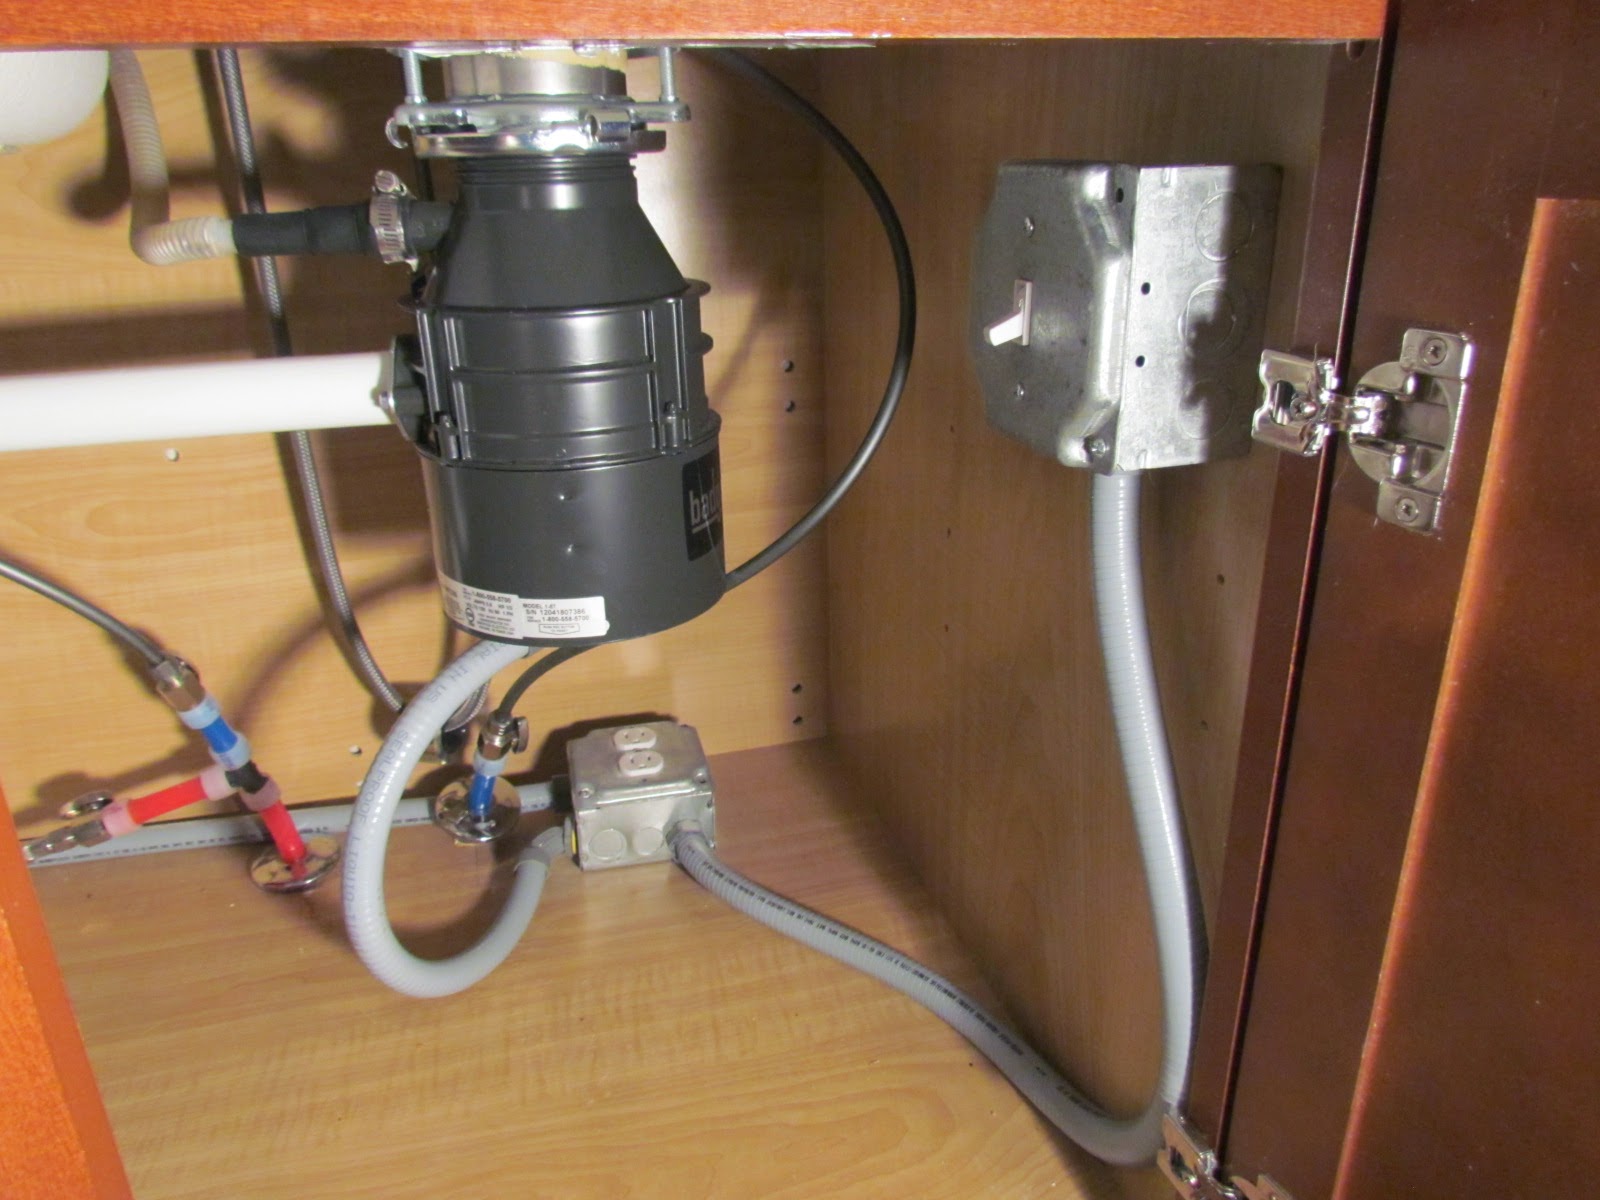
Before beginning the installation process, it is essential to gather all the necessary tools and materials. You will need a power drill, wire cutters, wire strippers, electrical tape, a junction box, and an outlet. Once you have all the necessary equipment, follow these steps: Step 1: Turn off the power – Before starting any electrical work, always turn off the power to the area you will be working in. This step is crucial for your safety. Step 2: Determine the location – Decide where you want to install the outlet. It is best to place it near the back of the cabinet, so it is out of the way and will not interfere with any plumbing. Mark the location with a pencil. Step 3: Drill a hole – Use a power drill to drill a hole in the back of the cabinet where you have marked the location for the outlet. Step 4: Install the junction box – Place the junction box into the hole you drilled and secure it using screws. Make sure the screws are not too long to avoid damaging any wires inside the cabinet. Step 5: Run the wiring – Run the electrical wiring from the junction box to the power source. This may involve drilling holes in the cabinet or running the wires along the back of the cabinet. Be sure to leave enough slack in the wires for easy installation. Step 6: Connect the wires – Strip the ends of the wires using wire strippers and connect them to the corresponding terminals on the outlet. Typically, black wires go to the brass-colored screws, white wires go to the silver-colored screws, and bare copper wires go to the green screw. Step 7: Test the outlet – Once all the wires are securely connected, turn the power back on and test the outlet using a voltage tester. If the tester lights up, the outlet is working correctly. Step 8: Secure the outlet – Once you have confirmed the outlet is working correctly, secure it to the junction box using screws. Step 9: Cover the outlet – Finally, cover the outlet with a cover plate to protect it from any water or debris.How to Install an Outlet Under a Kitchen Sink

How to Install an Outlet Under a Kitchen Sink


Installing an outlet under a kitchen sink is a relatively simple task that can be done by anyone with basic knowledge of electrical work. However, it is essential to take all necessary precautions to ensure your safety and the safety of your home. Here are some helpful tips for a successful DIY installation: Tip 1: Use a GFCI outlet – A Ground Fault Circuit Interrupter (GFCI) outlet is designed to protect against electrical shock and is required in areas where water may be present, such as under a kitchen sink. Tip 2: Use wire staples – To keep the wiring neat and organized, use wire staples to secure the wires to the back of the cabinet. Tip 3: Label the wires – Before disconnecting any wires, label them with tape or markers to ensure they are reconnected correctly. Tip 4: Choose the right type of outlet – There are various types of outlets, such as standard, USB, or surge-protected. Choose the one that best suits your needs. Tip 5: Follow electrical codes – Be sure to follow all local and national electrical codes when installing an outlet under your kitchen sink.DIY Guide for Installing an Outlet Under a Kitchen Sink


DIY Guide for Installing an Outlet Under a Kitchen Sink


To install an outlet under a kitchen sink, you will need the following tools and materials: Power drill – Used to drill holes for the junction box and any necessary wiring. Wire cutters – Used to cut wires to the appropriate length. Wire strippers – Used to strip the ends of wires for proper connection. Electrical tape – Used to secure wires and cover any exposed connections. Junction box – Used to house the outlet and connect the wiring. Outlet – The electrical outlet itself, which can vary in type and features. Wire staples – Used to secure wires to the back of the cabinet. Screws – Used to secure the junction box and outlet.Tools and Materials Needed for Installing an Outlet Under a Kitchen Sink


Step-by-Step Instructions for Installing an Outlet Under a Kitchen Sink


While installing an outlet under a kitchen sink may seem simple enough, there are some common mistakes that can lead to safety hazards or an unsuccessful installation. Here are some mistakes to avoid: Mistake 1: Not turning off the power – Always turn off the power before starting any electrical work to avoid the risk of electrical shock. Mistake 2: Using the wrong type of outlet – Make sure to use a GFCI outlet in areas where water may be present to avoid the risk of electrical shock. Mistake 3: Not following electrical codes – It is essential to follow all local and national electrical codes to ensure the safety and legality of the installation. Mistake 4: Incorrectly connecting the wires – Be sure to connect the wires to the correct terminals on the outlet to avoid electrical hazards. Mistake 5: Using damaged or old wiring – It is crucial to use new and undamaged wiring for safety reasons.Common Mistakes to Avoid When Installing an Outlet Under a Kitchen Sink


Tools and Materials Needed for Installing an Outlet Under a Kitchen Sink


When dealing with electricity, it is essential to take safety precautions to avoid injury or damage to your home. Here are some safety measures to keep in mind when installing an outlet under a kitchen sink: Safety Precaution 1: Turn off the power – Always turn off the power to the area you will be working in before starting any electrical work. Safety Precaution 2: Wear protective gear – It is best to wear safety glasses and gloves when handling electrical wiring. Safety Precaution 3: Use a voltage tester – Before touching any wires, use a voltage tester to ensure the power is off. Safety Precaution 4: Keep water away – When working with electrical components, make sure to keep water away to avoid electrical shock. Safety Precaution 5: Seek professional help – If you are not comfortable or experienced with electrical work, it is best to hire a professional to install the outlet for you.Safety Precautions for Installing an Outlet Under a Kitchen Sink


Tips and Tricks for Installing an Outlet Under a Kitchen Sink


The cost and time needed for installing an outlet under a kitchen sink can vary depending on the type of outlet and the complexity of the installation. On average, the cost can range from $100 to $300, and the installation process can take anywhere from 1-2 hours. However, if you are not experienced with electrical work, it may take longer or be more expensive to hire a professional.Cost and Time Estimate for Installing an Outlet Under a Kitchen Sink


Common Mistakes to Avoid When Installing an Outlet Under a Kitchen Sink


Deciding whether to hire a professional or attempt the installation yourself ultimately depends on your level of experience and comfort with electrical work. If you have never done any electrical work before, it is best to hire a professional to ensure a safe and successful installation. However, if you have some experience and feel confident in your abilities, installing an outlet under a kitchen sink can be a simple and cost-effective DIY project.Professional vs. DIY: Which is Better for Installing an Outlet Under a Kitchen Sink?


Safety Precautions for Installing an Outlet Under a Kitchen Sink


Why Install an Outlet Under Your Kitchen Sink?
Convenience and Functionality
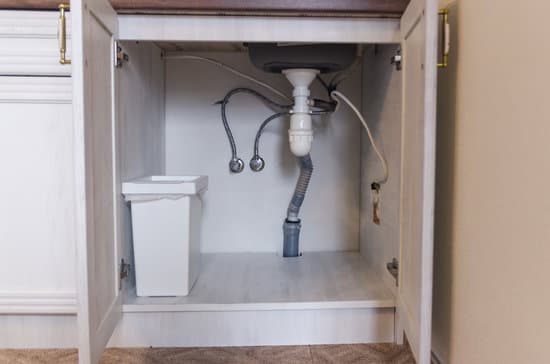
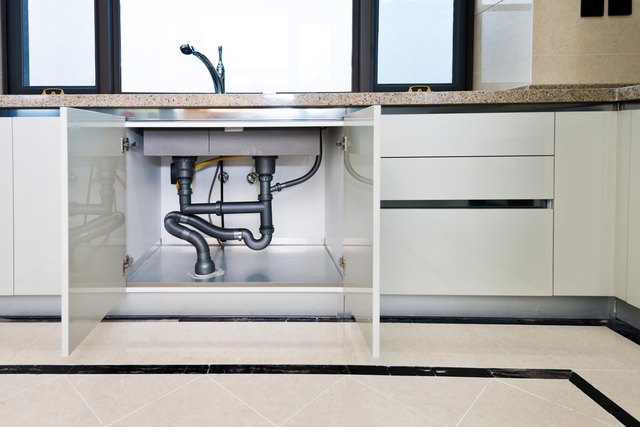 One of the main reasons to consider installing an outlet under your kitchen sink is for convenience and functionality. Often, kitchen appliances such as garbage disposals and dishwashers are located under the sink, making it difficult to find a nearby outlet to plug them into. By installing an outlet under the sink, you eliminate the hassle of having to search for an outlet and potentially tripping over cords or wires. Additionally, having an outlet under the sink allows for easier access to power for small kitchen appliances like blenders or mixers, making meal prep and cooking a more streamlined process.
Safety and Organization
 Having an outlet under your kitchen sink also improves safety and organization in your kitchen. Cords and wires can easily become tangled and create a tripping hazard, especially in a busy kitchen environment. By having an outlet under the sink, cords can be neatly tucked away and out of sight. This not only reduces the risk of accidents, but also creates a more visually appealing and organized space.
Maximizing Space
 In smaller kitchens, every inch of counter space is valuable. By installing an outlet under the sink, you are able to free up valuable counter space that would have otherwise been occupied by small appliances. This allows for a more functional and spacious workspace, making cooking and meal prep easier and more enjoyable.
Customization and Design
 Lastly, installing an outlet under your kitchen sink allows for customization and design options. You can choose the location and type of outlet that best suits your needs and aesthetic preferences. For example, a hidden outlet can be installed under the lip of the sink or on the side of a cabinet, keeping it out of sight and maintaining a clean design. Alternatively, you can opt for a decorative outlet cover that adds a personal touch to your kitchen design.
In conclusion, installing an outlet under your kitchen sink offers numerous benefits, including convenience, safety, organization, and customization. It is a small but impactful addition to your kitchen that can greatly improve functionality and aesthetics. Consider consulting a professional electrician to ensure proper installation and make the most out of this practical and design-enhancing feature.
Lastly, installing an outlet under your kitchen sink allows for customization and design options. You can choose the location and type of outlet that best suits your needs and aesthetic preferences. For example, a hidden outlet can be installed under the lip of the sink or on the side of a cabinet, keeping it out of sight and maintaining a clean design. Alternatively, you can opt for a decorative outlet cover that adds a personal touch to your kitchen design.
In conclusion, installing an outlet under your kitchen sink offers numerous benefits, including convenience, safety, organization, and customization. It is a small but impactful addition to your kitchen that can greatly improve functionality and aesthetics. Consider consulting a professional electrician to ensure proper installation and make the most out of this practical and design-enhancing feature.