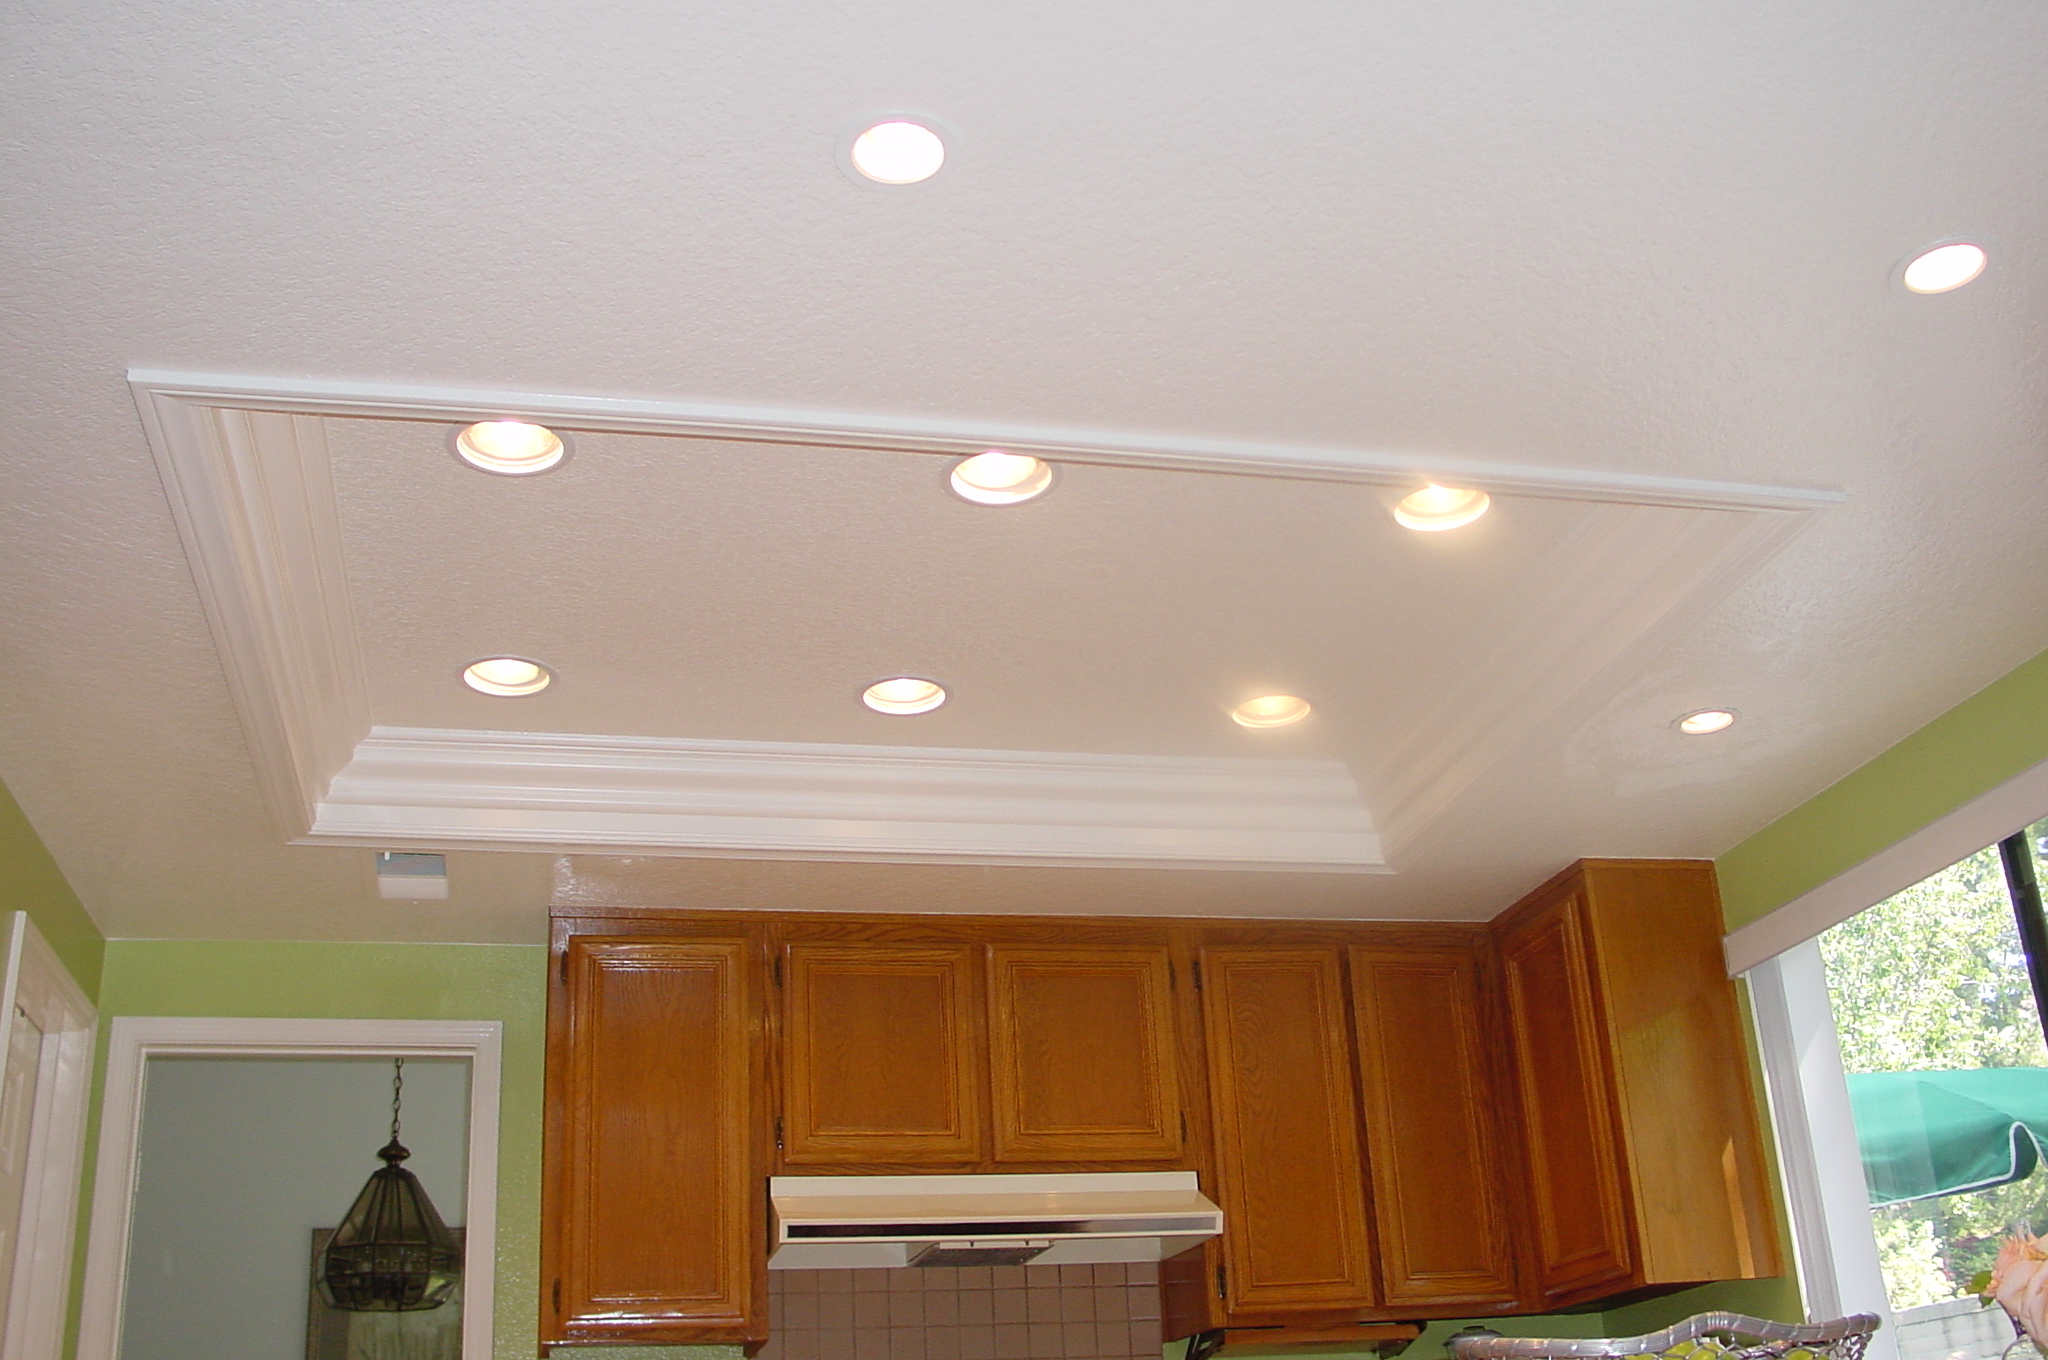
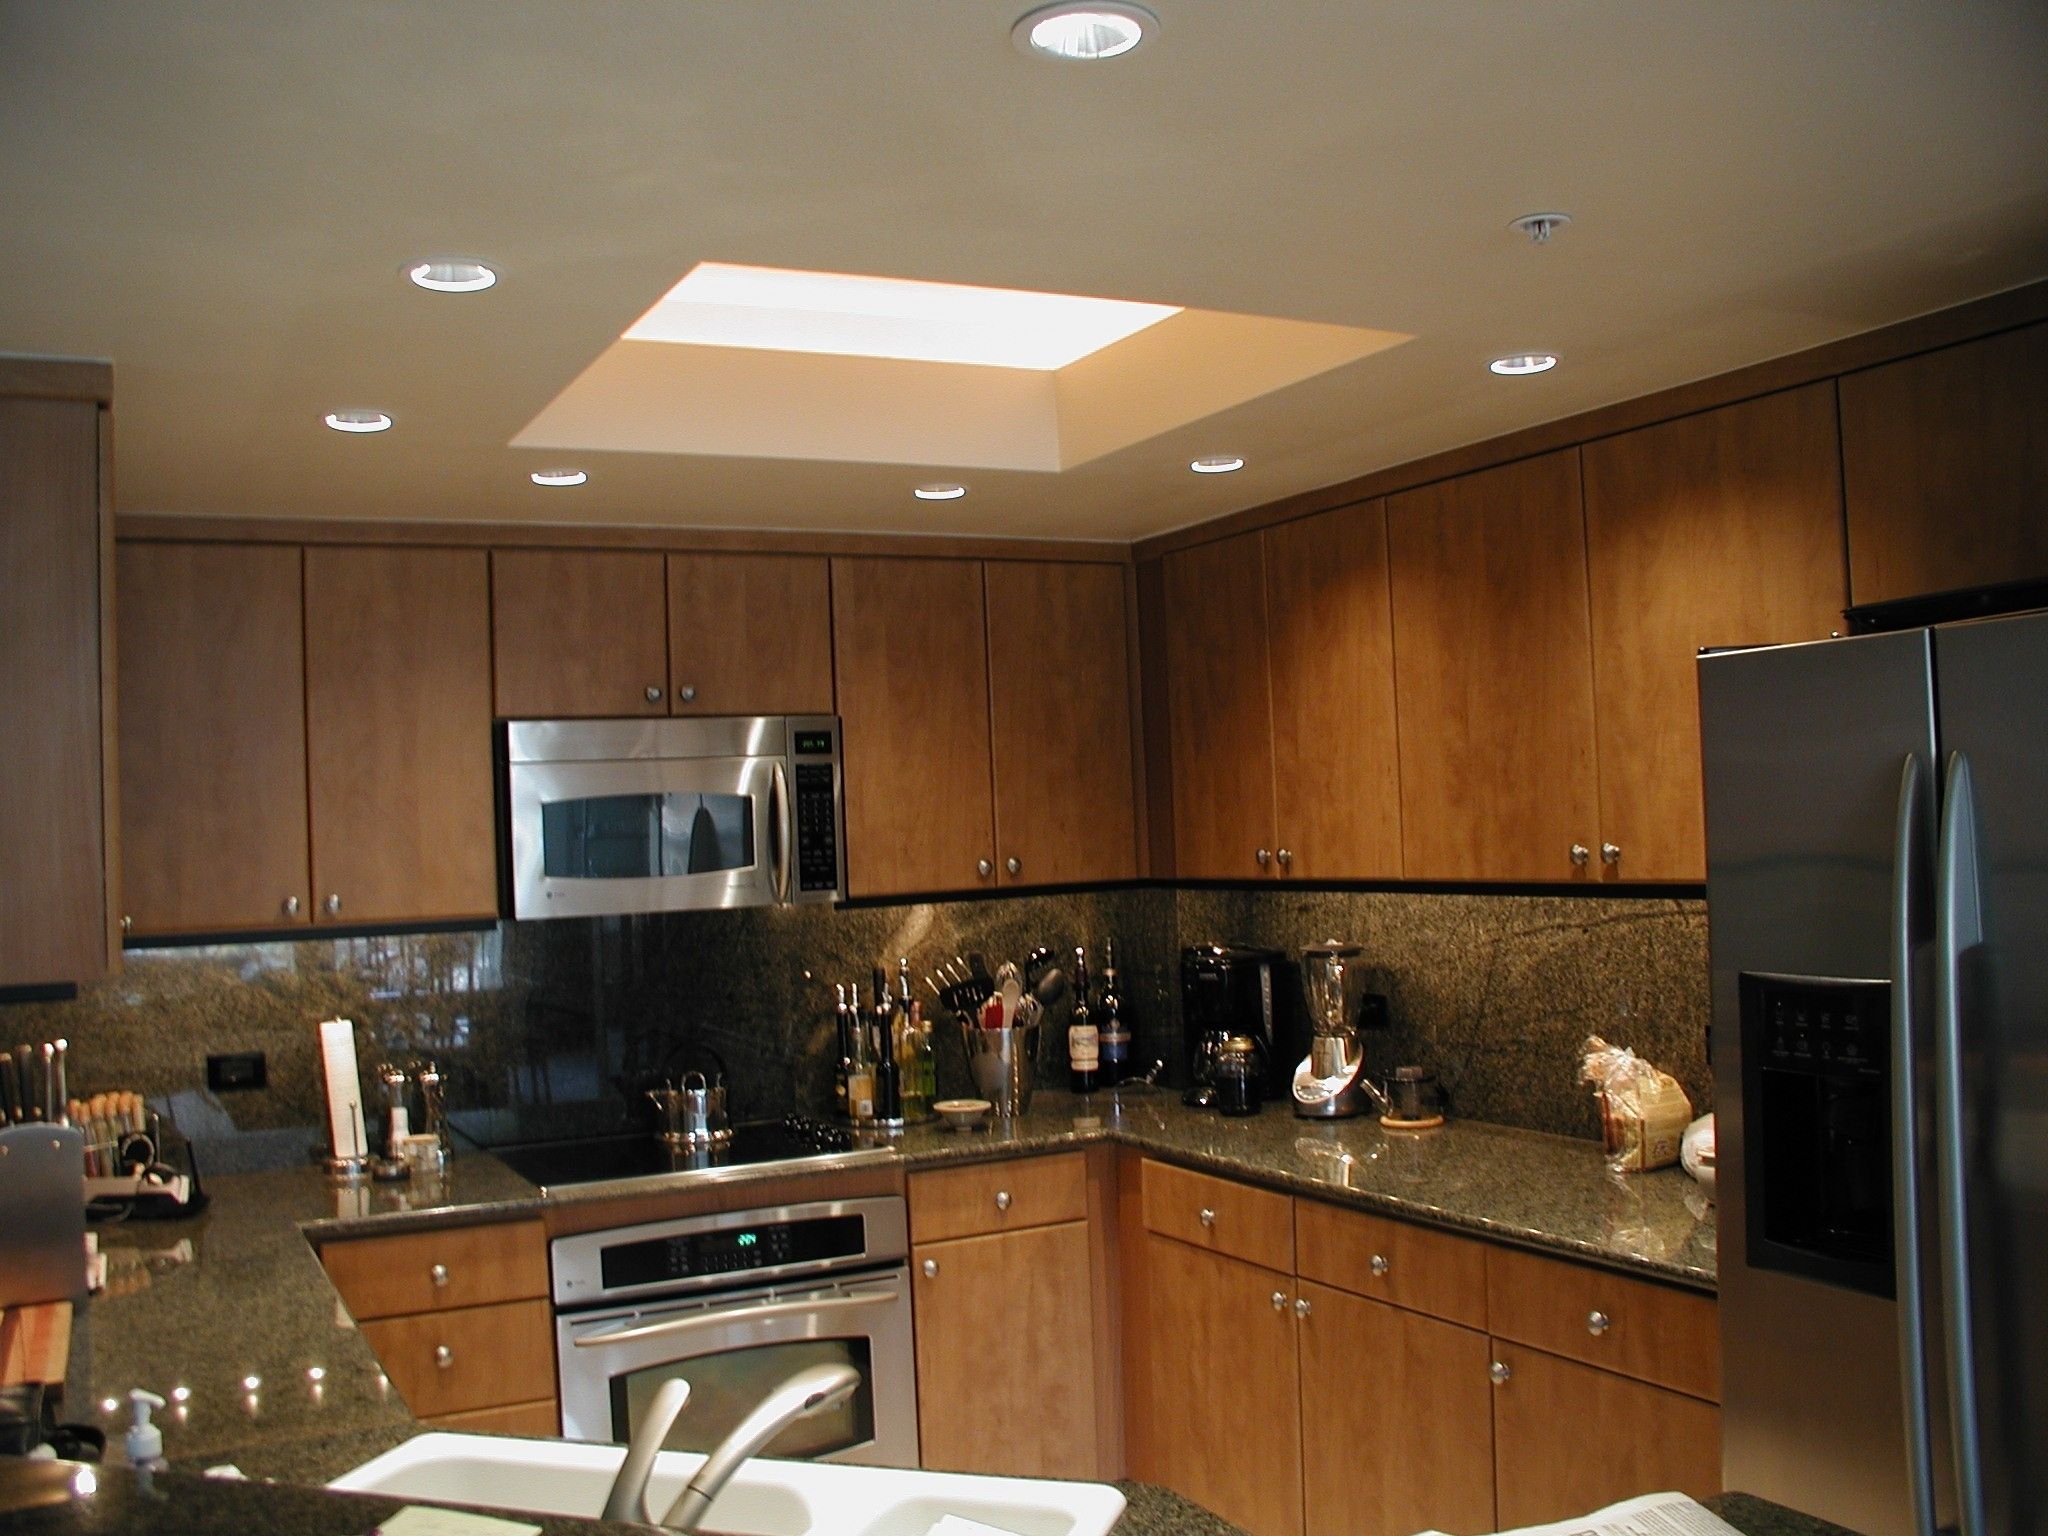
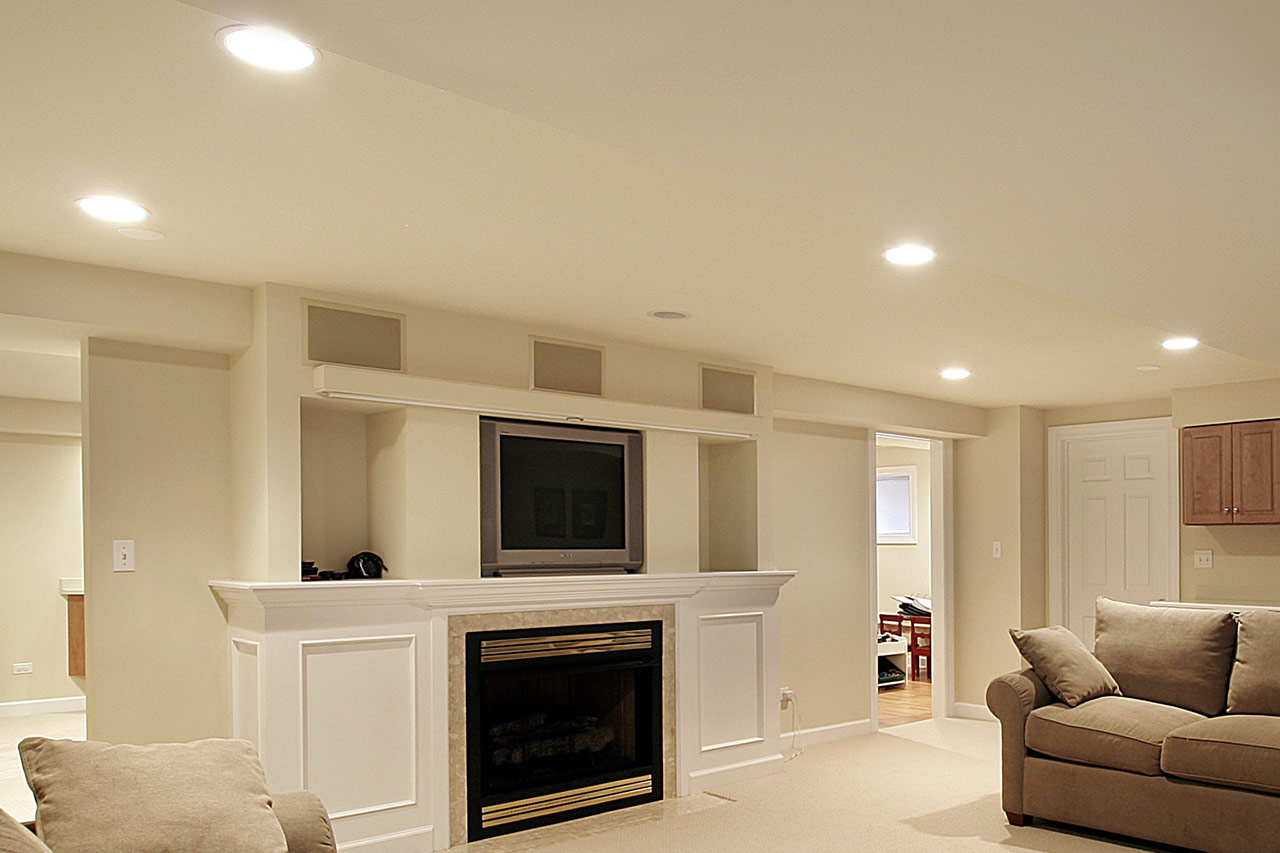
Are you looking to upgrade your kitchen lighting with a modern and energy-efficient option? LED recessed lighting is a great choice for any kitchen, providing bright and focused light while also saving on energy costs. In this step-by-step guide, we will show you how to install LED recessed lights in your kitchen ceiling, transforming the look and feel of your space.How to Install LED Recessed Lighting in Your Kitchen Ceiling


How to Install LED Recessed Lighting in Your Kitchen Ceiling


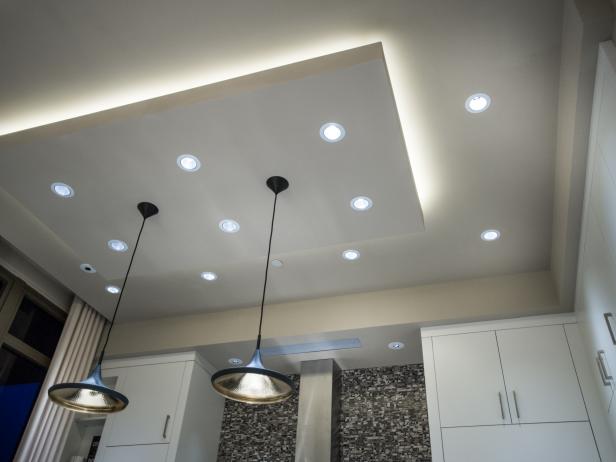

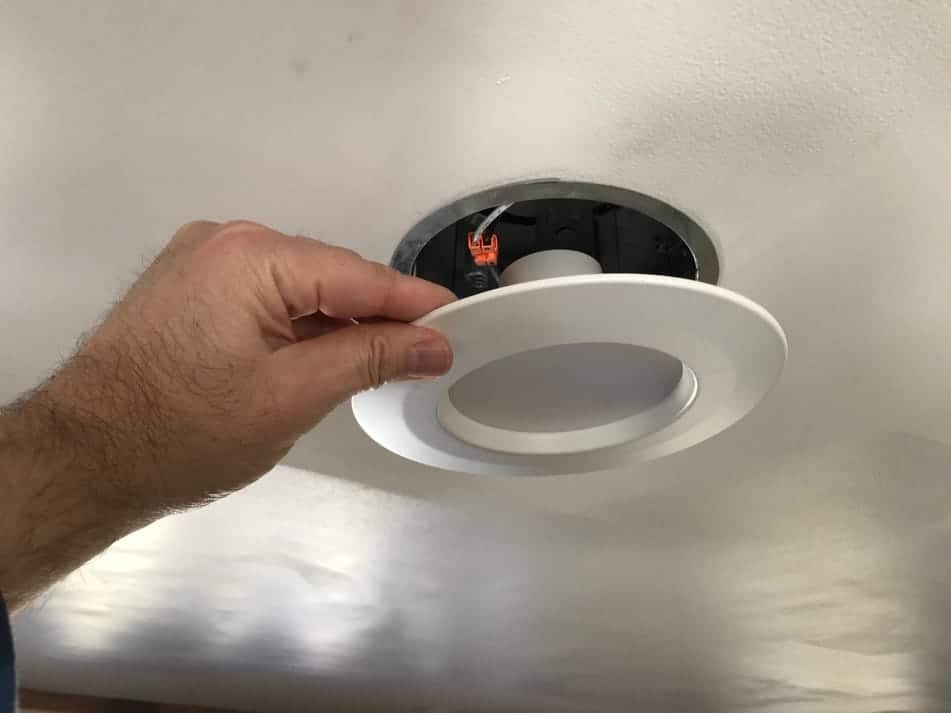
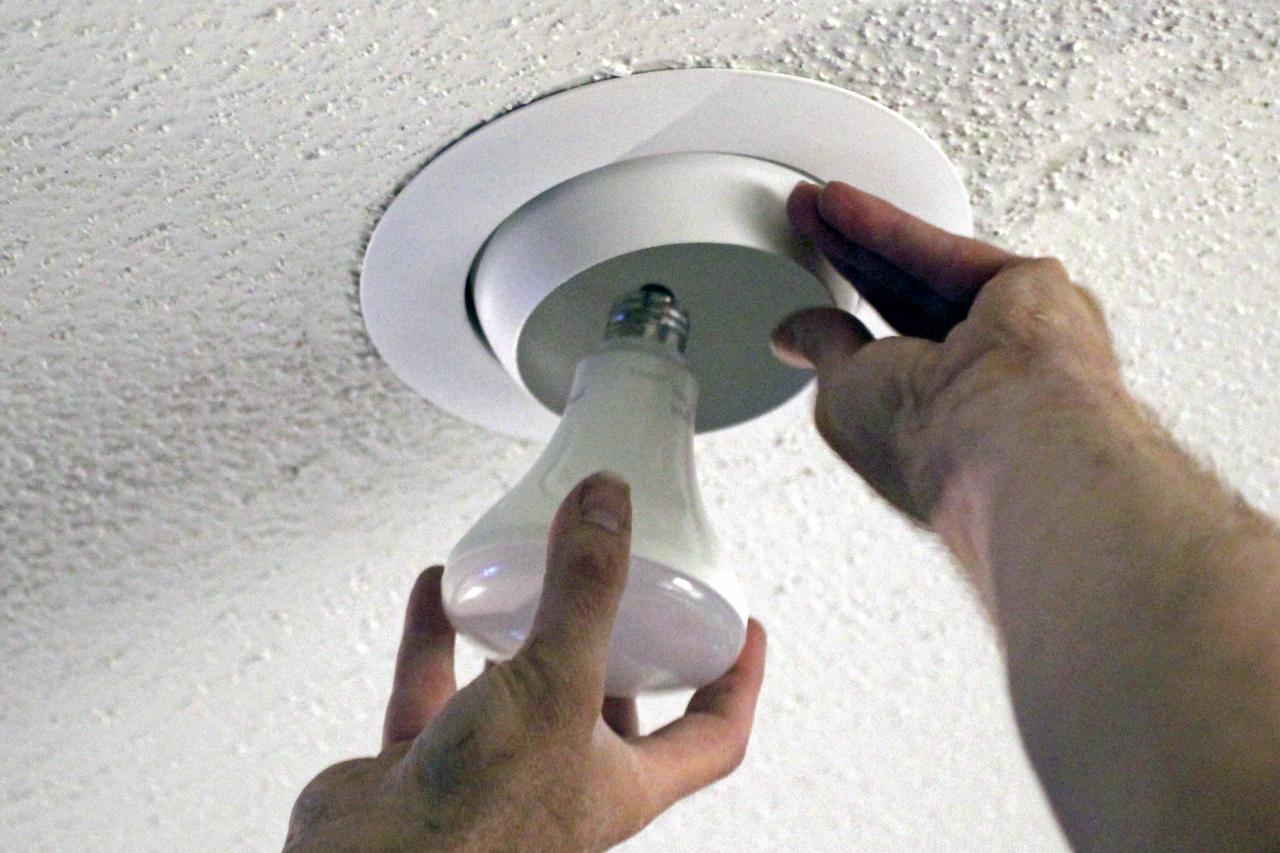
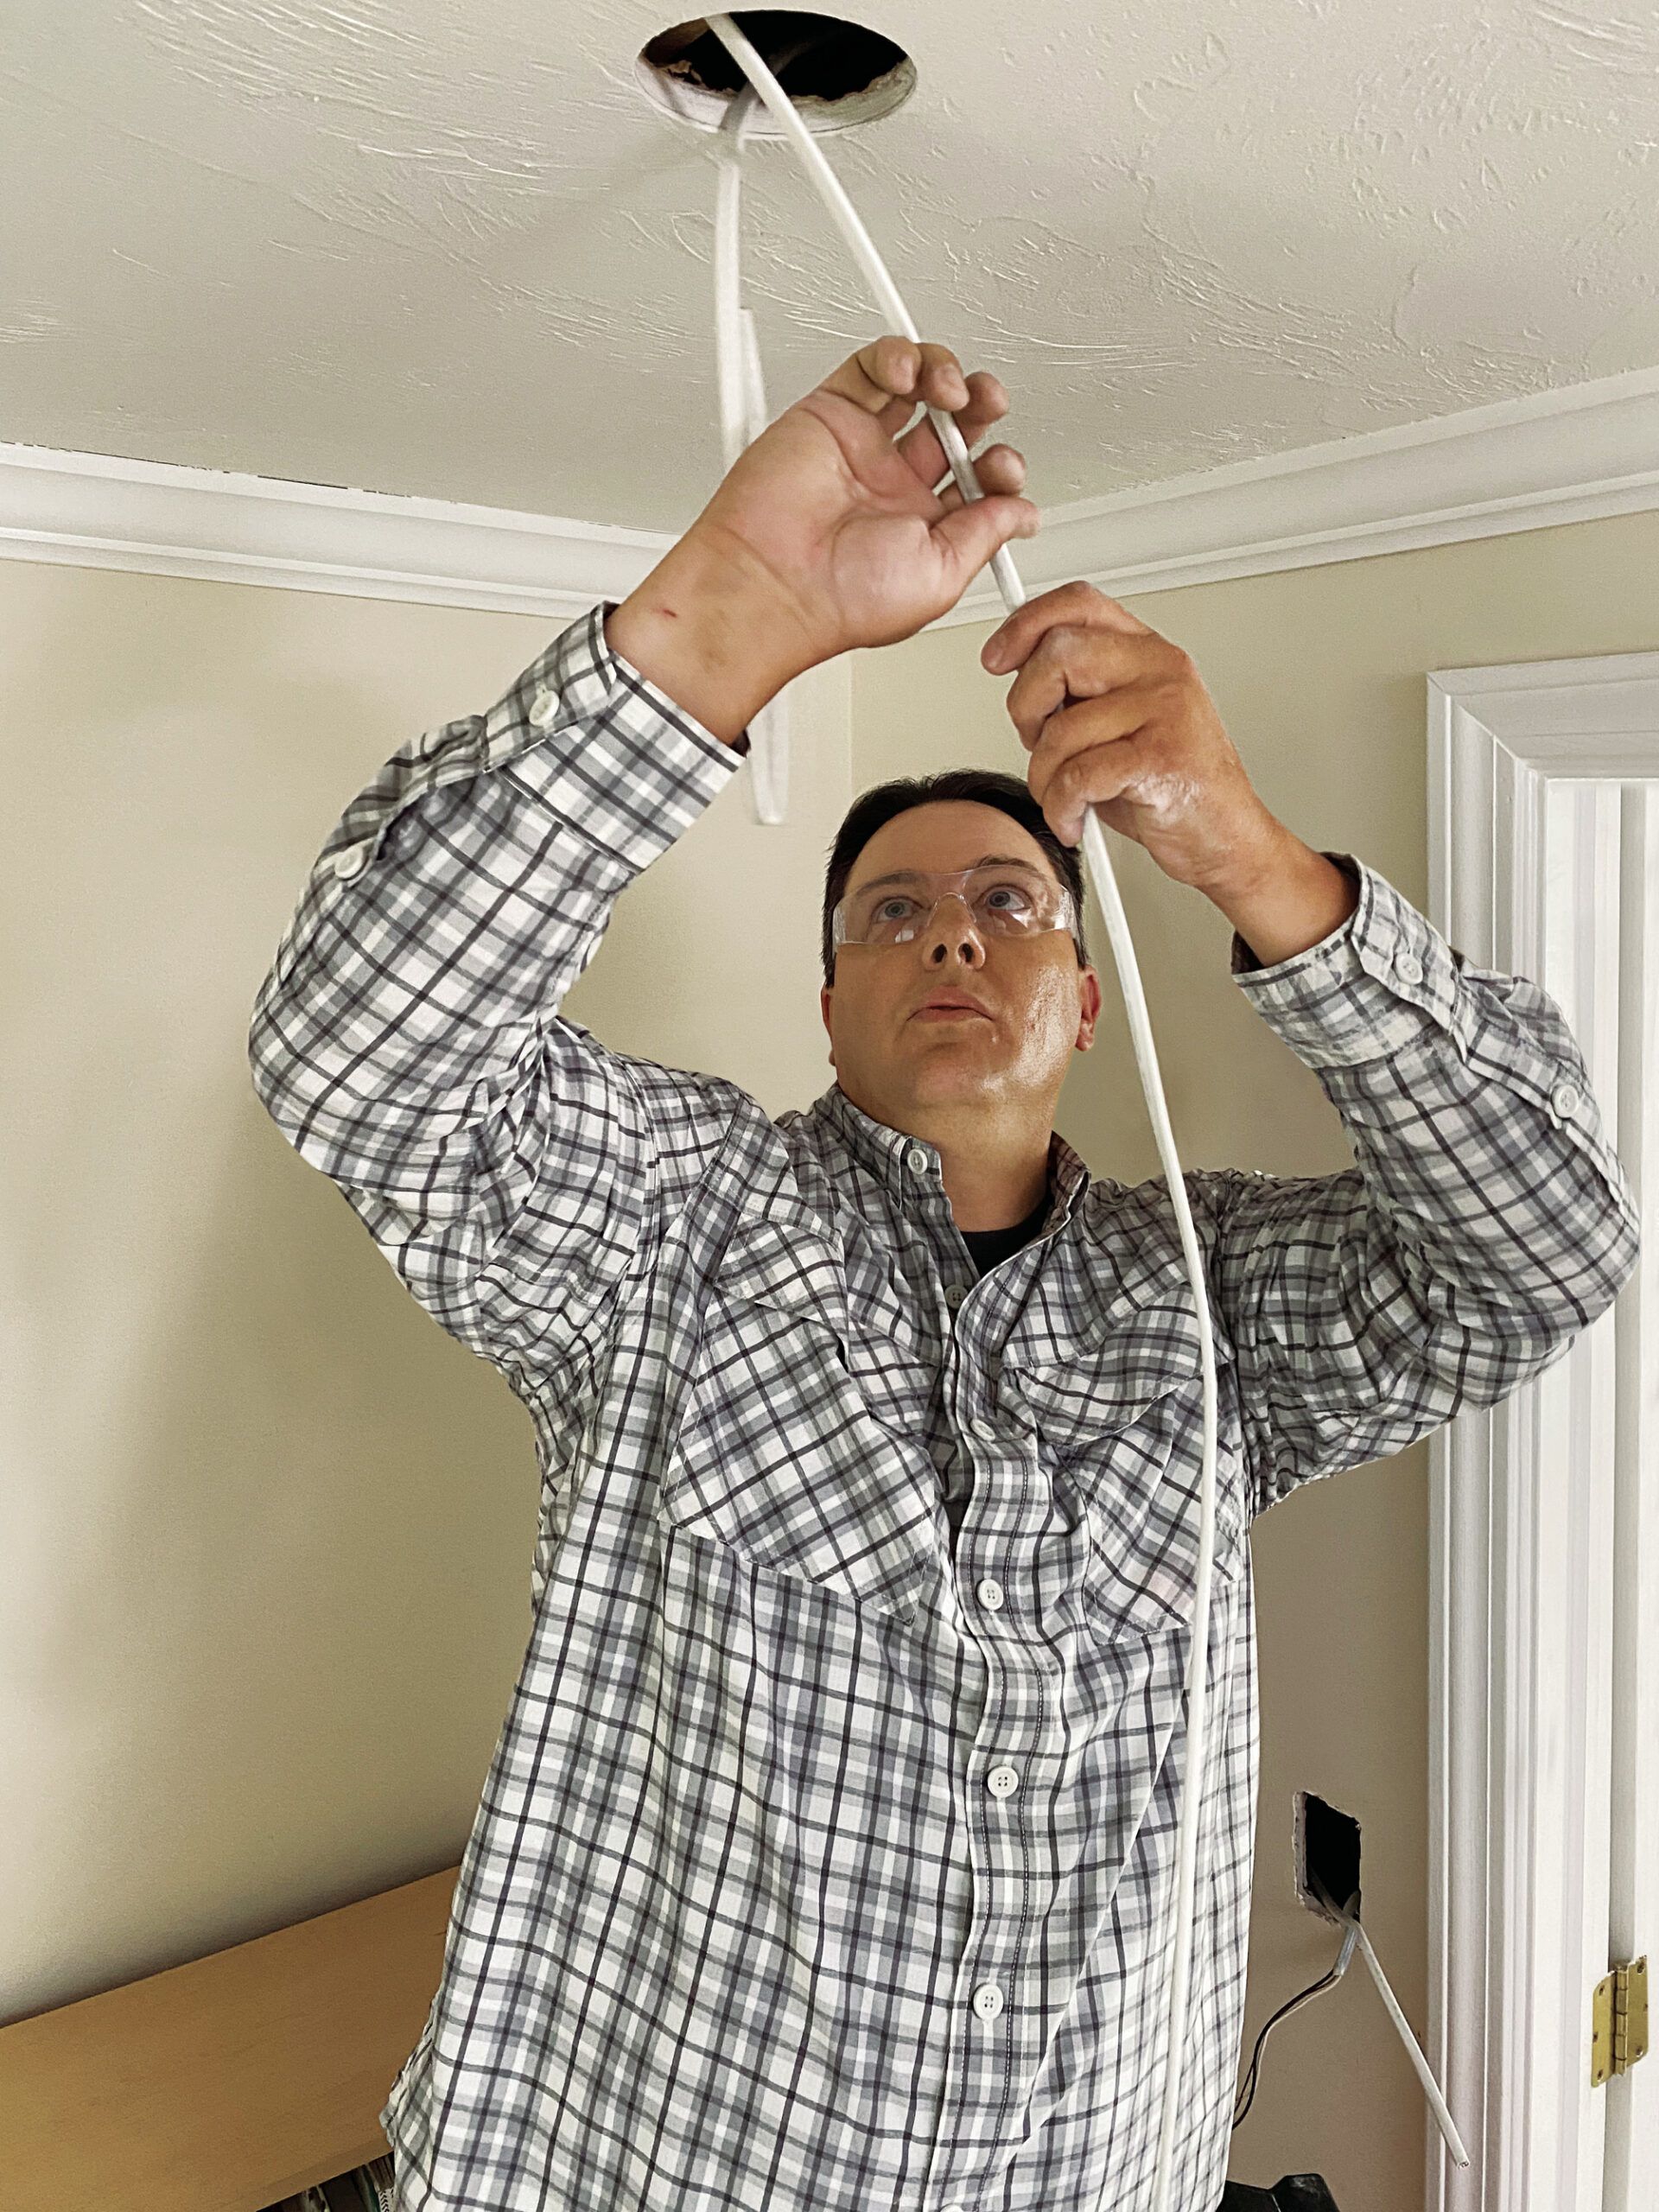
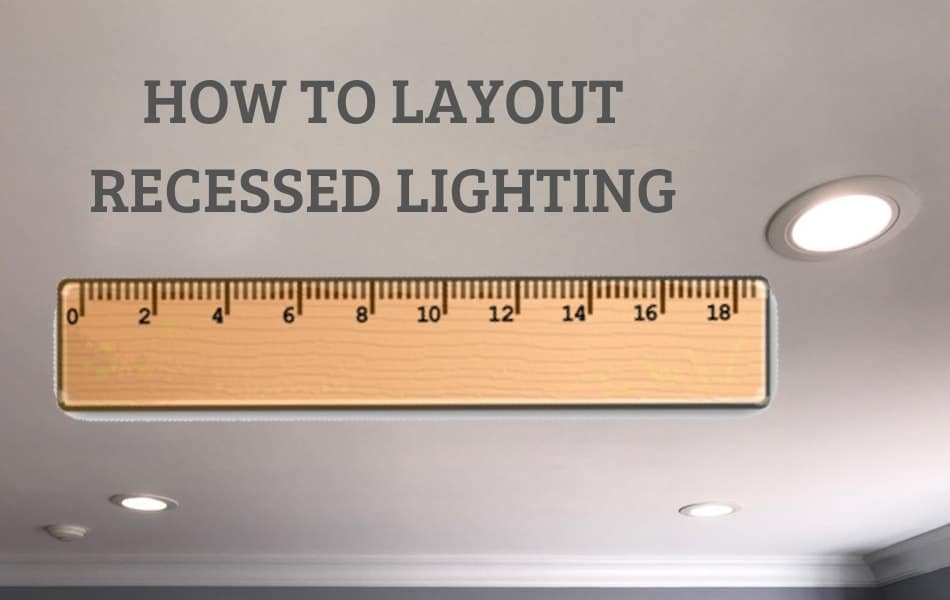
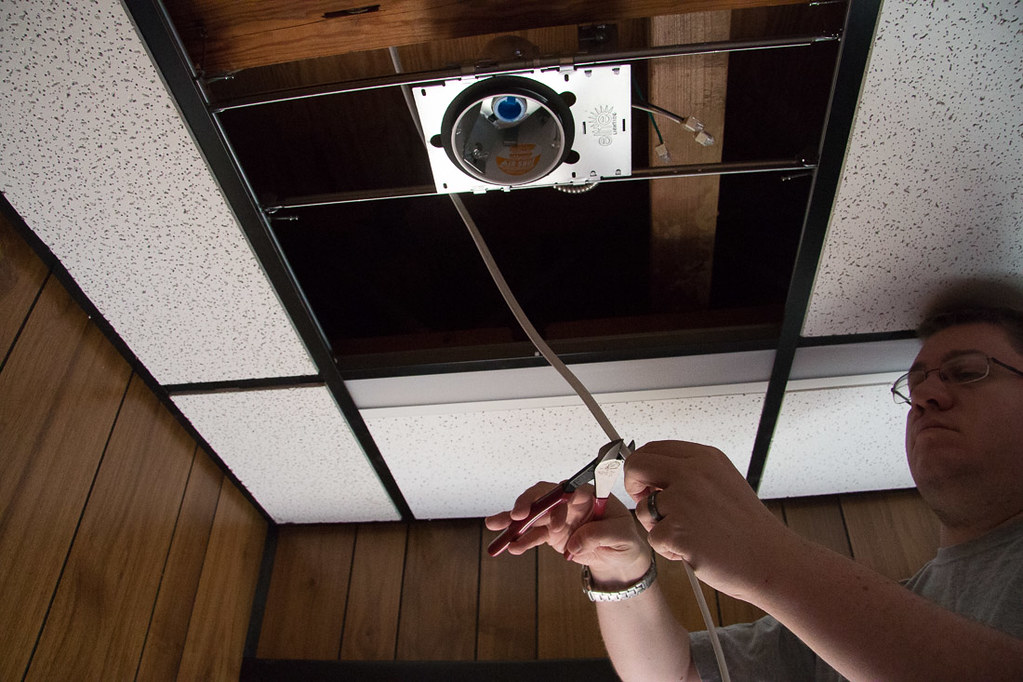
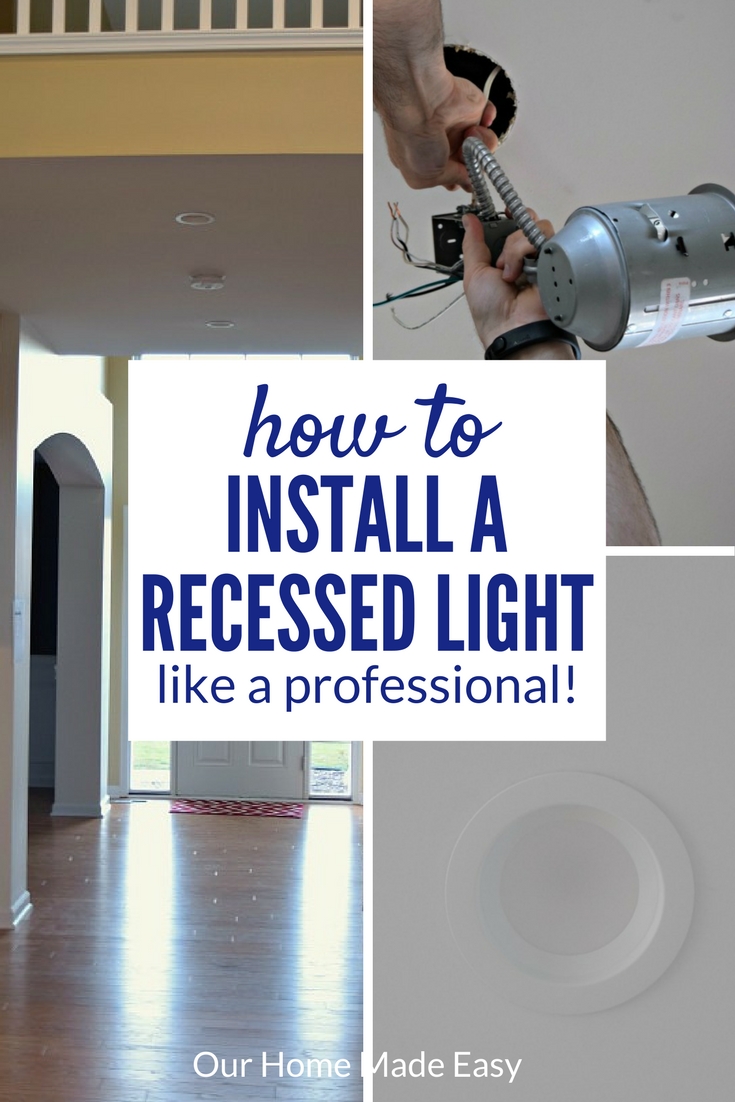
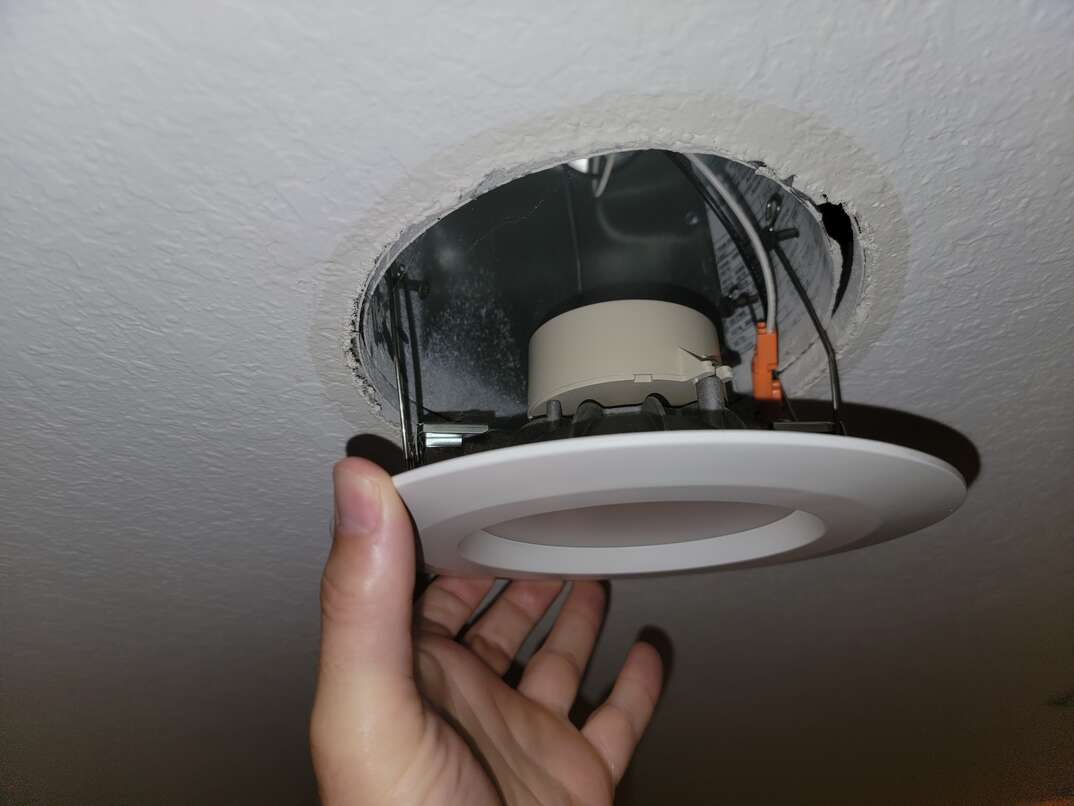
Step 1: Plan and Prepare The first step in any home improvement project is to plan and prepare. Measure your kitchen ceiling to determine the number of LED recessed lights you will need for proper lighting. It is recommended to have one light for every 4-6 square feet of ceiling space. Next, gather all necessary tools and materials, including LED recessed light fixtures, a drill, wire strippers, and wire nuts. Make sure to turn off the power to the kitchen at the circuit breaker before starting any work. Step 2: Mark and Cut Out Holes Using a pencil, mark the locations for your recessed lights on the ceiling. Use a hole saw or jigsaw to cut out the holes for the lights, following the marked guidelines. Be sure to cut the holes slightly smaller than the diameter of the light fixture to ensure a snug fit. Step 3: Run Wiring Once the holes are cut, it's time to run the wiring for the lights. Start by feeding the wiring through the first hole and connecting it to the light fixture. Then, run the wiring through the remaining holes, connecting each light fixture as you go. Step 4: Install the Lights Gently push the light fixtures into the holes, making sure they are secure. If necessary, use clips or brackets to hold the lights in place. Next, connect the wiring to the corresponding wires in the ceiling using wire nuts. Make sure all connections are secure. Step 5: Test and Adjust Before securing the lights in place, turn the power back on and test the lights to make sure they are working properly. If any adjustments need to be made, now is the time to do so. Once everything is in working order, secure the lights in place using clips or brackets.Installing LED Recessed Lights in Your Kitchen Ceiling: A Step-by-Step Guide


Installing LED Recessed Lights in Your Kitchen Ceiling: A Step-by-Step Guide
:max_bytes(150000):strip_icc()/184968332-56a5a6433df78cf7728941c8.jpg)
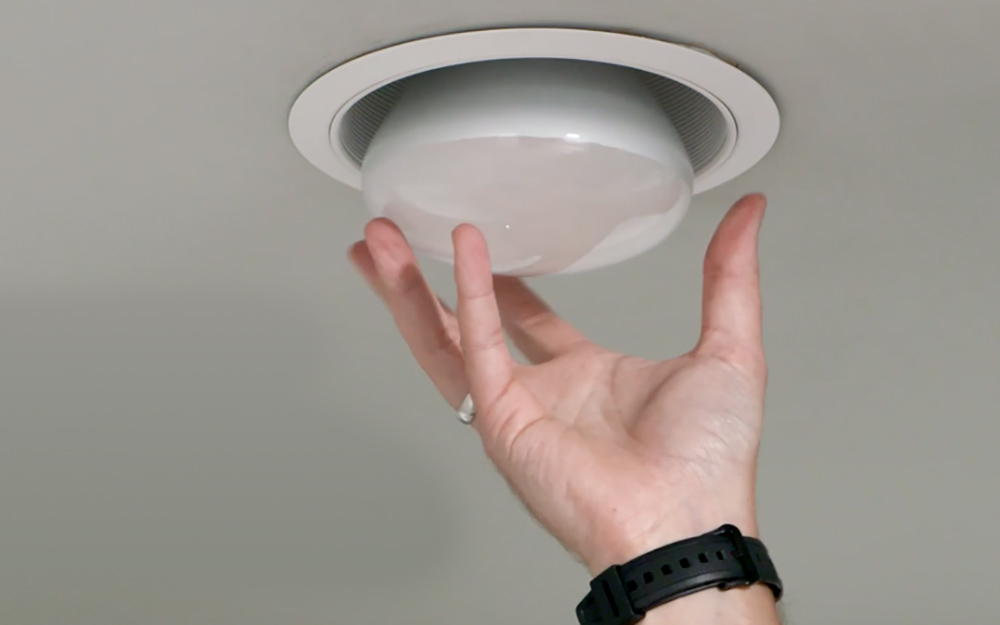

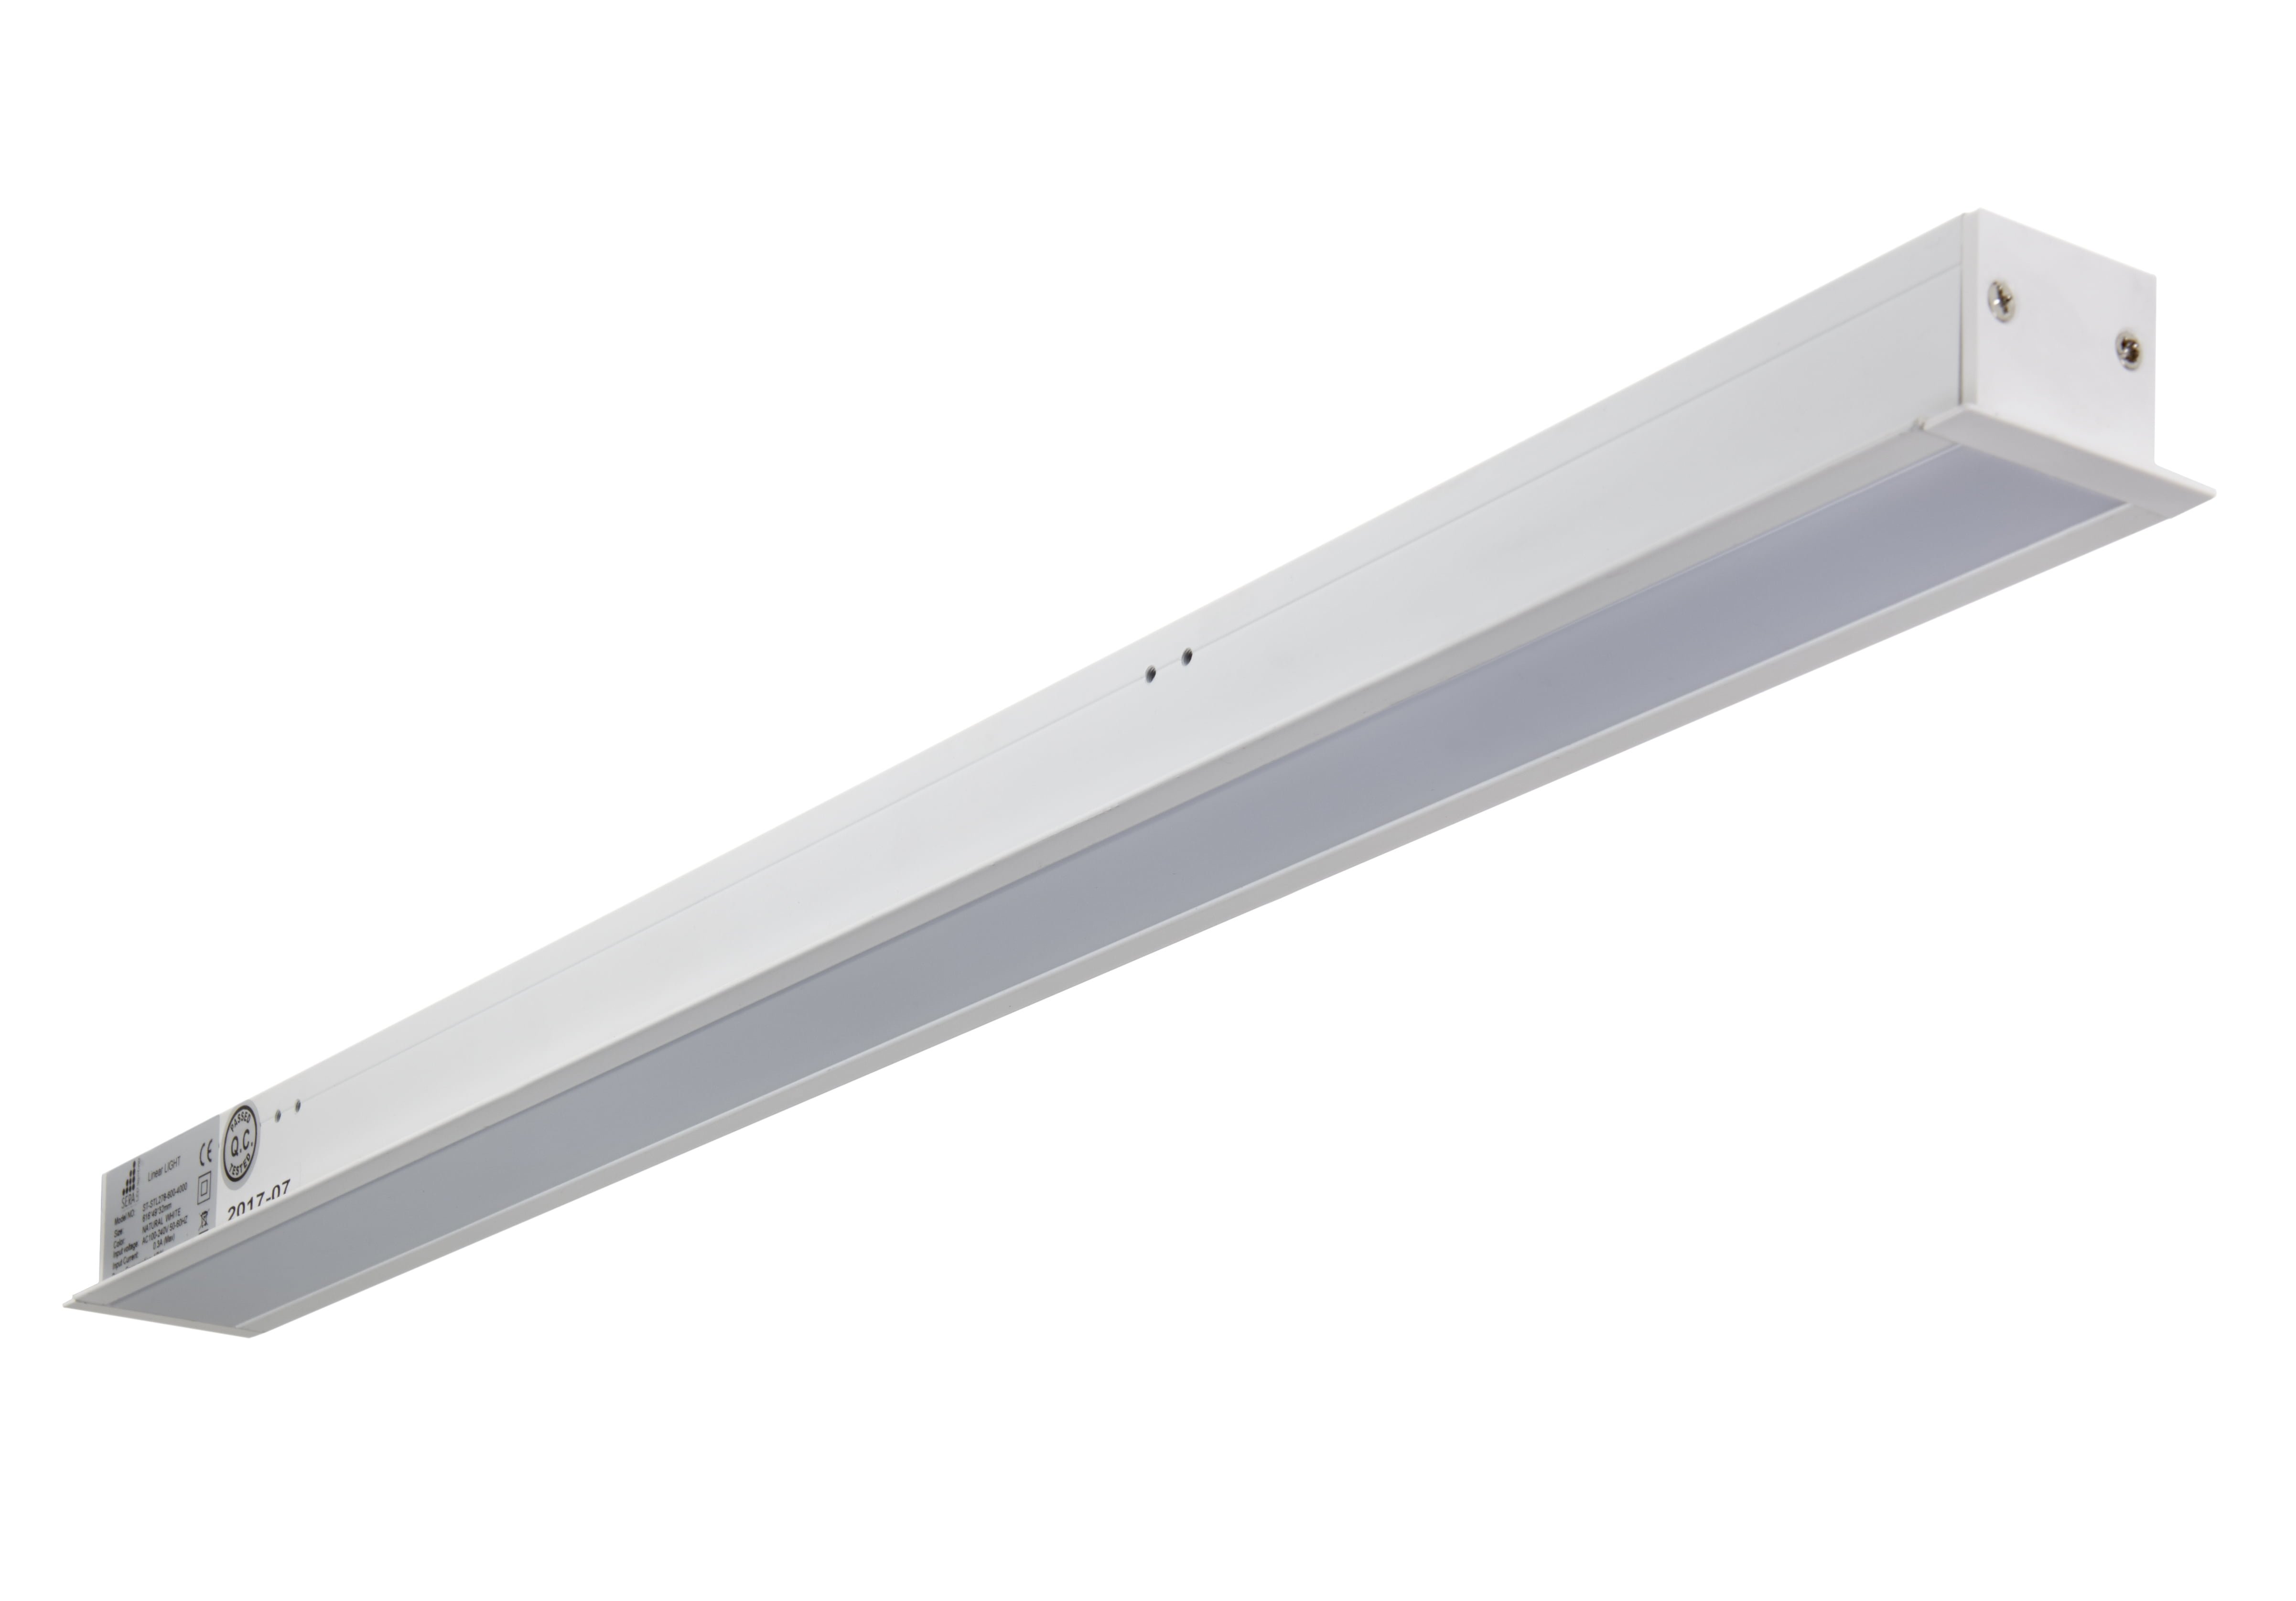
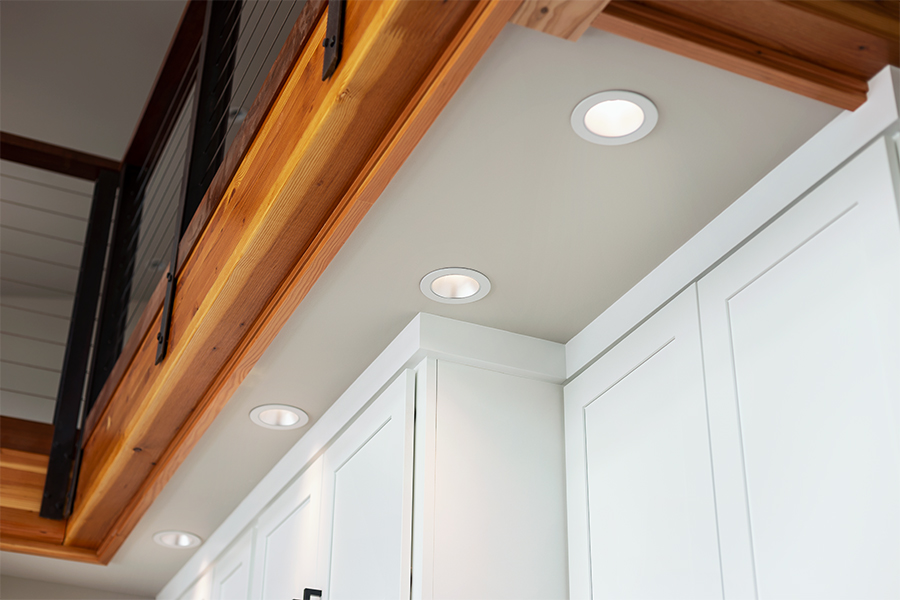
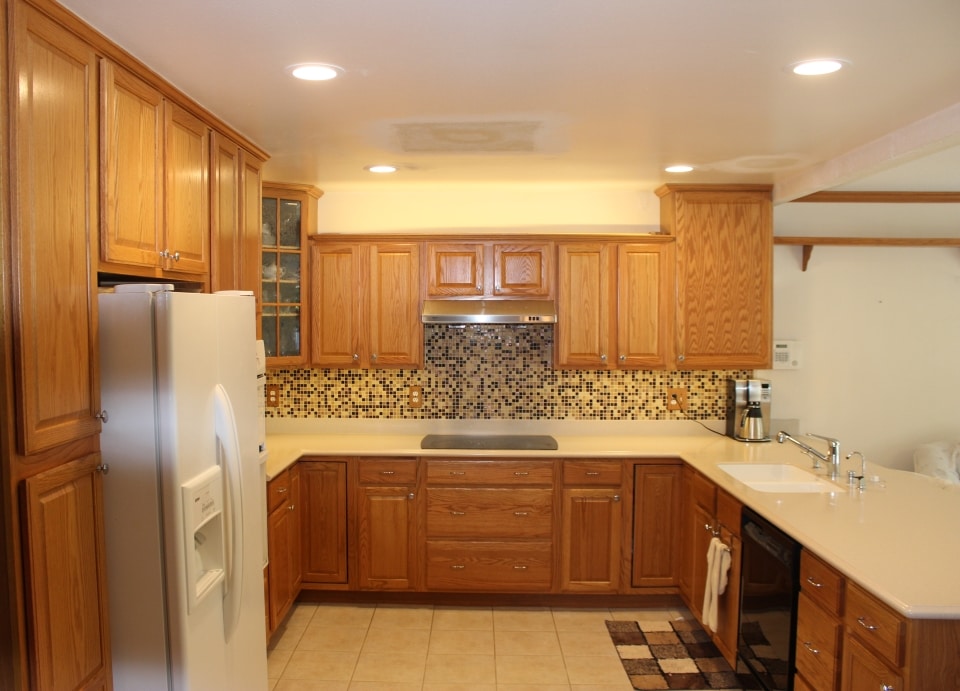
Step 6: Install Trim and Bulbs The final step is to install the trim and bulbs for your recessed lights. Trim refers to the decorative covering that sits flush with the ceiling, while the bulb is the light source itself. Simply screw in the bulbs and snap the trim into place for a finished look. Step 7: Enjoy Your New Lighting Congratulations, you have successfully installed LED recessed lights in your kitchen ceiling! Sit back and enjoy the bright and energy-efficient lighting in your updated kitchen space.DIY: Installing LED Recessed Lights in Your Kitchen Ceiling


DIY: Installing LED Recessed Lights in Your Kitchen Ceiling


Tip 1: Purchase Quality Fixtures Invest in high-quality LED recessed light fixtures to ensure they will last and provide optimal lighting. Cheaper fixtures may not be as durable and may require frequent replacements. Tip 2: Consider Dimmers Dimmers are a great addition to LED recessed lighting, allowing you to adjust the brightness to your desired level. This can also help save on energy costs by using less light when it's not needed. Tip 3: Choose Bulb Color Temperature LED bulbs come in various color temperatures, ranging from cool to warm. Consider the overall look and feel of your kitchen when choosing the color temperature for your recessed lights.LED Recessed Lighting Installation Tips for Your Kitchen Ceiling

LED Recessed Lighting Installation Tips for Your Kitchen Ceiling

Step 1: Plan and Prepare Step 2: Mark and Cut Out Holes Step 3: Run Wiring Step 4: Install the Lights Step 5: Test and Adjust Step 6: Install Trim and Bulbs Step 7: Enjoy Your New LightingStep-by-Step Guide to Installing LED Recessed Lights in Your Kitchen Ceiling


Step-by-Step Guide to Installing LED Recessed Lights in Your Kitchen Ceiling


Benefits of LED Recessed Lighting - Energy-efficient: LED lights use significantly less energy than traditional incandescent bulbs. - Long-lasting: LED bulbs have a longer lifespan, reducing the need for frequent replacements. - Bright and focused light: LED recessed lights provide bright and focused light, perfect for task lighting in the kitchen. How to Convert to HTML Code To convert this guide to HTML code, simply add tags at the beginning and end of each paragraph, and tags for any bolded keywords. For italicized keywords, use tags. Make sure to also include any necessary line breaks and spacing for a clean and organized layout.Upgrade Your Kitchen with LED Recessed Lighting: Installation Guide
tags at the beginning and
tags at the end of each heading. Use


Upgrade Your Kitchen with LED Recessed Lighting: Installation Guide


Are you new to DIY projects and looking to install LED recessed lights in your kitchen ceiling? Don't worry, we've got you covered with this beginner's guide. Step 1: Research and Gather Supplies Before starting any project, it's important to do some research and gather all necessary supplies. Look up tutorials and guides to familiarize yourself with the process. Make a list of all the tools and materials you will need and purchase them before starting. Step 2: Turn Off Power and Measure Make sure to turn off the power to your kitchen at the circuit breaker before starting any work. Use a measuring tape to determine the number of lights needed and mark their locations on the ceiling. Step 3: Cut Out Holes Using a jigsaw or hole saw, carefully cut out the holes for your recessed lights following the marked guidelines. Make sure to cut the holes slightly smaller than the diameter of the light fixture. Step 4: Run Wiring and Install Lights Feed the wiring through the holes and connect them to the corresponding wires in the ceiling using wire nuts. Carefully push the light fixtures into the holes and secure them in place with clips or brackets. Step 5: Test and Adjust Turn the power back on and test the lights to make sure they are working properly. Make any necessary adjustments before moving on to the next step. Step 6: Install Trim and Bulbs Screw in the LED bulbs and snap the trim into place for a finished look. Step 7: Enjoy Your New Lighting Sit back and enjoy the bright and energy-efficient lighting in your newly upgraded kitchen.How to Install LED Recessed Lights in Your Kitchen Ceiling: A Beginner's Guide


How to Install LED Recessed Lights in Your Kitchen Ceiling: A Beginner's Guide

Tip 1: Use a Stud Finder When cutting holes for your recessed lights, make sure to use a stud finder to avoid cutting into any electrical wires or pipes behind the ceiling. Tip 2: Label Wires Before connecting the wiring, label them with a marker or tape to ensure they are connected correctly. Tip 3: Consider Hiring a Professional If you are not comfortable with electrical work, it is always best to hire a professional to install LED recessed lights in your kitchen ceiling. This will ensure the job is done safely and correctly.LED Recessed Lighting Installation: Tips and Tricks for Your Kitchen Ceiling


LED Recessed Lighting Installation: Tips and Tricks for Your Kitchen Ceiling

Common Mistakes to Avoid - Not turning off the power before starting work - Cutting holes too large for the light fixtures - Not properly securing the light fixtures in place Maintenance Tips - Keep the lights dust-free for optimal brightness - Replace bulbs when they start to dim - Check for loose connections and fix them promptlyInstalling LED Recessed Lights in Your Kitchen Ceiling: What You Need to Know

Installing LED Recessed Lights in Your Kitchen Ceiling: What You Need to Know
Conclusion By following this guide, you can easily install LED recessed lights in your kitchen ceiling and upgrade the look and functionality of your space. Remember to plan and prepare, use quality fixtures, and consider hiring a professional if needed. With the right tools and knowledge, you can achieve a beautifully lit kitchen with energy-efficient LED recessed lighting.Transform Your Kitchen with LED Recessed Lighting: Installation Made Easy


Transform Your Kitchen with LED Recessed Lighting: Installation Made Easy
Why LED Recessed Lights are the Perfect Choice for Your Kitchen Ceiling

Efficiency and Energy Savings
/installing-led-retrofit-bulb-into-ceiling-fixture-184968332-584f033a3df78c491e1876af.jpg) When it comes to choosing lighting for your home, efficiency and energy savings are important factors to consider. LED recessed lights are the perfect choice for your kitchen ceiling because they are highly efficient and use significantly less energy than traditional incandescent or fluorescent bulbs. In fact,
LED lights use up to 75% less energy
than incandescent bulbs, and
last up to 25 times longer
. This means not only will you be saving money on your energy bills, but you will also have to replace your bulbs less frequently.
When it comes to choosing lighting for your home, efficiency and energy savings are important factors to consider. LED recessed lights are the perfect choice for your kitchen ceiling because they are highly efficient and use significantly less energy than traditional incandescent or fluorescent bulbs. In fact,
LED lights use up to 75% less energy
than incandescent bulbs, and
last up to 25 times longer
. This means not only will you be saving money on your energy bills, but you will also have to replace your bulbs less frequently.
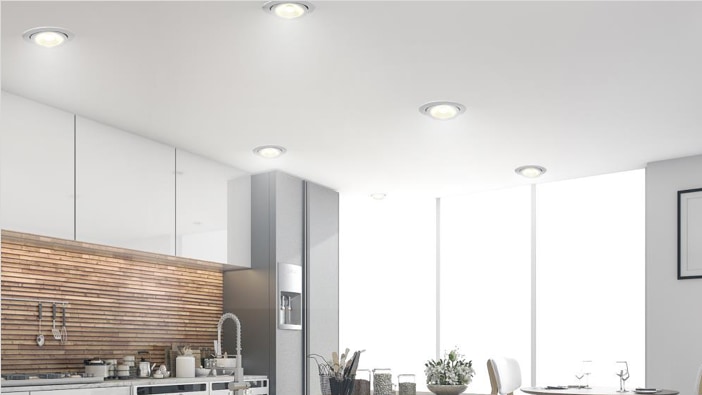
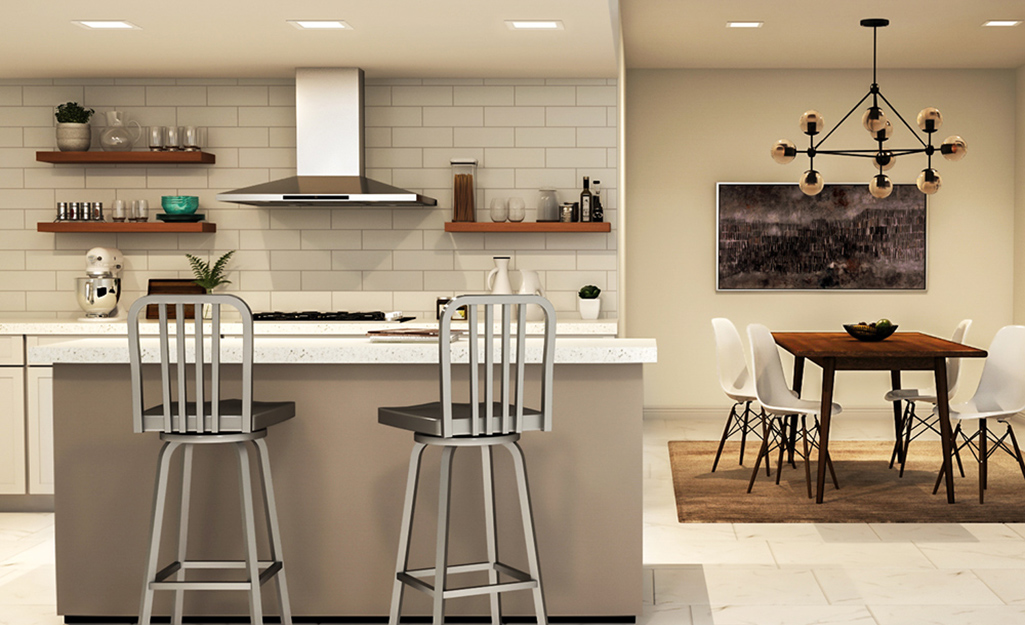
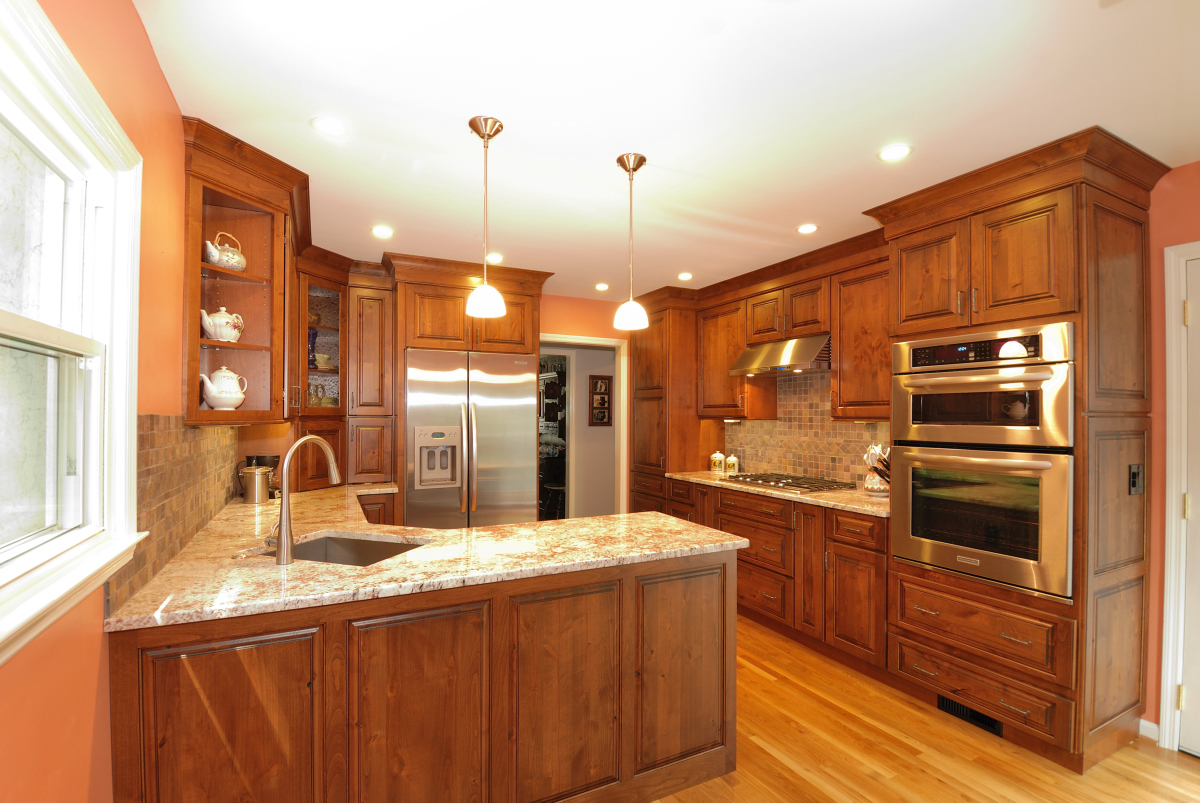
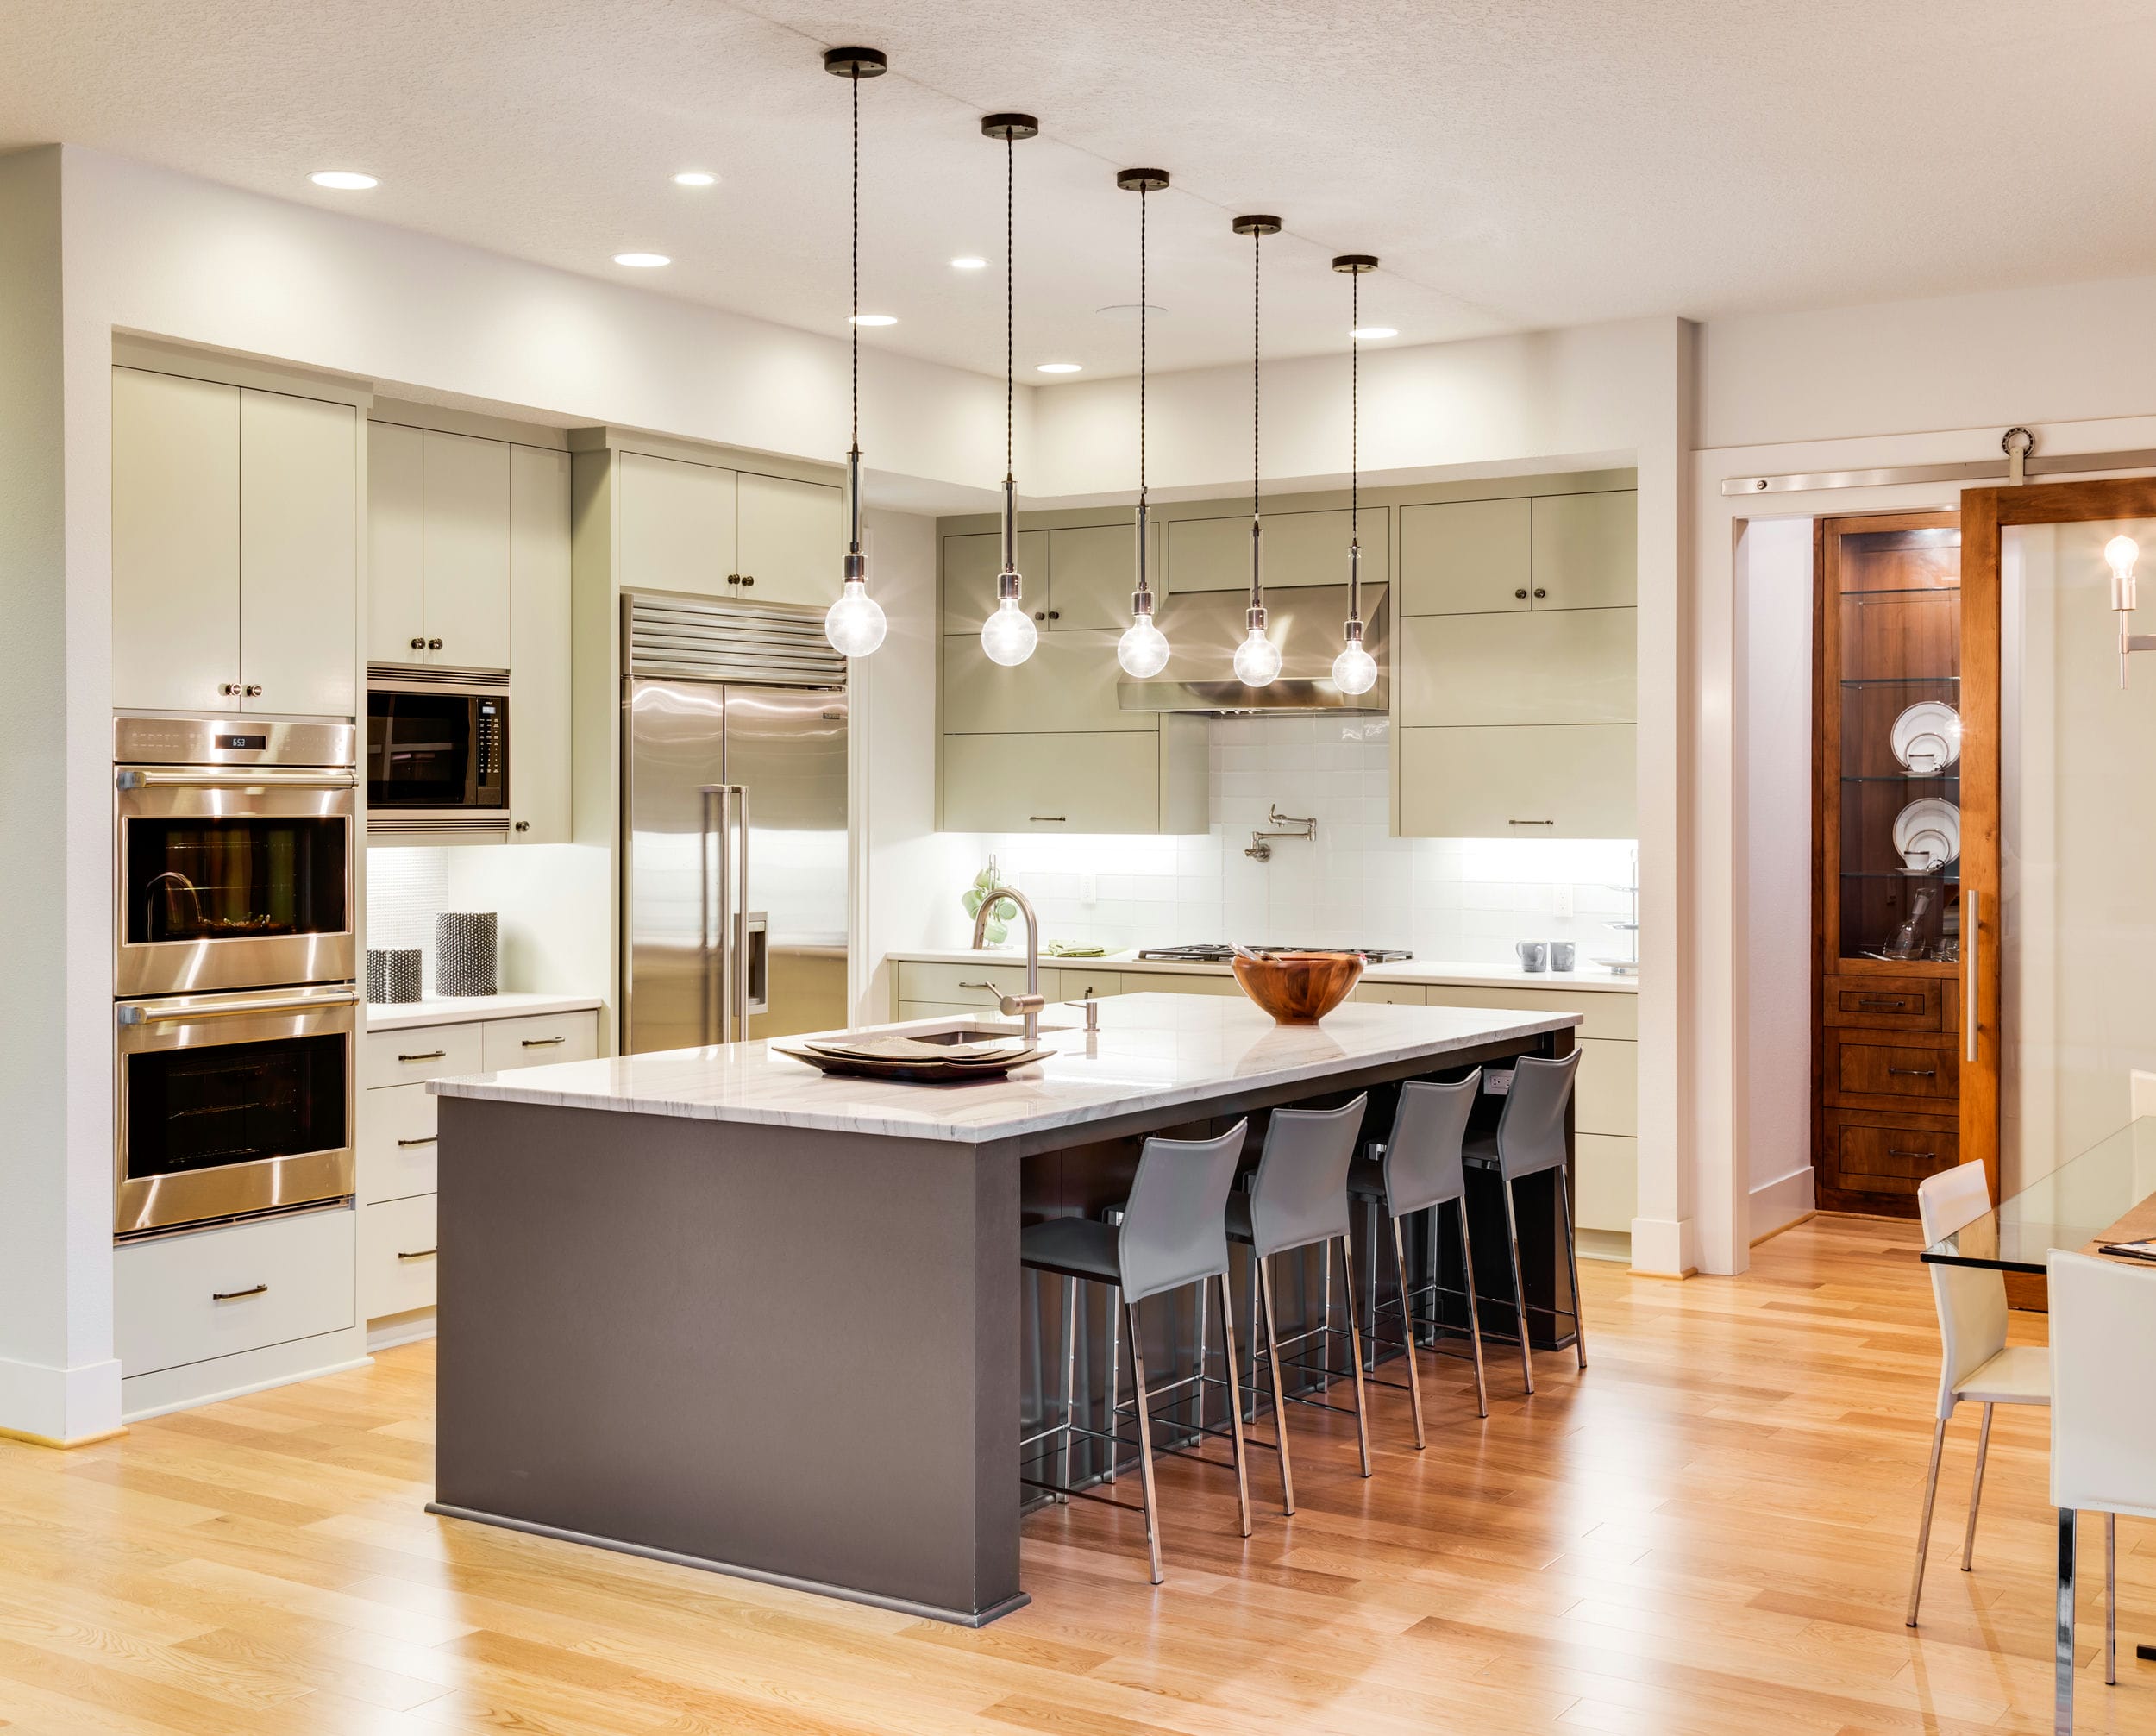
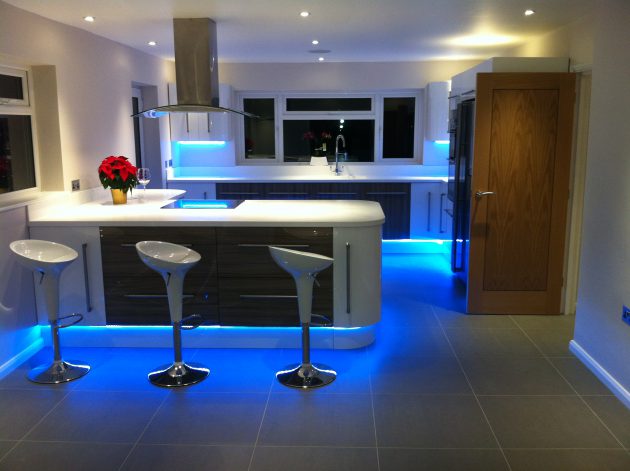
Bright and Versatile Lighting
 The kitchen is often the heart of the home, and having adequate lighting is crucial for cooking, cleaning, and entertaining. LED recessed lights provide bright and versatile lighting options for your kitchen ceiling.
LED lights have a high color rendering index (CRI)
, which means they accurately display colors and make your kitchen look vibrant and inviting. They also come in various color temperatures, allowing you to choose the perfect lighting for your specific kitchen design and atmosphere.
The kitchen is often the heart of the home, and having adequate lighting is crucial for cooking, cleaning, and entertaining. LED recessed lights provide bright and versatile lighting options for your kitchen ceiling.
LED lights have a high color rendering index (CRI)
, which means they accurately display colors and make your kitchen look vibrant and inviting. They also come in various color temperatures, allowing you to choose the perfect lighting for your specific kitchen design and atmosphere.
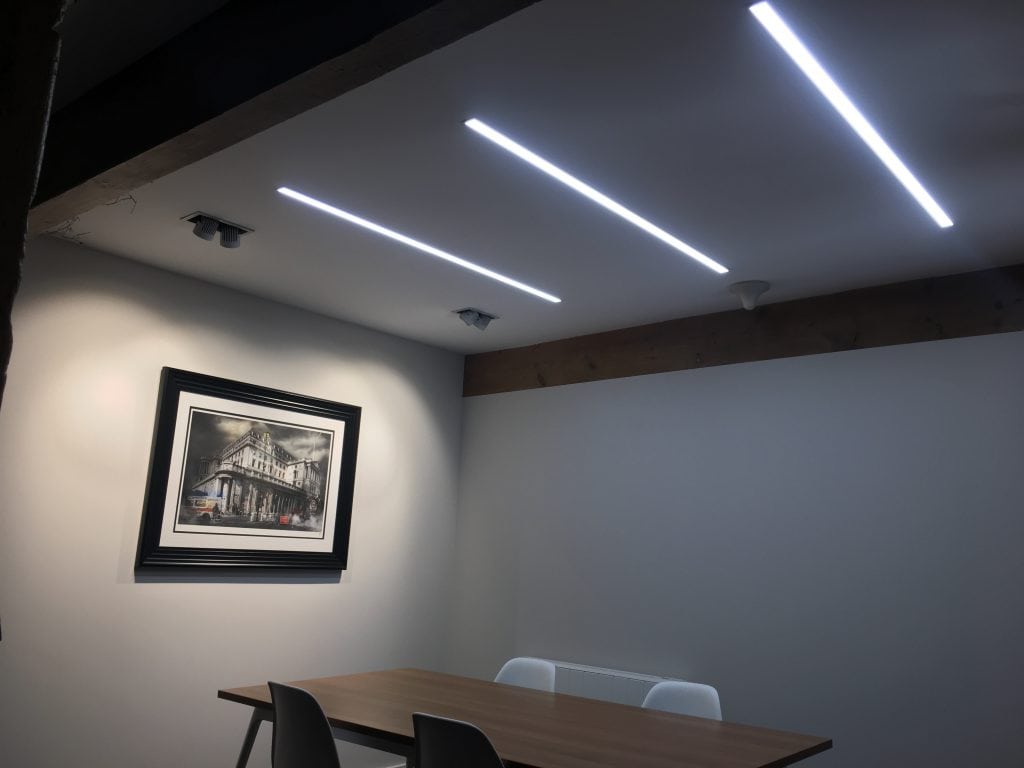
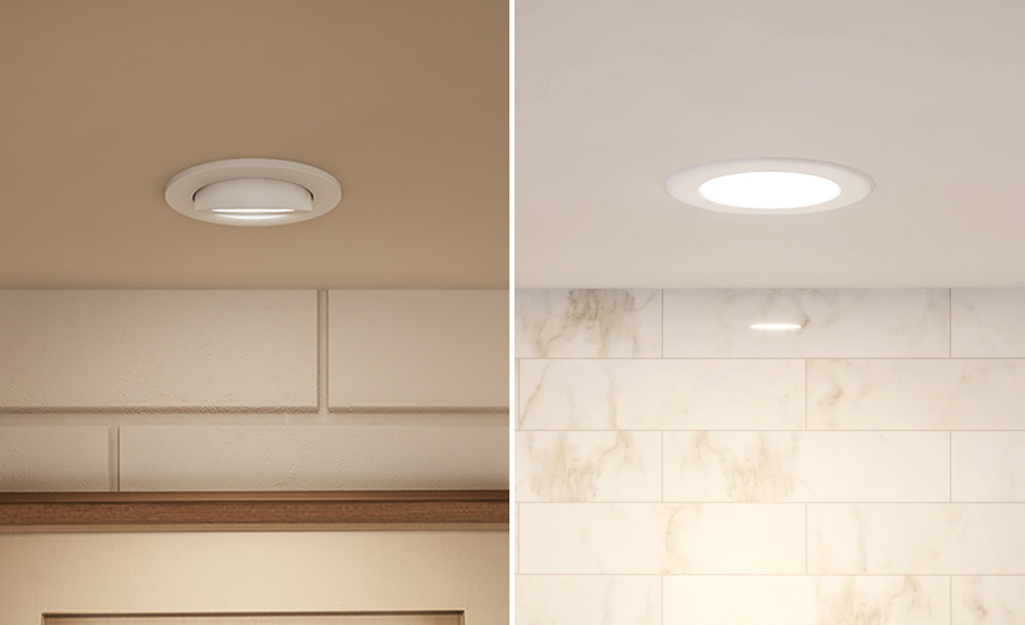
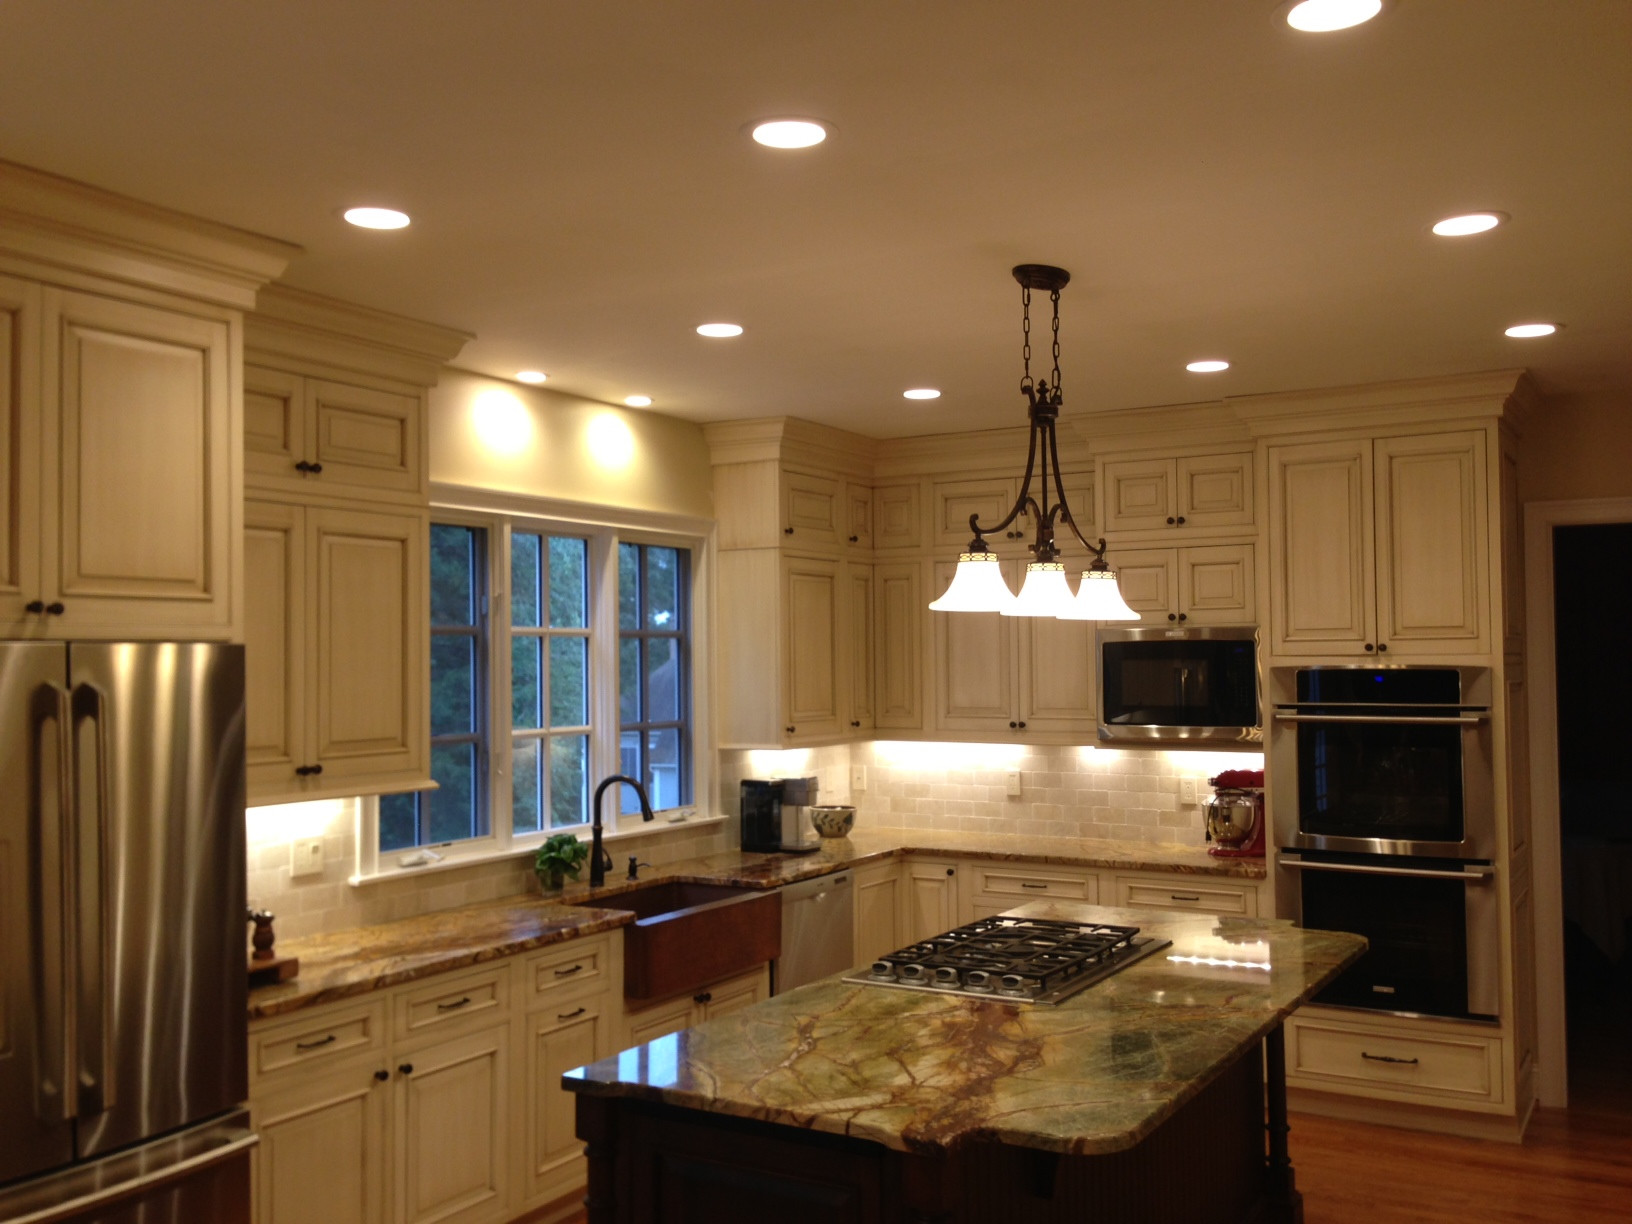
Sleek and Space-Saving Design
 Another advantage of LED recessed lights is their sleek and space-saving design. Unlike traditional bulky light fixtures,
LED recessed lights are installed directly into the ceiling
, creating a seamless and modern look. This is especially beneficial for smaller kitchens, as they take up minimal space and do not interfere with the overall design of the room. Additionally,
LED lights have a low profile
, which means they do not protrude from the ceiling and can be installed in tight spaces.
Another advantage of LED recessed lights is their sleek and space-saving design. Unlike traditional bulky light fixtures,
LED recessed lights are installed directly into the ceiling
, creating a seamless and modern look. This is especially beneficial for smaller kitchens, as they take up minimal space and do not interfere with the overall design of the room. Additionally,
LED lights have a low profile
, which means they do not protrude from the ceiling and can be installed in tight spaces.
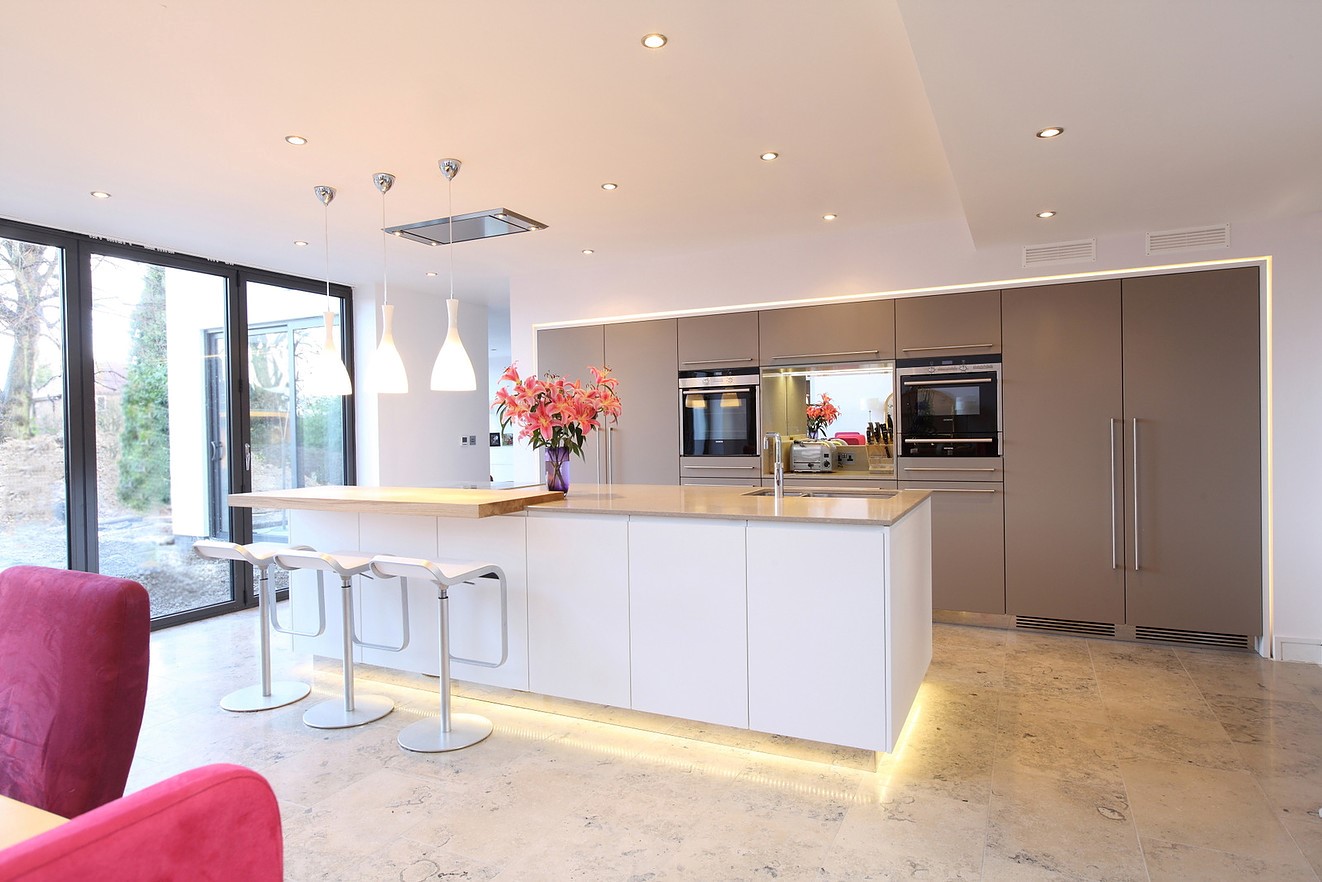
Easy Installation and Maintenance
 LED recessed lights are also easy to install and maintain. They come in various sizes and can be installed in both new and existing ceilings.
LED lights do not require a transformer
, making the installation process even simpler. Once installed, LED lights require very little maintenance compared to traditional bulbs. They do not have any filaments or other fragile components, making them more durable and long-lasting.
In conclusion, when it comes to choosing lighting for your kitchen ceiling, LED recessed lights are the perfect choice. With their efficiency, bright and versatile lighting, sleek design, and easy installation and maintenance, they are a practical and stylish addition to any kitchen design. Upgrade your kitchen with LED recessed lights and enjoy the benefits of energy savings, improved lighting, and a modern look.
LED recessed lights are also easy to install and maintain. They come in various sizes and can be installed in both new and existing ceilings.
LED lights do not require a transformer
, making the installation process even simpler. Once installed, LED lights require very little maintenance compared to traditional bulbs. They do not have any filaments or other fragile components, making them more durable and long-lasting.
In conclusion, when it comes to choosing lighting for your kitchen ceiling, LED recessed lights are the perfect choice. With their efficiency, bright and versatile lighting, sleek design, and easy installation and maintenance, they are a practical and stylish addition to any kitchen design. Upgrade your kitchen with LED recessed lights and enjoy the benefits of energy savings, improved lighting, and a modern look.