Installing a new kitchen sink strainer basket assembly may seem like a daunting task, but with the right tools and knowledge, it can be a simple and rewarding DIY project. In this guide, we will walk you through the step-by-step process of installing a kitchen sink strainer basket assembly, so you can have a functional and leak-free sink in no time.How to Install a Kitchen Sink Strainer Basket Assembly


How to Install a Kitchen Sink Strainer Basket Assembly


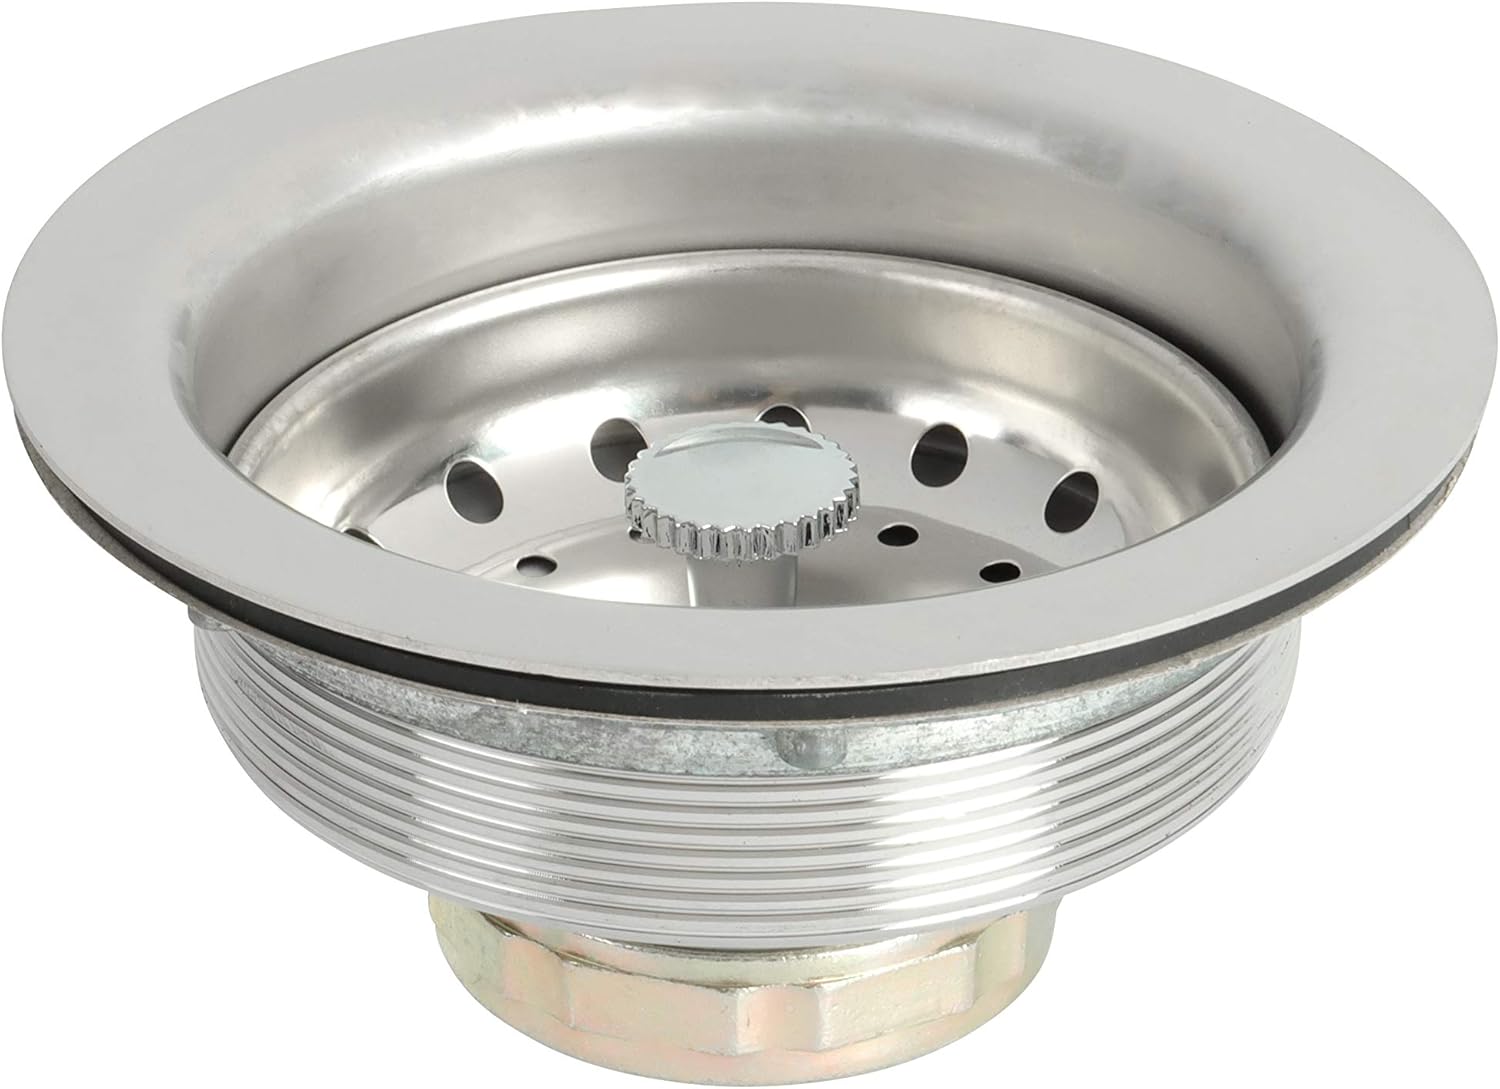
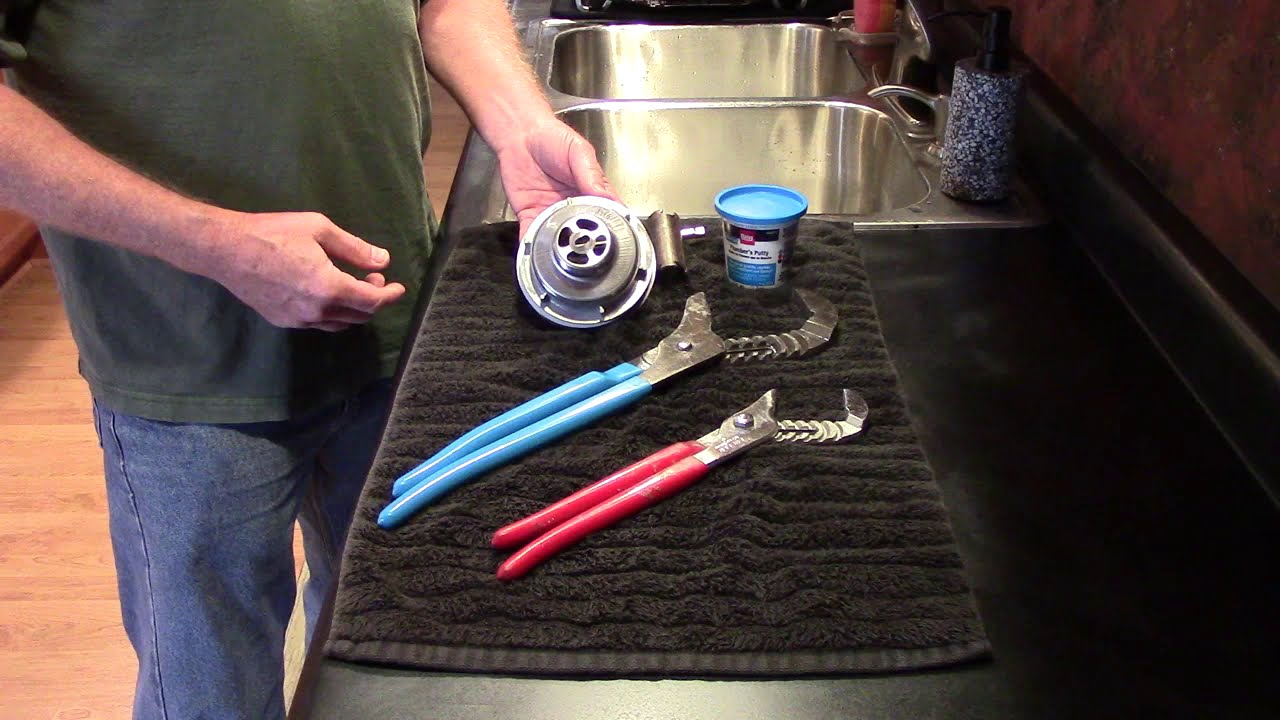
Before you begin, make sure you have all the necessary tools and materials. You will need a pair of pliers, a screwdriver, plumber's putty, and a new kitchen sink strainer basket assembly. It is also a good idea to have a bucket or towel handy to catch any excess water that may come out during the installation process.Installing a Kitchen Sink Strainer Basket Assembly

Installing a Kitchen Sink Strainer Basket Assembly

/how-to-install-a-sink-drain-2718789-hero-b5b99f72b5a24bb2ae8364e60539cece.jpg)
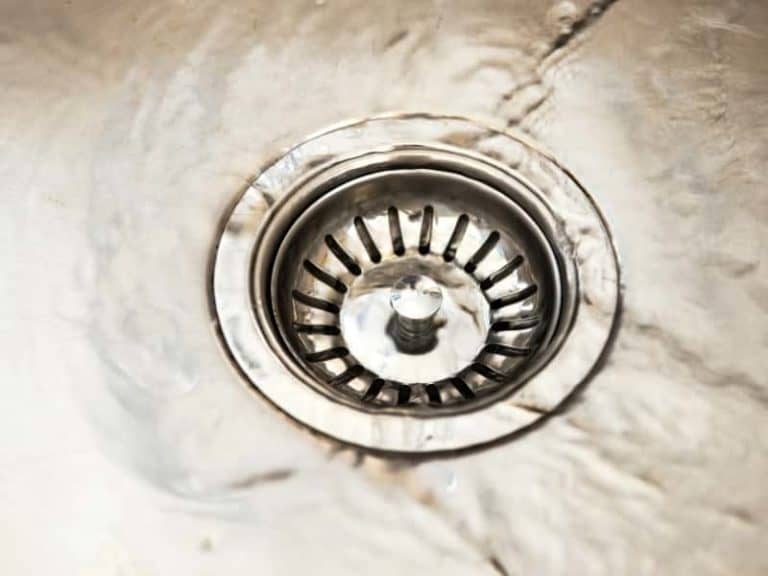
Step 1: Remove the old strainer basket assembly. Use your pliers to loosen and remove the locknut and basket assembly from the sink. You may need to use some force to break the seal between the sink and the old assembly. Step 2: Clean the sink area. Use a scrub brush and some mild cleaner to remove any old plumber's putty or debris from the sink area. Make sure the surface is clean and dry before proceeding. Step 3: Apply plumber's putty. Take a small amount of plumber's putty and roll it into a thin rope. Place the rope around the underside of the flange on the new strainer basket assembly. Step 4: Insert the strainer basket. Insert the strainer basket into the sink hole, making sure the putty creates a tight seal between the basket and the sink. Step 5: Secure the locknut. From underneath the sink, screw on the locknut and tighten it with your pliers. This will hold the strainer basket in place and create a watertight seal. Step 6: Clean up any excess putty. Use a damp cloth to wipe away any excess putty that may have oozed out from under the flange. Step 7: Connect the drain pipe. Once the strainer basket is securely in place, you can connect the drain pipe to the bottom of it. Use your screwdriver to tighten the connections and make sure they are leak-free. Step 8: Test for leaks. Turn on the water and let it run for a few minutes to make sure there are no leaks. If you notice any leaks, tighten the connections or add more putty as needed.Step-by-Step Guide for Installing a Kitchen Sink Strainer Basket Assembly


Step-by-Step Guide for Installing a Kitchen Sink Strainer Basket Assembly


Installing a kitchen sink strainer basket assembly is a relatively easy DIY project that can save you time and money. By following these simple steps, you can have a functional sink in no time without having to call a professional plumber.DIY: Installing a Kitchen Sink Strainer Basket Assembly


DIY: Installing a Kitchen Sink Strainer Basket Assembly


With the right tools and materials, installing a kitchen sink strainer basket assembly can be a quick and easy process. Just make sure to follow the steps carefully and take your time to ensure a proper installation.Easy Installation of a Kitchen Sink Strainer Basket Assembly

Easy Installation of a Kitchen Sink Strainer Basket Assembly
When installing a kitchen sink strainer basket assembly, there are a few tips and tricks that can make the process even smoother. For example, using a soft cloth to wipe away any excess putty can help prevent scratches on the sink surface. Additionally, it is important to make sure the locknut is tightened enough to create a watertight seal, but not too tight that it damages the sink or the assembly itself.Installing a Kitchen Sink Strainer Basket Assembly: Tips and Tricks

Installing a Kitchen Sink Strainer Basket Assembly: Tips and Tricks


Proper installation of a kitchen sink strainer basket assembly is crucial for the overall functionality and longevity of your sink. A poorly installed assembly can cause leaks and damage to your sink, leading to costly repairs in the future. By taking the time to properly install the strainer basket assembly, you can avoid these issues and ensure a leak-free sink for years to come.The Importance of Properly Installing a Kitchen Sink Strainer Basket Assembly


The Importance of Properly Installing a Kitchen Sink Strainer Basket Assembly

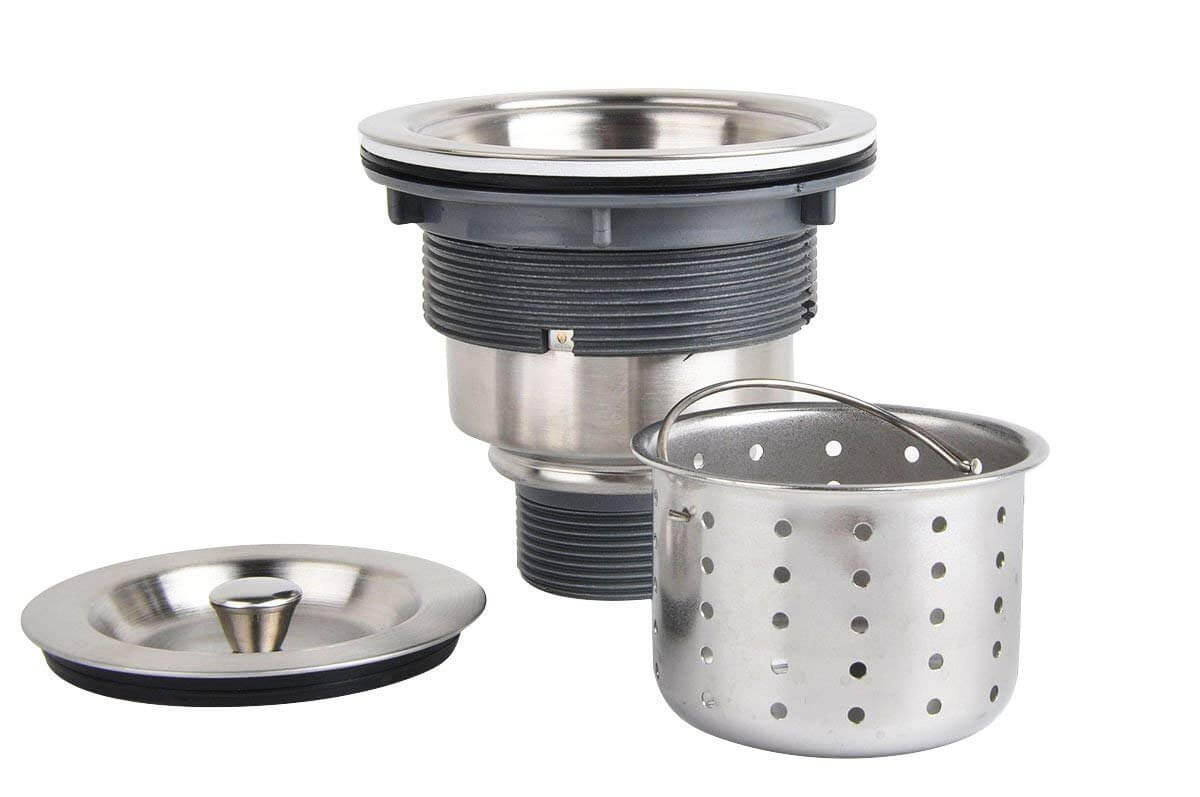
To recap, here are the tools and materials you will need for installing a kitchen sink strainer basket assembly:Tools and Materials Needed for Installing a Kitchen Sink Strainer Basket Assembly

Tools and Materials Needed for Installing a Kitchen Sink Strainer Basket Assembly


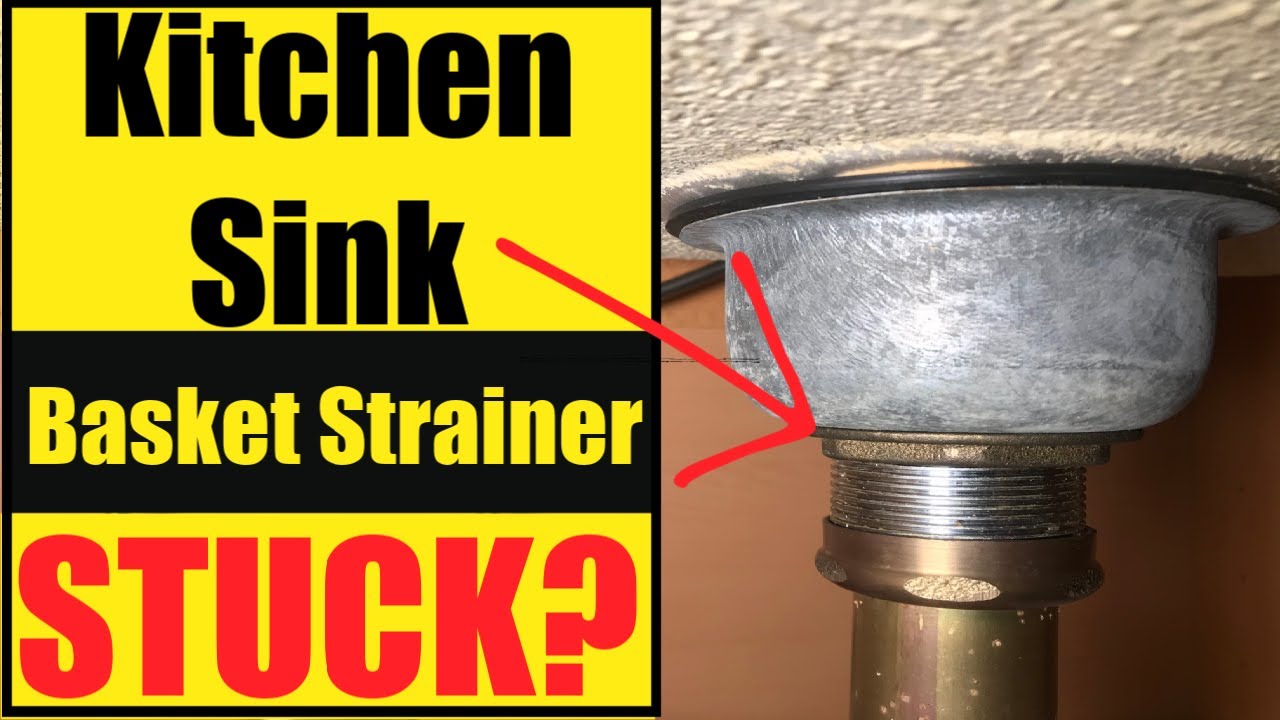
While installing a kitchen sink strainer basket assembly may seem like a simple task, there are some common mistakes that can occur. These include not using enough plumber's putty, over-tightening the locknut, and not properly aligning the strainer basket with the sink hole. By being aware of these mistakes, you can avoid them and ensure a successful installation.Common Mistakes to Avoid When Installing a Kitchen Sink Strainer Basket Assembly


Common Mistakes to Avoid When Installing a Kitchen Sink Strainer Basket Assembly


Hiring a professional plumber to install a kitchen sink strainer basket assembly can be costly, but it may be necessary if you do not feel comfortable or have the necessary tools and materials. However, with this step-by-step guide and some basic tools, you can easily tackle this project on your own. By choosing to DIY, you can save money and gain the satisfaction of completing a home improvement project yourself.Professional vs. DIY: Installing a Kitchen Sink Strainer Basket Assembly

Professional vs. DIY: Installing a Kitchen Sink Strainer Basket Assembly


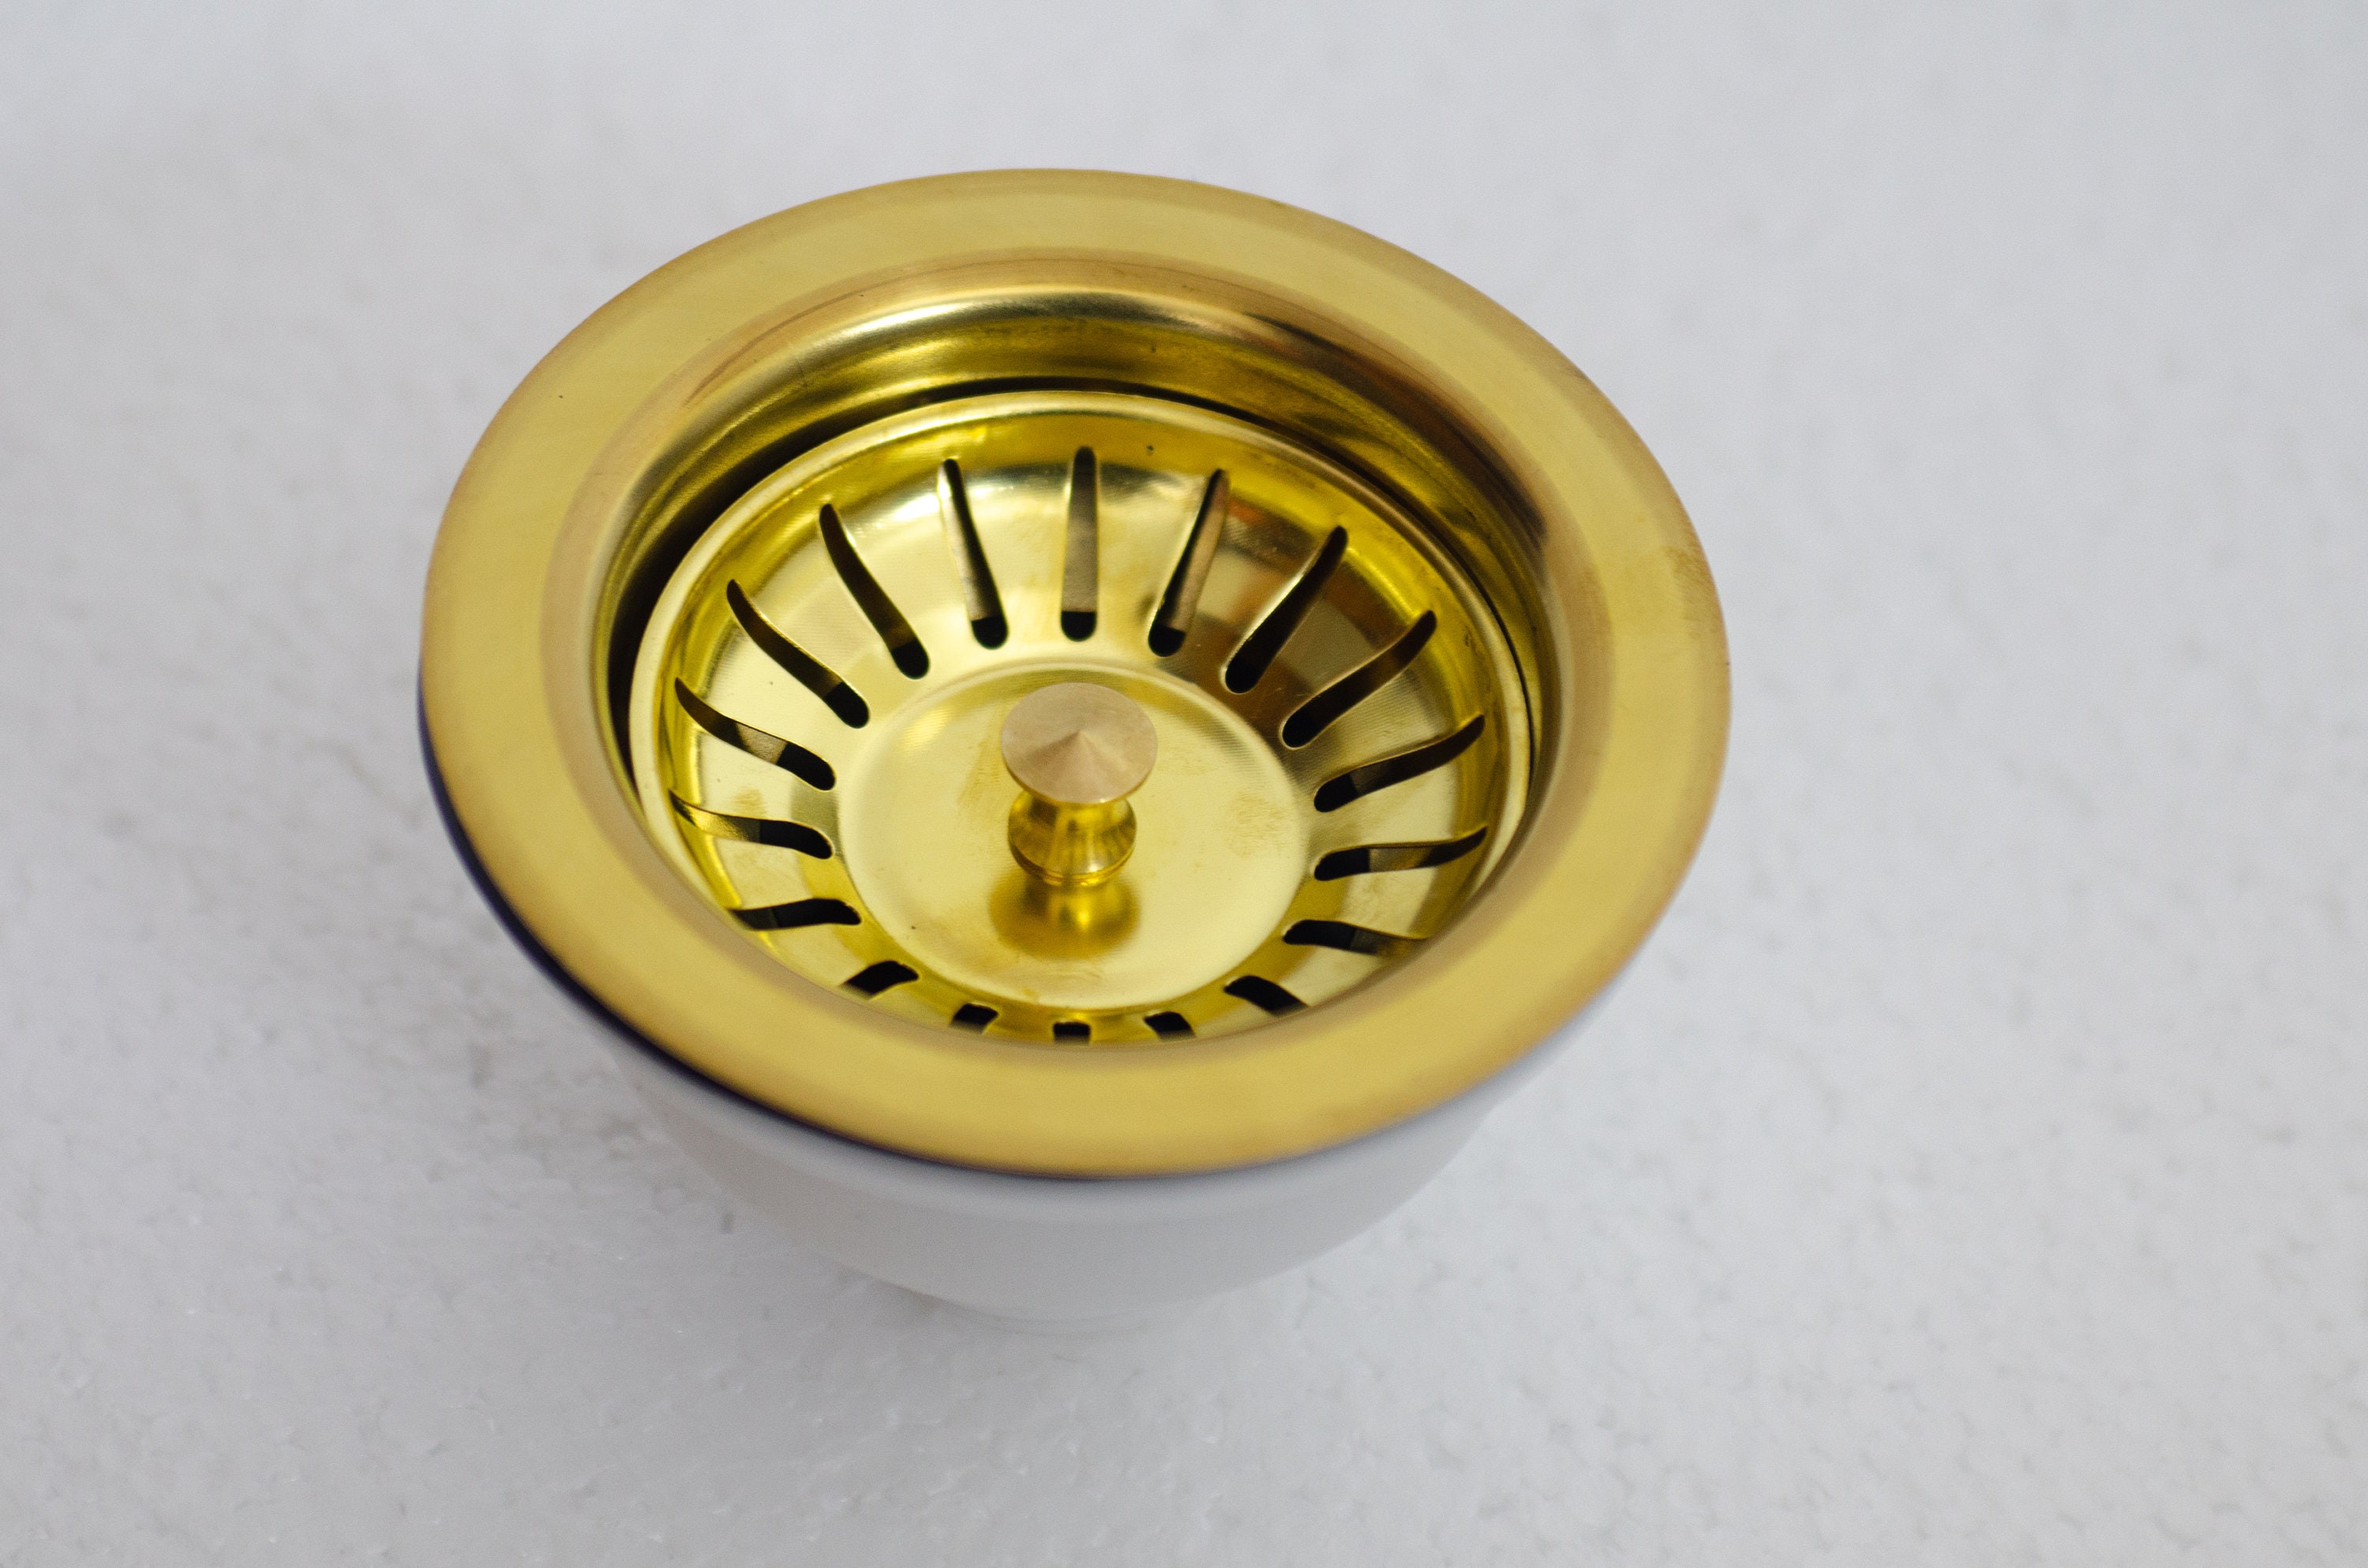
Properly Sealing the Sink Strainer Basket Assembly

Ensuring a Leak-Free Installation
 As you install your new kitchen sink strainer basket assembly, it is important to make sure it is properly sealed to prevent any leaks. This step is crucial, as any leaks can cause water damage and lead to costly repairs. Here are some tips on how to ensure a leak-free installation.
First,
clean the area
where the sink strainer basket assembly will be installed. Remove any old putty or debris from the sink and drain opening. Then, take your
sink strainer basket assembly
and apply a thin layer of plumber's putty around the underside of the flange. This will help create a watertight seal.
Next, carefully place the assembly into the drain opening, making sure it is centered and level.
Tighten the locknut
underneath the sink to secure the assembly in place.
To further ensure a leak-free installation, you can also use a
silicone caulk
around the edges of the flange. This will provide an extra layer of protection against any potential leaks.
Once the assembly is securely in place,
clean up any excess putty or caulk
that may have oozed out. This will not only make the installation look neater, but it will also prevent any debris from getting stuck in the putty or caulk and causing a potential leak.
Finally,
test the installation
by running water through the sink and checking for any leaks. If you notice any,
tighten the locknut
a little more or add more caulk to the edges to fix the issue.
By following these steps and ensuring a proper seal, you can have peace of mind knowing that your new kitchen sink strainer basket assembly is installed correctly and will not cause any leaks. Now, you can confidently move on to other home design projects without worrying about potential water damage.
As you install your new kitchen sink strainer basket assembly, it is important to make sure it is properly sealed to prevent any leaks. This step is crucial, as any leaks can cause water damage and lead to costly repairs. Here are some tips on how to ensure a leak-free installation.
First,
clean the area
where the sink strainer basket assembly will be installed. Remove any old putty or debris from the sink and drain opening. Then, take your
sink strainer basket assembly
and apply a thin layer of plumber's putty around the underside of the flange. This will help create a watertight seal.
Next, carefully place the assembly into the drain opening, making sure it is centered and level.
Tighten the locknut
underneath the sink to secure the assembly in place.
To further ensure a leak-free installation, you can also use a
silicone caulk
around the edges of the flange. This will provide an extra layer of protection against any potential leaks.
Once the assembly is securely in place,
clean up any excess putty or caulk
that may have oozed out. This will not only make the installation look neater, but it will also prevent any debris from getting stuck in the putty or caulk and causing a potential leak.
Finally,
test the installation
by running water through the sink and checking for any leaks. If you notice any,
tighten the locknut
a little more or add more caulk to the edges to fix the issue.
By following these steps and ensuring a proper seal, you can have peace of mind knowing that your new kitchen sink strainer basket assembly is installed correctly and will not cause any leaks. Now, you can confidently move on to other home design projects without worrying about potential water damage.