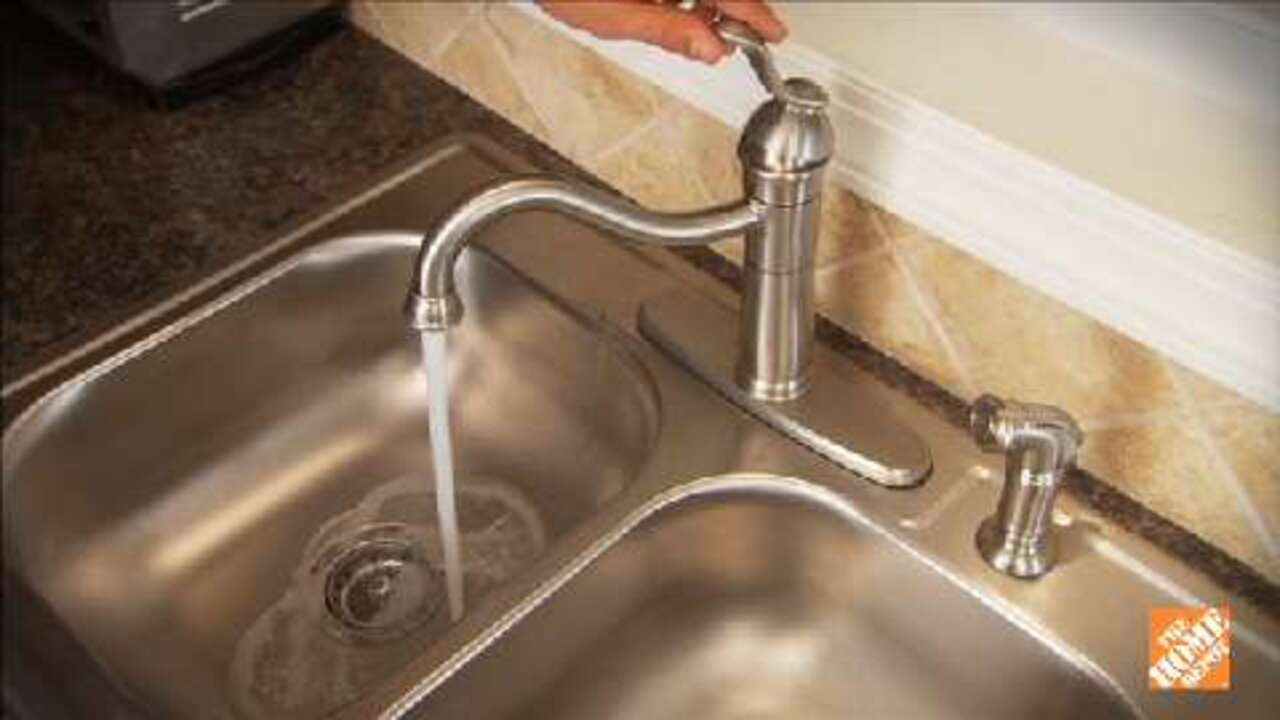
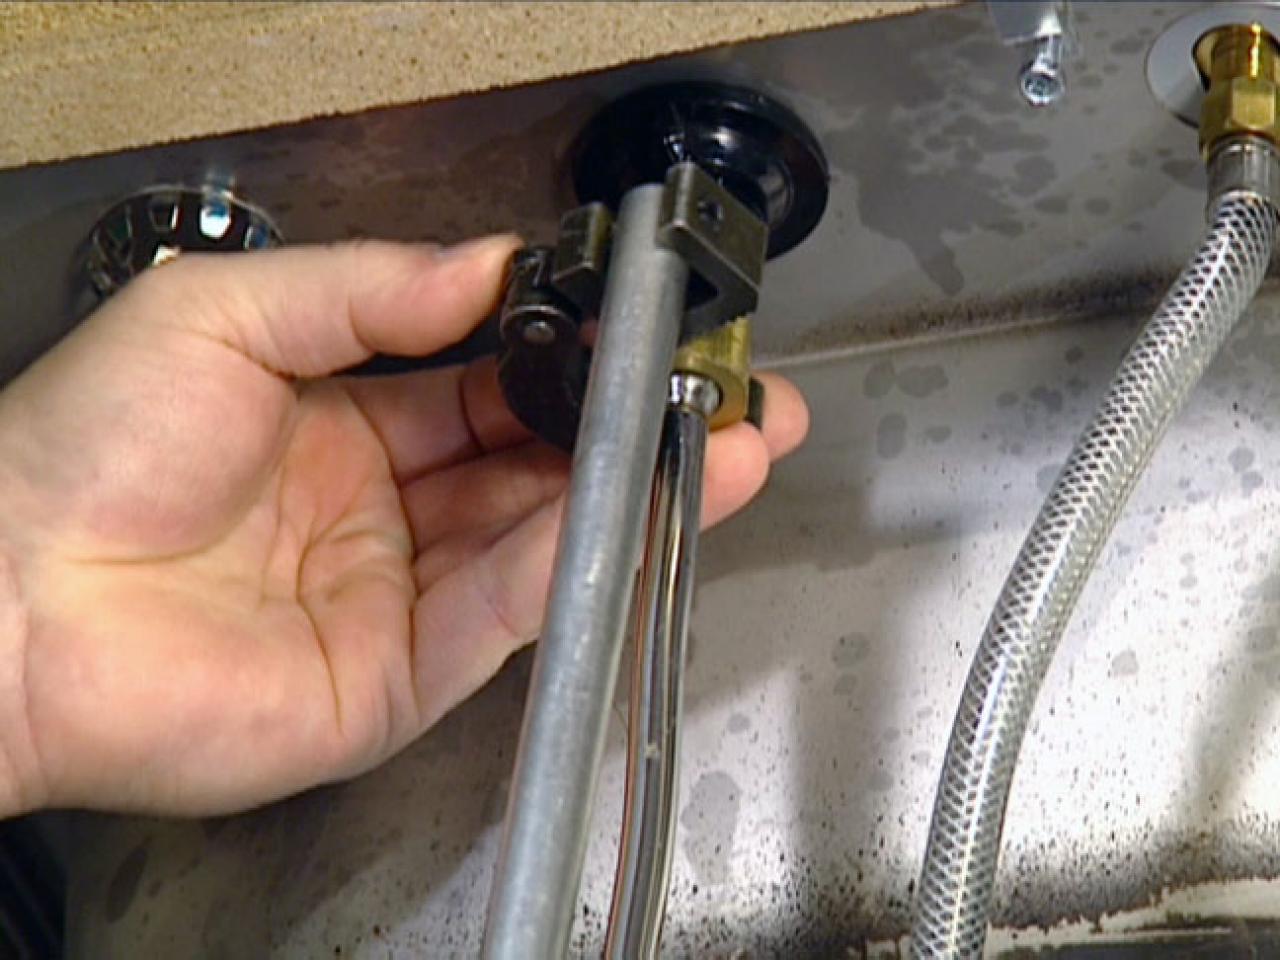
Installing a kitchen faucet may seem like a daunting task, but with the right tools and knowledge, it can be a simple and rewarding DIY project. By following these six easy steps, you can have a new faucet in your kitchen in no time. Step 1: Gather Your Tools and Materials Before you begin, make sure you have all the necessary tools and materials. This includes a basin wrench, adjustable wrench, plumber's tape, and the new faucet. It's also a good idea to have a bucket or towels on hand to catch any water that may spill during the installation process. Step 2: Shut off the Water Next, locate the shut-off valves under your sink and turn them off. This will prevent any water from flowing while you're installing the new faucet. Step 3: Remove the Old Faucet Using your basin wrench, loosen and remove the nuts and bolts that hold the old faucet in place. Once they're removed, you can gently pull the faucet out. It's important to be careful during this step to avoid damaging the pipes or any other components. Step 4: Prepare the Sink If your new faucet comes with a base plate, place it over the holes in the sink. Then, insert the new faucet through the holes and secure it in place using the provided mounting hardware. Make sure the faucet is level before tightening the nuts and bolts. Step 5: Connect the Water Supply Lines Using your adjustable wrench, connect the hot and cold water supply lines to the corresponding valves. Be sure to use plumber's tape on the threads to prevent any leaks. Step 6: Test the Faucet Once everything is securely in place, turn the water back on and test the faucet. Check for any leaks and make any necessary adjustments. If everything looks good, you're all set!1. How to Install a Kitchen Faucet in 6 Easy Steps


1. How to Install a Kitchen Faucet in 6 Easy Steps


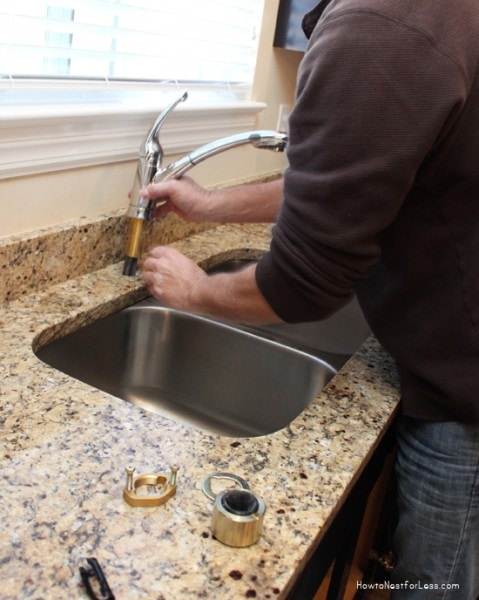
Replacing a kitchen faucet can be a DIY project that not only saves you money but also gives you a sense of accomplishment. Follow these simple steps to replace your old kitchen faucet with a new one. Step 1: Gather Your Tools and Materials Before you begin, make sure you have all the necessary tools and materials. This includes a basin wrench, adjustable wrench, and the new faucet. You may also need plumber's tape and silicone caulk to ensure a tight seal. Step 2: Shut off the Water Locate the shut-off valves under your sink and turn them off. This will prevent any water from flowing while you're installing the new faucet. Step 3: Remove the Old Faucet Using your basin wrench, loosen and remove the nuts and bolts that hold the old faucet in place. Once they're removed, you can gently pull the faucet out. If there is any caulk or silicone around the base, use a putty knife to carefully scrape it off. Step 4: Prepare the Sink If your new faucet comes with a base plate, place it over the holes in the sink. Then, insert the new faucet through the holes and secure it in place using the provided mounting hardware. Use plumber's tape on the threads to prevent any leaks. Step 5: Connect the Water Supply Lines Connect the hot and cold water supply lines to the corresponding valves using your adjustable wrench. Be sure to use plumber's tape on the threads to prevent any leaks. Step 6: Test the Faucet Once everything is securely in place, turn the water back on and test the faucet. Check for any leaks and make any necessary adjustments. If everything looks good, you're all set!2. DIY: How to Replace a Kitchen Faucet


2. DIY: How to Replace a Kitchen Faucet


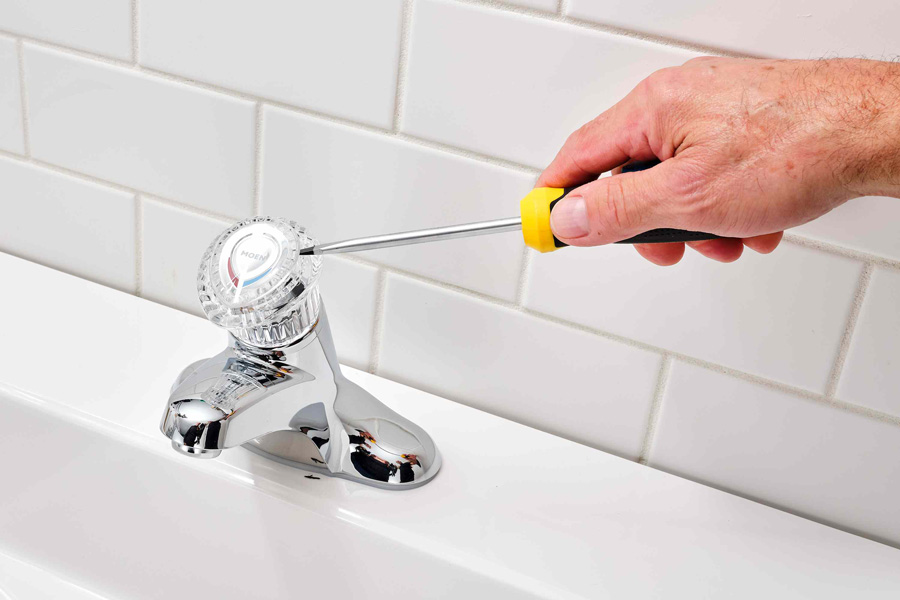
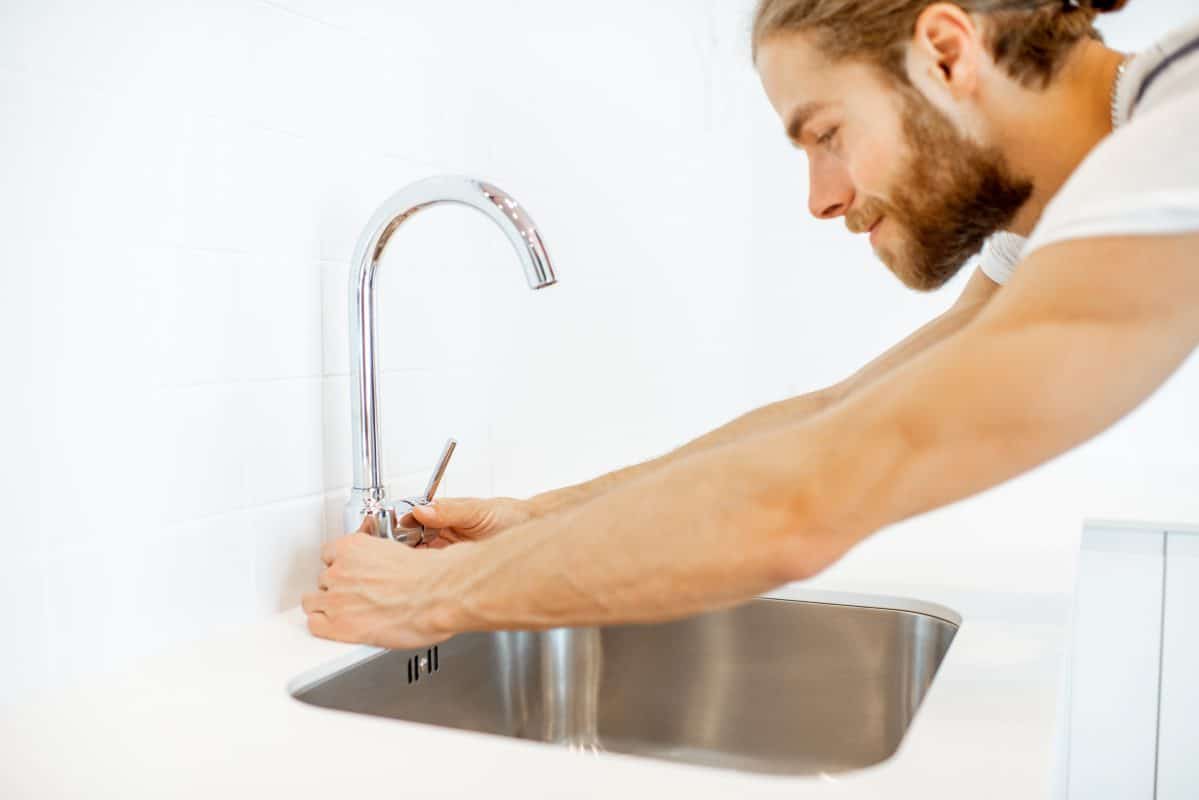
Installing a kitchen faucet may seem intimidating, but by following these step-by-step instructions, you can easily replace your old faucet with a new one. Step 1: Gather Your Tools and Materials Before you begin, make sure you have all the necessary tools and materials. This includes a basin wrench, adjustable wrench, and the new faucet. You may also need plumber's tape and silicone caulk to ensure a tight seal. Step 2: Shut off the Water Locate the shut-off valves under your sink and turn them off. This will prevent any water from flowing while you're installing the new faucet. Step 3: Remove the Old Faucet Using your basin wrench, loosen and remove the nuts and bolts that hold the old faucet in place. Once they're removed, you can gently pull the faucet out. If there is any caulk or silicone around the base, use a putty knife to carefully scrape it off. Step 4: Prepare the Sink If your new faucet comes with a base plate, place it over the holes in the sink. Then, insert the new faucet through the holes and secure it in place using the provided mounting hardware. Use plumber's tape on the threads to prevent any leaks. Step 5: Connect the Water Supply Lines Connect the hot and cold water supply lines to the corresponding valves using your adjustable wrench. Be sure to use plumber's tape on the threads to prevent any leaks. Step 6: Secure the Faucet Once everything is connected and tightened, use silicone caulk to seal the base of the faucet to the sink. This will prevent any water from seeping under the faucet and causing damage. Step 7: Test the Faucet Turn the water back on and test the faucet to make sure it's working properly. Check for any leaks and make any necessary adjustments.3. Step-by-Step Guide to Installing a Kitchen Faucet


3. Step-by-Step Guide to Installing a Kitchen Faucet

:max_bytes(150000):strip_icc()/installing-a-moen-kitchen-faucet-2718847-07-1f27cf0de8b541f285e702fa58592819.jpg)
/installing-a-moen-kitchen-faucet-2718847-05-18a8625ea2ea4e04a984f3df633399cc.jpg)


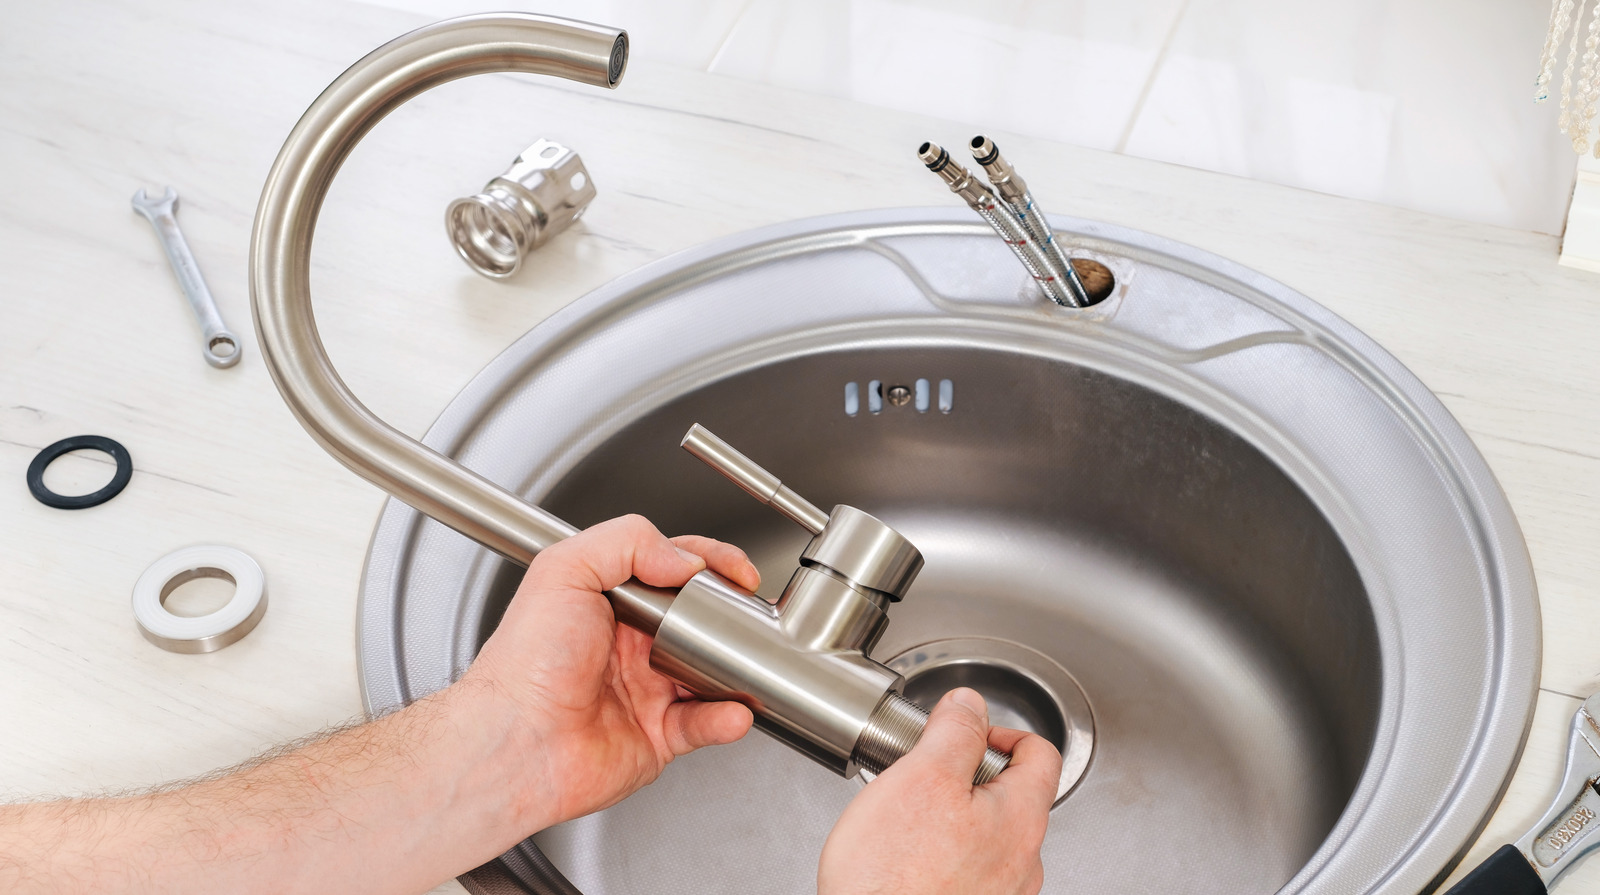
Installing a new kitchen faucet can seem like a daunting task, but with the right tools and knowledge, it can be a simple and satisfying DIY project. This ultimate guide will walk you through the process step-by-step. Step 1: Gather Your Tools and Materials Before you begin, make sure you have all the necessary tools and materials. This includes a basin wrench, adjustable wrench, plumber's tape, and the new faucet. You may also need silicone caulk to ensure a tight seal. Step 2: Shut off the Water Locate the shut-off valves under your sink and turn them off. This will prevent any water from flowing while you're installing the new faucet. Step 3: Remove the Old Faucet Using your basin wrench, loosen and remove the nuts and bolts that hold the old faucet in place. Once they're removed, you can gently pull the faucet out. If there is any caulk or silicone around the base, use a putty knife to carefully scrape it off. Step 4: Prepare the Sink If your new faucet comes with a base plate, place it over the holes in the sink. Then, insert the new faucet through the holes and secure it in place using the provided mounting hardware. Use plumber's tape on the threads to prevent any leaks. Step 5: Connect the Water Supply Lines Connect the hot and cold water supply lines to the corresponding valves using your adjustable wrench. Be sure to use plumber's tape on the threads to prevent any leaks. Step 6: Secure the Faucet Once everything is connected and tightened, use silicone caulk to seal the base of the faucet to the sink. This will prevent any water from seeping under the faucet and causing damage. Step 7: Test the Faucet Turn the water back on and test the faucet to make sure it's working properly. Check for any leaks and make any necessary adjustments.4. The Ultimate Guide to Installing a Kitchen Faucet


4. The Ultimate Guide to Installing a Kitchen Faucet


Installing a kitchen faucet may seem like a daunting task, but with these tips, you can tackle the project like a pro. Tip 1: Choose the Right Faucet Before you start, make sure you have the right faucet for your sink. Measure the number of holes in your sink and choose a faucet that matches. You'll also want to consider the style and finish of the faucet to ensure it complements your kitchen design. Tip 2: Use the Right Tools Having the right tools can make all the difference when installing a faucet. Make sure you have a basin wrench and adjustable wrench to make the job easier. It's also helpful to have a bucket or towels on hand to catch any water that may spill during the installation process. Tip 3: Follow the Instructions Most faucets come with installation instructions, so be sure to read them carefully and follow the steps provided. This will ensure that the faucet is installed correctly and functions properly. Tip 4: Don't Overtighten the Connections When connecting the water supply lines and mounting hardware, be careful not to overtighten them. This can cause damage to the faucet or pipes and may lead to leaks. Tip 5: Use Plumber's Tape Plumber's tape, also known as Teflon tape, is an essential tool for preventing leaks. Be sure to use it on all threaded connections to create a tight seal and prevent water from seeping out.5. Tips for Installing a Kitchen Faucet Like a Pro

5. Tips for Installing a Kitchen Faucet Like a Pro


Installing a kitchen faucet may seem like a simple task, but there are some common mistakes that can lead to problems down the road. Avoid these mistakes to ensure a successful installation. Mistake 1: Not Turning off the Water Before you start, make sure you turn off the water supply to your sink. Failure to do so can result in a big mess and potential water damage. Mistake 2: Improperly Measuring or Choosing the Wrong Faucet Make sure you measure the number of holes in your sink and choose a faucet that matches. Choosing the wrong faucet can lead to a faulty installation and potential leaks. Mistake 3: Overtightening Connections While it's important to tighten connections, be careful not to overtighten them. This can cause damage to the faucet or pipes and may lead to leaks. Mistake 4: Not Using Plumber's Tape Plumber's tape is an essential tool for preventing leaks. Be sure to use it on all threaded connections to create a tight seal and prevent water from seeping out. Mistake 5: Rushing the Installation Process Installing a kitchen faucet takes time and patience. Rushing through the process can result in mistakes and potential problems down the road. Take your time and follow the instructions carefully.6. Common Mistakes to Avoid When Installing a Kitchen Faucet


6. Common Mistakes to Avoid When Installing a Kitchen Faucet


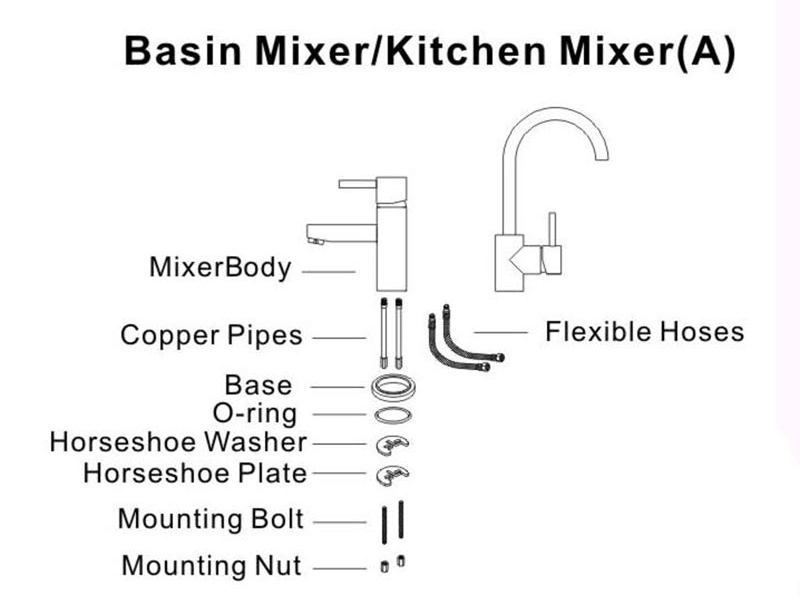
Having the right tools can make all the difference when installing a kitchen faucet. Here are the essential tools you'll need for a successful installation. Basin Wrench This specialized wrench is designed to reach into tight spaces and remove or tighten nuts and bolts. It's essential for installing a kitchen faucet. Adjustable Wrench An adjustable wrench is a versatile tool that can be used to tighten or loosen a variety of nuts and bolts. It's especially useful for connecting the water supply lines to the faucet. Bucket or Towels Having a bucket or towels on hand can help catch any water that may spill during the installation process. This will help prevent a big mess and potential water damage. Plumber's Tape Also known as Teflon tape, plumber's tape is an essential tool for preventing leaks. Be sure to use it on all threaded connections to create a tight seal.7. Tools You'll Need for Installing a Kitchen Faucet


7. Tools You'll Need for Installing a Kitchen Faucet

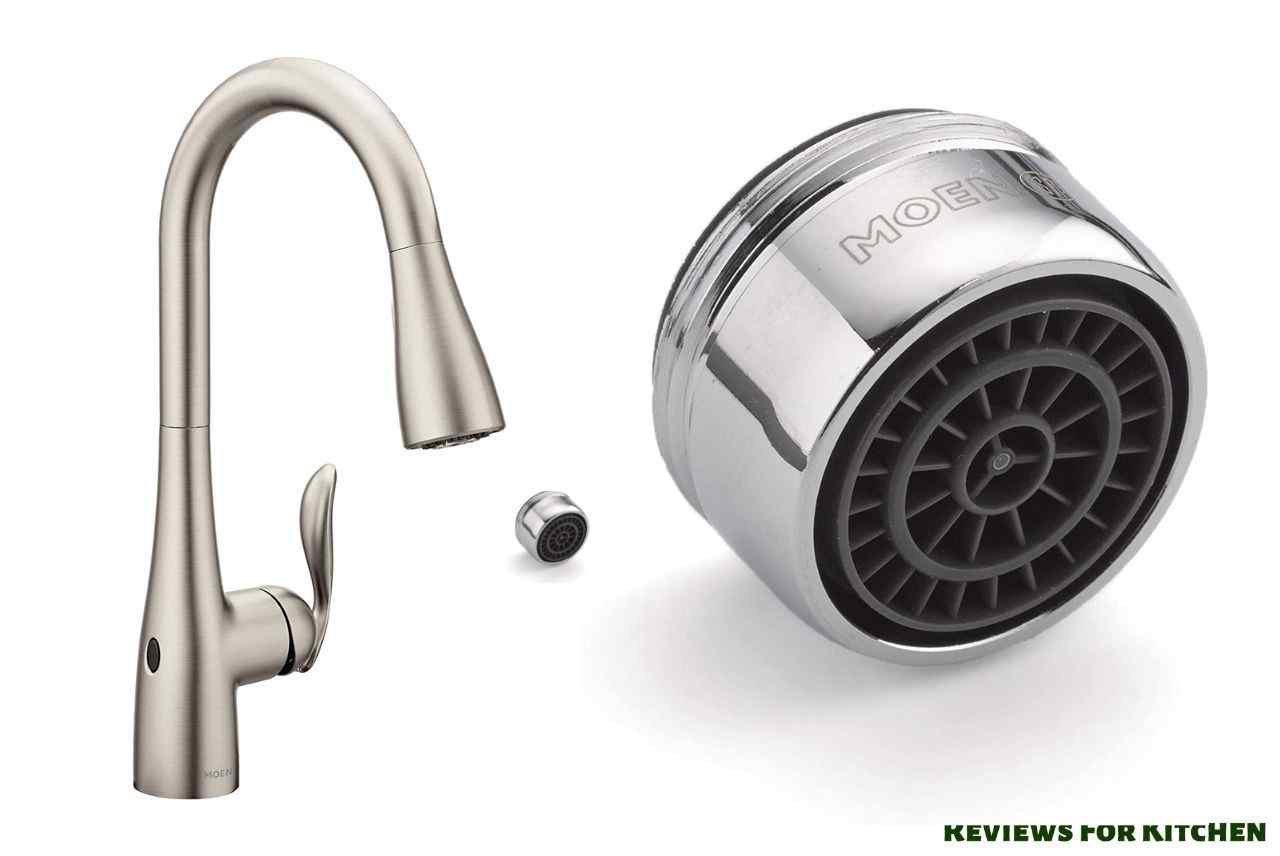
Choosing the right kitchen faucet is an important step in the installation process. Here are some factors to consider when selecting a faucet for your sink. Number of Holes The number of holes in your sink will determine the type of faucet you can install. Make sure you measure the holes and choose a faucet that matches. Style and Finish The style and finish of the faucet should complement your kitchen design. Consider the overall look and feel of your kitchen when choosing a faucet. Functionality8. How to Choose the Right Kitchen Faucet for Your Sink
/header-16x19-image-640w-853h.jpg)


8. How to Choose the Right Kitchen Faucet for Your Sink


Why You Should Consider Installing a Faucet in Your Kitchen Sink

Upgrade Your Kitchen Design with a New Faucet
 When it comes to designing your kitchen, every detail matters. From the color of the cabinets to the type of flooring, each element plays a role in creating the overall aesthetic of your space. One often overlooked aspect of kitchen design is the faucet in your sink. While it may seem like a small detail, choosing the right faucet can make a big impact on the overall look and functionality of your kitchen. That's why it's important to consider installing a new faucet in your kitchen sink.
Enhance the Functionality of Your Sink
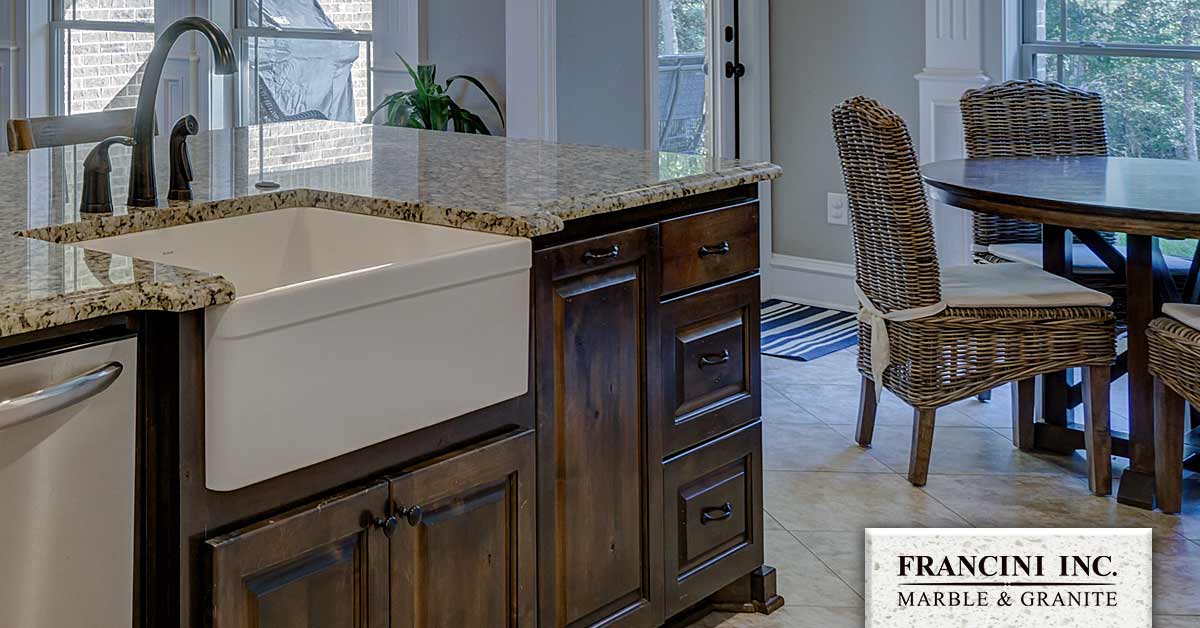
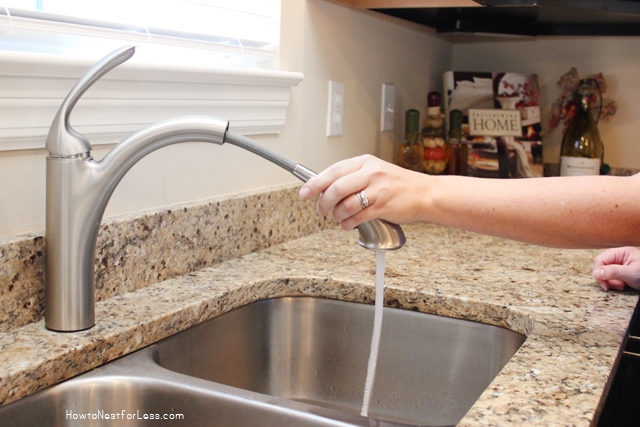
 Your kitchen sink is one of the most used areas in your home. From washing dishes to filling up pots with water, it's important to have a faucet that can keep up with your daily needs. By installing a new faucet, you can choose one that fits your specific needs and preferences. For example, if you frequently wash large pots and pans, a high-arc faucet with a pull-down sprayer would make your tasks much easier. Or if you have a small sink, a compact and streamlined faucet would save you valuable counter space.
Upgrading your faucet can make your daily kitchen tasks more efficient and enjoyable.
Your kitchen sink is one of the most used areas in your home. From washing dishes to filling up pots with water, it's important to have a faucet that can keep up with your daily needs. By installing a new faucet, you can choose one that fits your specific needs and preferences. For example, if you frequently wash large pots and pans, a high-arc faucet with a pull-down sprayer would make your tasks much easier. Or if you have a small sink, a compact and streamlined faucet would save you valuable counter space.
Upgrading your faucet can make your daily kitchen tasks more efficient and enjoyable.
Customize Your Kitchen Design
 Your kitchen is a reflection of your personal style. Therefore, it's important to choose elements that not only function well but also complement your design aesthetic. A new faucet can add a touch of elegance or modernity to your kitchen, depending on the style you choose.
You can choose from a variety of finishes, such as chrome, bronze, or matte black, to match your kitchen's color scheme.
Additionally, you can choose from different faucet designs, such as single-handle, two-handle, or touchless, to fit your personal preferences and needs.
Your kitchen is a reflection of your personal style. Therefore, it's important to choose elements that not only function well but also complement your design aesthetic. A new faucet can add a touch of elegance or modernity to your kitchen, depending on the style you choose.
You can choose from a variety of finishes, such as chrome, bronze, or matte black, to match your kitchen's color scheme.
Additionally, you can choose from different faucet designs, such as single-handle, two-handle, or touchless, to fit your personal preferences and needs.
Save Money and Conserve Water
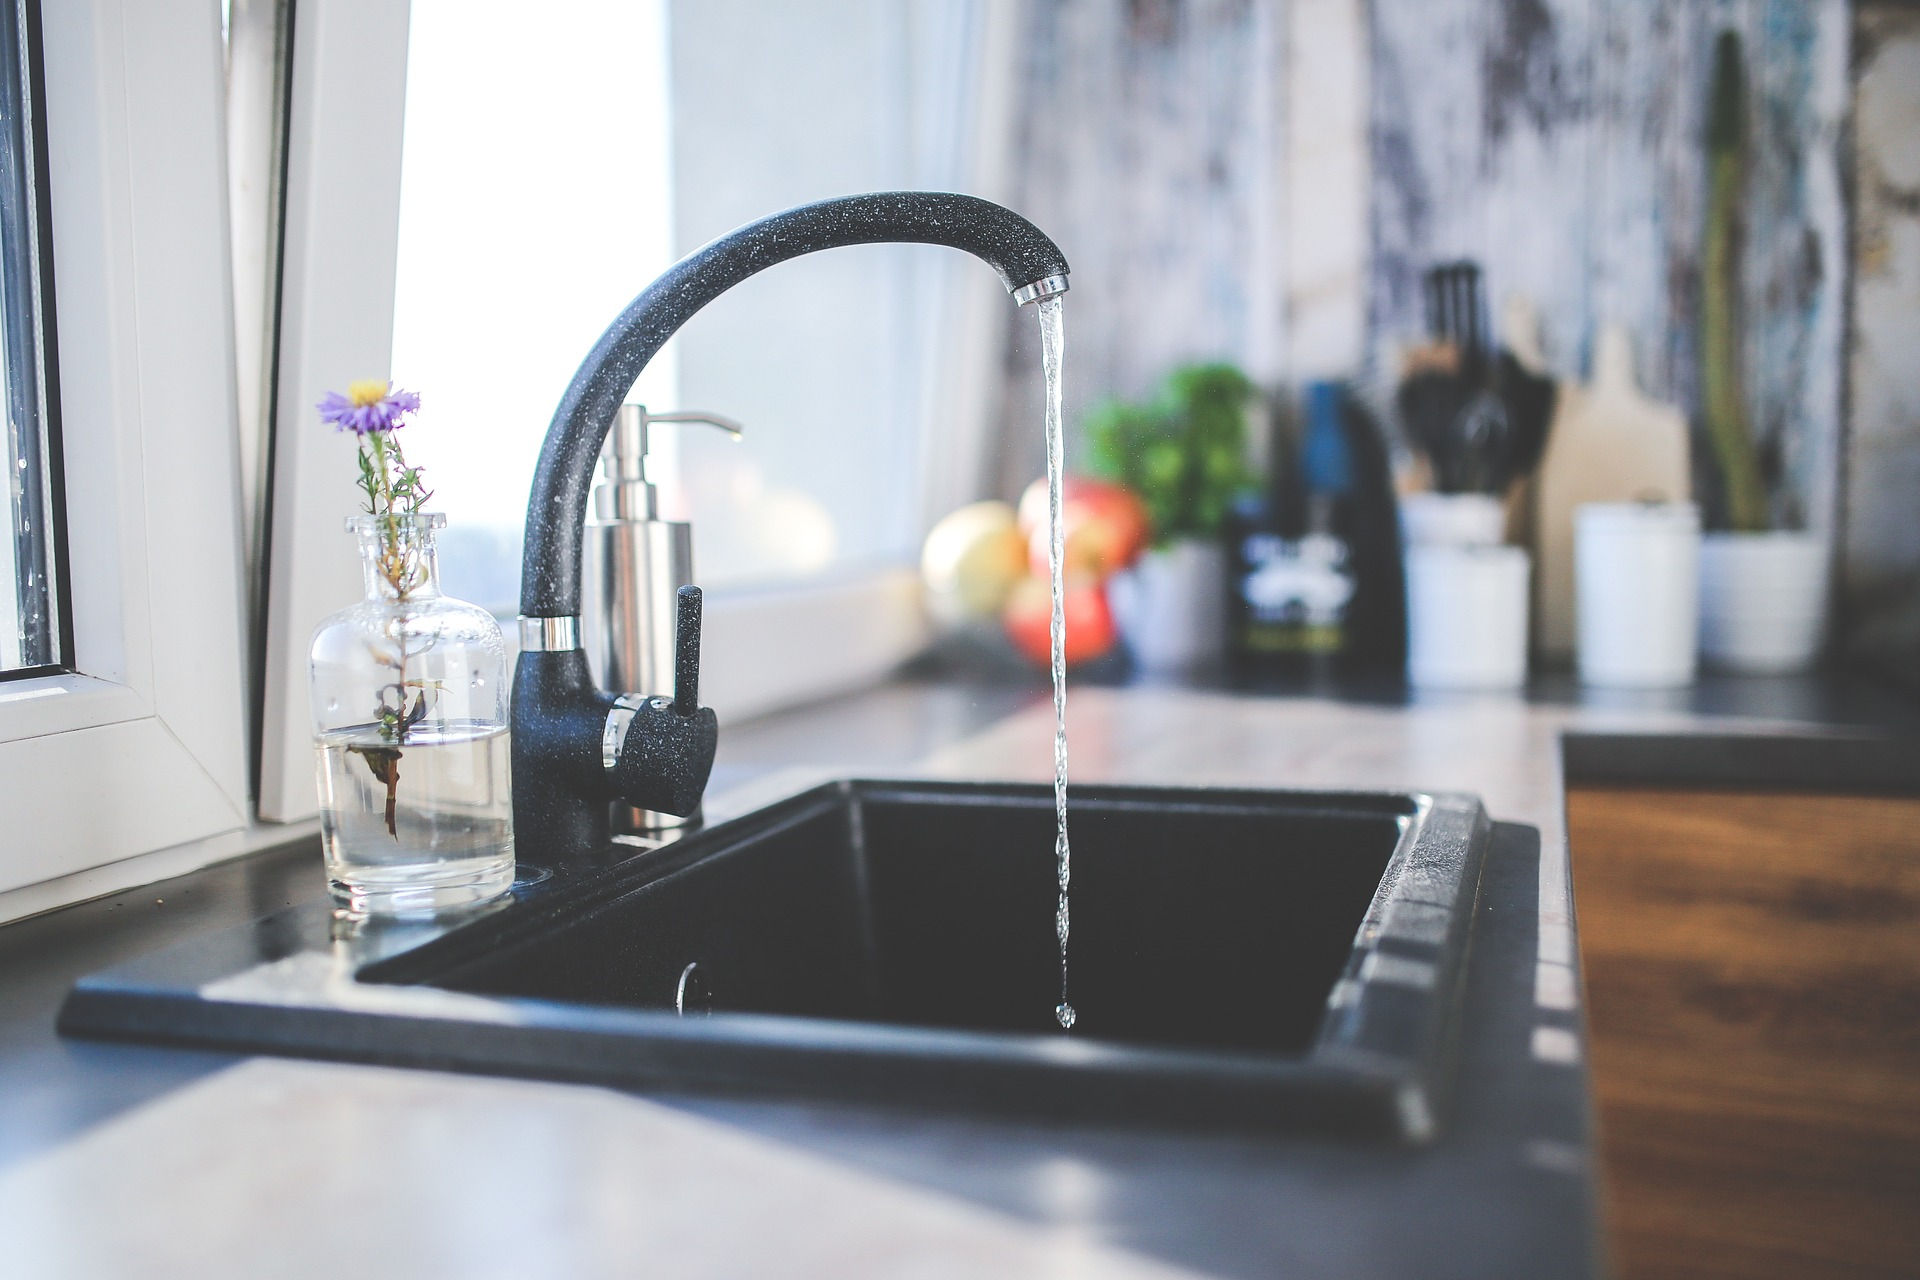
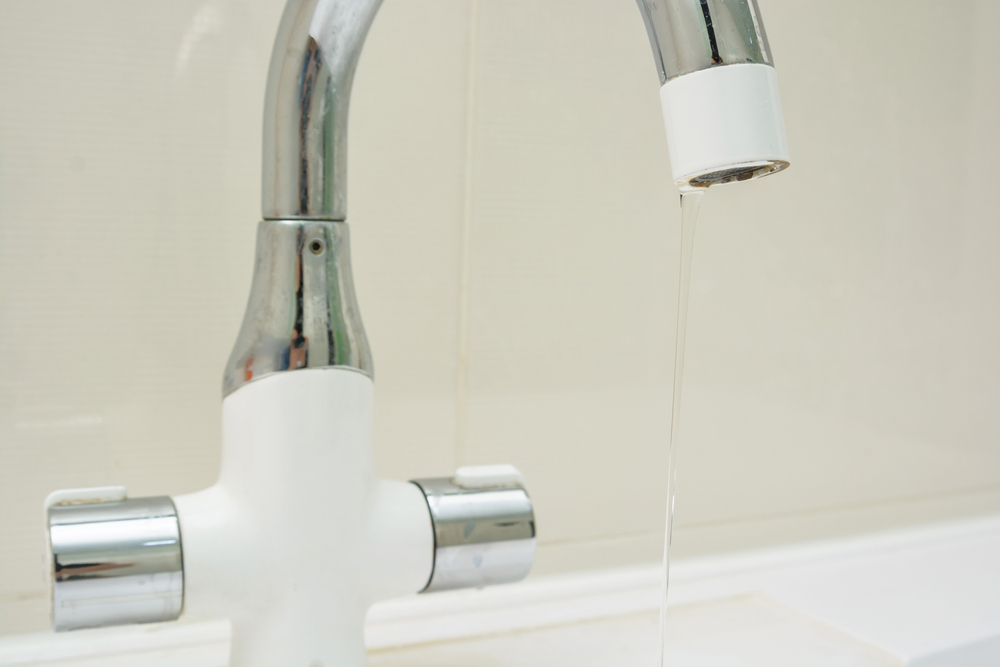
 Installing a new faucet can also save you money in the long run. Old and leaky faucets can waste a significant amount of water, which can add up on your monthly water bill. By upgrading to a new faucet, you can ensure that your water usage is more efficient and reduce your water bill. Additionally, many modern faucets come with water-saving features, such as low-flow aerators, that help conserve water without sacrificing performance.
Not only will you save money, but you'll also be contributing to a more sustainable environment.
Installing a new faucet can also save you money in the long run. Old and leaky faucets can waste a significant amount of water, which can add up on your monthly water bill. By upgrading to a new faucet, you can ensure that your water usage is more efficient and reduce your water bill. Additionally, many modern faucets come with water-saving features, such as low-flow aerators, that help conserve water without sacrificing performance.
Not only will you save money, but you'll also be contributing to a more sustainable environment.
Conclusion
 When designing your kitchen, don't overlook the importance of a new faucet in your sink. Not only will it enhance the functionality and aesthetics of your space, but it can also save you money and help conserve water. With a wide range of designs and features to choose from, there's a faucet that can fit your specific needs and complement your personal style. So why not consider installing a new faucet in your kitchen sink today?