Installing a new kitchen sink can be a daunting task, but with the right tools and knowledge, it is a DIY project that anyone can tackle. One of the most popular options for kitchen sinks is stainless steel. Not only does it look sleek and modern, but it is also durable and easy to clean. However, many stainless steel sinks come with clips for installation, which can be a hassle and may not fit properly in certain sink cutouts. In this article, we will guide you on how to install a stainless steel kitchen sink without clips, making the process easier and more efficient. Installation of a Stainless Steel Kitchen Sink Without Clips


Installation of a Stainless Steel Kitchen Sink Without Clips
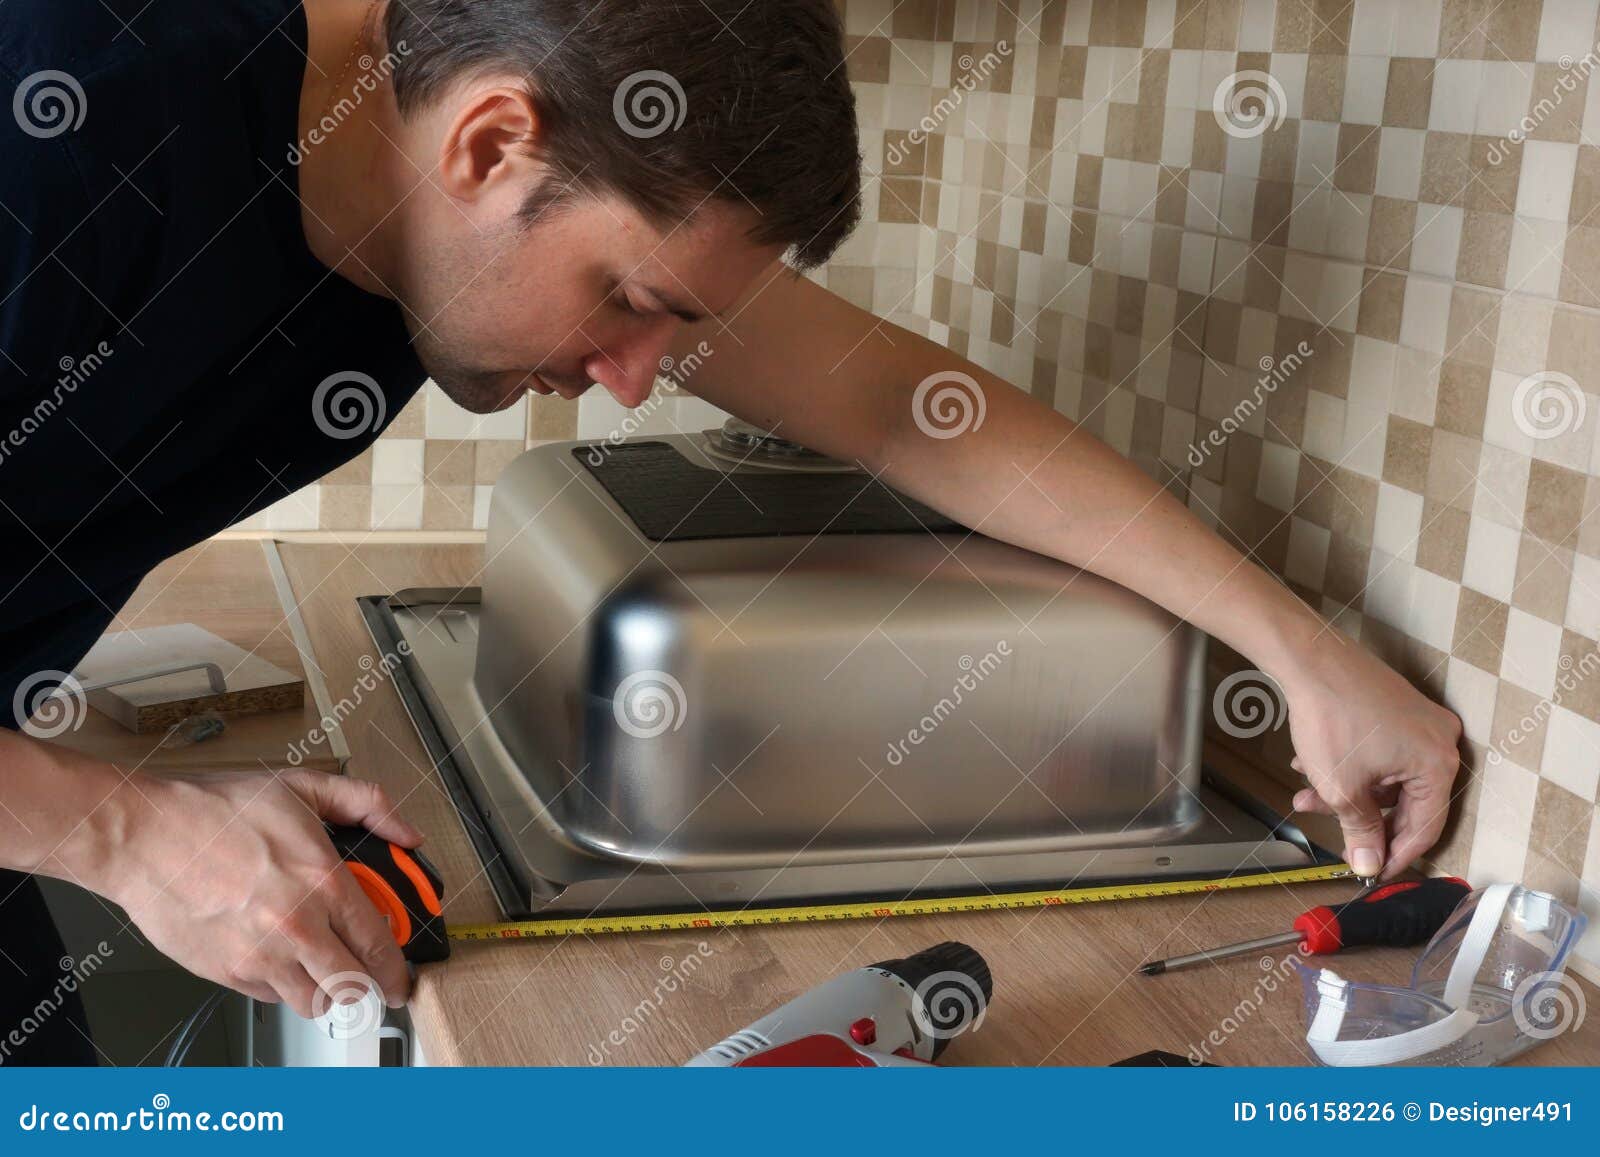


Before we dive into the steps, it is important to have all the necessary tools and materials ready. These include a drill, silicone adhesive, plumber's putty, a screwdriver, and a measuring tape. Once you have everything you need, follow these simple steps for a successful installation.How to Install a Stainless Steel Kitchen Sink Without Clips


How to Install a Stainless Steel Kitchen Sink Without Clips
:max_bytes(150000):strip_icc()/replacing-existing-surface-mounted-sink-1824896-06-d8eb6b67fe4f451b90c415551f75ad0f.jpg)


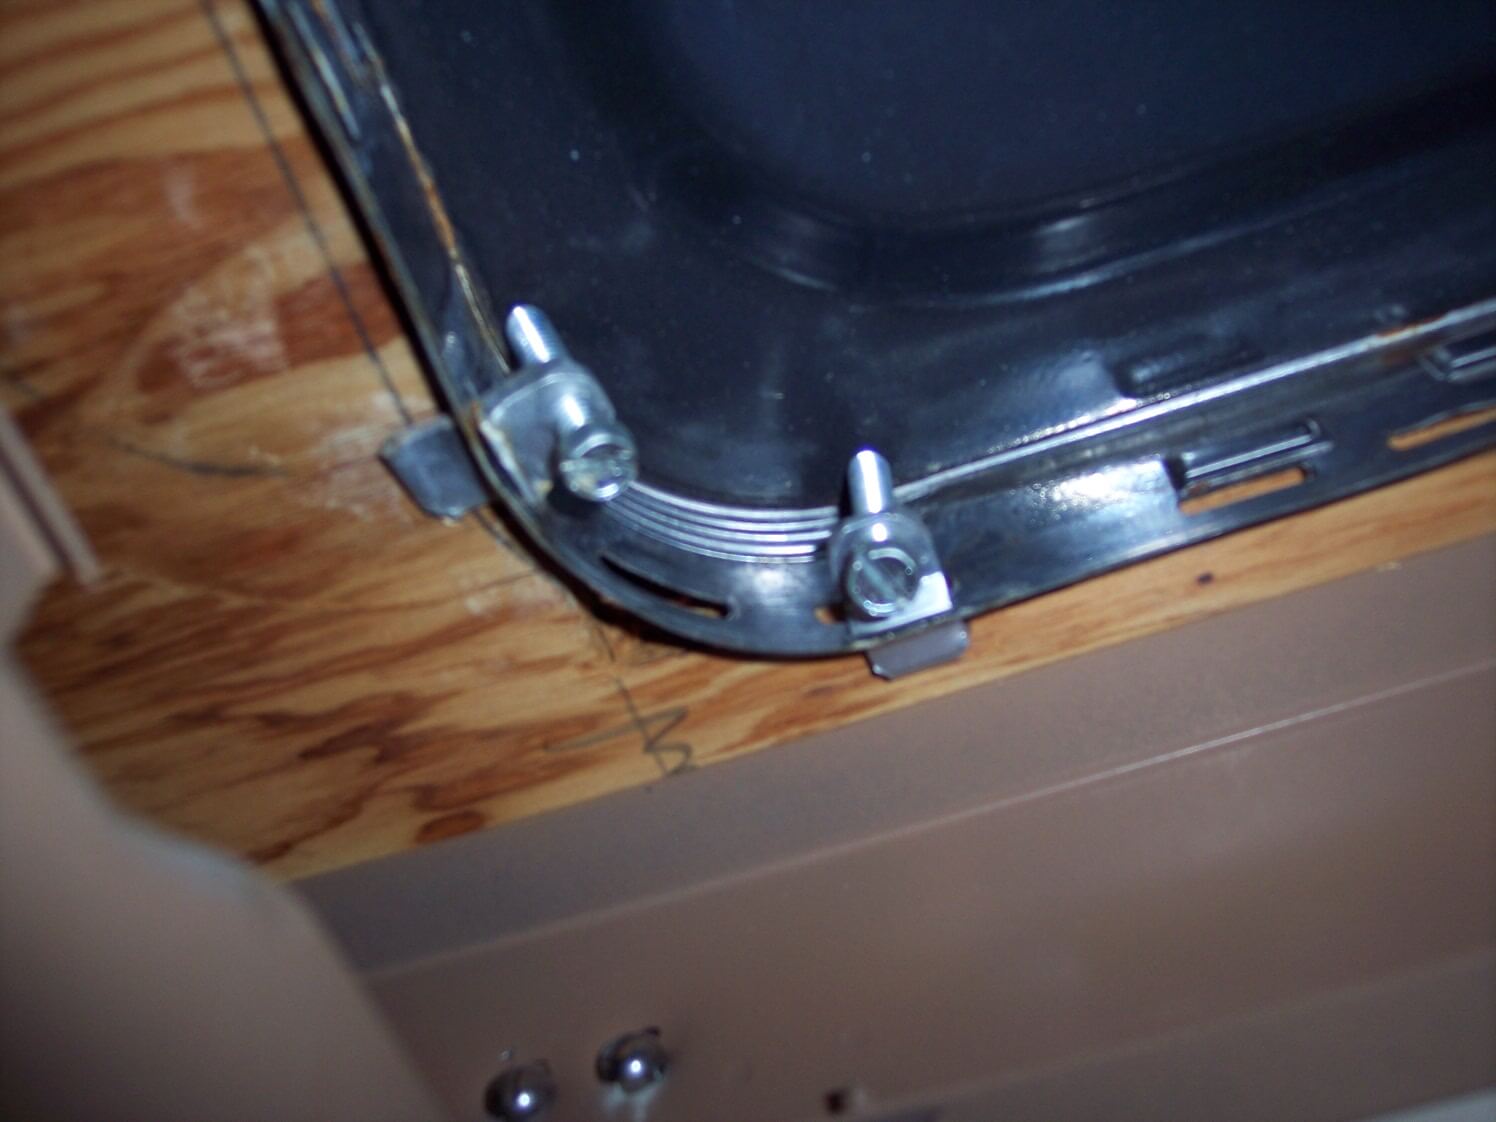
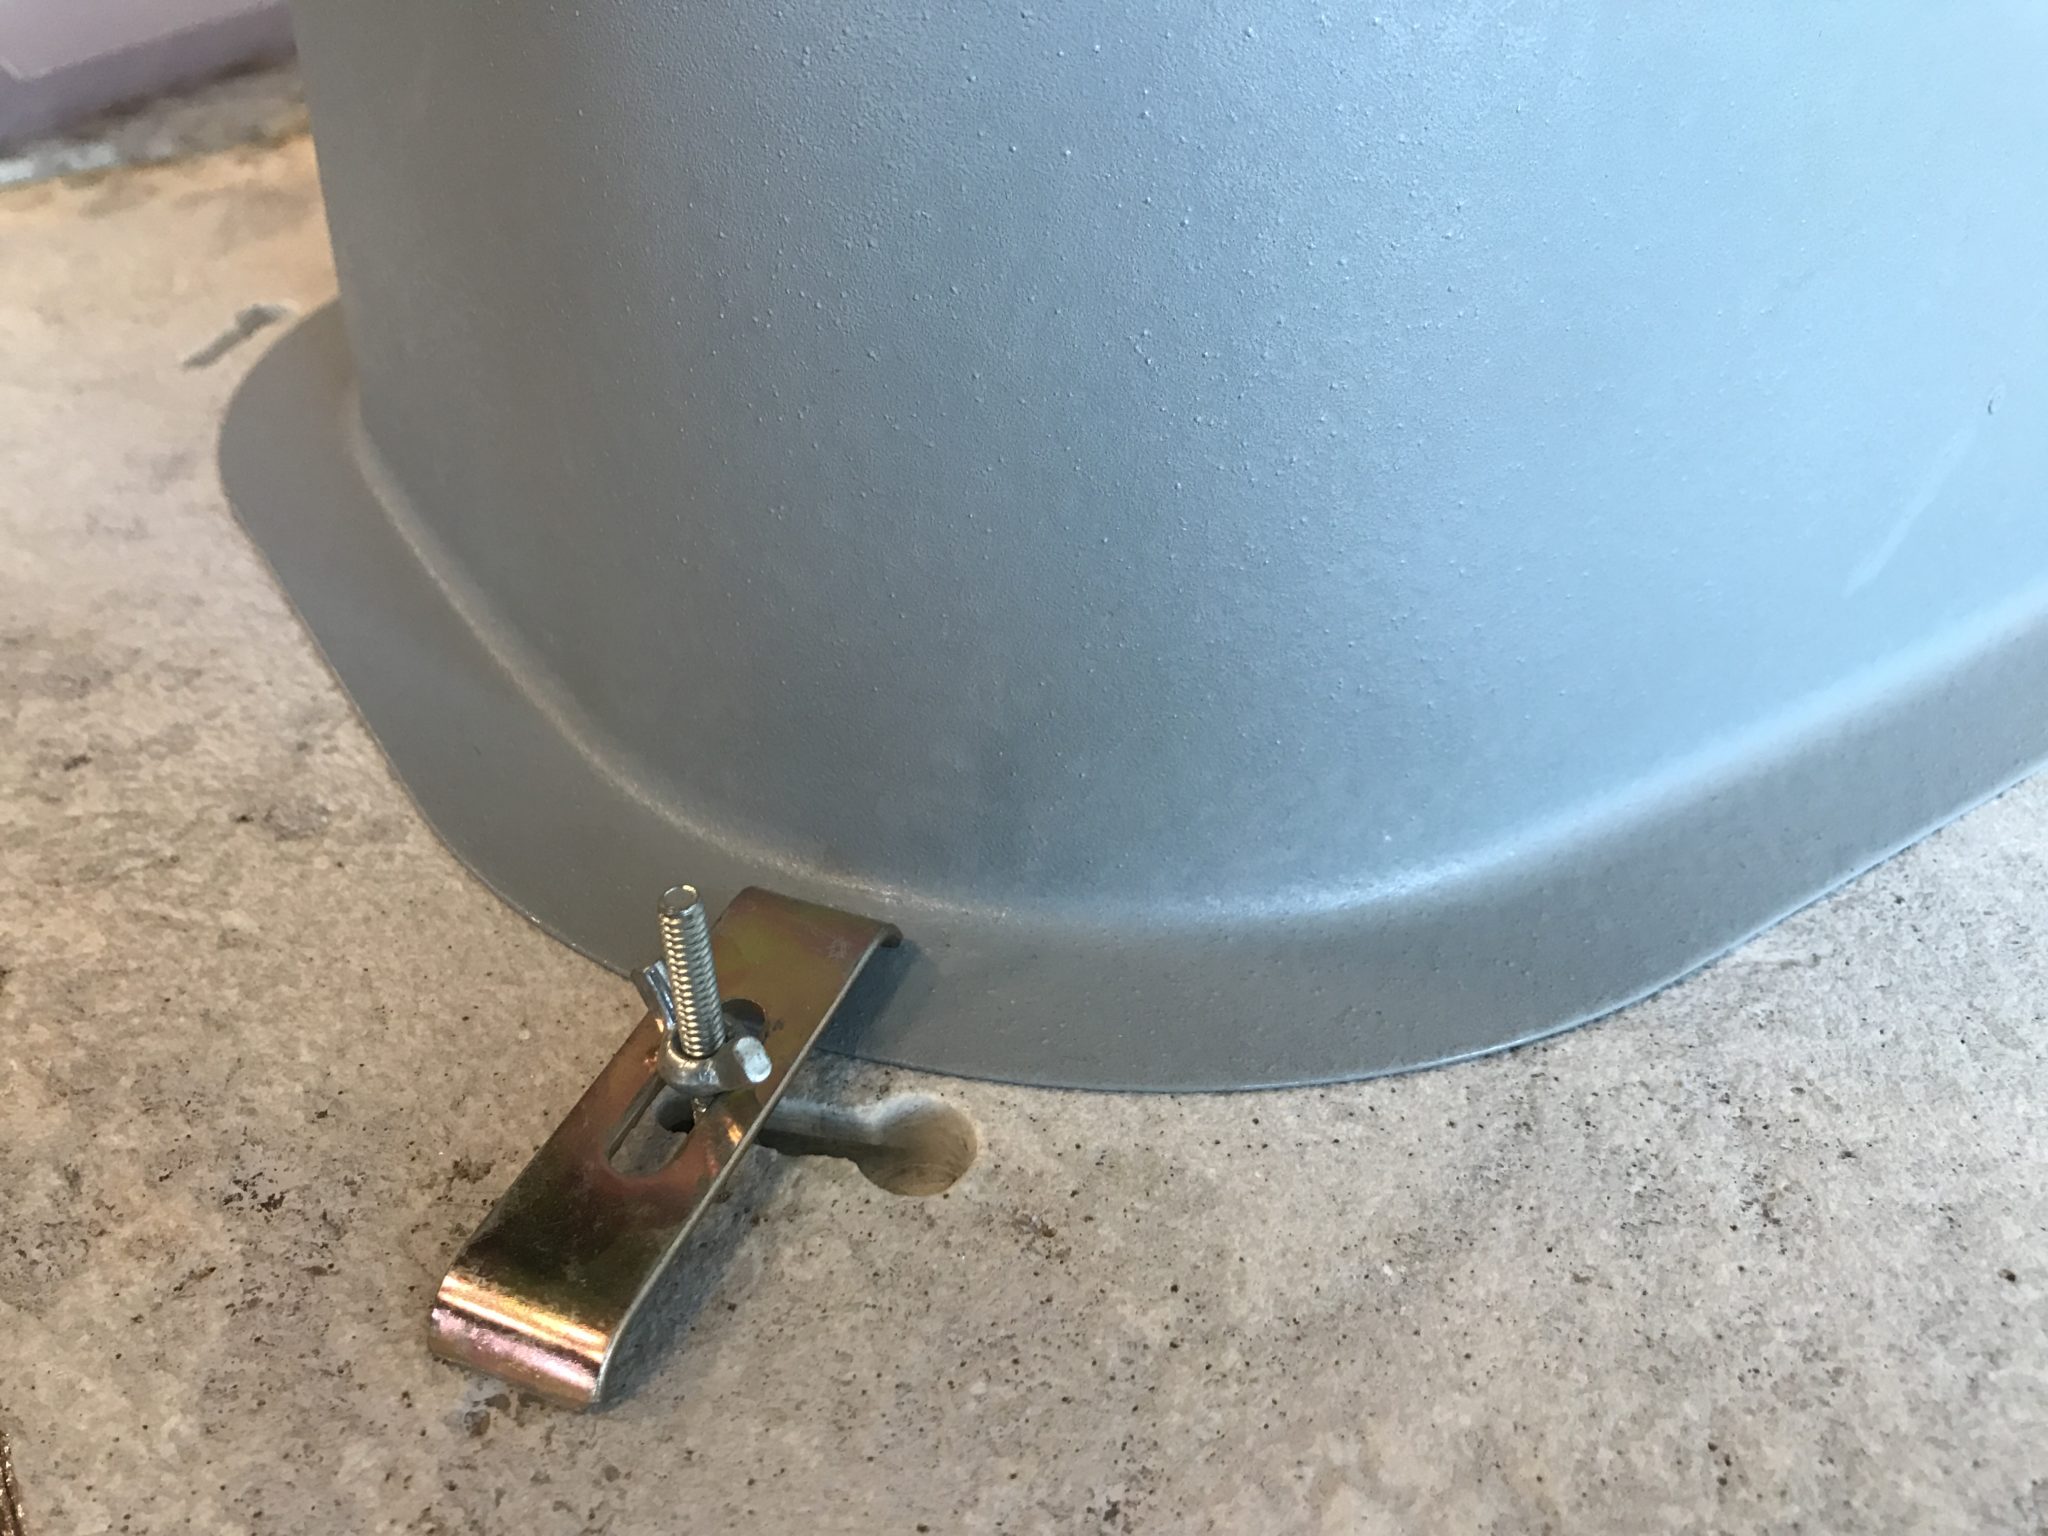
Step 1: Measure the cutout of your sink and ensure that it is the correct size for your new sink. If it is not, you may need to resize the cutout or purchase a different sink. Step 2: Apply a generous amount of silicone adhesive around the edge of the sink cutout. This will act as a sealant and help hold the sink in place. Step 3: Carefully lower the sink into the cutout, making sure it is centered and level. Press down firmly to secure it in place. Step 4: Apply plumber's putty around the edge of the sink, covering the silicone adhesive. This will help create a watertight seal. Step 5: Use a screwdriver to secure the sink to the countertop by tightening the clips or screws that are attached to the sink. If your sink does not come with these clips, you can use heavy objects such as books or bricks to hold the sink in place while the adhesive dries. Step 6: Clean up any excess putty or adhesive around the sink and let it dry completely for at least 24 hours before using the sink.Step-by-Step Guide for Installing a Stainless Steel Kitchen Sink Without Clips

Step-by-Step Guide for Installing a Stainless Steel Kitchen Sink Without Clips

As mentioned earlier, installing a stainless steel kitchen sink without clips is a DIY project that anyone can do. It may seem intimidating at first, but with the right tools and following the steps correctly, you can achieve a professional-looking installation. Not only will it save you money, but it will also give you a sense of accomplishment.DIY Installation of a Stainless Steel Kitchen Sink Without Clips


DIY Installation of a Stainless Steel Kitchen Sink Without Clips

To ensure a successful installation, here are some tips to keep in mind:Tips for Installing a Stainless Steel Kitchen Sink Without Clips


Tips for Installing a Stainless Steel Kitchen Sink Without Clips


Here is a list of the tools and materials you will need for a successful installation:Tools and Materials Needed for Installing a Stainless Steel Kitchen Sink Without Clips
Tools and Materials Needed for Installing a Stainless Steel Kitchen Sink Without Clips
Like any installation method, there are pros and cons to installing a stainless steel kitchen sink without clips:Pros and Cons of Installing a Stainless Steel Kitchen Sink Without Clips


Pros and Cons of Installing a Stainless Steel Kitchen Sink Without Clips


Here are some common mistakes to avoid for a successful installation:Common Mistakes to Avoid When Installing a Stainless Steel Kitchen Sink Without Clips


Common Mistakes to Avoid When Installing a Stainless Steel Kitchen Sink Without Clips


If you prefer a more secure installation, there are alternative methods you can try:Alternative Methods for Installing a Stainless Steel Kitchen Sink Without Clips


Alternative Methods for Installing a Stainless Steel Kitchen Sink Without Clips
If you are not comfortable with DIY projects or if you want a more secure installation, you can always hire a professional plumber to install your stainless steel kitchen sink without clips. They have the expertise and tools needed to ensure a proper and sturdy installation. Installing a stainless steel kitchen sink without clips may seem intimidating, but with the right tools and following the steps correctly, it can be a simple and affordable DIY project. By avoiding common mistakes and using alternative methods, you can achieve a professional-looking installation without the hassle of clips. However, if you are not confident in your DIY skills, it is always best to seek professional help for a secure and long-lasting installation. Professional Installation Options for a Stainless Steel Kitchen Sink Without Clips

Professional Installation Options for a Stainless Steel Kitchen Sink Without Clips


Why Choose a Stainless Steel Kitchen Sink Without Clips for Your House Design?

Benefits of a Stainless Steel Kitchen Sink Without Clips
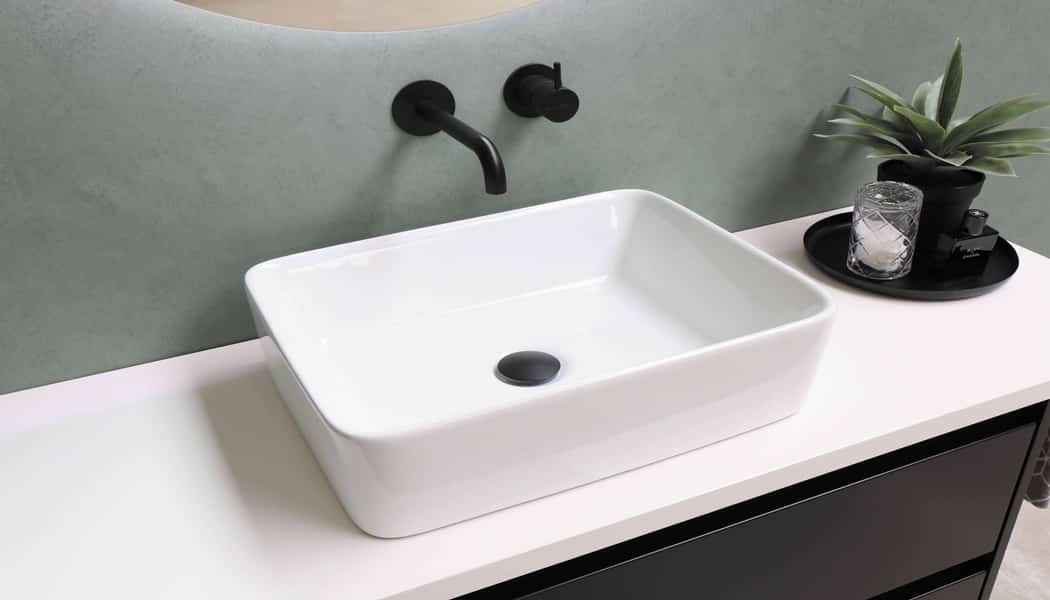
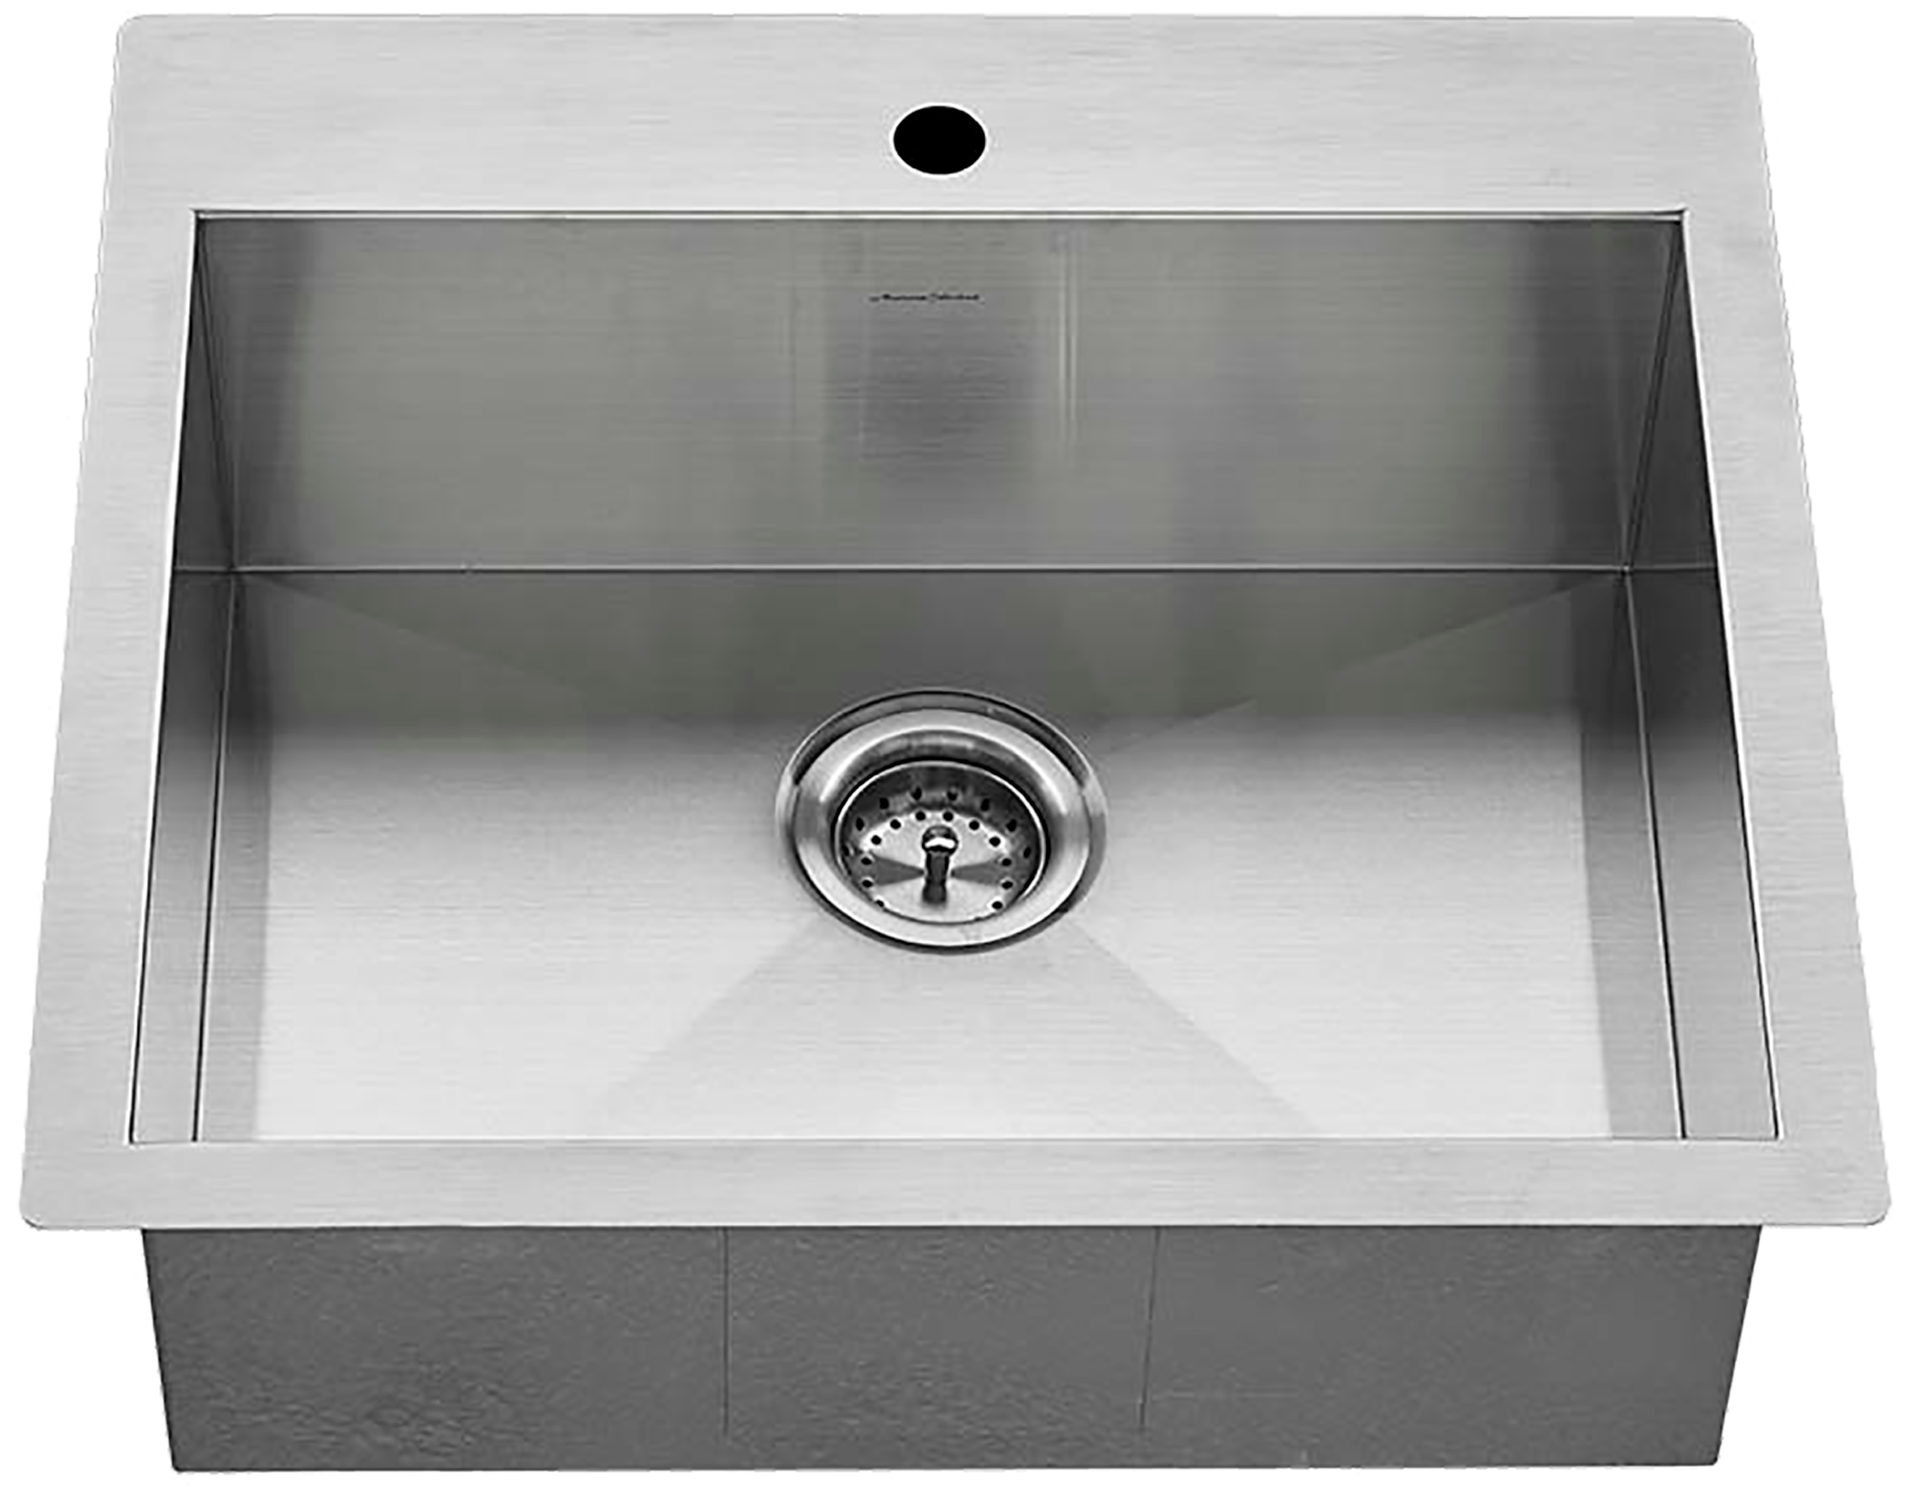
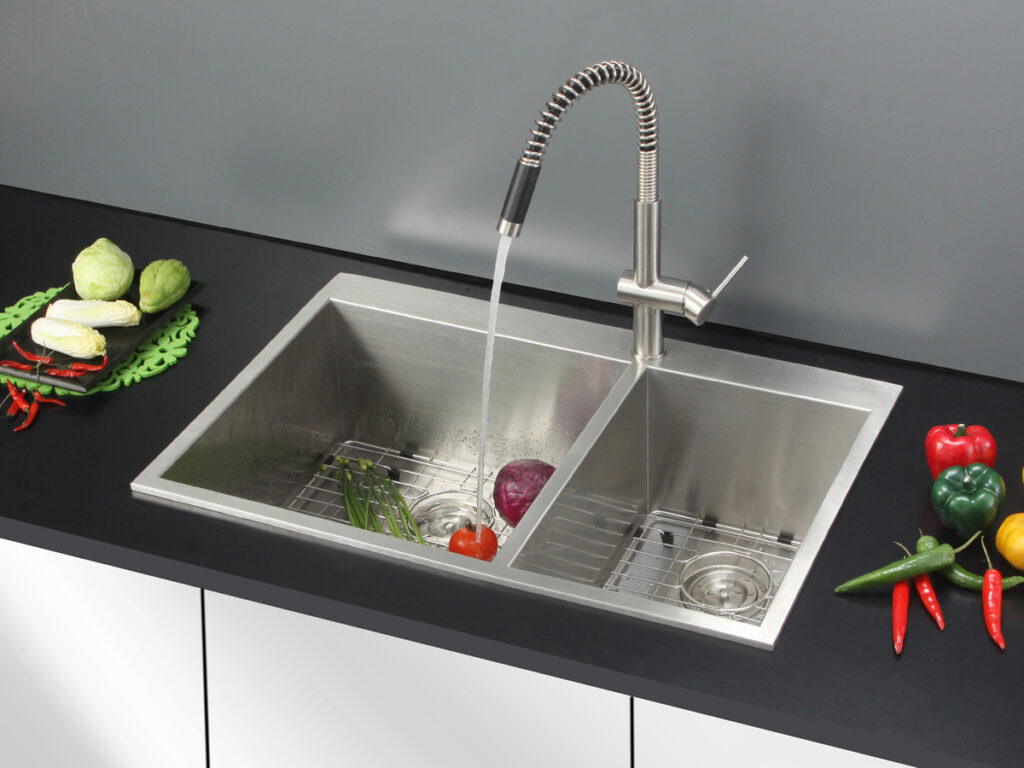
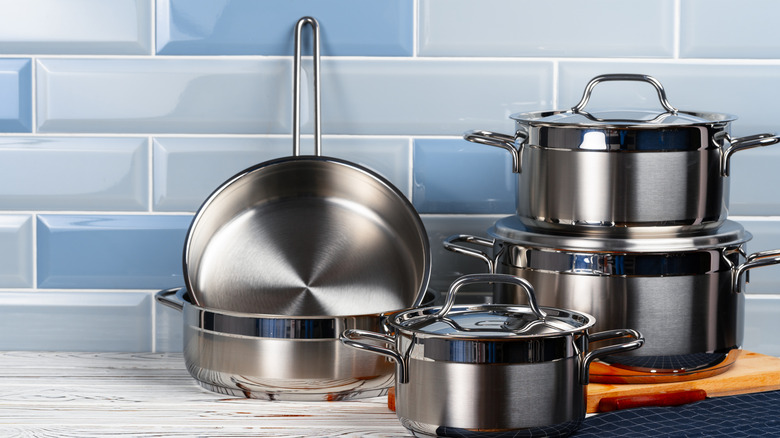
 When it comes to choosing a kitchen sink for your house design, there are many options available in the market. However, one type of sink that stands out for its durability, functionality, and sleek design is a stainless steel kitchen sink without clips.
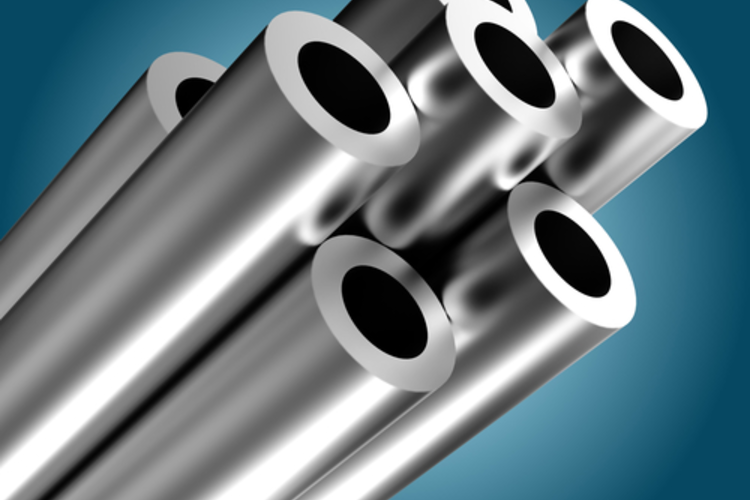
Stainless steel
is a popular material choice for kitchen sinks due to its many benefits. It is resistant to corrosion, stains, and scratches, making it a low-maintenance option for busy kitchens. Additionally, it is a strong and sturdy material that can withstand the weight and impact of heavy pots and pans.
The lack of clips in a stainless steel kitchen sink also adds to its appeal.
Clips are used to secure the sink to the countertop
, but they can often be visible and create a cluttered look. With a sink without clips, the focus is on the sleek and seamless design of the sink, giving your kitchen a modern and clean aesthetic.
When it comes to choosing a kitchen sink for your house design, there are many options available in the market. However, one type of sink that stands out for its durability, functionality, and sleek design is a stainless steel kitchen sink without clips.
Stainless steel
is a popular material choice for kitchen sinks due to its many benefits. It is resistant to corrosion, stains, and scratches, making it a low-maintenance option for busy kitchens. Additionally, it is a strong and sturdy material that can withstand the weight and impact of heavy pots and pans.
The lack of clips in a stainless steel kitchen sink also adds to its appeal.
Clips are used to secure the sink to the countertop
, but they can often be visible and create a cluttered look. With a sink without clips, the focus is on the sleek and seamless design of the sink, giving your kitchen a modern and clean aesthetic.
Installation Process for a Stainless Steel Kitchen Sink Without Clips
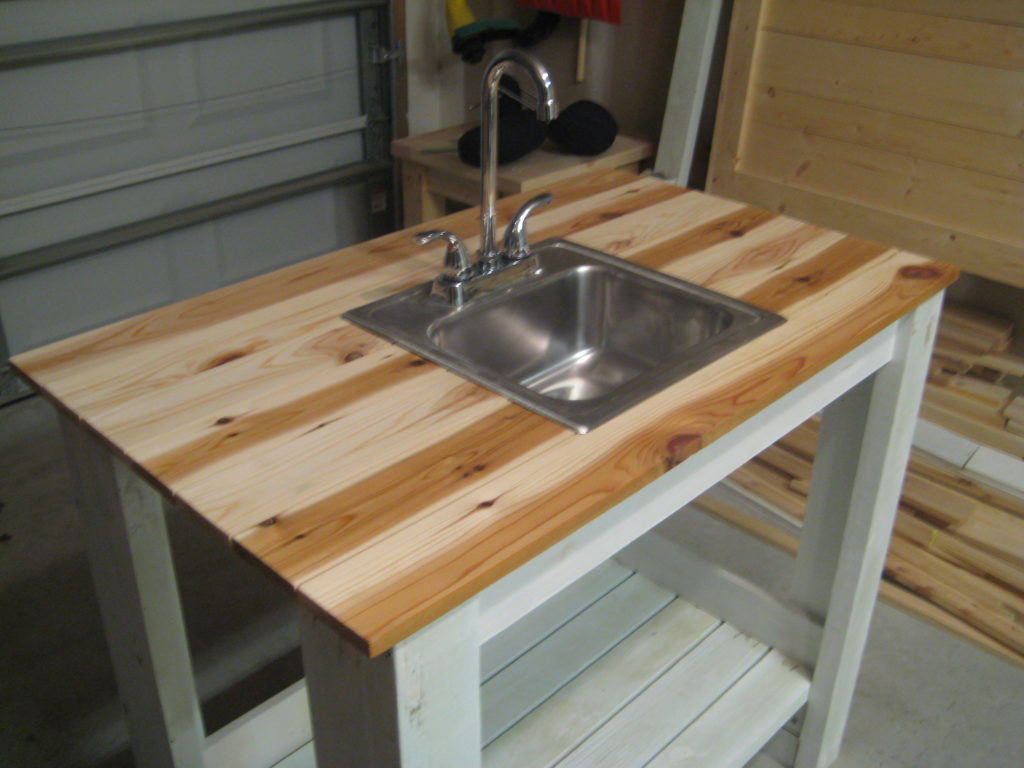
 Installing a stainless steel kitchen sink without clips may seem like a daunting task, but it is relatively simple and can be done on your own with the right tools and instructions.
The first step is to measure the sink and cut a hole in the countertop according to the dimensions. Then, apply a thin layer of silicone adhesive around the edges of the sink and carefully place it into the hole.
Make sure to wipe off any excess adhesive to avoid a messy finish
.
Next, attach the sink to the countertop using brackets, which can be purchased at any hardware store. These brackets will provide support and stability to the sink without the need for clips. Finally, seal the edges of the sink with more silicone adhesive to prevent any water leakage.
Installing a stainless steel kitchen sink without clips may seem like a daunting task, but it is relatively simple and can be done on your own with the right tools and instructions.
The first step is to measure the sink and cut a hole in the countertop according to the dimensions. Then, apply a thin layer of silicone adhesive around the edges of the sink and carefully place it into the hole.
Make sure to wipe off any excess adhesive to avoid a messy finish
.
Next, attach the sink to the countertop using brackets, which can be purchased at any hardware store. These brackets will provide support and stability to the sink without the need for clips. Finally, seal the edges of the sink with more silicone adhesive to prevent any water leakage.
Final Thoughts
 A stainless steel kitchen sink without clips is a stylish and practical addition to any house design. Its durability, low-maintenance, and sleek design make it a popular choice among homeowners. With the proper installation process, you can have a beautiful and functional sink that will elevate the look of your kitchen. So why wait? Upgrade your kitchen with a stainless steel sink without clips today!