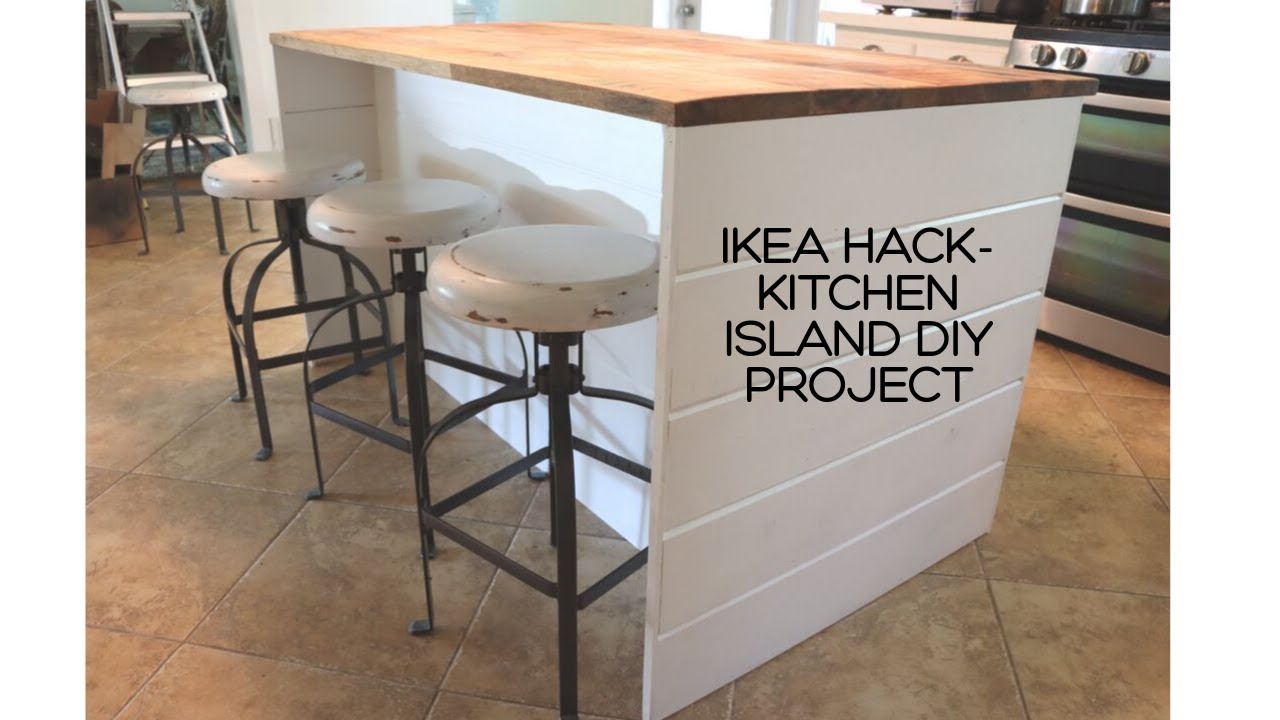
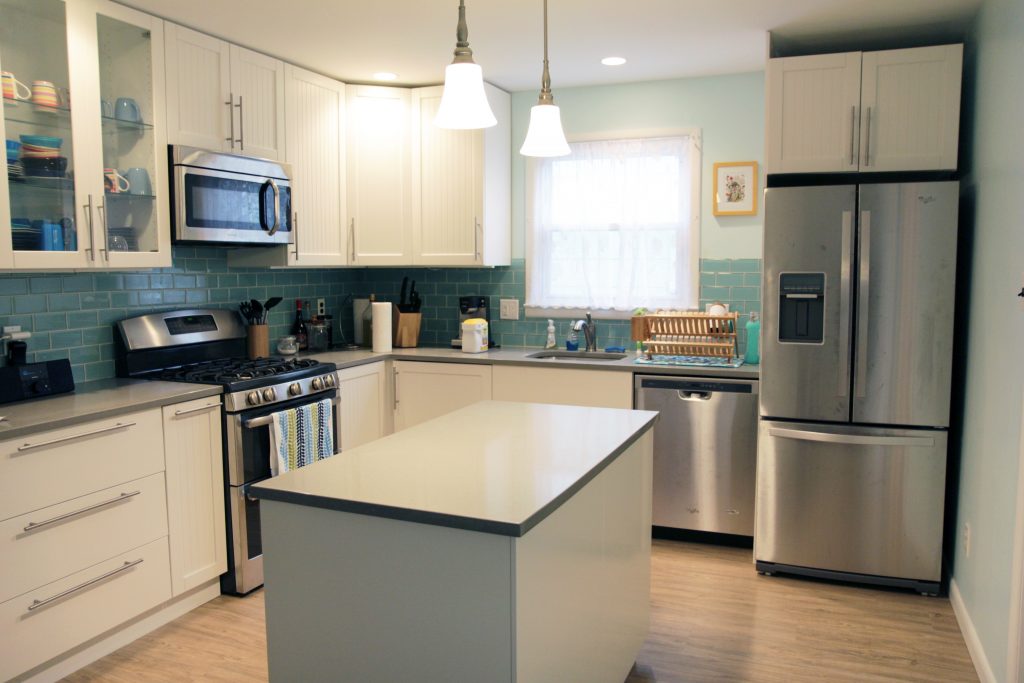
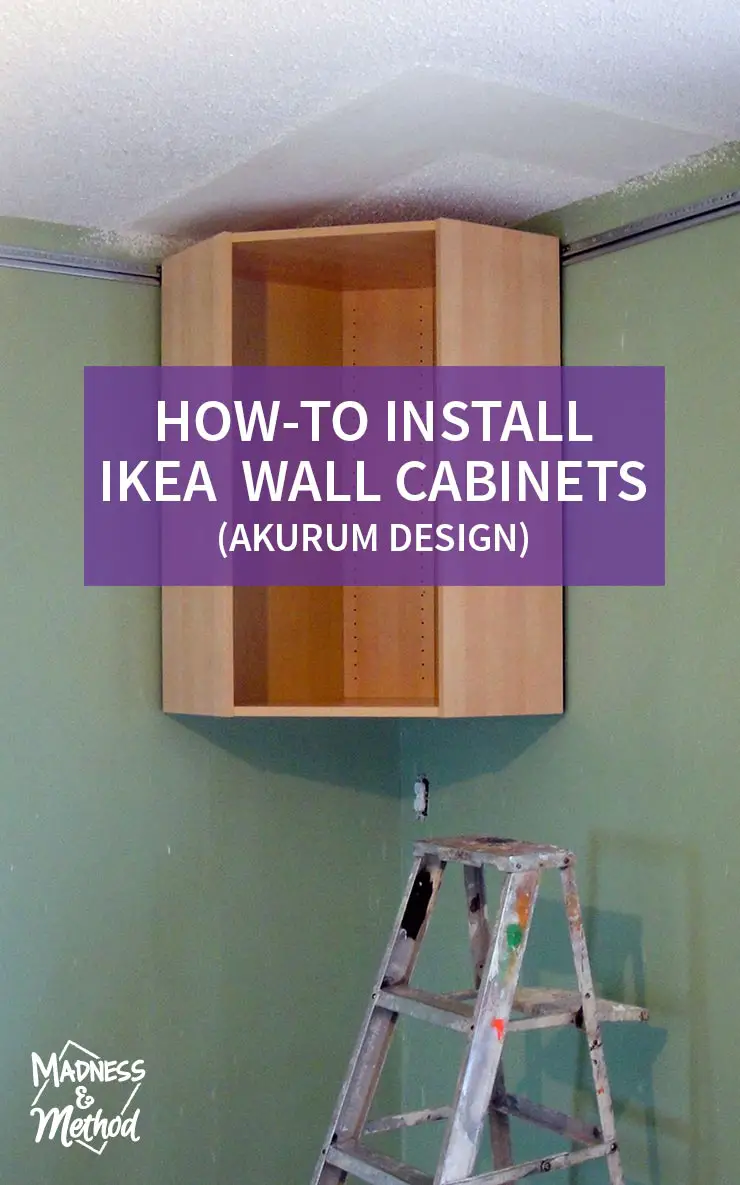
Are you looking to update your kitchen with a modern and functional design? IKEA kitchen wall panels might just be the perfect solution for you. These panels not only add a sleek and stylish touch to your kitchen, but they also provide extra protection for your walls from splashes and spills.How to Install IKEA Kitchen Wall Panels


How to Install IKEA Kitchen Wall Panels


Installing IKEA kitchen wall panels is a simple and straightforward process that can be done by anyone with basic DIY skills. To help you get started, we've put together a step-by-step guide for you to follow.IKEA Kitchen Wall Panel Installation Guide


IKEA Kitchen Wall Panel Installation Guide


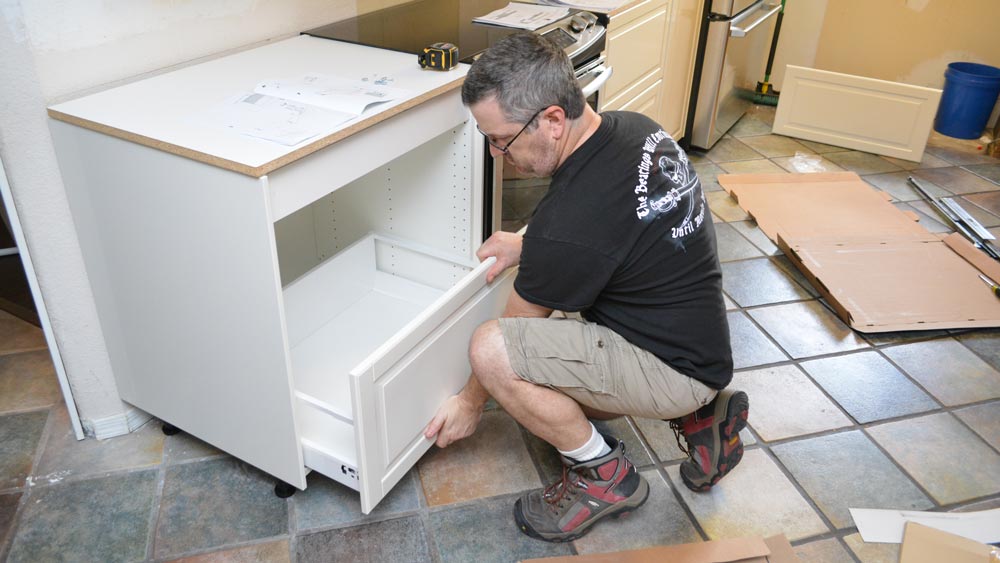
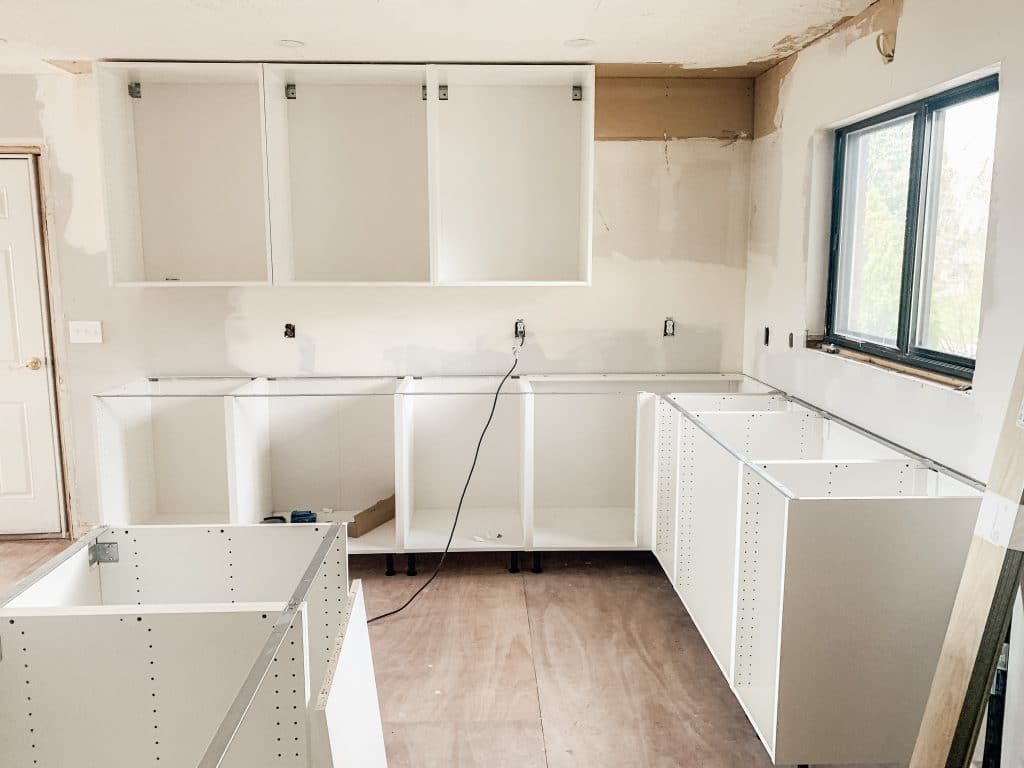
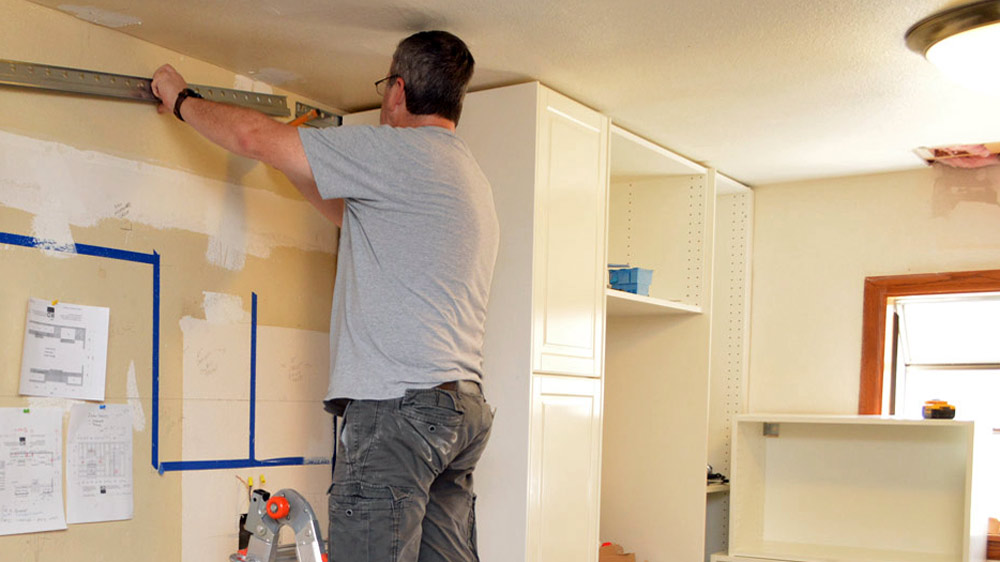
Step 1: Measure and Plan The first step in any home improvement project is to measure and plan. Measure the area where you want to install the wall panels and make a note of the dimensions. This will help you determine how many panels you need to purchase. Step 2: Gather Materials Before you start the installation process, make sure you have all the necessary materials on hand. This includes the IKEA kitchen wall panels, adhesive, a caulking gun, a level, a pencil, a saw, and a measuring tape. Step 3: Prepare the Wall Make sure the wall surface is clean and dry before you start installing the panels. Use a damp cloth to wipe away any dirt and dust. If there are any imperfections on the wall, use a filler to smooth them out. Step 4: Apply Adhesive Using a caulking gun, apply adhesive to the back of the panel in a zigzag pattern. Make sure to leave a gap of 1-2 inches at the edges and corners, as the panels may expand slightly after installation. Step 5: Install Panels Starting from one corner of the wall, press the panel firmly onto the wall. Use a level to ensure the panel is straight. Continue installing the panels one by one, making sure they are aligned and level. Step 6: Measure and Cut If you have any outlets or switches on the wall, measure and mark their locations on the panels. Use a saw to cut out the necessary holes before installing the panels. Step 7: Finish with Caulk Once all the panels are installed, use a caulk gun to apply caulk to the gaps between the panels and the edges of the wall. This will give your installation a clean and finished look.Step-by-Step Guide for Installing IKEA Kitchen Wall Panels


Step-by-Step Guide for Installing IKEA Kitchen Wall Panels


Don't be intimidated by the thought of installing IKEA kitchen wall panels. With the right tools and a little bit of patience, anyone can tackle this DIY project. Just follow our guide and you'll have beautiful and functional wall panels in no time.Installing IKEA Kitchen Wall Panels: A Beginner's Guide


Installing IKEA Kitchen Wall Panels: A Beginner's Guide


For those who love DIY projects, installing IKEA kitchen wall panels can be a fun and rewarding experience. With our tutorial, you'll have all the information you need to successfully complete this project on your own.DIY IKEA Kitchen Wall Panel Installation Tutorial


DIY IKEA Kitchen Wall Panel Installation Tutorial


To ensure your installation goes smoothly, here are a few tips to keep in mind: Tip #1: Use the Right Adhesive Make sure you use a high-quality adhesive that is suitable for the type of wall panels you have purchased. This will ensure that the panels stay firmly in place for years to come. Tip #2: Double Check Measurements Measure twice, cut once. This old saying rings true when it comes to installing wall panels. Double check your measurements before making any cuts, as mistakes can be costly. Tip #3: Take Your Time Rushing through the installation process can lead to mistakes and a less-than-perfect end result. Take your time and pay attention to detail for a professional-looking installation.Tips for Installing IKEA Kitchen Wall Panels Like a Pro

Tips for Installing IKEA Kitchen Wall Panels Like a Pro


Before you start installing your IKEA kitchen wall panels, here are a few things you should know: Know Your Wall Type Make sure you know what type of wall you are working with before purchasing your panels. Different wall materials may require different types of adhesive for proper installation. Choose the Right Color IKEA kitchen wall panels come in a variety of colors and finishes. Make sure you choose a color that complements your kitchen design and adds to the overall aesthetic.IKEA Kitchen Wall Panel Installation: What You Need to Know

IKEA Kitchen Wall Panel Installation: What You Need to Know


Measuring and cutting the wall panels accurately is crucial for a successful installation. Here's how to do it: Step 1: Measure Twice Measure the dimensions of the wall panels you need, and then measure again to double check. This will help you avoid any mistakes when cutting the panels. Step 2: Mark the Measurements Using a pencil, mark the measurements on the back of the panel. This will serve as a guide when cutting the panels. Step 3: Cut with a Saw Using a saw, carefully cut along the marked lines on the back of the panel. Make sure to use a saw blade that is suitable for the type of wall panels you are working with.How to Measure and Cut IKEA Kitchen Wall Panels for Installation


How to Measure and Cut IKEA Kitchen Wall Panels for Installation


Here are some common mistakes to avoid when installing IKEA kitchen wall panels: Mistake #1: Not Preparing the Wall A clean and smooth wall surface is crucial for a successful installation. Make sure to properly clean and prepare the wall before installing the panels. Mistake #2: Rushing the Installation As mentioned before, take your time during the installation process. Rushing can lead to mistakes and a less-than-perfect end result.Installing IKEA Kitchen Wall Panels: Common Mistakes to Avoid
Installing IKEA Kitchen Wall Panels: Common Mistakes to Avoid
For a professional-looking installation, consider these expert tips: Tip #1: Use a J-Roller A J-roller can help you achieve a strong and secure bond between the wall panel and the wall surface. This tool is especially helpful for larger and heavier panels. Tip #2: Work from the Top Down Start installing the panels from the top and work your way down. This will help you maintain a straight and level installation. Tip #3: Have a Helper Installing wall panels can be a two-person job. Having a helper to hold the panels in place while you secure them can make the process much easier.Expert Tips for a Smooth and Successful IKEA Kitchen Wall Panel Installation

Expert Tips for a Smooth and Successful IKEA Kitchen Wall Panel Installation


Additional Tips for Installing IKEA Kitchen Wall Panels

Choose the Right Materials
 When it comes to installing
IKEA kitchen wall panels
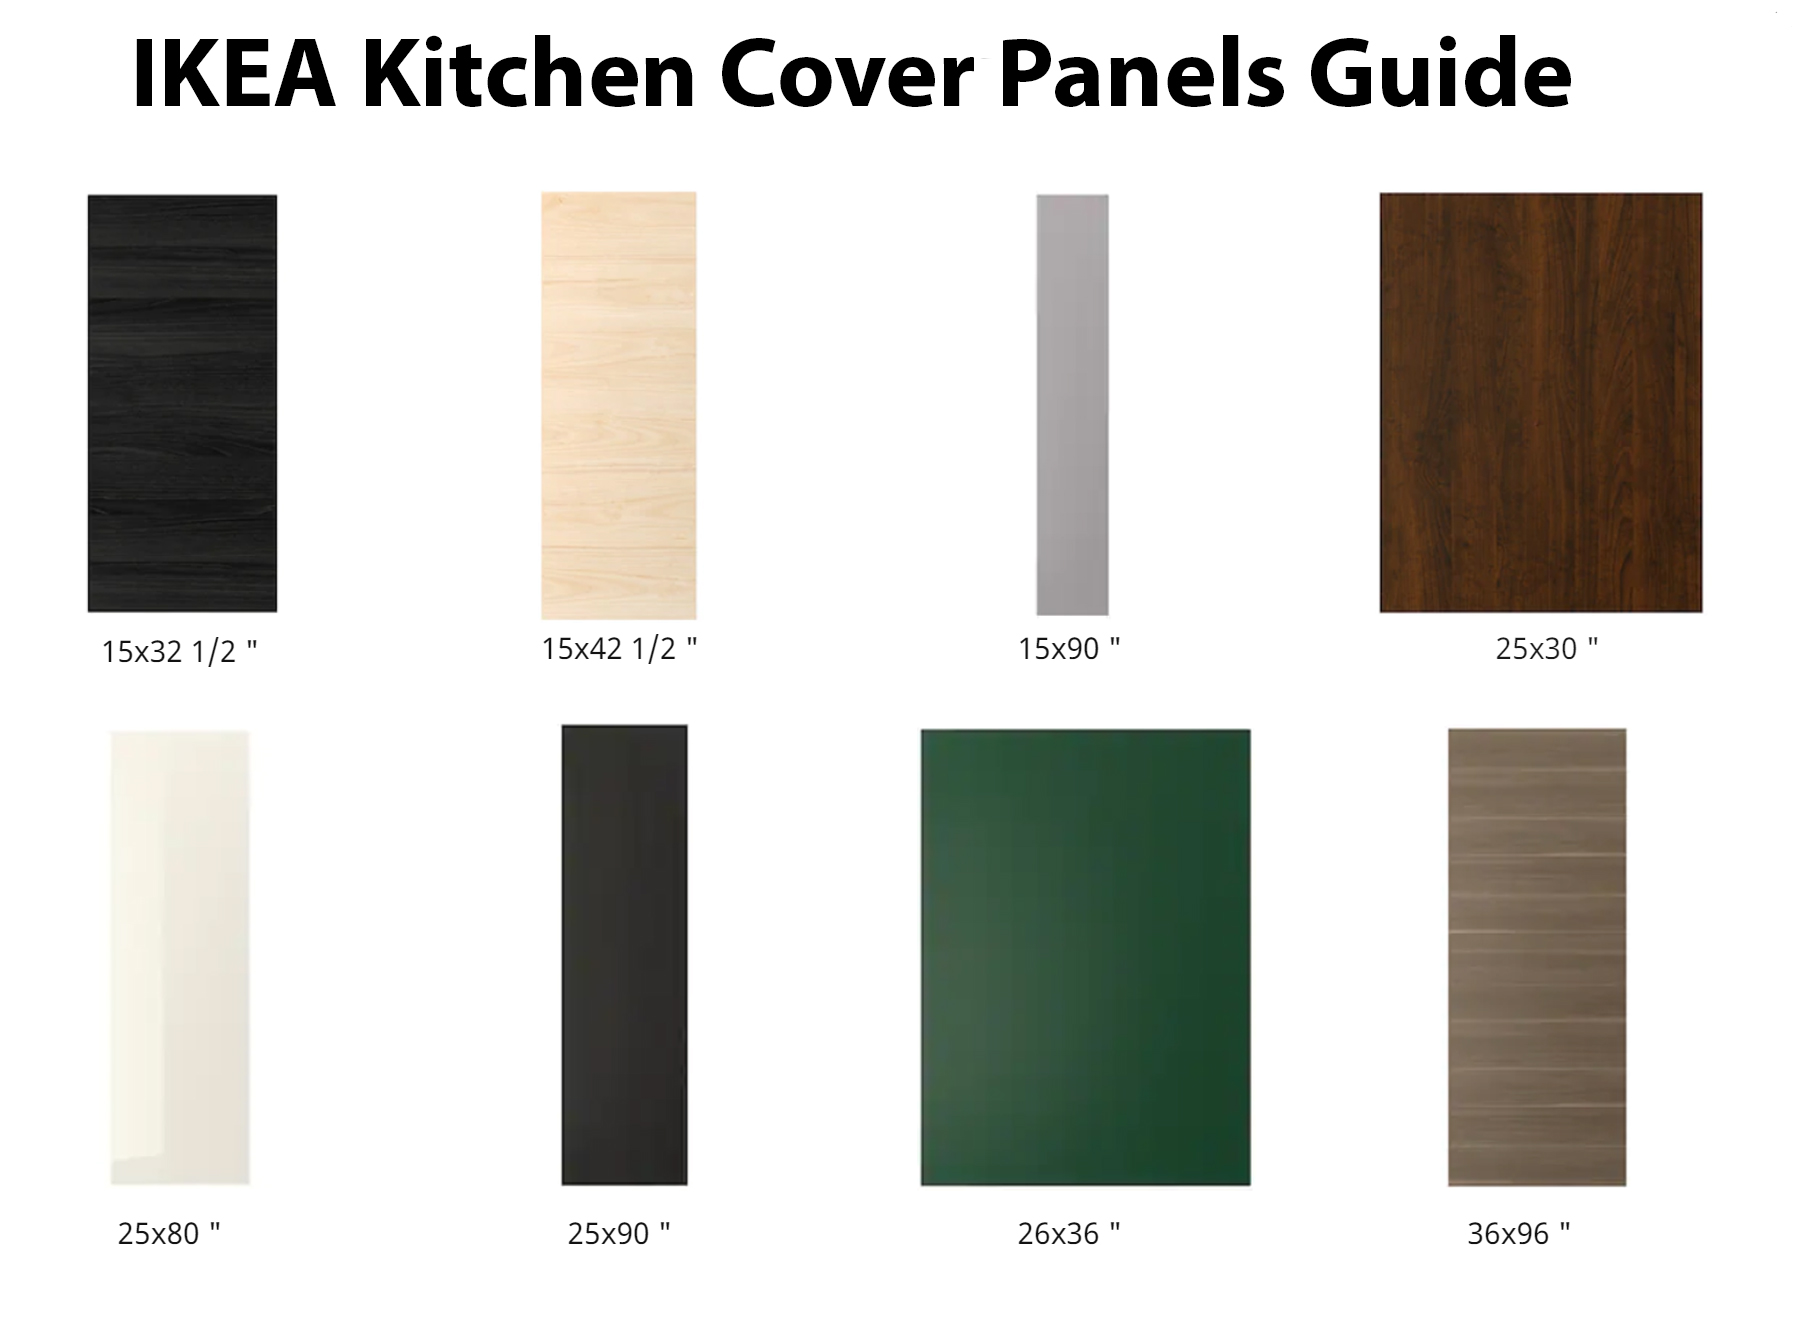
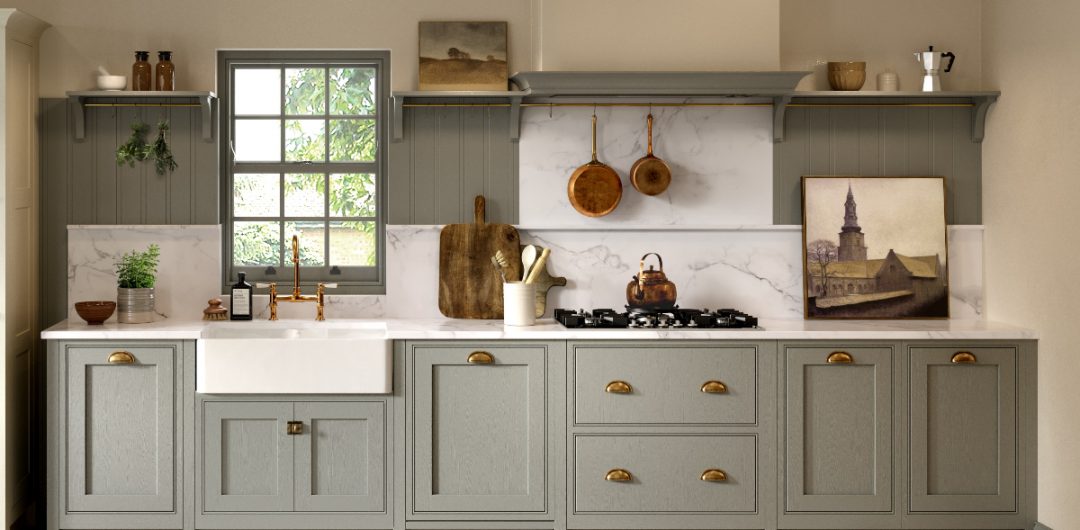
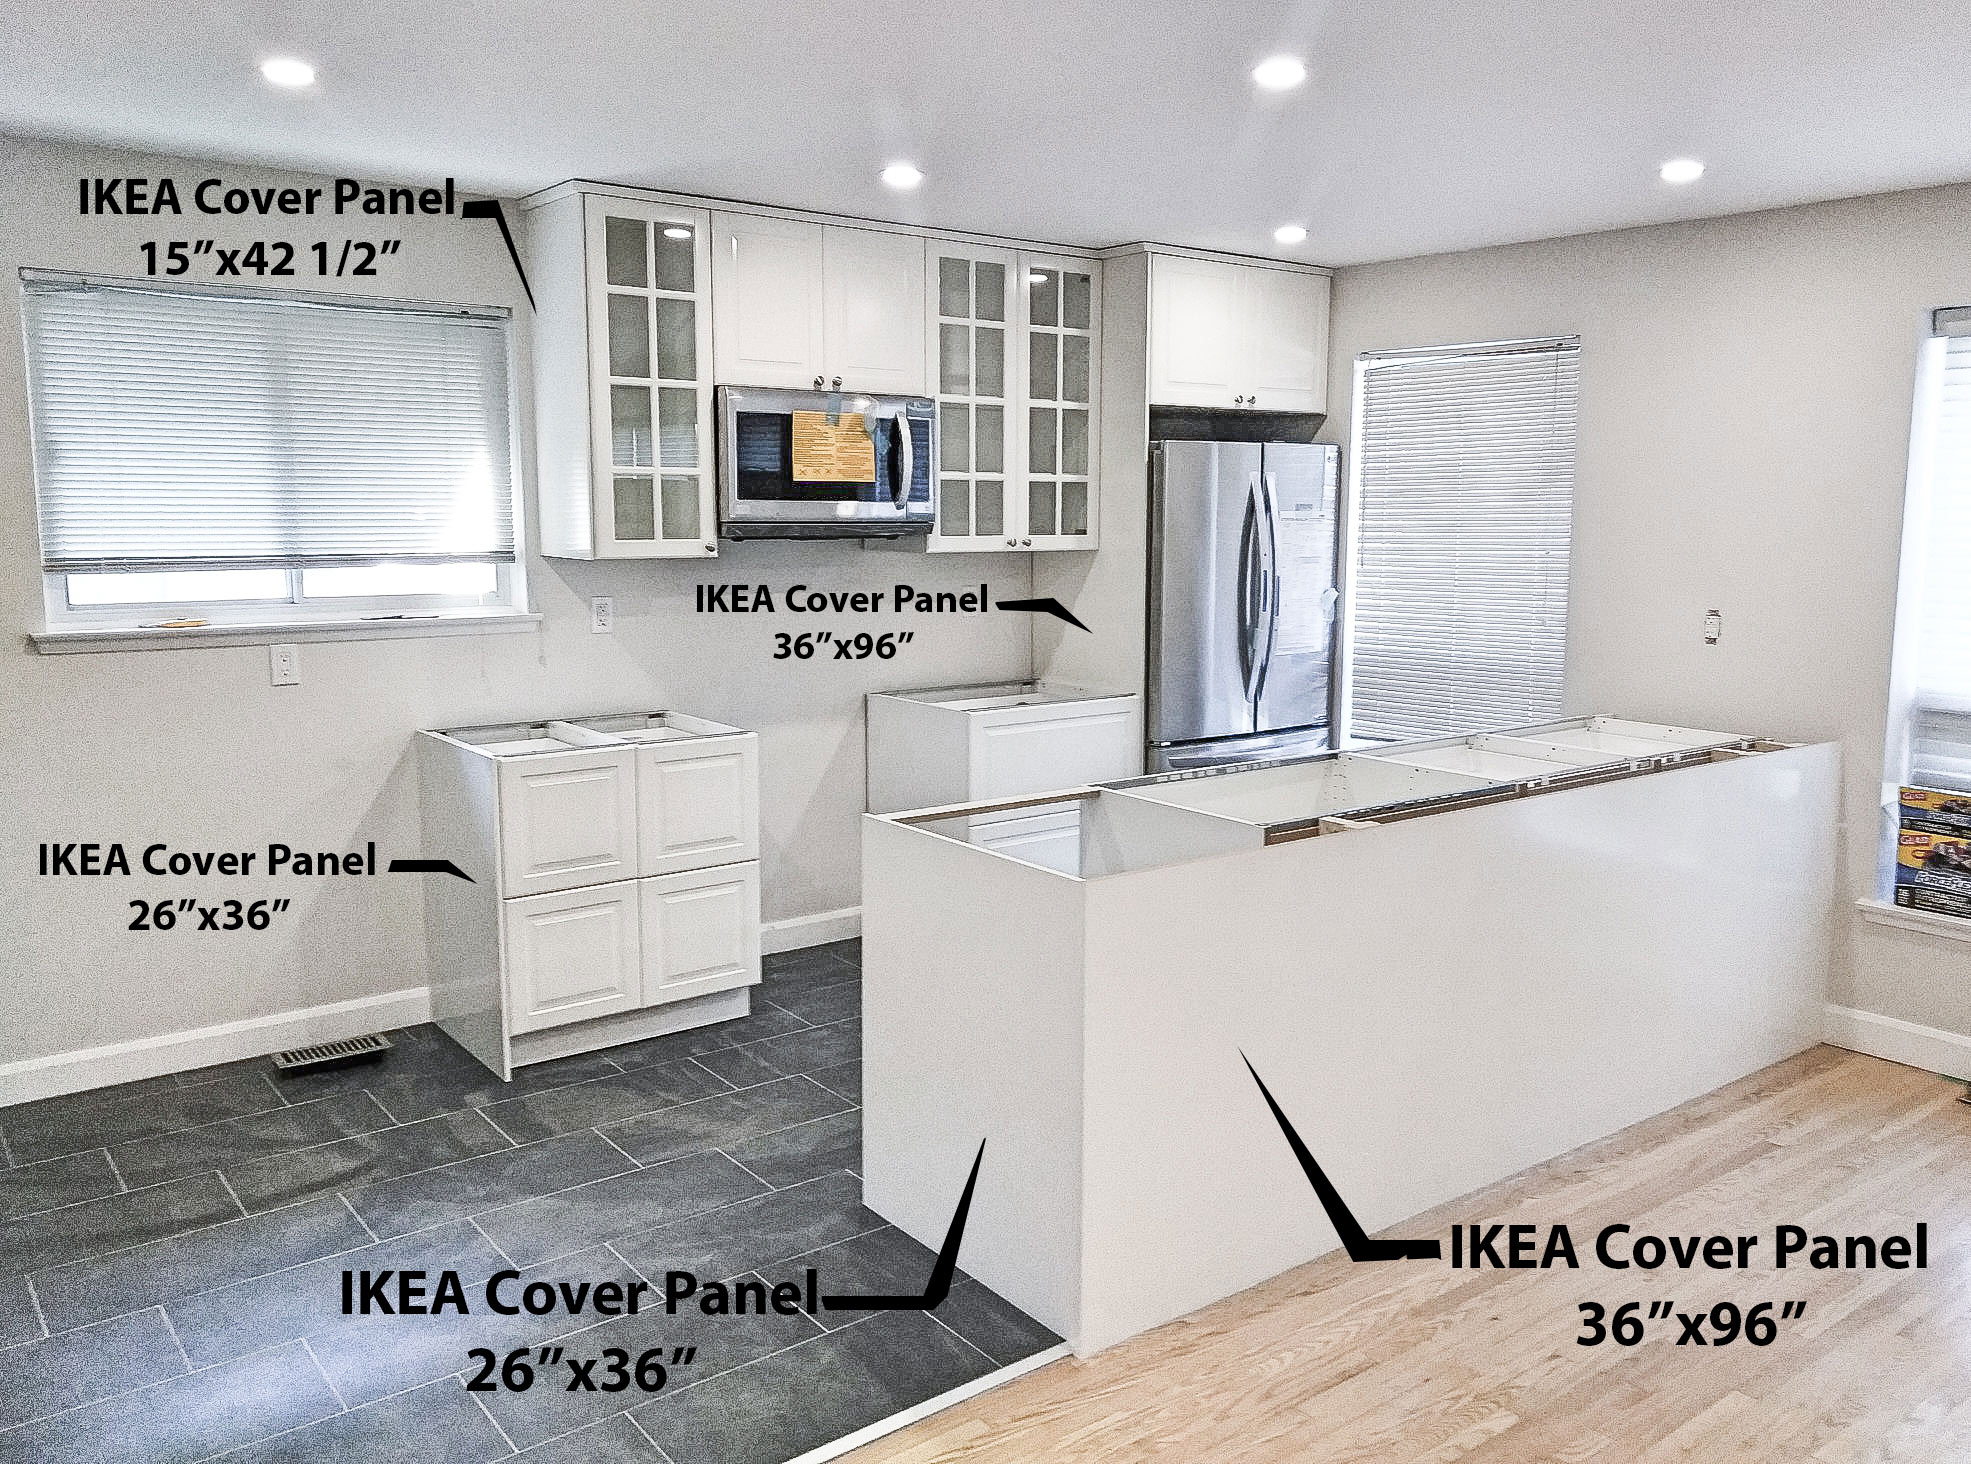
, choosing the right materials is crucial. These panels come in a variety of options such as wood, laminate, and acrylic, so it’s important to consider your kitchen’s design and functionality before making a decision. For a modern and sleek look, acrylic panels are a great choice as they are easy to clean and maintain. On the other hand, if you prefer a more traditional look, wood or laminate panels can add warmth and character to your kitchen.
When it comes to installing
IKEA kitchen wall panels
, choosing the right materials is crucial. These panels come in a variety of options such as wood, laminate, and acrylic, so it’s important to consider your kitchen’s design and functionality before making a decision. For a modern and sleek look, acrylic panels are a great choice as they are easy to clean and maintain. On the other hand, if you prefer a more traditional look, wood or laminate panels can add warmth and character to your kitchen.
Properly Measure and Plan
 Before you begin the installation process, it’s important to properly measure and plan out your wall panel layout. This will help you determine the number of panels needed and if any cuts or adjustments need to be made. It’s also a good idea to use a level and pencil to mark where the panels will be placed on the wall. This will ensure that your panels are installed evenly and symmetrically.
Use the Right Tools
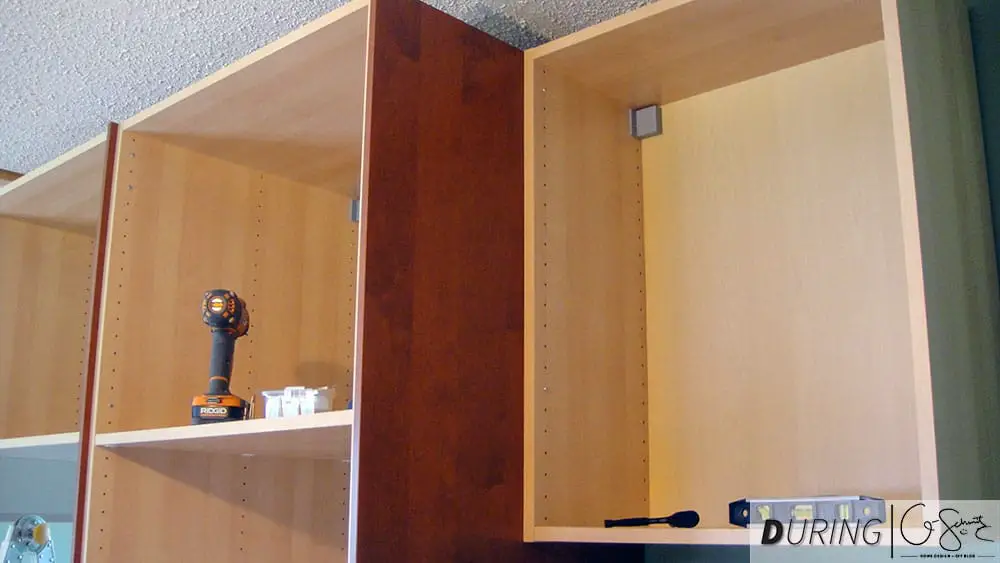
 To ensure a smooth and successful installation, it’s important to have the right tools on hand. Some essential tools for installing
IKEA kitchen wall panels
include a drill, level, screws, and a saw for making any necessary cuts. It’s also a good idea to have a helper to assist with holding the panels in place while you secure them to the wall.
To ensure a smooth and successful installation, it’s important to have the right tools on hand. Some essential tools for installing
IKEA kitchen wall panels
include a drill, level, screws, and a saw for making any necessary cuts. It’s also a good idea to have a helper to assist with holding the panels in place while you secure them to the wall.
Follow the Instructions
 Each
IKEA kitchen wall panel
comes with its own set of instructions and it’s important to follow them carefully. This will ensure that the panels are installed correctly and securely. In addition, following the instructions will also help you avoid any potential mistakes or mishaps during the installation process.
Installing
IKEA kitchen wall panels
is a great way to add a touch of style and functionality to your kitchen. By following these additional tips and using the right materials and tools, you can easily transform your kitchen into a modern and functional space. So, get ready to roll up your sleeves and give your kitchen a fresh new look with
IKEA wall panels
.
Each
IKEA kitchen wall panel
comes with its own set of instructions and it’s important to follow them carefully. This will ensure that the panels are installed correctly and securely. In addition, following the instructions will also help you avoid any potential mistakes or mishaps during the installation process.
Installing
IKEA kitchen wall panels
is a great way to add a touch of style and functionality to your kitchen. By following these additional tips and using the right materials and tools, you can easily transform your kitchen into a modern and functional space. So, get ready to roll up your sleeves and give your kitchen a fresh new look with
IKEA wall panels
.