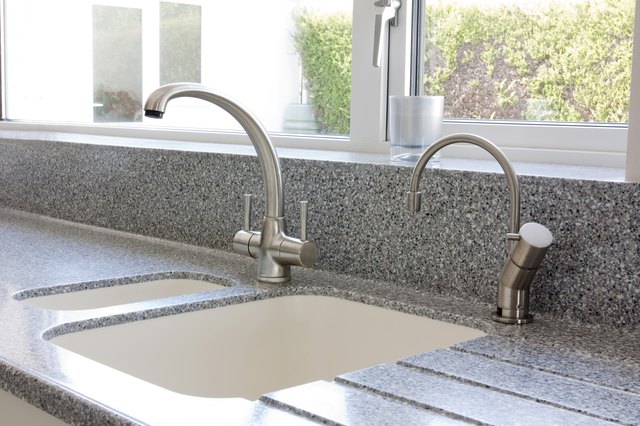
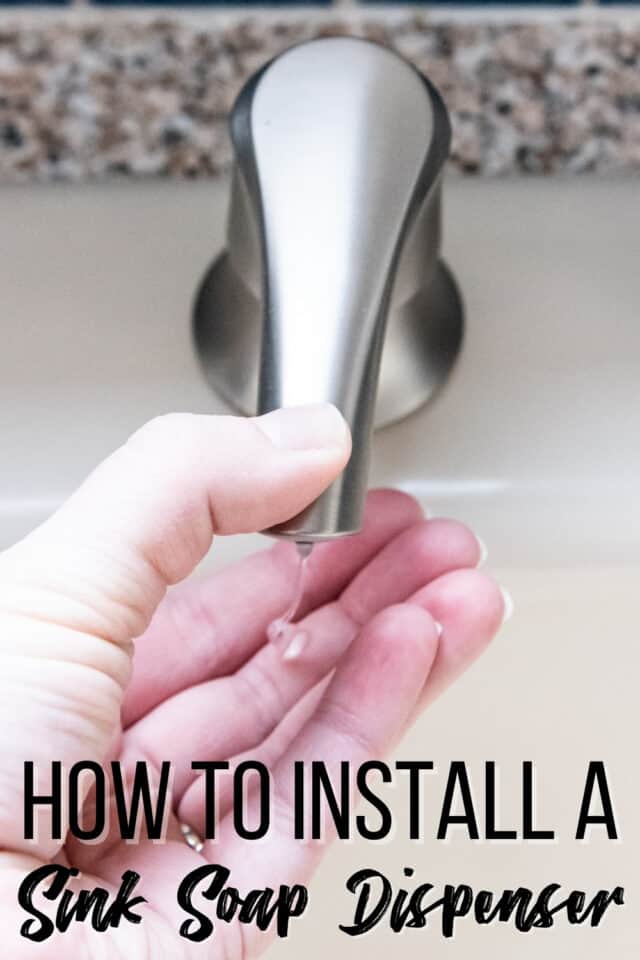
Installing clips on a kitchen sink may seem like a daunting task, but with the right tools and a little bit of know-how, it can be a straightforward process. In this guide, we will walk you through the step-by-step process of installing clips on your kitchen sink, from gathering the necessary materials to troubleshooting common issues.How to Install Clips on a Kitchen Sink


How to Install Clips on a Kitchen Sink


Before you begin, make sure to gather all the necessary tools and materials, including a screwdriver, plumber's putty, and the clips provided by your sink manufacturer. Once you have everything you need, follow these steps to install the clips on your kitchen sink:Step-by-Step Guide for Installing Clips on a Kitchen Sink


Step-by-Step Guide for Installing Clips on a Kitchen Sink


If you are new to DIY projects and home improvement, installing clips on a kitchen sink may seem intimidating. However, with the right tools, materials, and instructions, it can be a simple and satisfying task. Just remember to take your time and follow the steps carefully to ensure a successful installation.Installing Clips on a Kitchen Sink: A Beginner's Guide


Installing Clips on a Kitchen Sink: A Beginner's Guide


As mentioned earlier, you will need a screwdriver, plumber's putty, and the clips provided by your sink manufacturer. It is also helpful to have a rag or paper towels on hand to clean up any excess putty and a level to ensure that the sink is installed evenly.Tools and Materials Needed to Install Clips on a Kitchen Sink


Tools and Materials Needed to Install Clips on a Kitchen Sink


While installing clips on a kitchen sink may seem like a simple task, there are some common mistakes that can lead to issues down the road. These include using too much force when tightening the clips, not letting the putty dry properly, and not evenly spacing the clips. Be sure to follow the steps carefully to avoid these mistakes and ensure a successful installation.Common Mistakes to Avoid When Installing Clips on a Kitchen Sink


Common Mistakes to Avoid When Installing Clips on a Kitchen Sink


If you are unsure about the installation process or want to ensure a perfect result, here are some expert tips to keep in mind:Expert Tips for Installing Clips on a Kitchen Sink


Expert Tips for Installing Clips on a Kitchen Sink

If you are a visual learner, watching a video tutorial can be helpful in understanding the installation process. There are many tutorials available online that will guide you through the process step-by-step, making it easy to follow along and complete the installation successfully.Video Tutorial: How to Install Clips on a Kitchen Sink


Video Tutorial: How to Install Clips on a Kitchen Sink
If the clips are not staying in place on your kitchen sink, there could be a few reasons why. One common issue is that the plumber's putty has not dried properly. In this case, remove the clips, let the putty dry for an additional 24 hours, and then try reinstalling the clips. If the issue persists, you may need to use a stronger adhesive or consult a professional plumber.Troubleshooting: What to Do If Clips Won't Stay on Kitchen Sink


Troubleshooting: What to Do If Clips Won't Stay on Kitchen Sink


If your sink did not come with clips, or you are having trouble getting them to stay in place, there are alternative methods for securing a kitchen sink. These include using mounting brackets, silicone adhesive, or epoxy. However, keep in mind that these methods may not be as secure as using clips and may require more maintenance in the long run.Alternative Methods for Securing a Kitchen Sink Without Clips


Alternative Methods for Securing a Kitchen Sink Without Clips
/washing-fresh-asparagus-in-the-kitchen-sink--518962978-5a960501ae9ab8003749ee74.jpg)


While it may seem like an extra step, using clips to install a kitchen sink has many benefits. These include providing a secure hold for the sink, preventing water leaks, and making it easier to remove the sink for maintenance or replacement in the future. Now that you know how to install clips on a kitchen sink, you can confidently tackle this project and enjoy a secure and leak-free sink for years to come. Remember to take your time, follow the instructions carefully, and don't hesitate to consult a professional if needed. Happy installing!Benefits of Using Clips to Install a Kitchen Sink


Benefits of Using Clips to Install a Kitchen Sink


Why Installing Clips on Your Kitchen Sink is a Must for Your House Design

The Importance of Properly Securing Your Kitchen Sink
 When it comes to designing your dream kitchen, every detail matters. From the color of the cabinets to the type of countertop, everything plays a role in creating a functional and visually appealing space. However, one often overlooked aspect of kitchen design is the installation of clips on the sink. These small but mighty pieces of hardware may seem insignificant, but they serve an essential purpose in keeping your kitchen sink in place.
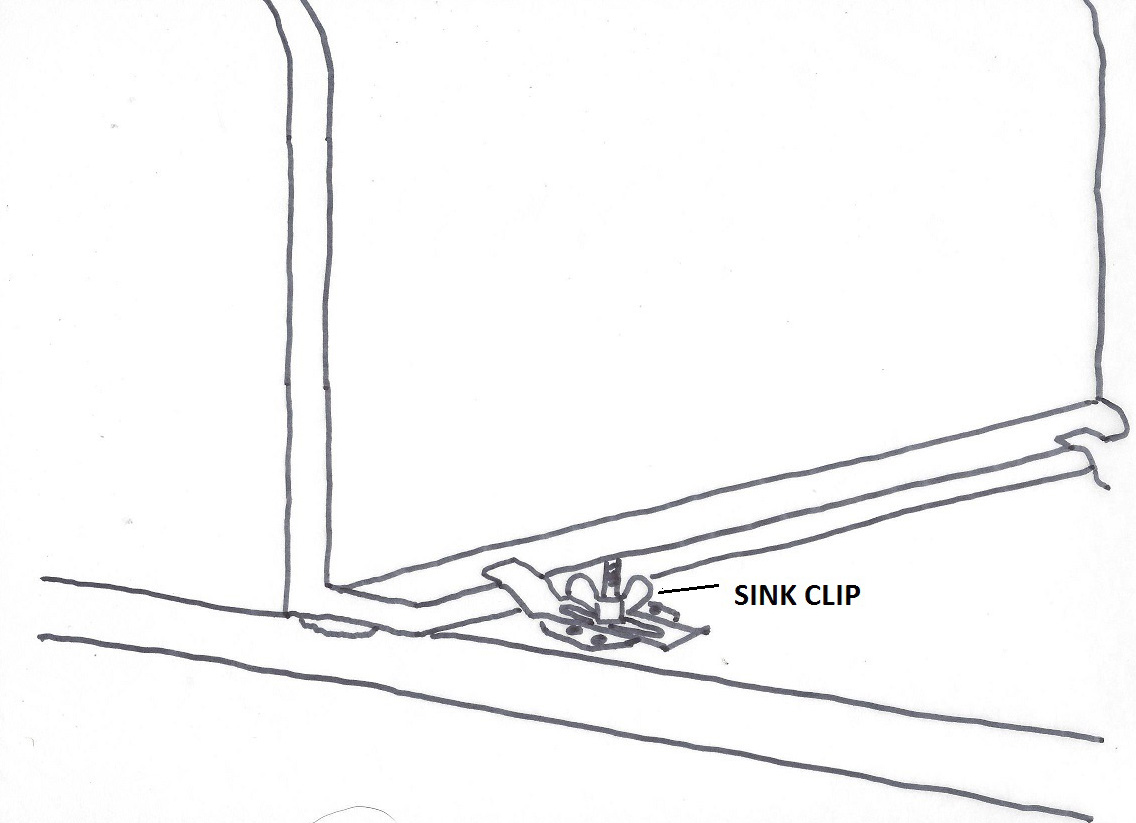
Kitchen Sink Clips
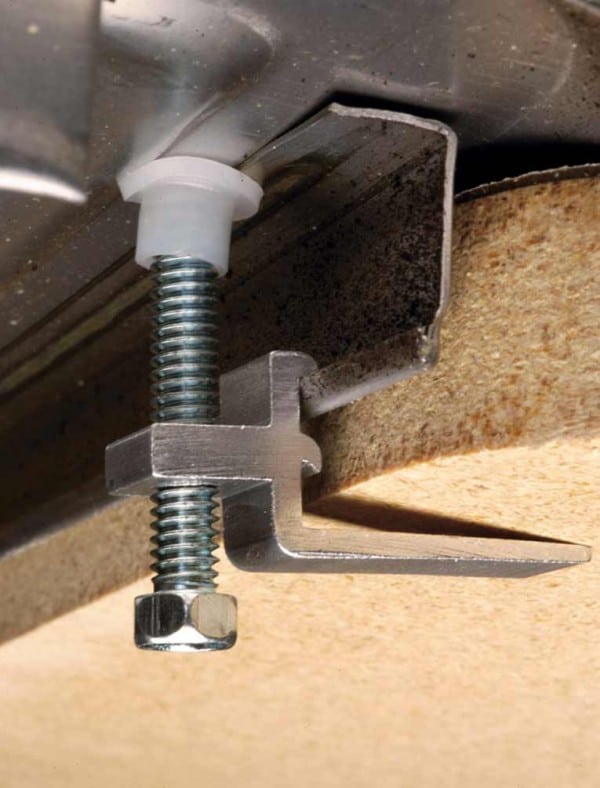
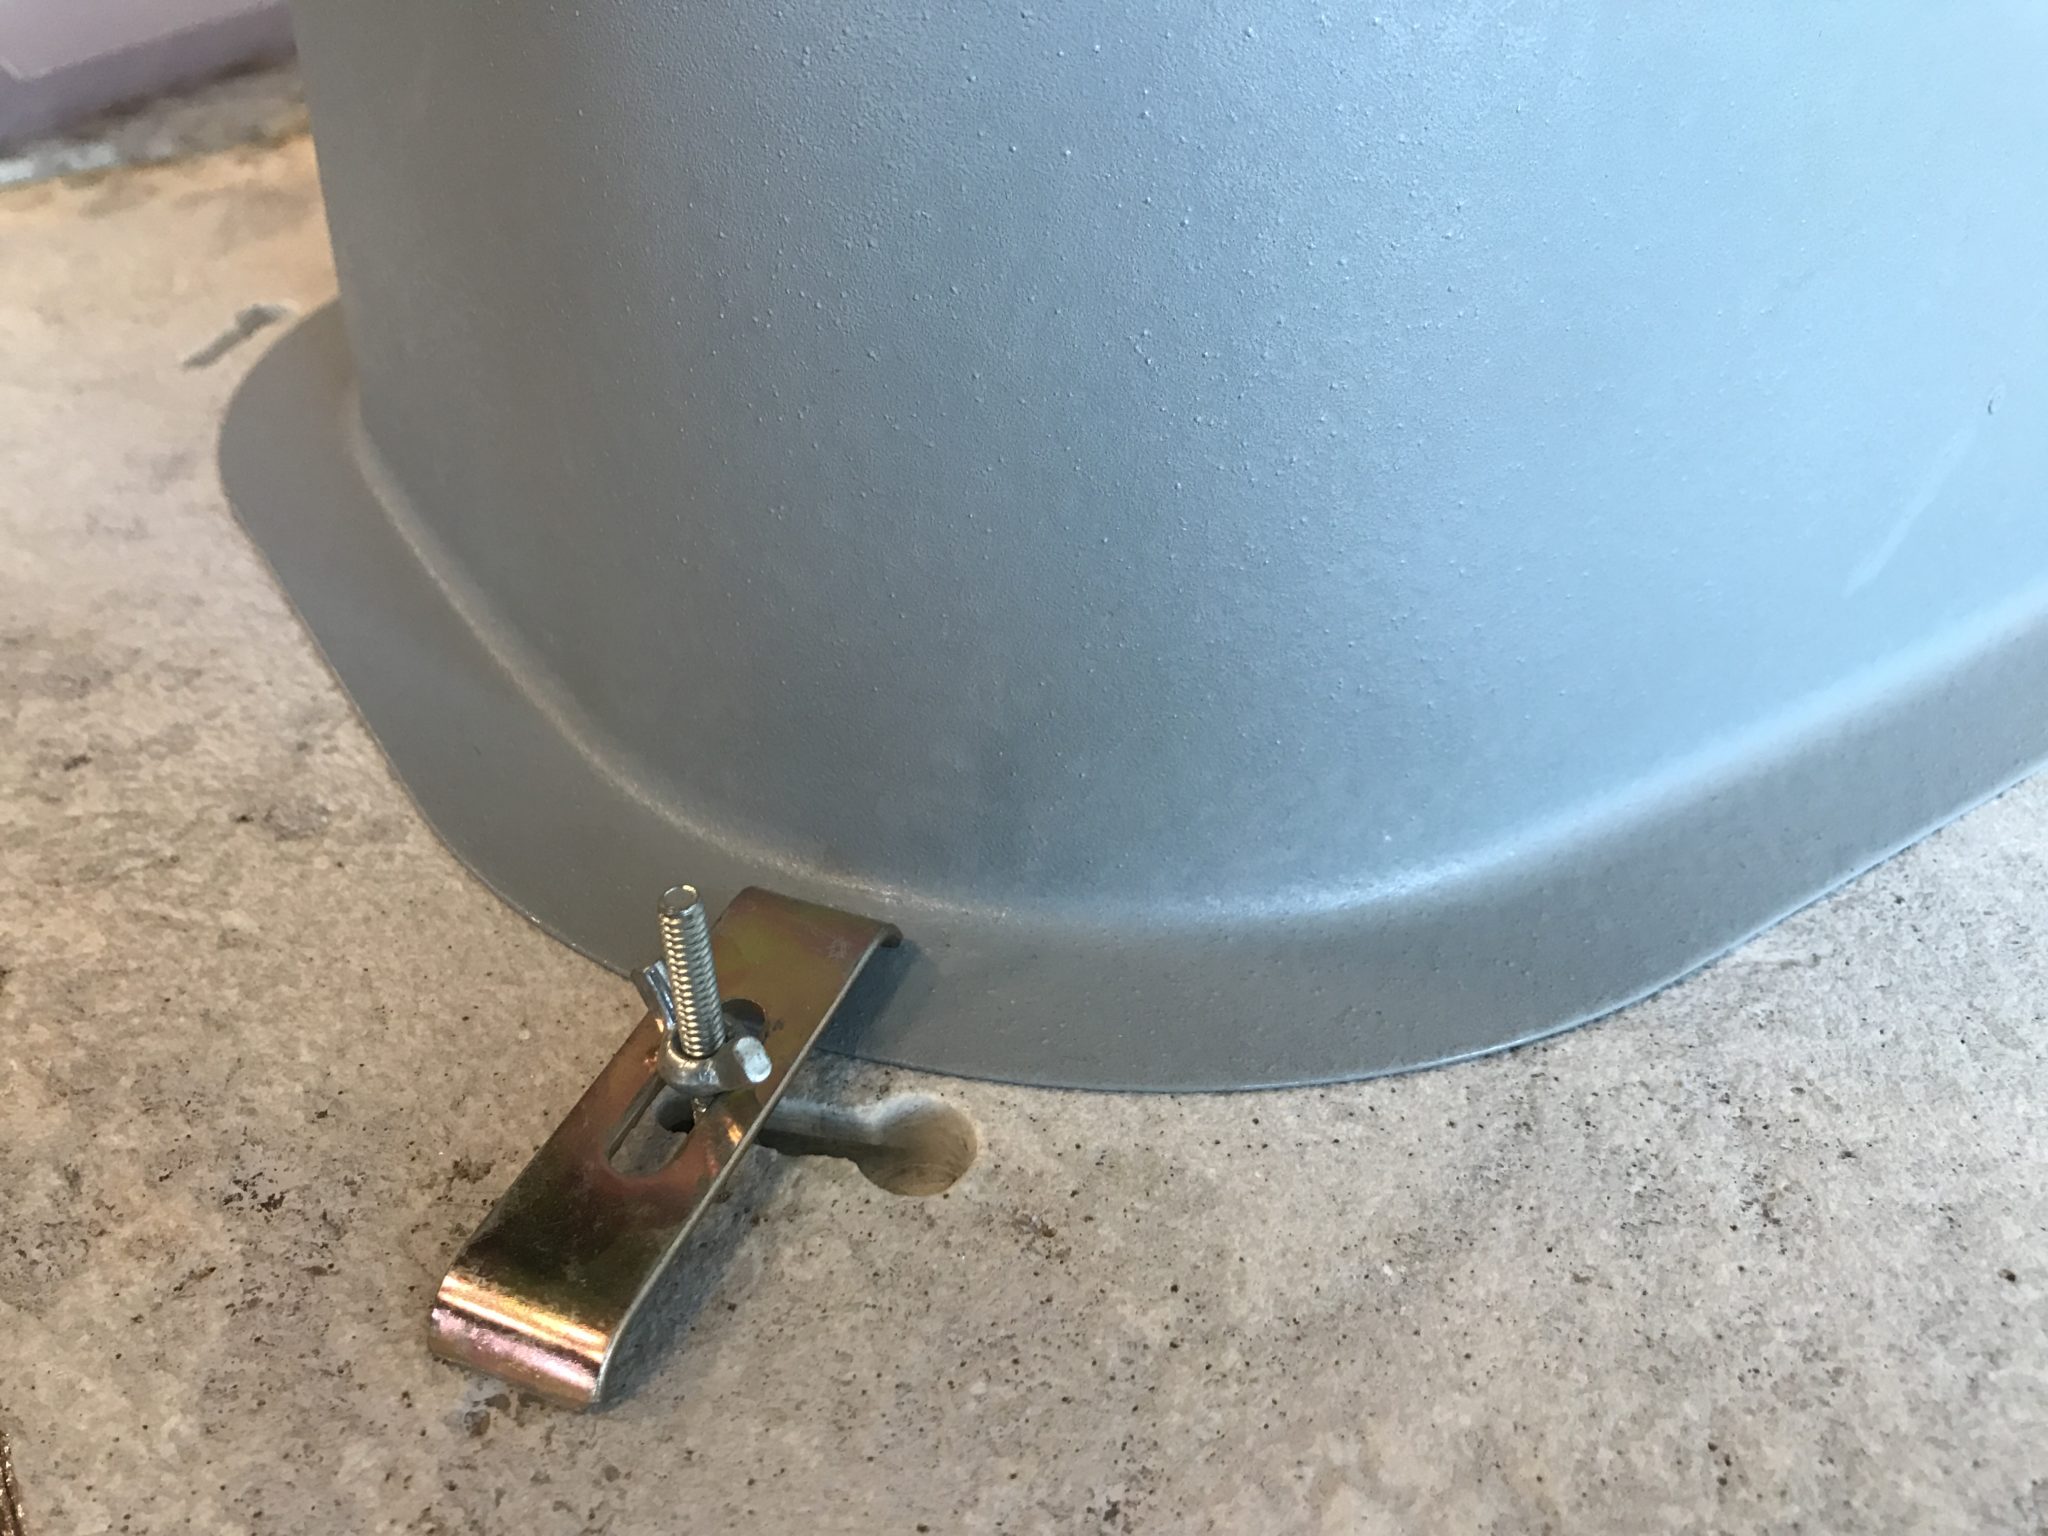
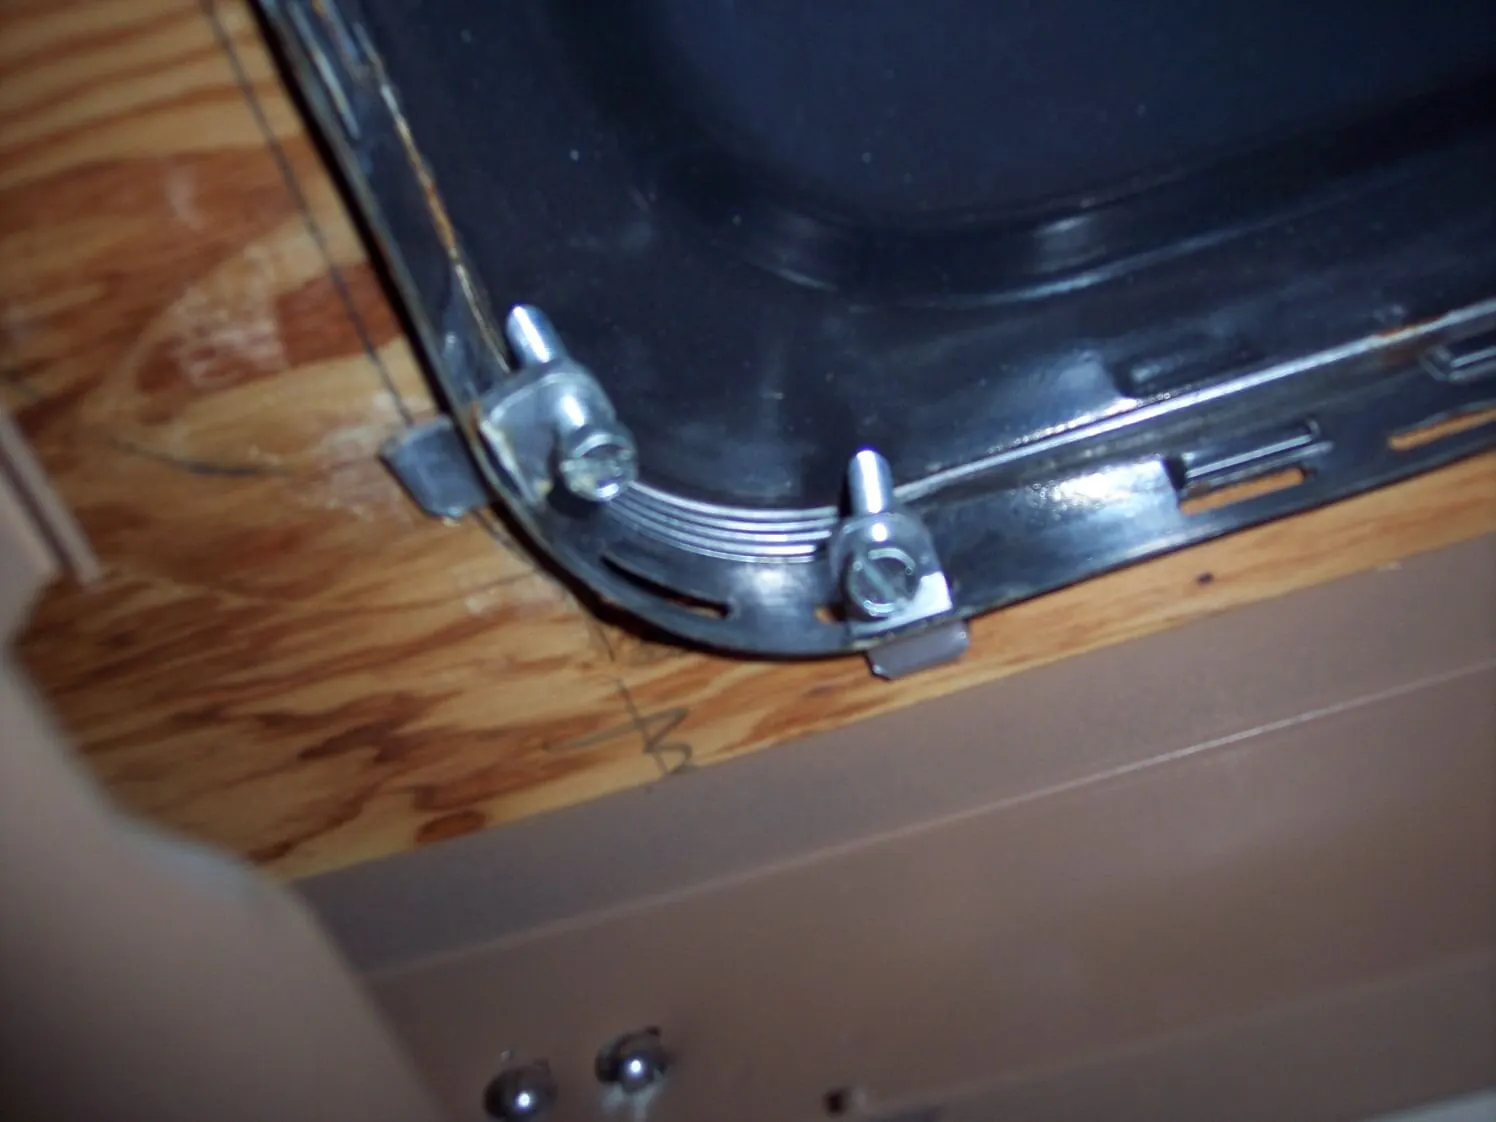
are small metal brackets that are used to secure the sink to the countertop. They are typically installed underneath the sink and are tightened to hold the sink firmly in place. Without these clips, the sink can become loose and shift, causing potential damage to the plumbing and creating an unappealing gap between the sink and countertop. Therefore, it is crucial to ensure that your kitchen sink is properly secured with clips.
When it comes to designing your dream kitchen, every detail matters. From the color of the cabinets to the type of countertop, everything plays a role in creating a functional and visually appealing space. However, one often overlooked aspect of kitchen design is the installation of clips on the sink. These small but mighty pieces of hardware may seem insignificant, but they serve an essential purpose in keeping your kitchen sink in place.
Kitchen Sink Clips
are small metal brackets that are used to secure the sink to the countertop. They are typically installed underneath the sink and are tightened to hold the sink firmly in place. Without these clips, the sink can become loose and shift, causing potential damage to the plumbing and creating an unappealing gap between the sink and countertop. Therefore, it is crucial to ensure that your kitchen sink is properly secured with clips.
How to Install Clips on Your Kitchen Sink
 Installing
clips on your kitchen sink
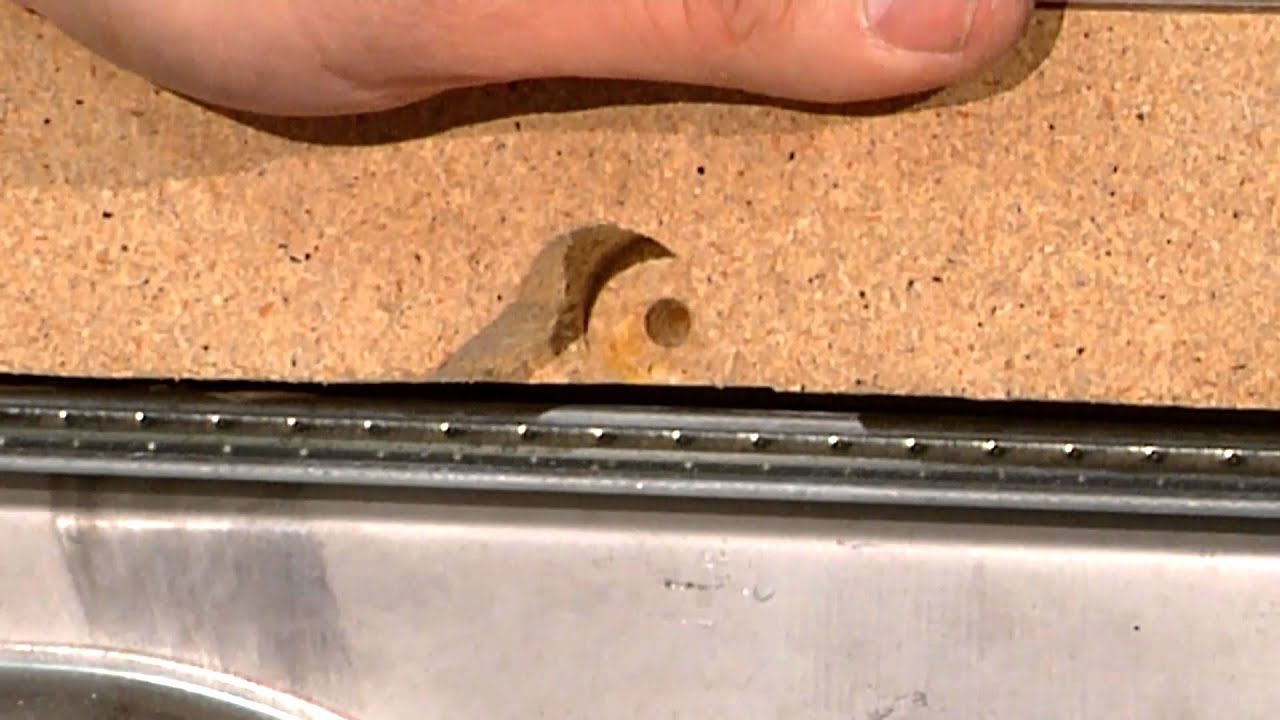
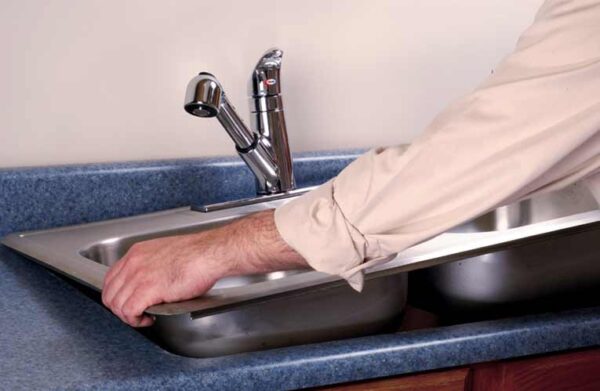
is a relatively simple process that can be done by homeowners with basic DIY skills. The first step is to measure and mark the placement of the clips on the underside of the sink. It is recommended to use at least four clips, with one in each corner of the sink. Next, use a drill to create holes for the clips to be inserted. Once the clips are in place, secure them with the provided screws. Finally, use a wrench to tighten the clips to ensure a snug fit.
Pro Tip:
It is crucial to use clips that are specifically designed for your sink model to ensure a proper fit and secure installation.
Installing
clips on your kitchen sink
is a relatively simple process that can be done by homeowners with basic DIY skills. The first step is to measure and mark the placement of the clips on the underside of the sink. It is recommended to use at least four clips, with one in each corner of the sink. Next, use a drill to create holes for the clips to be inserted. Once the clips are in place, secure them with the provided screws. Finally, use a wrench to tighten the clips to ensure a snug fit.
Pro Tip:
It is crucial to use clips that are specifically designed for your sink model to ensure a proper fit and secure installation.
The Benefits of Installing Clips on Your Kitchen Sink
:max_bytes(150000):strip_icc()/replacing-existing-surface-mounted-sink-1824896-06-d8eb6b67fe4f451b90c415551f75ad0f.jpg) Aside from the obvious benefit of keeping your sink in place, there are several other advantages to installing clips on your kitchen sink. These include preventing leaks, reducing noise, and improving the overall aesthetic of your kitchen. With a properly secured sink, you can rest assured that there will be no water damage or plumbing issues caused by a loose sink. Additionally, the clips help to minimize the noise that can be created from a sink that moves and bangs against the countertop. And lastly, having a secure sink creates a polished and professional look in your kitchen.
In conclusion, while they may seem like a small and insignificant detail,
installing clips on your kitchen sink
is a crucial step in achieving the perfect house design. Not only do they serve a functional purpose, but they also contribute to the overall aesthetic and professionalism of your kitchen. So don't overlook this important step in your kitchen design process and ensure that your sink is properly secured with clips.
Aside from the obvious benefit of keeping your sink in place, there are several other advantages to installing clips on your kitchen sink. These include preventing leaks, reducing noise, and improving the overall aesthetic of your kitchen. With a properly secured sink, you can rest assured that there will be no water damage or plumbing issues caused by a loose sink. Additionally, the clips help to minimize the noise that can be created from a sink that moves and bangs against the countertop. And lastly, having a secure sink creates a polished and professional look in your kitchen.
In conclusion, while they may seem like a small and insignificant detail,
installing clips on your kitchen sink
is a crucial step in achieving the perfect house design. Not only do they serve a functional purpose, but they also contribute to the overall aesthetic and professionalism of your kitchen. So don't overlook this important step in your kitchen design process and ensure that your sink is properly secured with clips.