Installing a cast iron kitchen sink can be a daunting task, but with the right tools and knowledge, it can be a DIY project that you can proudly accomplish. Cast iron sinks are known for their durability and classic look, making them a popular choice for many homeowners. In this guide, we will walk you through the step-by-step process of installing a cast iron kitchen sink.How to Install a Cast Iron Kitchen Sink


How to Install a Cast Iron Kitchen Sink


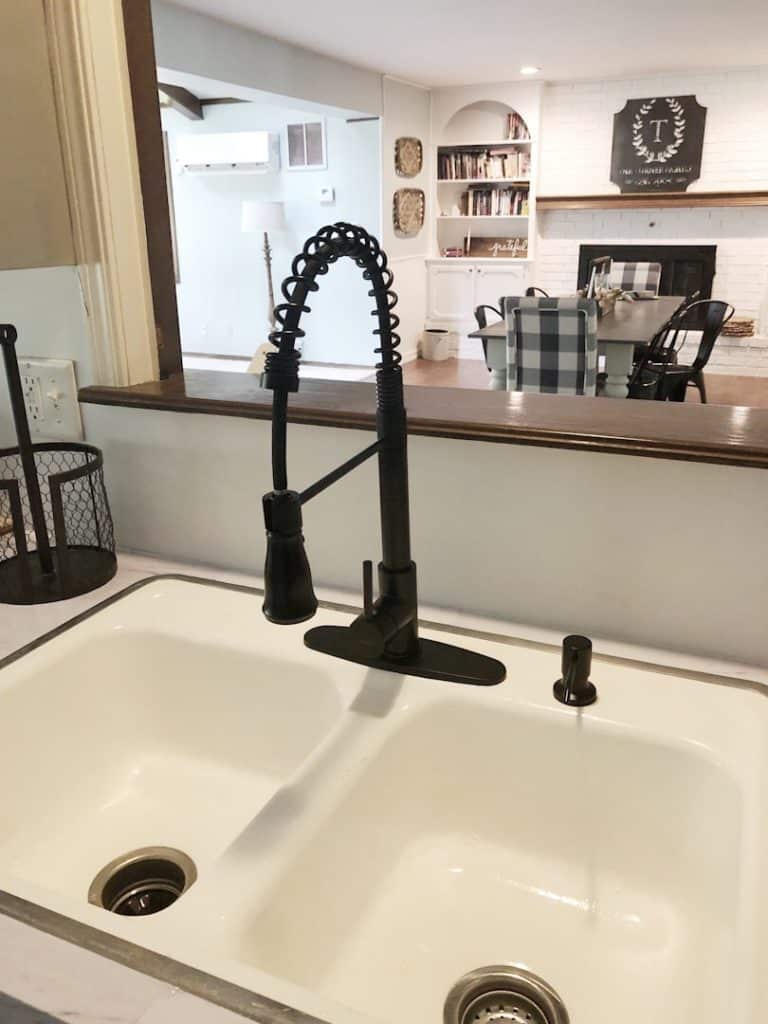
Before you begin the installation process, make sure you have all the necessary tools and materials. You will need a drill, adjustable wrench, plumber's putty, silicone sealant, and a sink strainer. It is also important to read and follow the manufacturer's instructions for your specific sink model. Step 1: Prepare the Cabinet Start by removing the old sink if you have one. Then, measure the opening in the countertop to ensure it will fit your new sink. If needed, use a jigsaw to cut the opening to the correct size. Next, clean the cabinet area where the sink will sit and make sure it is free of any debris. Step 2: Install the Faucet If your new sink does not come with a pre-installed faucet, you will need to install it before placing the sink in the cabinet. Follow the manufacturer's instructions for the faucet installation. Step 3: Apply Plumber's Putty Take a small amount of plumber's putty and roll it into a thin rope. Press it around the drain hole in the bottom of the sink. This will create a waterproof seal between the sink and the strainer. Step 4: Place the Sink in the Cabinet Carefully lower the sink into the cabinet and make sure it is centered in the opening. Use a level to ensure the sink is even. Then, use the adjustable wrench to tighten the clips on the underside of the sink to secure it to the countertop. Step 5: Connect the Drain Thread the drain tailpiece through the sink's drain hole and tighten it with the nut provided. Then, attach the P-trap to the tailpiece and the drain pipe from the wall. Make sure all connections are tight to prevent any leaks. Step 6: Seal the Sink Run a bead of silicone sealant around the edge of the sink where it meets the countertop. Smooth it out with your finger or a putty knife to create a waterproof seal. Step 7: Install the Sink Strainer Place the sink strainer over the drain hole and tighten it with the provided nut. Wipe away any excess putty or sealant. Step 8: Connect the Water Supply Attach the hot and cold water supply lines to the faucet and tighten them with an adjustable wrench. Turn on the water supply and check for any leaks.Step-by-Step Guide for Installing a Cast Iron Kitchen Sink


Step-by-Step Guide for Installing a Cast Iron Kitchen Sink


Now that your sink is securely installed, you can finish the remaining plumbing and connect any necessary appliances, such as a garbage disposal. With some basic tools and a little patience, you can save money by installing your cast iron kitchen sink yourself.DIY: Installing a Cast Iron Kitchen Sink


DIY: Installing a Cast Iron Kitchen Sink


Here are a few tips and tricks to keep in mind during the installation process:Cast Iron Kitchen Sink Installation: Tips and Tricks


Cast Iron Kitchen Sink Installation: Tips and Tricks


While there are many ways to install a cast iron kitchen sink, following these steps will ensure a successful and secure installation. Remember to take your time and double-check all connections to prevent any potential leaks or issues in the future.The Best Way to Install a Cast Iron Kitchen Sink


The Best Way to Install a Cast Iron Kitchen Sink


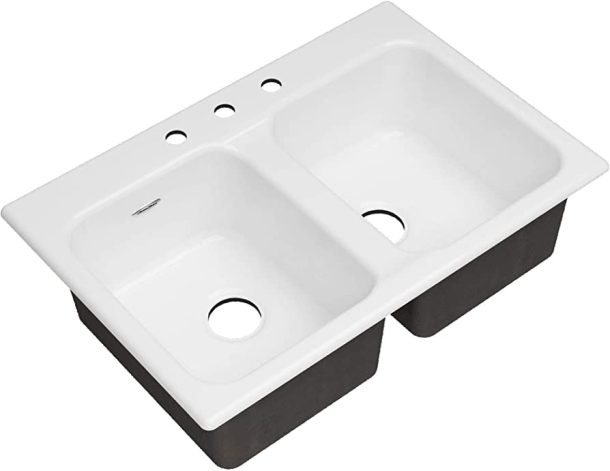
Before starting the installation process, it is important to know the size and type of sink that will fit in your cabinet and the type of faucet you want to install. Additionally, you should have some basic plumbing knowledge and be comfortable using tools such as a drill and wrench.Installing a Cast Iron Kitchen Sink: What You Need to Know

Installing a Cast Iron Kitchen Sink: What You Need to Know

If you are new to DIY projects, installing a cast iron kitchen sink may seem overwhelming. However, with this comprehensive guide and a little patience, you can successfully install your new sink and save money on professional installation costs.Cast Iron Kitchen Sink Installation: A Comprehensive Guide

Cast Iron Kitchen Sink Installation: A Comprehensive Guide

If you are unsure about any part of the installation process, it is always best to consult a professional. They can offer expert advice and ensure that your sink is installed correctly to prevent any future issues or damage to your kitchen.Expert Tips for Installing a Cast Iron Kitchen Sink

Expert Tips for Installing a Cast Iron Kitchen Sink


Follow these step-by-step instructions for a successful and secure cast iron kitchen sink installation:Step-by-Step Instructions for Installing a Cast Iron Kitchen Sink


Step-by-Step Instructions for Installing a Cast Iron Kitchen Sink

With the right tools and knowledge, installing a cast iron kitchen sink can be a manageable and rewarding DIY project. Follow these tips and steps for a successful and secure installation that will last for years to come.Cast Iron Kitchen Sink Installation Made Easy

Cast Iron Kitchen Sink Installation Made Easy


Why Choose a Cast Iron Kitchen Sink for Your Home?

Strength and Durability
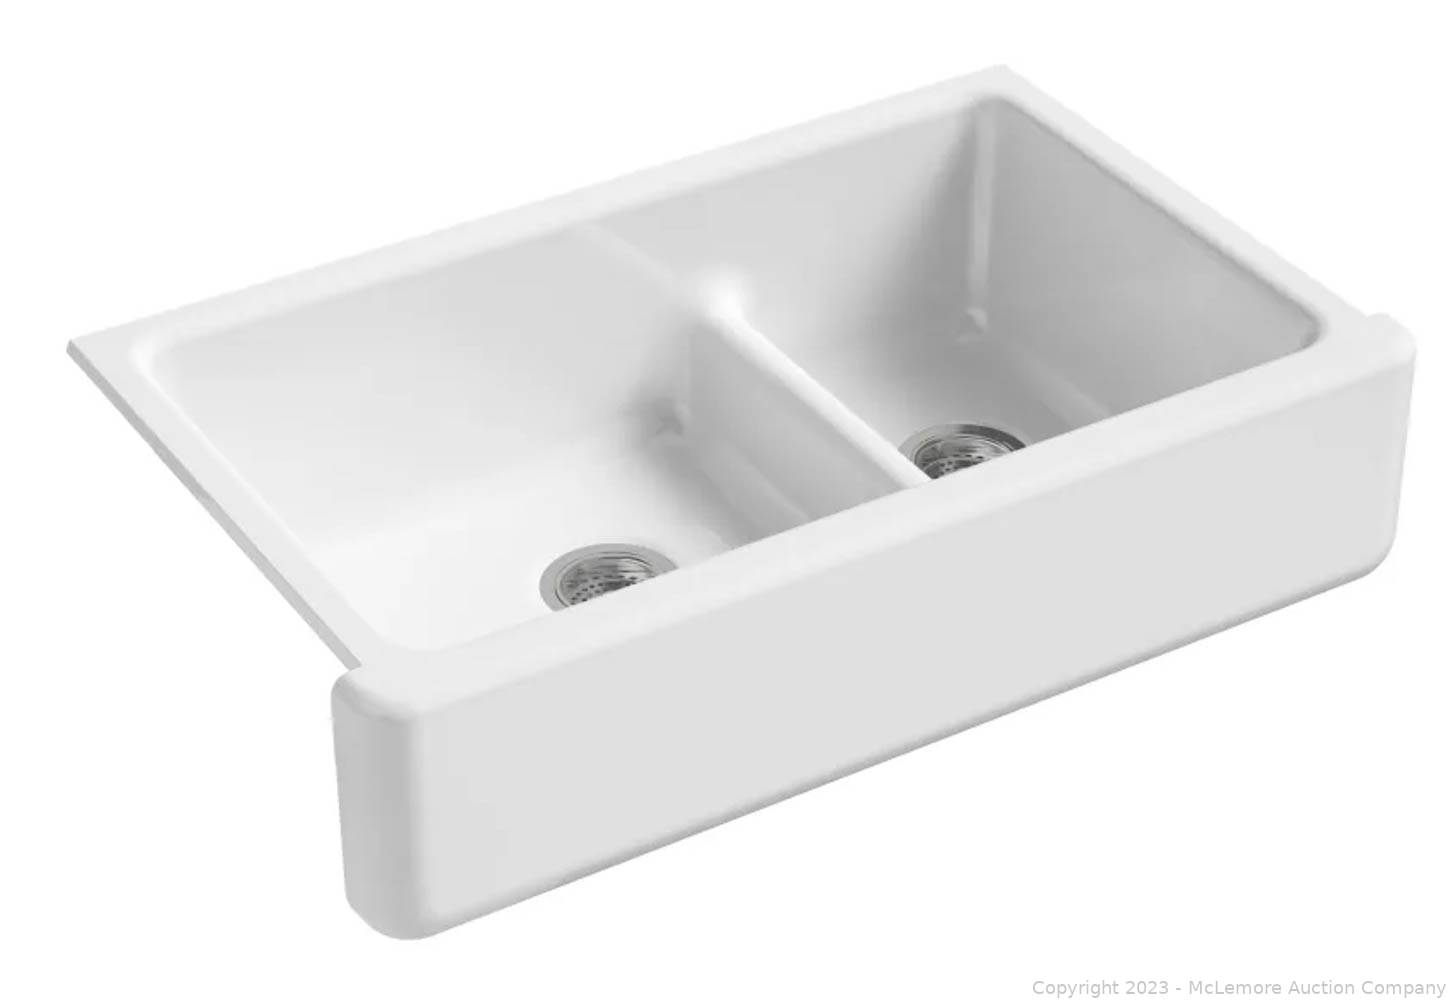
When it comes to choosing the perfect kitchen sink for your home, one material stands out above the rest – cast iron . This sturdy and durable material has been a popular choice for kitchen sinks for decades, and for good reason. Cast iron is made from a combination of iron, carbon, and silicon, making it incredibly strong and able to withstand heavy use. This means that your cast iron kitchen sink will last for years to come, even with daily use and regular wear and tear.
Timeless Style
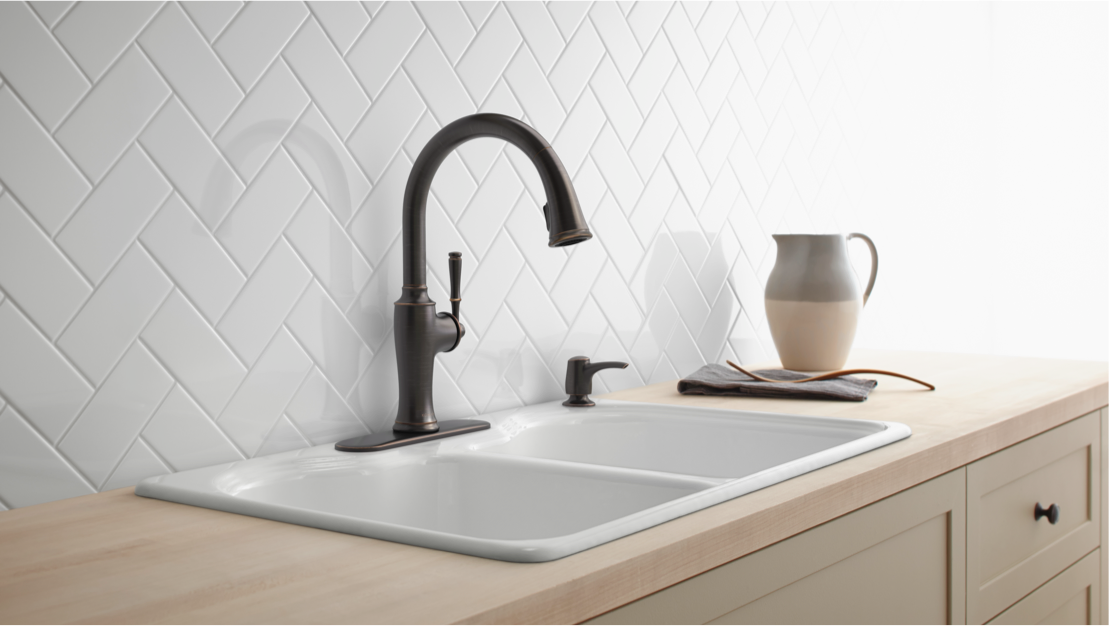
In addition to its strength and durability, cast iron also offers a timeless and classic style that can elevate the design of any kitchen. The smooth, glossy surface of a cast iron sink adds a touch of elegance and sophistication to any space. Plus, cast iron sinks come in a variety of colors and finishes, making it easy to find the perfect one to complement your kitchen's design.
Easy to Clean and Maintain

Not only is a cast iron kitchen sink strong and stylish, but it is also incredibly easy to clean and maintain. The smooth, non-porous surface of cast iron makes it resistant to stains and scratches, making it a breeze to clean up after even the messiest cooking projects. Additionally, cast iron sinks are heat-resistant, so you can place hot pots and pans directly in the sink without worrying about damaging the surface.
Overall, choosing a cast iron kitchen sink is a smart and stylish choice for any home. With its strength, durability, and timeless style, it is the perfect addition to any kitchen design. So why wait? Upgrade your kitchen with a cast iron sink today!