If you're looking to upgrade your kitchen and give it a fresh new look, installing a countertop kitchen sink is a great way to do it. This simple DIY project can make a big impact on the overall aesthetic and functionality of your kitchen. In this guide, we'll walk you through the steps of installing a countertop kitchen sink and provide some tips and tricks to help you get the job done right.How to Install a Countertop Kitchen Sink


How to Install a Countertop Kitchen Sink


If you're starting from scratch with a brand new countertop, the installation process will be a bit different than if you're replacing an old sink. You'll need to measure and cut a hole in the countertop for the sink to fit into. Make sure to measure carefully and double check your measurements before making any cuts. Once the hole is cut, you can follow the same steps as replacing an old sink.How to Install a Kitchen Sink in a New Countertop


How to Install a Kitchen Sink in a New Countertop


Installing a countertop kitchen sink is a project that can easily be done by most homeowners. With the right tools and materials, it can be a fun and rewarding DIY project. Not only will you save money by doing it yourself, but you'll also have the satisfaction of knowing you did it on your own. Just make sure to follow the steps carefully and take your time to ensure a successful installation.DIY Kitchen Sink Installation


DIY Kitchen Sink Installation


:no_upscale()/cdn.vox-cdn.com/uploads/chorus_asset/file/19495086/drain_0.jpg)


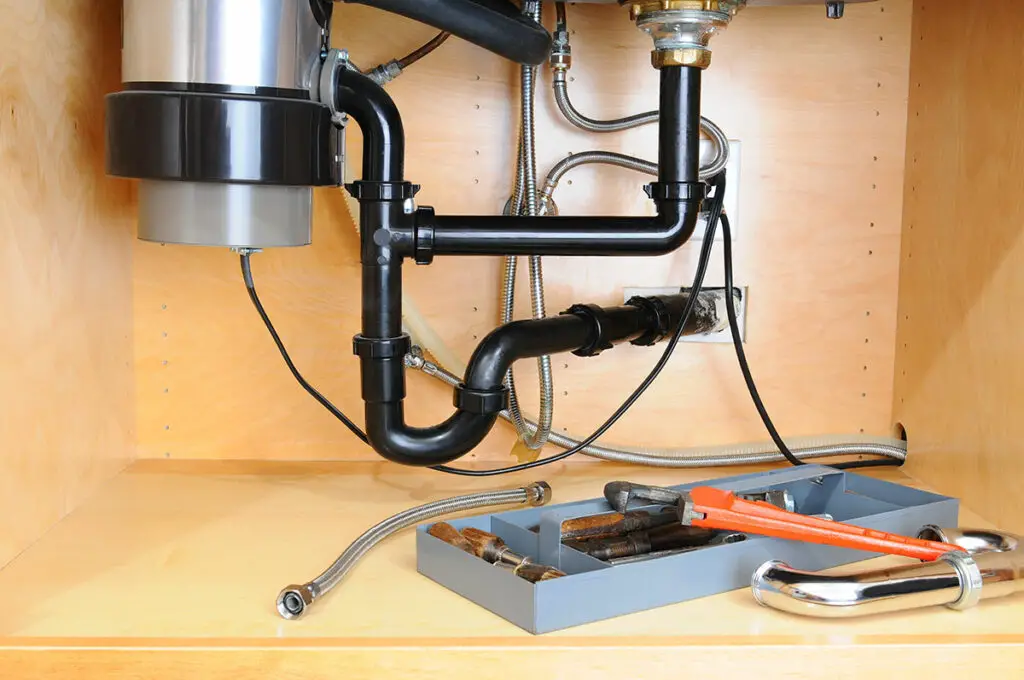
Step 1: Gather your tools and materials. Before you begin the installation, make sure you have all the necessary tools and materials. This may include a drill, jigsaw, silicone caulk, plumber's putty, and a wrench, among others. Make sure to read the instructions on your sink and faucet to see if any additional tools or materials are needed. Step 2: Turn off the water supply. Before you start disconnecting any pipes, make sure to turn off the water supply to your sink. This will prevent any water from spilling out and causing a mess. Step 3: Disconnect the old sink. If you're replacing an old sink, you'll need to disconnect it from the plumbing and remove it from the countertop. This may involve disconnecting the garbage disposal and other pipes. Make sure to follow the instructions for your specific sink and disposal. Step 4: Clean the area. Once the old sink is removed, clean the area thoroughly to remove any old caulk or debris. This will ensure a clean and smooth surface for your new sink to be installed on. Step 5: Apply plumber's putty. Roll plumber's putty into a thin rope and apply it to the underside of the sink's rim. This will create a watertight seal between the sink and the countertop. Step 6: Place the sink into the hole. Carefully place the sink into the hole in the countertop, making sure it is centered and level. Apply gentle pressure to the sink to make sure it is secure in the putty. Step 7: Install the faucet and drain. Install the faucet and drain according to the manufacturer's instructions. This may involve attaching hoses and other connections. Make sure to tighten all connections to prevent leaks. Step 8: Connect the plumbing. Reconnect the plumbing to the sink, including the drain and garbage disposal if you have one. Make sure all connections are secure and there are no leaks. Step 9: Apply silicone caulk. Apply a bead of silicone caulk around the edge of the sink to create a watertight seal between the sink and the countertop. Smooth out the caulk with a wet finger or a caulk smoother. Step 10: Turn on the water supply and test for leaks. Turn the water supply back on and test the sink for any leaks. If everything looks good, you're all done!Step-by-Step Guide to Installing a Countertop Kitchen Sink


Step-by-Step Guide to Installing a Countertop Kitchen Sink


- Drill - Jigsaw - Silicone caulk - Plumber's putty - Wrench - Screwdriver - Level - Measuring tape - PliersTools and Materials Needed for Installing a Countertop Kitchen Sink


Tools and Materials Needed for Installing a Countertop Kitchen Sink


- Measure twice, cut once. Make sure to double check your measurements before making any cuts in your countertop. - Take your time. Rushing through the installation can lead to mistakes and potential leaks. - Don't over-tighten connections. This can cause damage to the sink and plumbing. - Use the right tools for the job. This will make the installation much easier and more efficient. - Don't be afraid to ask for help. Installing a sink can be a two-person job, so don't hesitate to ask a friend or family member for assistance.Tips for a Successful Countertop Kitchen Sink Installation


Tips for a Successful Countertop Kitchen Sink Installation

/how-to-install-a-sink-drain-2718789-hero-24e898006ed94c9593a2a268b57989a3.jpg)


- Not properly measuring and cutting the hole for the sink. - Forgetting to turn off the water supply before disconnecting plumbing. - Not using enough plumber's putty or silicone caulk. - Tightening connections too much and causing damage to the sink or plumbing. - Not following the manufacturer's instructions for installation.Common Mistakes to Avoid When Installing a Countertop Kitchen Sink


Common Mistakes to Avoid When Installing a Countertop Kitchen Sink


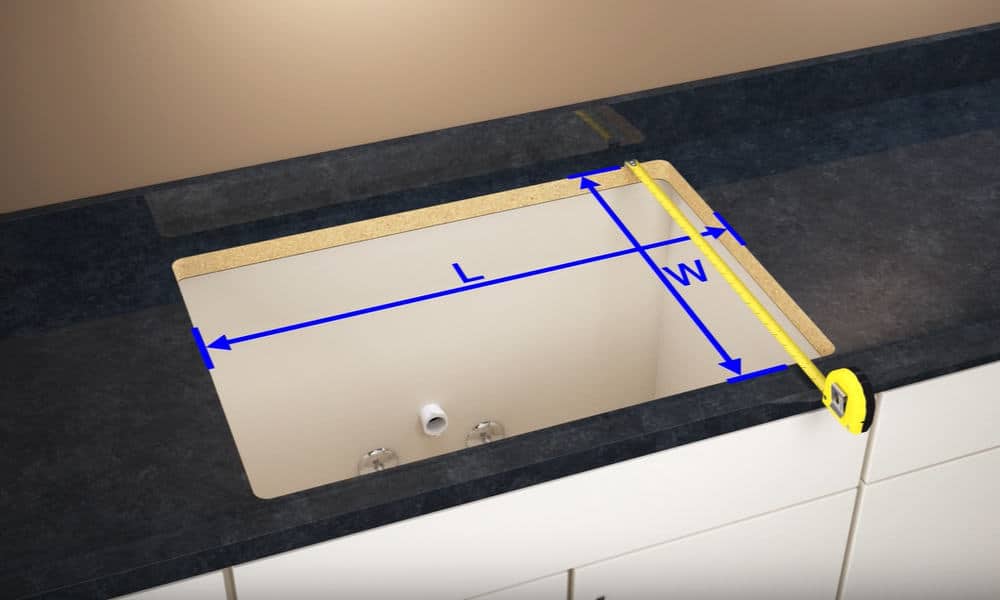
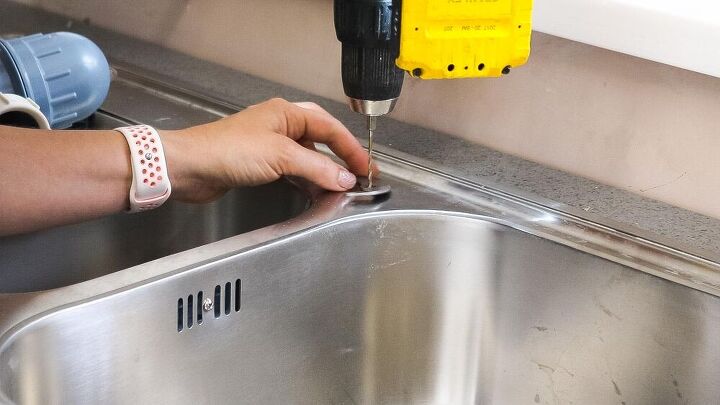
Measuring and cutting a hole for your sink may seem daunting, but with the right tools and careful measurements, it can be done easily. Here's how to do it: Step 1: Measure the sink. Measure the length and width of the sink, including the lip. This will give you the size of the hole you'll need to cut in your countertop. Step 2: Mark the countertop. Using a level and a pencil, mark the outline of the sink on the countertop. Make sure it is centered and level. Step 3: Drill a hole in each corner. Using a drill, make a small hole in each corner of the marked outline. This will give you a starting point for your jigsaw. Step 4: Cut the hole with a jigsaw. Following the marked outline, use a jigsaw to carefully cut out the hole for the sink. Take your time and make sure to follow the line closely. Step 5: Test the fit. Once the hole is cut, test the fit of the sink. If it doesn't fit, you can use a file or sandpaper to make any necessary adjustments.How to Measure and Cut a Hole for a Countertop Kitchen Sink

How to Measure and Cut a Hole for a Countertop Kitchen Sink


If you're planning on installing a garbage disposal with your new sink, it's important to make sure it is properly connected and installed. Here are some tips to help you with the process: - Make sure your garbage disposal is compatible with your sink and plumbing. - Follow the manufacturer's instructions for installation carefully. - Use plumber's putty and silicone caulk to create a watertight seal between the sink and disposal. - Test for leaks and make sure the disposal is functioning properly before using it.Installing a Garbage Disposal with Your Countertop Kitchen Sink


Installing a Garbage Disposal with Your Countertop Kitchen Sink


:max_bytes(150000):strip_icc()/garbage-disposal-buying-guide-2718864-hero-205069e72e6a4575b3131db47a6ace26.jpg)

While installing a countertop kitchen sink can be a DIY project, it may not be the right choice for everyone. Here are some factors to consider when deciding whether to hire a professional or do it yourself: - Budget: Hiring a professional will cost more upfront, but a DIY installation may end up costing more if mistakes are made. - Time: Installing a sink yourself may take longer than hiring a professional, who has the experience and tools to get the job done quickly. - Skill level: If you have experience with DIY projects and plumbing, you may feel confident in doing it yourself. However, if you're not comfortable with these tasks, it's best to leave it to a professional. - Warranty: Some sink manufacturers may require professional installation in order to honor their warranty. Make sure to check the warranty before deciding to install it yourself. Installing a countertop kitchen sink can be a fun and rewarding DIY project. With the right tools, materials, and guidance, you can have a new sink installed in no time. Just make sure to take your time, follow the instructions carefully, and don't be afraid to ask for help if needed. Happy installing!Professional vs. DIY Countertop Kitchen Sink Installation: Which is Right for You?


Professional vs. DIY Countertop Kitchen Sink Installation: Which is Right for You?


Why You Should Consider Installing a Countertop Kitchen Sink

The Importance of a Kitchen Sink in House Design
 When it comes to designing your kitchen, the sink is often an overlooked element. However, it plays a crucial role in both functionality and aesthetics. A well-designed kitchen sink can make a significant impact on the overall look and feel of your kitchen. That's why it's essential to carefully consider your options when it comes to choosing a kitchen sink. One increasingly popular option is the countertop kitchen sink.
What is a Countertop Kitchen Sink?
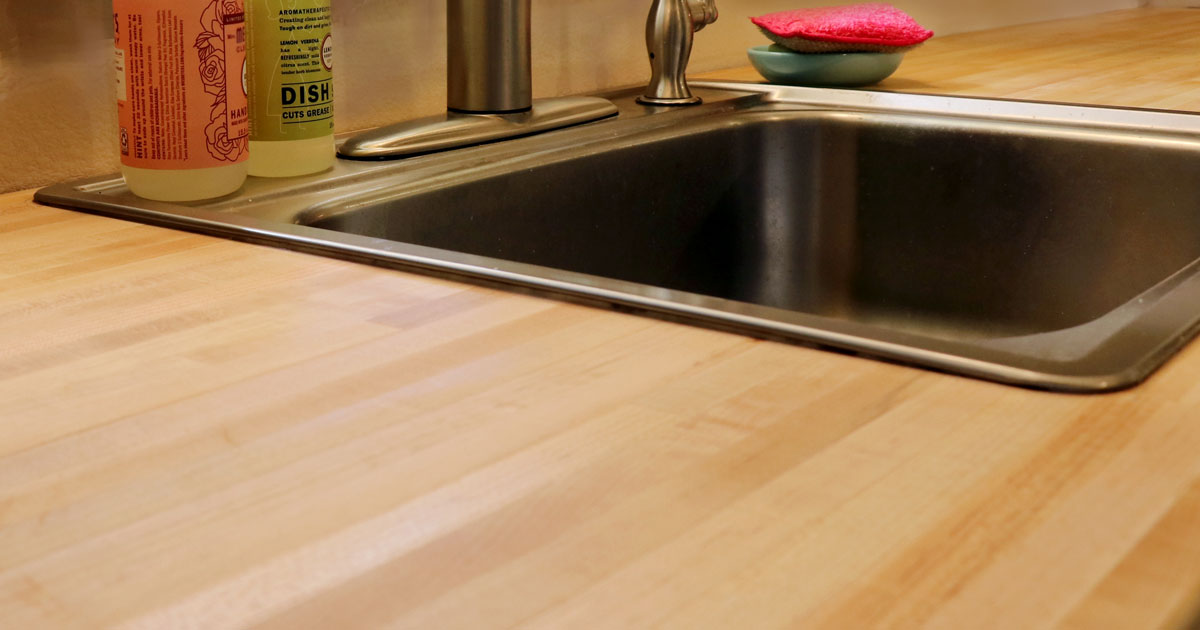
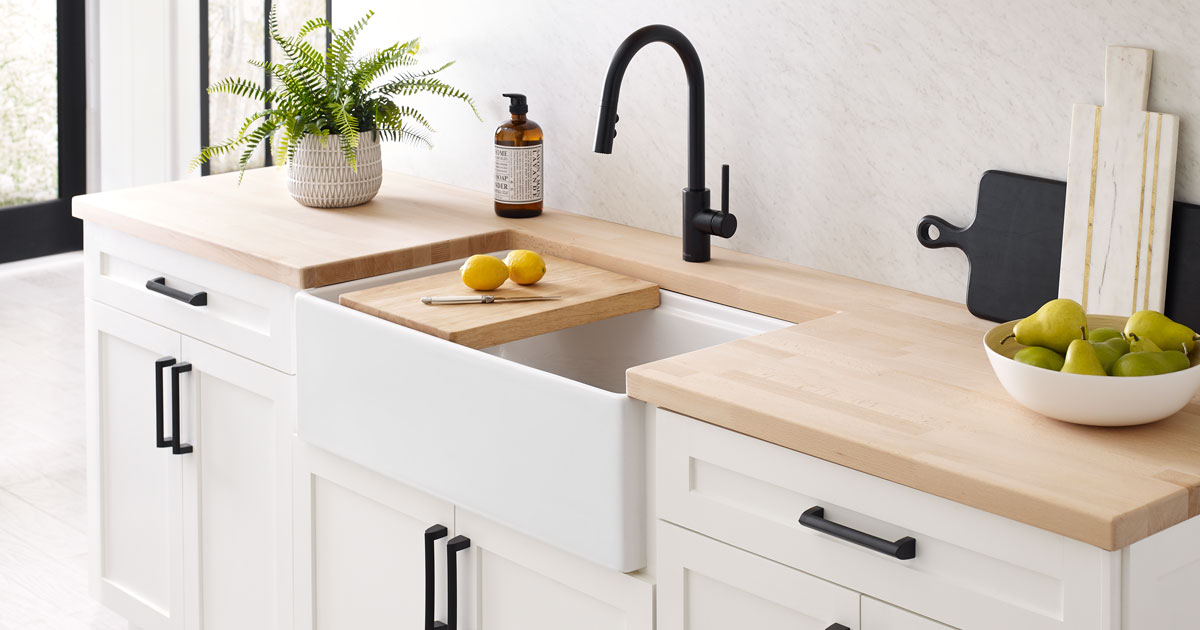
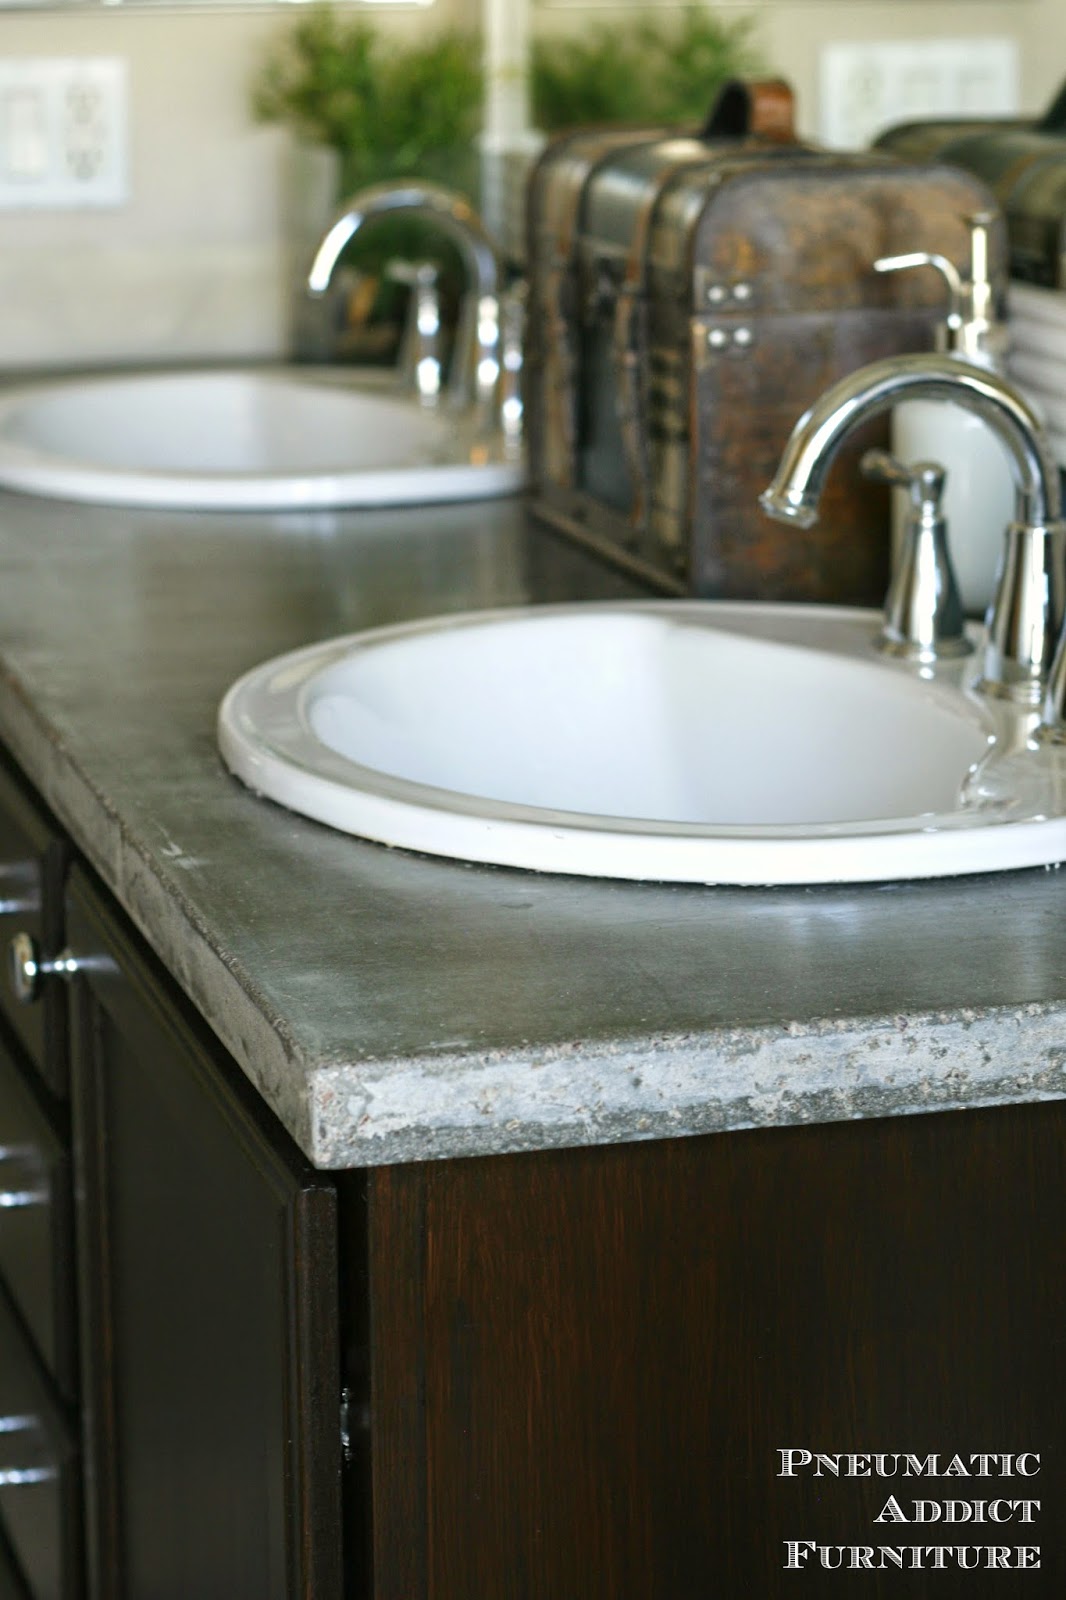
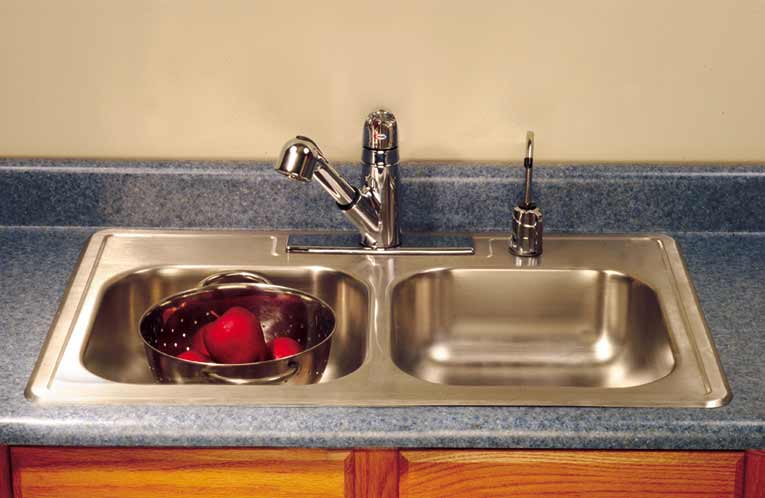
 A countertop kitchen sink, also known as an above-counter or top-mount sink, is a sink that sits on top of the countertop instead of being mounted underneath. This type of sink adds a modern and stylish touch to any kitchen design. It is available in various materials, including stainless steel, porcelain, granite, and quartz, allowing you to choose the one that best suits your kitchen's style and needs.
The Benefits of a Countertop Kitchen Sink
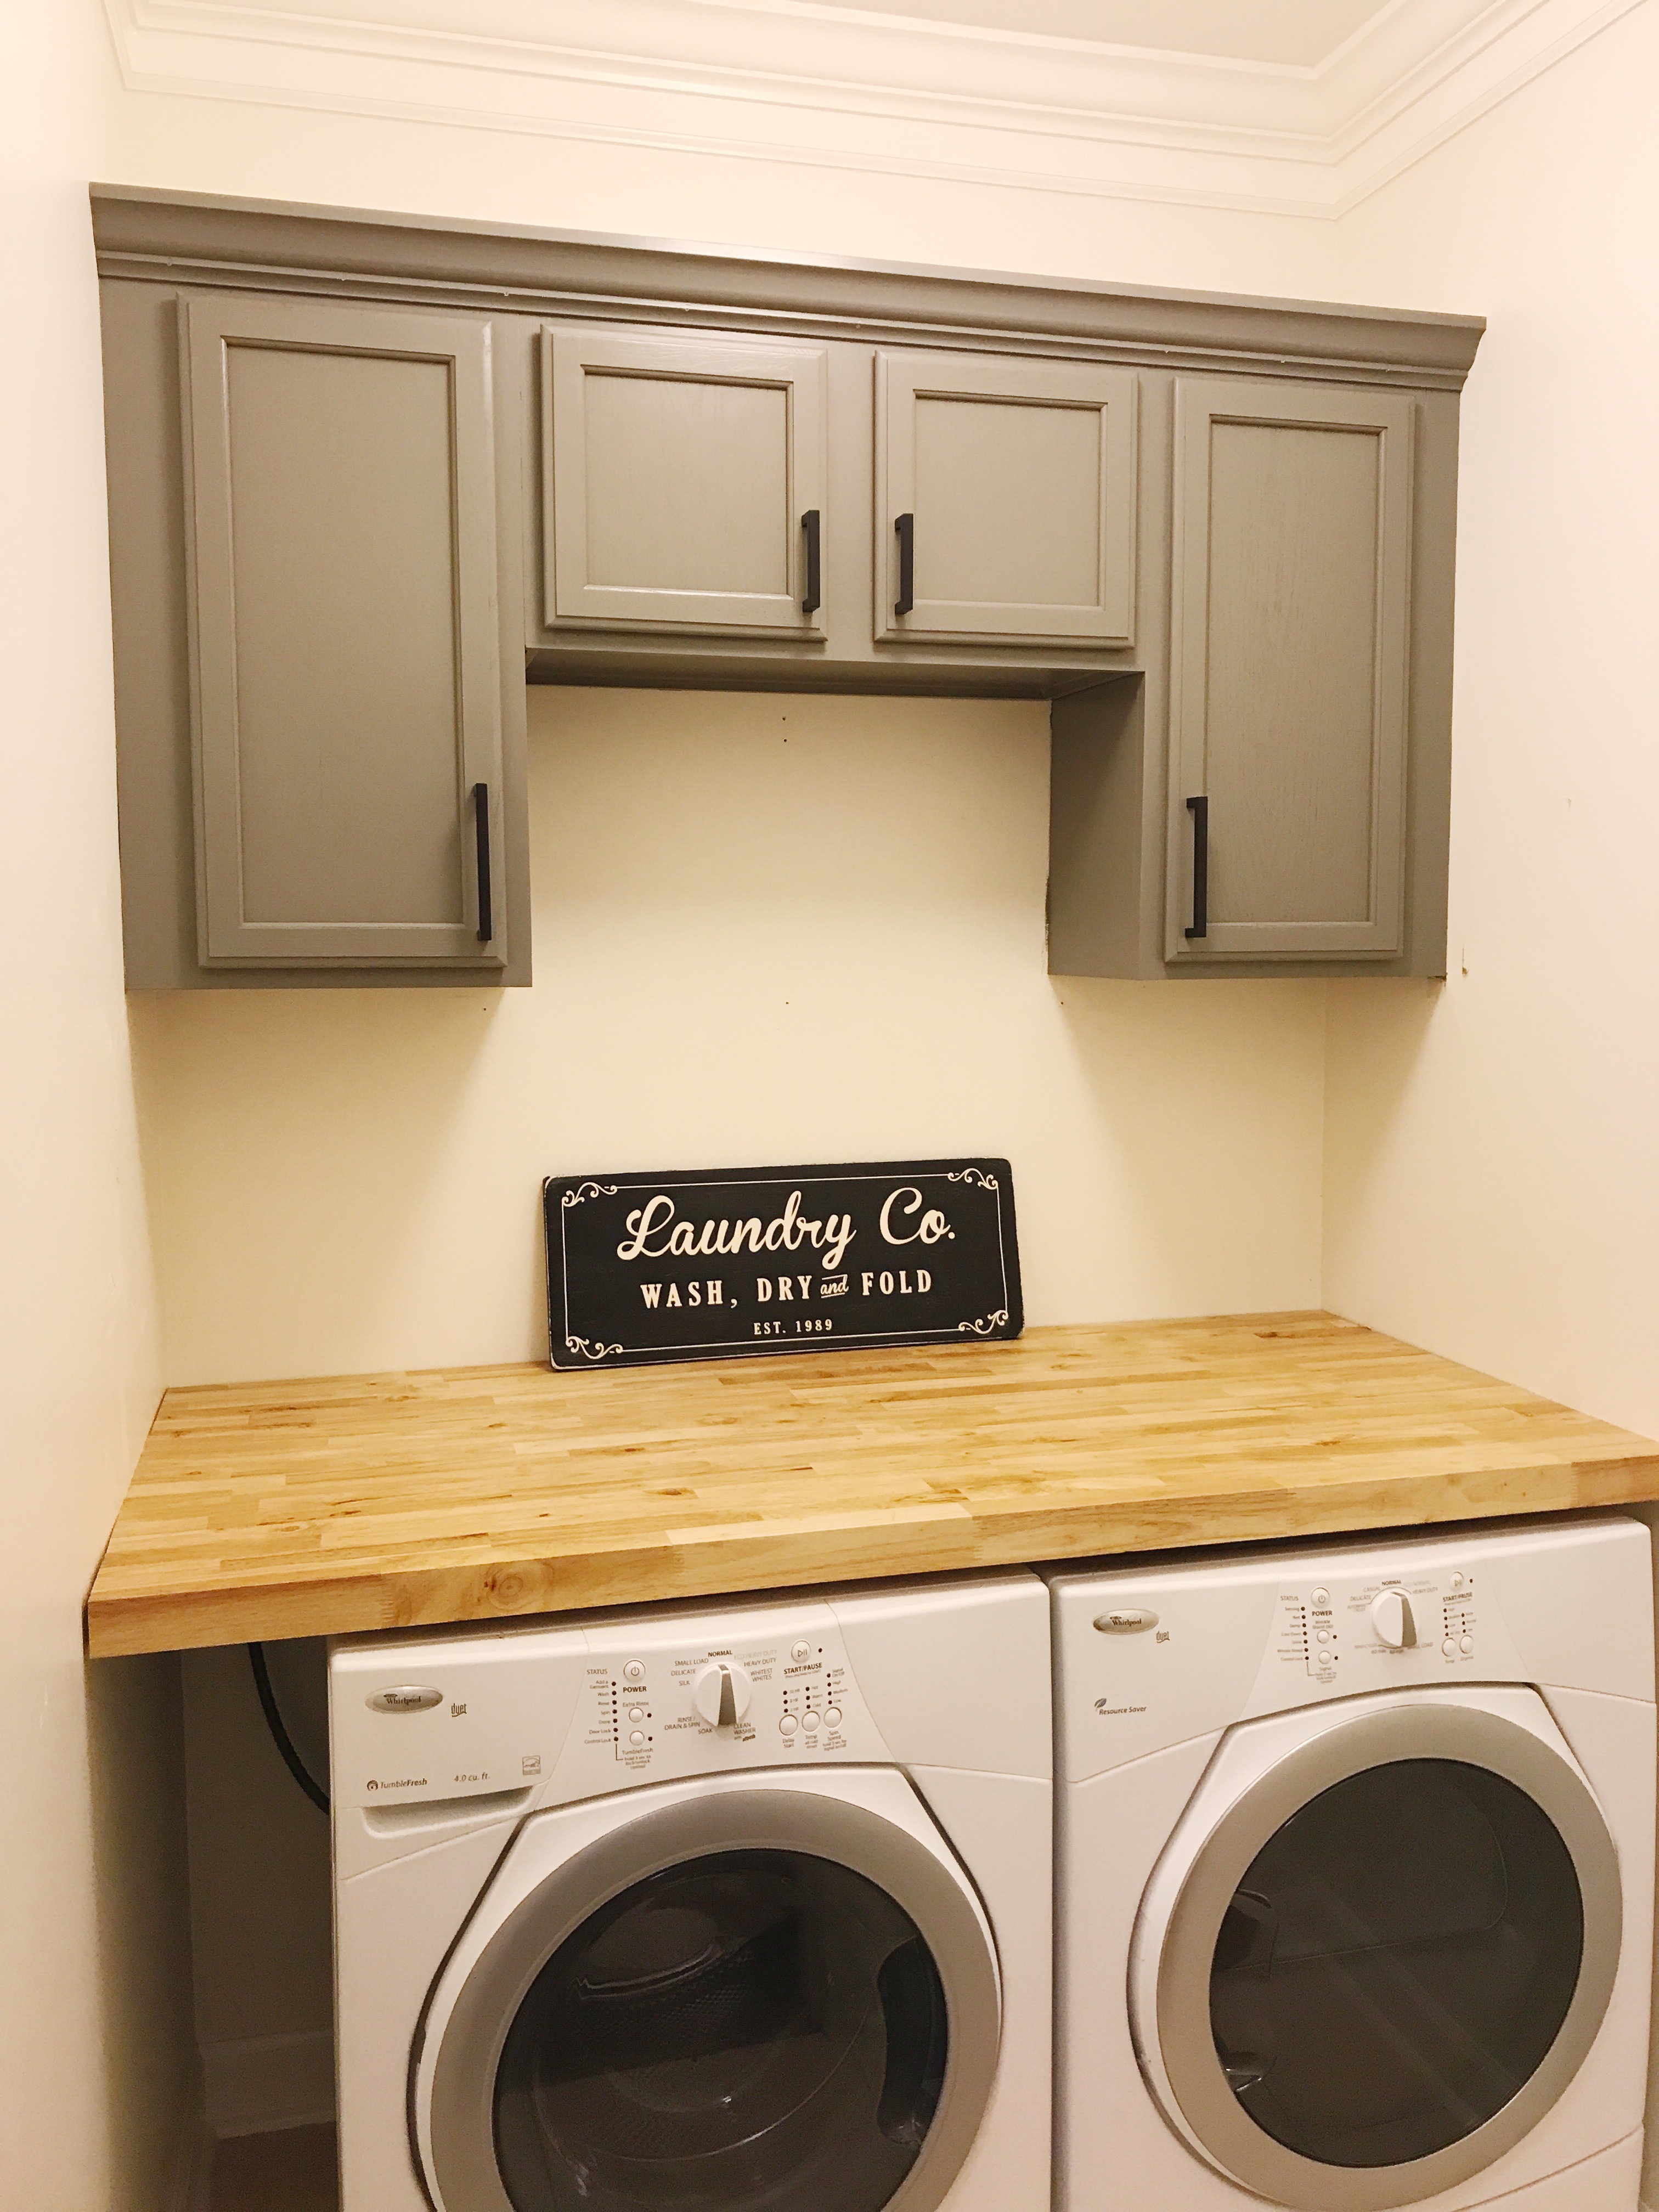
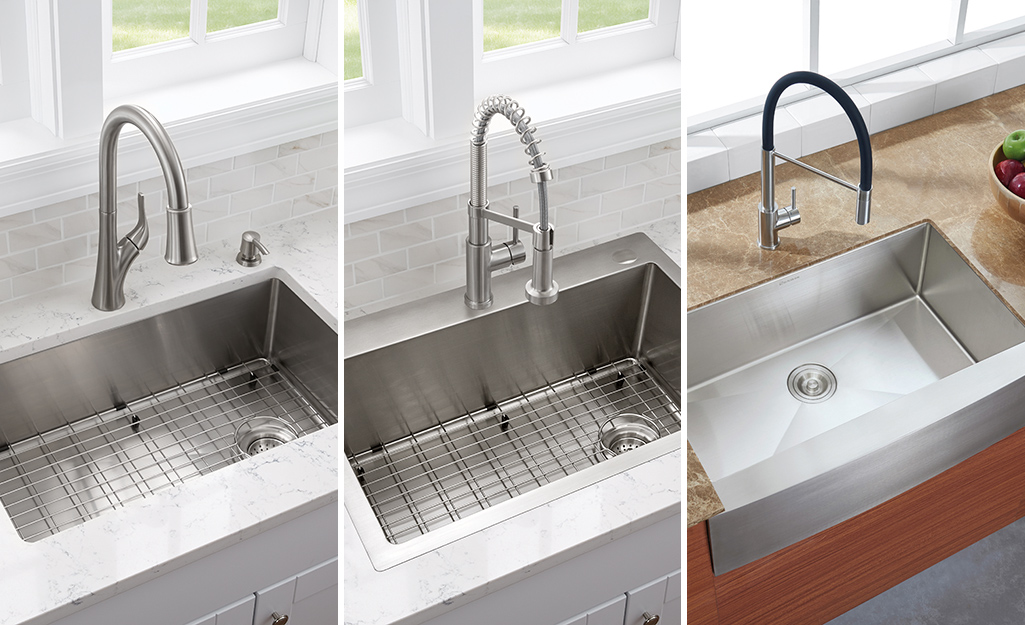
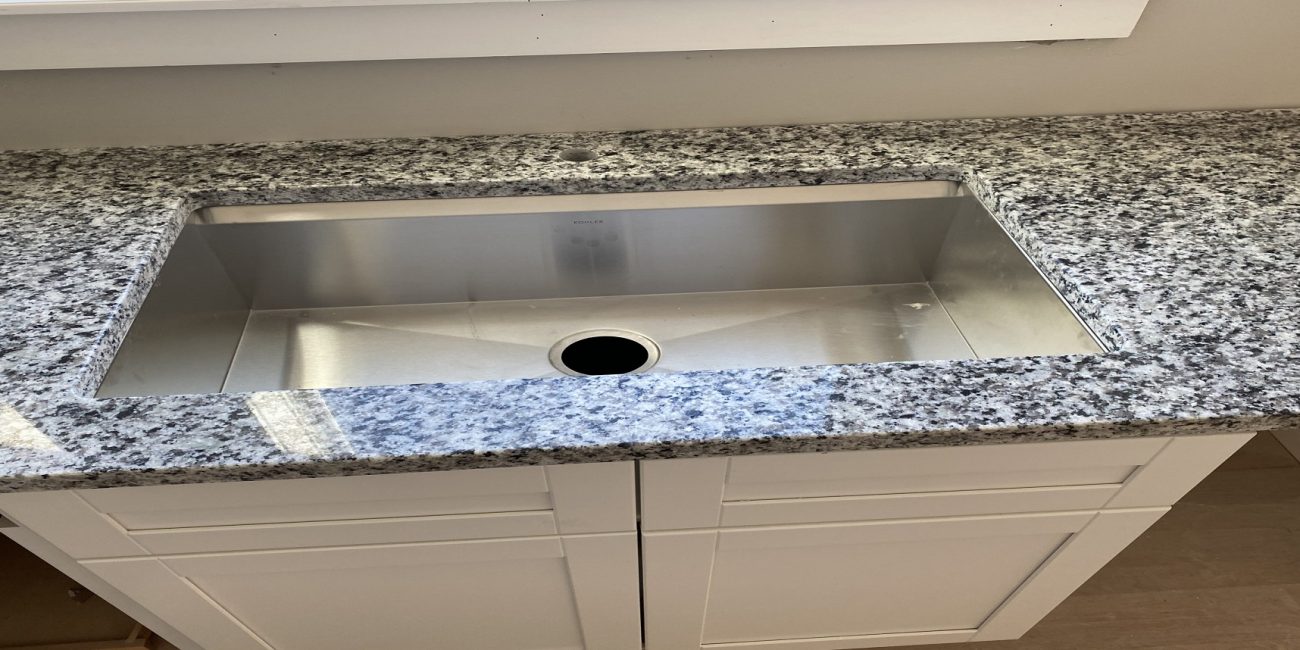
 One of the main benefits of a countertop kitchen sink is its versatility. It can be installed on any type of countertop, including laminate, granite, and solid surface. This makes it an excellent option for both new kitchen designs and kitchen renovations. Additionally, its above-counter installation allows for more storage space underneath the sink, making it a practical choice for smaller kitchens.
Another advantage of a countertop kitchen sink is its easy installation process. It can be installed in a matter of minutes, saving you time and hassle. It also requires minimal maintenance, making it a convenient choice for busy homeowners. The sink's raised design also helps with drainage, preventing water from pooling around the sink and making cleaning up a breeze.
One of the main benefits of a countertop kitchen sink is its versatility. It can be installed on any type of countertop, including laminate, granite, and solid surface. This makes it an excellent option for both new kitchen designs and kitchen renovations. Additionally, its above-counter installation allows for more storage space underneath the sink, making it a practical choice for smaller kitchens.
Another advantage of a countertop kitchen sink is its easy installation process. It can be installed in a matter of minutes, saving you time and hassle. It also requires minimal maintenance, making it a convenient choice for busy homeowners. The sink's raised design also helps with drainage, preventing water from pooling around the sink and making cleaning up a breeze.
Final Thoughts
 In conclusion, a countertop kitchen sink is an excellent addition to any kitchen design. Its versatility, easy installation, and low maintenance make it a practical and stylish choice. By installing a countertop kitchen sink, you can elevate the look of your kitchen and make your daily tasks more efficient. So, if you are looking to upgrade your kitchen, consider installing a countertop kitchen sink for a modern and functional touch.