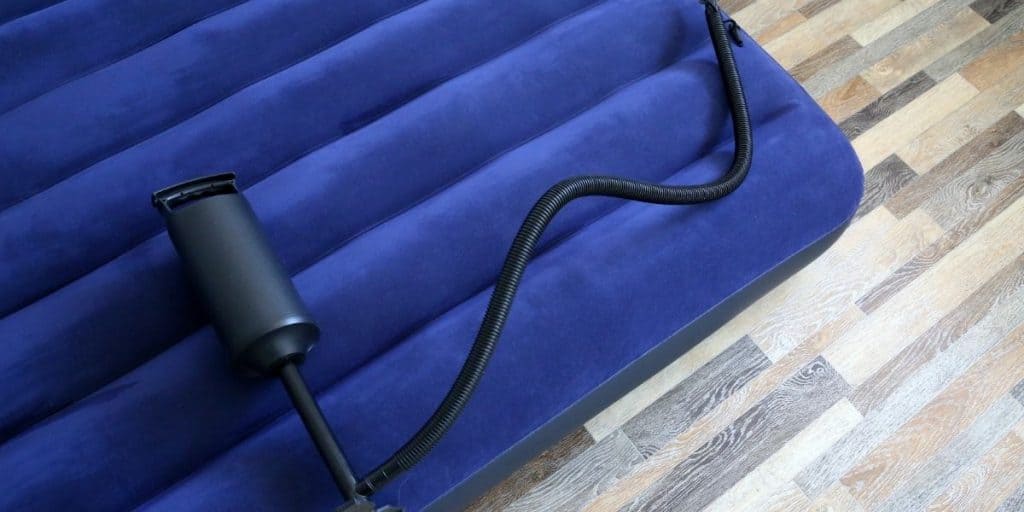
Air mattresses are a convenient and comfortable option for sleeping, whether you're camping or hosting guests at home. However, they are not immune to damage and can often spring a leak at the seam. This can be frustrating and make your air mattress unusable, but fear not! With a few simple steps, you can easily fix an air mattress leak at the seam and get back to a good night's sleep.How to Fix an Air Mattress Leak at the Seam


How to Fix an Air Mattress Leak at the Seam

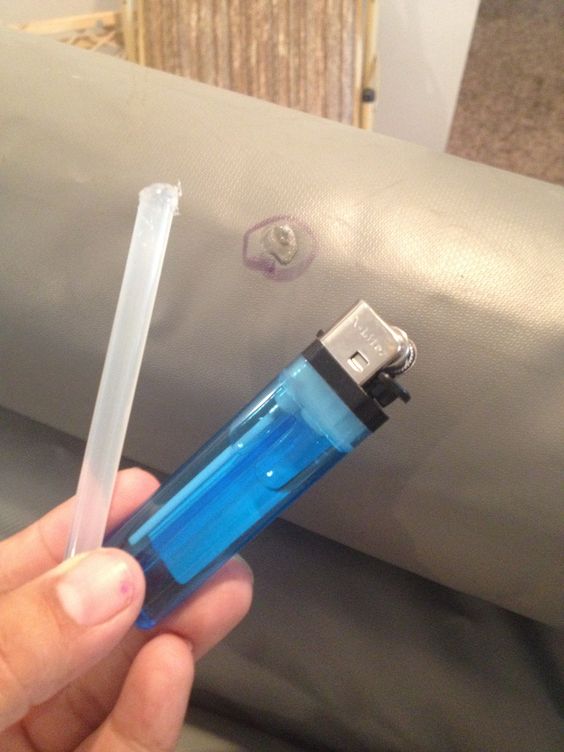
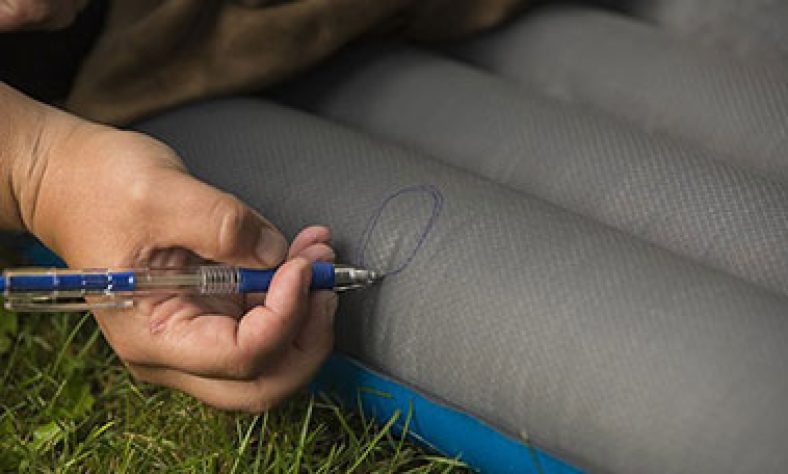
The first step in fixing a seam leak in an air mattress is to locate the leak. This can be done by inflating the mattress and running your hand over the surface, feeling for any escaping air. Once you have found the leak, mark it with a pen or tape so you can easily find it again. Next, deflate the mattress and clean the area around the leak with rubbing alcohol. This will help the patch adhere better. If the leak is near a seam, it's important to make sure the area is completely dry before moving on to the next step. Now it's time to patch the leak. You can purchase a patch kit specifically designed for air mattresses, or you can use a bike tire patch kit. Cut a piece of the patch material to cover the leak, making sure it is at least one inch larger than the leak on all sides. Apply the adhesive included in the patch kit to the patch and the area around the leak. Press the patch firmly onto the mattress and hold it in place for a few minutes to ensure a good bond. Let the patch dry completely before inflating the mattress again.How to Repair a Seam Leak in an Air Mattress


How to Repair a Seam Leak in an Air Mattress


If you don't have a patch kit on hand, there are a few DIY methods you can try to fix a seam leak in an air mattress. One option is to use duct tape. Cut a piece of duct tape large enough to cover the leak and apply it firmly to the mattress. This may not be the most aesthetically pleasing solution, but it should hold until you can get a proper patch kit. If you don't have duct tape, you can also try using a hot glue gun. Apply a generous amount of hot glue to the leak and use a flat object, like a spoon, to spread it evenly. Let it dry completely before inflating the mattress.DIY: Fixing a Seam Leak in an Air Mattress


DIY: Fixing a Seam Leak in an Air Mattress


For a quick and easy solution to an air mattress seam leak, try using silicone sealant. This can be found at most hardware stores and is typically used for sealing cracks in windows and doors. Apply the sealant to the leak and let it dry completely before inflating the mattress. This method may not be as durable as using a patch kit, but it can be a good temporary fix until you can get a proper repair kit.Quick and Easy Fix for an Air Mattress Seam Leak


Quick and Easy Fix for an Air Mattress Seam Leak


If you're more of a visual learner, here is a step-by-step guide to fixing an air mattress seam leak: Step 1: Inflate the mattress and locate the leak. Step 2: Deflate the mattress and clean the area around the leak with rubbing alcohol. Step 3: Cut a patch large enough to cover the leak and apply the adhesive to both the patch and the leak area. Step 4: Press the patch firmly onto the mattress and hold it in place for a few minutes to ensure a good bond. Step 5: Let the patch dry completely before inflating the mattress again.Step-by-Step Guide to Fixing an Air Mattress Seam Leak


Step-by-Step Guide to Fixing an Air Mattress Seam Leak


Air mattress seam leaks can be caused by a variety of factors, such as over-inflating the mattress, punctures from sharp objects, or simply wear and tear over time. To prevent these issues, make sure to properly inflate and deflate your mattress, avoid placing it on rough surfaces, and regularly check for any signs of damage. If you notice a seam leak, follow the steps outlined above to fix it. It's also a good idea to keep a patch kit on hand for any future mishaps.Common Causes of Air Mattress Seam Leaks and How to Fix Them


Common Causes of Air Mattress Seam Leaks and How to Fix Them


As mentioned earlier, using a patch kit specifically designed for air mattresses is the best and most durable solution for fixing a seam leak. These kits can be found at most department stores or online and usually come with patch material, adhesive, and instructions for use. Follow the steps outlined in the instructions and make sure to let the patch dry completely before inflating the mattress. With a patch kit, your air mattress will be as good as new in no time.Using a Patch Kit to Fix an Air Mattress Seam Leak


Using a Patch Kit to Fix an Air Mattress Seam Leak


Prevention is key when it comes to avoiding seam leaks in your air mattress. In addition to the tips mentioned above, it's also important to properly store your mattress when not in use. Avoid folding or creasing the mattress as this can put stress on the seams and cause leaks. If you do encounter a seam leak, don't panic. With the right tools and techniques, you can easily fix it and get back to enjoying a comfortable night's sleep on your air mattress.Preventing and Fixing Seam Leaks in Your Air Mattress


Preventing and Fixing Seam Leaks in Your Air Mattress


Here are some additional tips for finding and fixing a seam leak in your air mattress: Tip #1: If you're having trouble finding the leak, try using soapy water. Mix a small amount of dish soap with water and apply it to the surface of the mattress. Bubbles will form where the leak is located. Tip #2: When applying a patch, make sure to smooth out any air bubbles to ensure a good bond. Tip #3: If your mattress has multiple leaks, it may be time to invest in a new one. Patching too many leaks can become time-consuming and may not provide a long-term solution.Tips for Finding and Fixing a Seam Leak in an Air Mattress

Tips for Finding and Fixing a Seam Leak in an Air Mattress


If you're still struggling to fix a seam leak in your air mattress, it may be helpful to seek advice from an expert. Many stores that sell air mattresses have customer service representatives who can offer tips and advice on repairing leaks. You can also reach out to the manufacturer for guidance.Expert Advice on Fixing a Seam Leak in an Air Mattress


Expert Advice on Fixing a Seam Leak in an Air Mattress


Additional Tips for Fixing an Air Mattress Leak at the Seam

Identify the Location of the Leak

Before attempting to fix an air mattress leak at the seam, it is important to first identify the exact location of the leak. This can be done by visually inspecting the mattress or using the soap and water method. Simply mix a small amount of dish soap with water and apply it to the surface of the mattress. If there is a leak, you will see bubbles forming at the site. Once you have located the leak, mark it with a pen or tape.
Clean and Prepare the Area

Before applying any type of patch or adhesive, it is important to clean and prepare the area around the leak. Use a mild soap and water solution to gently clean the surface and allow it to dry completely. This will ensure that the patch or adhesive adheres properly and creates a strong bond.
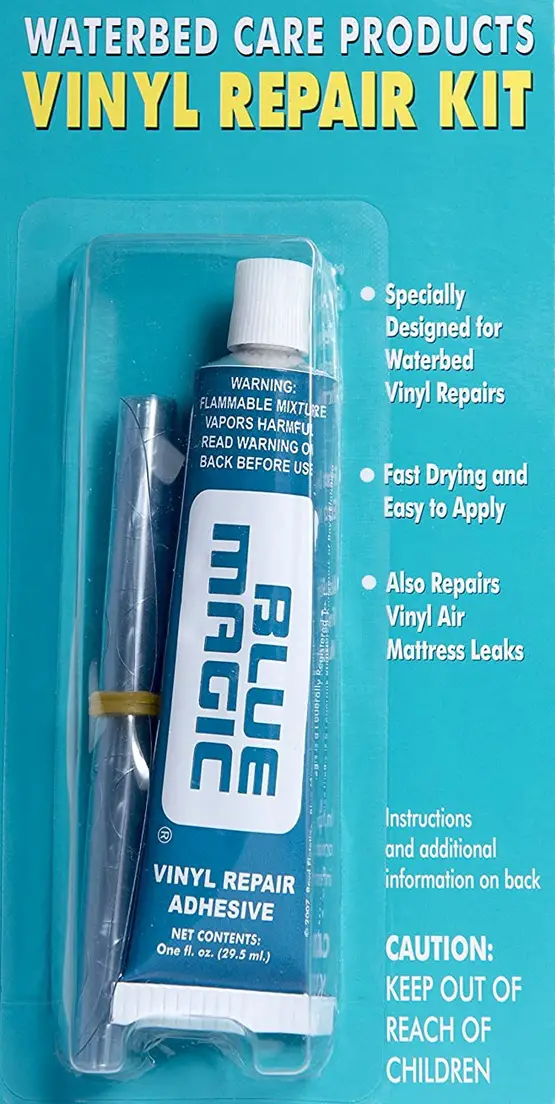
Choose the Right Patch or Adhesive

When it comes to fixing an air mattress leak at the seam, it is important to choose the right patch or adhesive for the job. There are many different products available, so be sure to read the instructions and choose one that is specifically designed for repairing air mattresses. Some recommended products include flexible vinyl patches and heavy-duty adhesive tapes .
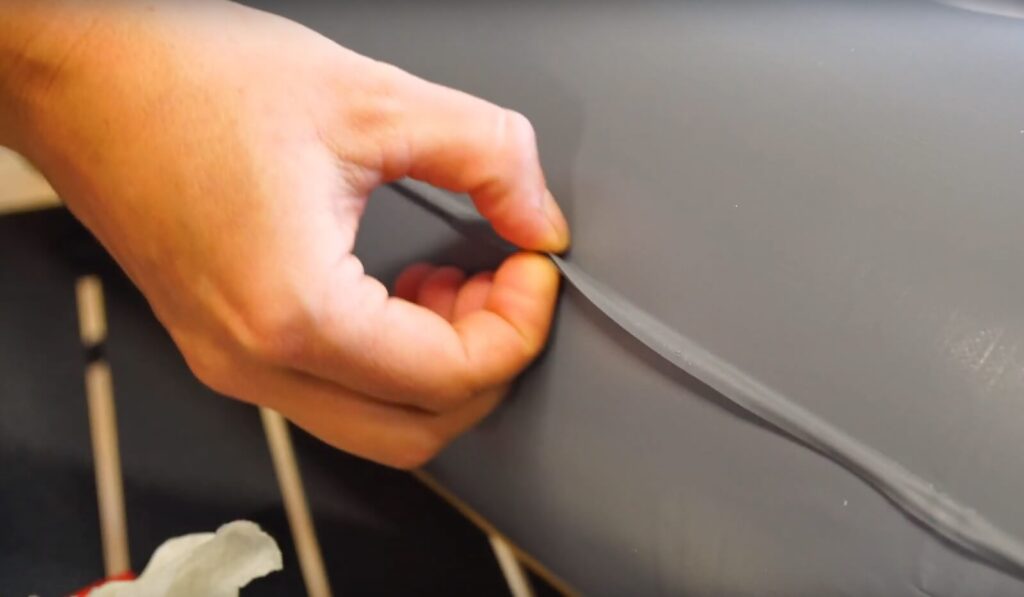
Apply the Patch or Adhesive

Once you have chosen the right patch or adhesive, follow the instructions carefully to apply it to the leak. Make sure to cover the entire leak and a few inches around it to ensure a strong seal. If using a patch, be sure to smooth out any air bubbles and press down firmly. If using adhesive tape, apply it in layers, making sure each layer overlaps the previous one.
Test the Repair

After the patch or adhesive has been applied, wait at least 24 hours before using the air mattress again . This will give the product enough time to fully adhere and create a strong seal. Once the time has passed, inflate the mattress and check for any signs of leakage . If you notice any, repeat the steps above until the leak is completely sealed.
By following these additional tips, you will have a much better chance of successfully fixing an air mattress leak at the seam. Remember to take your time and follow the instructions carefully for the best results.