If you've ever woken up in the middle of the night to find yourself slowly sinking into your air mattress, you know the struggle of trying to get a good night's sleep on a deflating bed. Air mattresses are convenient for guests or camping trips, but they can be prone to developing slow leaks over time. Don't worry, though - with the right tools and a little know-how, you can easily find and fix that pesky slow leak in your air mattress.1. How to Find and Fix a Slow Leak in an Air Mattress


1. How to Find and Fix a Slow Leak in an Air Mattress


Finding and fixing a slow leak in your air mattress doesn't have to be a daunting task. In fact, it can be done in just five simple steps. First, fully inflate your air mattress and place it in a bathtub or pool. Then, listen for the sound of air escaping and mark the spot with a waterproof marker. Next, dry off the mattress and use a repair kit to fix the leak. Finally, test the mattress to make sure the leak is completely sealed. Voila - a good-as-new air mattress!2. 5 Easy Steps to Locate and Repair a Slow Leak in Your Air Mattress


2. 5 Easy Steps to Locate and Repair a Slow Leak in Your Air Mattress


If you're having trouble locating the source of a slow leak in your air mattress, here are a few tips to help make the process easier. First, try using a spray bottle filled with soapy water to locate the leak - bubbles will form where the air is escaping. You can also try submerging small sections of the mattress in water and looking for bubbles to appear. And don't forget to check the valves and seams as they are common areas for leaks to occur.3. Tips for Finding a Slow Leak in Your Air Mattress


3. Tips for Finding a Slow Leak in Your Air Mattress


While there are a few different methods for finding a slow leak in your air mattress, some are more effective than others. One of the most reliable methods is using an air mattress repair kit that includes a patch and adhesive. Another option is using a handheld air mattress pump to fully inflate the mattress, then listening for the sound of escaping air. And if all else fails, you can always try the trusty soap and water method.4. The Best Methods for Detecting a Slow Leak in Your Air Mattress


4. The Best Methods for Detecting a Slow Leak in Your Air Mattress


Once you've located the source of the slow leak, it's time to fix it. If the leak is small, you can simply use a patch and adhesive from a repair kit. However, if the leak is larger or located on a seam, you may need to use a patch and additional adhesive to ensure a secure seal. Make sure to follow the instructions on the repair kit carefully and allow sufficient time for the adhesive to dry before testing the mattress again.5. How to Identify and Repair a Slow Leak in Your Air Mattress


5. How to Identify and Repair a Slow Leak in Your Air Mattress


What if you've tried all the methods mentioned above and still can't seem to find or fix the slow leak in your air mattress? Don't panic - there are a few other things you can try. First, make sure the air valve is tightly closed and not the source of the leak. You can also try using a hairdryer on the low or cool setting to help locate the leak - the air from the dryer will cause the leak to create a small, visible bubble.6. Troubleshooting: How to Find and Fix a Slow Leak in Your Air Mattress

6. Troubleshooting: How to Find and Fix a Slow Leak in Your Air Mattress


While there are DIY methods for finding a slow leak in your air mattress, investing in the right tools can make the process much easier and more efficient. One must-have tool is an air mattress repair kit, which typically includes a patch, adhesive, and instructions. You may also want to consider purchasing a handheld air pump to easily inflate and deflate your mattress, as well as a waterproof marker for marking the leak's location.7. The Top Tools for Locating a Slow Leak in Your Air Mattress


7. The Top Tools for Locating a Slow Leak in Your Air Mattress


If you're a fan of DIY projects, you may want to try finding and fixing a slow leak in your air mattress on your own. All you need is a few basic tools and materials, like a patch, adhesive, and a spray bottle filled with soapy water. Simply follow the instructions on the repair kit and use the soapy water to locate the leak. It may take a bit more time and effort, but it can also save you money in the long run.8. DIY: How to Find and Repair a Slow Leak in Your Air Mattress


8. DIY: How to Find and Repair a Slow Leak in Your Air Mattress


You may be tempted to simply ignore a slow leak in your air mattress and continue using it, but this can lead to bigger problems in the future. Not only can it make for an uncomfortable night's sleep, but it can also cause damage to the mattress itself. A small leak can quickly turn into a big one, resulting in a completely unusable air mattress. So, it's important to find and fix that slow leak as soon as possible.9. The Importance of Finding and Fixing a Slow Leak in Your Air Mattress

9. The Importance of Finding and Fixing a Slow Leak in Your Air Mattress


To avoid the hassle of dealing with a slow leak in your air mattress, it's important to take preventative measures. First and foremost, make sure to fully inflate and deflate your mattress before and after each use. This helps keep the material flexible and prevents small leaks from forming. You can also invest in a mattress protector or use a sheet or blanket to protect the mattress from any sharp objects that may cause a leak. And if you do notice a slow leak, don't wait - deal with it right away to prevent it from getting worse.10. How to Prevent and Deal with Slow Leaks in Your Air Mattress

10. How to Prevent and Deal with Slow Leaks in Your Air Mattress


How to Find and Fix a Slow Leak in Your Air Mattress
Introduction
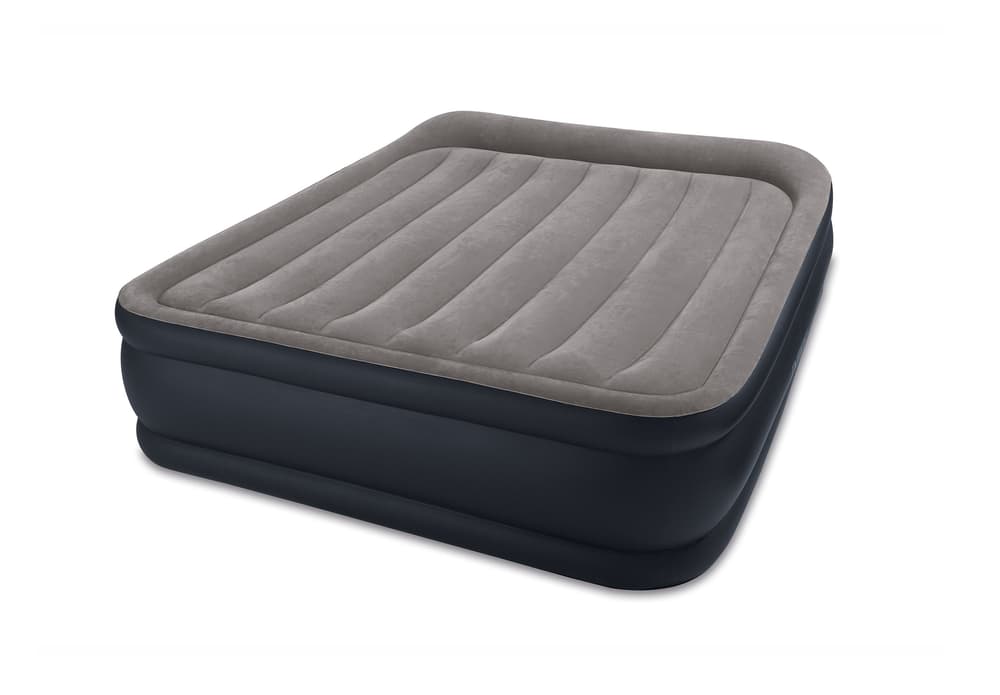
 If you enjoy camping or having guests over, chances are you own an air mattress. These convenient inflatable beds provide a comfortable sleeping surface, but they are prone to developing slow leaks over time. This can be frustrating, especially if you're in the middle of a camping trip or have guests staying over. Luckily, there are a few simple steps you can take to find and fix a slow leak in your air mattress.
Step 1: Prepare Your Work Area
 Before you begin, make sure you have a clean and dry work area. Lay out a tarp or old blanket to protect your mattress from any dirt or debris. This will also make it easier to spot any small holes or tears.
Step 2: Inflate the Mattress
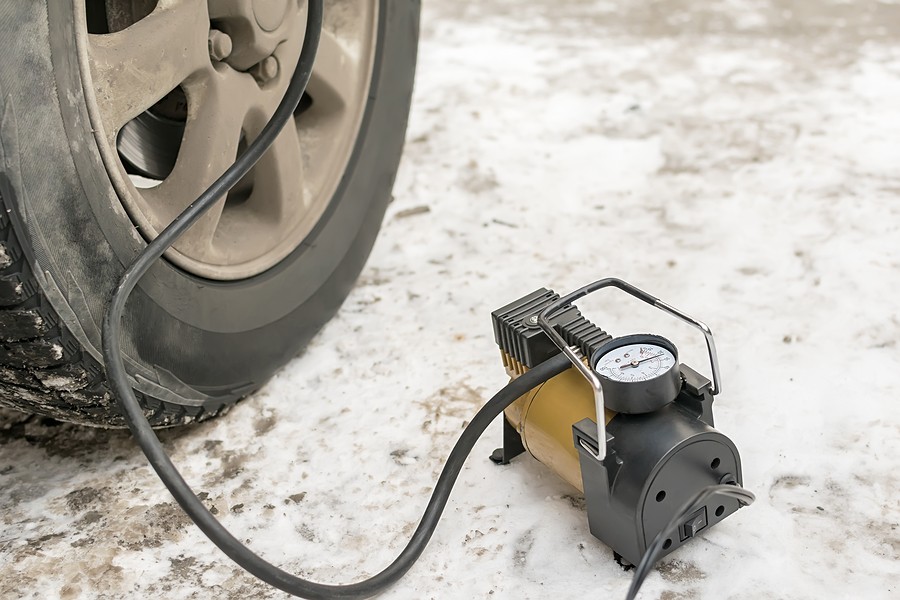
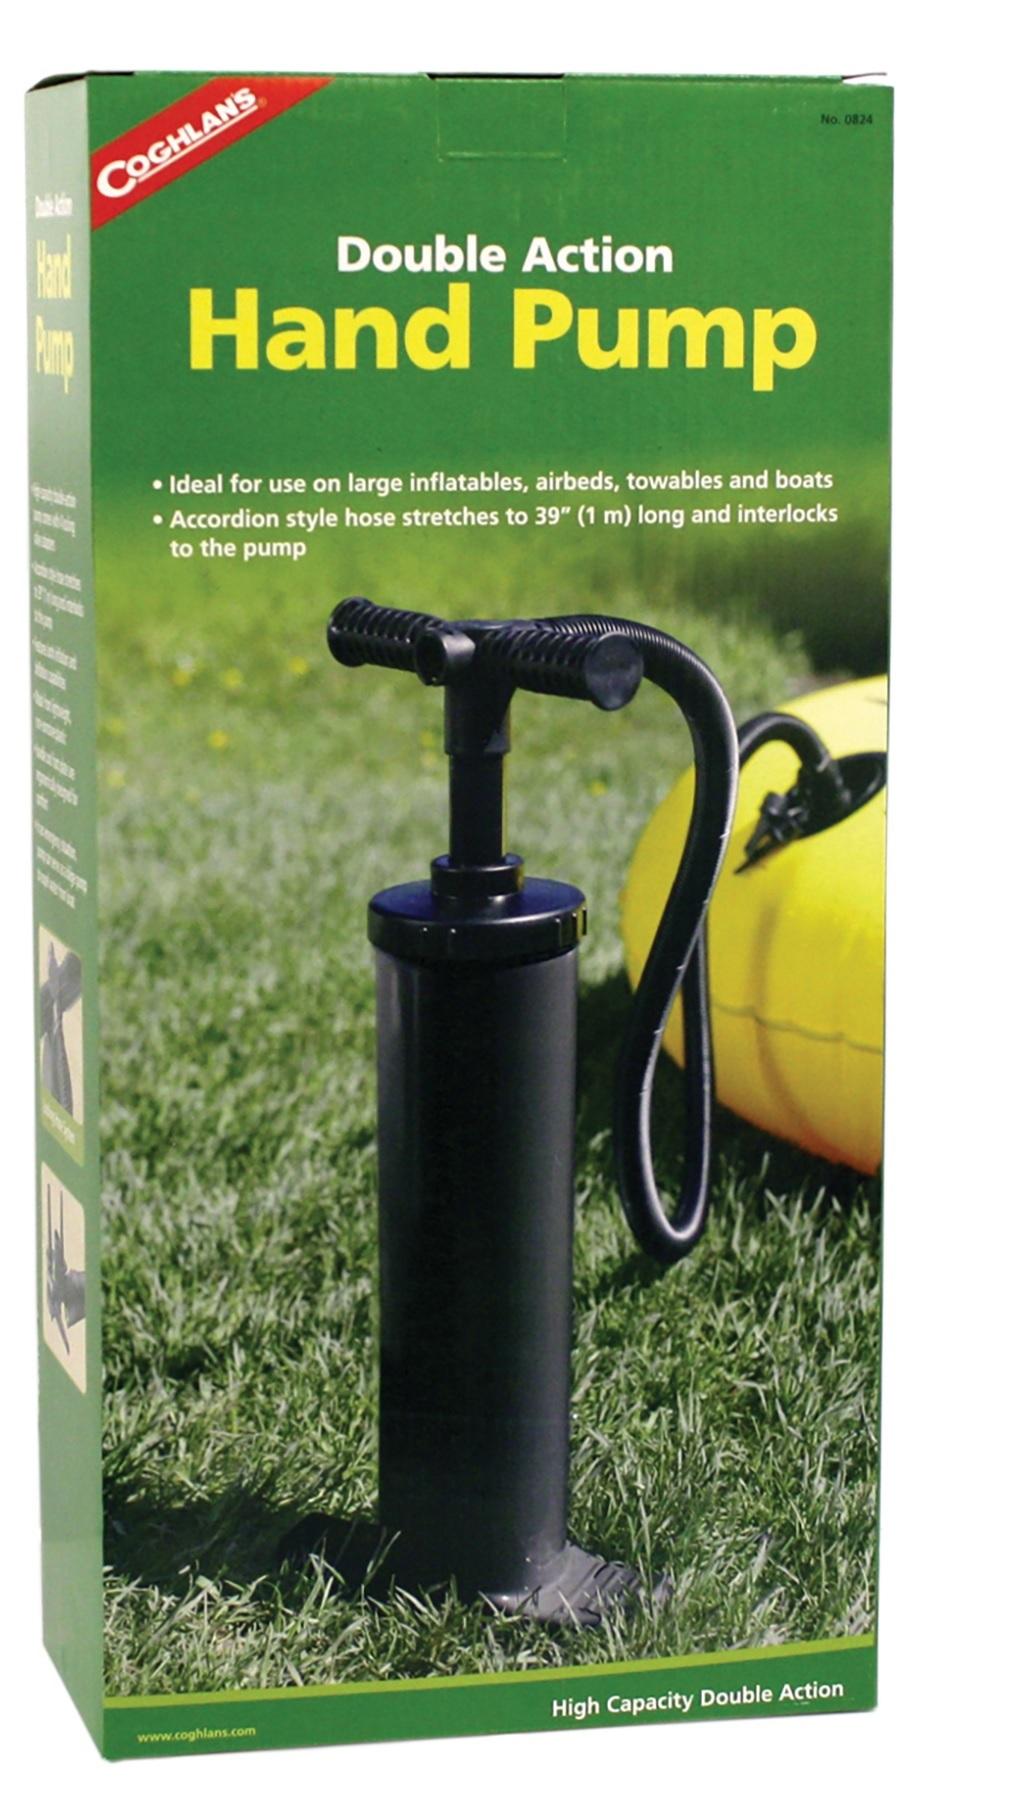
 Using a manual or electric pump, fully inflate your air mattress. This will make it easier to identify the source of the leak. If you're not sure where the leak is, try listening for any hissing sounds or running your hand over the surface of the mattress to feel for any escaping air.
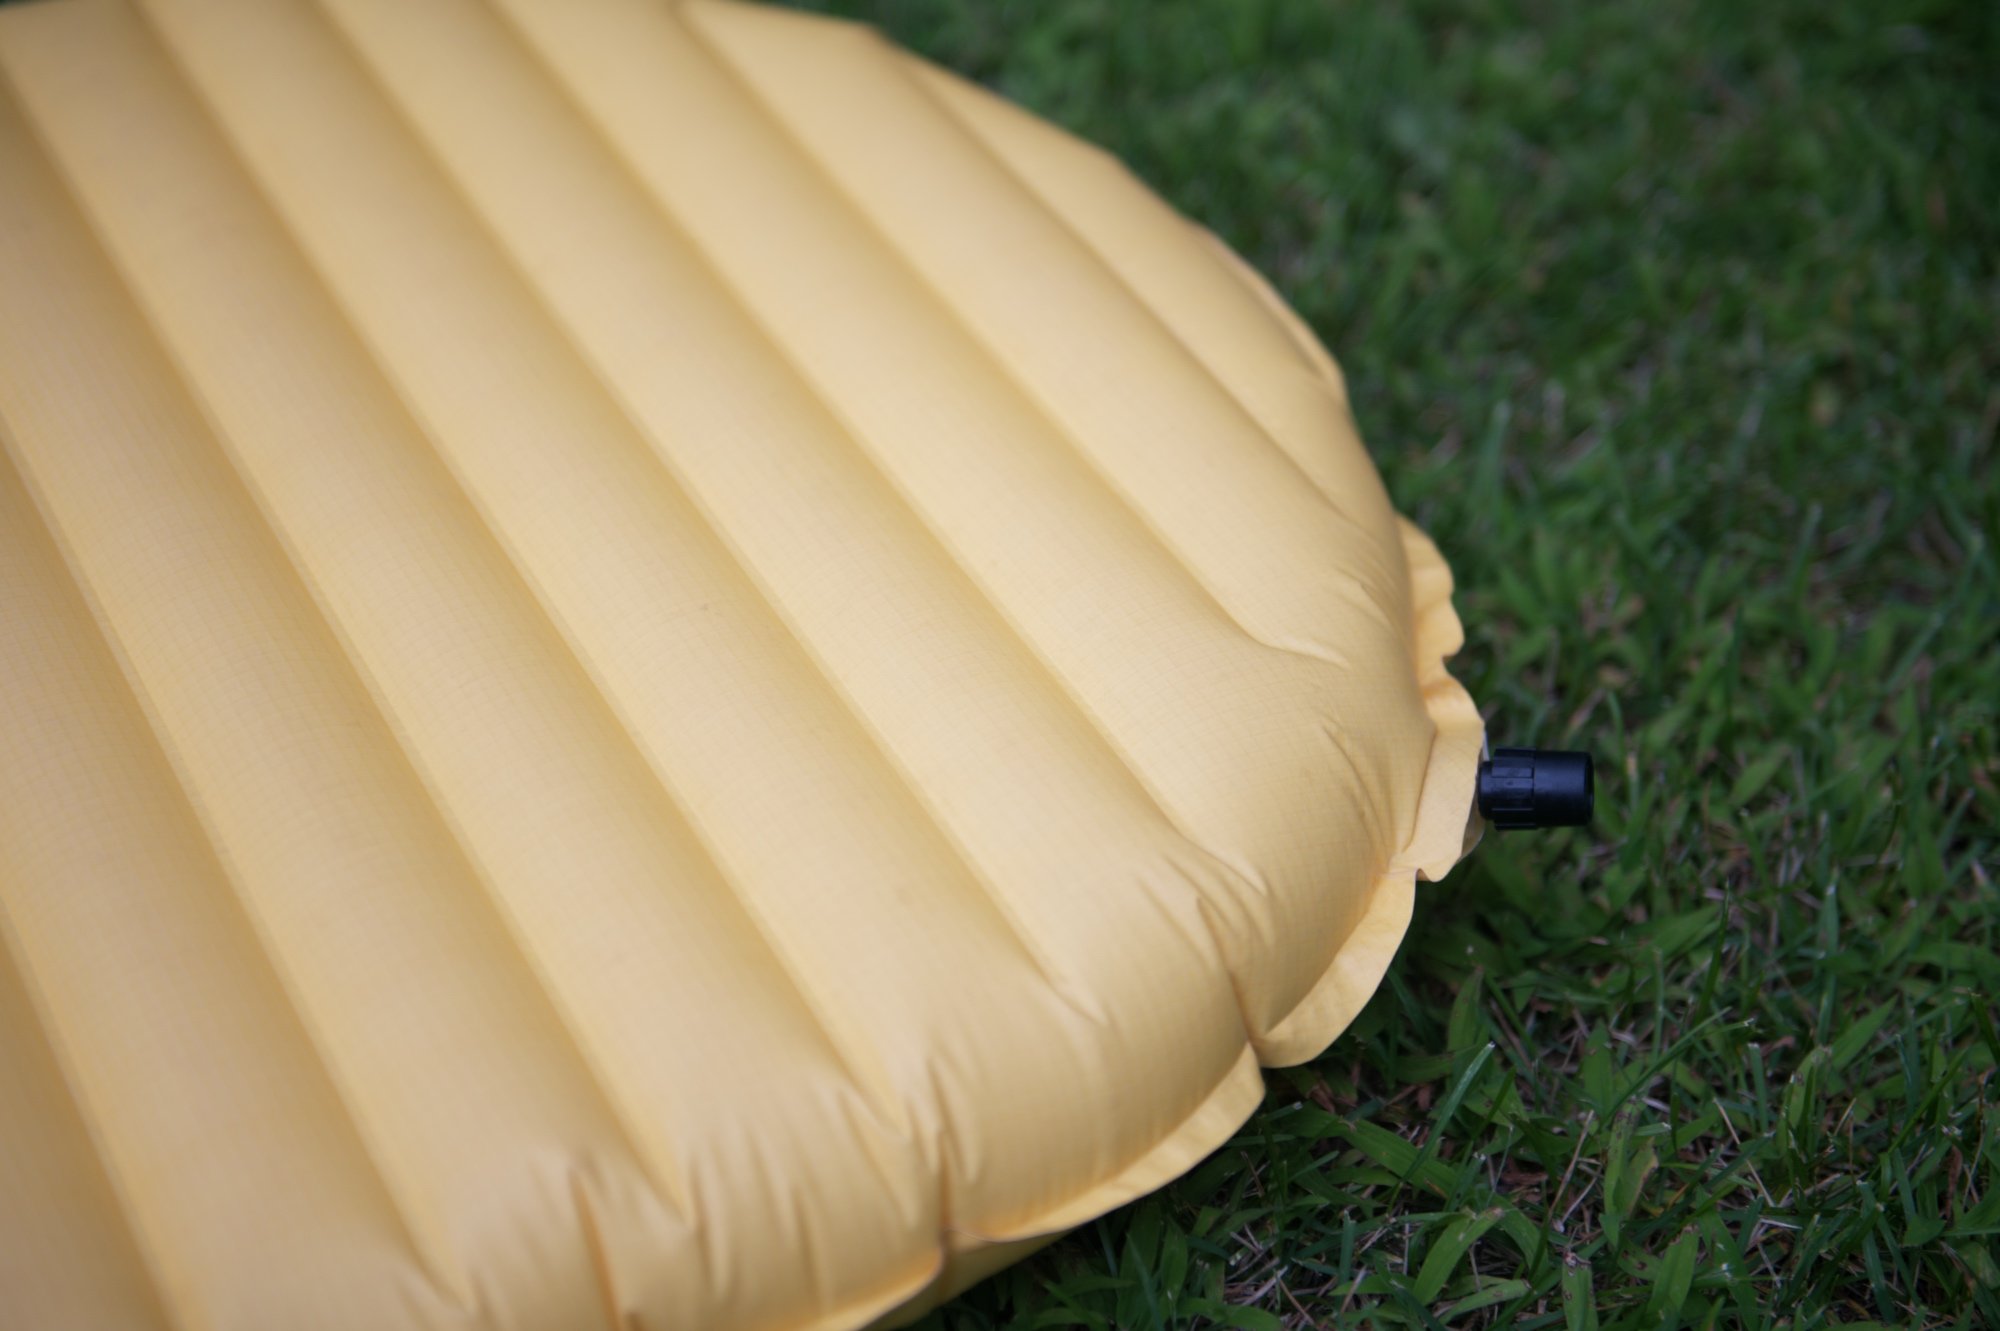
Step 3: Check the Valve
 The valve is the most common culprit for air leaks in mattresses. Make sure it is tightly closed and secure. If it appears to be loose or damaged, you may need to replace it. You can find replacement valves at most outdoor or camping stores.
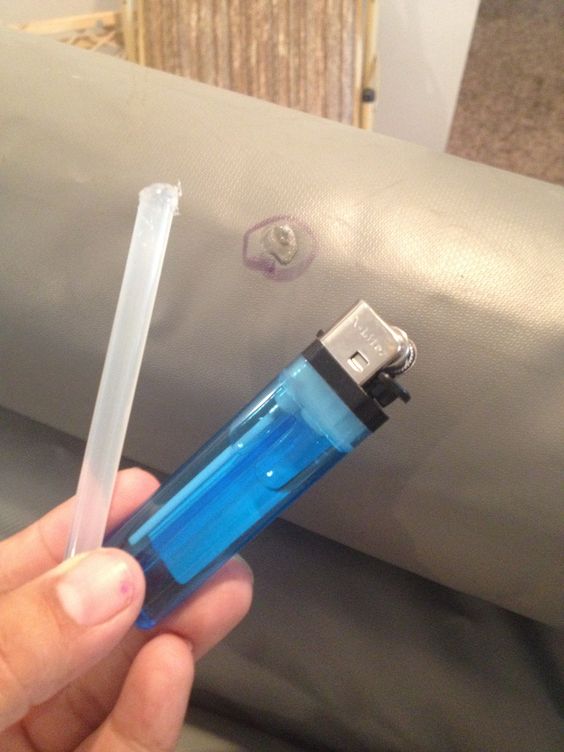
Step 4: Use Soapy Water
 Mix a small amount of dish soap with water in a spray bottle. Spray it over the surface of the inflated mattress, paying close attention to the seams and any areas that may be prone to wear and tear. If there is a leak, you will see bubbles forming at the source.
Step 5: Mark the Leak
 Once you have identified the leak, mark it with a piece of tape or a marker. This will make it easier to find when you are ready to make the repair.
Step 6: Deflate the Mattress
 Once you have marked the leak, deflate the mattress and dry off the area with a towel. Make sure it is completely dry before moving on to the next step.
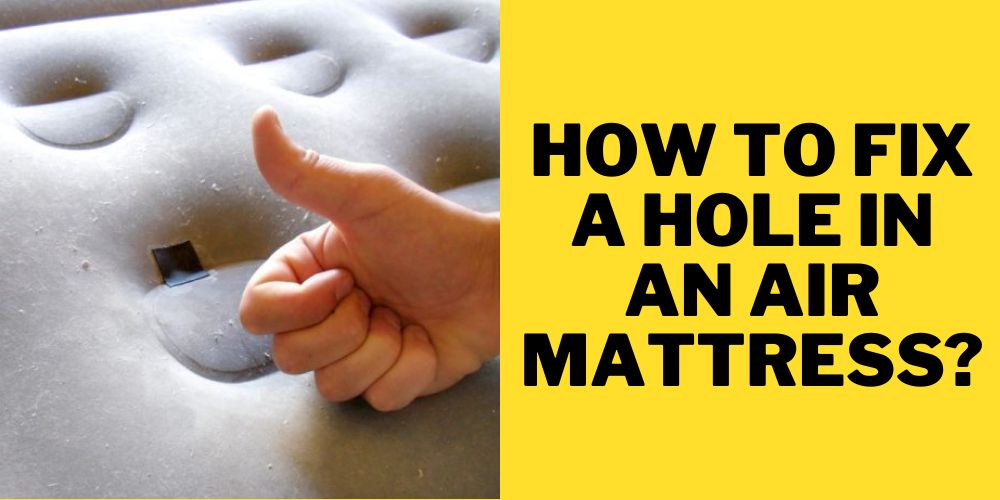
Step 7: Patch the Leak
 There are a few different methods for patching an air mattress, but one of the most effective is using a vinyl repair kit. These kits can be found at most hardware or outdoor stores and come with all the materials you need to fix small holes and tears in your air mattress. Follow the instructions on the kit to properly patch the leak.
Step 8: Reinflate and Test
 Once the patch is in place, re-inflate the mattress and check for any remaining leaks. If there are still holes, repeat the process until your mattress is fully repaired.
Conclusion
 By following these simple steps, you can easily find and fix a slow leak in your air mattress. Remember to always properly store and maintain your mattress to prevent future leaks. With a little bit of effort, you can ensure you and your guests have a comfortable place to sleep for years to come.