Are you looking to add a touch of warmth and natural beauty to your kitchen? Consider building a DIY wood kitchen counter around your sink. This simple project can transform the look and feel of your kitchen, giving it a cozy and inviting atmosphere. Here's a step-by-step guide on how to create your very own wood kitchen counter around a sink.How to Build a Wood Kitchen Counter Around a Sink


How to Build a Wood Kitchen Counter Around a Sink


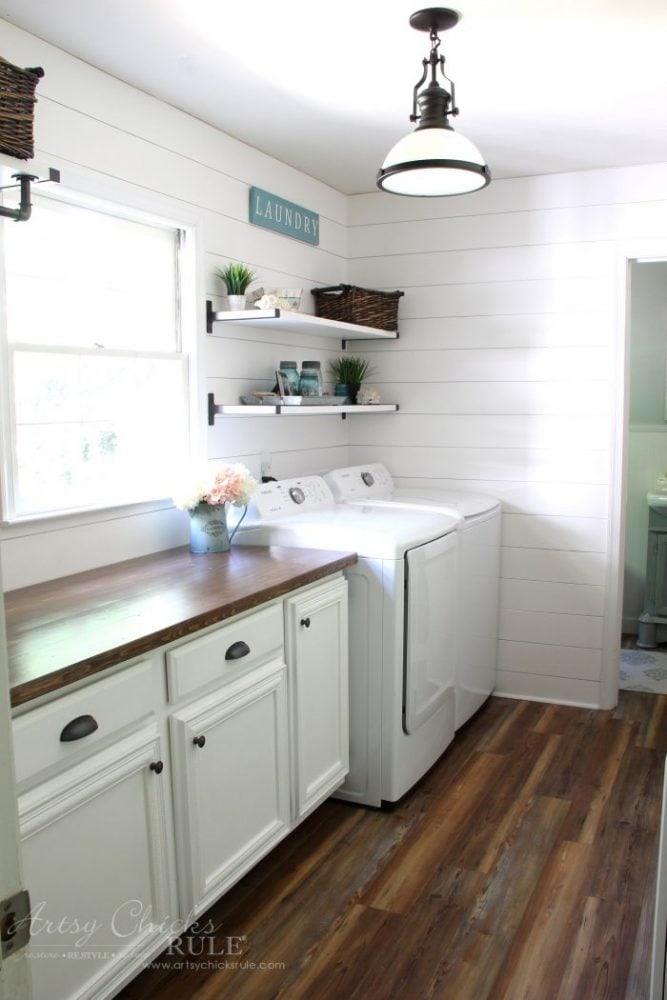
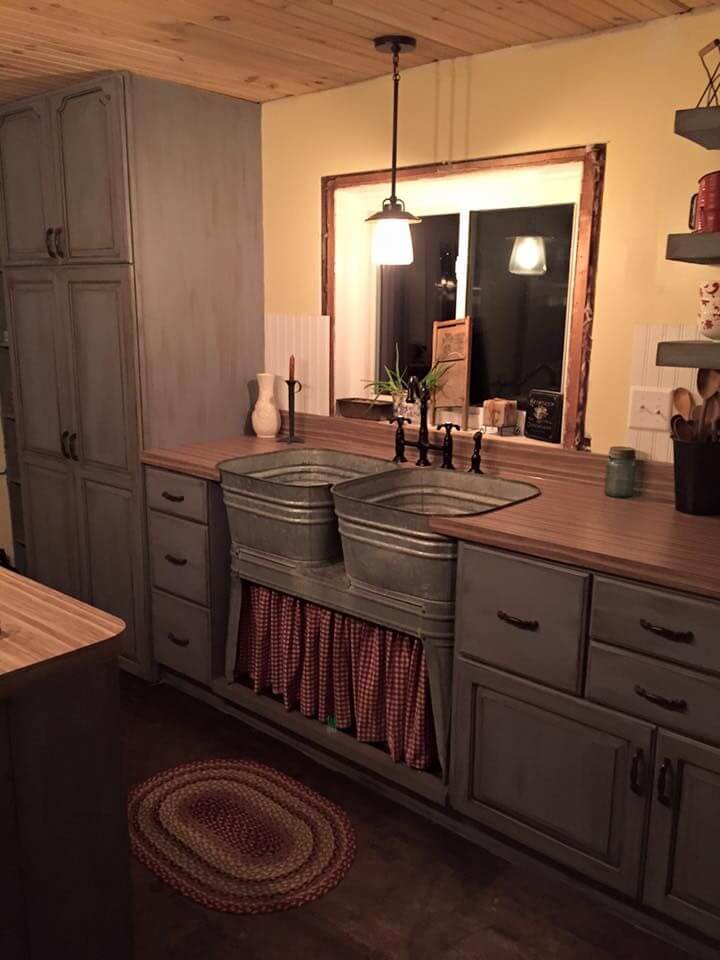
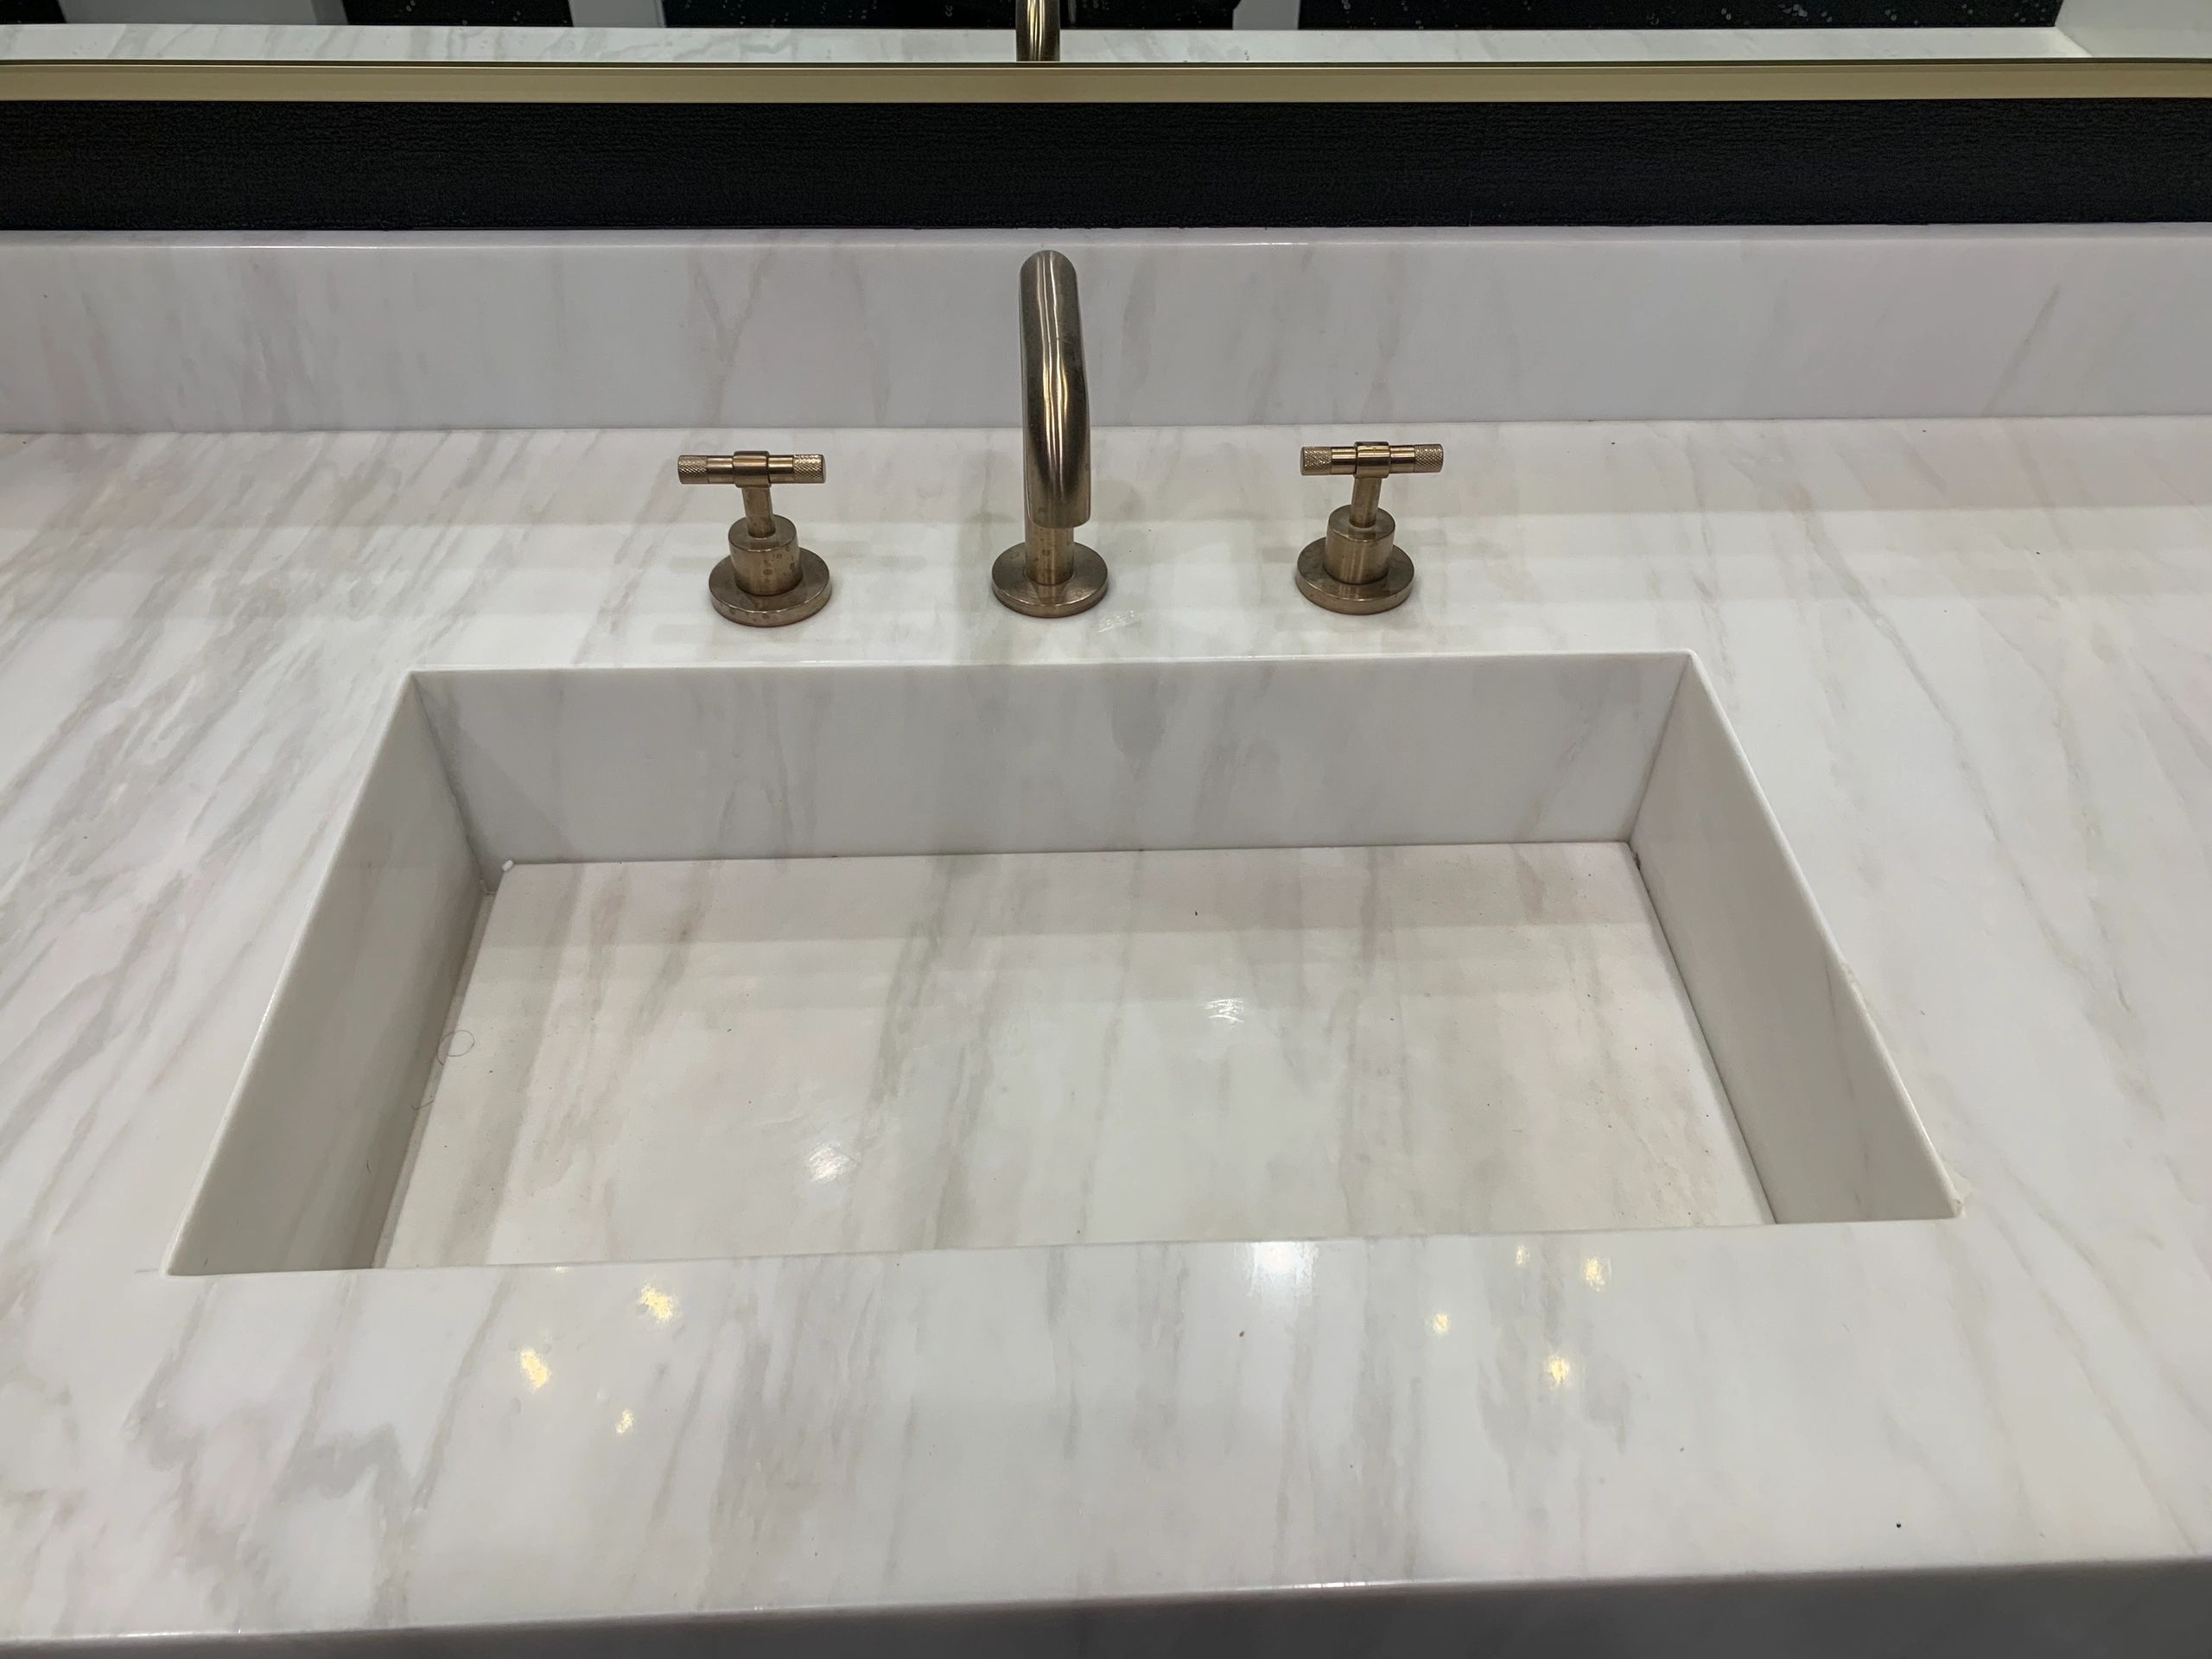
The first step in building a wood kitchen counter around a sink is to measure the area where you want to install it. Make sure to take precise measurements, including the length, width, and depth of the sink. This will help you determine the size of the wood slab you will need for your counter.DIY Wood Kitchen Counter Around Sink


DIY Wood Kitchen Counter Around Sink

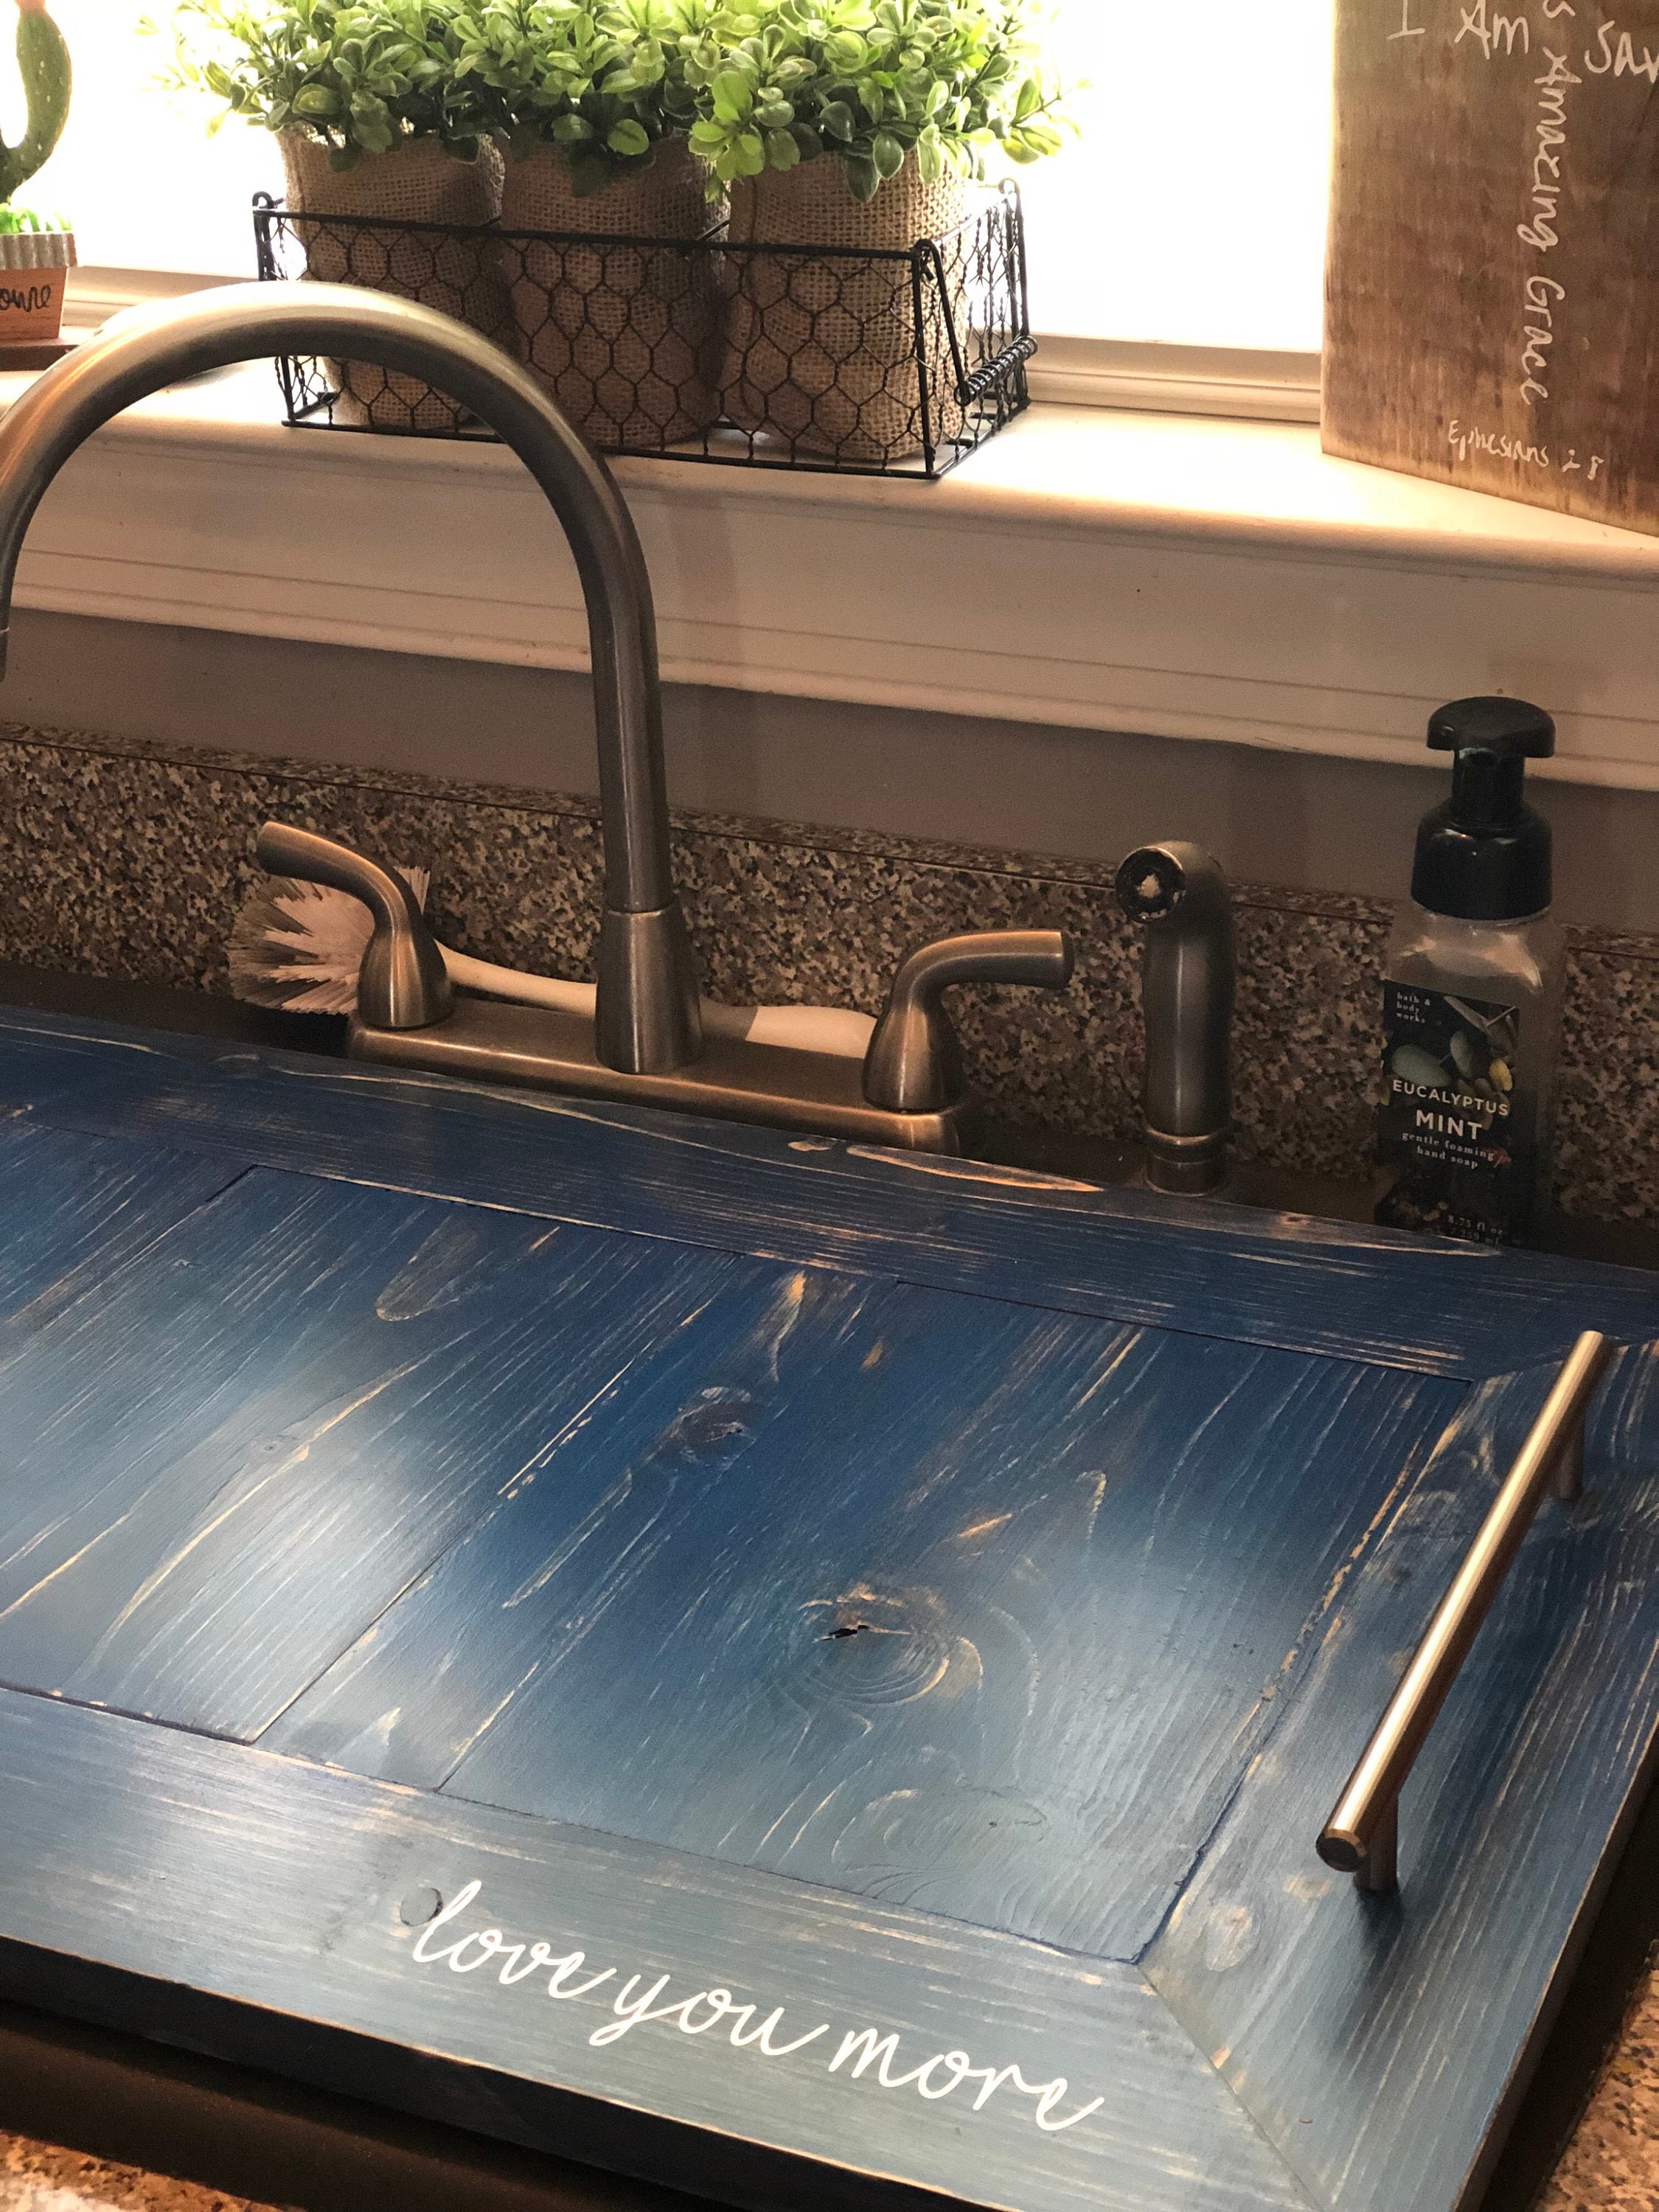
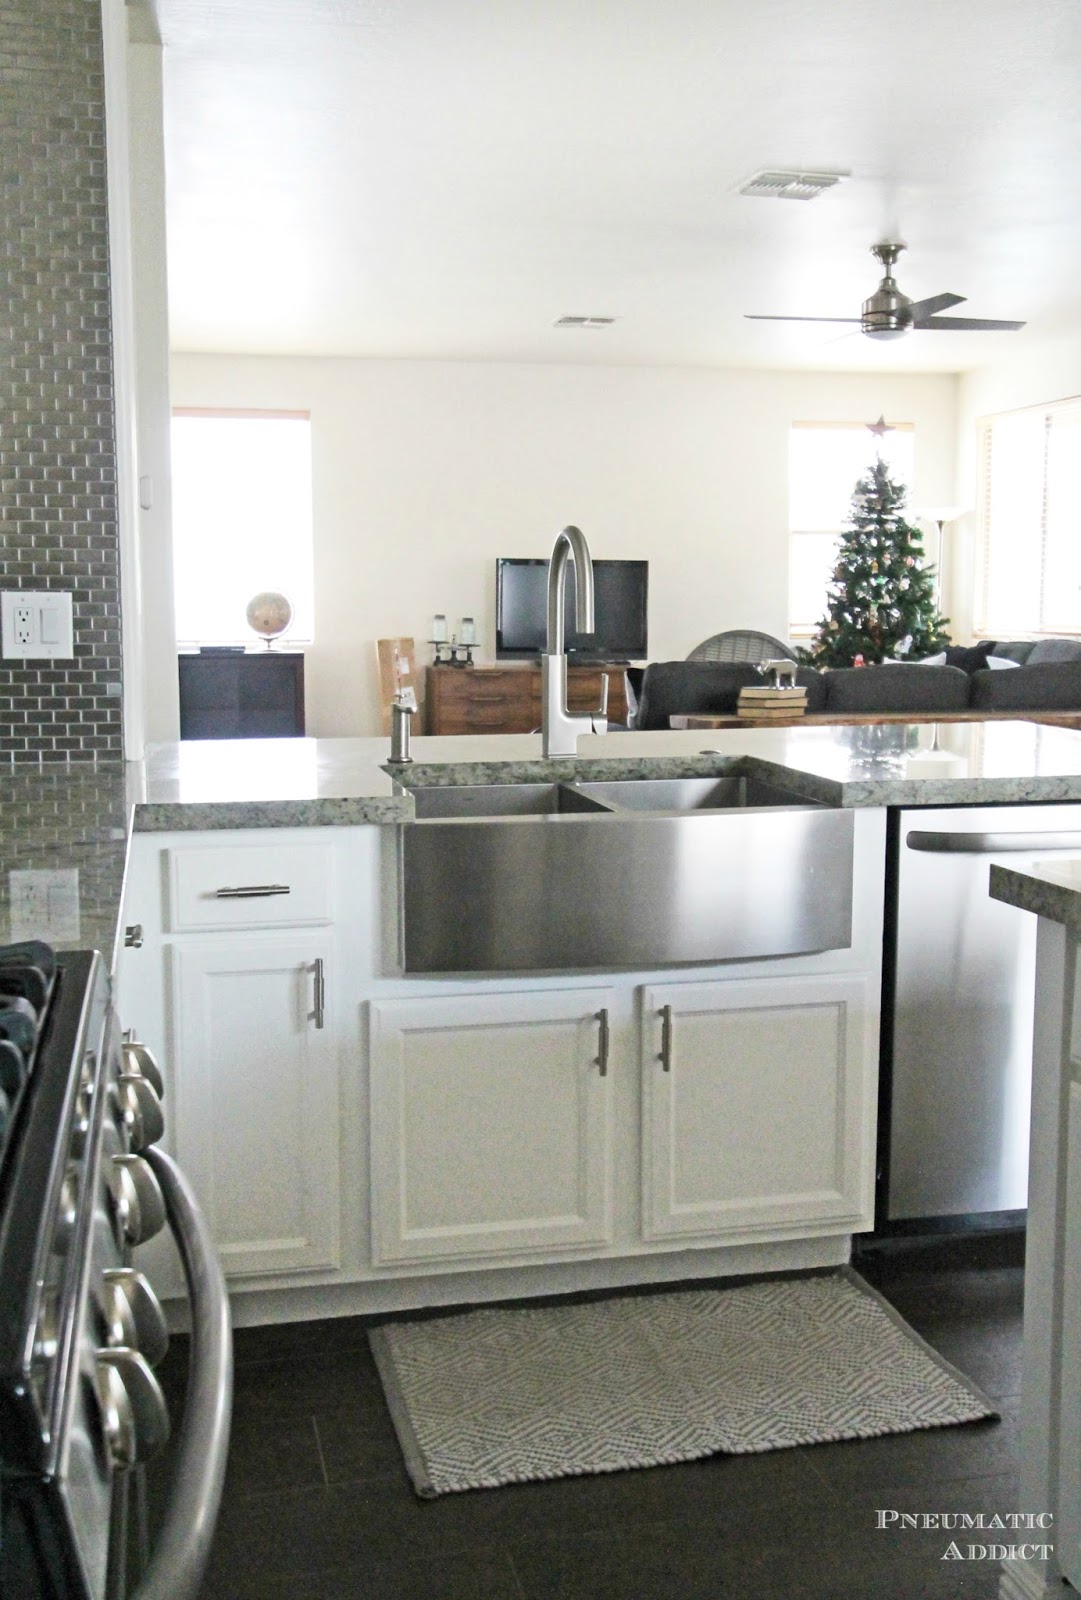
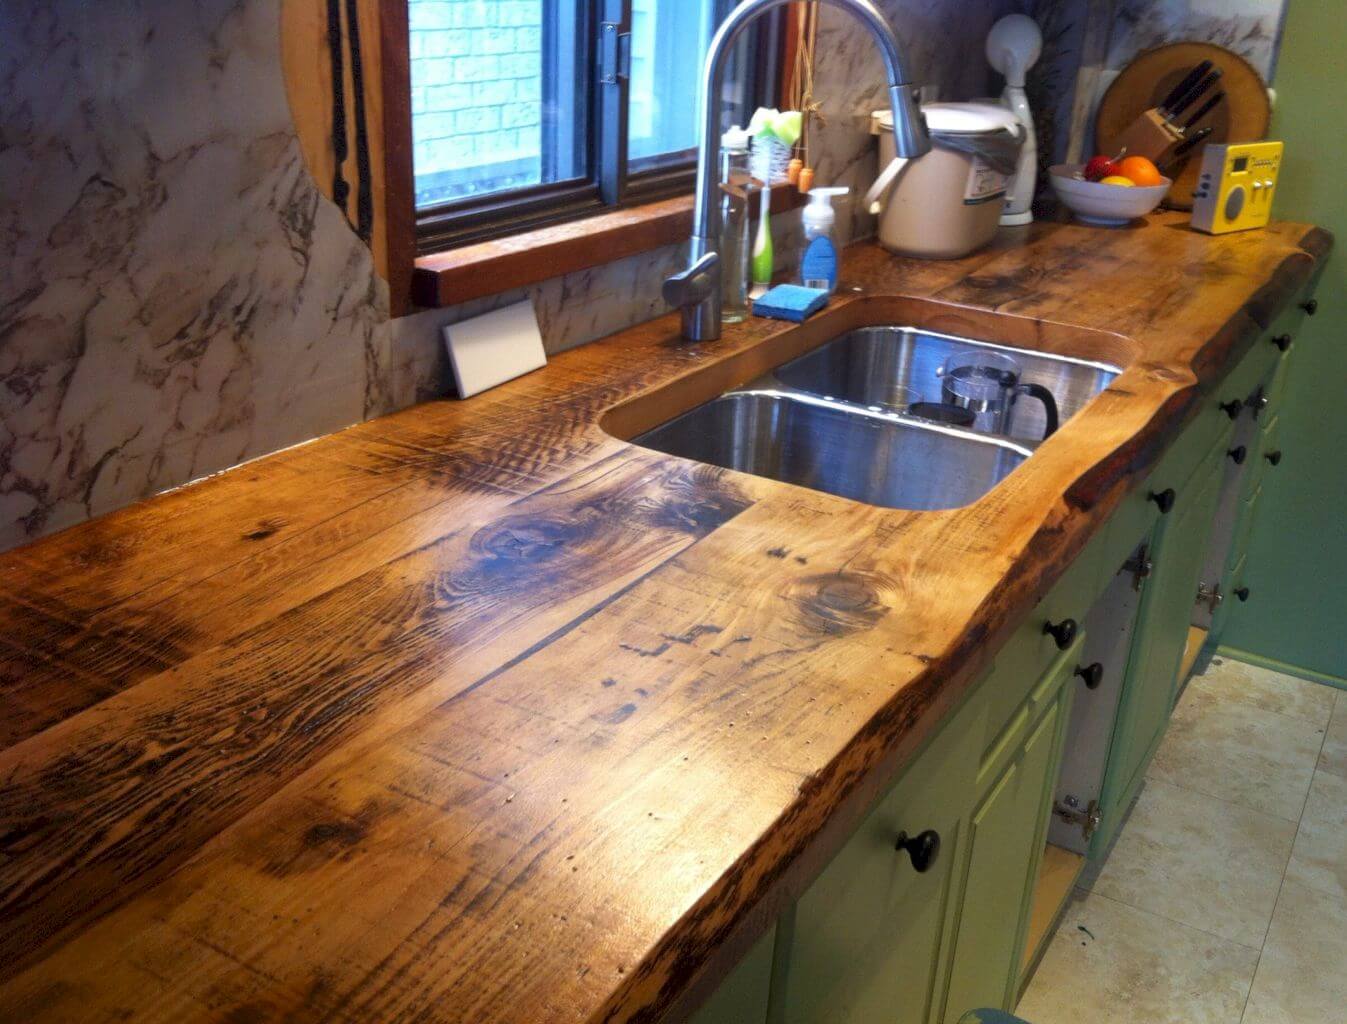
Next, you'll need to choose the type of wood you want to use for your countertop. Popular choices include maple, oak, and cherry. These woods are durable and have a beautiful natural color that will add warmth to your kitchen. You can purchase pre-cut wood slabs or cut them yourself to fit your specific measurements.DIY Wood Countertop for Kitchen Sink

DIY Wood Countertop for Kitchen Sink


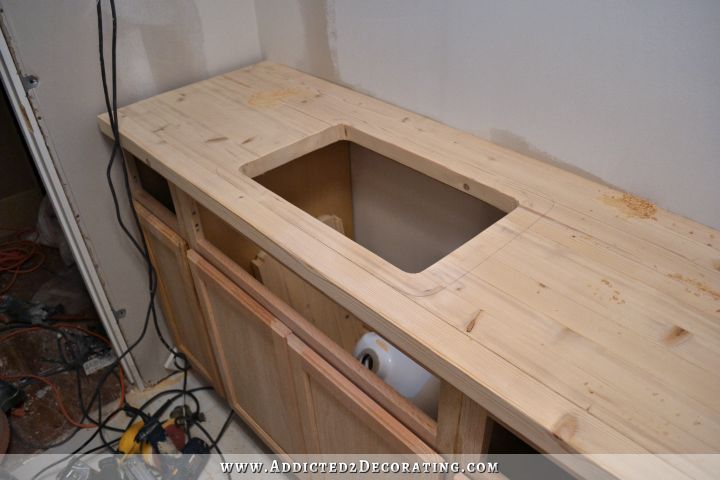
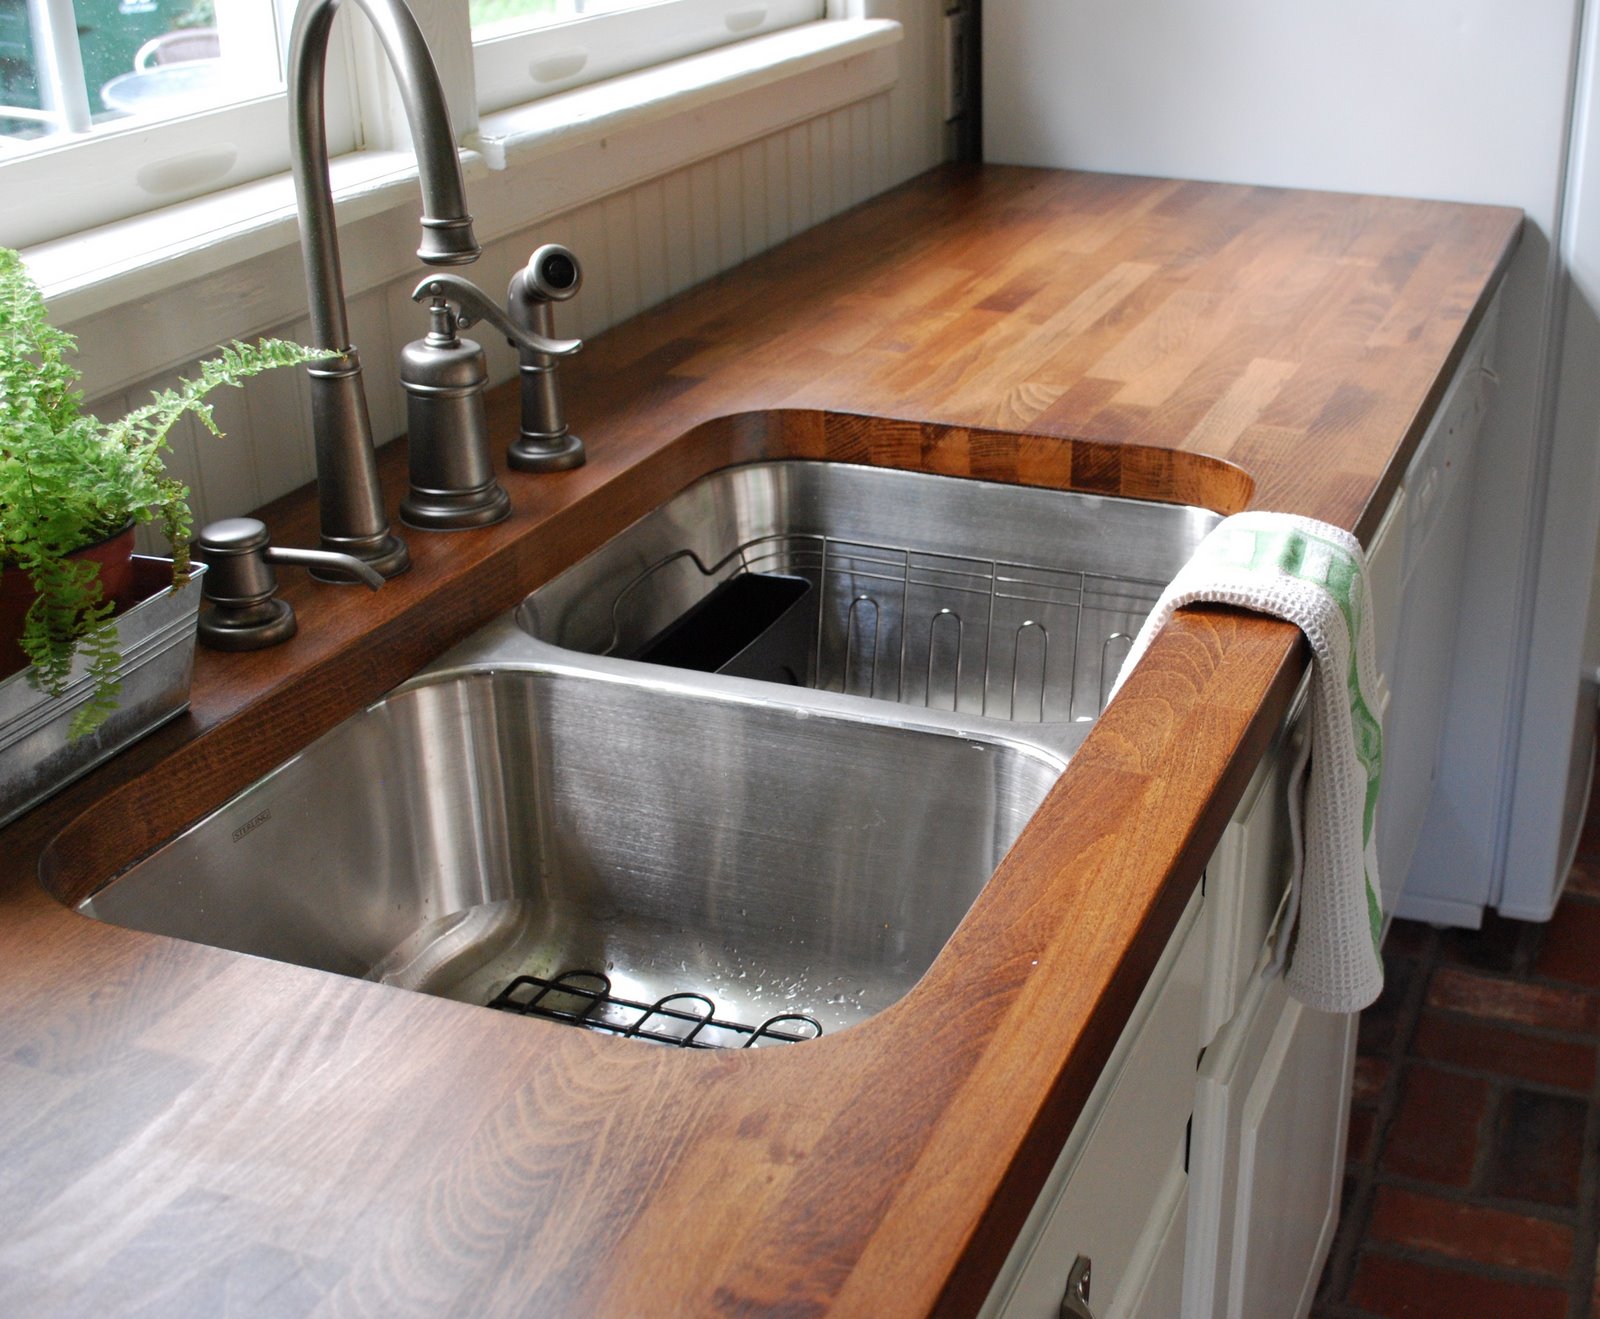
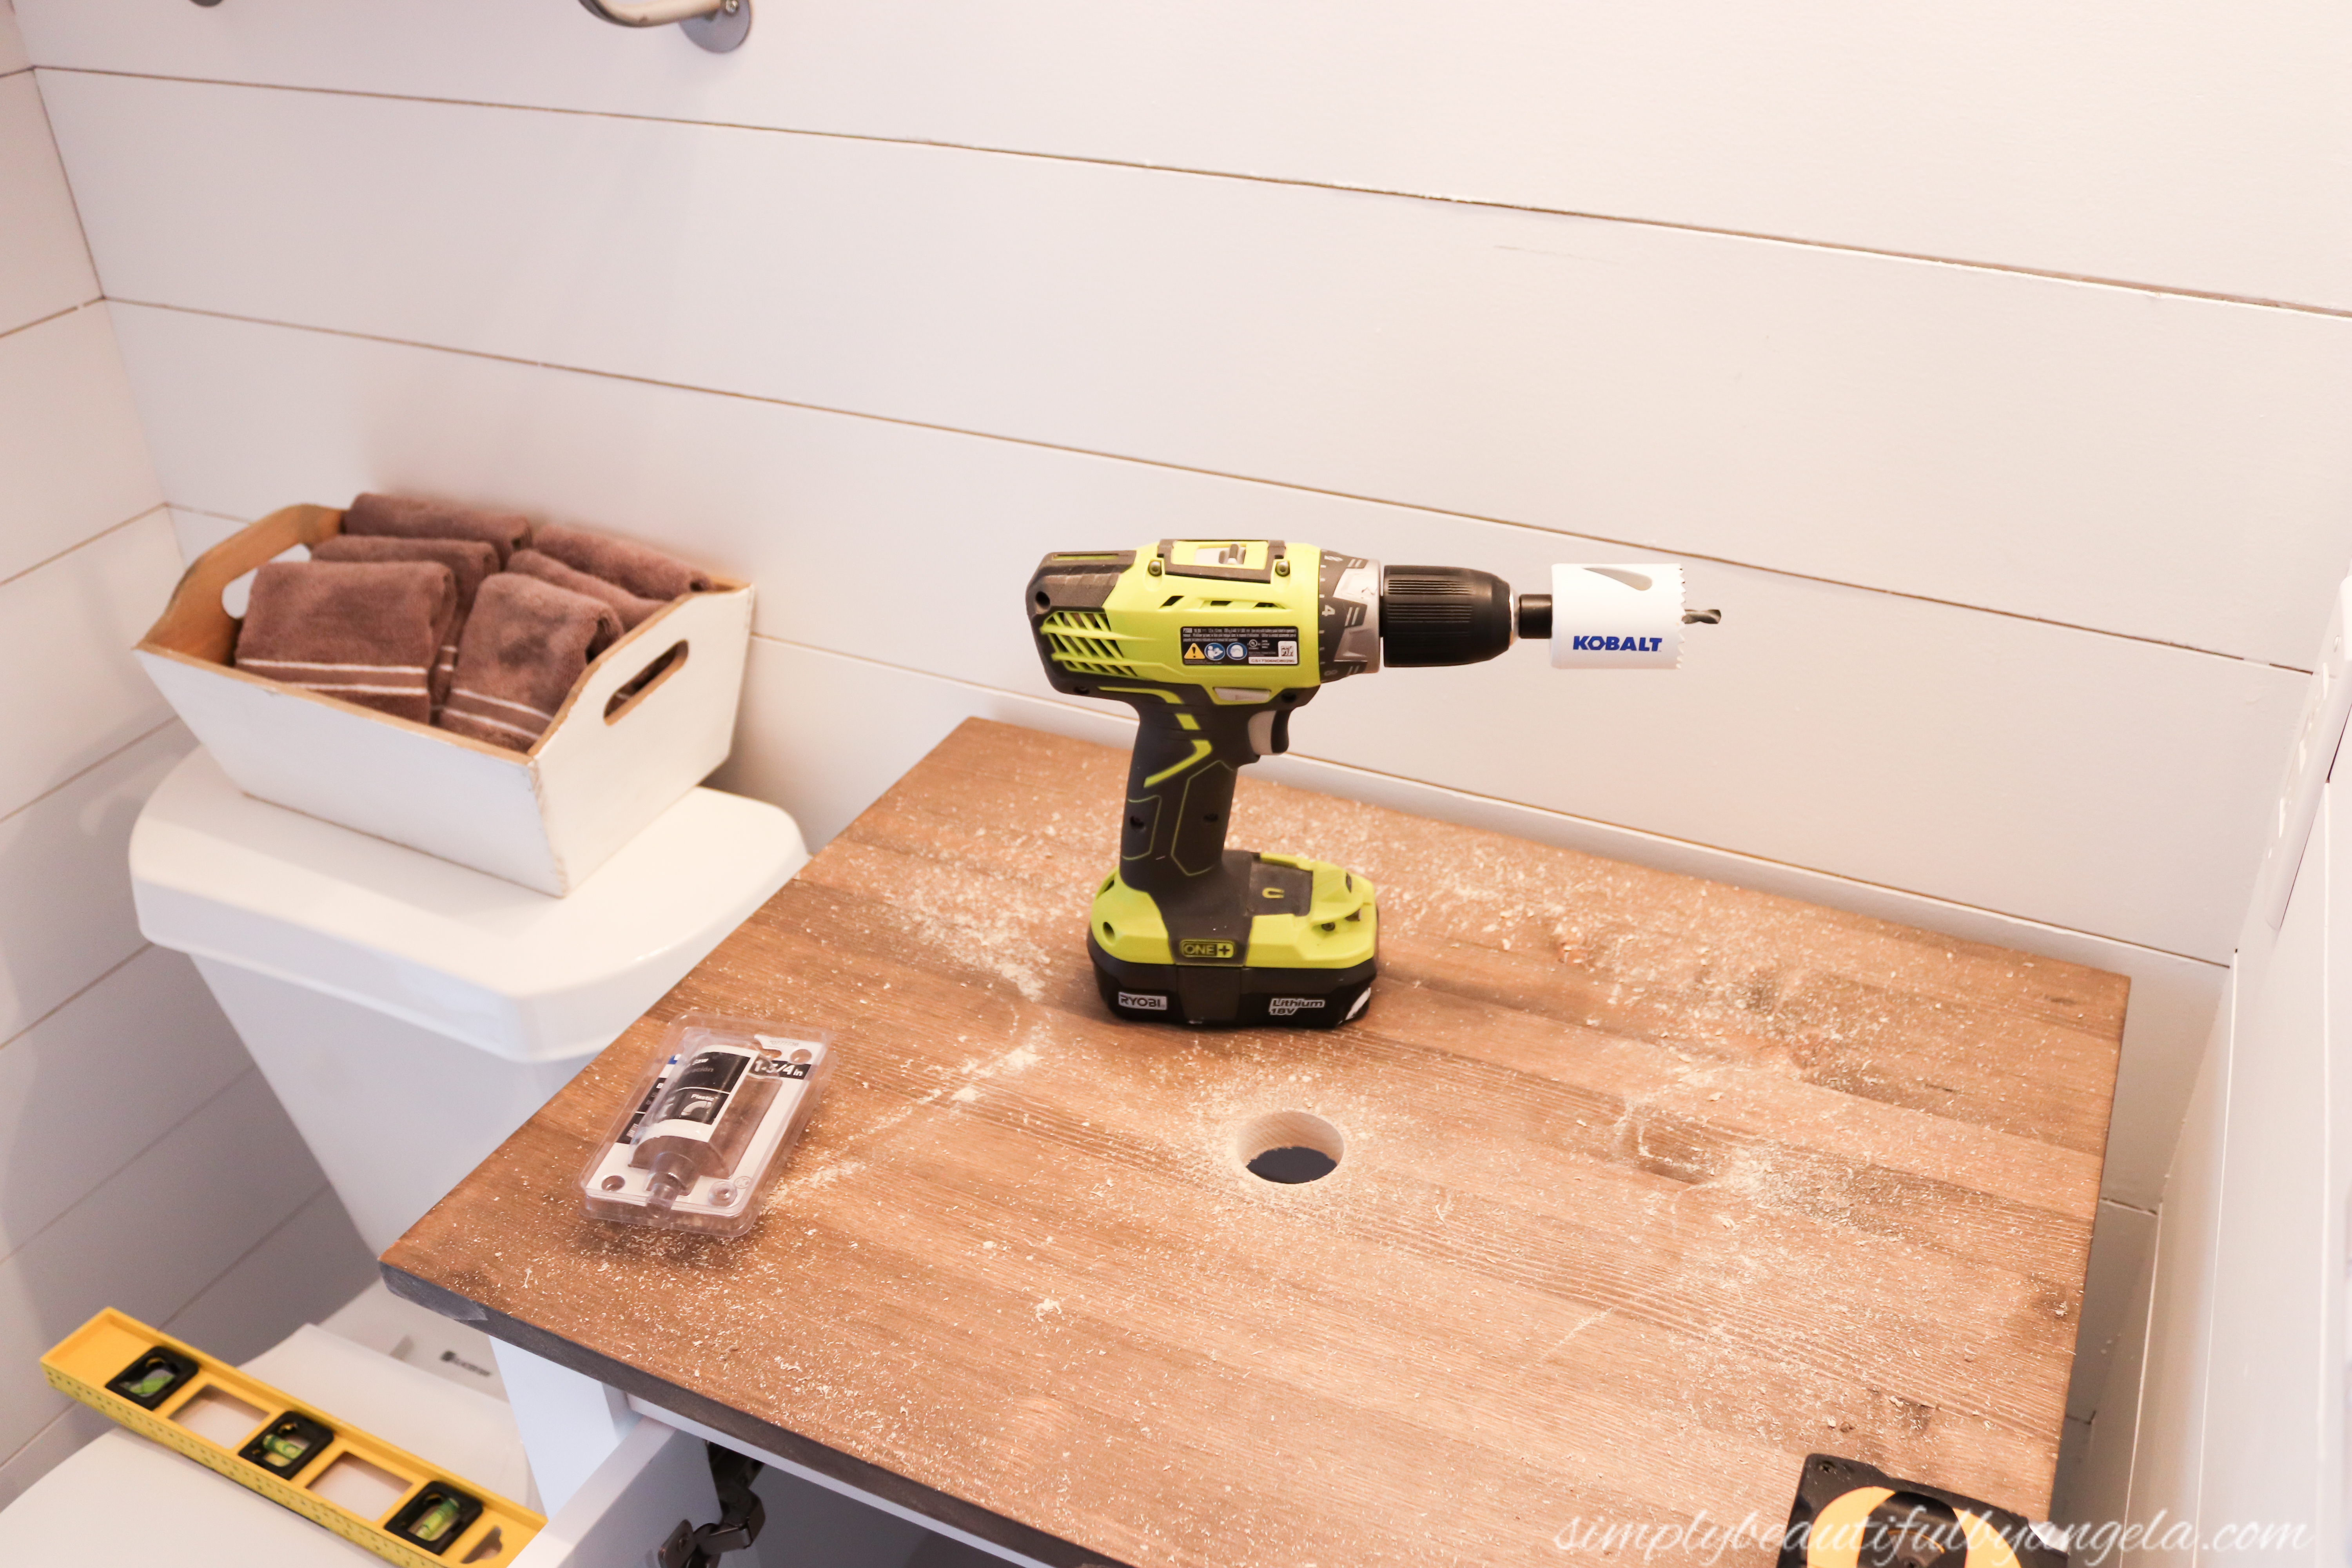
Once you have your wood slab, you'll need to cut out a hole for the sink. To do this, trace the outline of your sink onto the wood and use a jigsaw to carefully cut along the lines. Make sure the hole is slightly smaller than the sink to ensure a snug fit.DIY Wood Kitchen Counter with Sink Cutout

DIY Wood Kitchen Counter with Sink Cutout


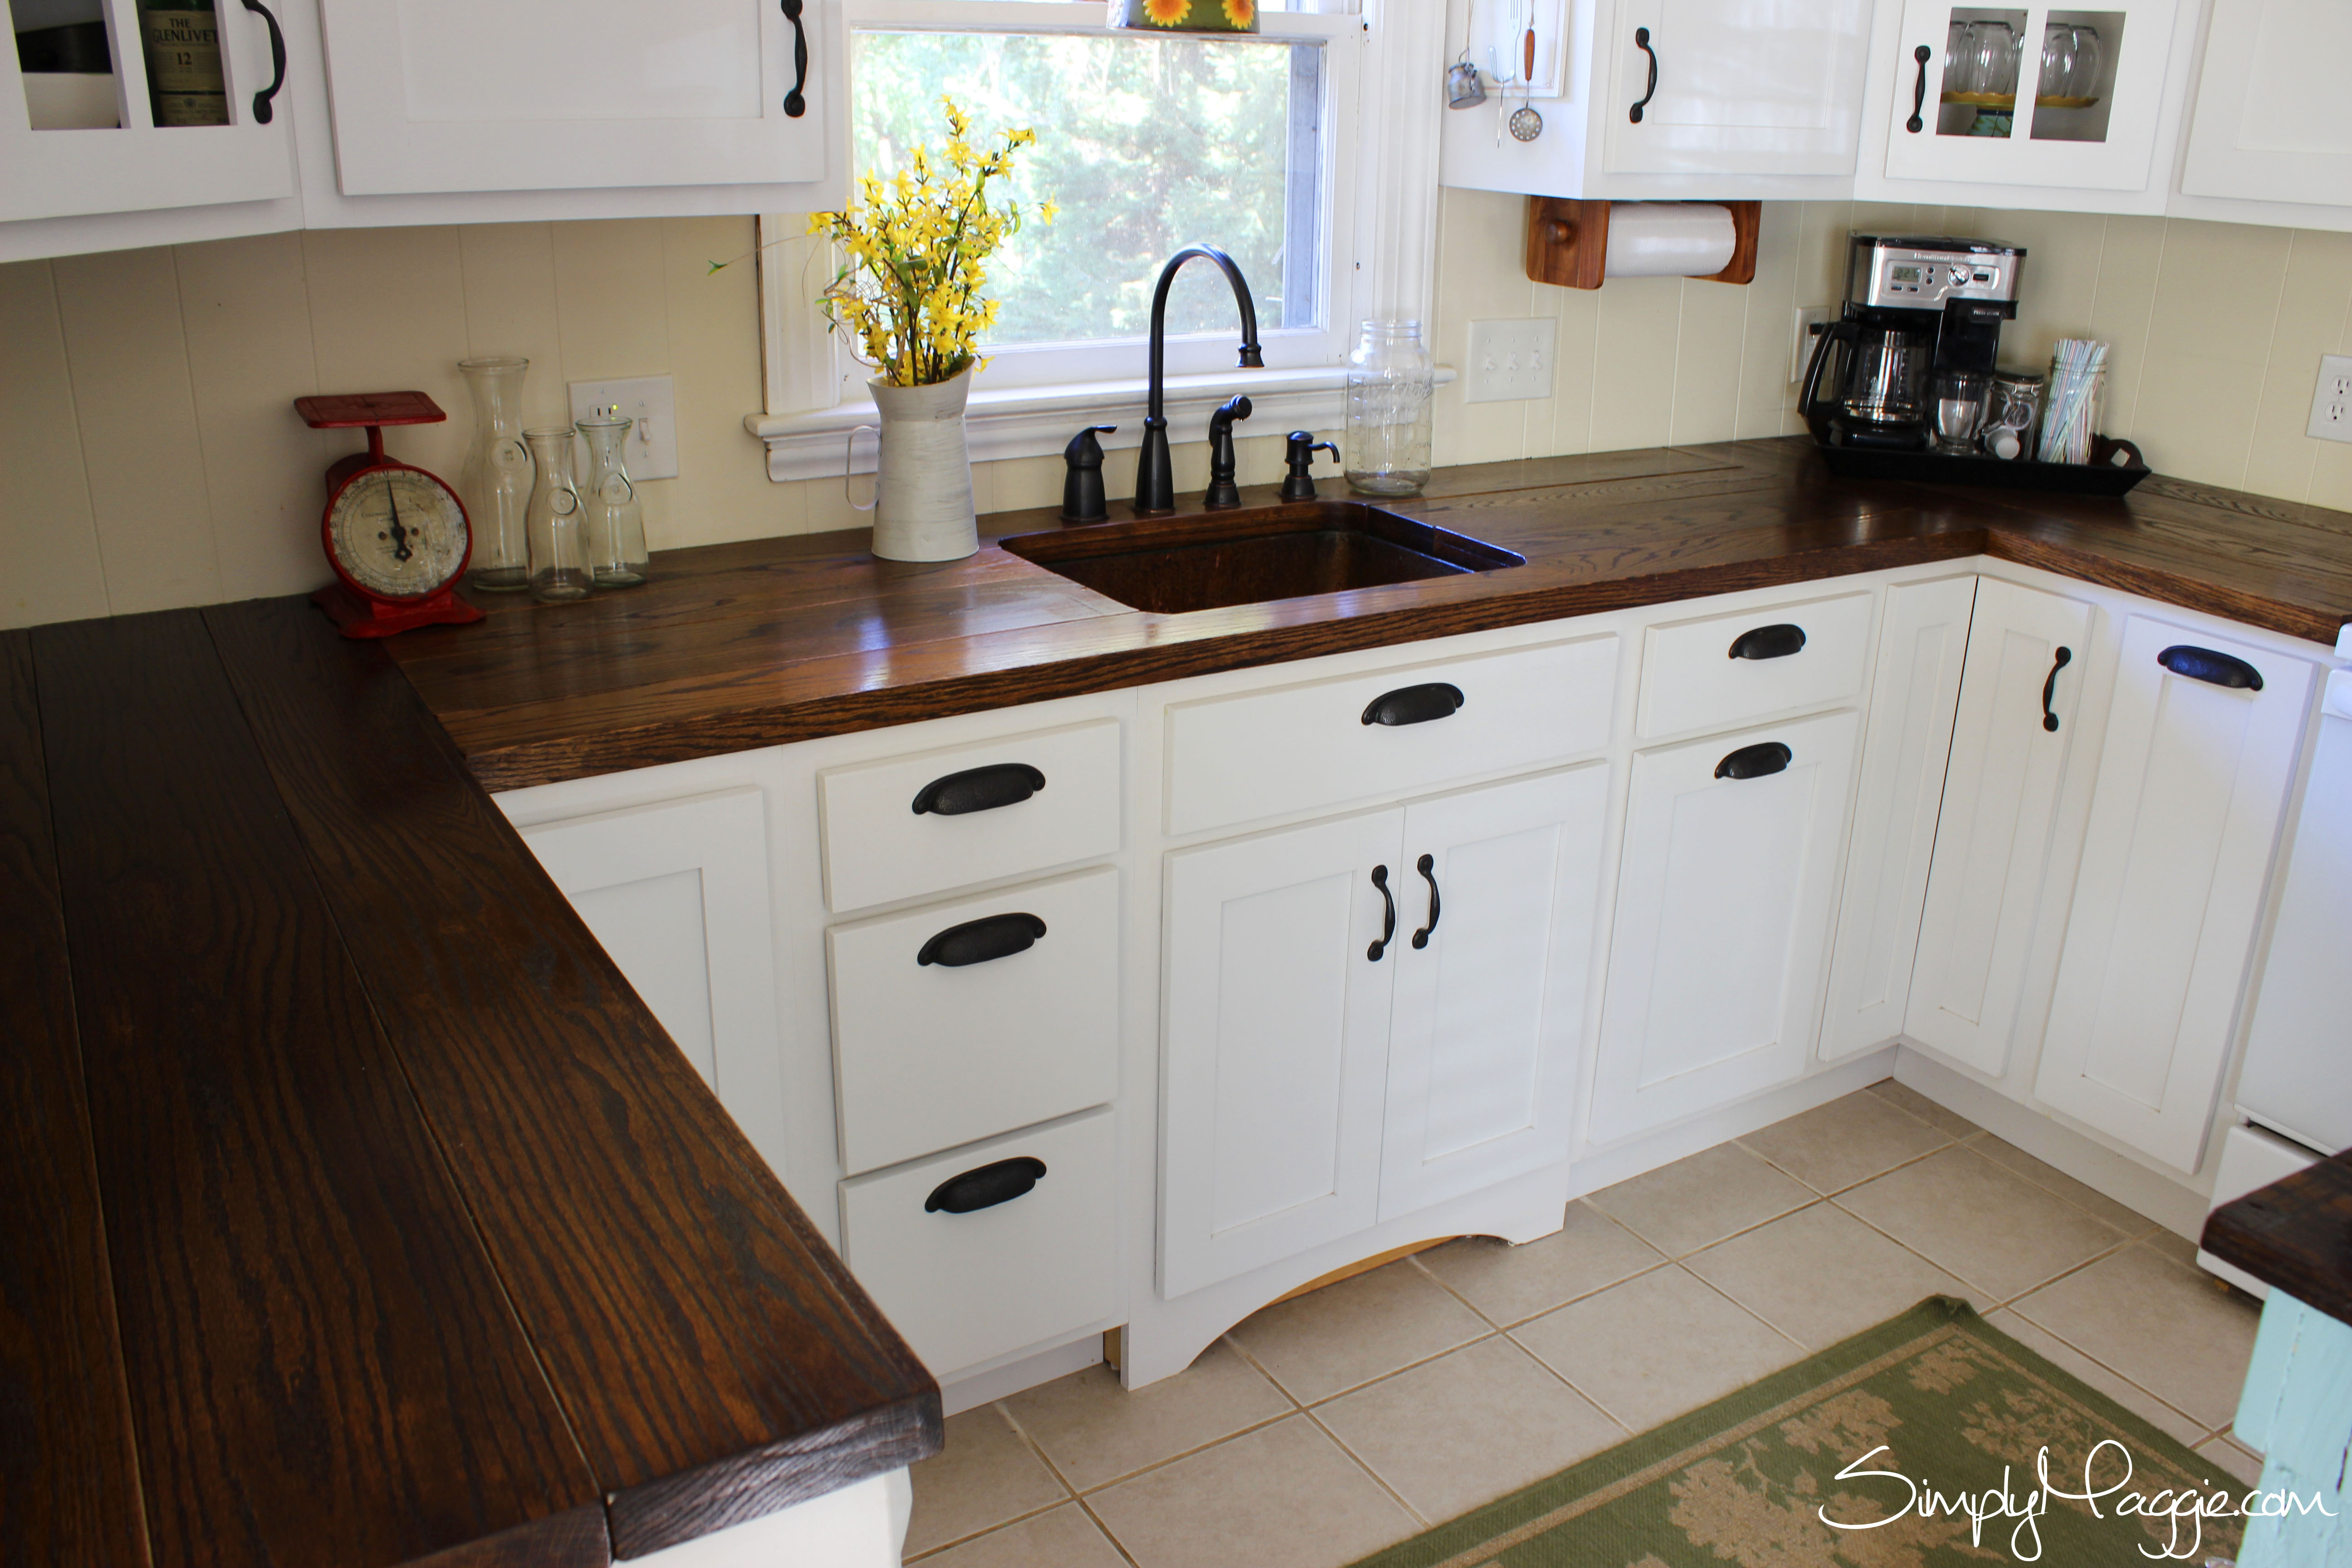
If you have an undermount sink, you'll need to secure it to the underside of the wood slab. Use a strong adhesive and follow the manufacturer's instructions to ensure a secure and sturdy attachment. You may also need to reinforce the wood around the sink with additional support beams.DIY Wood Kitchen Counter with Undermount Sink

DIY Wood Kitchen Counter with Undermount Sink


For a farmhouse sink, you'll need to cut a larger hole in the wood slab to accommodate the large size and apron front of the sink. It's important to take precise measurements and use a jigsaw to cut the hole carefully. You may also need to reinforce the wood around the sink to support its weight.DIY Wood Kitchen Counter with Farmhouse Sink

DIY Wood Kitchen Counter with Farmhouse Sink

Similar to a farmhouse sink, an apron sink will also require a larger hole in the wood slab. Make sure to measure twice and cut once to ensure a perfect fit. You may also need to add additional support beams to the wood around the sink to prevent any sagging over time.DIY Wood Kitchen Counter with Apron Sink

DIY Wood Kitchen Counter with Apron Sink


If you have a drop-in sink, you'll need to cut a hole in the wood slab to fit the sink and its rim. Make sure to take precise measurements and use a jigsaw to carefully cut the hole. You may also need to reinforce the wood around the sink for added support.DIY Wood Kitchen Counter with Drop In Sink


DIY Wood Kitchen Counter with Drop In Sink


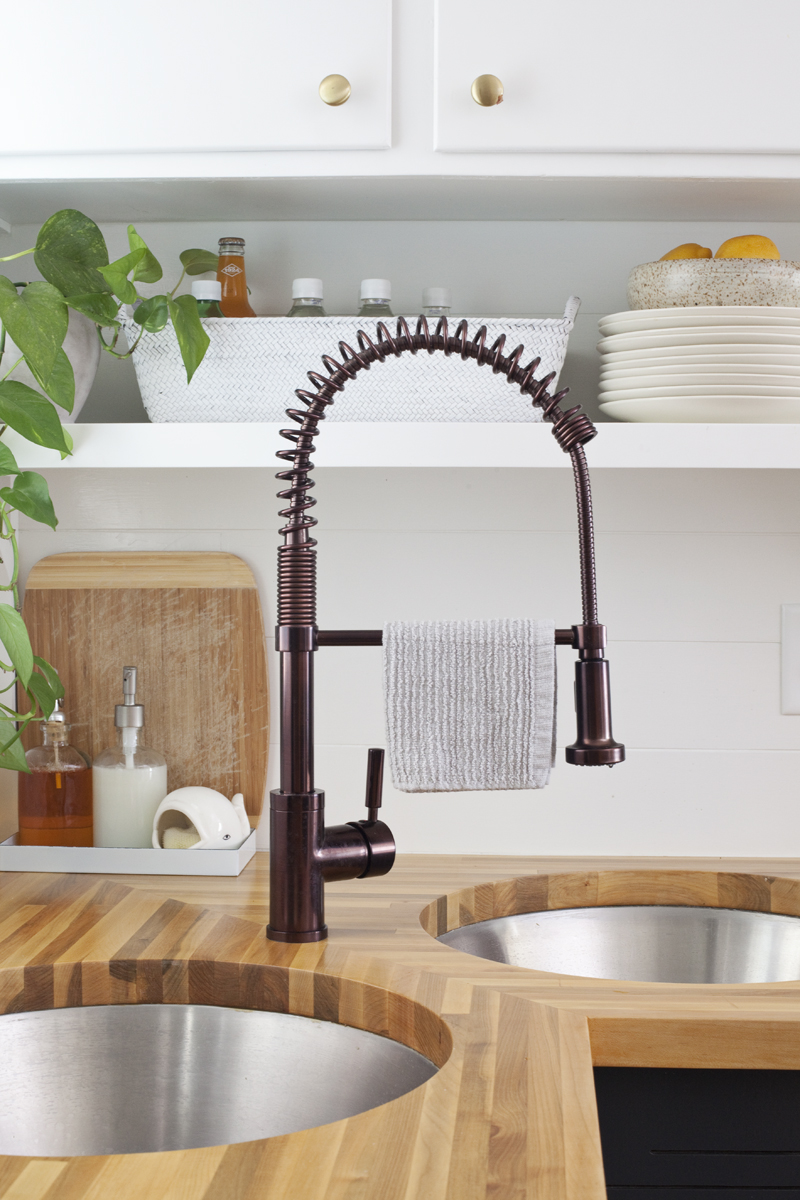
An integrated sink is a popular choice for modern kitchens, as it seamlessly integrates into the countertop. To install this type of sink, follow the manufacturer's instructions and use a strong adhesive to secure it to the wood slab. You may also need to reinforce the wood around the sink to ensure its weight is supported.DIY Wood Kitchen Counter with Integrated Sink

DIY Wood Kitchen Counter with Integrated Sink


For a vessel sink, you'll need to cut a hole in the wood slab that is slightly larger than the sink's base. Make sure to take precise measurements and use a jigsaw to carefully cut the hole. You may also need to reinforce the wood around the sink to prevent any sagging over time.DIY Wood Kitchen Counter with Vessel Sink


DIY Wood Kitchen Counter with Vessel Sink

Creating a DIY Wood Kitchen Counter Around the Sink: A Budget-Friendly and Beautiful Addition to Your Home

The Beauty and Functionality of a Wood Kitchen Counter
 Wooden kitchen counters have been gaining popularity in recent years for their natural beauty and warmth they bring to a home. They add a touch of elegance and sophistication to any kitchen, while also being a practical and durable choice for daily use. However, purchasing a wood kitchen counter can be quite expensive, especially if you have a large kitchen or a specific design in mind. This is where DIY projects come in handy, allowing you to save money while creating a custom and unique piece for your home.
The Benefits of Building Your Own Wood Kitchen Counter
 Aside from the cost savings, building your own wood kitchen counter also gives you the opportunity to personalize it according to your specific needs and preferences. You can choose the type of wood, the size and shape, and even add special features such as built-in shelves or a designated area for a sink. Plus, the satisfaction of creating something with your own hands and seeing it come to life in your home is truly unmatched.
Step-by-Step Guide to Building a Wood Kitchen Counter Around the Sink
 Before diving into the project, it's important to have a clear plan in place. Start by measuring the area where you want the counter to be installed, keeping in mind the size of your sink and any other appliances or fixtures that will be nearby. Next, choose the type of wood that best fits your budget and aesthetic preferences. Popular choices include oak, maple, and walnut for their durability and beauty.
Once you have your materials, it's time to start building. Begin by cutting the wood to the desired size and shape, making sure to leave enough space for the sink to be installed. Sand the edges and surfaces to create a smooth finish, and then assemble the pieces using wood glue and screws. For added stability, you can also add brackets underneath the counter.
Before diving into the project, it's important to have a clear plan in place. Start by measuring the area where you want the counter to be installed, keeping in mind the size of your sink and any other appliances or fixtures that will be nearby. Next, choose the type of wood that best fits your budget and aesthetic preferences. Popular choices include oak, maple, and walnut for their durability and beauty.
Once you have your materials, it's time to start building. Begin by cutting the wood to the desired size and shape, making sure to leave enough space for the sink to be installed. Sand the edges and surfaces to create a smooth finish, and then assemble the pieces using wood glue and screws. For added stability, you can also add brackets underneath the counter.
Finishing Touches and Maintenance
 After the counter is assembled and installed, it's time to add the finishing touches. Apply a coat of protective sealant to prevent water damage and stains, and then sand and reapply as needed over time. You can also choose to add a decorative edge or trim to give your counter a unique and personalized look.
To maintain the beauty and durability of your wood kitchen counter, be sure to regularly clean and oil it to prevent drying and cracking. Avoid placing hot objects directly on the surface and use cutting boards to prevent scratches. With proper care, your DIY wood kitchen counter will be a stunning and functional addition to your home for years to come.
In conclusion
, building a DIY wood kitchen counter around the sink is a budget-friendly and creative way to add a touch of elegance and functionality to your home. With a little planning and some basic woodworking skills, you can create a beautiful and unique piece that will be the centerpiece of your kitchen. So why wait? Gather your tools and materials and get started on this fun and rewarding project today!
After the counter is assembled and installed, it's time to add the finishing touches. Apply a coat of protective sealant to prevent water damage and stains, and then sand and reapply as needed over time. You can also choose to add a decorative edge or trim to give your counter a unique and personalized look.
To maintain the beauty and durability of your wood kitchen counter, be sure to regularly clean and oil it to prevent drying and cracking. Avoid placing hot objects directly on the surface and use cutting boards to prevent scratches. With proper care, your DIY wood kitchen counter will be a stunning and functional addition to your home for years to come.
In conclusion
, building a DIY wood kitchen counter around the sink is a budget-friendly and creative way to add a touch of elegance and functionality to your home. With a little planning and some basic woodworking skills, you can create a beautiful and unique piece that will be the centerpiece of your kitchen. So why wait? Gather your tools and materials and get started on this fun and rewarding project today!