Staining a kitchen table is a great way to give new life to an old piece of furniture. Not only is it a cost-effective option, but it also allows you to customize the color and finish to match your personal style. With a little bit of know-how and the right materials, you can easily stain your kitchen table yourself. Follow this step-by-step guide to achieve professional-looking results without breaking the bank.1. How to Stain a Kitchen Table Yourself


1. How to Stain a Kitchen Table Yourself


Before diving into your staining project, it's important to familiarize yourself with some useful tips to ensure a successful outcome. First and foremost, make sure to choose a well-ventilated area to work in and wear protective gear, such as gloves and a mask, to avoid any potential health hazards. It's also important to properly prepare the table surface by sanding it down and removing any existing finish. This will ensure that the stain adheres properly and gives a smooth, even finish.2. DIY Kitchen Table Staining Tips


2. DIY Kitchen Table Staining Tips


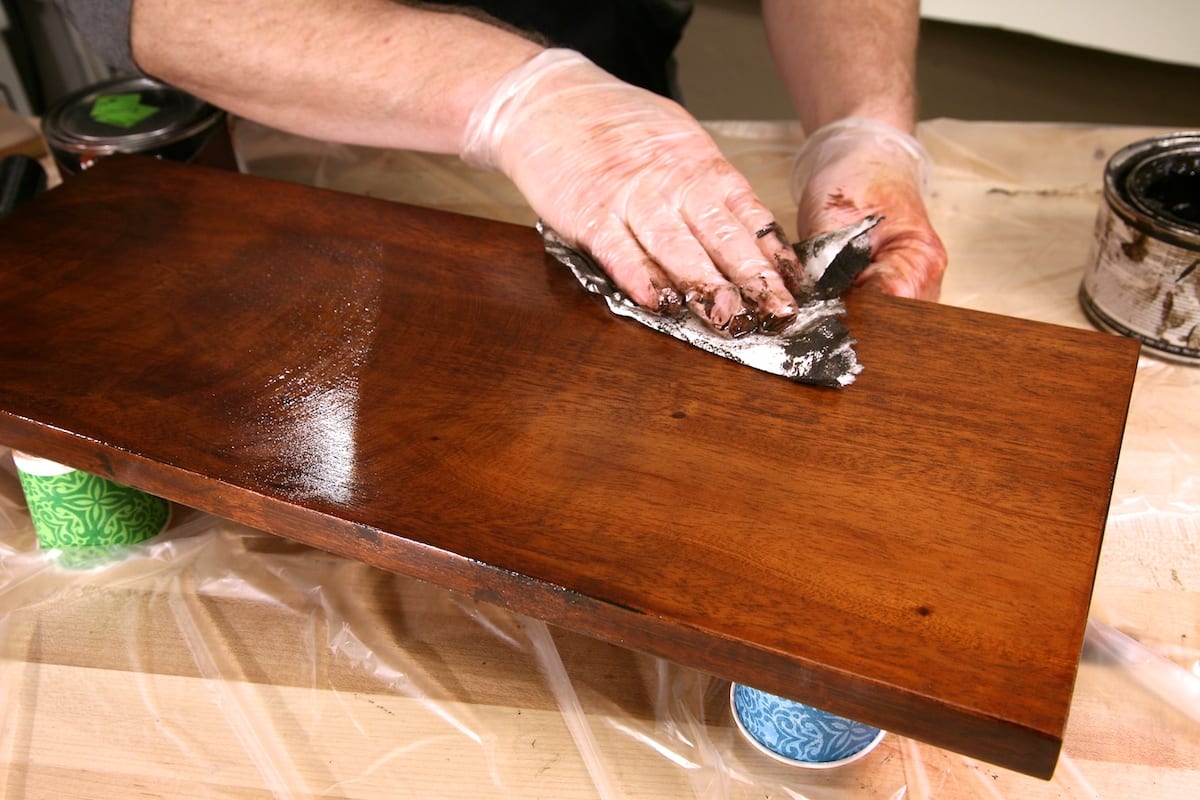
Now that you're equipped with some helpful tips, it's time to get started on staining your kitchen table. Begin by applying a pre-stain wood conditioner to help the wood absorb the stain evenly. Next, apply the stain using a brush or cloth, following the direction of the wood grain. Be sure to wipe off any excess stain with a clean cloth and let it dry completely before moving on to the next step. Lastly, seal the stained surface with a polyurethane finish to protect it from daily wear and tear.3. Step-by-Step Guide to Staining a Kitchen Table


3. Step-by-Step Guide to Staining a Kitchen Table


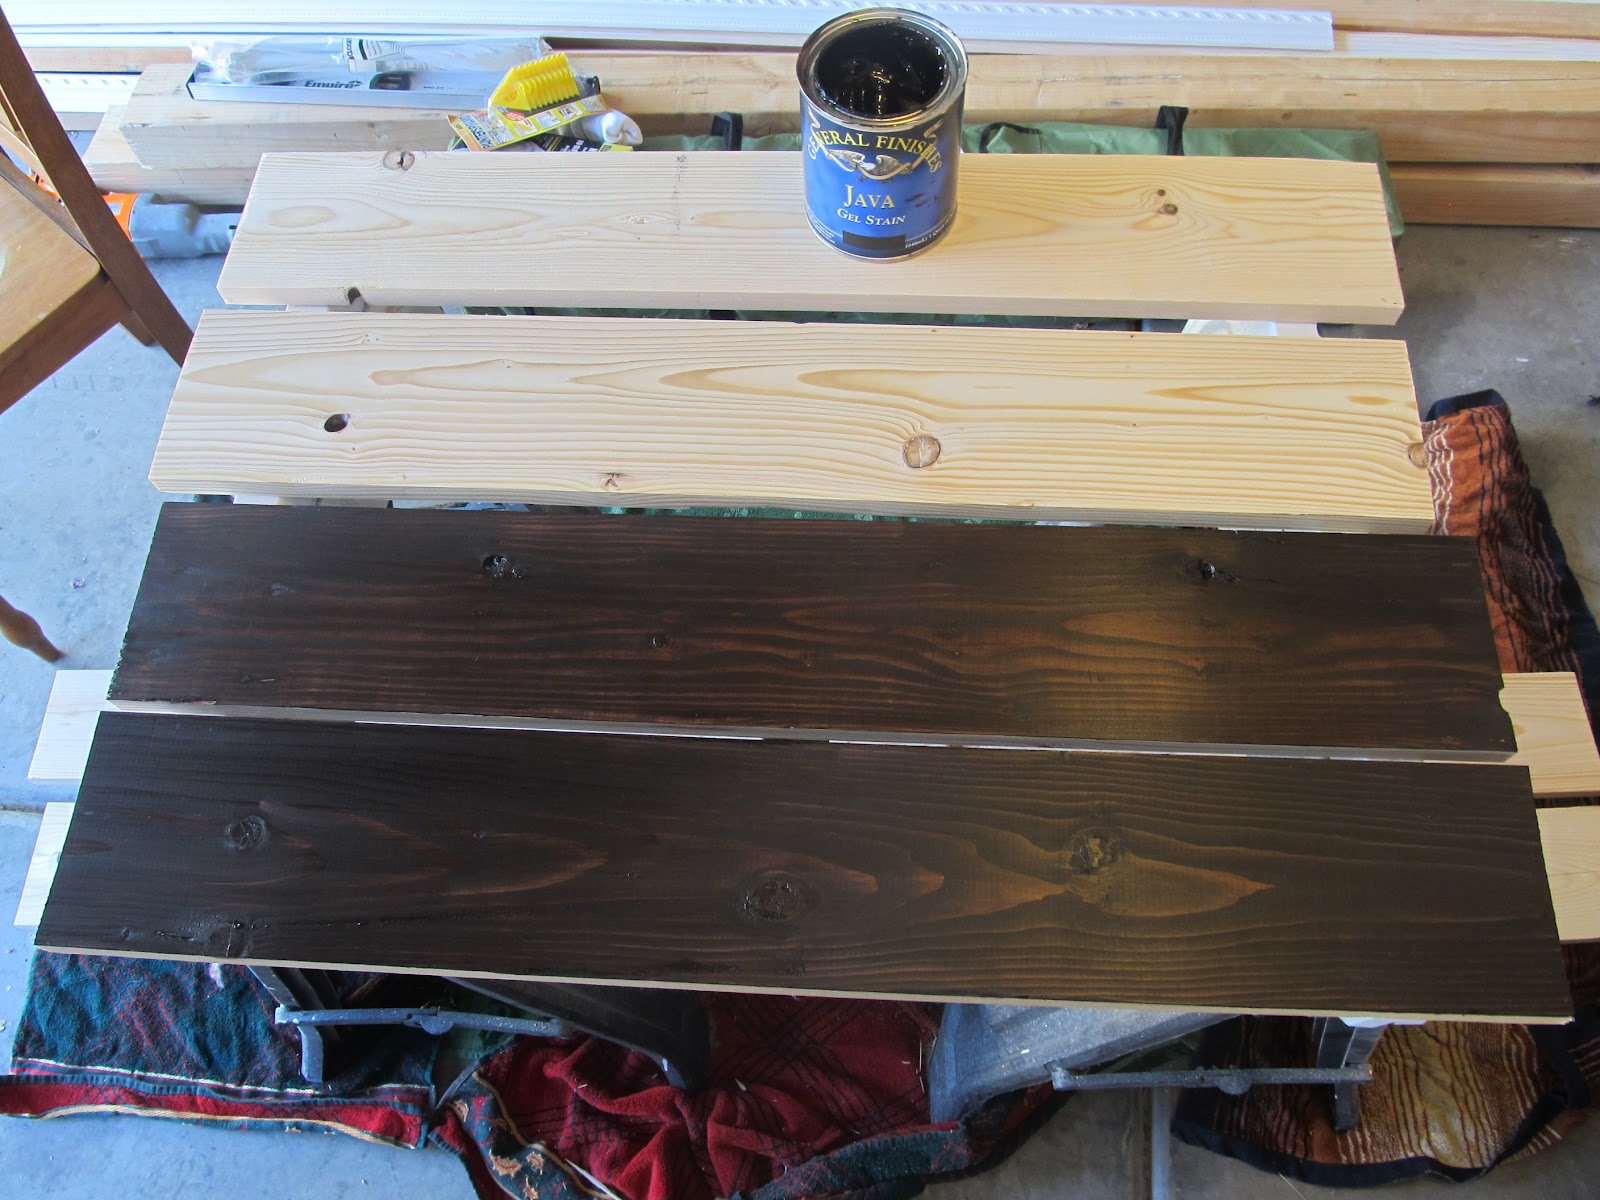
When it comes to choosing a stain for your kitchen table, there are various options available in the market. The most common types are oil-based and water-based stains, each with their own unique characteristics. Oil-based stains provide a richer, deeper color but take longer to dry, while water-based stains dry quickly and are easier to clean up. Ultimately, the best stain for your project will depend on your personal preference and the type of wood you're working with.4. Best Stains for DIY Kitchen Table Projects


4. Best Stains for DIY Kitchen Table Projects


If you have an old, worn-out kitchen table that needs a makeover, refinishing it with a DIY stain is a great option. Not only will it save you money, but it will also give you the opportunity to update the look of your table. With a fresh coat of stain, you can transform a dated table into a modern centerpiece for your kitchen. Plus, refinishing it yourself allows you to add your personal touch to the final product.5. Refinishing a Kitchen Table with DIY Stain


5. Refinishing a Kitchen Table with DIY Stain


While staining a kitchen table yourself can be a fun and rewarding project, it may not be the best option for everyone. If you're short on time or don't have the necessary tools and equipment, hiring a professional may be a better choice. Professionals have the expertise and specialized tools to achieve a flawless finish, saving you the hassle and potential mistakes. Consider your budget and available resources before deciding whether to DIY or hire a professional.6. DIY Staining vs. Professional Staining for Kitchen Tables


6. DIY Staining vs. Professional Staining for Kitchen Tables


Staining a kitchen table may seem like a straightforward task, but there are some common mistakes that can ruin your final result. One of the most frequent errors is not properly preparing the wood before staining, which can result in an uneven finish. Another mistake is not wiping off excess stain, which can lead to a sticky and tacky surface. To avoid these mistakes, be sure to follow the instructions carefully and take your time to achieve a flawless finish.7. Common Mistakes to Avoid When Staining a Kitchen Table


7. Common Mistakes to Avoid When Staining a Kitchen Table


)


Properly preparing your kitchen table before staining is crucial for a successful outcome. Start by sanding the surface with a fine-grit sandpaper to remove any existing finish and create a smooth surface for the stain. Once sanded, wipe the table down with a clean cloth to remove any dust and debris. If there are any imperfections, such as scratches or dents, fill them in with wood filler and let it dry before sanding again. This will ensure that the stain is absorbed evenly.8. How to Prep Your Kitchen Table for Staining


8. How to Prep Your Kitchen Table for Staining


To achieve a professional-looking finish, it's essential to have the right tools and materials for your DIY staining project. Some essential supplies include a pre-stain wood conditioner, stain of your choice, brushes or cloths for application, a clean cloth for wiping off excess stain, and a polyurethane finish for sealing. Be sure to also have protective gear, such as gloves and a mask, to ensure your safety while working with chemicals.9. DIY Staining Supplies for Kitchen Table Projects


9. DIY Staining Supplies for Kitchen Table Projects


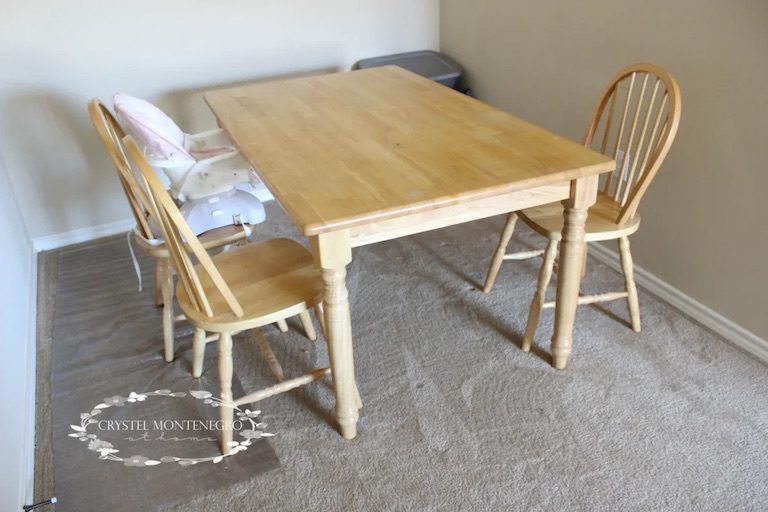
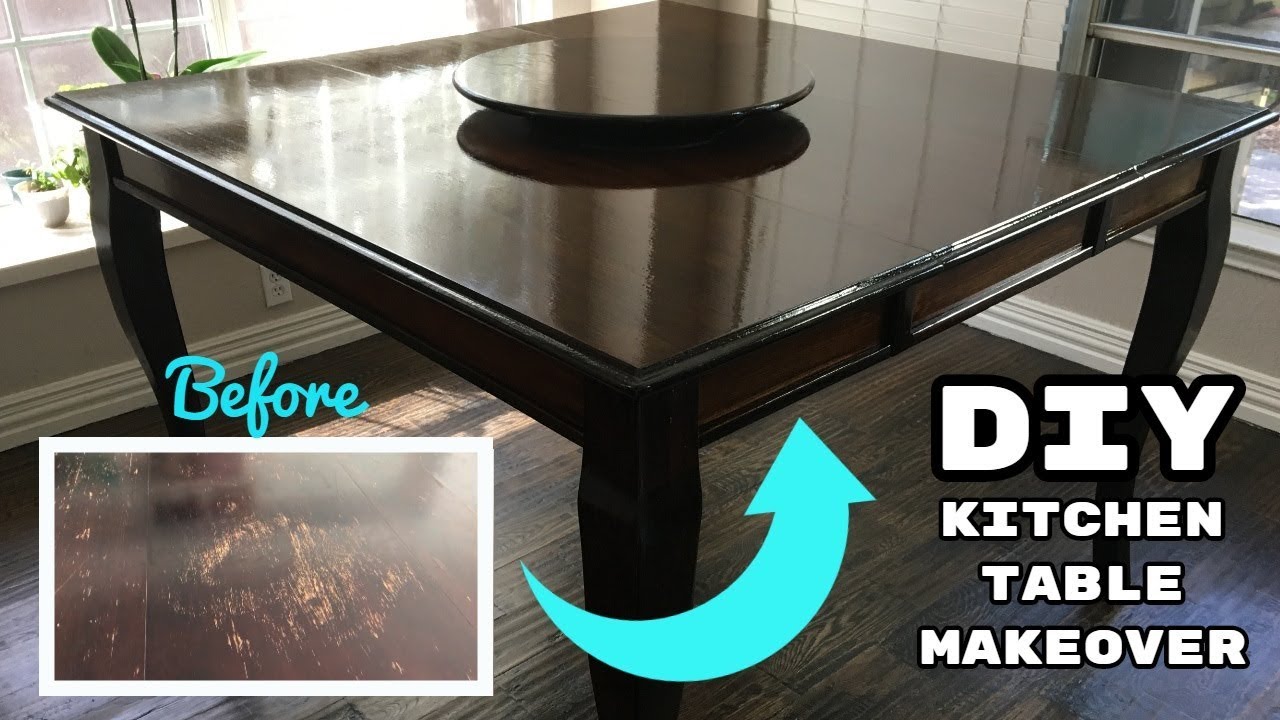
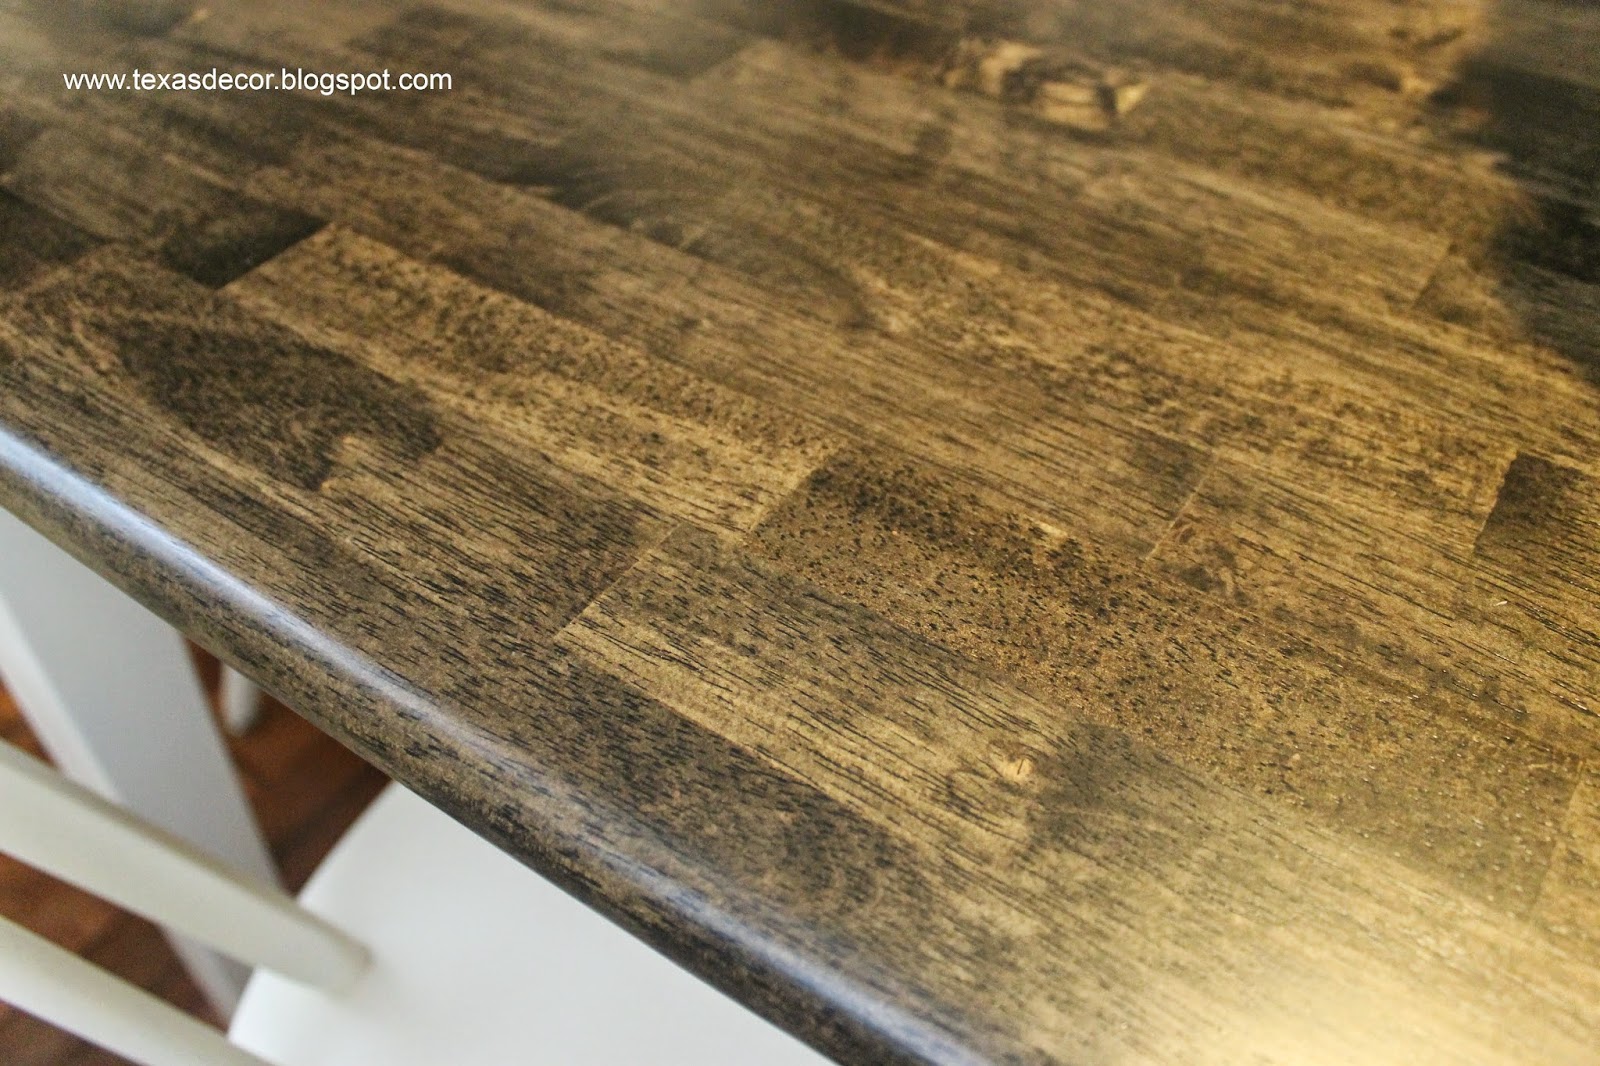
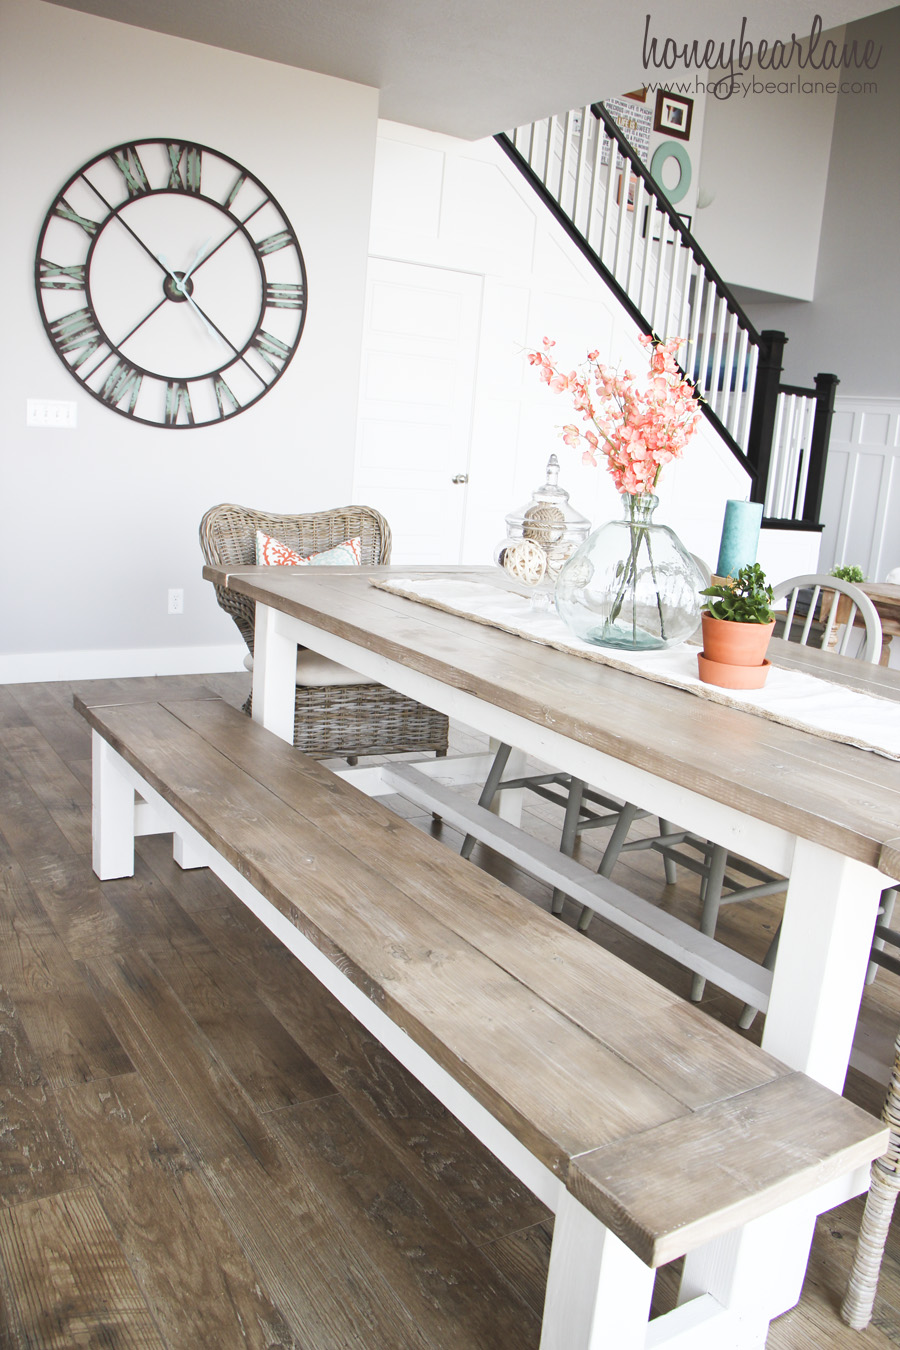
Still not convinced that you can achieve beautiful results with a DIY stained kitchen table? Just take a look at some before and after photos of successful projects. With a little bit of effort and patience, you can completely transform the look of your kitchen table and give it a new lease on life. Get creative with your stain color and finish to create a unique piece that reflects your personal style and adds character to your kitchen.10. Before and After: DIY Stained Kitchen Table Makeovers


10. Before and After: DIY Stained Kitchen Table Makeovers


Why Staining Your Kitchen Table is the Perfect DIY Project for Your Home

Revamp Your Kitchen with a Freshly Stained Table
 Staining is a popular technique used in home design to give furniture a new and refreshed look. And what better way to add a touch of elegance to your kitchen than by staining your kitchen table? Not only is it a fun and rewarding DIY project, but it also allows you to customize the color and finish of your table to perfectly match your kitchen's aesthetic.
Staining
can also
protect
your table from
wear and tear
, making it a practical choice for any household. So why not take on this project and give your kitchen a fresh new centerpiece?
Staining is a popular technique used in home design to give furniture a new and refreshed look. And what better way to add a touch of elegance to your kitchen than by staining your kitchen table? Not only is it a fun and rewarding DIY project, but it also allows you to customize the color and finish of your table to perfectly match your kitchen's aesthetic.
Staining
can also
protect
your table from
wear and tear
, making it a practical choice for any household. So why not take on this project and give your kitchen a fresh new centerpiece?
The Benefits of Staining Your Kitchen Table
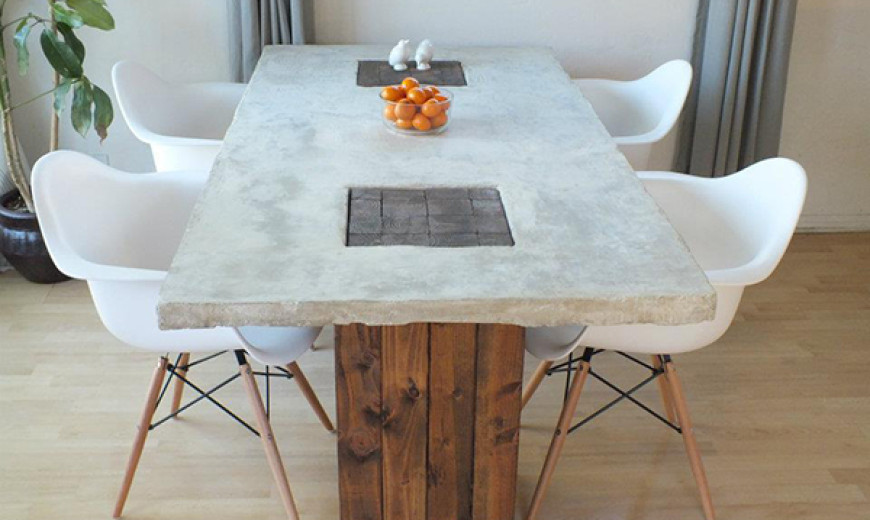
 Staining your kitchen table has numerous benefits that make it a worthwhile project for any homeowner. For starters, it is a cost-effective way to give your table a brand new look without having to spend money on a new one. With a variety of
stain colors
to choose from, you can easily
transform
your table to match your desired style, whether it be rustic, modern, or traditional. Additionally, staining can
enhance
the natural beauty of your table's wood grain, adding character and charm to your kitchen.
Staining your kitchen table has numerous benefits that make it a worthwhile project for any homeowner. For starters, it is a cost-effective way to give your table a brand new look without having to spend money on a new one. With a variety of
stain colors
to choose from, you can easily
transform
your table to match your desired style, whether it be rustic, modern, or traditional. Additionally, staining can
enhance
the natural beauty of your table's wood grain, adding character and charm to your kitchen.
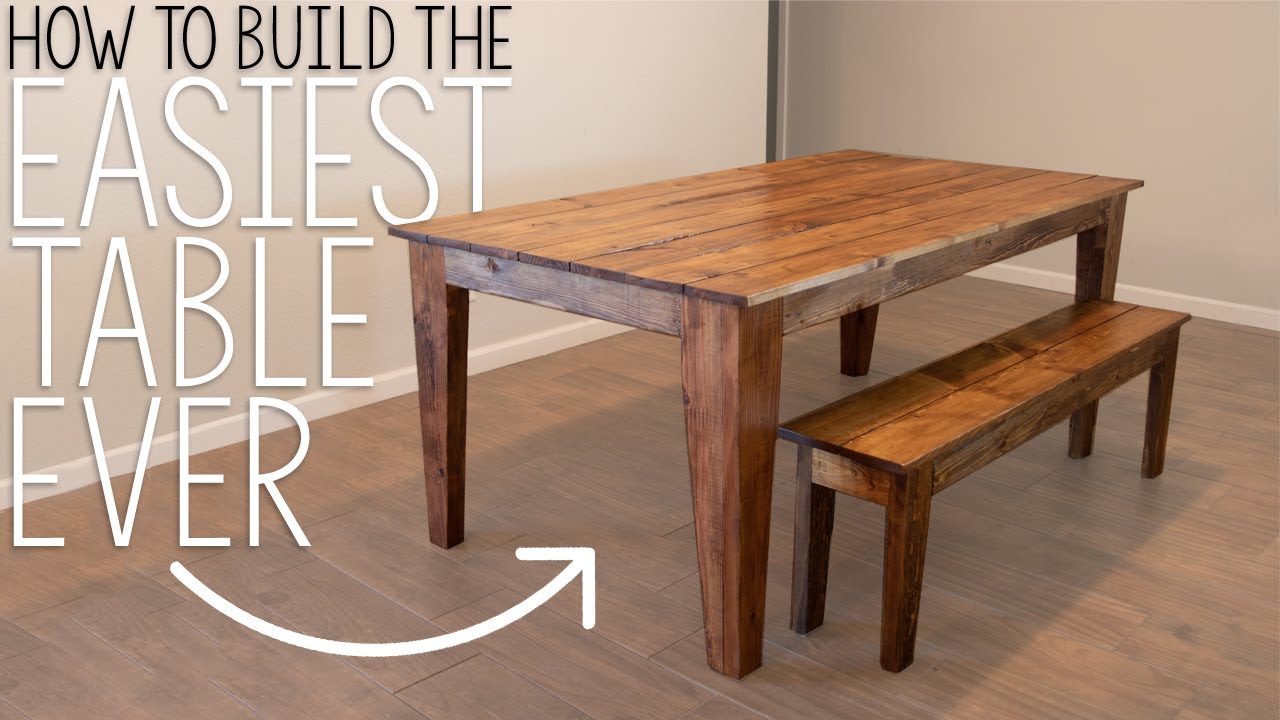
Step-by-Step Guide to Staining Your Kitchen Table
 Staining your kitchen table may seem like a daunting task, but with the right tools and techniques, it can be a fun and
straightforward
project. First, you will need to gather all the necessary materials, including sandpaper, wood stain, a paintbrush, and a cloth. Next, you will need to sand down your table to remove any existing finish and create a smooth surface for the stain to adhere to. Then, apply the stain evenly with a paintbrush, making sure to follow the wood grain. Once the stain has dried, you can add a
protective coat
of polyurethane to seal the stain and give your table a glossy finish.
Staining your kitchen table may seem like a daunting task, but with the right tools and techniques, it can be a fun and
straightforward
project. First, you will need to gather all the necessary materials, including sandpaper, wood stain, a paintbrush, and a cloth. Next, you will need to sand down your table to remove any existing finish and create a smooth surface for the stain to adhere to. Then, apply the stain evenly with a paintbrush, making sure to follow the wood grain. Once the stain has dried, you can add a
protective coat
of polyurethane to seal the stain and give your table a glossy finish.
Final Thoughts
 Staining your kitchen table is a simple and cost-effective way to give your kitchen a fresh new look. Not only does it allow you to customize the color and finish of your table, but it also
protects
it from daily wear and tear. So why not take on this
DIY project
and add a touch of elegance to your kitchen? With the right tools and techniques, staining your kitchen table can be a fun and rewarding experience that will leave you with a beautiful and
one-of-a-kind
piece of furniture.
Staining your kitchen table is a simple and cost-effective way to give your kitchen a fresh new look. Not only does it allow you to customize the color and finish of your table, but it also
protects
it from daily wear and tear. So why not take on this
DIY project
and add a touch of elegance to your kitchen? With the right tools and techniques, staining your kitchen table can be a fun and rewarding experience that will leave you with a beautiful and
one-of-a-kind
piece of furniture.