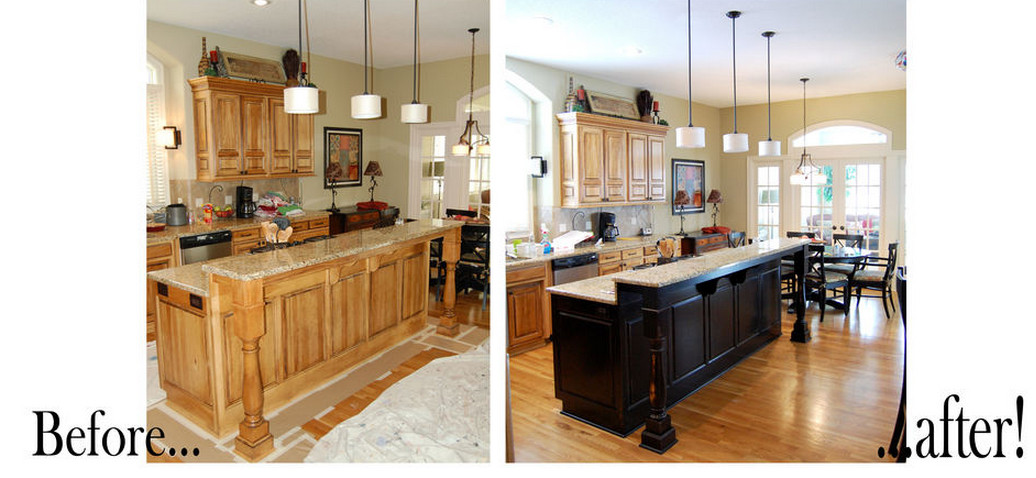
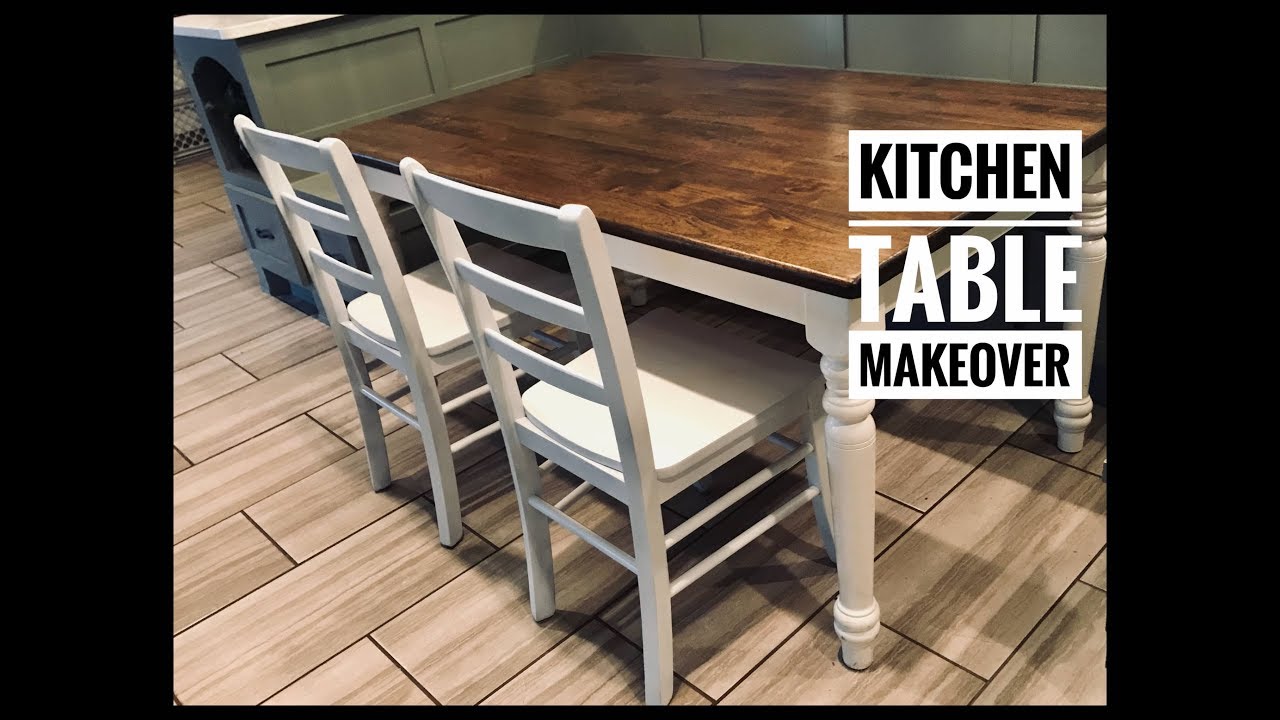
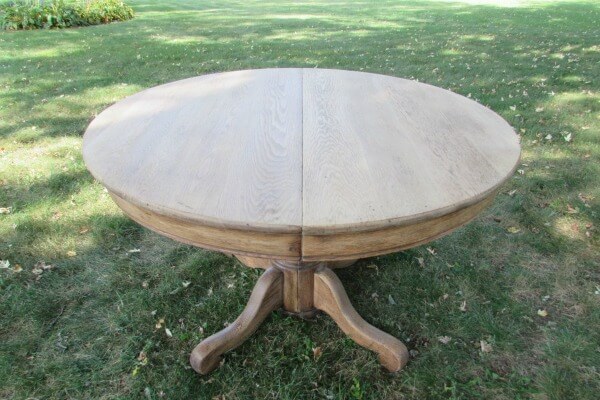
If you're tired of the worn-out look of your kitchen table, refinishing it can give it a whole new life. Plus, refinishing a kitchen table is a great DIY project that can save you money and give you a sense of accomplishment. In this guide, we'll walk you through the steps to successfully refinish your kitchen table and give it a beautiful new finish. Before getting started, make sure you have all the necessary materials, including sandpaper, wood stain or paint, and a clear topcoat. It's also a good idea to work in a well-ventilated area and protect your work surface with a drop cloth.1. How to Refinish a Kitchen Table: DIY Guide


1. How to Refinish a Kitchen Table: DIY Guide


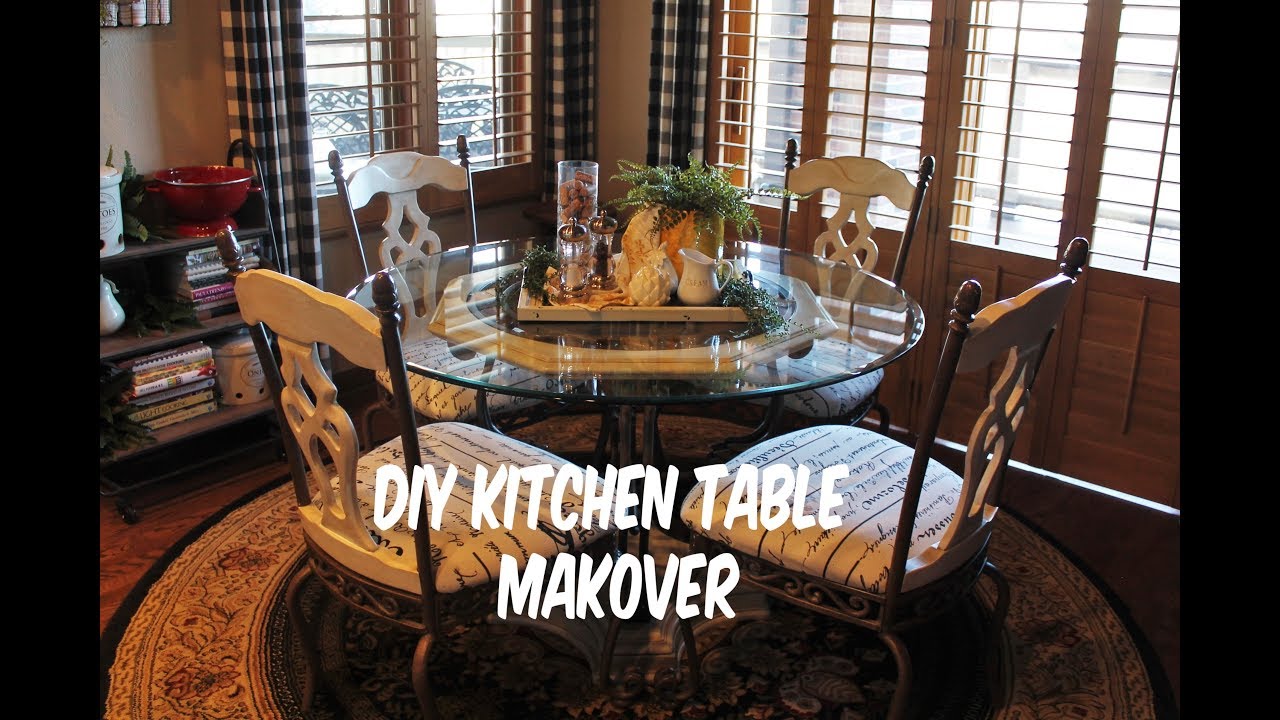
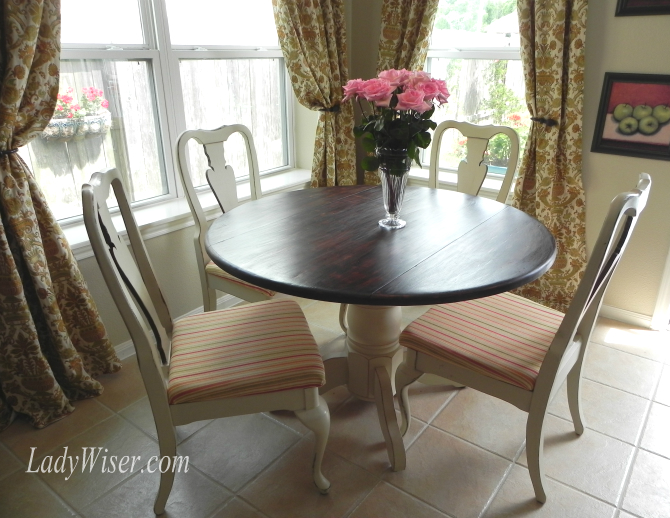
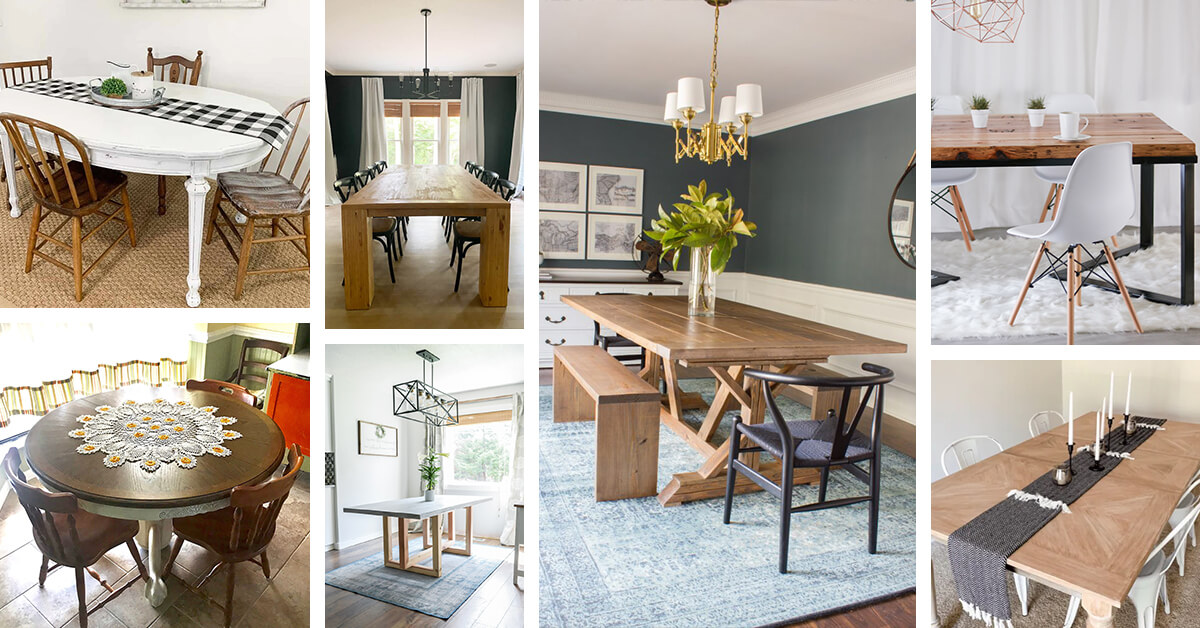
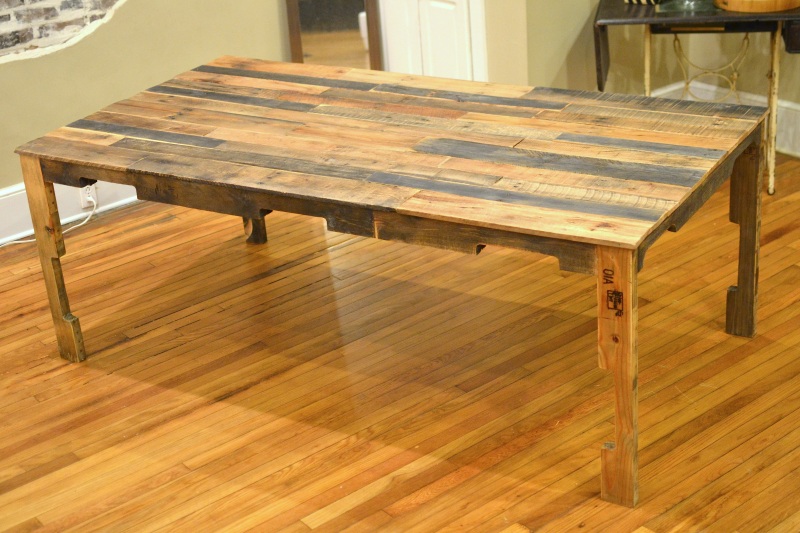
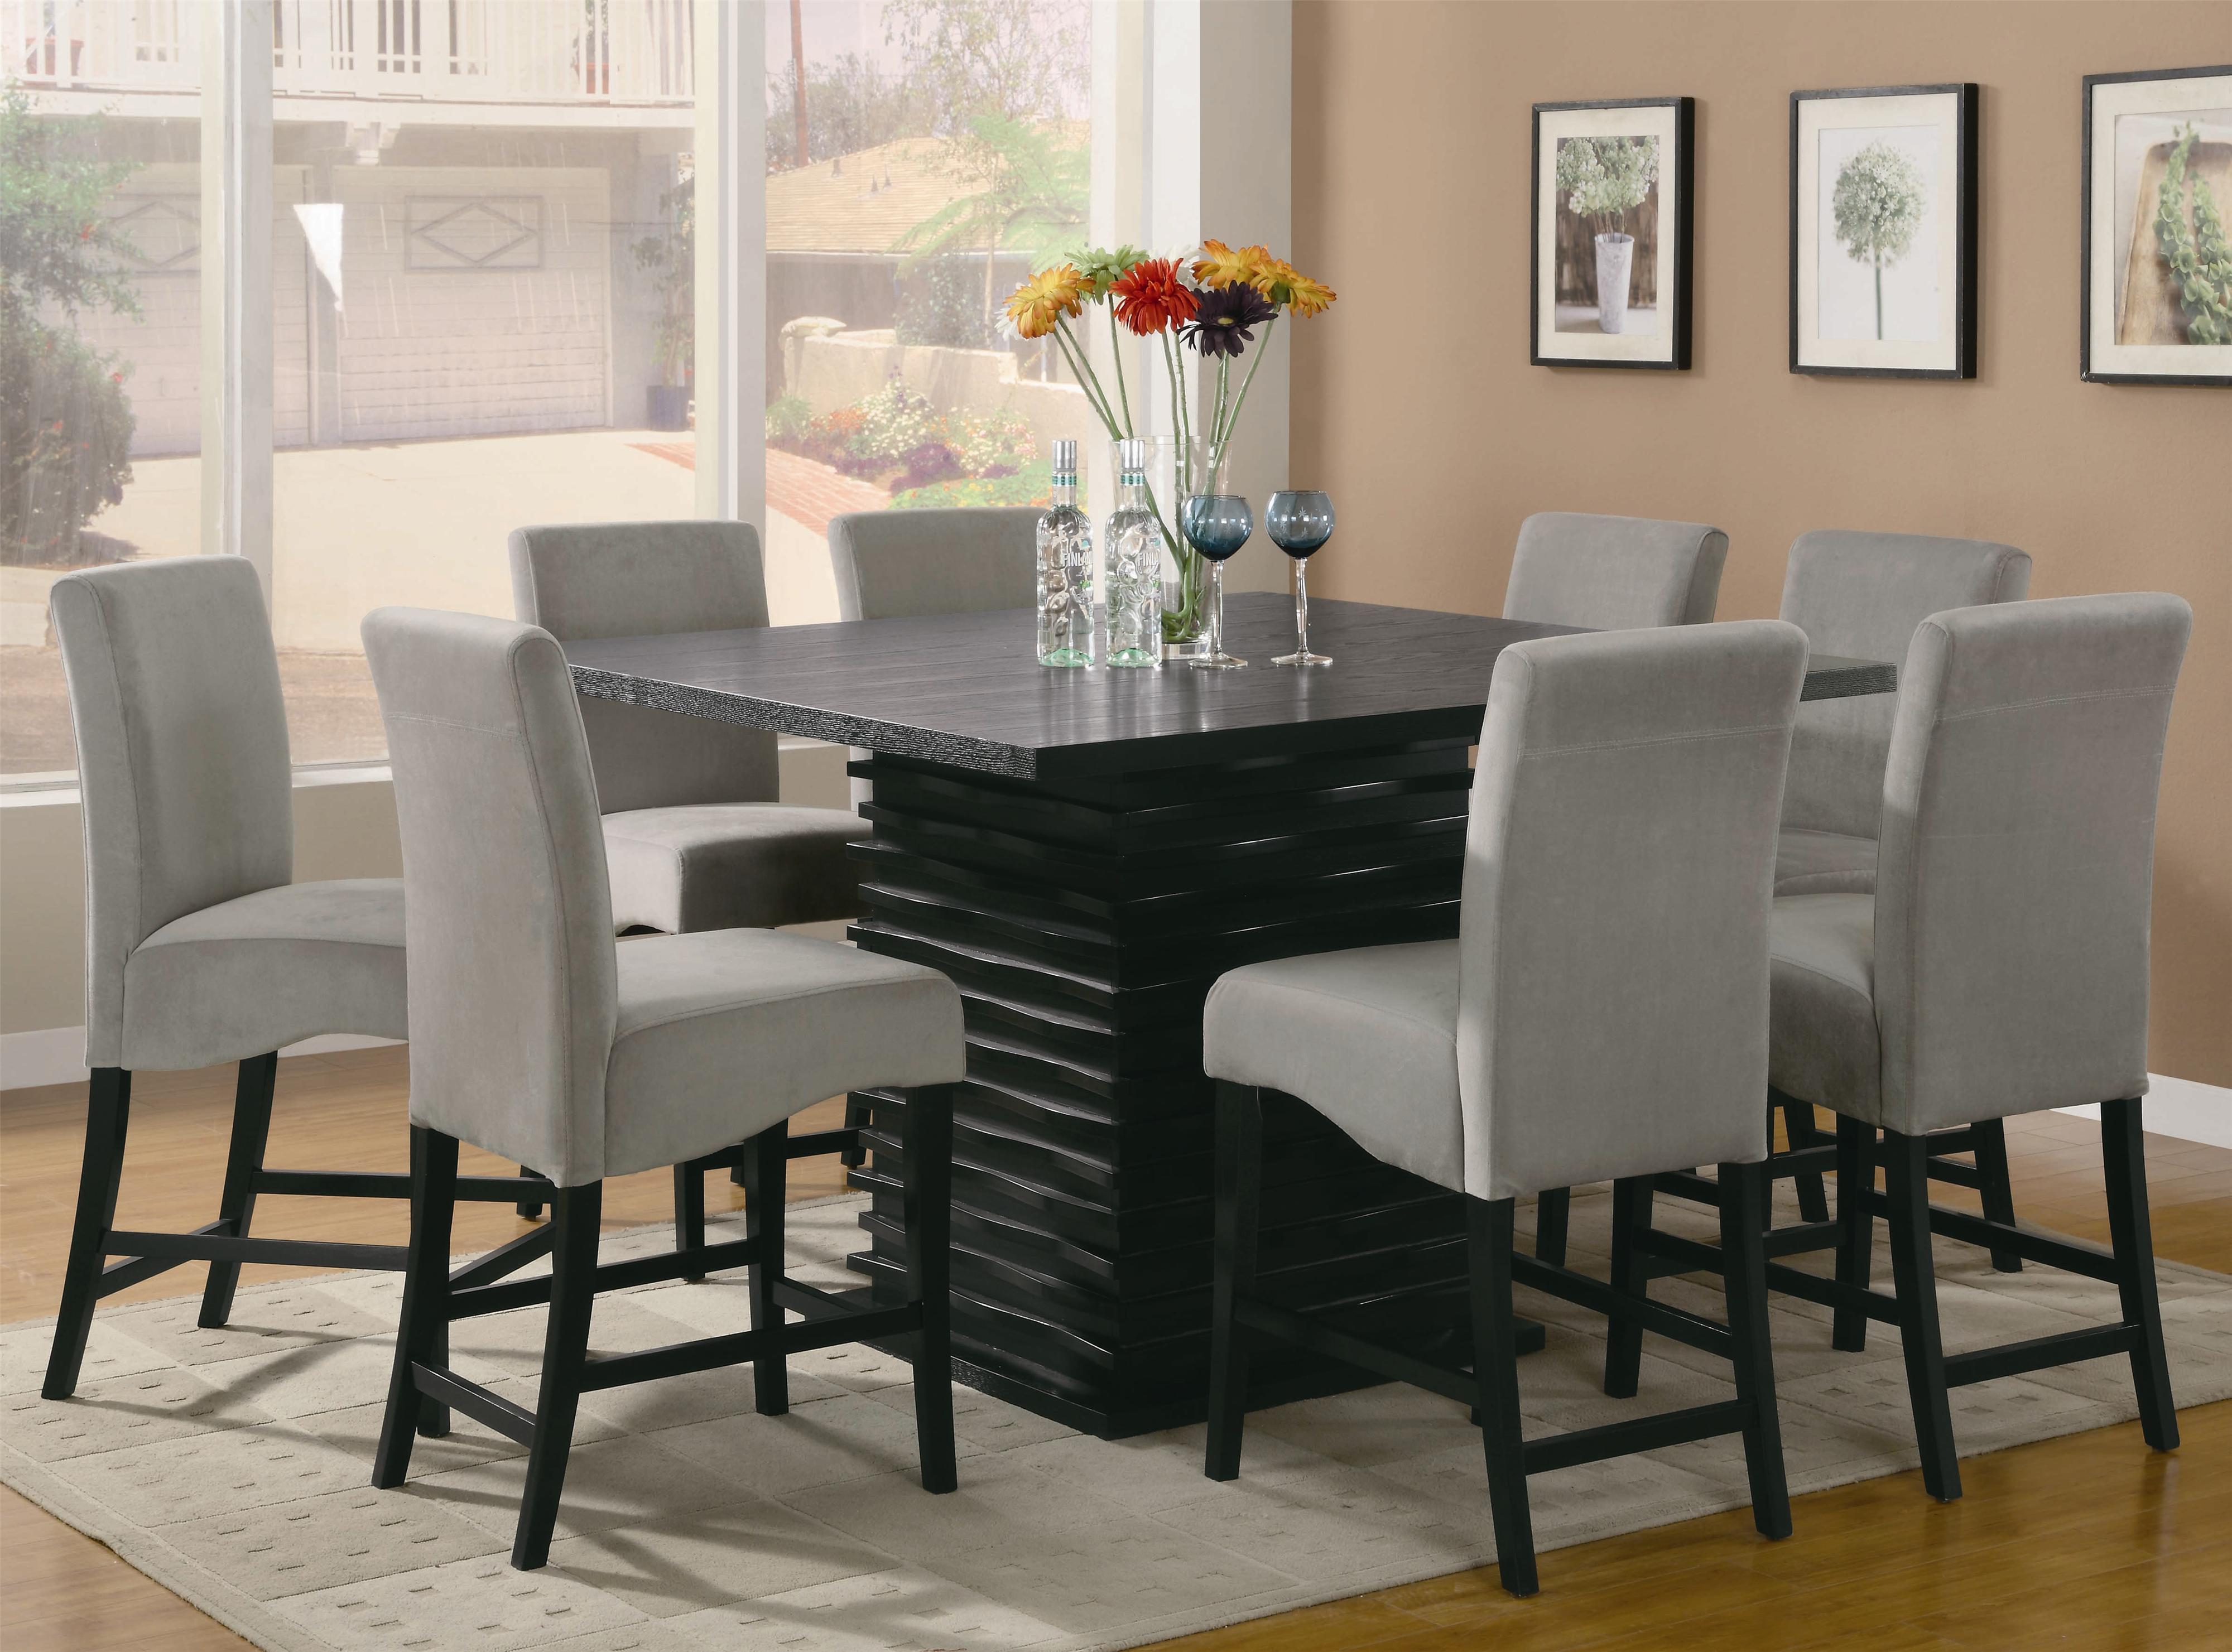
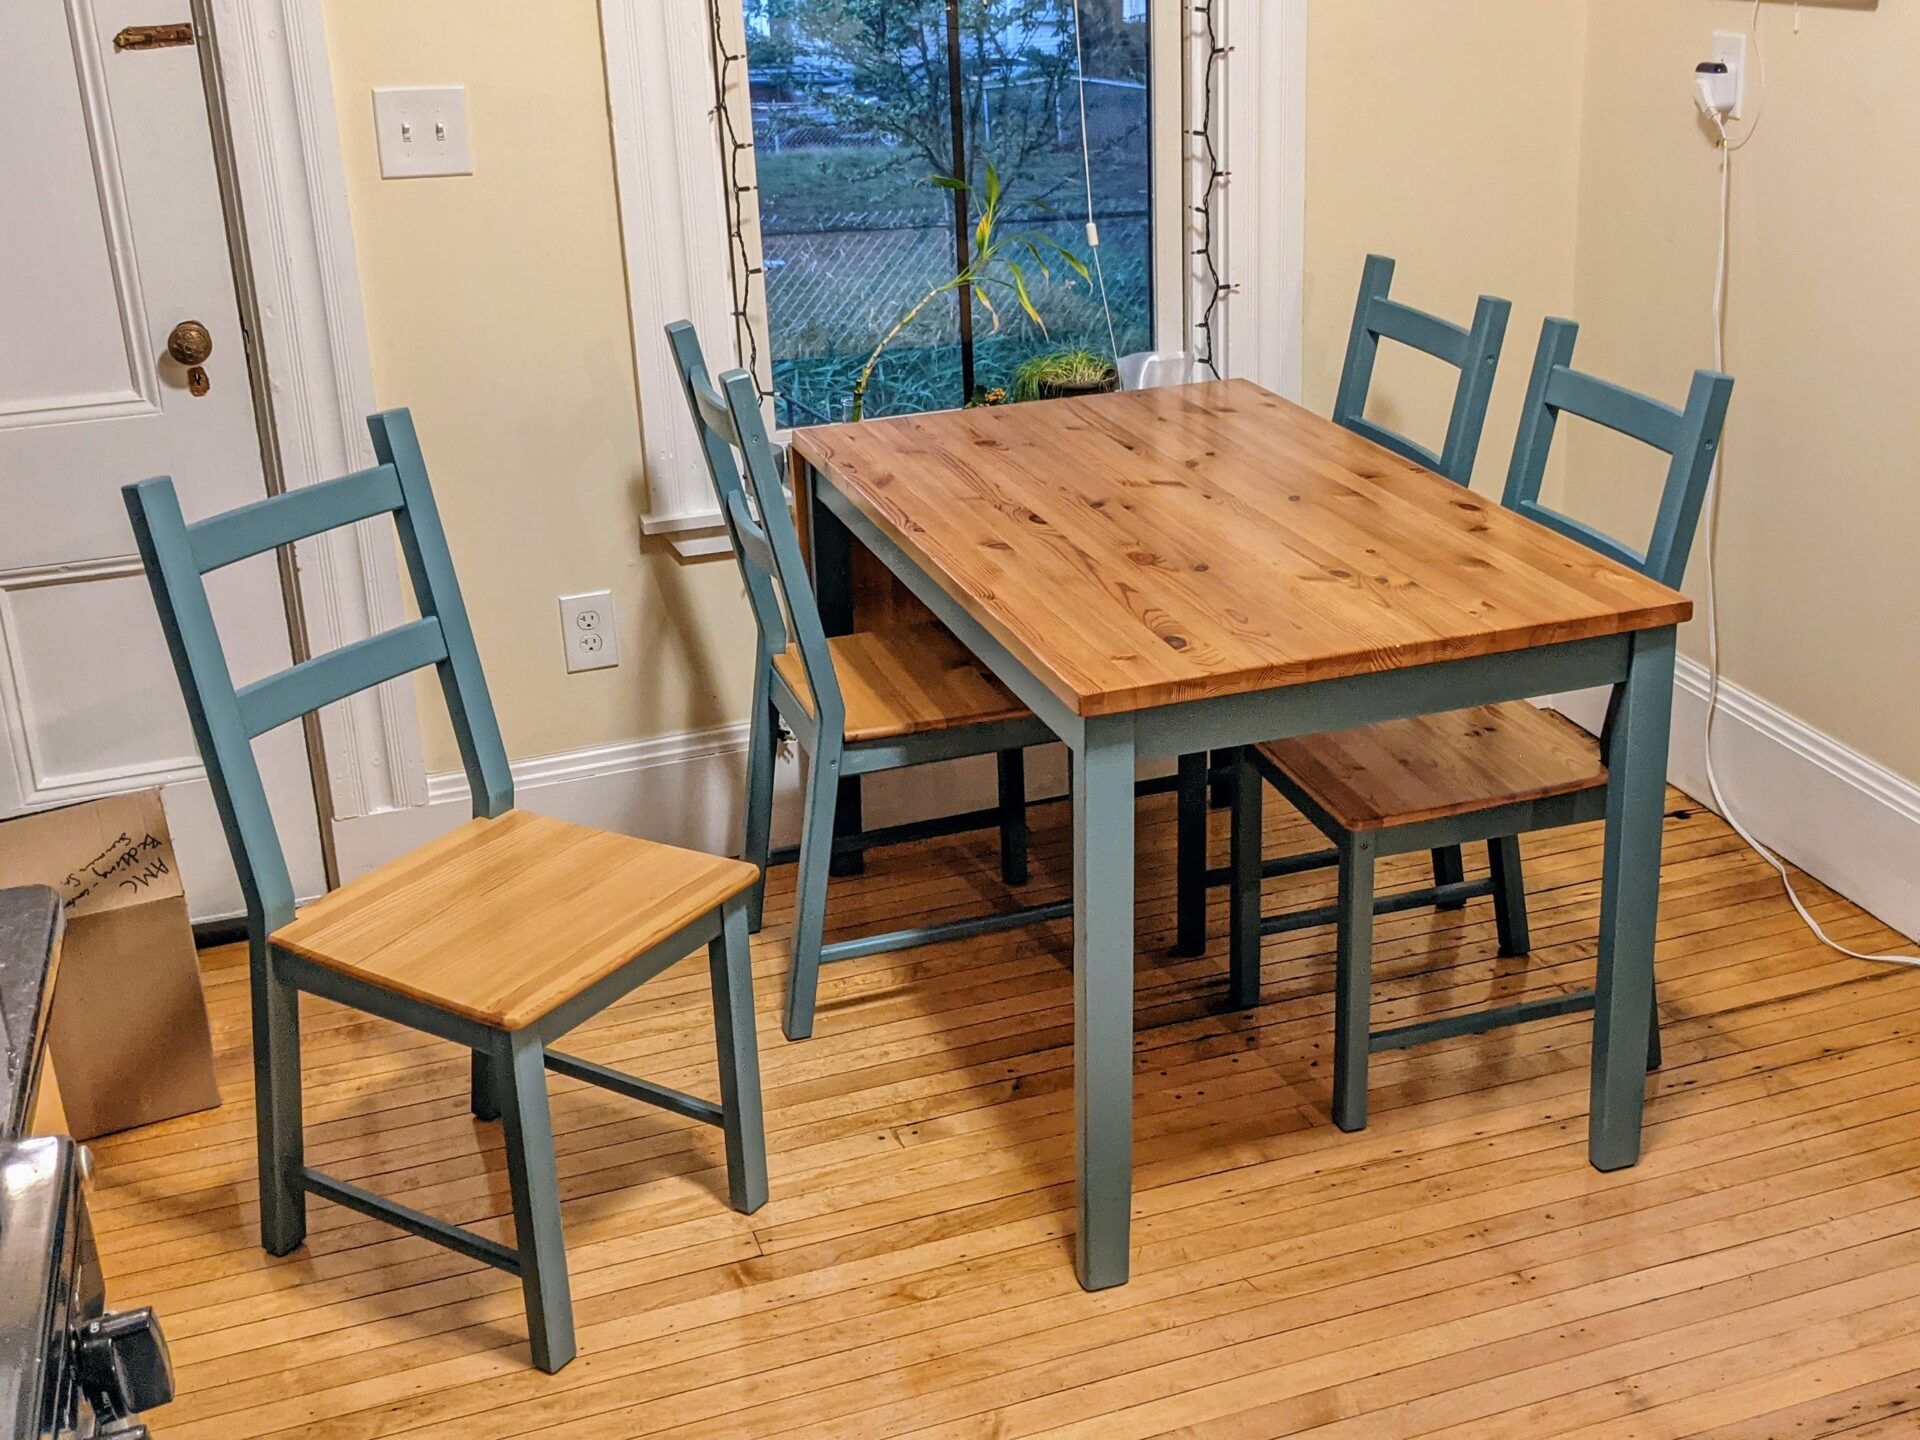
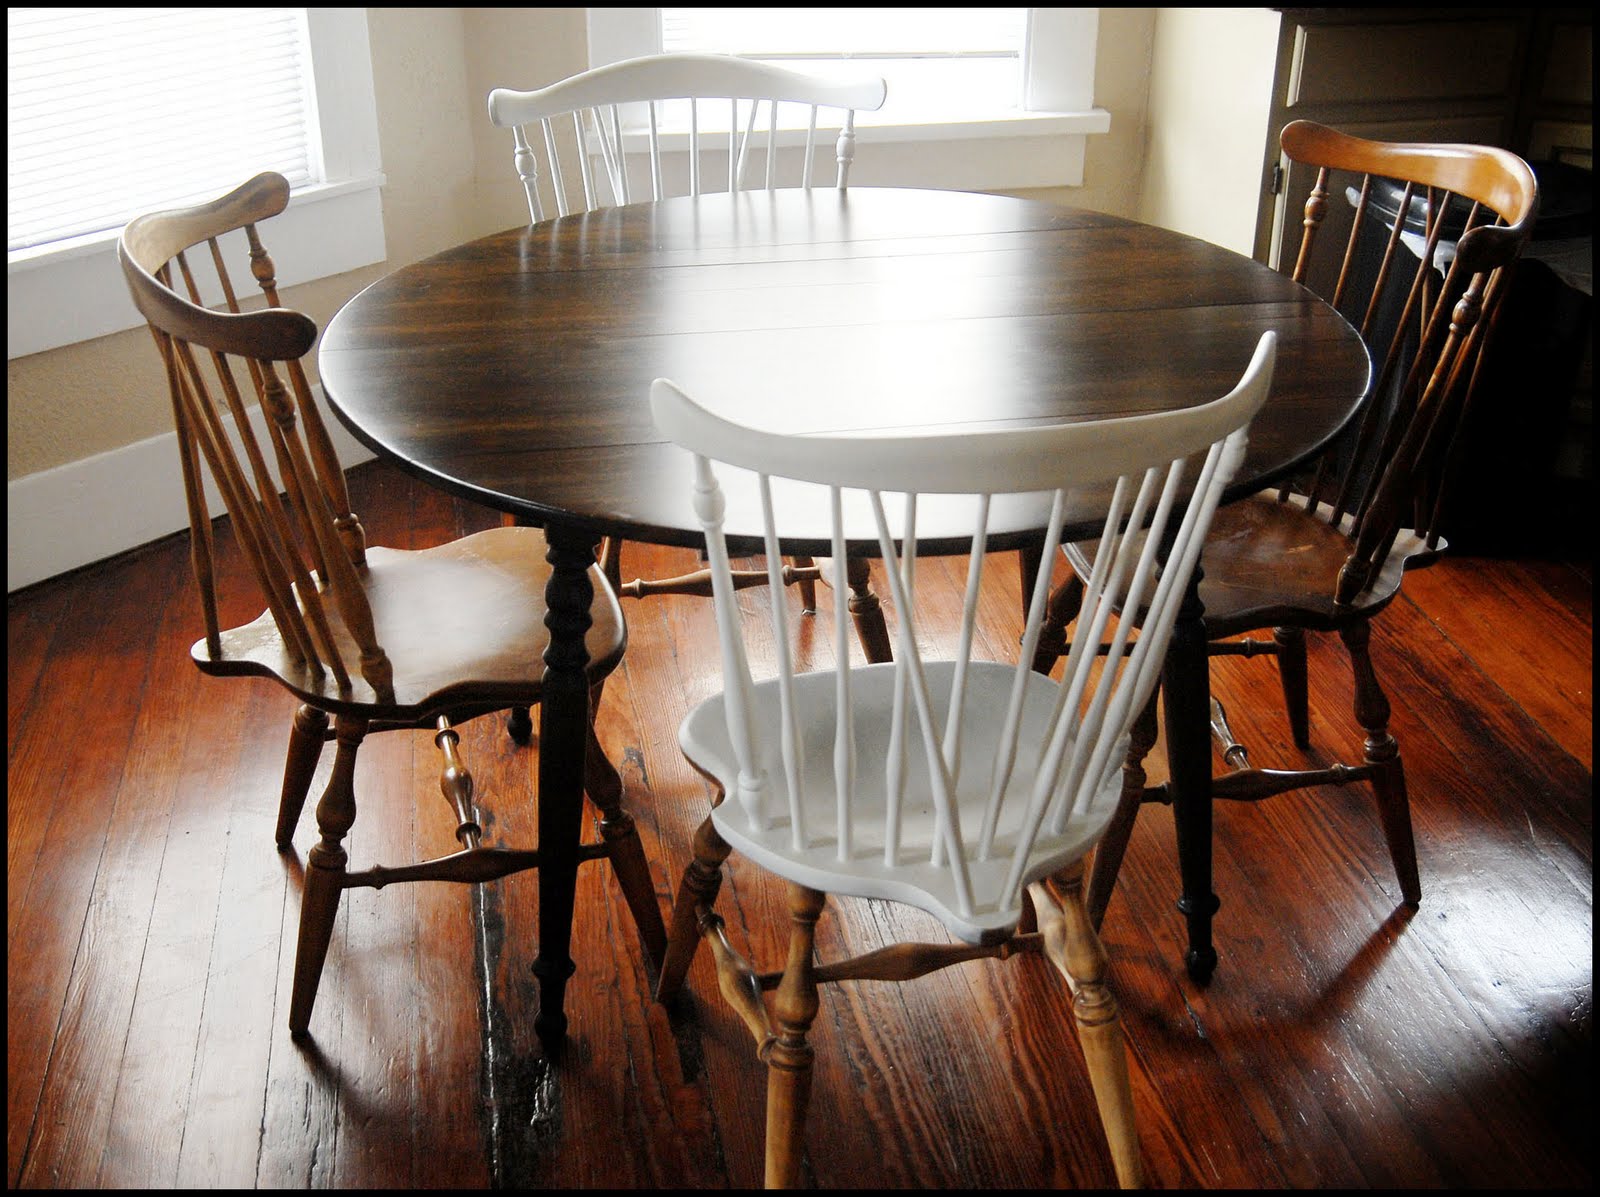
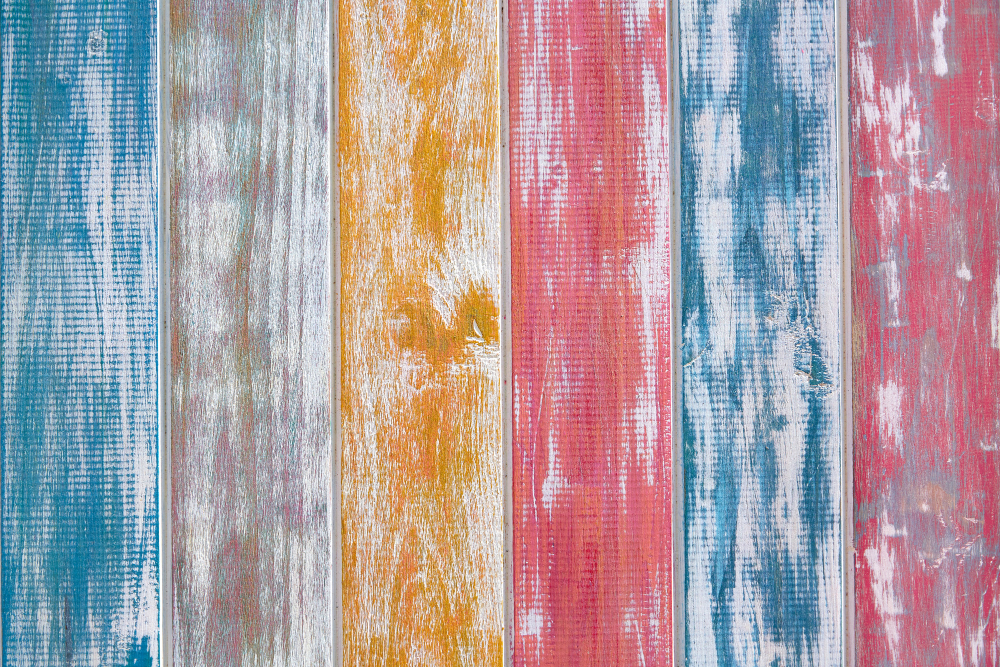
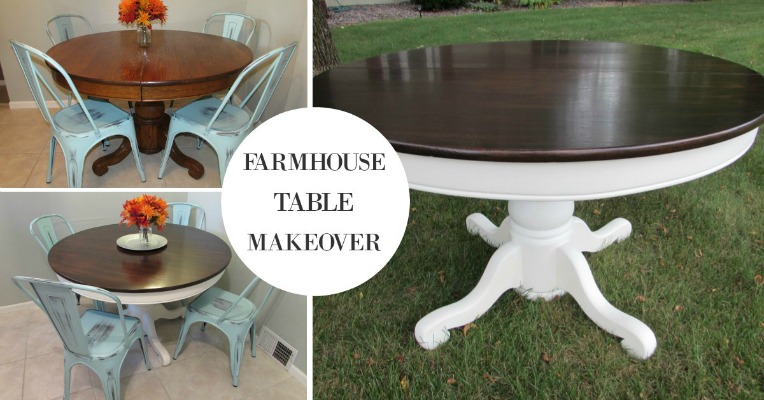
Refinishing your kitchen table doesn't just have to be about restoring its original look. It's also an opportunity to get creative and give your table a whole new style. You can use a variety of techniques and finishes to transform your kitchen table into a statement piece in your home. Consider using a bold color for a modern and vibrant look, or distressing the wood for a rustic and shabby chic vibe. You can also add stencils or decals for a unique touch. The possibilities are endless, and it all depends on your personal style and preferences.2. DIY Kitchen Table Makeover Ideas


2. DIY Kitchen Table Makeover Ideas


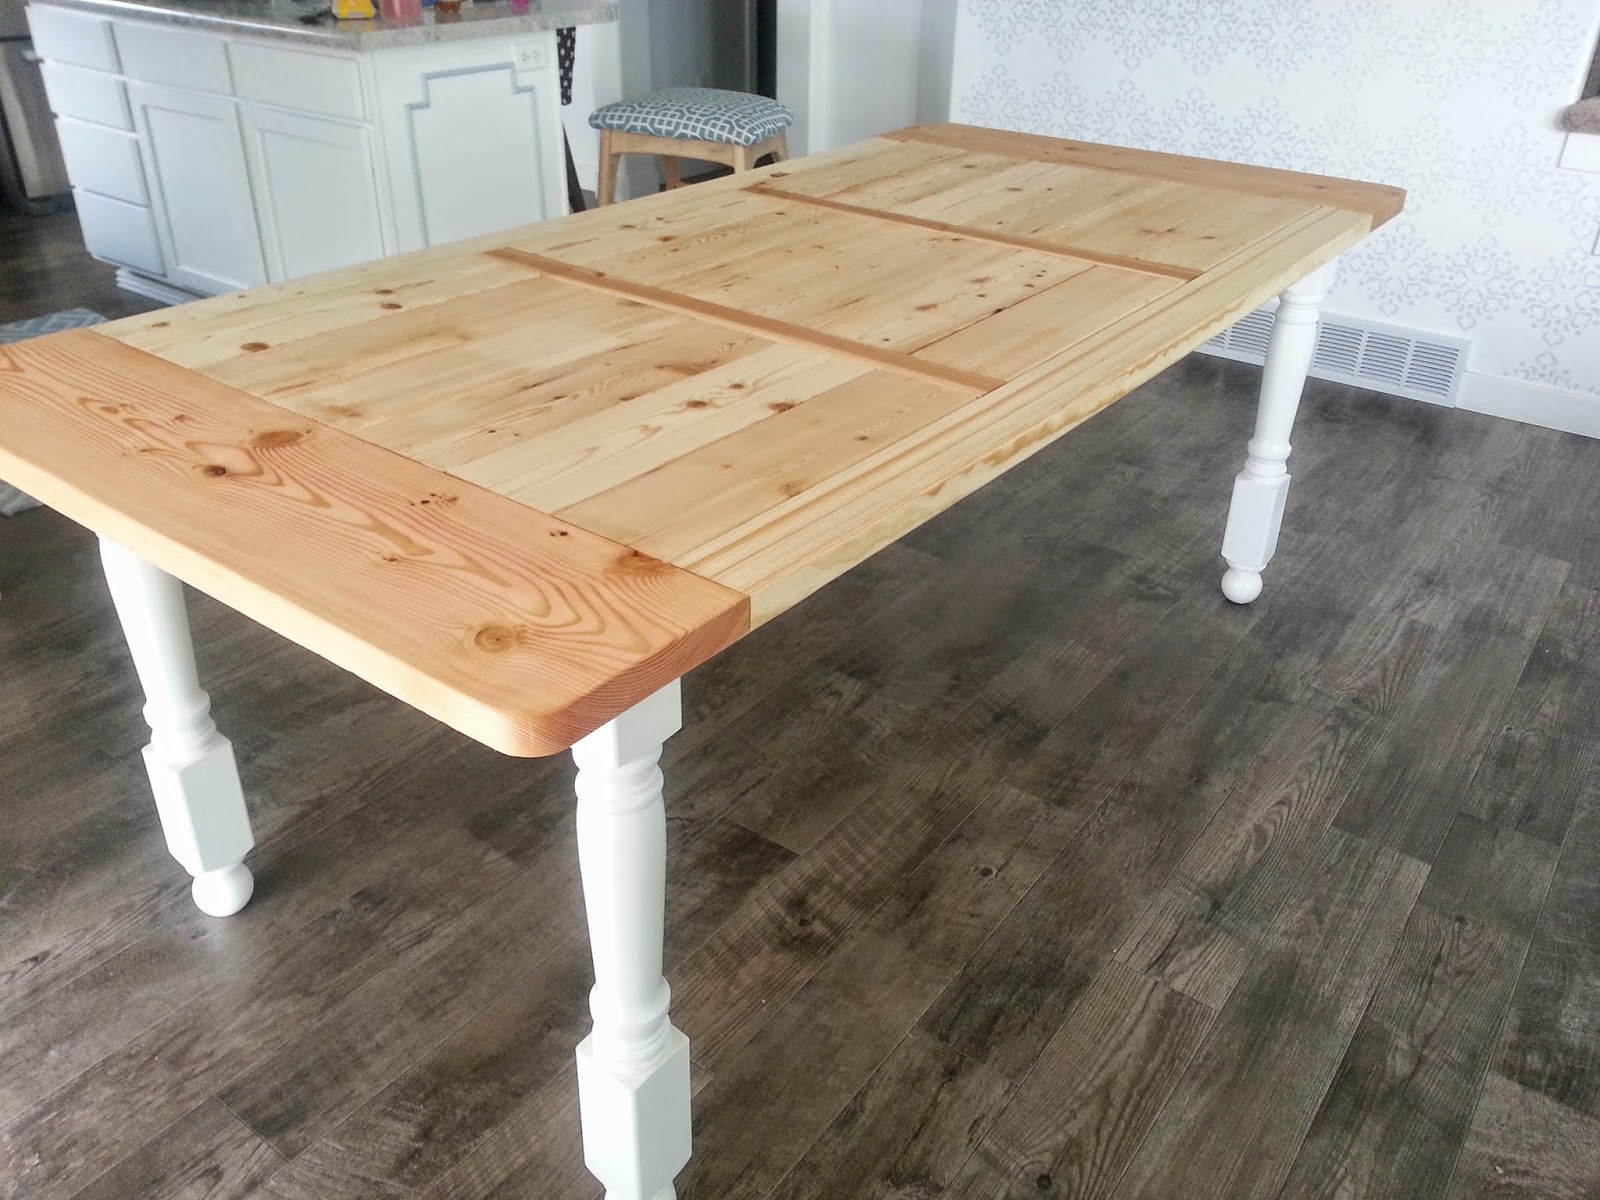
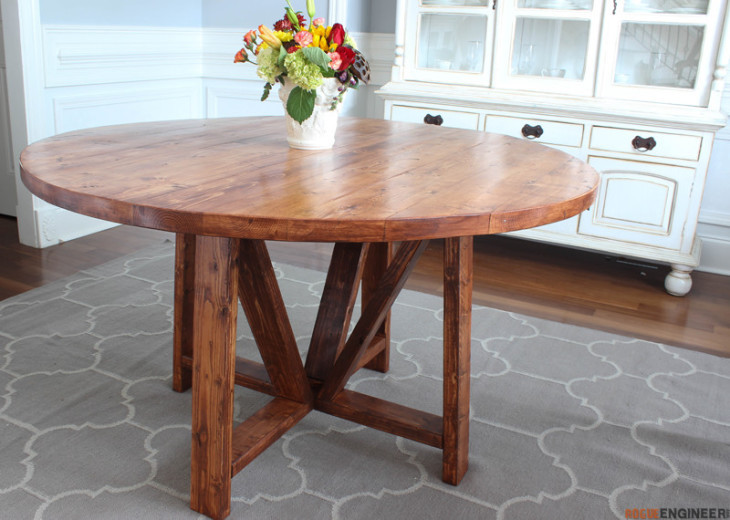
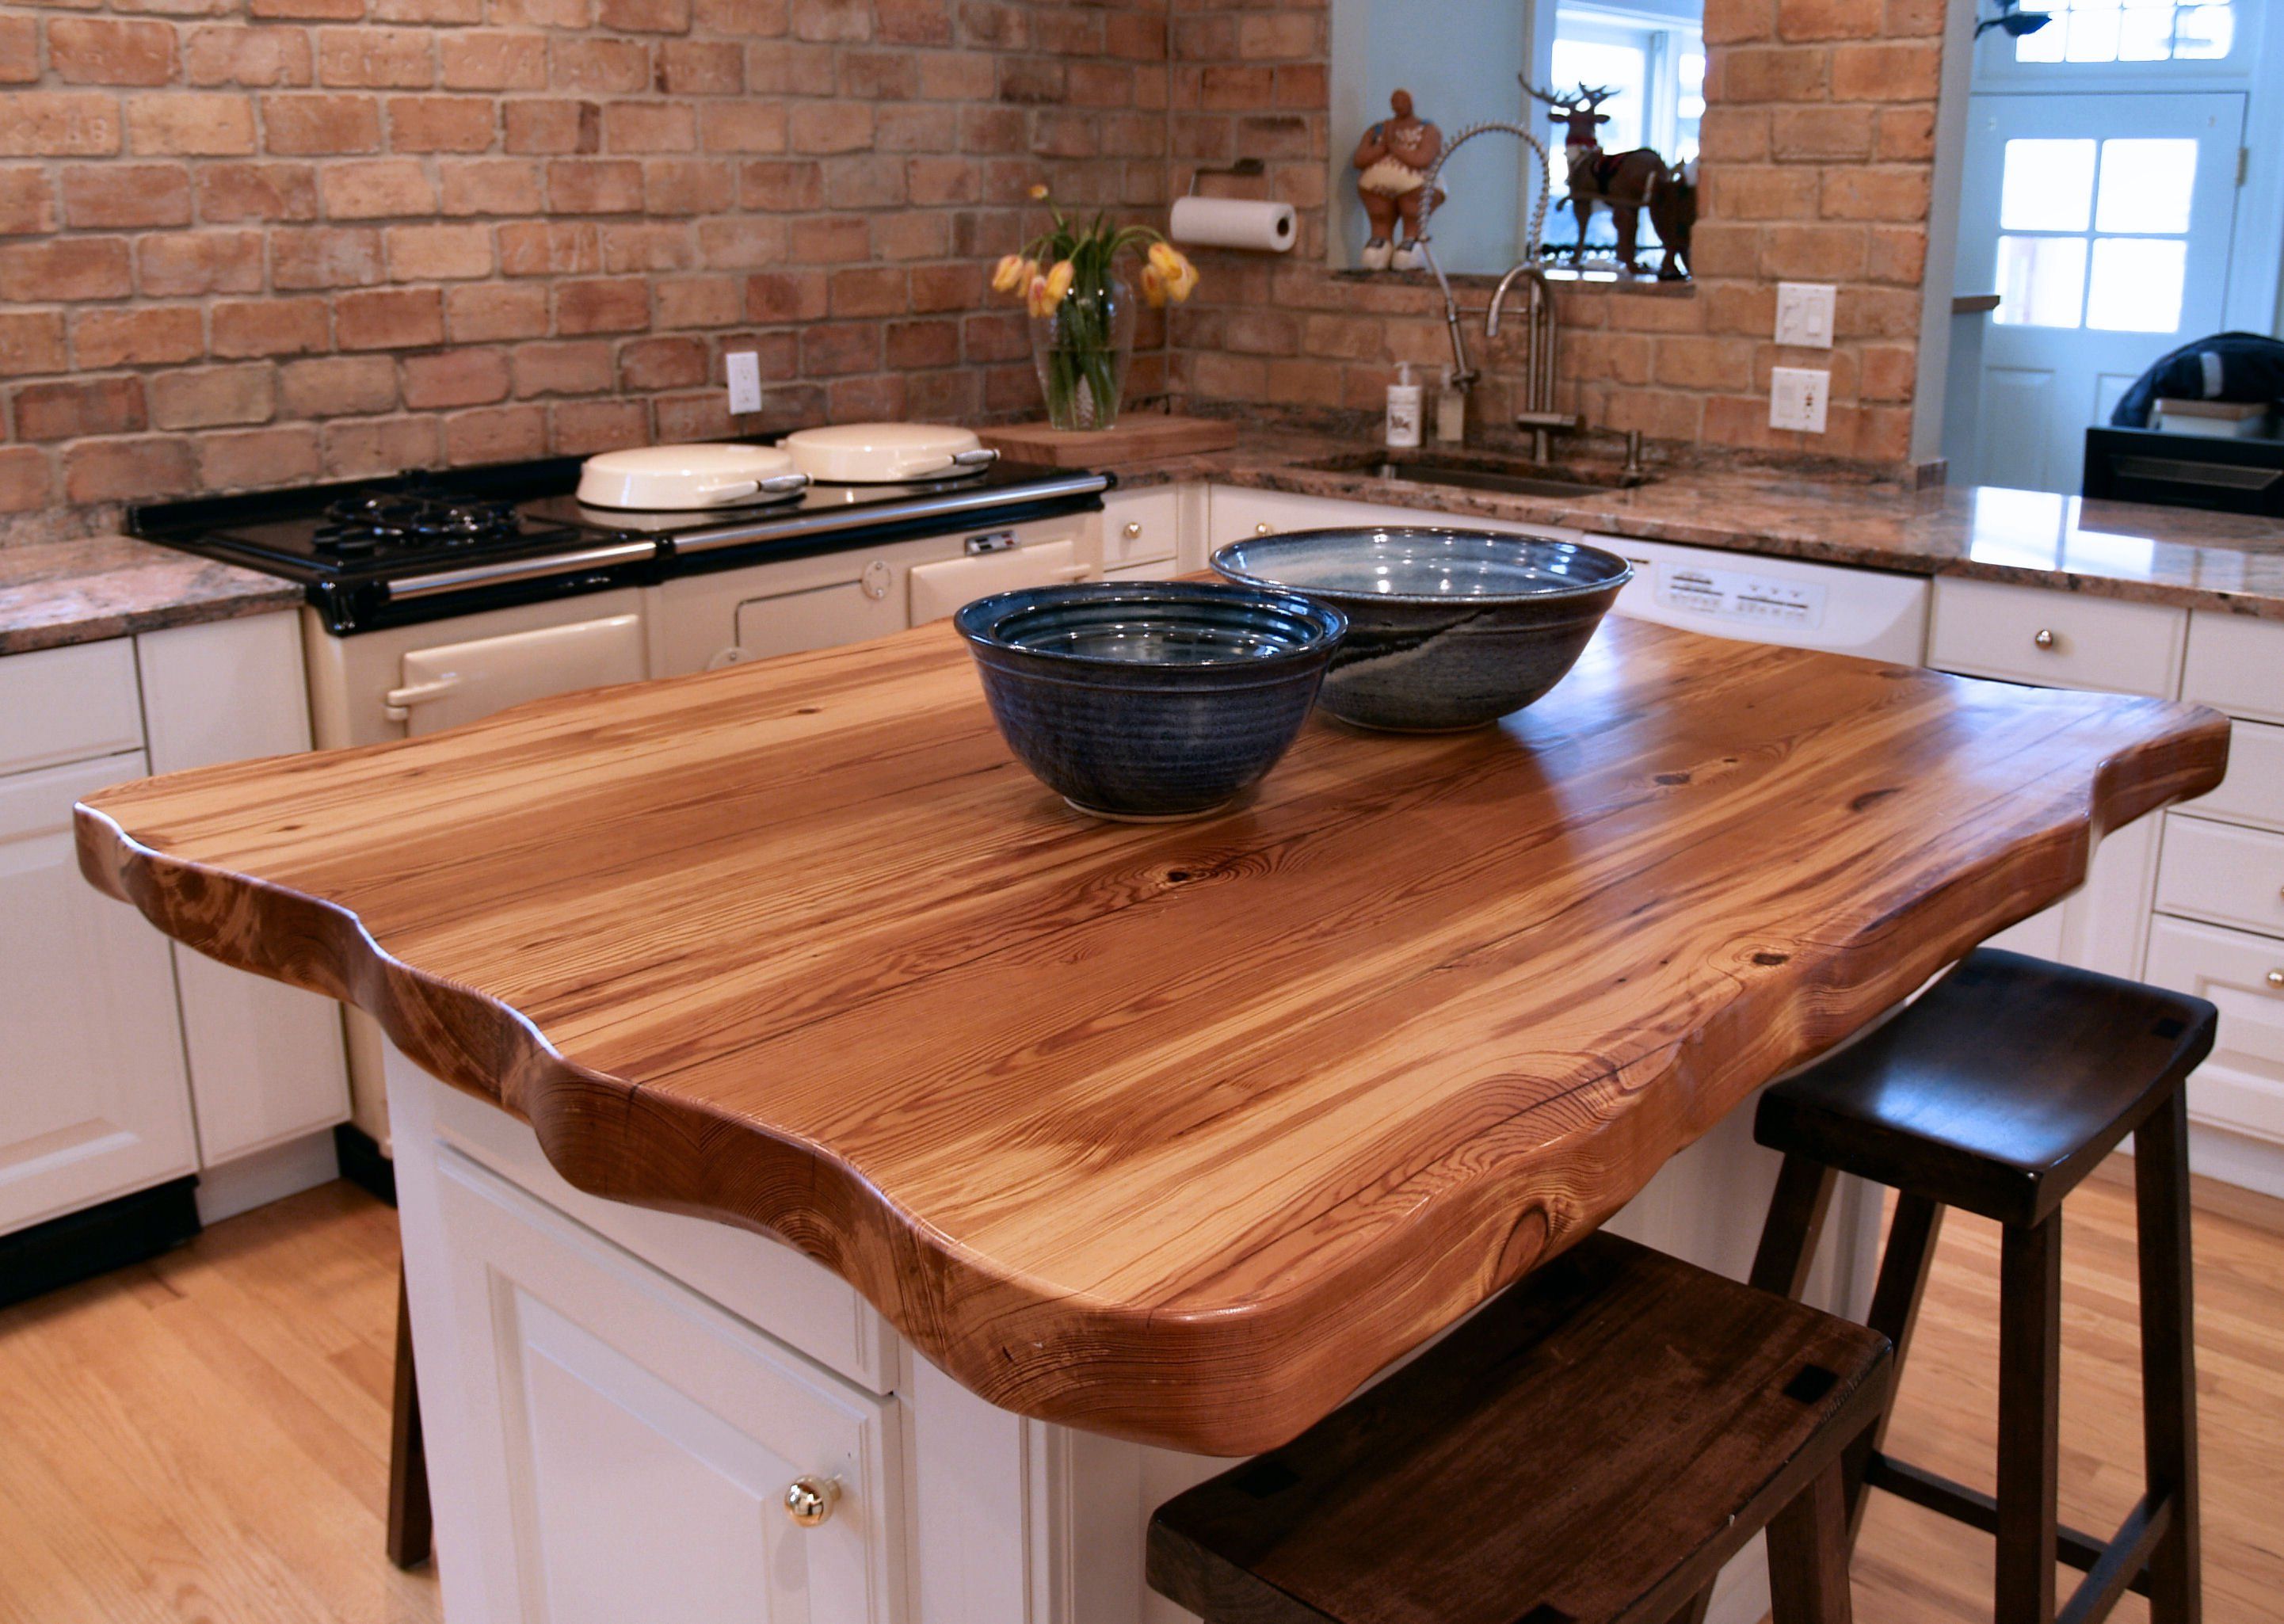
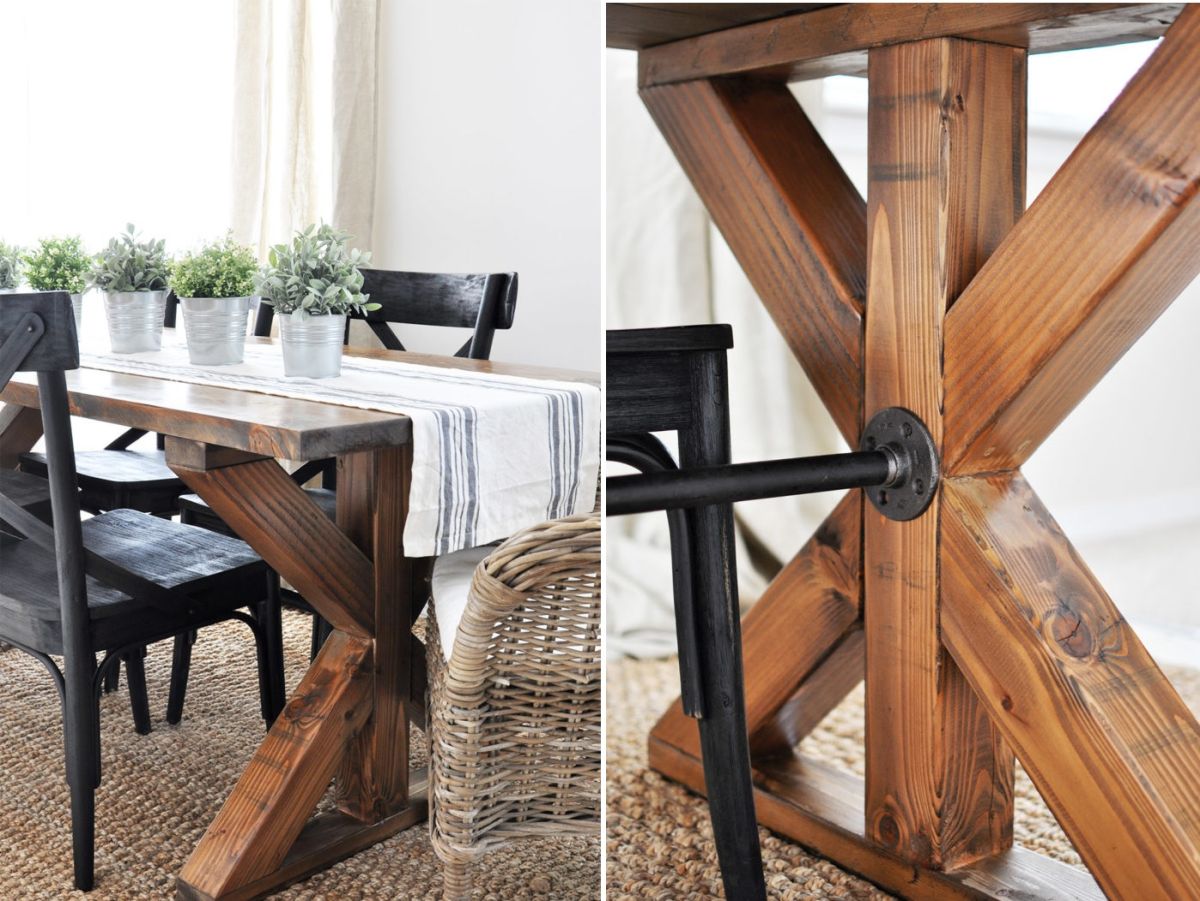
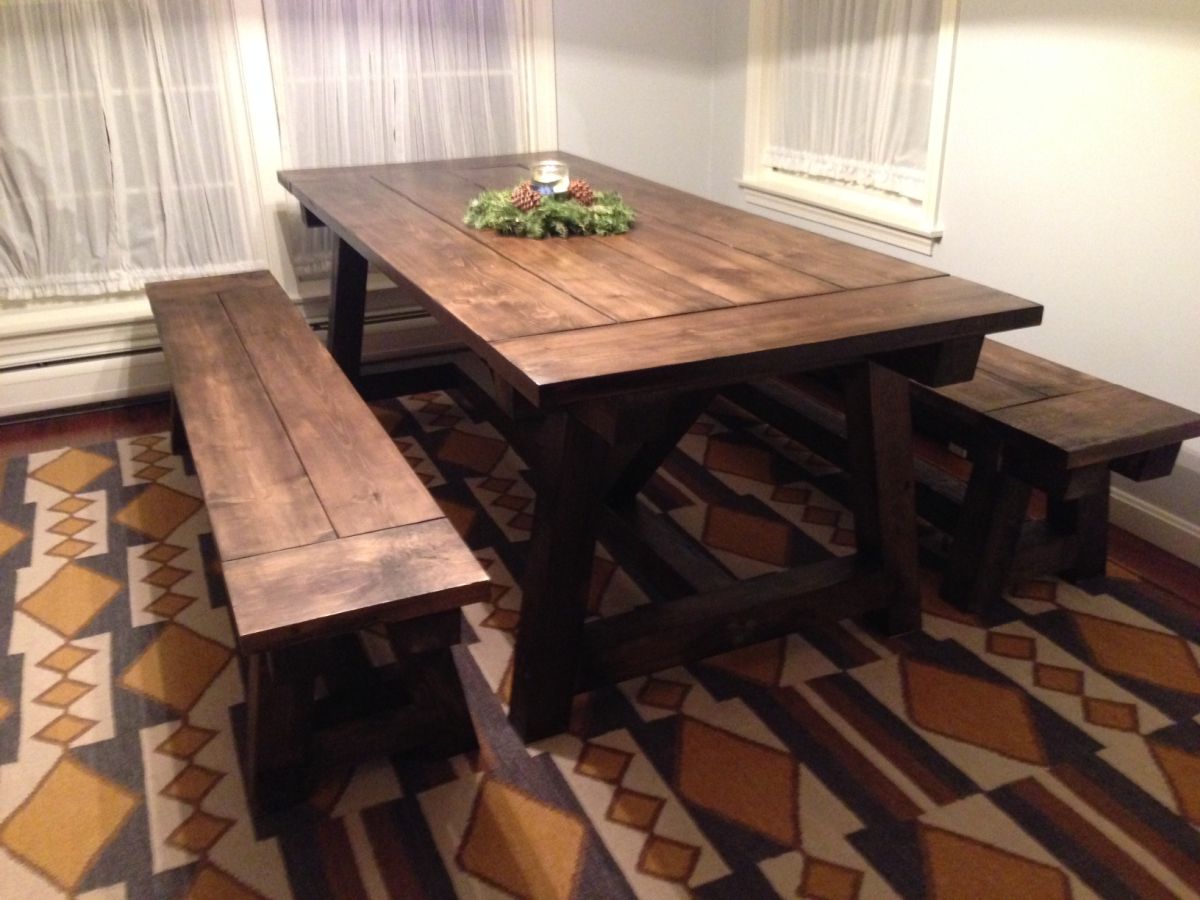
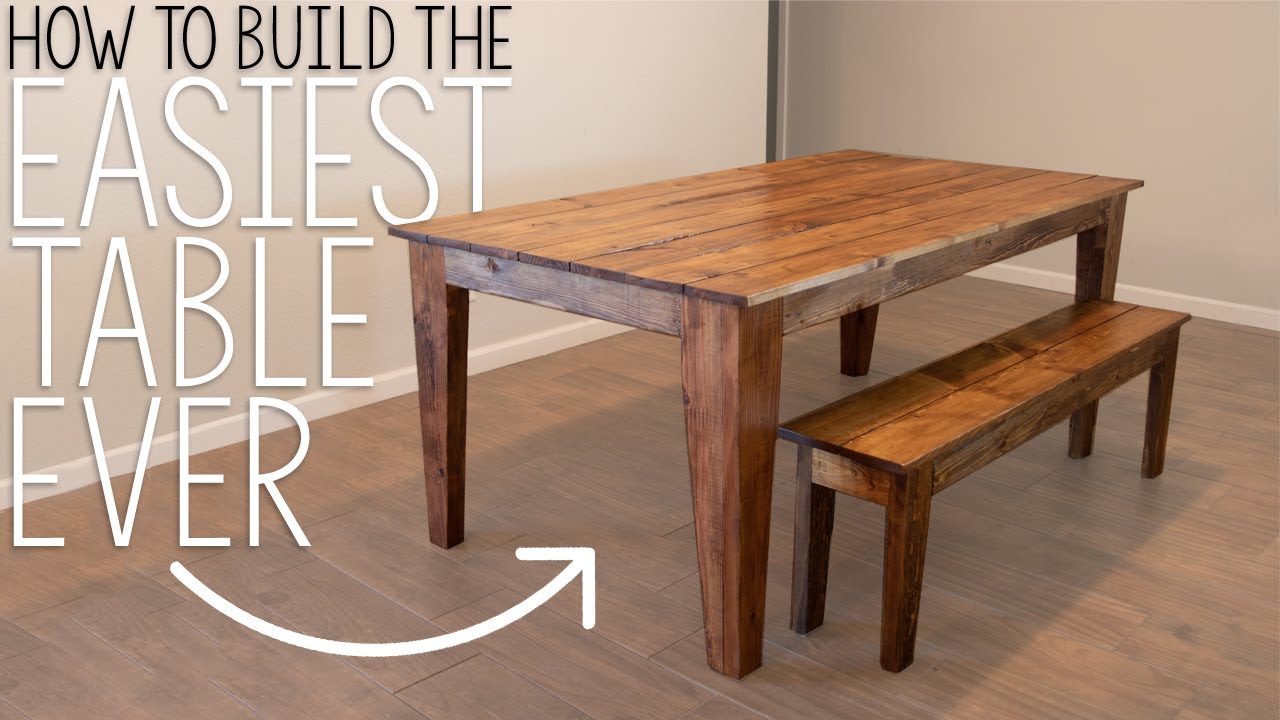
If you're feeling ambitious and want to take on a larger project, you can also build your own kitchen table. There are plenty of easy-to-follow DIY plans available online that cater to different skill levels and styles. Building your own kitchen table allows you to customize the size, shape, and design to perfectly fit your space and needs. With the right tools and materials, you can create a beautiful and functional kitchen table that you'll be proud to say you made yourself. Just make sure to follow the plans carefully and take your time to ensure a sturdy and well-crafted piece.3. Easy DIY Kitchen Table Plans


3. Easy DIY Kitchen Table Plans


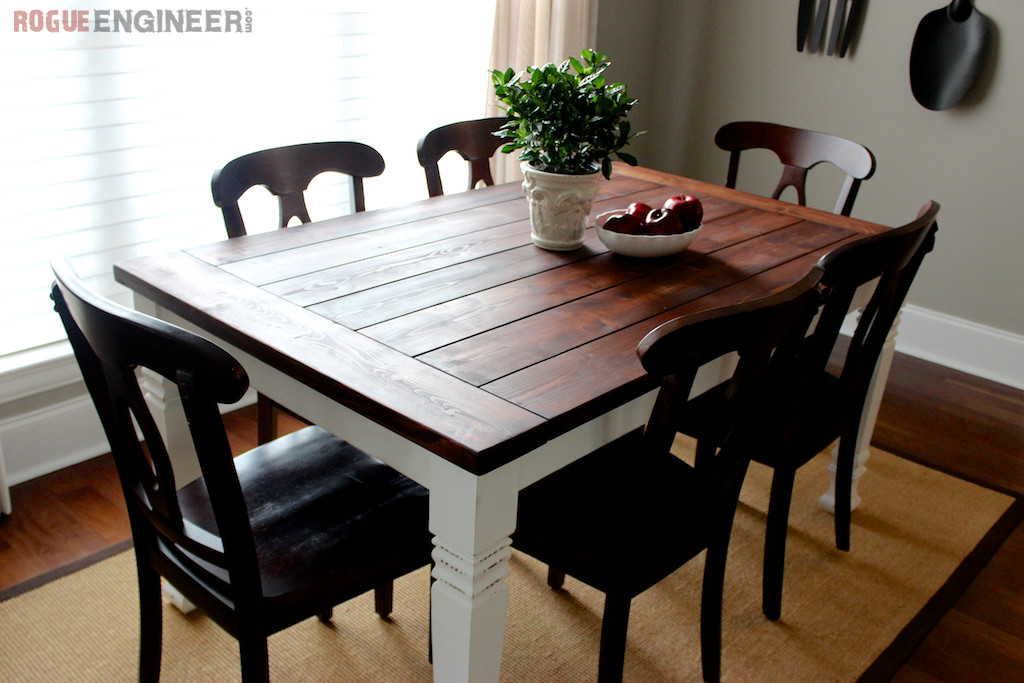

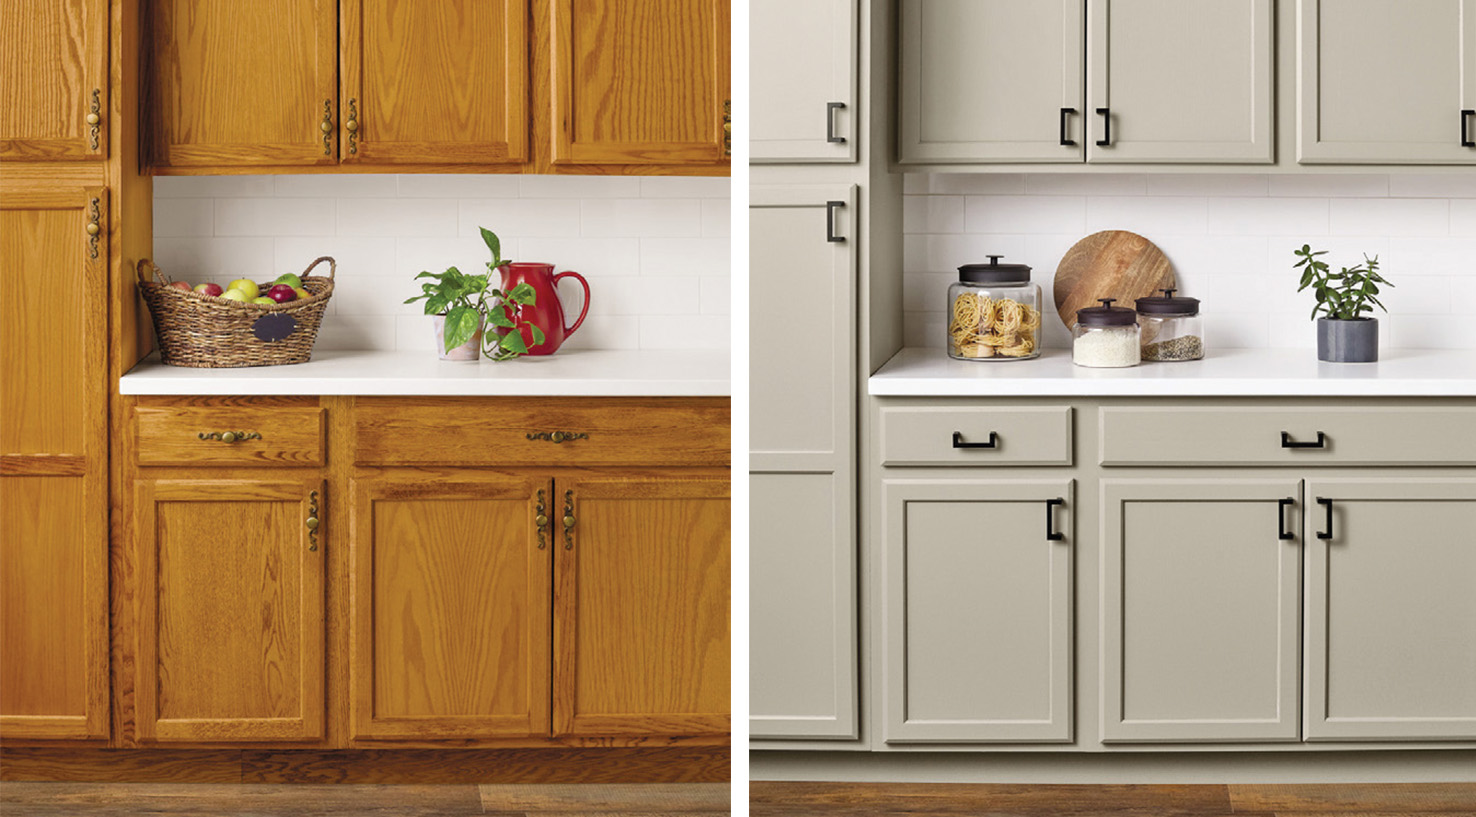
The type of finish you choose for your kitchen table will depend on the look you're going for and the level of durability you need. Some popular options for DIY kitchen table finishes include wood stain, paint, and chalk paint. Wood stain is a great choice if you want to enhance the natural beauty of the wood while still giving it a protective layer. Paint, on the other hand, allows you to completely change the color and give your table a modern or traditional look. Chalk paint is a popular choice for its matte finish and ability to give furniture a distressed look.4. Best Finishes for a DIY Kitchen Table


4. Best Finishes for a DIY Kitchen Table


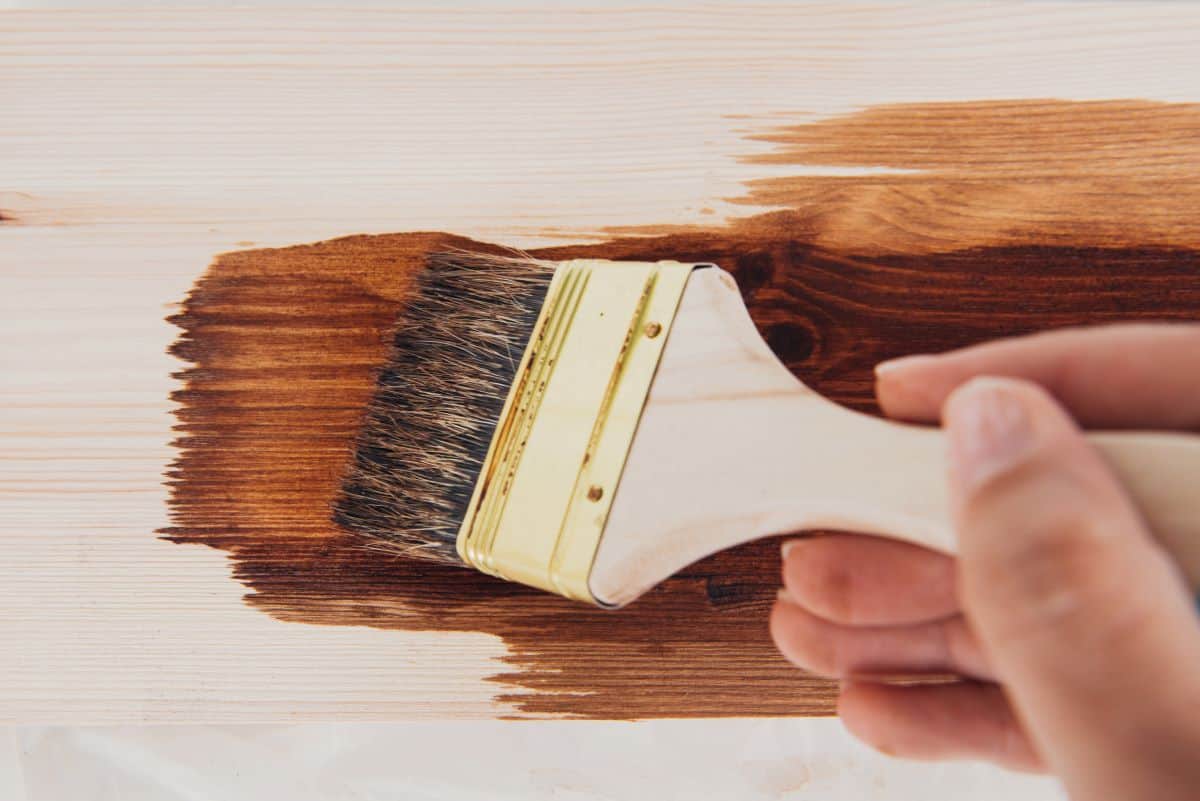


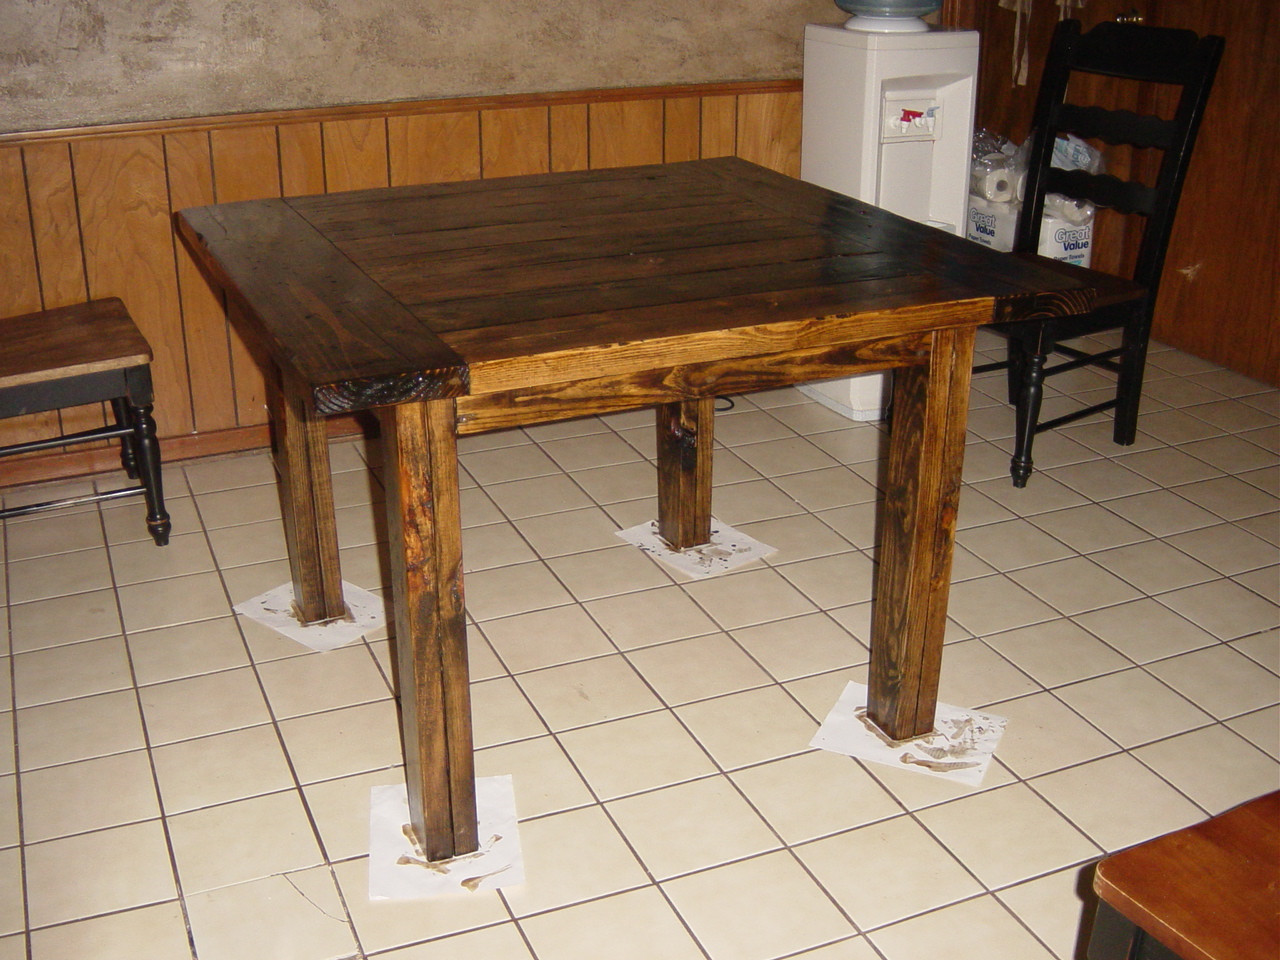
Now, let's dive into the steps to successfully refinish your kitchen table. First, remove any existing finish by sanding the surface with a medium-grit sandpaper. Next, use a fine-grit sandpaper to smooth out the surface. Wipe down the table with a damp cloth to remove any dust and let it dry completely. Next, apply your chosen finish according to the instructions on the product. For wood stain, use a brush or cloth to evenly spread the stain in the direction of the wood grain. For paint, use a brush or roller to apply thin coats, letting each coat dry before applying the next. For chalk paint, simply apply and distress the surface with sandpaper for the desired effect. Finally, finish off your kitchen table with a clear topcoat to protect it from spills and wear. Follow the instructions on the product and apply multiple coats for added durability.5. Step-by-Step Guide to Refinishing a Kitchen Table


5. Step-by-Step Guide to Refinishing a Kitchen Table


If you love the rustic and worn look of distressed furniture, you can easily achieve it on your kitchen table with a few simple steps. Start by sanding the surface of your table to remove any existing finish. Next, use a hammer, chains, or other tools to create dents and scratches on the surface. You can also use a wire brush or sandpaper to add texture. Next, apply a dark wood stain or paint to the entire surface and let it dry. Once dry, use a lighter color of stain or paint and apply it on top, wiping it away with a cloth to reveal the distressed areas. Finish off with a clear topcoat for protection.6. DIY Distressed Kitchen Table Finish


6. DIY Distressed Kitchen Table Finish

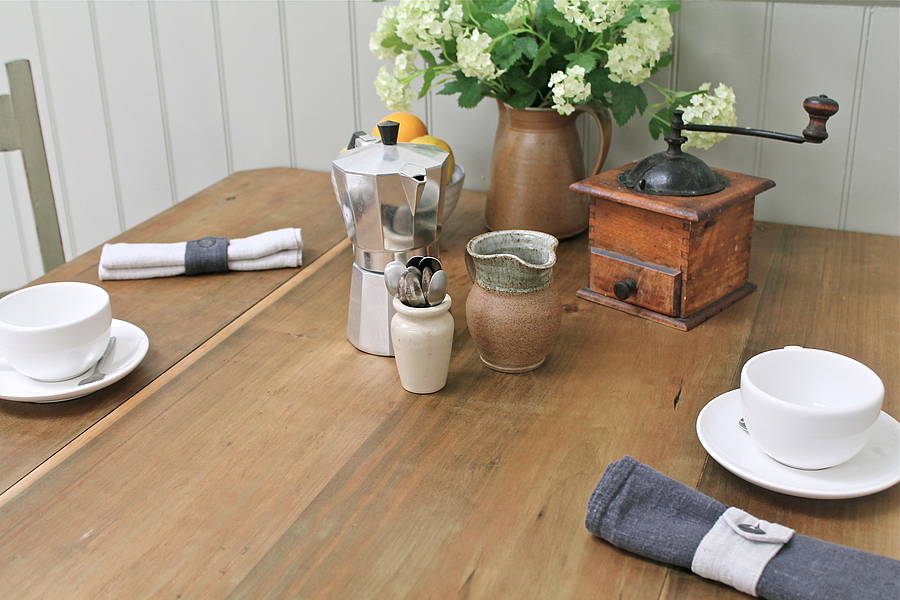
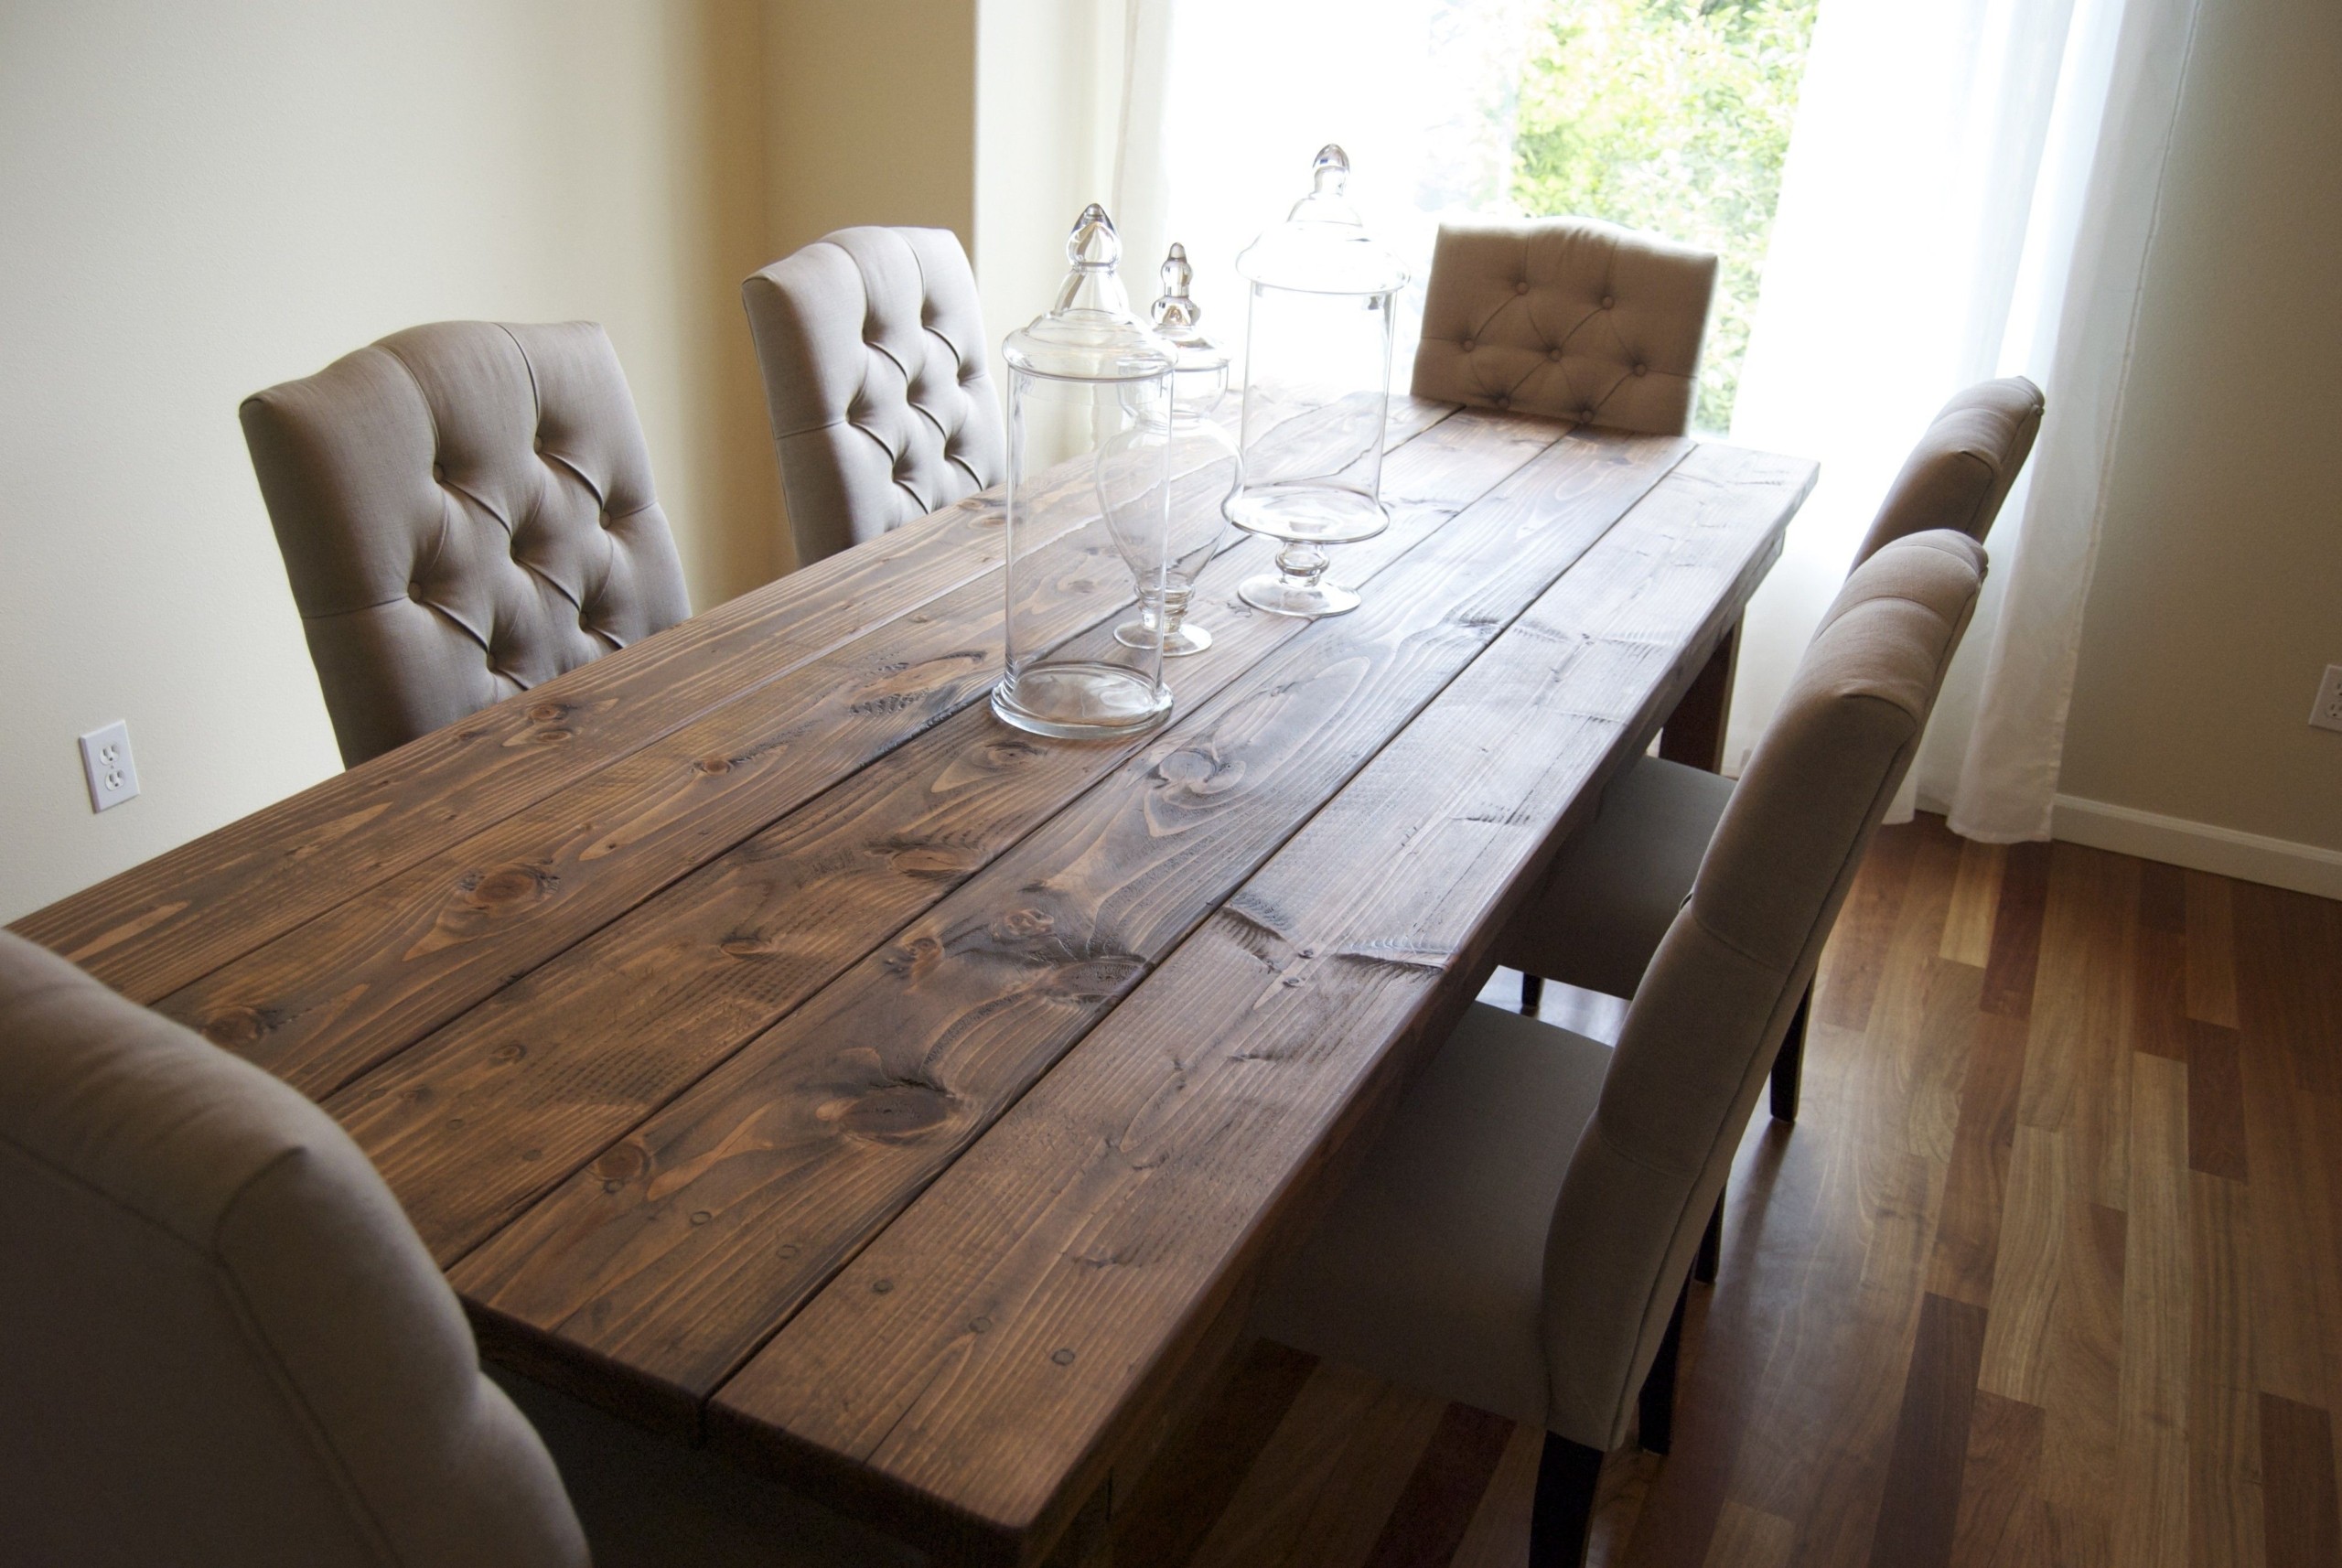


Staining your kitchen table is a great way to enhance the natural beauty of the wood while giving it a protective layer. Start by sanding the surface of the table to remove any existing finish and smooth out the wood. Next, apply the stain with a brush or cloth, making sure to work in the direction of the wood grain. Once the stain has dried, use a fine-grit sandpaper to lightly sand the surface. Wipe away any dust and apply multiple coats of clear topcoat, sanding in between coats for a smooth finish.7. How to Stain and Finish a DIY Kitchen Table


7. How to Stain and Finish a DIY Kitchen Table


Chalk paint is a popular choice for DIY furniture makeovers because of its matte finish and ability to easily distress for a vintage look. To use chalk paint on your kitchen table, start by sanding the surface to remove any existing finish and smooth out imperfections. Next, apply the chalk paint with a brush or roller in thin coats, letting each coat dry before applying the next. Once dry, use sandpaper to distress the surface for a worn and rustic look. Finish off with a clear wax or sealant for added durability.8. DIY Chalk Paint Kitchen Table Finish


8. DIY Chalk Paint Kitchen Table Finish


With the right techniques and materials, you can achieve a professional-looking finish on your DIY kitchen table. Here are a few tips to keep in mind: - Always work in a well-ventilated area and use protective gear when necessary - Sand the surface thoroughly and wipe away any dust before applying the finish - Apply thin coats of finish and let each coat dry completely before adding the next - Use a high-quality brush or roller for a smooth and even application - Sand in between coats for a smooth and professional finish9. Tips for a Professional-Looking DIY Kitchen Table Finish


9. Tips for a Professional-Looking DIY Kitchen Table Finish


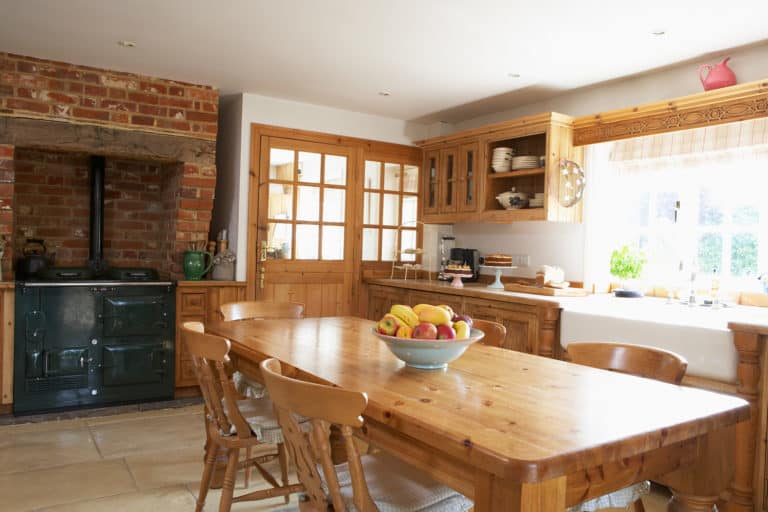
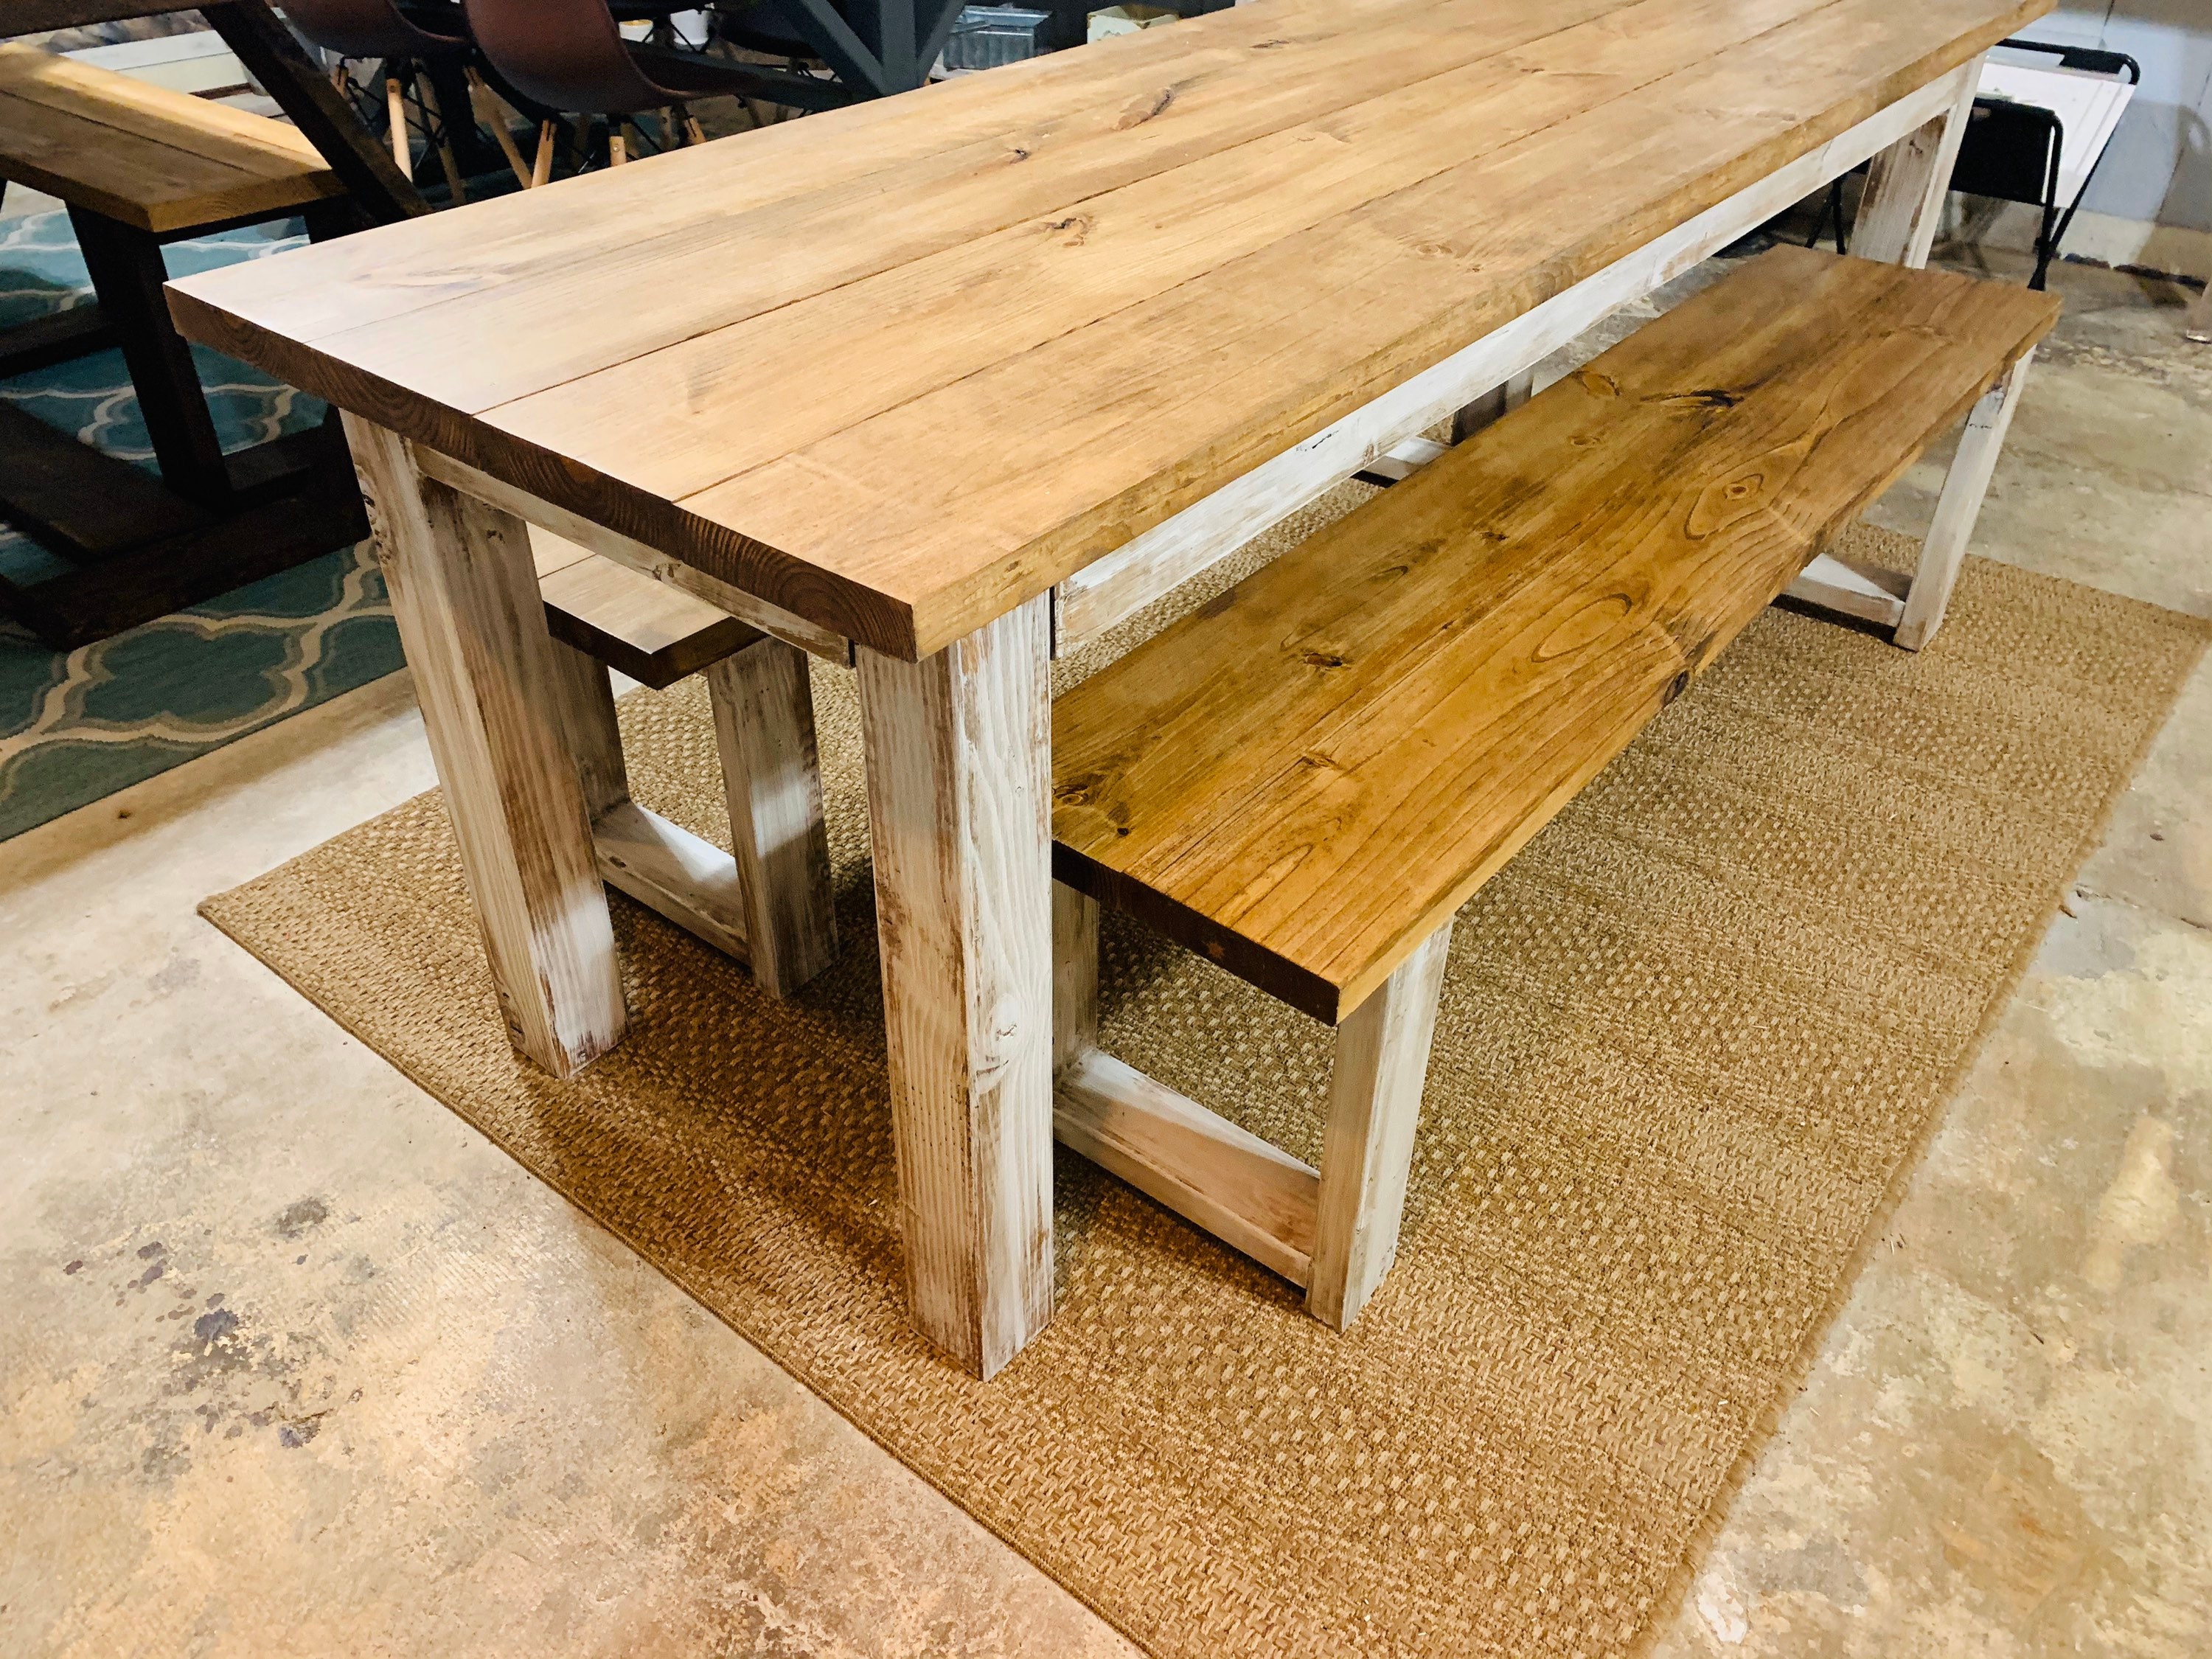
If you love the charming and rustic look of farmhouse style, there are plenty of DIY finishes you can use to achieve it on your kitchen table. Some popular options include using a distressed finish, using a white or light-colored paint with a dark wood stain peeking through, or even using reclaimed wood for a truly authentic farmhouse look. You can also add details like a distressed or planked top, turned legs, or a distressed or whitewashed finish. Again, the key is to get creative and make it your own. In conclusion, refinishing your kitchen table is a great way to give it a new look and add character to your space. With the right materials and techniques, you can achieve a professional and personalized finish that will make your kitchen table the highlight of your home.10. DIY Farmhouse Kitchen Table Finish Ideas


10. DIY Farmhouse Kitchen Table Finish Ideas


How to Achieve a Professional and Stunning Finish for Your DIY Kitchen Table
Choosing the Right Finish
 When it comes to creating a beautiful and functional kitchen space, the
DIY kitchen table
is often the centerpiece. Not only does it serve as a gathering place for family and friends, but it also adds character and style to the room. One important aspect of creating a stunning kitchen table is choosing the right finish.
DIY
enthusiasts have a variety of options to choose from, such as
stain
,
paint
,
varnish
, and
polyurethane
. Each of these finishes has its own unique look and benefits, so it's important to consider your personal preferences and the overall design of your kitchen before making a decision.
When it comes to creating a beautiful and functional kitchen space, the
DIY kitchen table
is often the centerpiece. Not only does it serve as a gathering place for family and friends, but it also adds character and style to the room. One important aspect of creating a stunning kitchen table is choosing the right finish.
DIY
enthusiasts have a variety of options to choose from, such as
stain
,
paint
,
varnish
, and
polyurethane
. Each of these finishes has its own unique look and benefits, so it's important to consider your personal preferences and the overall design of your kitchen before making a decision.
The Importance of Preparation
 Before applying any finish to your
DIY kitchen table
, it's crucial to properly prepare the surface. This includes thorough sanding to remove any rough edges or imperfections. It's also important to clean the surface to remove any dust or debris that could affect the finish. This step may seem tedious, but it is well worth the extra effort for achieving a professional and polished look.
Before applying any finish to your
DIY kitchen table
, it's crucial to properly prepare the surface. This includes thorough sanding to remove any rough edges or imperfections. It's also important to clean the surface to remove any dust or debris that could affect the finish. This step may seem tedious, but it is well worth the extra effort for achieving a professional and polished look.
Staining and Painting Techniques
 For those looking to add color to their kitchen table,
staining
and
painting
are popular options. Staining allows you to enhance the natural beauty of the wood while still adding color. It's important to choose a
stain
that complements the other elements in your kitchen, such as the cabinets or flooring. Painting, on the other hand, allows for more creativity and customization. You can choose from a wide range of colors and even add designs or patterns to your table. Just make sure to use a paint that is suitable for furniture and durable enough to withstand everyday use.
For those looking to add color to their kitchen table,
staining
and
painting
are popular options. Staining allows you to enhance the natural beauty of the wood while still adding color. It's important to choose a
stain
that complements the other elements in your kitchen, such as the cabinets or flooring. Painting, on the other hand, allows for more creativity and customization. You can choose from a wide range of colors and even add designs or patterns to your table. Just make sure to use a paint that is suitable for furniture and durable enough to withstand everyday use.
Protecting with Varnish or Polyurethane
 Once you have achieved your desired color or stain, it's important to protect your
DIY kitchen table
from wear and tear. This is where
varnish
and
polyurethane
come in. Both of these finishes provide a durable and protective layer that will keep your table looking like new for years to come.
Varnish
is a traditional option that adds a glossy finish, while
polyurethane
offers a more durable and water-resistant option.
In conclusion, achieving a professional and stunning finish for your
DIY kitchen table
requires careful consideration of the right finish and proper preparation. By following these tips and techniques, you can create a beautiful and functional centerpiece for your kitchen that will impress your guests and bring your design vision to life.
Once you have achieved your desired color or stain, it's important to protect your
DIY kitchen table
from wear and tear. This is where
varnish
and
polyurethane
come in. Both of these finishes provide a durable and protective layer that will keep your table looking like new for years to come.
Varnish
is a traditional option that adds a glossy finish, while
polyurethane
offers a more durable and water-resistant option.
In conclusion, achieving a professional and stunning finish for your
DIY kitchen table
requires careful consideration of the right finish and proper preparation. By following these tips and techniques, you can create a beautiful and functional centerpiece for your kitchen that will impress your guests and bring your design vision to life.