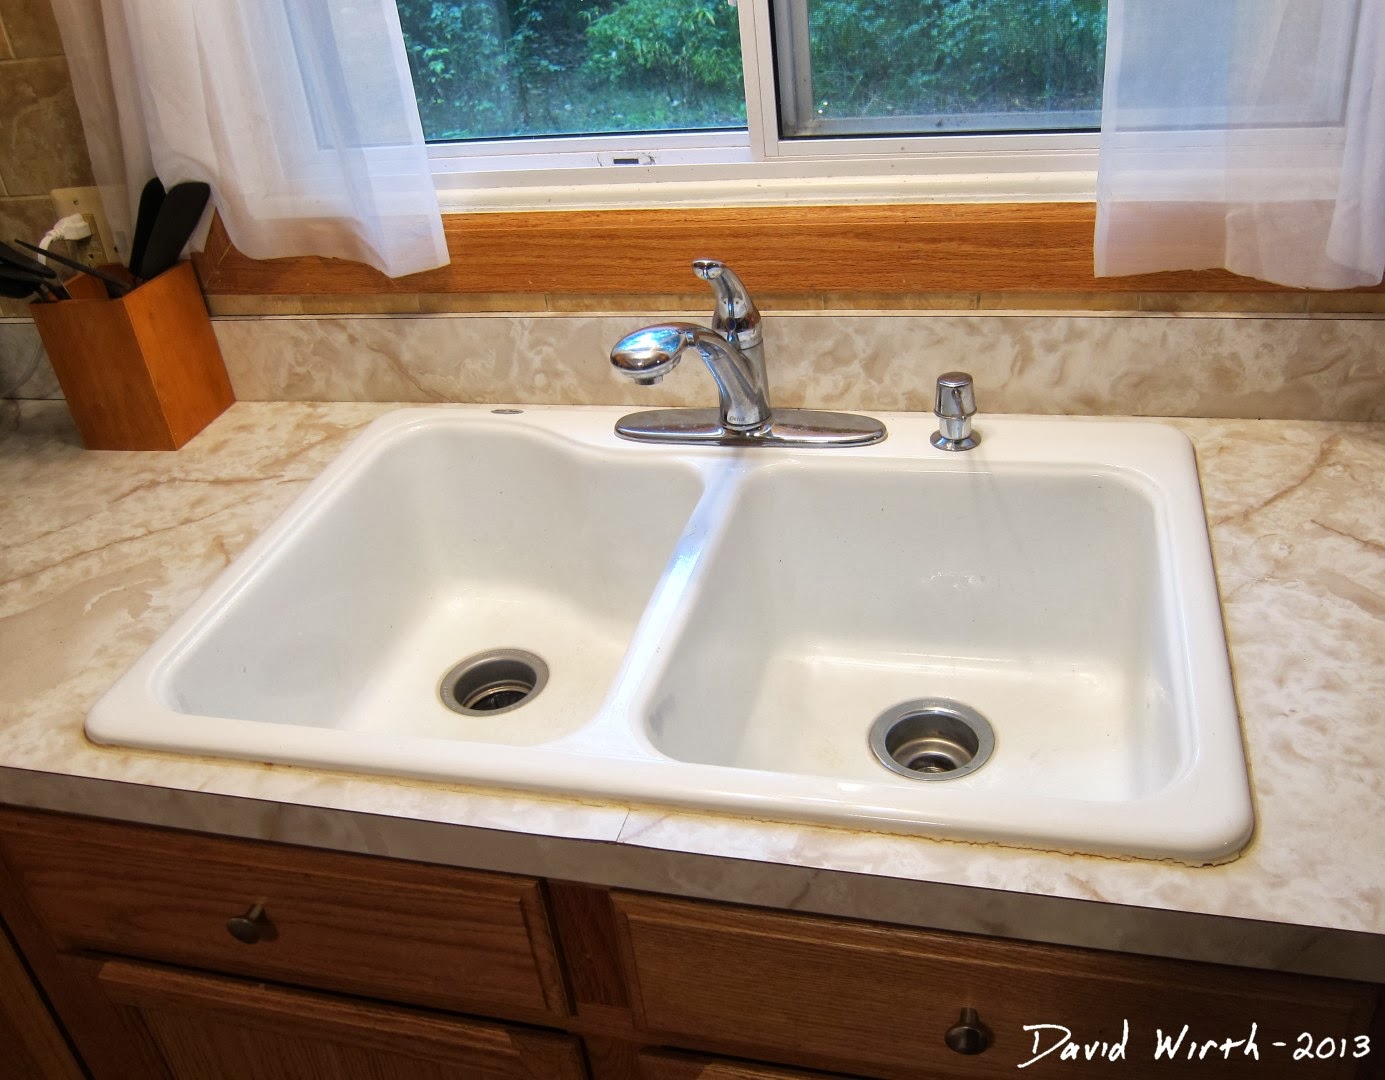
Caulking a kitchen sink may seem like a daunting task, but with the right tools and techniques, it can be a simple and cost-effective DIY project. Not only does caulking help to seal and protect your kitchen sink, but it also gives it a clean and polished look. Follow these steps to learn how to caulk a kitchen sink like a pro.How to Caulk a Kitchen Sink
.jpg)


How to Caulk a Kitchen Sink


.jpg)


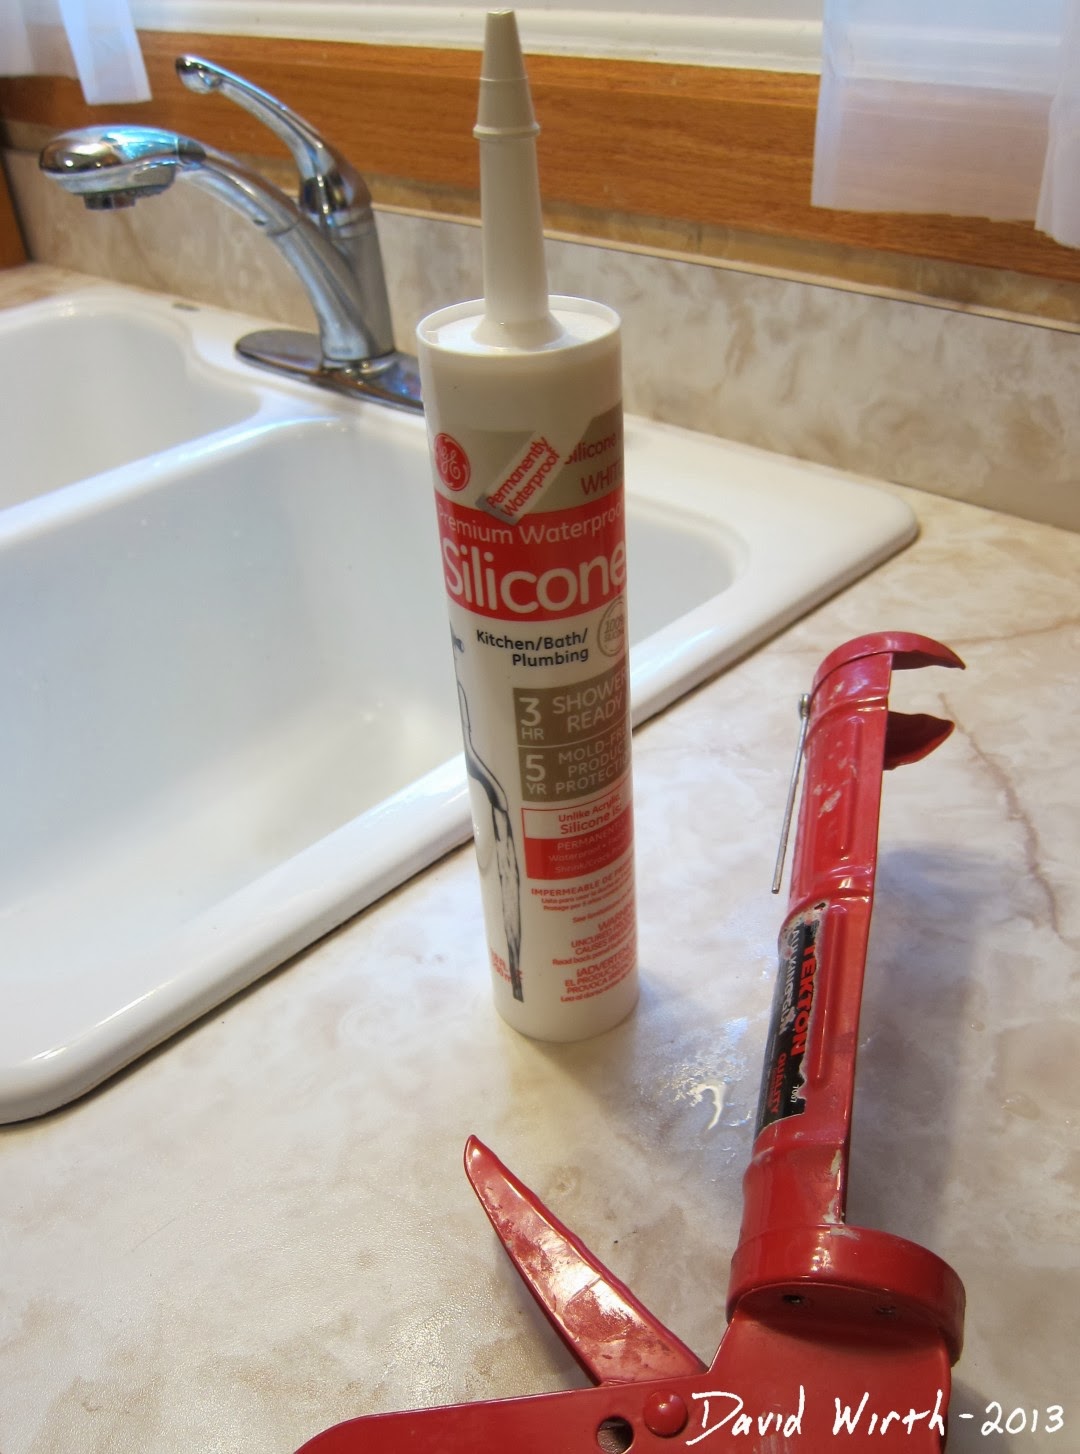
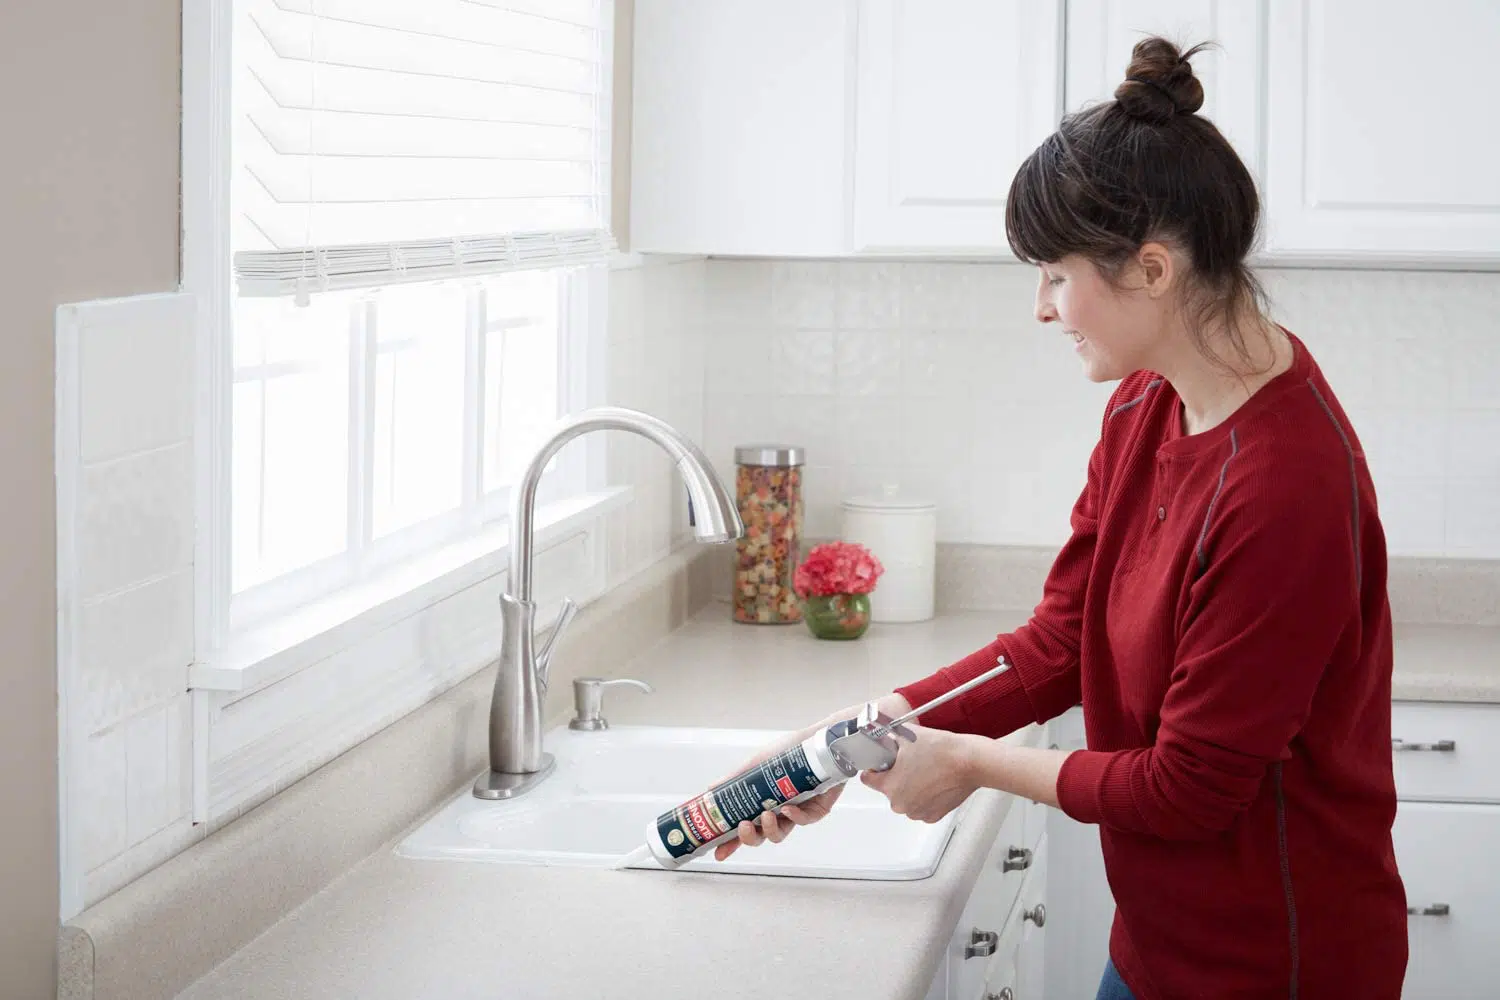
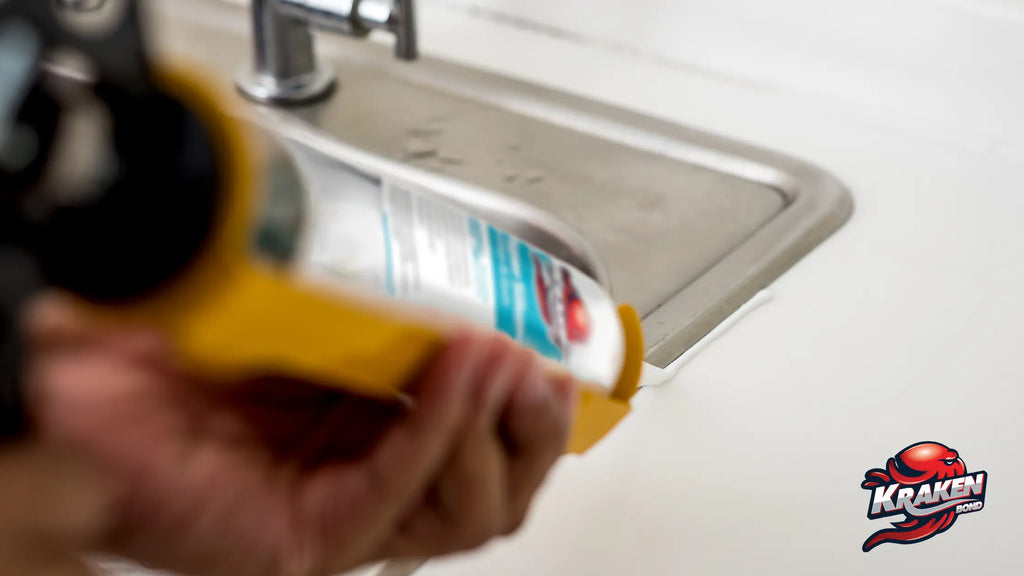
Silicone is the most commonly used caulk for kitchen sinks because of its durability and waterproof properties. To caulk a kitchen sink with silicone, you will need a caulking gun, silicone caulk, a utility knife, and a damp cloth. Start by thoroughly cleaning the area around the sink and removing any old caulk. Next, cut the tip of the caulk tube at a 45-degree angle and load it into the caulking gun. Apply an even bead of caulk around the edges of the sink, using your finger or a caulk smoothing tool to smooth out any excess caulk. Wipe away any excess with a damp cloth and let it dry for 24 hours before using the sink.How to Caulk a Kitchen Sink with Silicone


How to Caulk a Kitchen Sink with Silicone


If you're new to DIY projects, caulking a kitchen sink may seem intimidating. However, with these tips, you'll be caulking like a pro in no time: 1. Choose the right caulk: As mentioned earlier, silicone caulk is the best choice for kitchen sinks. It is waterproof, flexible, and can withstand high temperatures. 2. Clean the area thoroughly: Before applying caulk, make sure the area around the sink is clean and free of any old caulk, dirt, or grime. This will ensure a proper seal and prevent any mold or mildew from forming. 3. Use a caulking gun: A caulking gun will make it easier to apply an even bead of caulk around the sink. It also allows for better control and precision. 4. Smooth out the caulk: After applying the caulk, use your finger or a caulk smoothing tool to smooth out any excess caulk and create a clean, even line.DIY Kitchen Sink Caulking Tips


DIY Kitchen Sink Caulking Tips


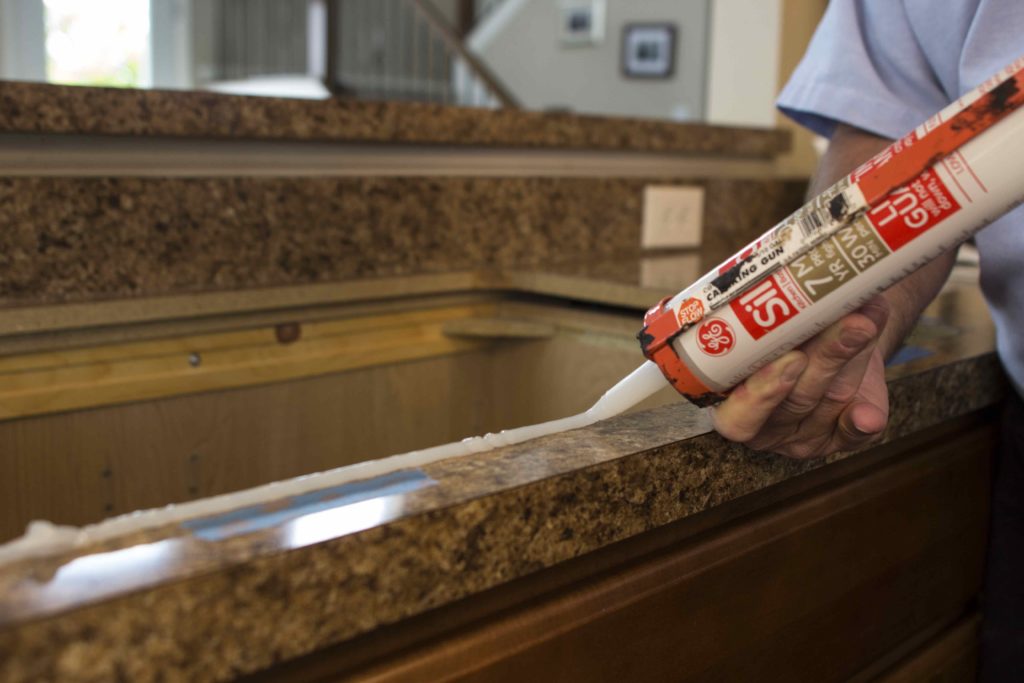
Now that you have your materials and some tips, let's go through the step-by-step process of caulking a kitchen sink: Step 1: Clean the area: Remove any old caulk, dirt, or grime from around the sink using a razor blade or caulk remover. Wipe the area clean with a damp cloth. Step 2: Load the caulk into the gun: Cut the tip of the caulk tube at a 45-degree angle and load it into the caulking gun. Step 3: Apply the caulk: Starting at one end of the sink, apply an even bead of caulk around the edges of the sink. Keep a steady hand and apply enough pressure to ensure the caulk sticks to both surfaces. Step 4: Smooth out the caulk: Use your finger or a caulk smoothing tool to smooth out any excess caulk and create a clean, even line. Wipe away any excess caulk with a damp cloth. Step 5: Let it dry: Allow the caulk to dry for 24 hours before using the sink. This will ensure a proper seal and prevent any cracks or gaps from forming.Step-by-Step Guide to Caulking a Kitchen Sink


Step-by-Step Guide to Caulking a Kitchen Sink


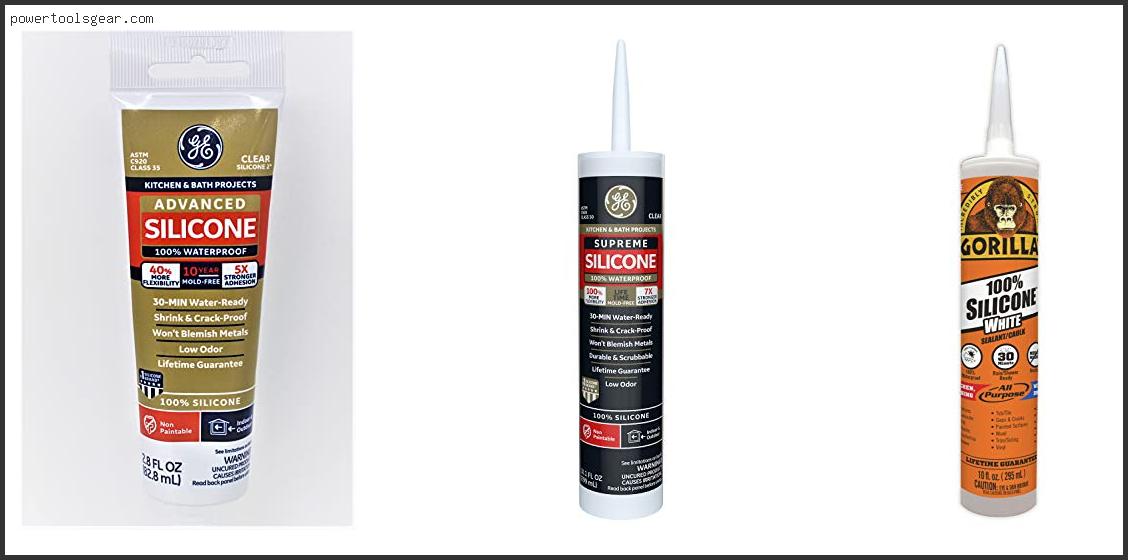
As mentioned earlier, silicone caulk is the best choice for kitchen sinks. However, there are also other types of caulk that can be used, such as acrylic latex caulk or polyurethane caulk. When choosing a caulk, make sure to look for one that is waterproof, flexible, and can withstand high temperatures.Best Caulk for Kitchen Sink


Best Caulk for Kitchen Sink


.jpg)
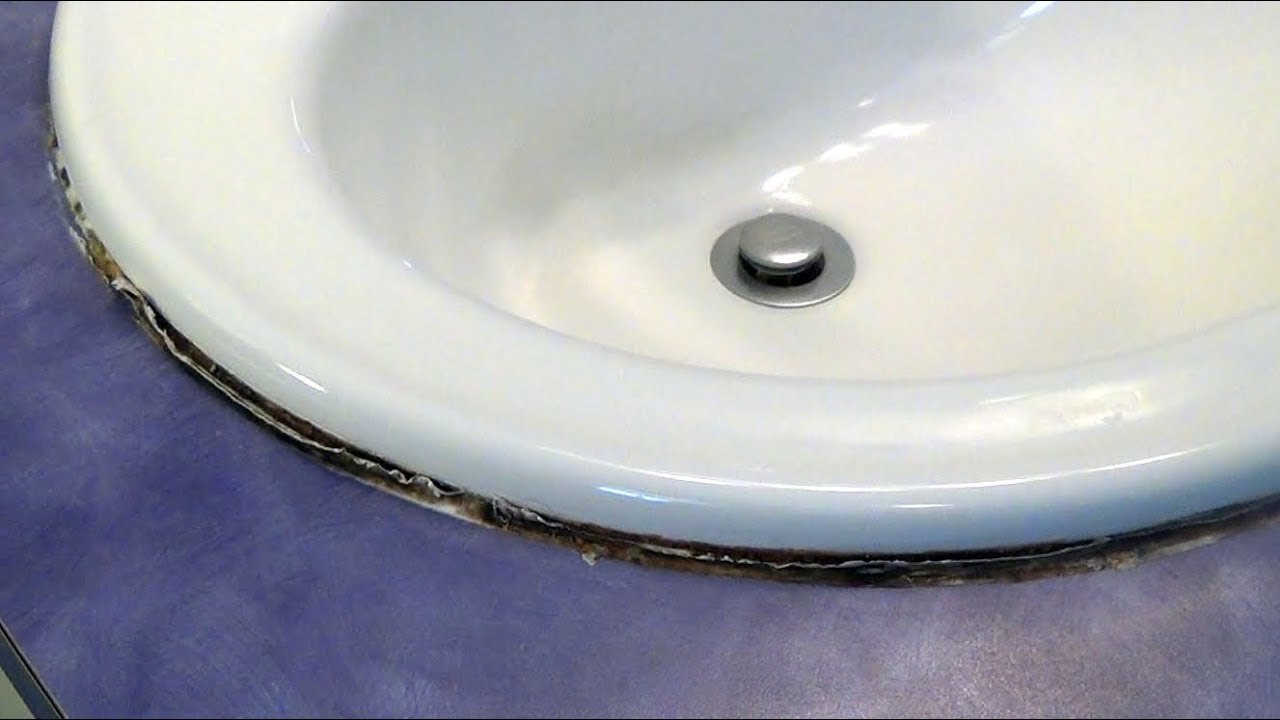
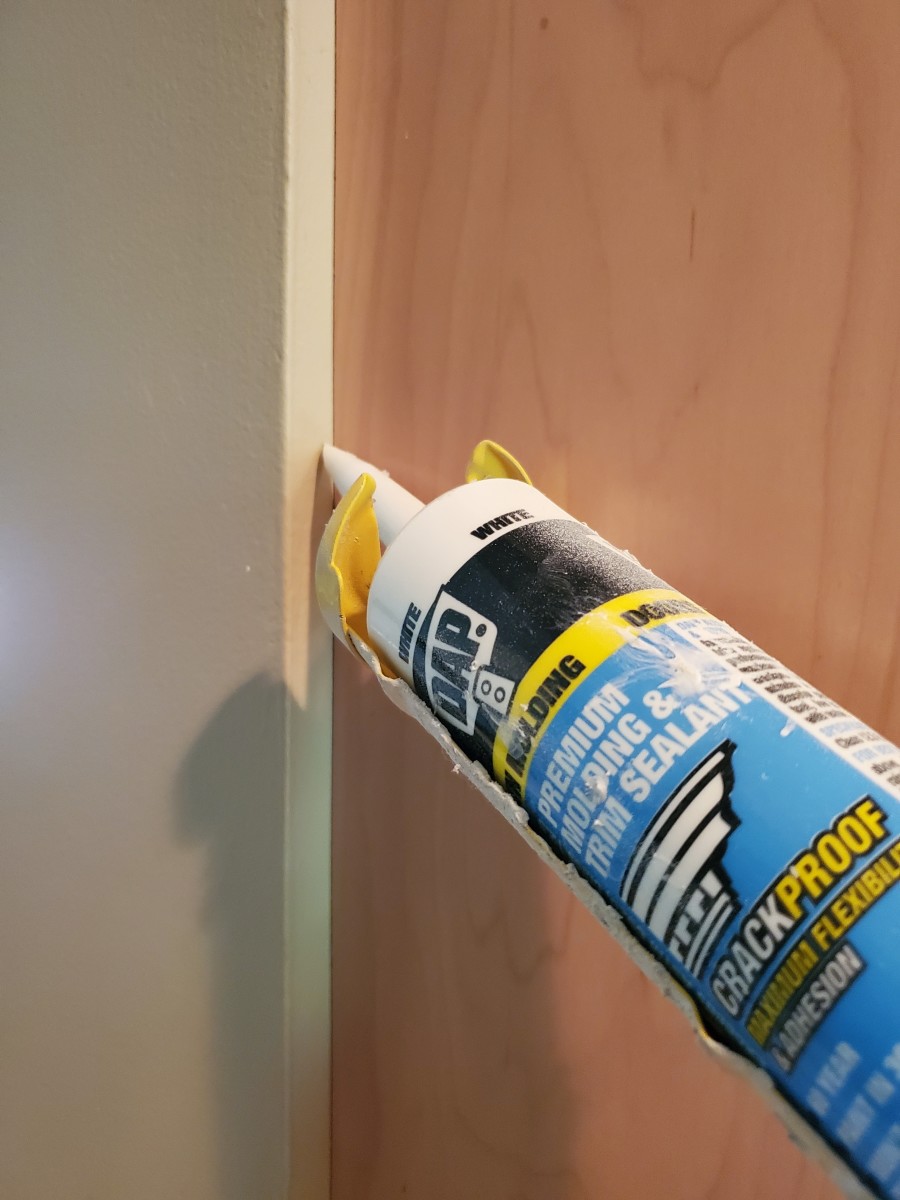
Before caulking a kitchen sink, it's important to remove any old caulk to ensure a proper seal. To remove old caulk, you can use a razor blade, caulk remover, or a caulk removal tool. Carefully scrape away the old caulk, making sure not to damage the sink or surrounding area. Once all the old caulk is removed, clean the area thoroughly before applying new caulk.How to Remove Old Caulk from Kitchen Sink


How to Remove Old Caulk from Kitchen Sink


:max_bytes(150000):strip_icc()/how-to-remove-old-caulk-1824827-01-3d0370c59e124dbbaa6560c68bab111c.jpg)

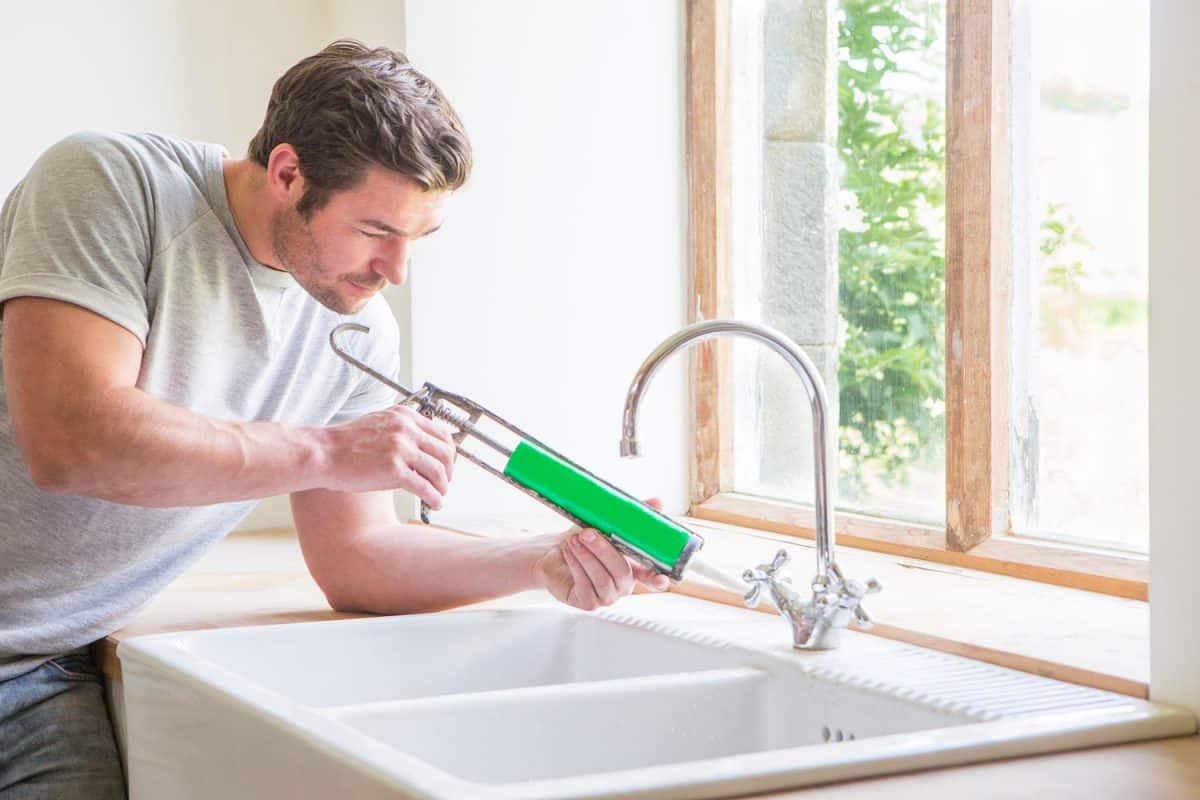
Caulking around a kitchen sink is an essential step in maintaining the integrity of your sink. Not only does it prevent water from seeping into the cracks, but it also adds a finishing touch to your kitchen. With the right tools and techniques, caulking around a kitchen sink can be a quick and easy DIY project.Caulking Around a Kitchen Sink

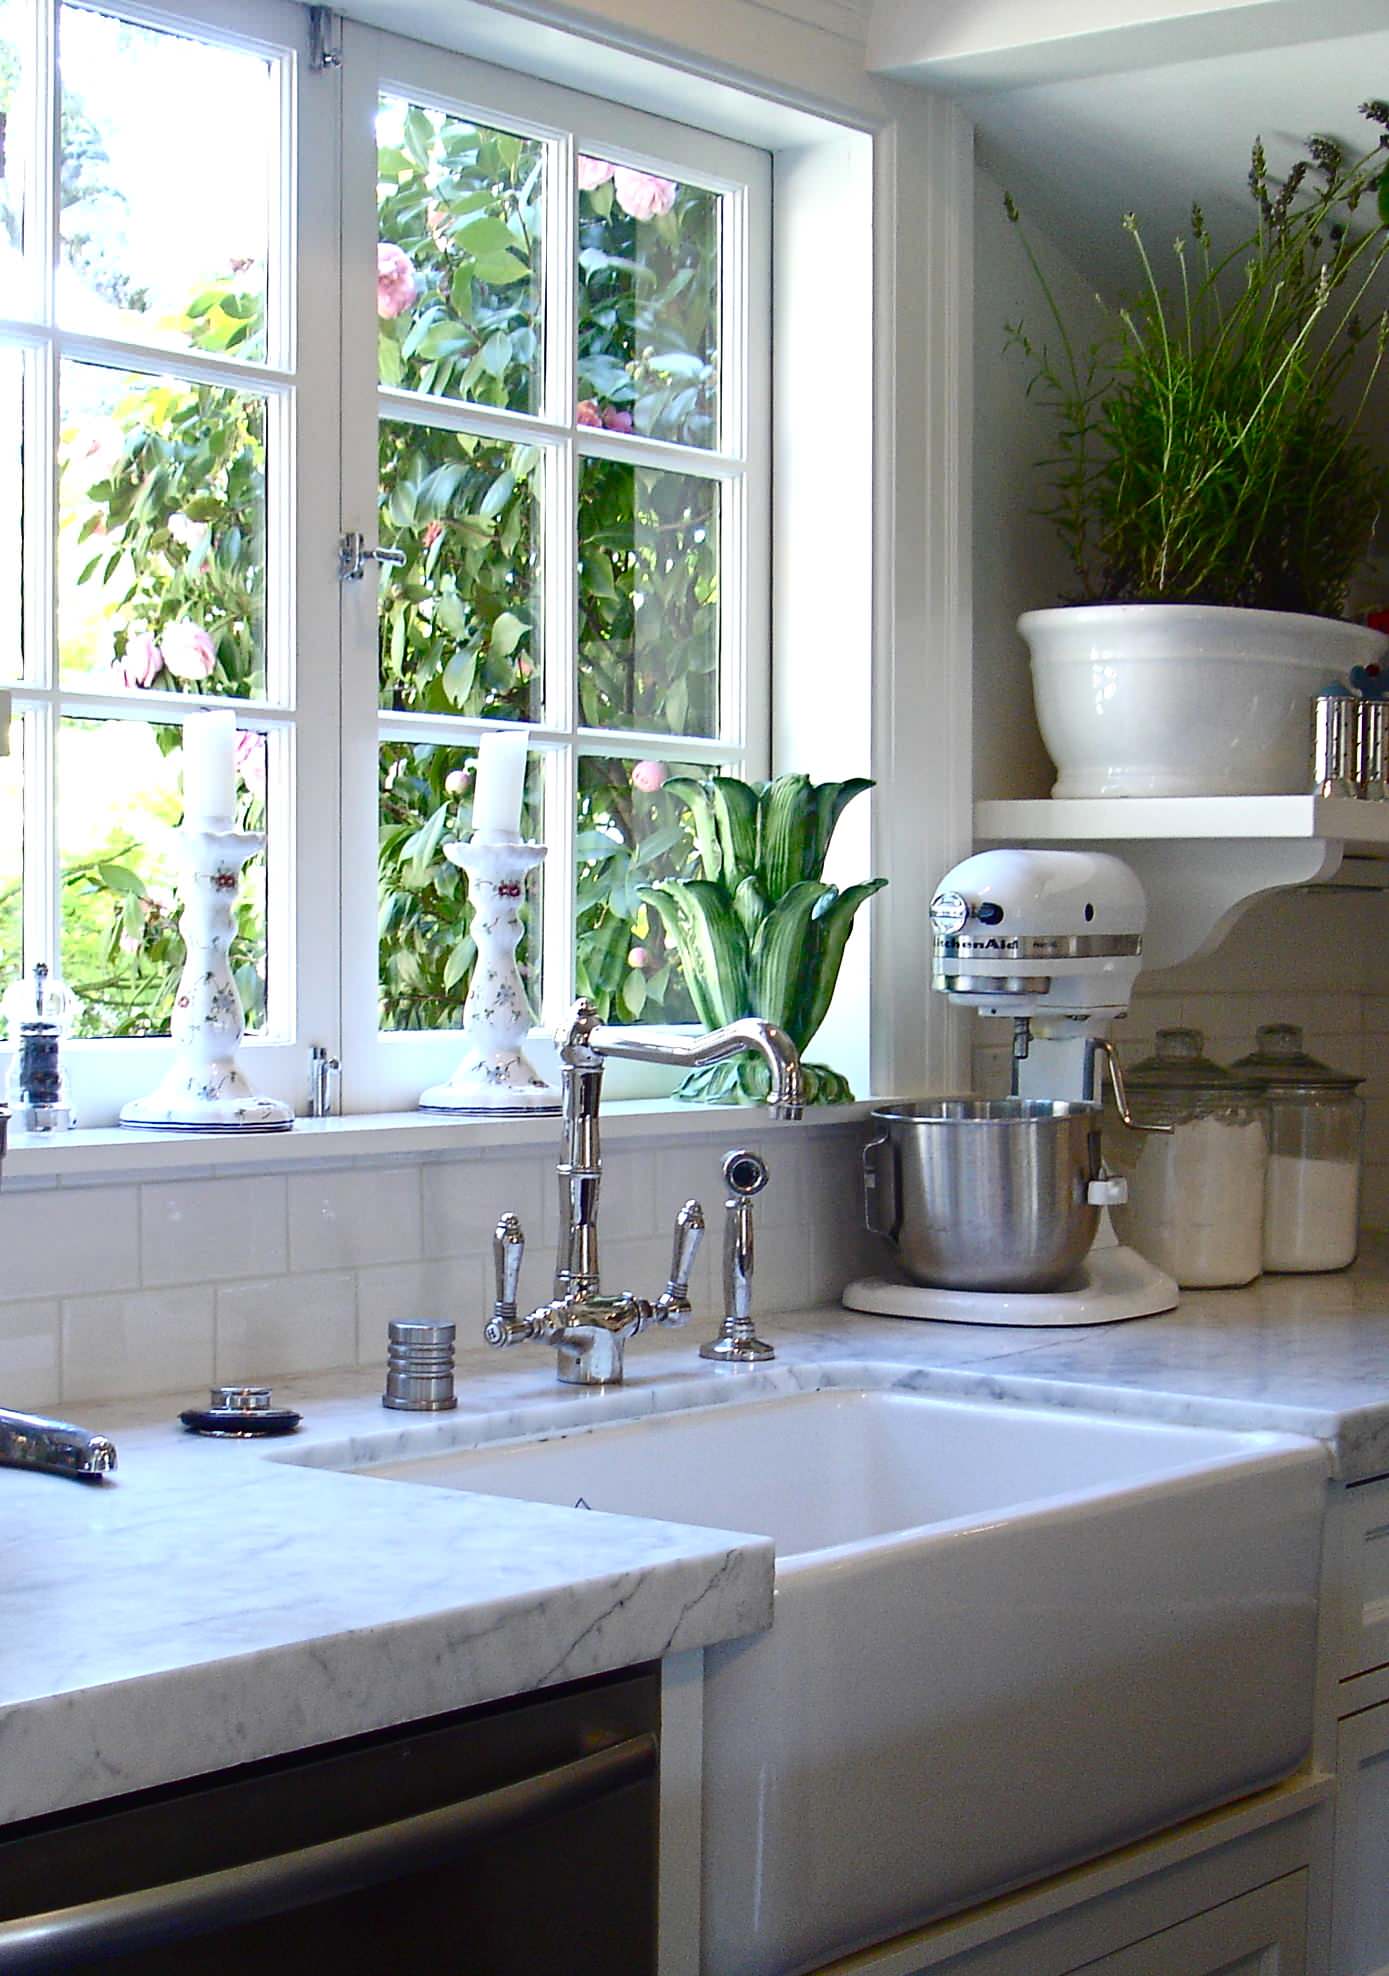

Caulking Around a Kitchen Sink


In addition to caulking, sealing your kitchen sink is another important step in protecting it from water damage and maintaining its overall appearance. To seal a kitchen sink, you can use a clear silicone sealant or a specialized sink sealer. Simply apply the sealant around the edges of the sink, following the same steps as caulking, and let it dry for 24 hours before using the sink.How to Seal a Kitchen Sink


How to Seal a Kitchen Sink


Drop-in kitchen sinks are slightly different from undermount sinks, and therefore require a different caulking technique. To caulk a drop-in kitchen sink, start by applying a thin line of caulk around the edge of the sink. Next, gently press the sink into place, allowing the caulk to spread and create a seal. Use a caulk smoothing tool to smooth out any excess caulk and wipe away any residue with a damp cloth. Let it dry for 24 hours before using the sink.Caulking a Drop-In Kitchen Sink


Caulking a Drop-In Kitchen Sink


Caulking a stainless steel kitchen sink is no different from caulking other types of sinks. However, it's important to choose a caulk that is specifically designed for use on stainless steel. This will ensure a strong seal and prevent any discoloration or damage to the sink. Follow the same steps as caulking a kitchen sink with silicone to properly seal and protect your stainless steel sink. Now that you know how to caulk a kitchen sink, you can easily tackle this DIY project and give your kitchen a fresh, new look. Remember to choose the right caulk, clean the area thoroughly, and use the proper techniques for a professional, long-lasting finish.How to Caulk a Stainless Steel Kitchen Sink


How to Caulk a Stainless Steel Kitchen Sink


Why Caulking Your Kitchen Sink is an Essential DIY Project for House Design

Maintain the Aesthetic Appeal of Your Kitchen
 When it comes to house design, the kitchen is often the heart of the home. It's where we gather to cook, eat, and socialize with family and friends. As such, it's important to keep this space looking clean and well-maintained.
Caulking
your kitchen sink is an easy and cost-effective way to maintain the aesthetic appeal of your kitchen.
Caulk
not only seals the gaps and cracks around your sink, but it also creates a seamless and polished look. It can help make your kitchen look more cohesive and put-together, elevating the overall design of your home.
When it comes to house design, the kitchen is often the heart of the home. It's where we gather to cook, eat, and socialize with family and friends. As such, it's important to keep this space looking clean and well-maintained.
Caulking
your kitchen sink is an easy and cost-effective way to maintain the aesthetic appeal of your kitchen.
Caulk
not only seals the gaps and cracks around your sink, but it also creates a seamless and polished look. It can help make your kitchen look more cohesive and put-together, elevating the overall design of your home.
Prevent Water Damage and Mold Growth
 Another important reason to
caulk
your kitchen sink is to prevent water damage and mold growth. Over time, water can seep into the gaps between your sink and countertop, causing damage to the surrounding areas. This can lead to costly repairs and even health hazards if mold begins to grow.
Caulking
creates a waterproof barrier, preventing water from seeping in and protecting your kitchen from potential damage. It also inhibits the growth of mold and mildew, making your kitchen a healthier and safer space for you and your family.
Another important reason to
caulk
your kitchen sink is to prevent water damage and mold growth. Over time, water can seep into the gaps between your sink and countertop, causing damage to the surrounding areas. This can lead to costly repairs and even health hazards if mold begins to grow.
Caulking
creates a waterproof barrier, preventing water from seeping in and protecting your kitchen from potential damage. It also inhibits the growth of mold and mildew, making your kitchen a healthier and safer space for you and your family.
Save Money on Energy Bills
 Did you know that
caulking
your kitchen sink can also help you save money on your energy bills? By sealing any gaps and cracks around your sink,
caulk
helps to prevent drafts and keep your kitchen insulated. This means your HVAC system won't have to work as hard to maintain a comfortable temperature, resulting in lower energy bills.
Caulking
can also help prevent cold air from entering your home during the winter and hot air from entering during the summer, making your kitchen more energy-efficient year-round.
Did you know that
caulking
your kitchen sink can also help you save money on your energy bills? By sealing any gaps and cracks around your sink,
caulk
helps to prevent drafts and keep your kitchen insulated. This means your HVAC system won't have to work as hard to maintain a comfortable temperature, resulting in lower energy bills.
Caulking
can also help prevent cold air from entering your home during the winter and hot air from entering during the summer, making your kitchen more energy-efficient year-round.
Easy and Cost-Effective DIY Project
 One of the best things about
caulking
your kitchen sink is that it's a simple and budget-friendly DIY project. You don't need any special skills or expensive tools to complete the task. All you need is some
caulk
, a caulk gun, and a utility knife. With a little bit of time and effort, you can have a beautifully sealed and polished kitchen sink in no time. Plus, by doing it yourself, you can save money on hiring a professional and have the satisfaction of completing a home improvement project on your own.
One of the best things about
caulking
your kitchen sink is that it's a simple and budget-friendly DIY project. You don't need any special skills or expensive tools to complete the task. All you need is some
caulk
, a caulk gun, and a utility knife. With a little bit of time and effort, you can have a beautifully sealed and polished kitchen sink in no time. Plus, by doing it yourself, you can save money on hiring a professional and have the satisfaction of completing a home improvement project on your own.
In Conclusion
 In summary,
caulking
your kitchen sink is an essential DIY project for house design. It helps maintain the aesthetic appeal of your kitchen, prevents water damage and mold growth, saves money on energy bills, and is an easy and cost-effective DIY project. So why wait? Grab your caulk gun and start sealing those gaps and cracks around your kitchen sink for a more beautiful and functional kitchen.
In summary,
caulking
your kitchen sink is an essential DIY project for house design. It helps maintain the aesthetic appeal of your kitchen, prevents water damage and mold growth, saves money on energy bills, and is an easy and cost-effective DIY project. So why wait? Grab your caulk gun and start sealing those gaps and cracks around your kitchen sink for a more beautiful and functional kitchen.