Are you tired of constantly having to replace your air mattress due to small leaks? Do you wish there was a simple and affordable solution to fix those pesky holes? Look no further, because with these easy DIY tips, you can make your own air mattress sealant and save yourself time and money. Say goodbye to constantly buying new air mattresses and hello to a permanent fix that will keep your air mattress inflated for years to come.How to Make Your Own Air Mattress Sealant


How to Make Your Own Air Mattress Sealant


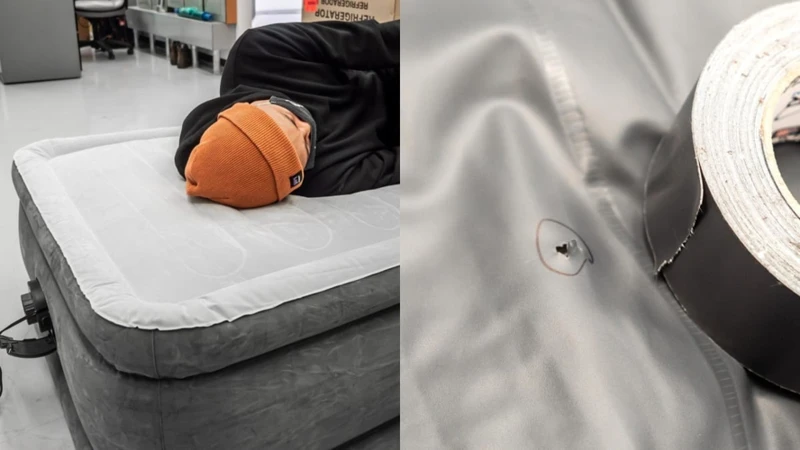
Before we get into making your own sealant, it's important to know how to fix a leak in your air mattress. First, you'll need to locate the leak by inflating the mattress and listening for the sound of air escaping. Once you've found the leak, deflate the mattress and clean the area with rubbing alcohol. Next, you can either use a store-bought patch kit or follow our DIY instructions for making your own patch and sealant. Make sure to apply the sealant and patch according to the instructions and allow it to dry completely before inflating the mattress again.DIY Air Mattress Repair: How to Fix a Leak


DIY Air Mattress Repair: How to Fix a Leak


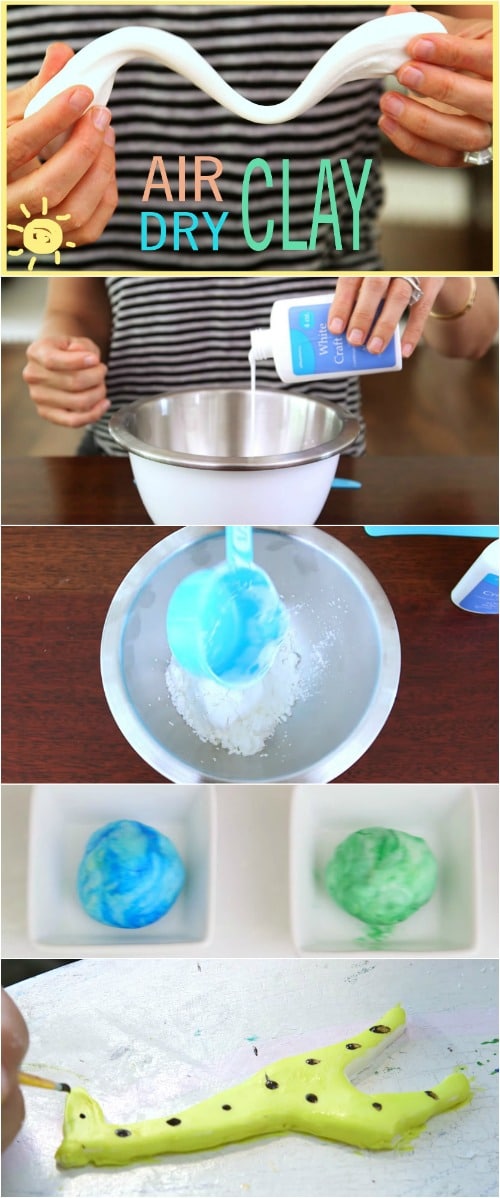
If you prefer to make your own patch for your air mattress, it's a simple process that only requires a few household items. First, you'll need to cut a piece of fabric slightly larger than the size of the hole in your air mattress. Next, mix equal parts of white glue and water to create a paste. Apply the paste to the area around the hole and place the fabric patch on top. Smooth out any wrinkles and allow it to dry completely before inflating the mattress again.Homemade Air Mattress Patch


Homemade Air Mattress Patch


If you want a more comprehensive DIY solution for your air mattress, you can create your own repair kit with a few key items. First, you'll need a small piece of fabric, white glue, a toothpick, and a small container for mixing. Cut the fabric into a circle slightly larger than the hole in your air mattress. Mix equal parts of white glue and water in your container and use the toothpick to spread a thin layer of the mixture around the hole. Place the fabric patch on top and smooth out any wrinkles. Allow it to dry completely before inflating the mattress again.DIY Air Mattress Repair Kit


DIY Air Mattress Repair Kit


If you're in a pinch and need a quick fix for a small leak in your air mattress, try this easy DIY method. Take a piece of duct tape and cut it into a circle slightly larger than the hole. Clean the area around the hole with rubbing alcohol and place the duct tape on top. Press down firmly to ensure a secure seal and inflate the mattress to test for any remaining leaks. This method may not be as long-lasting as a patch, but it's a quick and easy solution for temporary use.Easy DIY Air Mattress Leak Repair


Easy DIY Air Mattress Leak Repair


Now, let's get to the good stuff – making your own air mattress sealant. This recipe only requires three ingredients and is easy to make in just a few simple steps. First, mix together equal parts of white glue and water in a small container. Next, add a few drops of dish soap and mix until well combined. Using a paintbrush or sponge, apply a thin layer of the mixture around the hole in your air mattress. Allow it to dry completely before inflating the mattress again. The dish soap helps to create a strong and flexible seal that will hold up over time.Homemade Air Mattress Sealant Recipe


Homemade Air Mattress Sealant Recipe


If you want to have a more comprehensive DIY repair kit on hand for any future leaks, you can create your own by combining the homemade sealant recipe with the fabric patch method. Simply mix equal parts of white glue and water in a small container, add a few drops of dish soap, and use a paintbrush or sponge to apply the mixture around the hole. Next, place the fabric patch on top and smooth out any wrinkles. Allow it to dry completely before inflating the mattress again.DIY Air Mattress Patch Kit

DIY Air Mattress Patch Kit


If you don't have any of the above materials on hand, don't worry – you can still fix a hole in your air mattress with just a few household items. First, locate the leak and clean the area with rubbing alcohol. Next, take a piece of aluminum foil and fold it several times to create a thick patch. Place the aluminum foil over the hole and press down firmly. You can then use duct tape to secure the patch in place. This is a temporary fix, but it should hold up for a few uses until you can purchase a proper repair kit.How to Fix a Hole in an Air Mattress with Household Items


How to Fix a Hole in an Air Mattress with Household Items


If you're dealing with a larger hole or tear in your air mattress, you can still fix it yourself with a few household items. First, clean the area with rubbing alcohol and cut a piece of fabric slightly larger than the hole. Next, mix equal parts of white glue and water in a small container and use a paintbrush or sponge to apply a thin layer around the hole. Place the fabric patch on top and smooth out any wrinkles. Once it's dry, use duct tape to reinforce the patch and allow it to dry completely before inflating the mattress.DIY Air Mattress Leak Fix

DIY Air Mattress Leak Fix


If you're looking for a more long-term solution for fixing leaks in your air mattress, you can create your own repair solution using a combination of the above methods. First, cut a piece of fabric and clean the area around the hole with rubbing alcohol. Next, mix equal parts of white glue and water in a small container and add a few drops of dish soap. Use a paintbrush or sponge to apply the mixture around the hole and place the fabric patch on top. Smooth out any wrinkles and allow it to dry completely before inflating the mattress. This homemade repair solution should hold up for many uses and save you from constantly buying new air mattresses. With these easy and affordable DIY methods, you can say goodbye to constantly replacing your air mattress and hello to a permanent fix for those pesky leaks. Remember to always clean the area around the leak before applying any repair materials and allow them to dry completely before using the mattress again. With a little bit of creativity and resourcefulness, you can save yourself time and money by making your own air mattress sealant and repair kit.Homemade Air Mattress Repair Solution


Homemade Air Mattress Repair Solution


How to Make Your Own DIY Air Mattress Sealant

Why You Need an Air Mattress Sealant
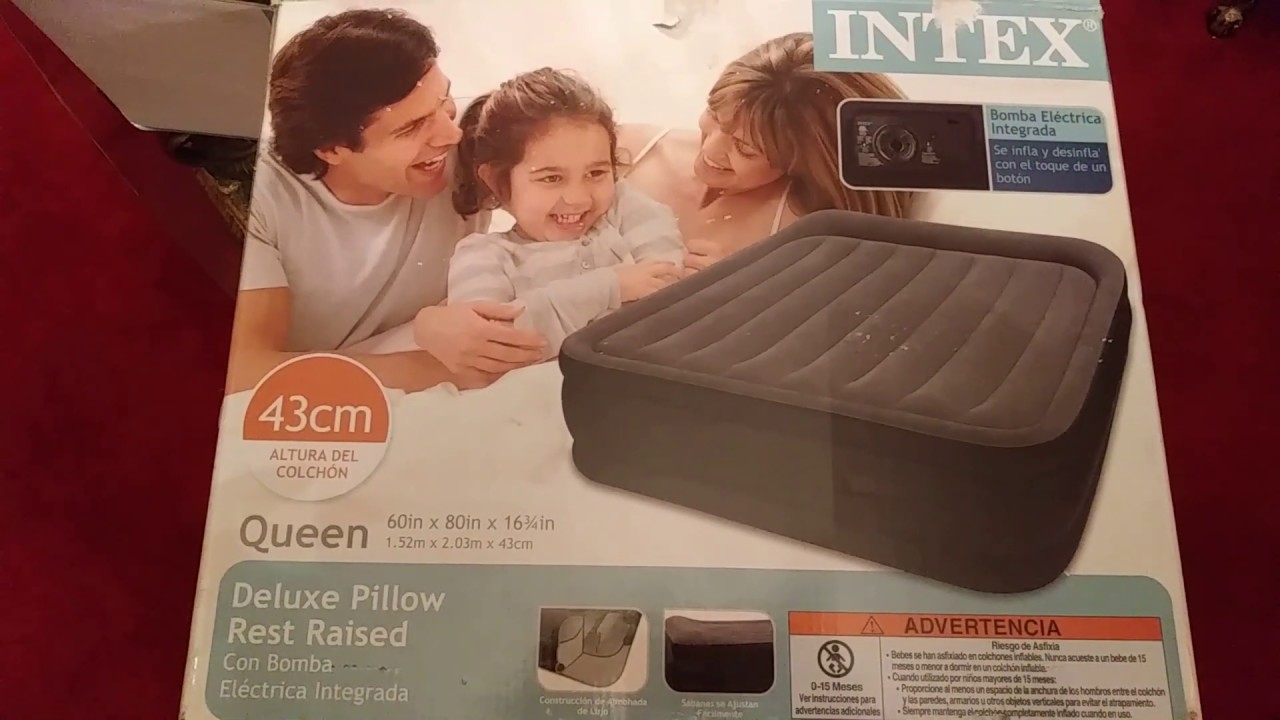
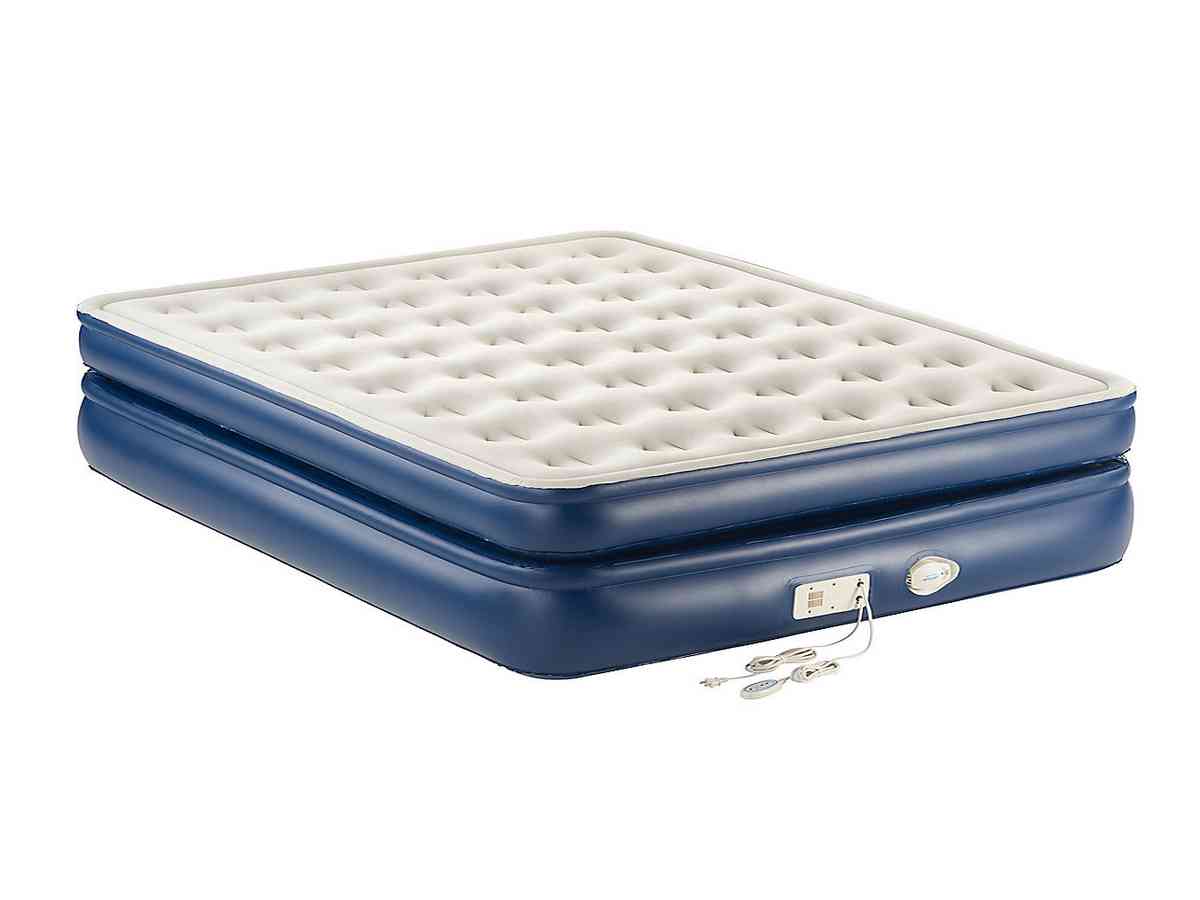
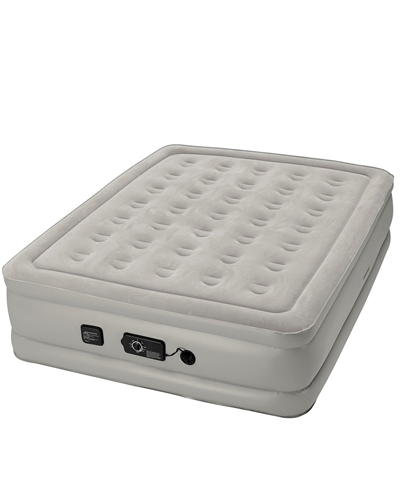
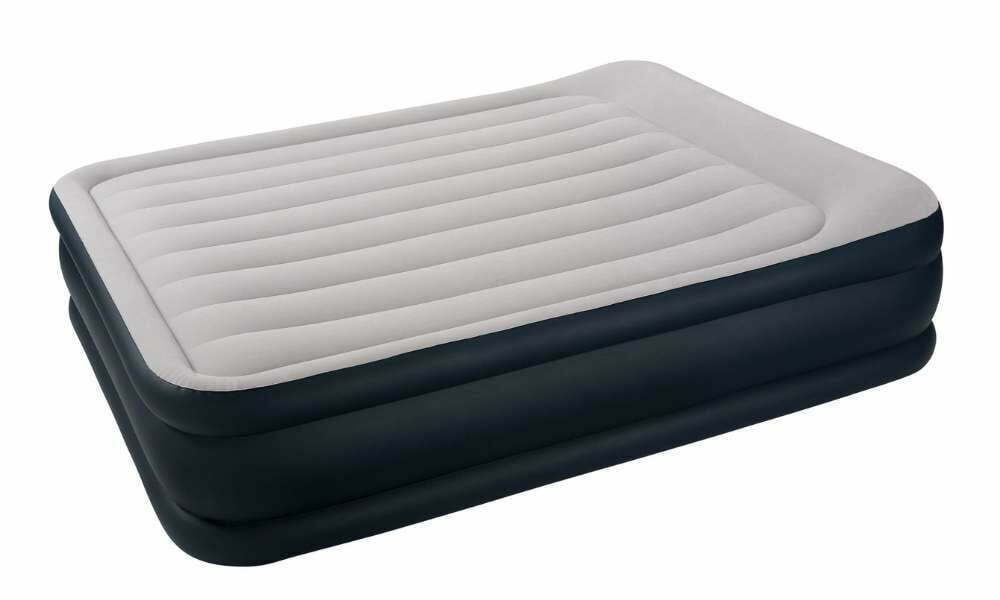
 An air mattress is a convenient and comfortable addition to any home. Whether you use it for guests, camping, or as a permanent sleeping solution, an air mattress is a versatile and affordable option. However, like any inflatable product, air mattresses are prone to small leaks and tears that can decrease their lifespan and functionality. This is where an air mattress sealant comes in.
By creating your own DIY air mattress sealant, you can easily repair any leaks or punctures, saving you money in the long run.
An air mattress is a convenient and comfortable addition to any home. Whether you use it for guests, camping, or as a permanent sleeping solution, an air mattress is a versatile and affordable option. However, like any inflatable product, air mattresses are prone to small leaks and tears that can decrease their lifespan and functionality. This is where an air mattress sealant comes in.
By creating your own DIY air mattress sealant, you can easily repair any leaks or punctures, saving you money in the long run.
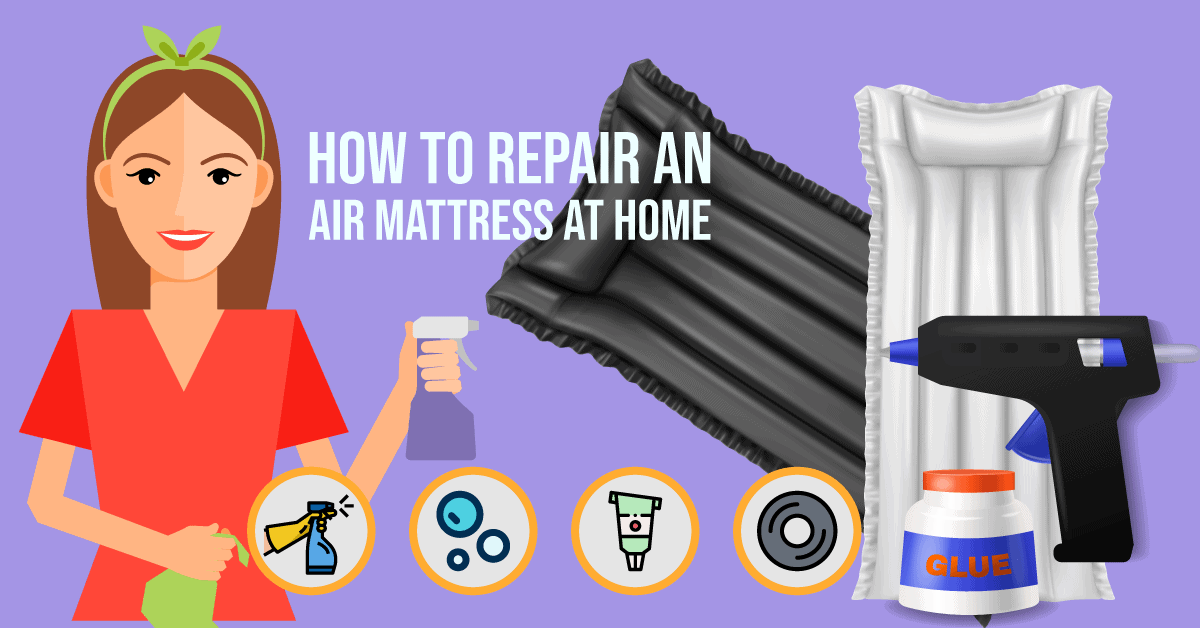
What You Will Need
 To make your own DIY air mattress sealant, you will need a few simple ingredients that you may already have in your home. These include
rubbing alcohol, dish soap, a spray bottle, and a paintbrush.
You can also add in
food coloring
to make it easier to spot the sealant on your air mattress.
To make your own DIY air mattress sealant, you will need a few simple ingredients that you may already have in your home. These include
rubbing alcohol, dish soap, a spray bottle, and a paintbrush.
You can also add in
food coloring
to make it easier to spot the sealant on your air mattress.
Step by Step Instructions
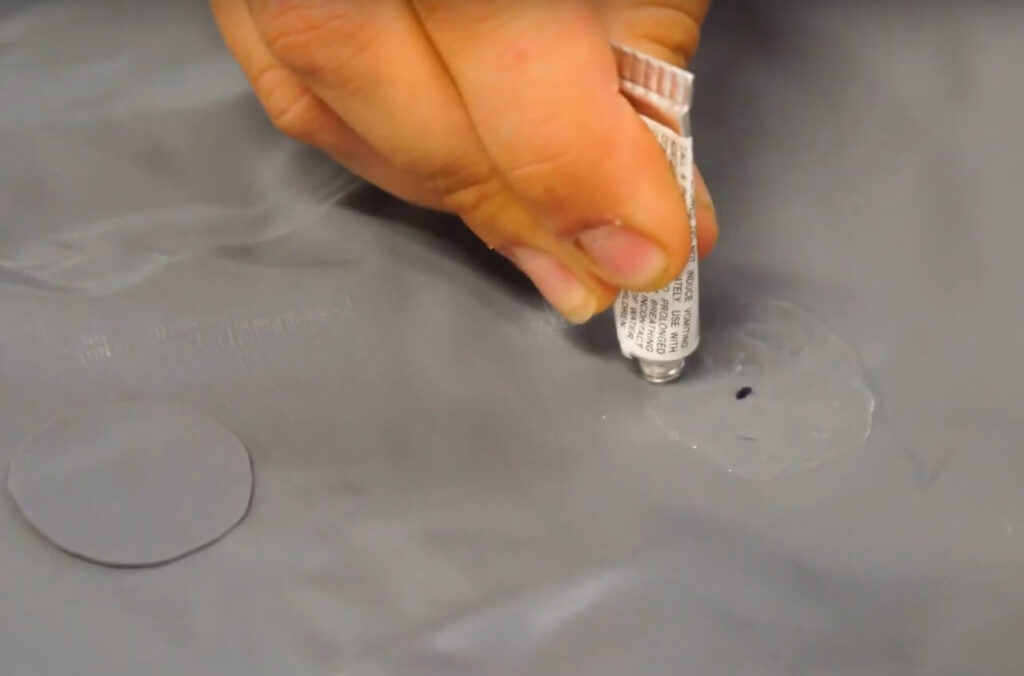
 1. First, clean the area where the leak is located with rubbing alcohol. This will ensure that the sealant properly adheres to the surface.
2. Mix equal parts dish soap and water in a spray bottle and shake well.
3. Spray the solution onto the area of the leak and
gently massage it into the fabric with your fingers.
4. Let the solution dry completely.
5. If the leak is still visible, repeat the process until the leak is sealed.
6. Once the leak is sealed,
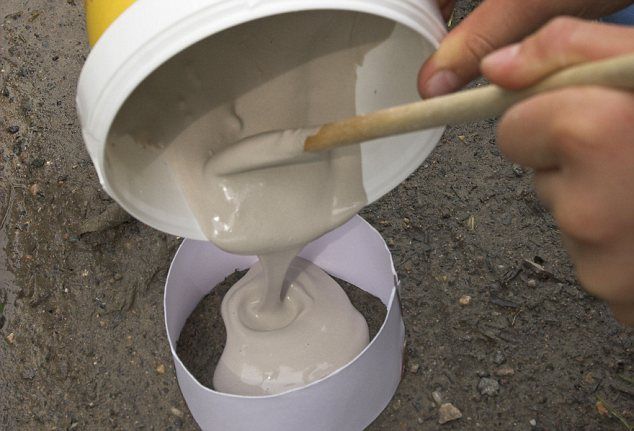
use a paintbrush to apply a thin layer of the solution over the entire surface of the air mattress.
7. Let the sealant dry completely before using the air mattress again.
1. First, clean the area where the leak is located with rubbing alcohol. This will ensure that the sealant properly adheres to the surface.
2. Mix equal parts dish soap and water in a spray bottle and shake well.
3. Spray the solution onto the area of the leak and
gently massage it into the fabric with your fingers.
4. Let the solution dry completely.
5. If the leak is still visible, repeat the process until the leak is sealed.
6. Once the leak is sealed,
use a paintbrush to apply a thin layer of the solution over the entire surface of the air mattress.
7. Let the sealant dry completely before using the air mattress again.
Tips and Tricks
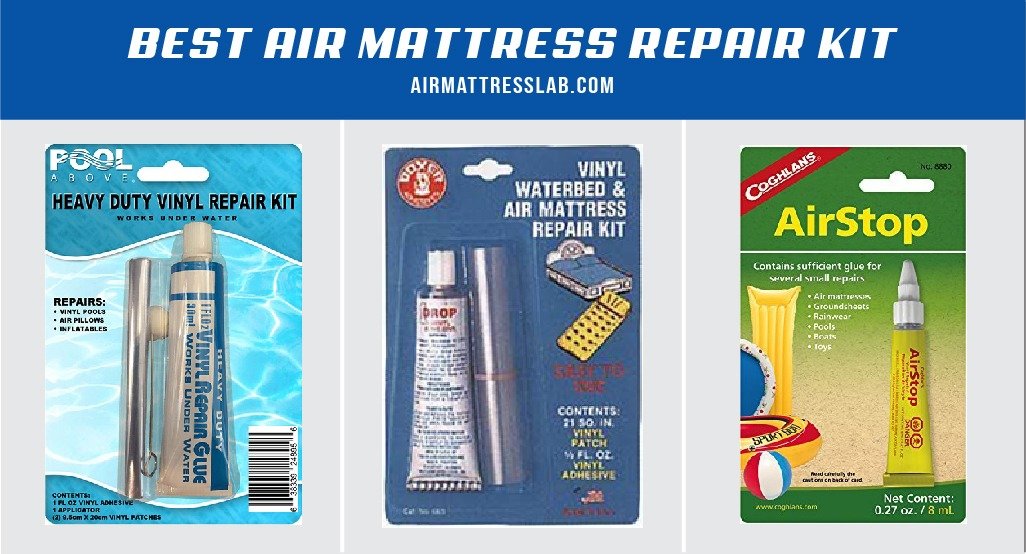
 - For larger tears or leaks, you can use a patch kit in addition to the DIY sealant for a stronger and more secure seal.
- If you are using the air mattress for camping, make sure to pack the DIY sealant with you in case of any unexpected leaks.
- You can also use this DIY sealant for other inflatable products, such as pool toys or inflatable boats.
- For larger tears or leaks, you can use a patch kit in addition to the DIY sealant for a stronger and more secure seal.
- If you are using the air mattress for camping, make sure to pack the DIY sealant with you in case of any unexpected leaks.
- You can also use this DIY sealant for other inflatable products, such as pool toys or inflatable boats.
Conclusion
/KingKoilAirMattress-4ba7f380d38b481987203547a2a98298.jpg) Creating your own DIY air mattress sealant is a simple and cost-effective solution to repairing any leaks or tears in your air mattress. By using common household ingredients, you can easily extend the lifespan of your air mattress and ensure a comfortable sleeping experience for yourself and your guests. So next time you notice a leak in your air mattress,
give this DIY sealant a try and save yourself the hassle and expense of buying a new one.
Creating your own DIY air mattress sealant is a simple and cost-effective solution to repairing any leaks or tears in your air mattress. By using common household ingredients, you can easily extend the lifespan of your air mattress and ensure a comfortable sleeping experience for yourself and your guests. So next time you notice a leak in your air mattress,
give this DIY sealant a try and save yourself the hassle and expense of buying a new one.


:max_bytes(150000):strip_icc()/ButterflyHouseRemodelLivingRoom-5b2a86f73de42300368509d6.jpg)