Designing and assembling a bathroom vanity is an exciting and rewarding task. It allows you to add your personal touch to your bathroom and create a space that reflects your unique style. However, assembling a bathroom vanity can also be a bit daunting, especially for those who are not familiar with DIY projects. But fear not, as we have compiled a comprehensive guide to help you with the process. In this article, we will provide you with the top 10 Design House Bathroom Vanity Assembly Instructions to make your project a breeze.Design House Bathroom Vanity Assembly Instructions

Design House Bathroom Vanity Assembly Instructions


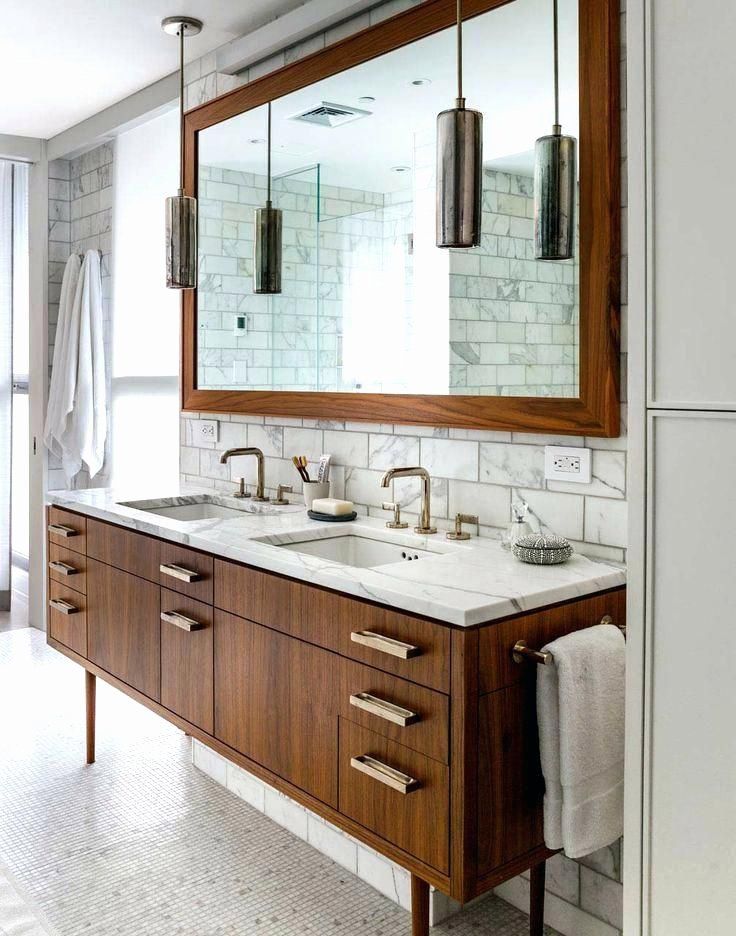
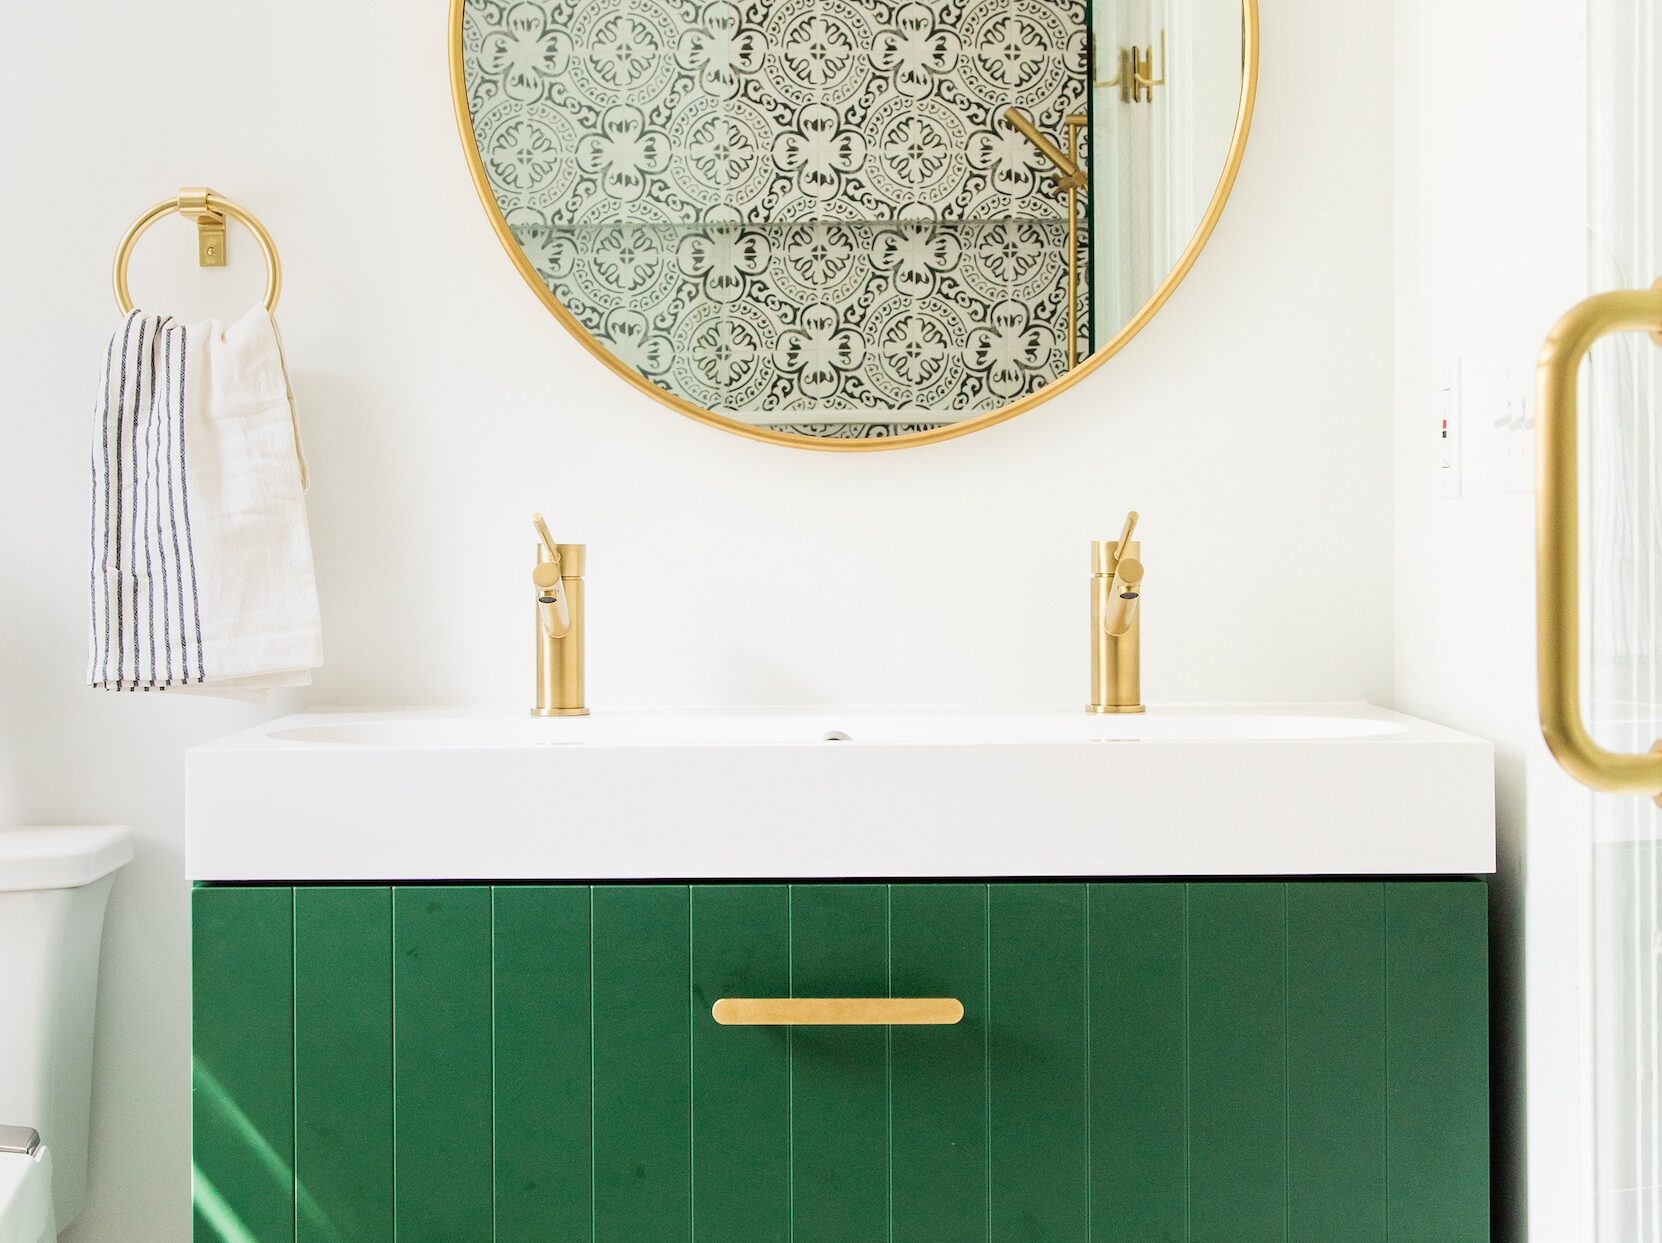
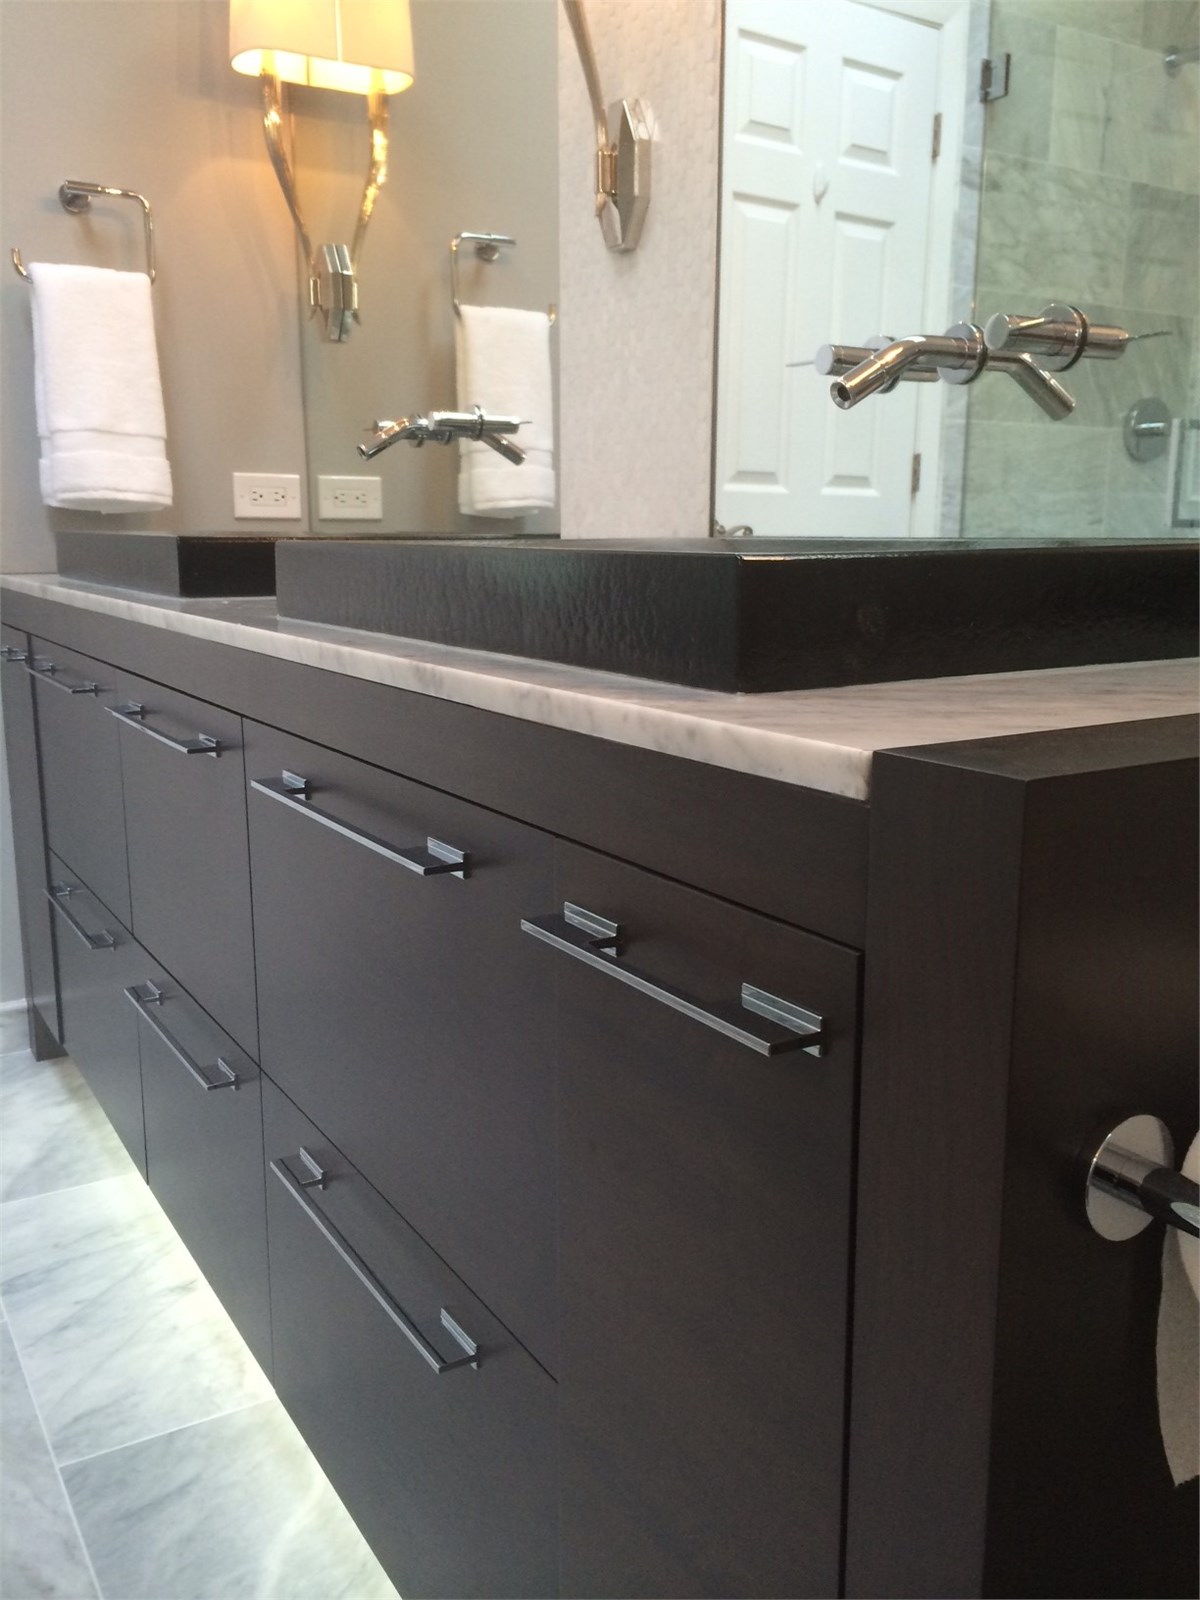
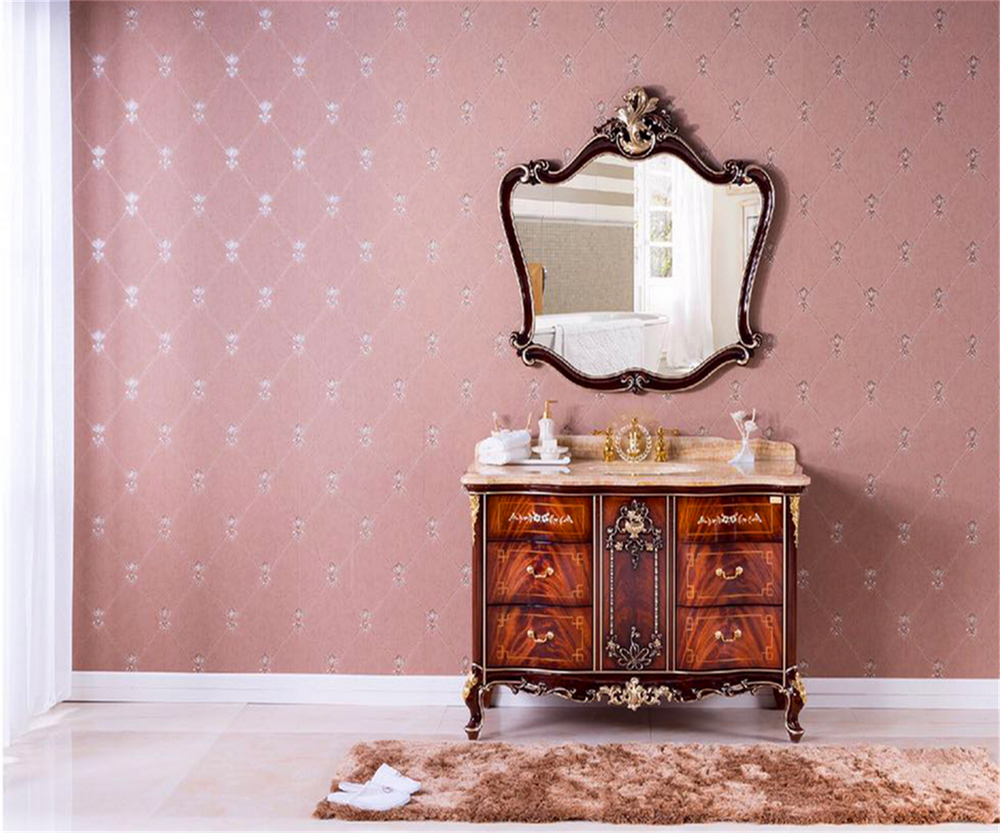
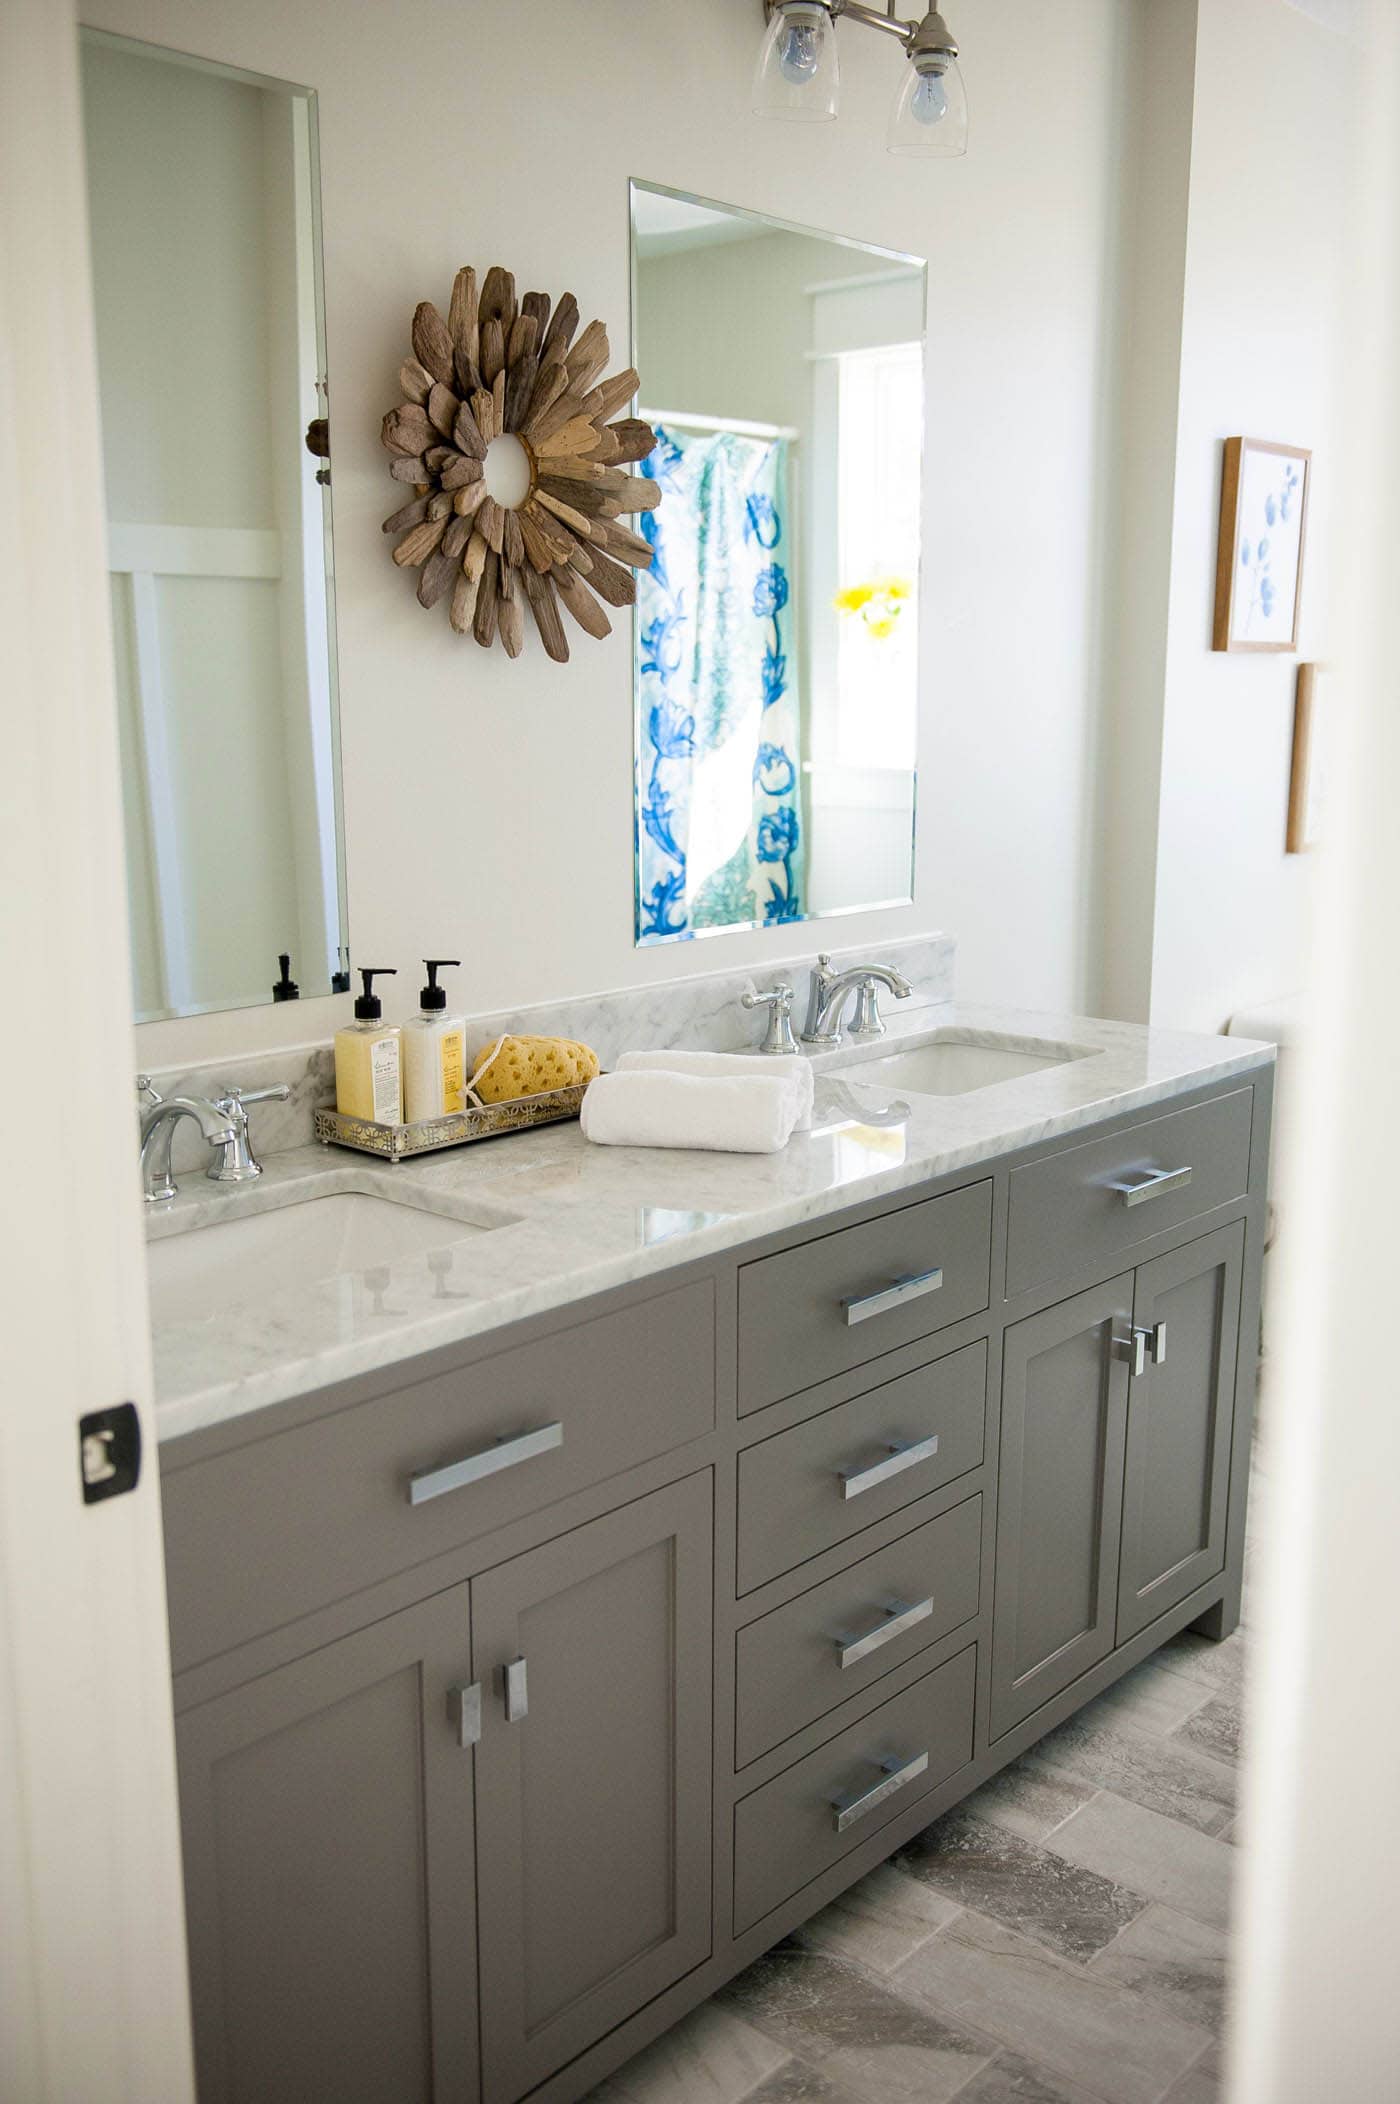
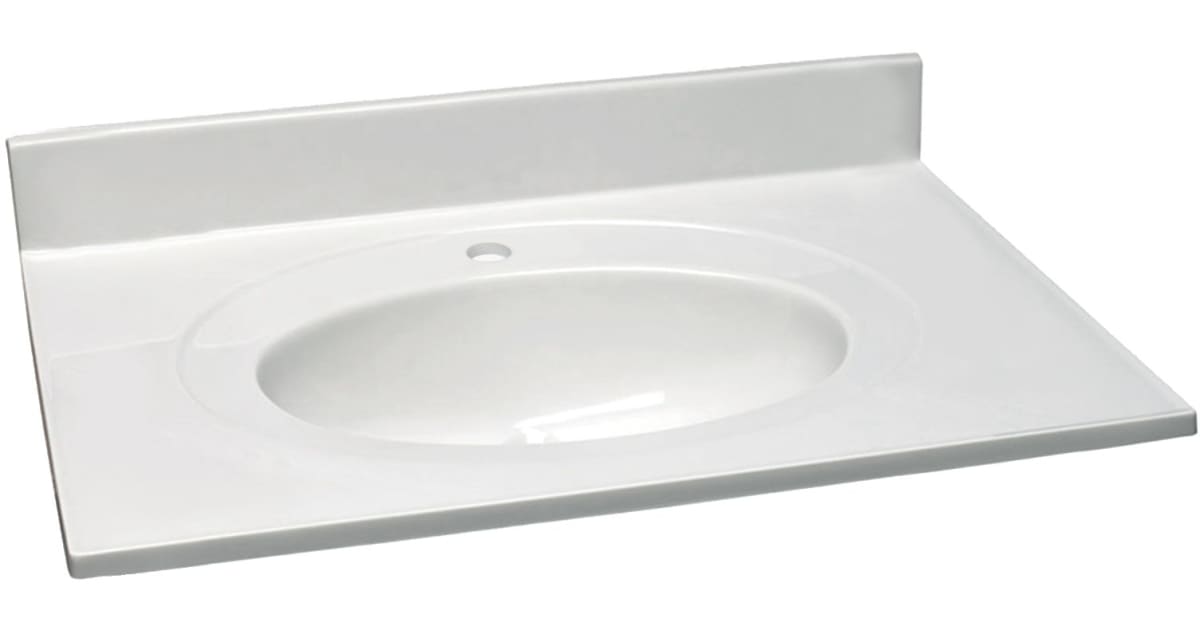
Before we dive into the assembly instructions, let's take a closer look at the Design House Bathroom Vanity. This brand is known for its high-quality and stylish bathroom fixtures, and their vanities are no exception. They offer a wide range of designs and sizes to fit any bathroom space. With their durable materials and sleek finishes, a Design House vanity is not only functional but also adds a touch of elegance to your bathroom.Design House Bathroom Vanity


Design House Bathroom Vanity


Now, let's get to the main event - the Assembly Instructions. These step-by-step instructions will guide you through the process of assembling your Design House bathroom vanity with ease. Make sure to read through all the instructions before starting and have all the necessary tools and materials handy. With that said, let's begin the assembly process.Assembly Instructions
Assembly Instructions


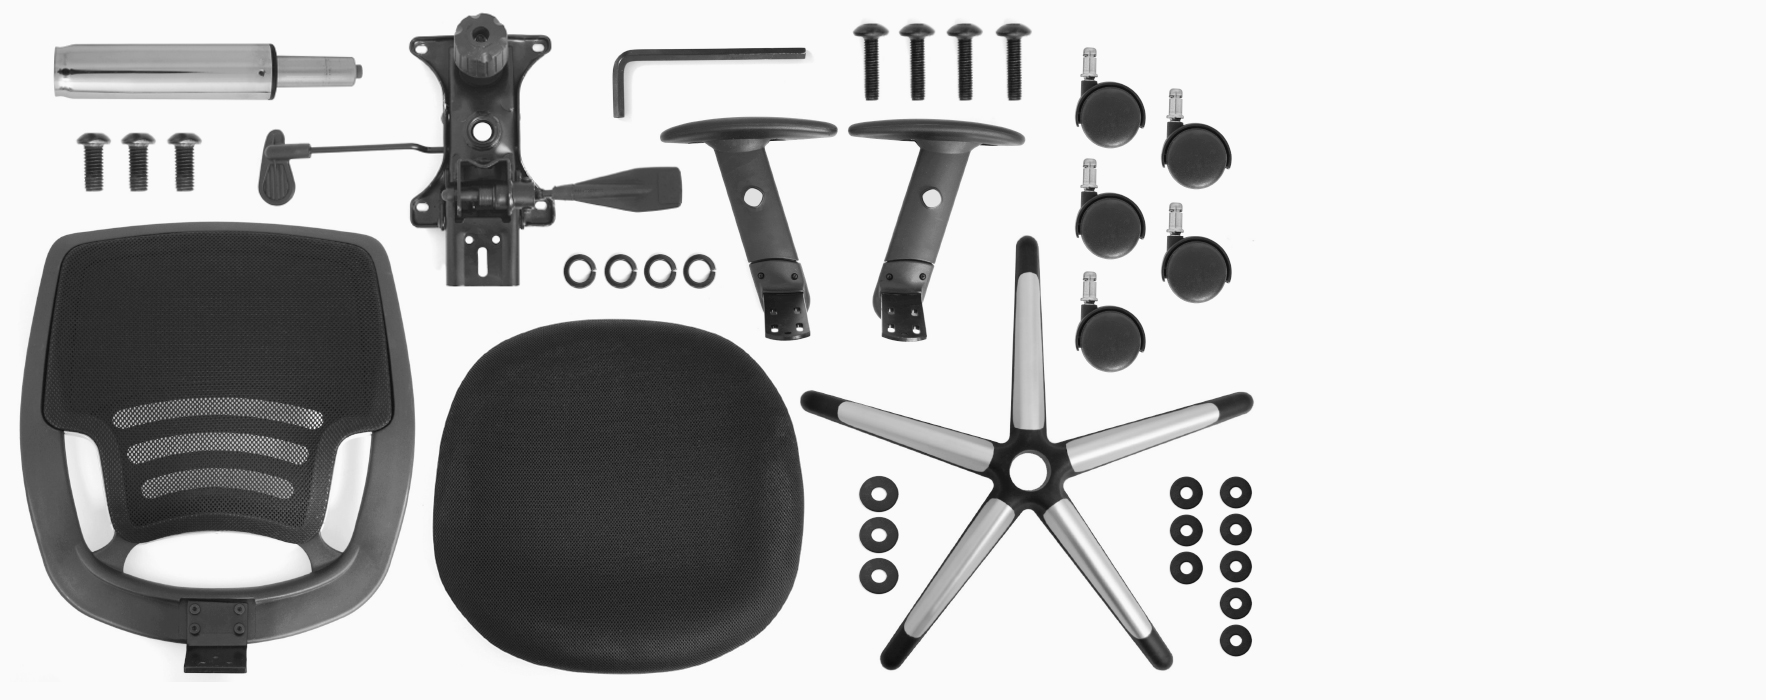


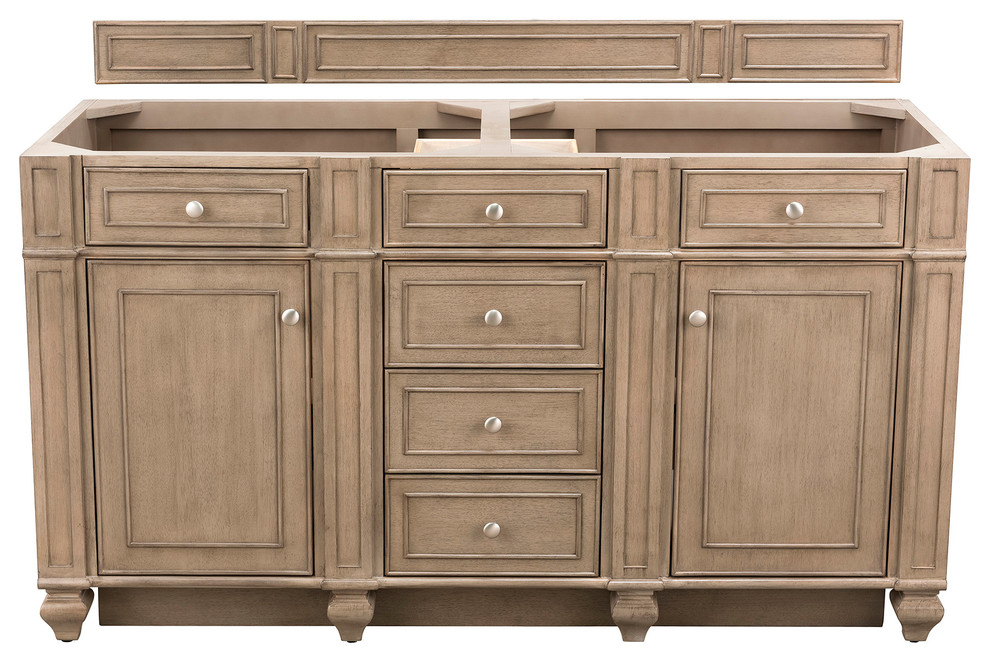
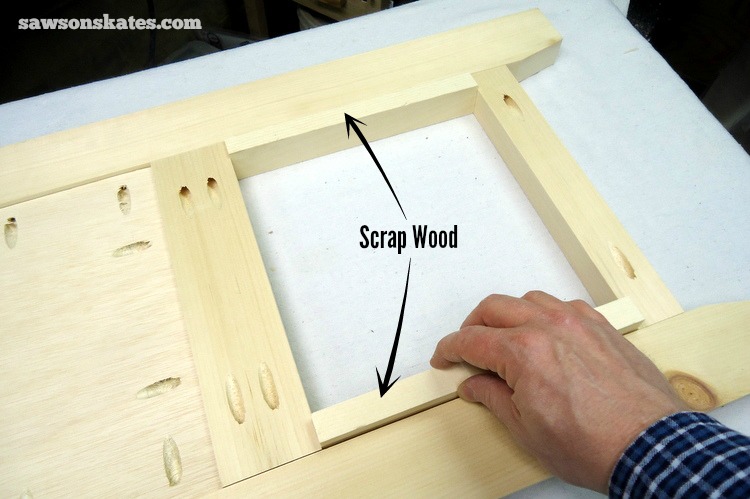
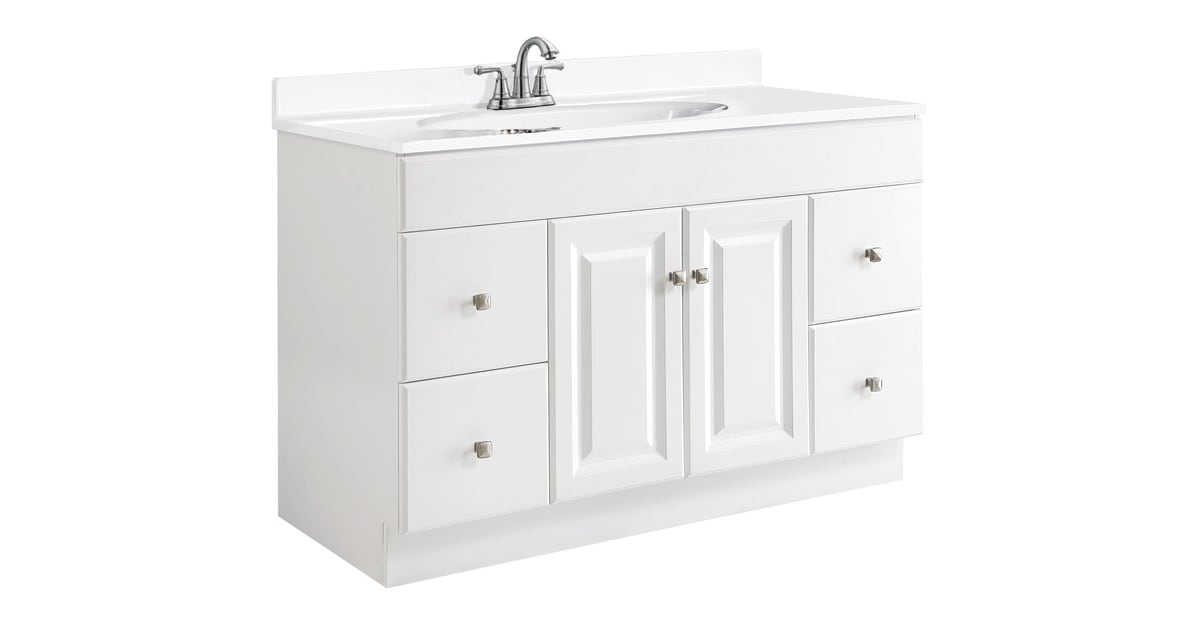
The first step in assembling your Design House bathroom vanity is to unpack all the components and lay them out in an organized manner. This will make it easier to locate the pieces you need and prevent any confusion. Next, identify the front and back panels of the vanity and screw them together using the provided screws. Make sure the panels are aligned correctly before tightening the screws.Bathroom Vanity Assembly Instructions

Bathroom Vanity Assembly Instructions
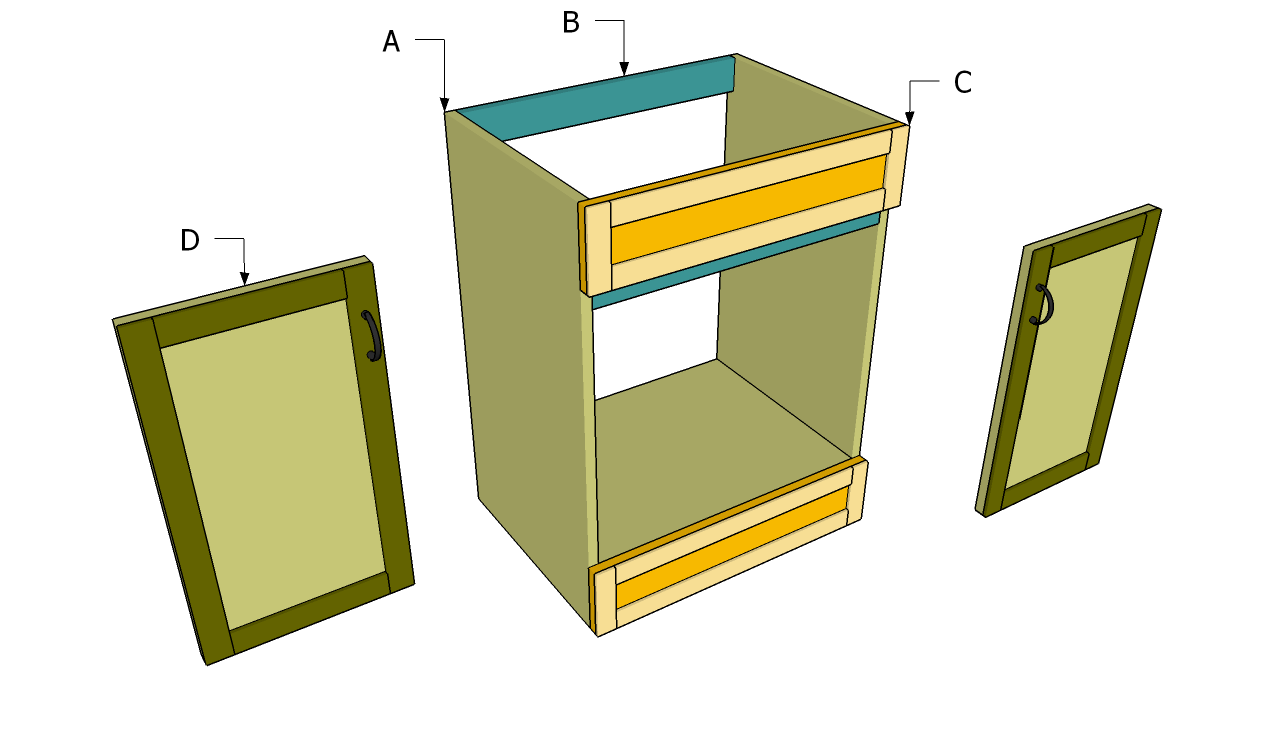


Once the front and back panels are secured, it's time to attach the side panels. These are typically attached using dowels and screws. Place the dowels in the designated holes on the side panels and then align them with the front and back panels before tightening the screws. Repeat the same process for the other side panel.Design House Bathroom Vanity Assembly

Design House Bathroom Vanity Assembly


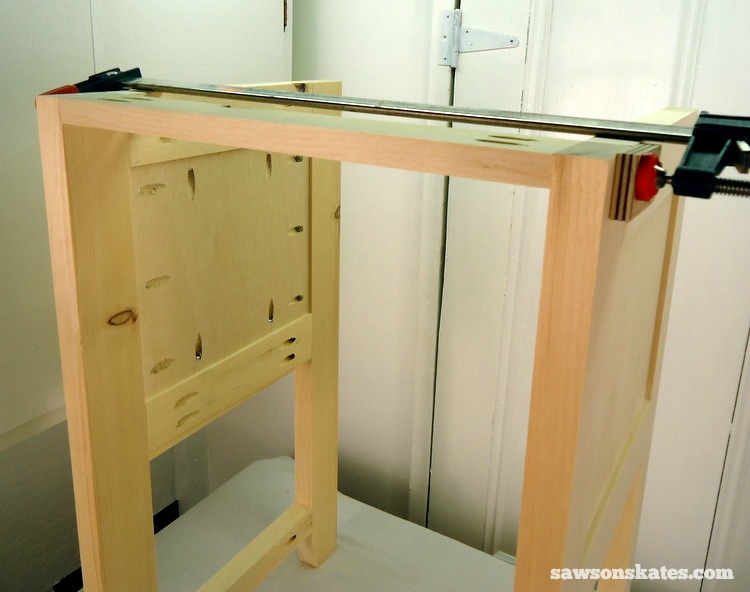
The next step is to attach the bottom panel of the vanity. This panel is usually attached with clips that easily snap into place. Make sure the bottom panel is securely in place before moving on to the next step. Now, it's time to add the shelves to your vanity. These are typically adjustable, so you can customize the height according to your needs. Secure the shelves in place using the provided screws.Design House Bathroom Vanity Instructions

Design House Bathroom Vanity Instructions


With the main structure of your vanity assembled, it's time to add the finishing touches. Attach the back panel to the vanity using the provided screws. This panel not only adds stability to the vanity but also gives it a sleek and finished look. Next, attach the countertop to the vanity using silicone adhesive. Make sure to follow the instructions on the adhesive carefully for the best results.Bathroom Vanity Assembly


Bathroom Vanity Assembly


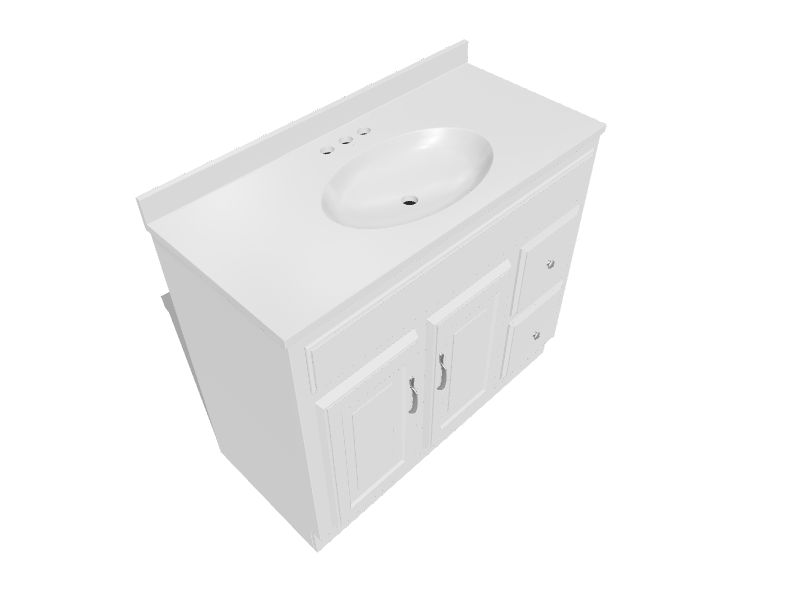
The final step in assembling your Design House bathroom vanity is to attach the sink and faucet. Most Design House vanities come with pre-drilled holes for easy installation. Simply place the sink on top of the countertop and secure it in place using the provided hardware. Then, attach the faucet to the sink and make sure all the connections are secure. And voila, your Design House vanity is now fully assembled and ready to be installed in your bathroom!Design House Vanity Assembly Instructions


Design House Vanity Assembly Instructions


In conclusion, assembling a Design House bathroom vanity is a straightforward process that can be completed in a few simple steps. With the help of our top 10 Design House Vanity Assembly Instructions, you can easily create a beautiful and functional vanity for your bathroom. Remember to take your time and follow the instructions carefully for the best results. Happy assembling!
With the HTML code converter, you can easily convert this article into a visually appealing webpage for your readers to enjoy. Simply copy and paste the text into the converter, and it will generate the necessary HTML code for you. It's a convenient and efficient tool that will save you time and effort. So, what are you waiting for? Give it a try and see the results for yourself.Design House Vanity Assembly


Design House Vanity Assembly


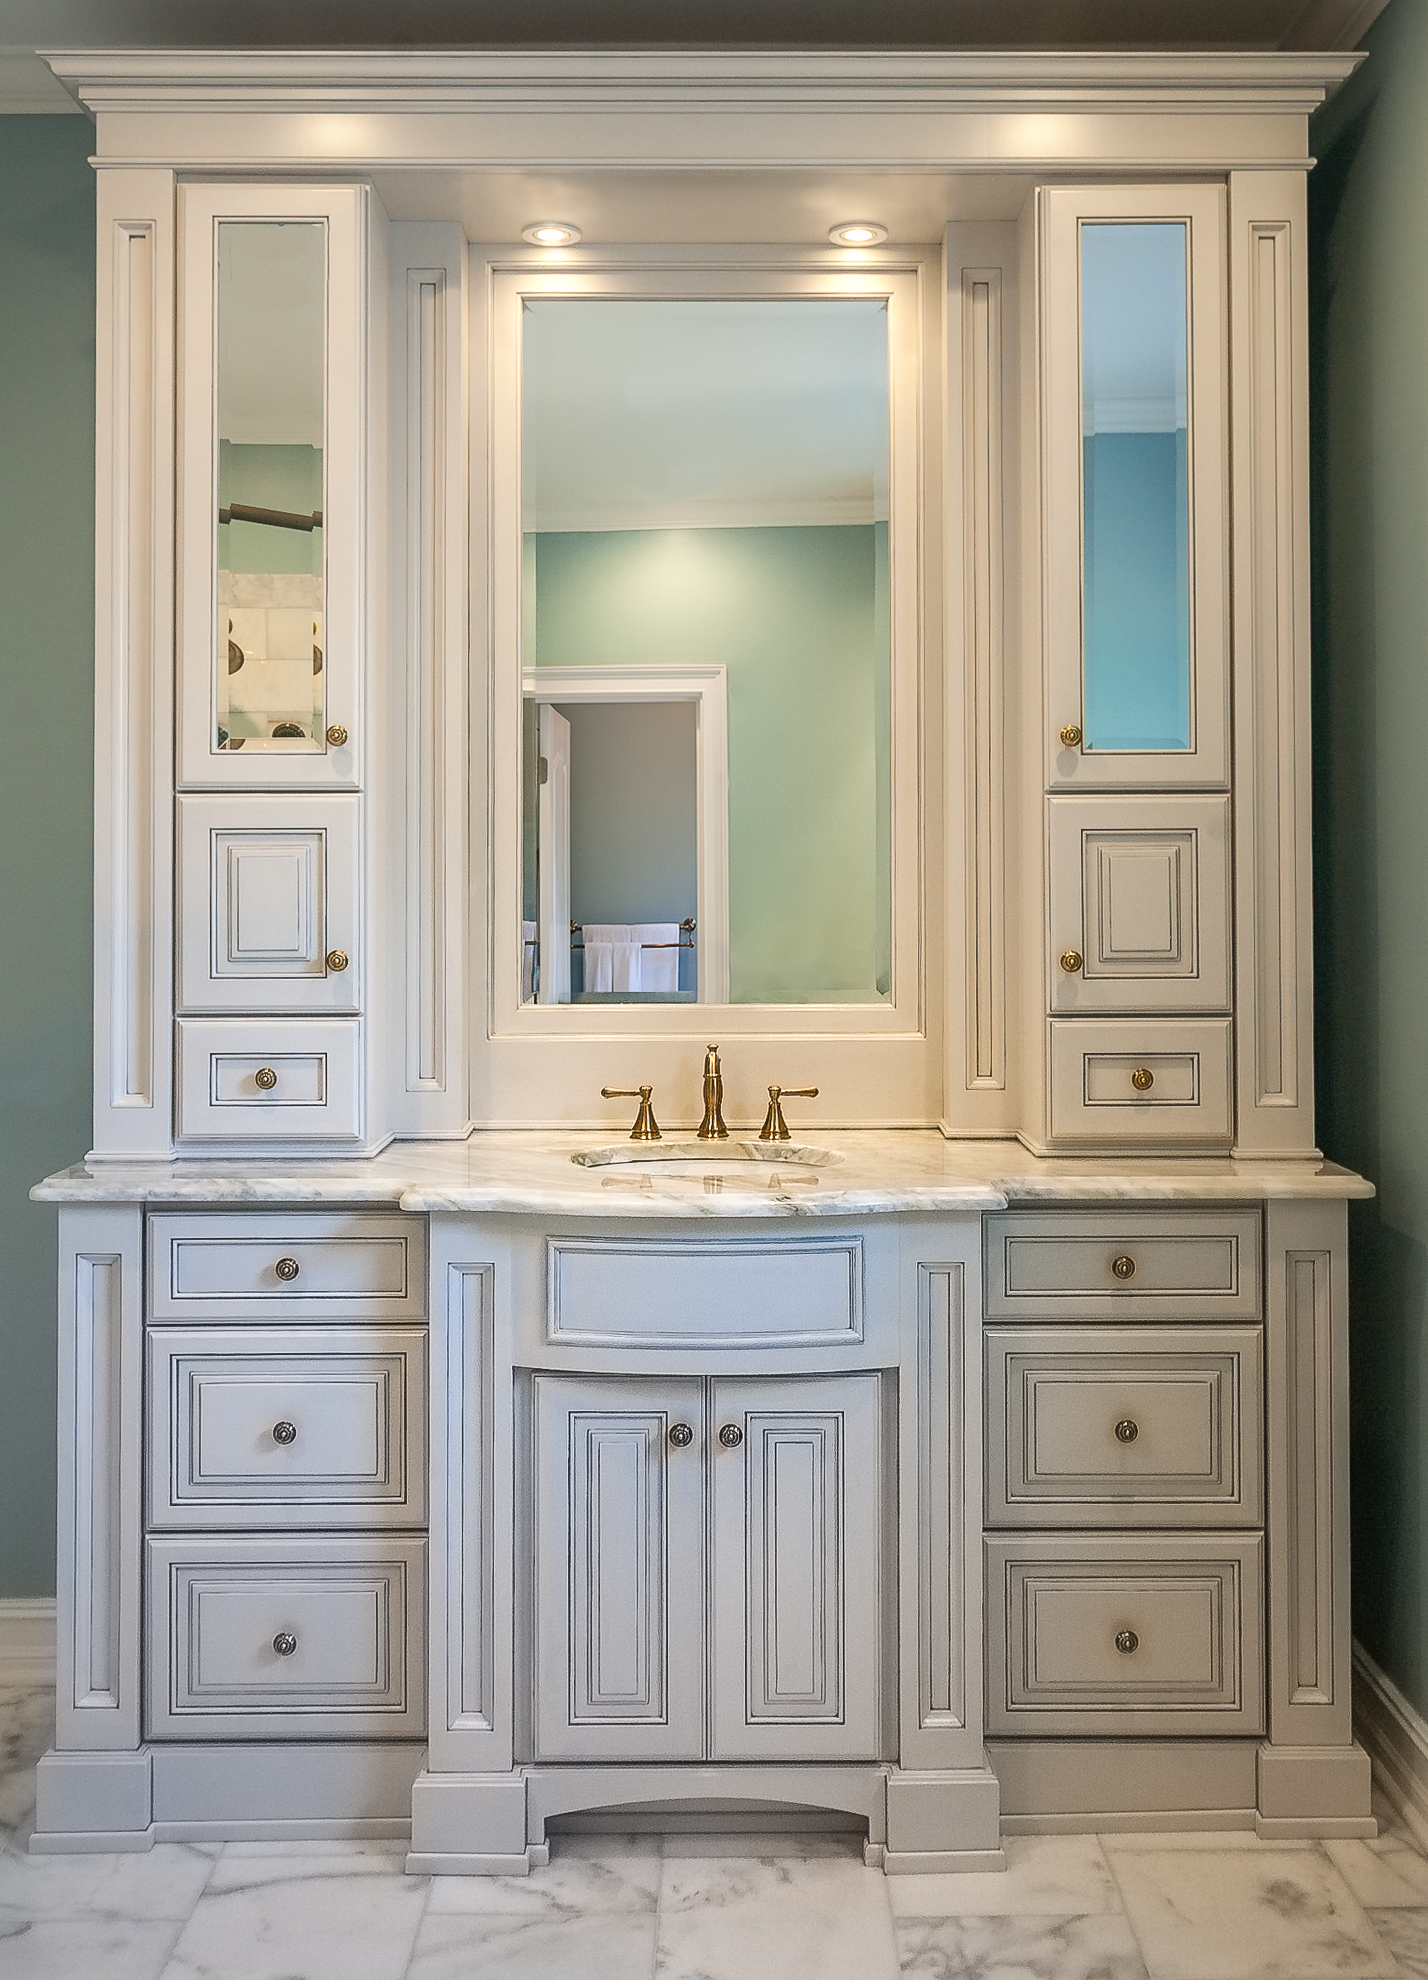
The Importance of a Well-Designed Bathroom Vanity
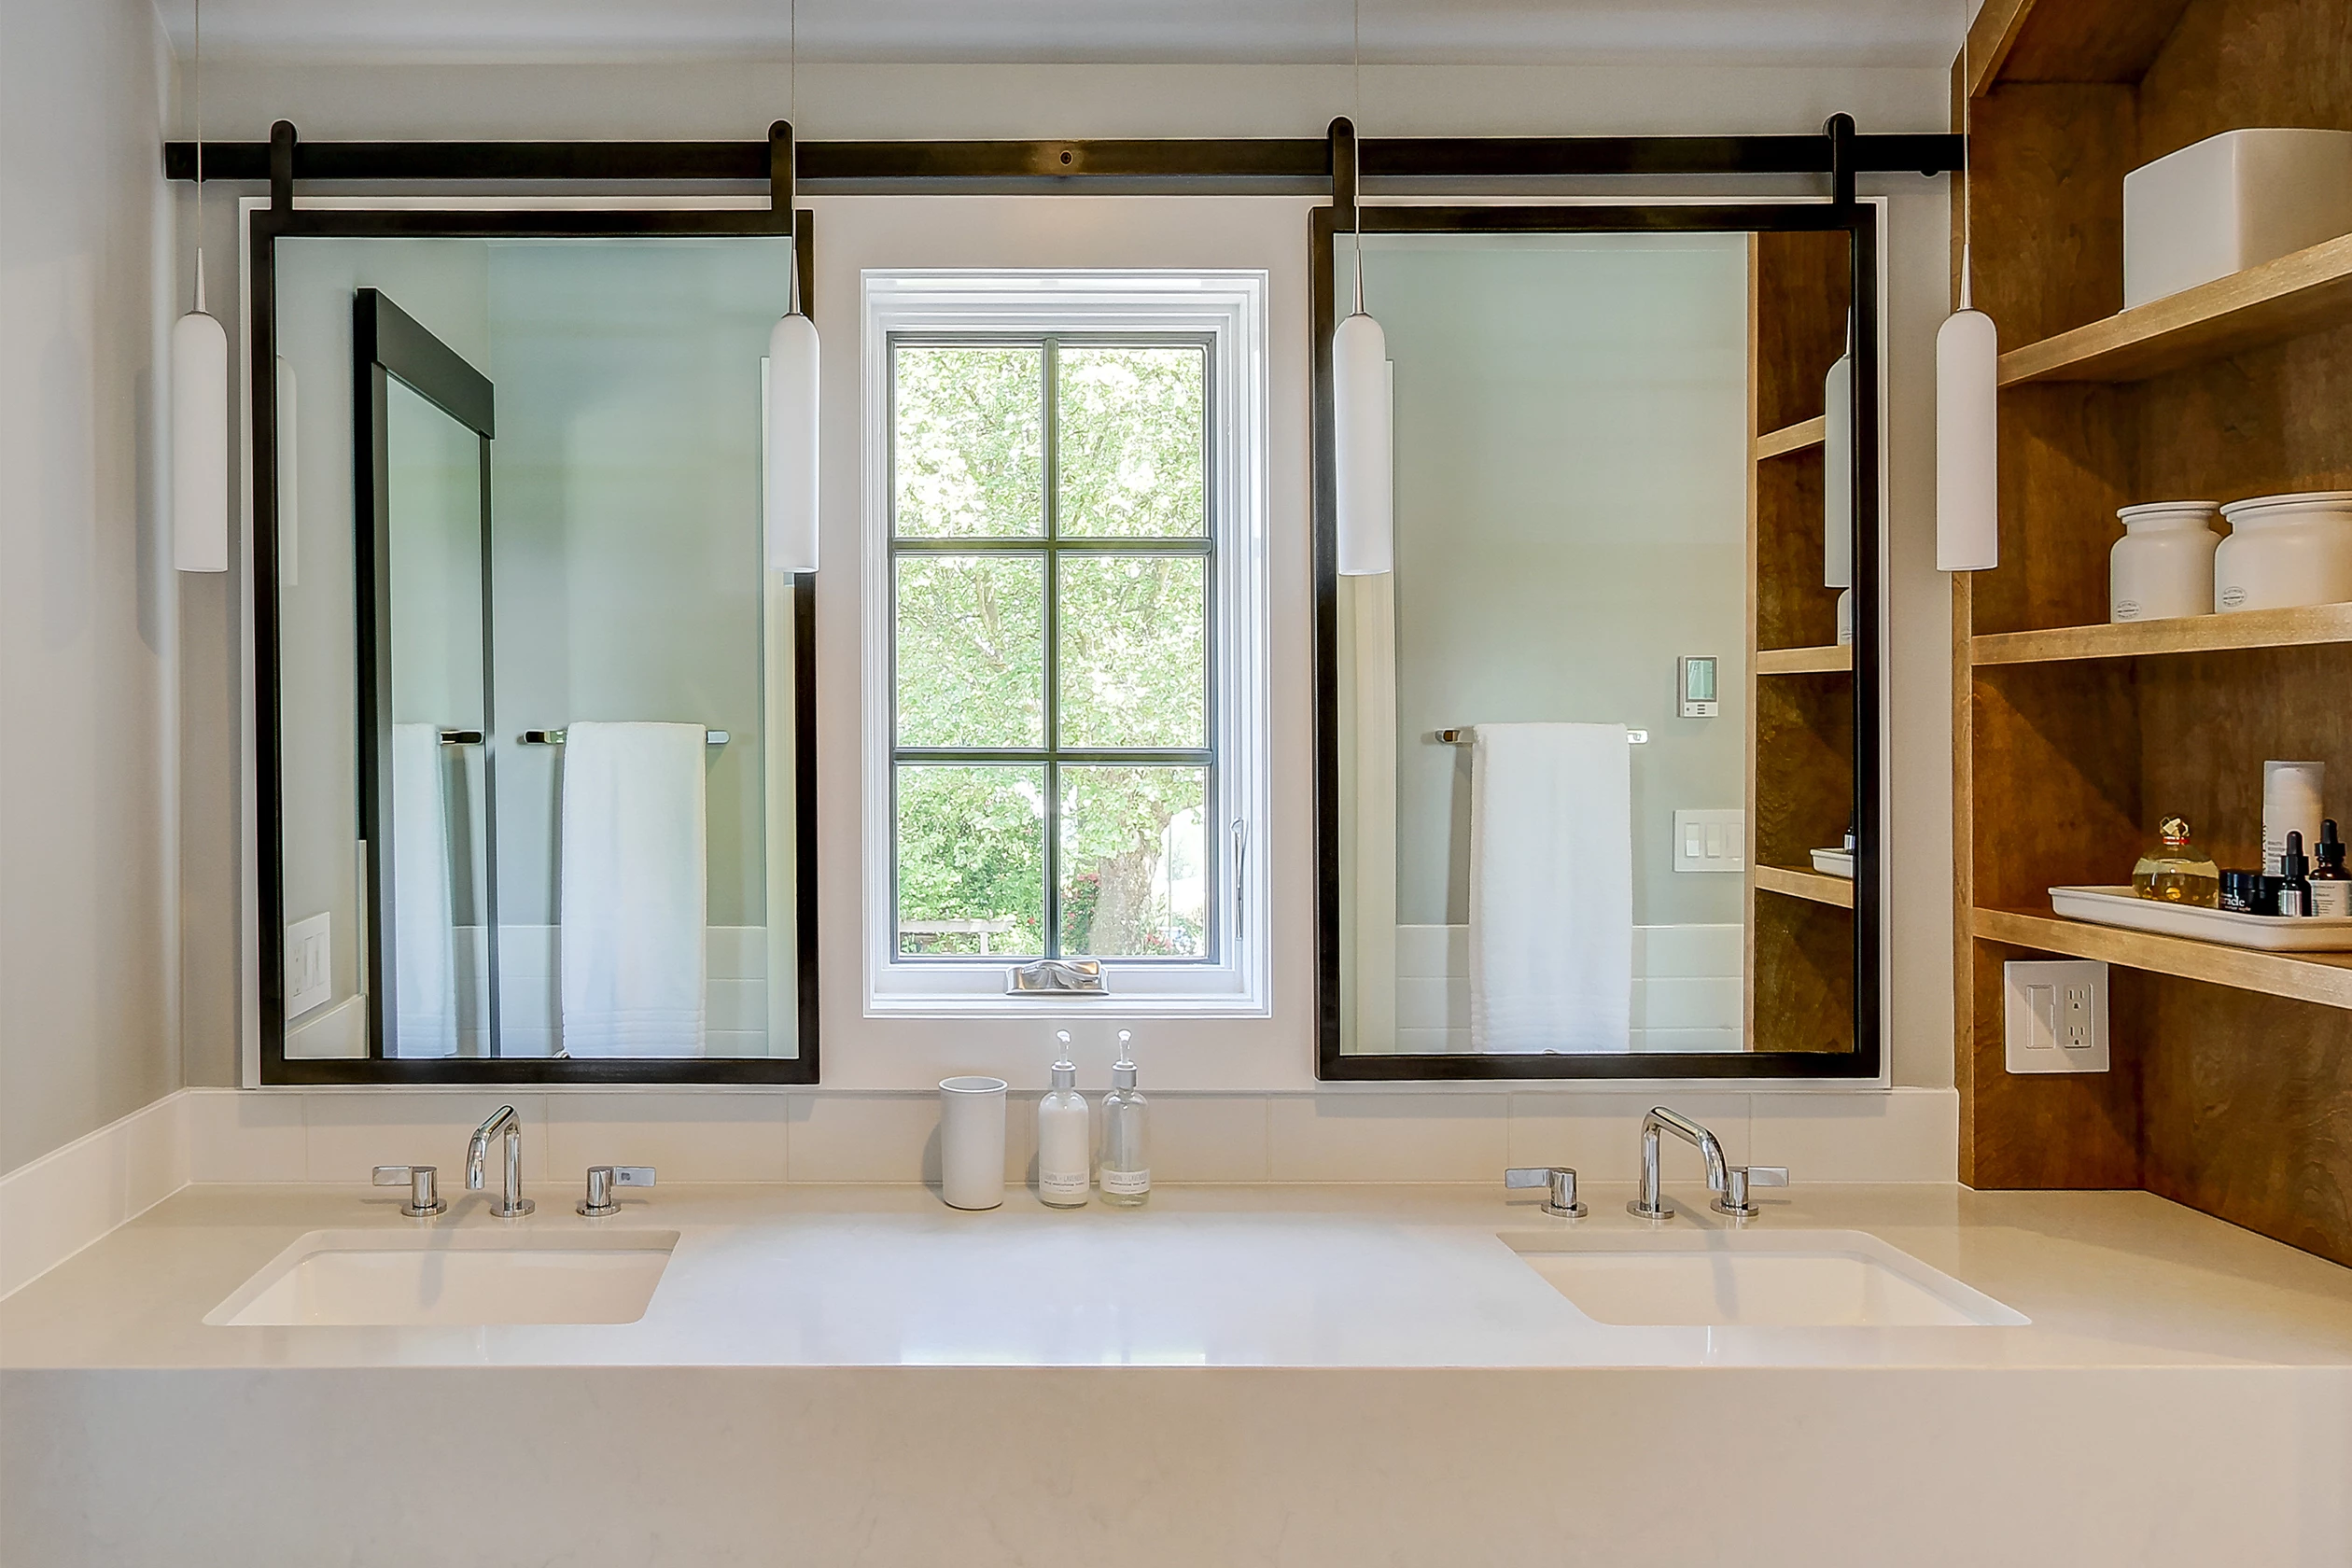
The Bathroom Vanity: More Than Just a Sink
 When it comes to designing a house, the bathroom often gets overlooked. But in reality, the bathroom is one of the most important spaces in a home. It's where we begin and end our days, and the design of the bathroom can greatly impact our daily routine. One key element of a well-designed bathroom is the vanity. A bathroom vanity is more than just a sink - it's a functional and stylish piece that can tie the whole room together.
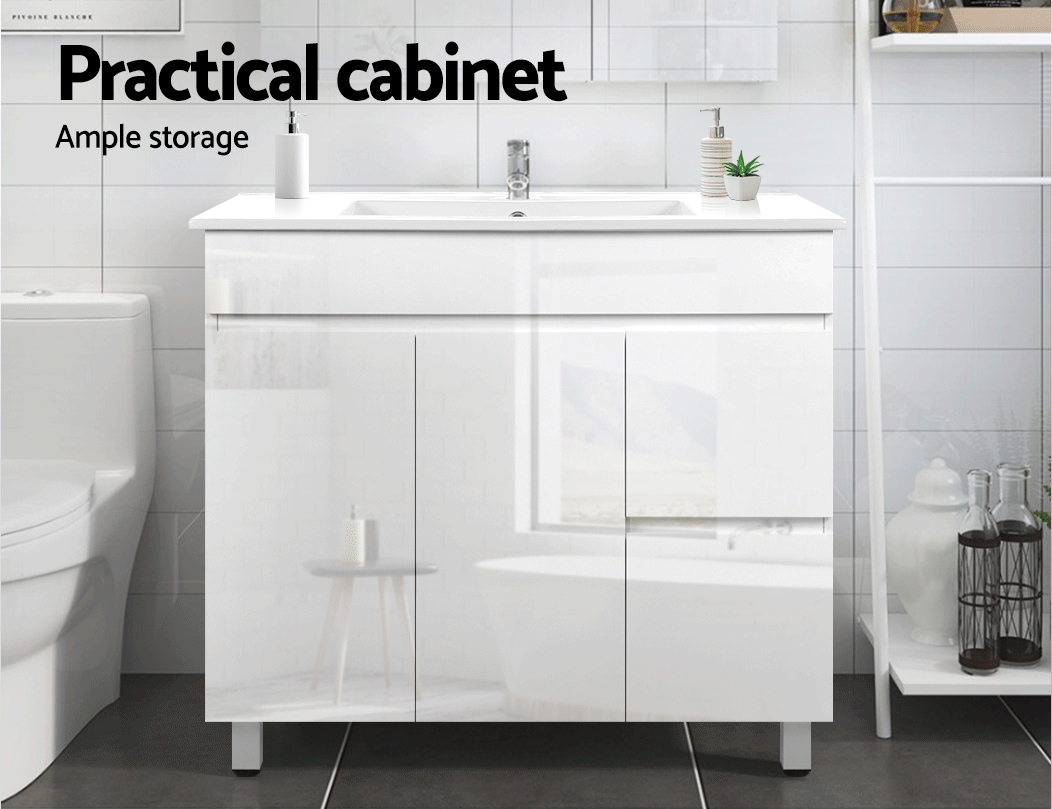
Functionality and Storage
 A bathroom vanity serves as a functional space for daily grooming and hygiene tasks. Having a designated area for getting ready in the morning can make all the difference in starting your day off right. With ample counter space and storage options, a well-designed vanity can help keep your bathroom clutter-free and organized. This is especially important for those with smaller bathrooms, as maximizing storage space is key.
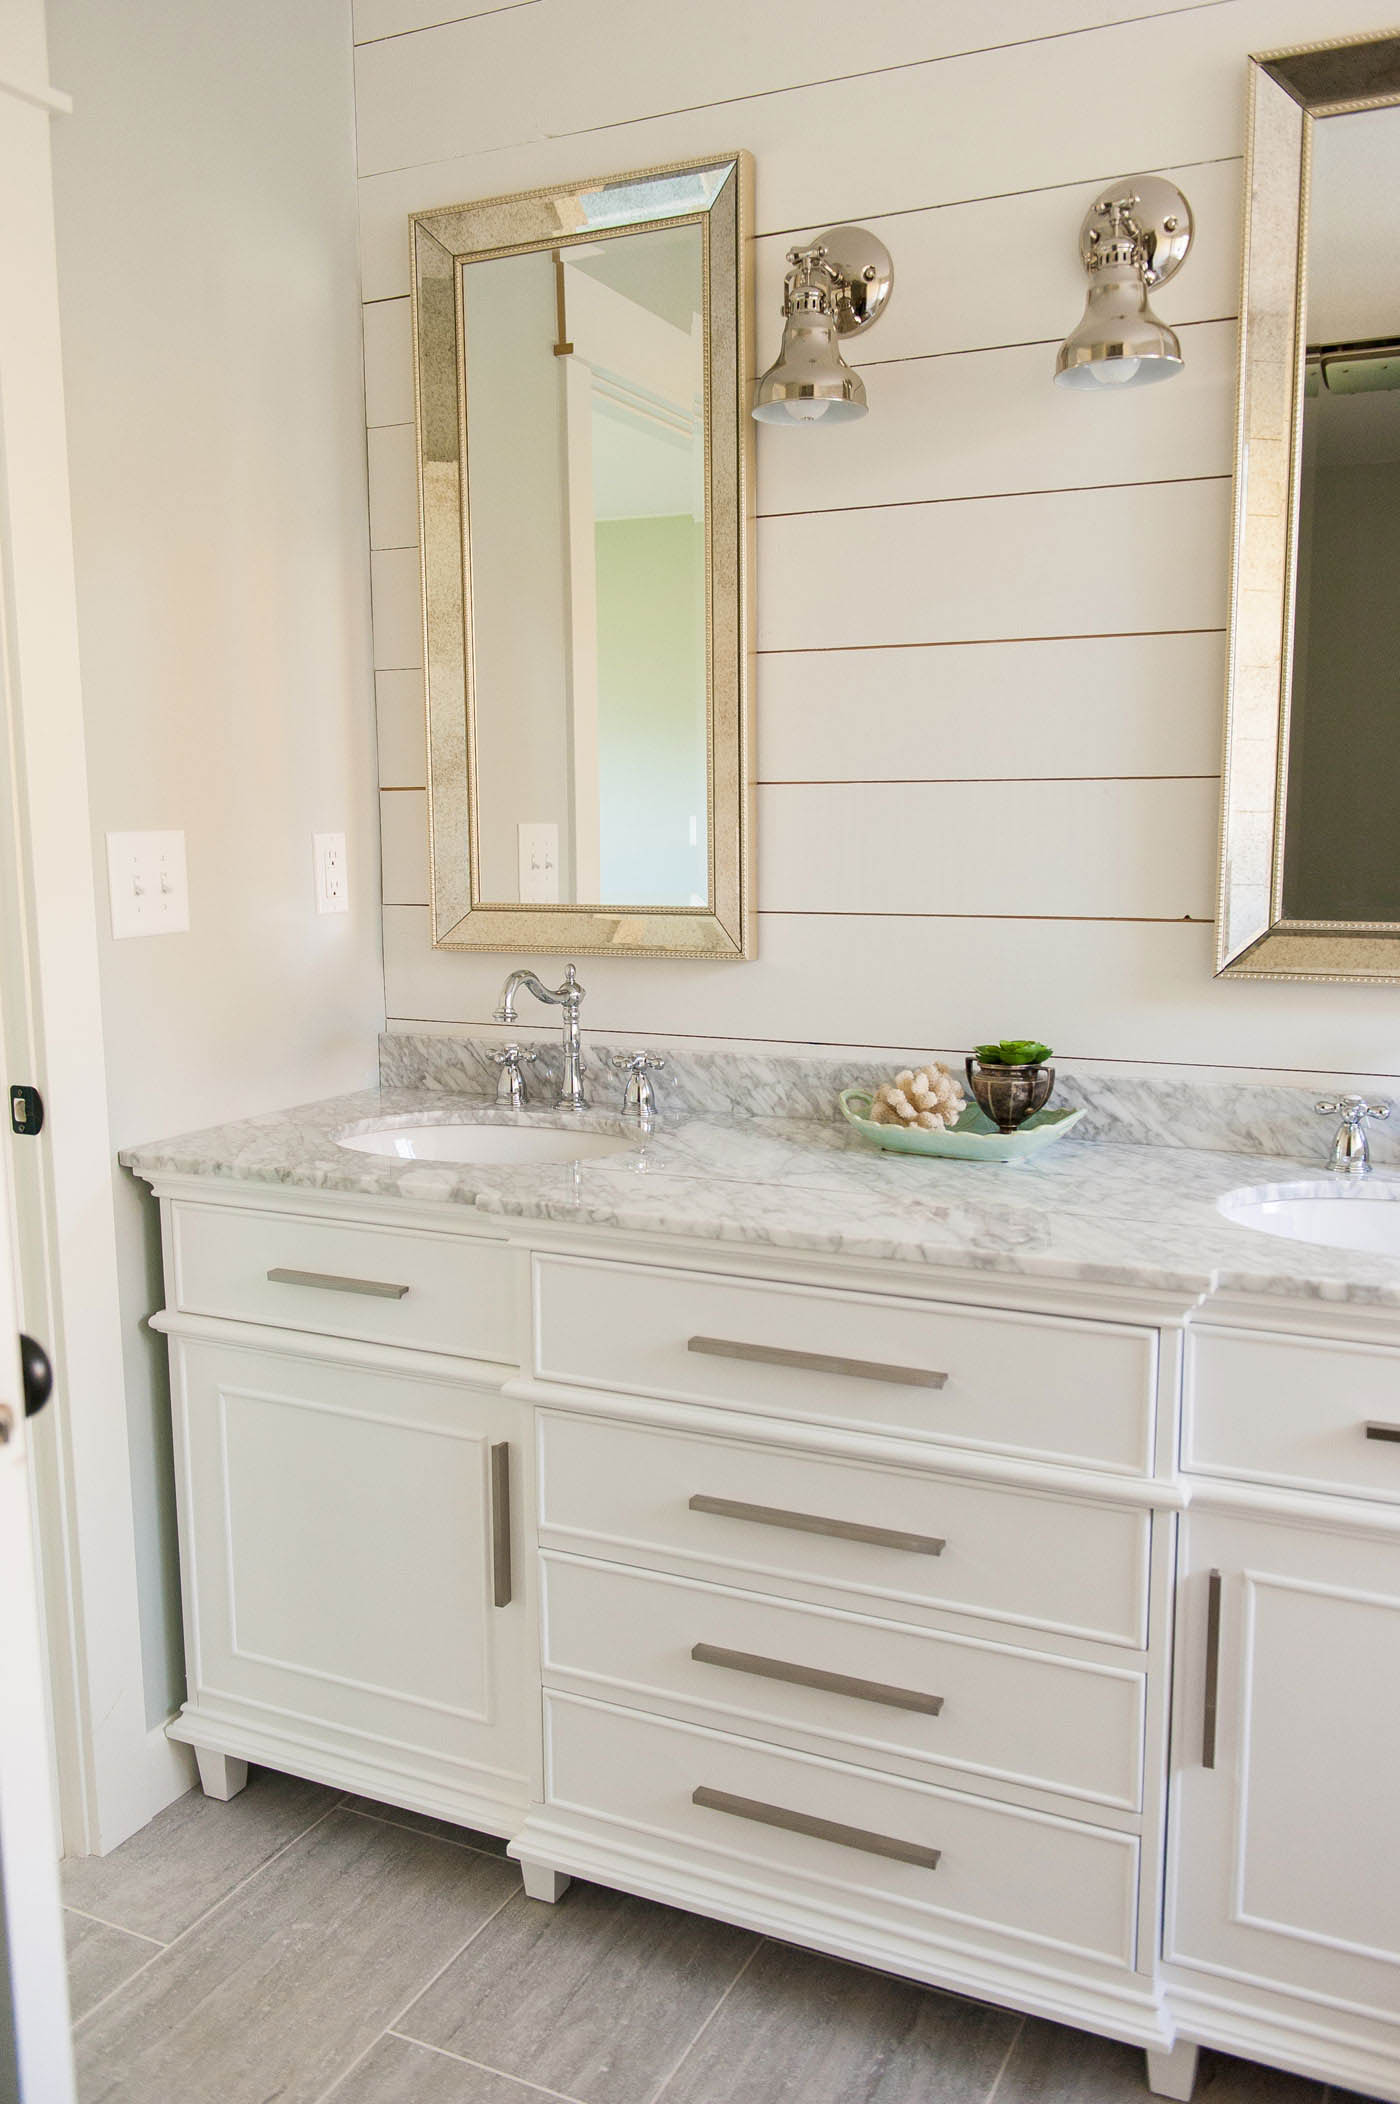
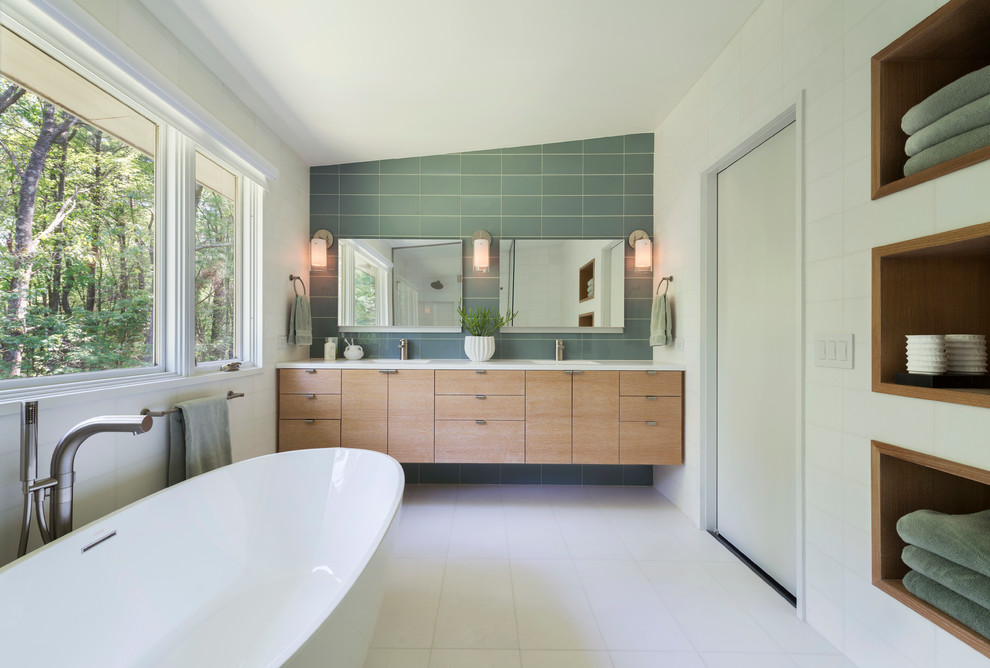
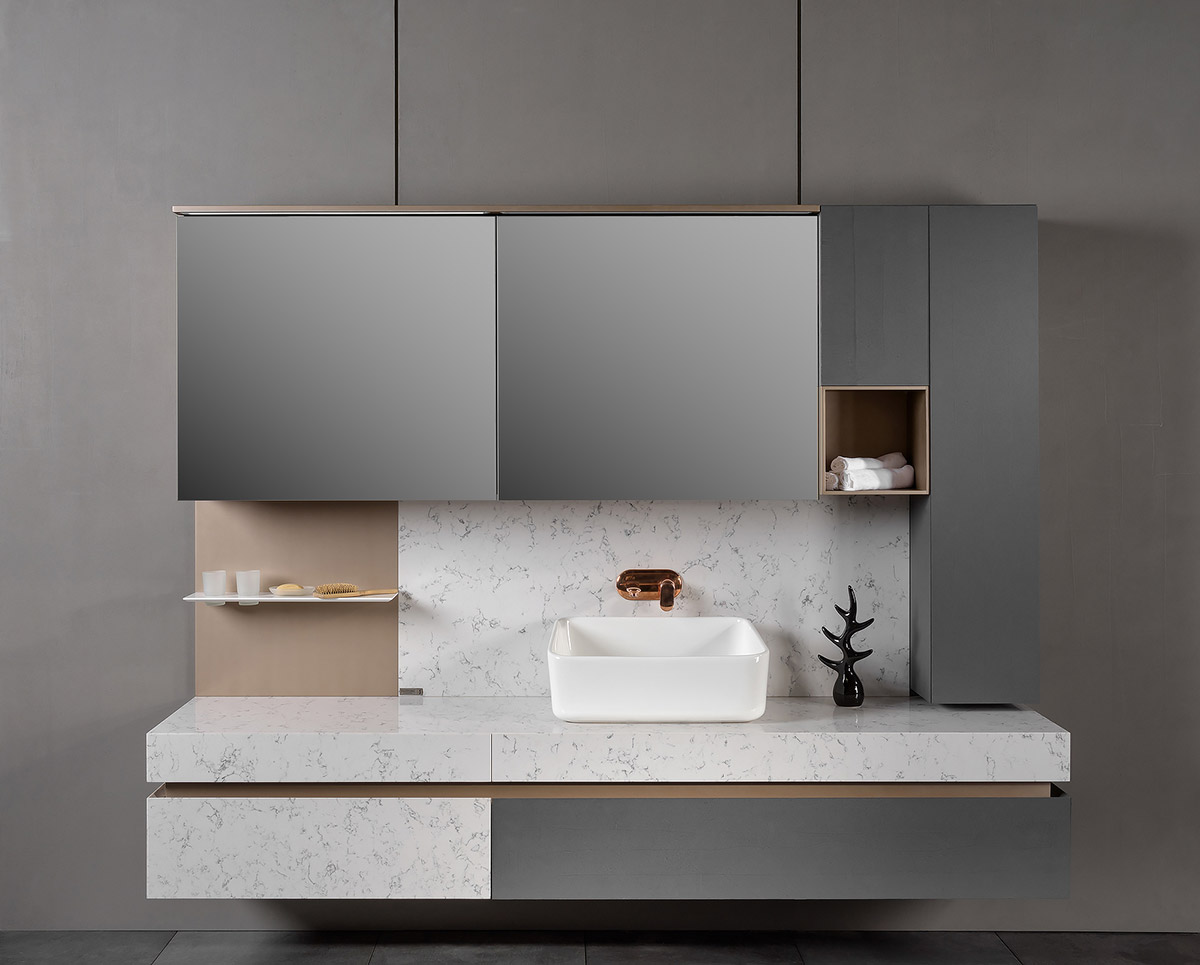
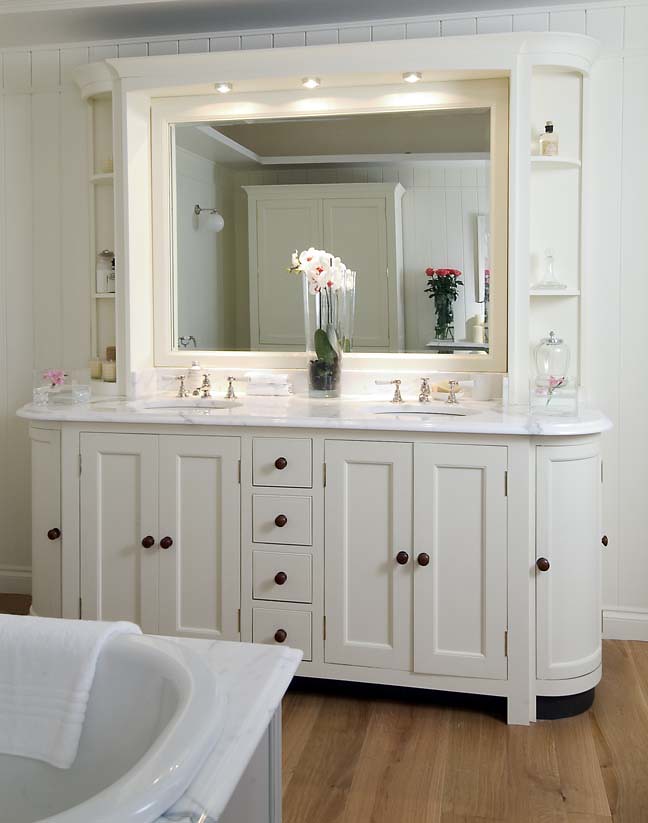
Style and Aesthetics
 But a bathroom vanity is not just about functionality, it's also a key element in the overall style and aesthetics of a bathroom. The right vanity can completely transform the look and feel of a bathroom. Whether you prefer a sleek and modern design or a more traditional and elegant look, there are endless options to choose from. From the material and finish to the shape and size, the vanity can be customized to fit your personal style and the design of your bathroom.
Assembly Made Easy with Design House
 Now that you understand the importance of a well-designed bathroom vanity, it's time to assemble your own. With the Design House bathroom vanity assembly instructions, the process is made easy and stress-free. The instructions are clear and concise, making it simple for even the most novice DIY-ers to put together. Plus, with the high-quality materials and sturdy construction, your Design House vanity will not only look great but also last for years to come.
In conclusion, a well-designed bathroom vanity is an essential component of any house design. It not only serves as a functional space but also adds style and aesthetic appeal to the bathroom. With the Design House bathroom vanity assembly instructions, you can easily create your own dream bathroom. Don't underestimate the power of a well-designed vanity - it can truly make all the difference in your daily routine and the overall look of your home.
Now that you understand the importance of a well-designed bathroom vanity, it's time to assemble your own. With the Design House bathroom vanity assembly instructions, the process is made easy and stress-free. The instructions are clear and concise, making it simple for even the most novice DIY-ers to put together. Plus, with the high-quality materials and sturdy construction, your Design House vanity will not only look great but also last for years to come.
In conclusion, a well-designed bathroom vanity is an essential component of any house design. It not only serves as a functional space but also adds style and aesthetic appeal to the bathroom. With the Design House bathroom vanity assembly instructions, you can easily create your own dream bathroom. Don't underestimate the power of a well-designed vanity - it can truly make all the difference in your daily routine and the overall look of your home.