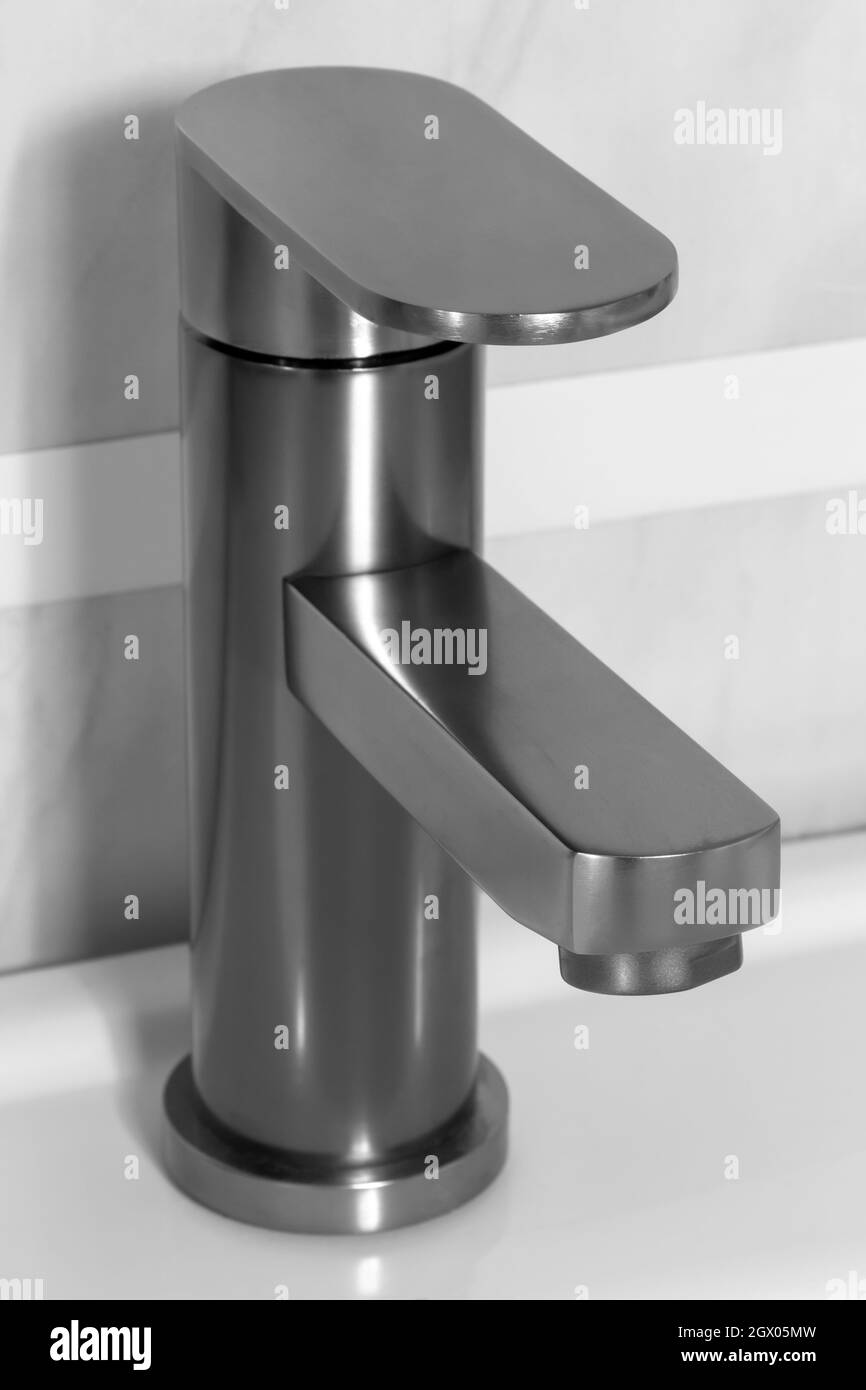
Installing a new bathroom sink faucet can be an exciting and rewarding DIY project. And when it comes to quality and durability, Delta is a brand that stands out. With their innovative designs and reliable products, Delta bathroom sink faucets are a popular choice for many homeowners. If you're looking to upgrade your bathroom with a new Delta faucet, here's a step-by-step guide to help you through the installation process.Delta Bathroom Sink Faucet Installation


Delta Bathroom Sink Faucet Installation


Before you begin, make sure you have all the necessary tools and materials. You'll need a wrench, pliers, screwdriver, plumber's tape, and of course, your new Delta bathroom sink faucet. It's also a good idea to have a bucket or towel handy to catch any water that may leak during the installation.How to Install a Delta Bathroom Sink Faucet


How to Install a Delta Bathroom Sink Faucet


Step 1: Turn off the water supply. This is usually done by turning off the shut-off valves under the sink. Step 2: Remove the old faucet. Use a wrench or pliers to loosen and remove the nuts and bolts that hold the faucet in place. Once the faucet is loose, lift it out of the sink. Step 3: Prepare the new faucet. Before installing the new faucet, make sure you read the instructions carefully. Some Delta faucets may require additional assembly before installation. Step 4: Apply plumber's tape. Wrap the threads of the faucet with plumber's tape to ensure a tight seal and prevent any leaks. Step 5: Install the faucet. Insert the faucet into the mounting holes on the sink and secure it in place with the mounting nuts and bolts. Use a wrench or pliers to tighten the nuts. Step 6: Connect the water supply lines. Use pliers to attach the water supply lines to the corresponding hot and cold water valves under the sink. Step 7: Turn on the water supply. Slowly turn on the shut-off valves and check for any leaks. If there are no leaks, you're good to go!Step-by-Step Guide for Installing a Delta Bathroom Sink Faucet


Step-by-Step Guide for Installing a Delta Bathroom Sink Faucet


Here are a few tips to keep in mind when installing your new Delta bathroom sink faucet:Delta Bathroom Sink Faucet Installation Tips and Tricks


Delta Bathroom Sink Faucet Installation Tips and Tricks


Installing a Delta bathroom sink faucet can be a great DIY project, but it's important to know your limits. If you're not confident in your plumbing skills, it's always best to call a professional. However, if you're up for the challenge, follow the step-by-step guide above and you'll have your new faucet installed in no time!DIY Delta Bathroom Sink Faucet Installation


DIY Delta Bathroom Sink Faucet Installation


Even the most experienced DIYers can make mistakes when installing a new faucet. Here are some common mistakes to avoid:Common Mistakes to Avoid When Installing a Delta Bathroom Sink Faucet

Common Mistakes to Avoid When Installing a Delta Bathroom Sink Faucet


To install a Delta bathroom sink faucet, you'll need the following tools and materials:Tools and Materials Needed for Installing a Delta Bathroom Sink Faucet

Tools and Materials Needed for Installing a Delta Bathroom Sink Faucet


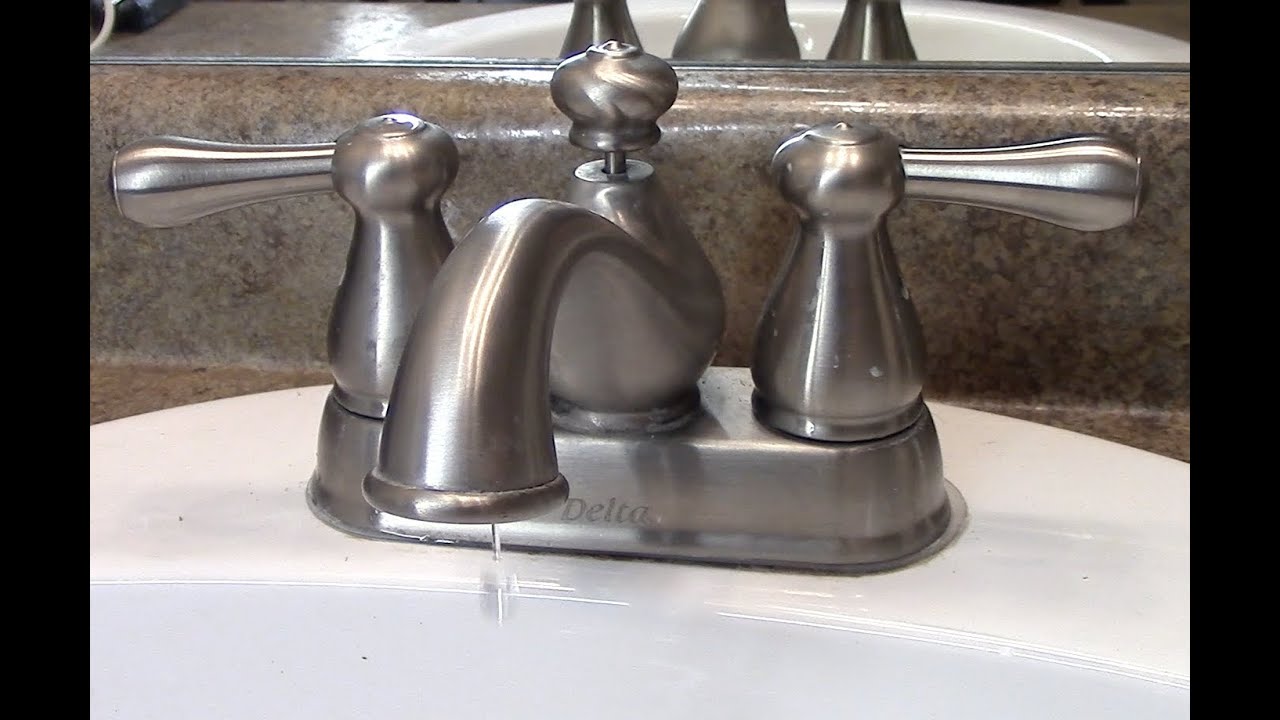
If you're a visual learner, there are plenty of video tutorials available online that can guide you through the installation process step by step. Watching a video can also give you a better idea of the tools and materials you'll need and how to use them.Video Tutorial: Installing a Delta Bathroom Sink Faucet

Video Tutorial: Installing a Delta Bathroom Sink Faucet

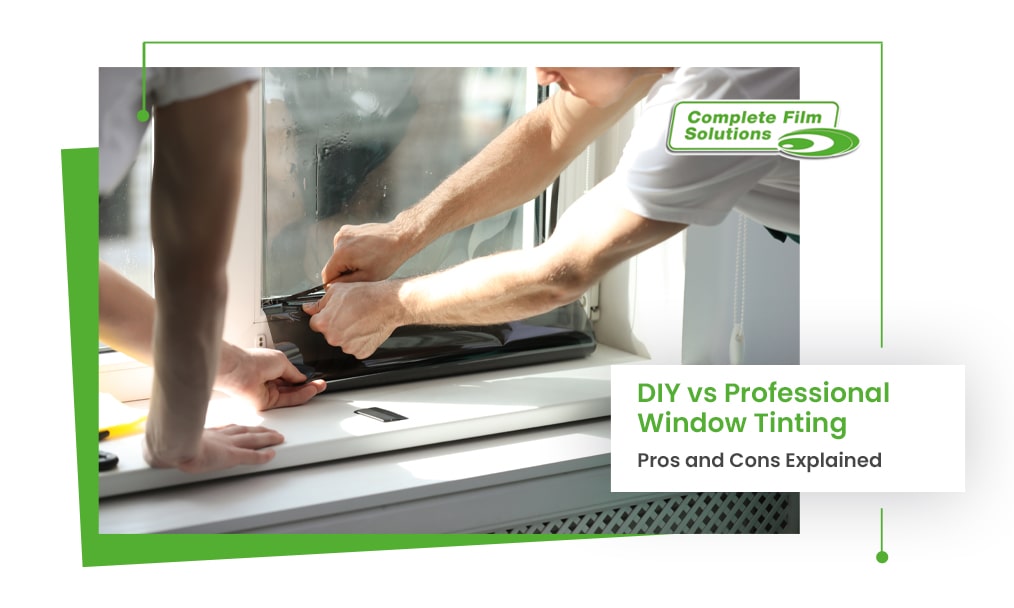
Deciding whether to hire a professional or tackle the installation yourself can be a tough decision. If you're confident in your plumbing skills and have the necessary tools and materials, DIY can be a cost-effective option. However, if you're unsure or don't have the time or patience for a DIY project, it's best to leave it to the professionals.Professional vs. DIY: Which is the Best Option for Installing a Delta Bathroom Sink Faucet?


Professional vs. DIY: Which is the Best Option for Installing a Delta Bathroom Sink Faucet?


If you encounter any problems during the installation process, here are some troubleshooting tips:Troubleshooting Common Issues During Delta Bathroom Sink Faucet Installation


Troubleshooting Common Issues During Delta Bathroom Sink Faucet Installation


How to Install a Delta Bathroom Sink Faucet: A Step-by-Step Guide

Tools and Materials You Will Need:
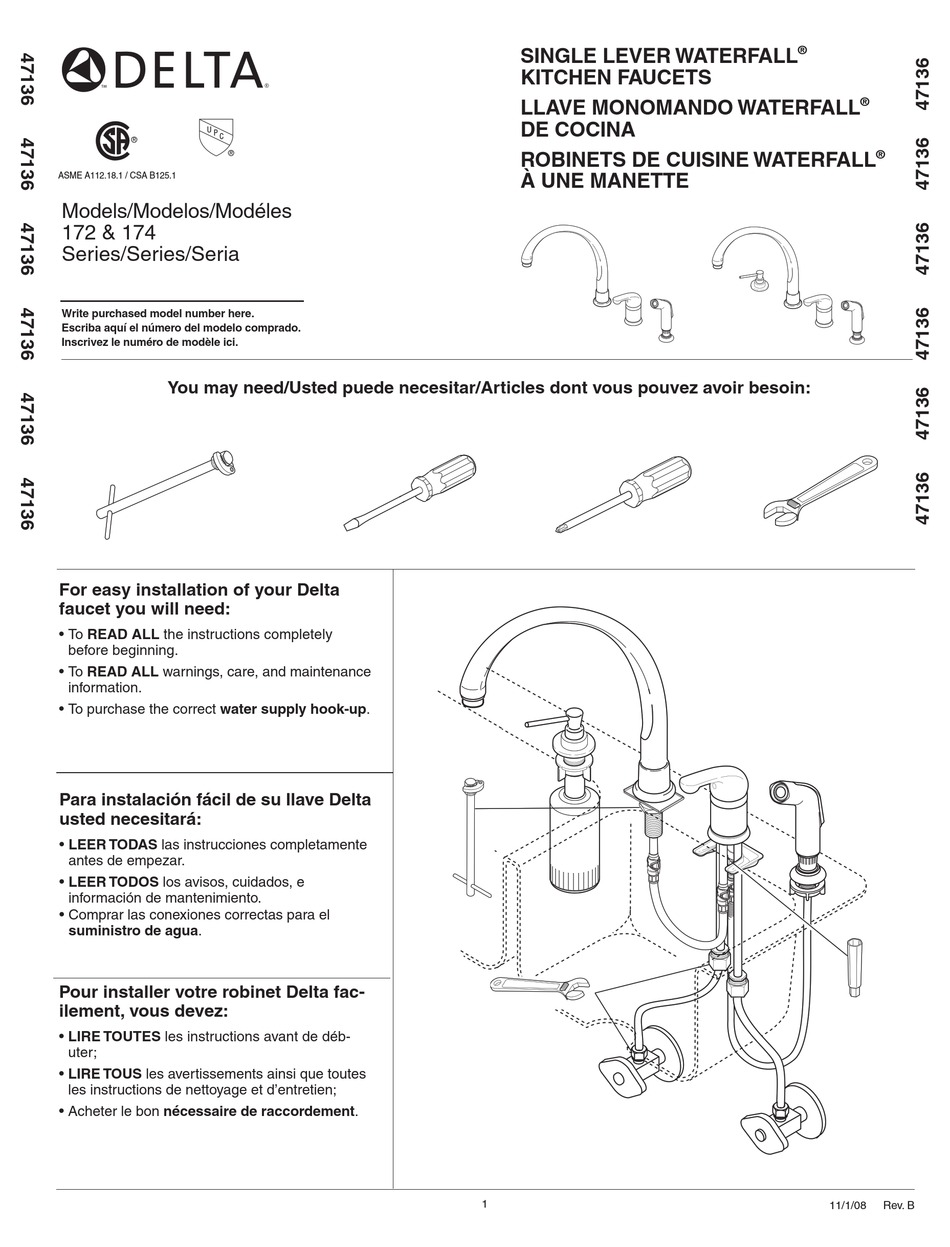
Before beginning the installation process, make sure you have all the necessary tools and materials. This will ensure a smooth and efficient installation. Here's what you'll need:
- Delta bathroom sink faucet
- Wrench
- Adjustable pliers
- Screwdriver
- Plumber's tape
- Bucket or towel
- Clean rag
- Silicone caulk
- Protective eyewear
Once you have all the necessary tools and materials, you can begin the installation process. Follow these steps to install your new Delta bathroom sink faucet and give your bathroom a fresh, updated look.
Step 1: Prepare the Area

The first step is to prepare the area where you will be installing the new faucet. Start by turning off the water supply to the sink. This can usually be done by turning off the main water valve for your home. Next, place a bucket or towel under the sink to catch any excess water that may drip out during the installation process. Finally, remove any items from under the sink to make room for the installation.
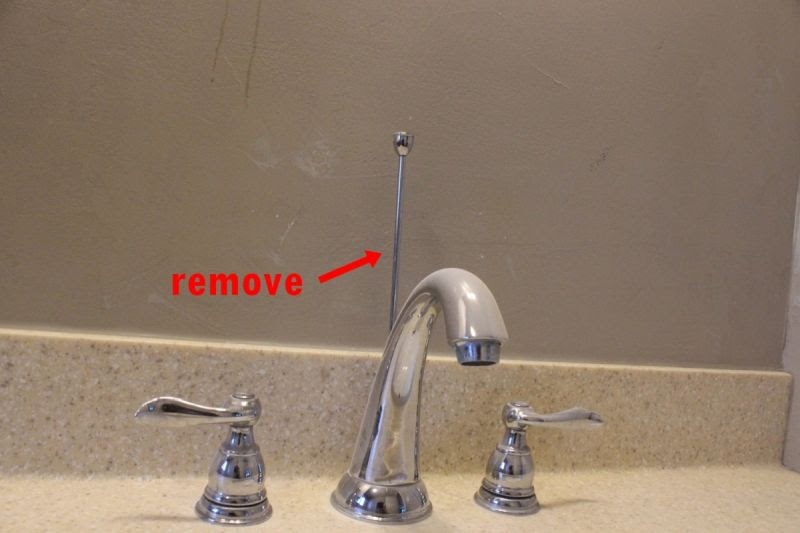
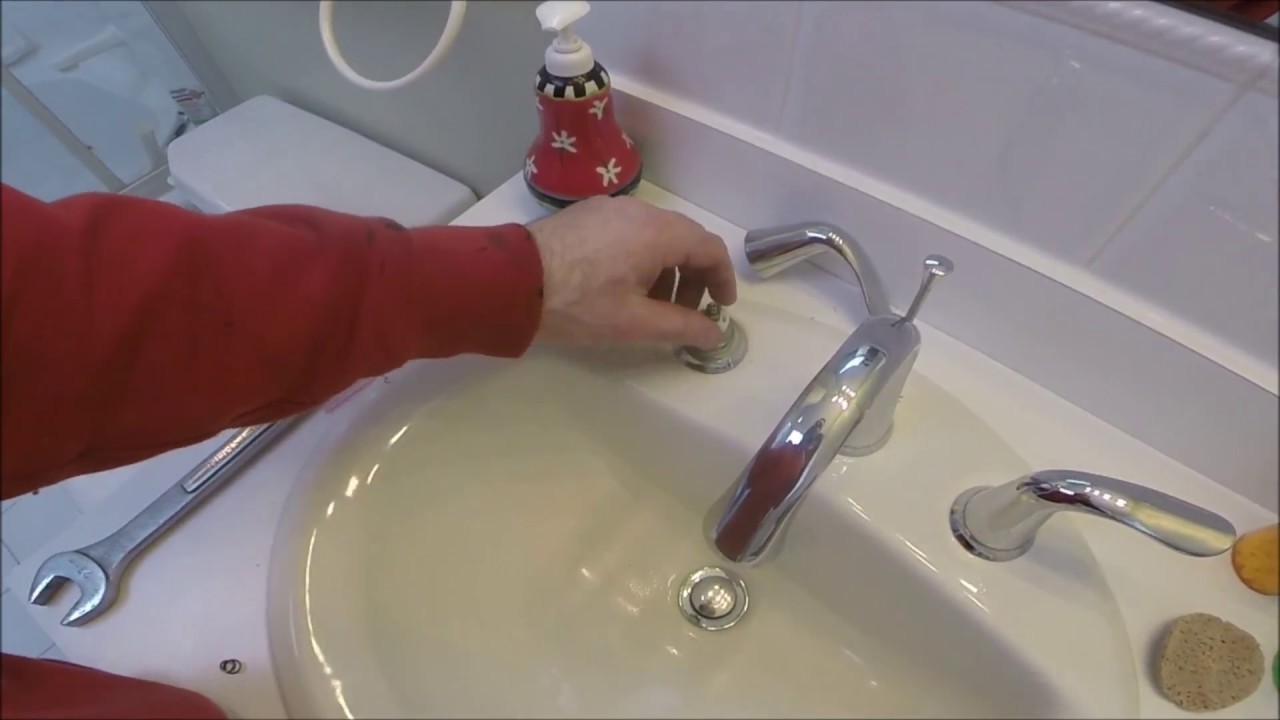
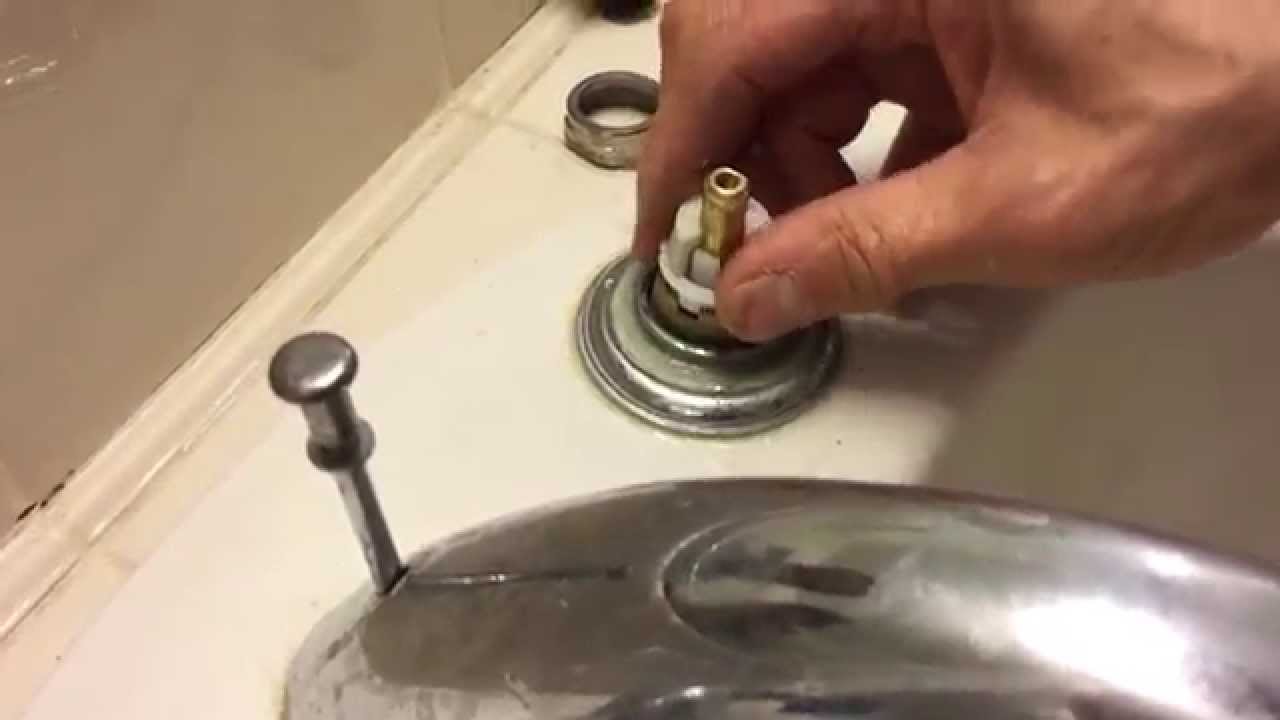
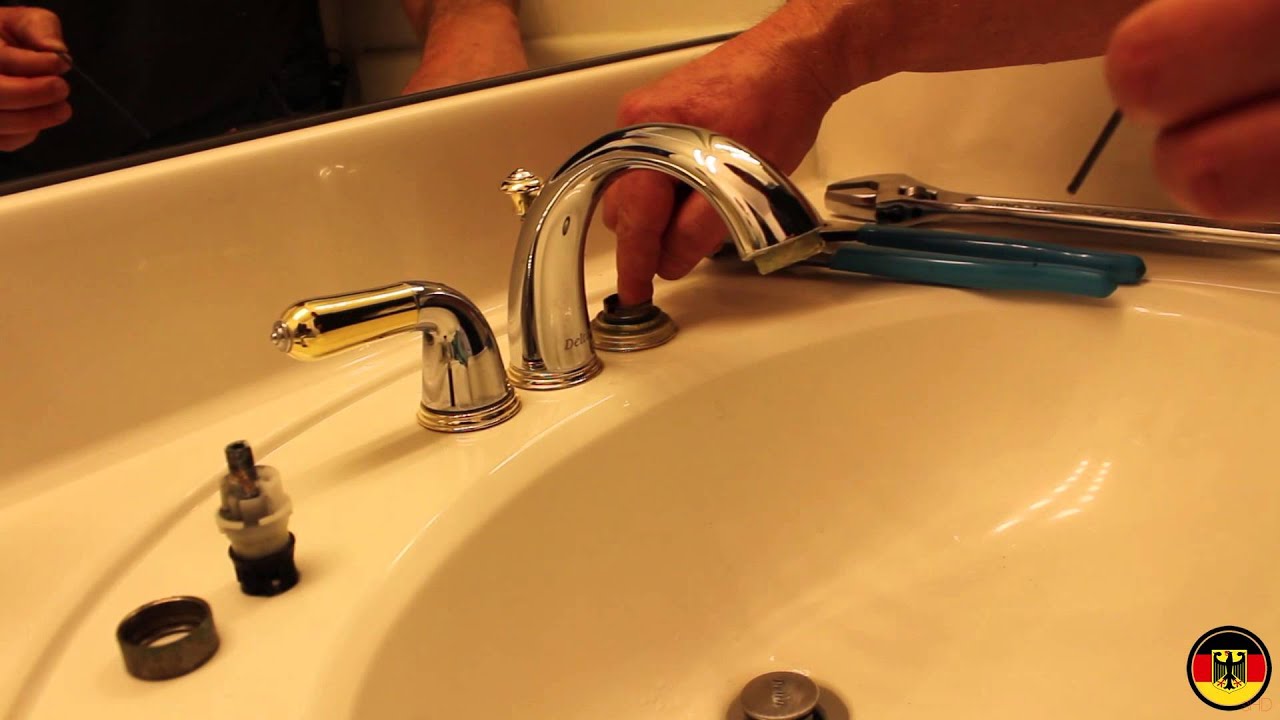
Step 2: Remove the Old Faucet

Using an adjustable wrench, loosen and remove the nuts that hold the old faucet in place. You may need to use a screwdriver to remove any screws that are holding the faucet to the sink. Once all the nuts and screws are removed, carefully lift the old faucet out of the sink and set it aside.
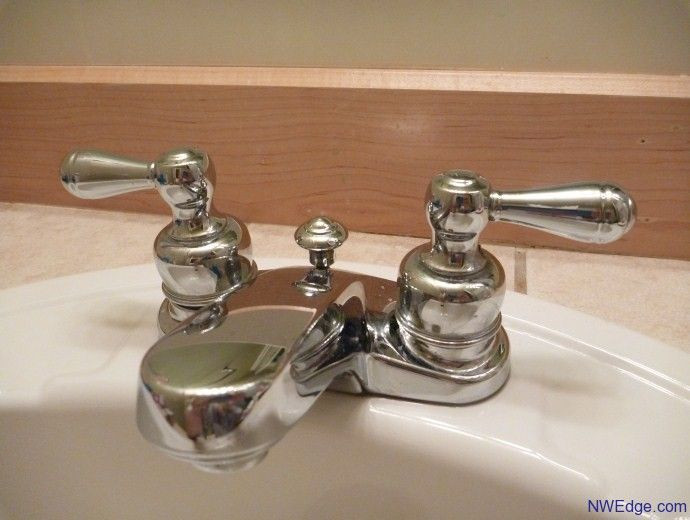
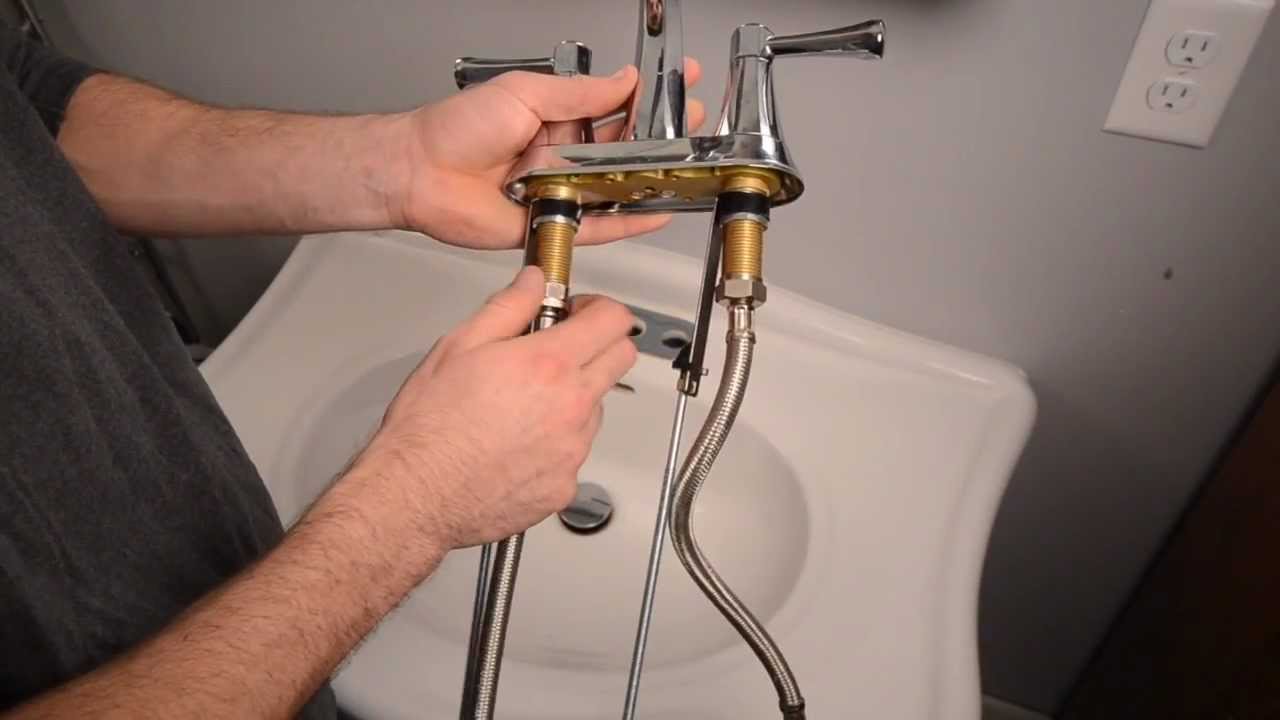
Step 3: Install the New Faucet

Now it's time to install the new Delta bathroom sink faucet . Start by placing the gasket provided with the faucet onto the sink. Next, insert the faucet into the mounting holes on the sink and secure it in place using the nuts and washers provided. Use a wrench to tighten the nuts, making sure the faucet is stable and secure.
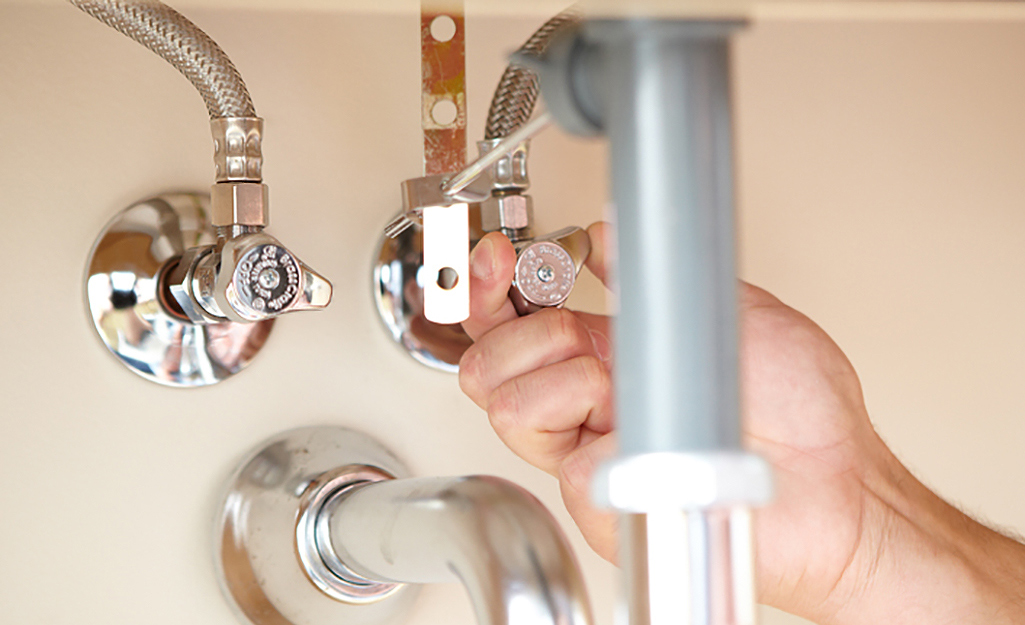
Step 4: Connect the Water Supply

Once the faucet is securely in place, it's time to connect the water supply lines. Start by applying plumber's tape to the threads of the supply lines to prevent leaks. Then, attach the supply lines to the faucet using an adjustable wrench. Make sure the connections are tight.
Step 5: Caulk and Clean Up
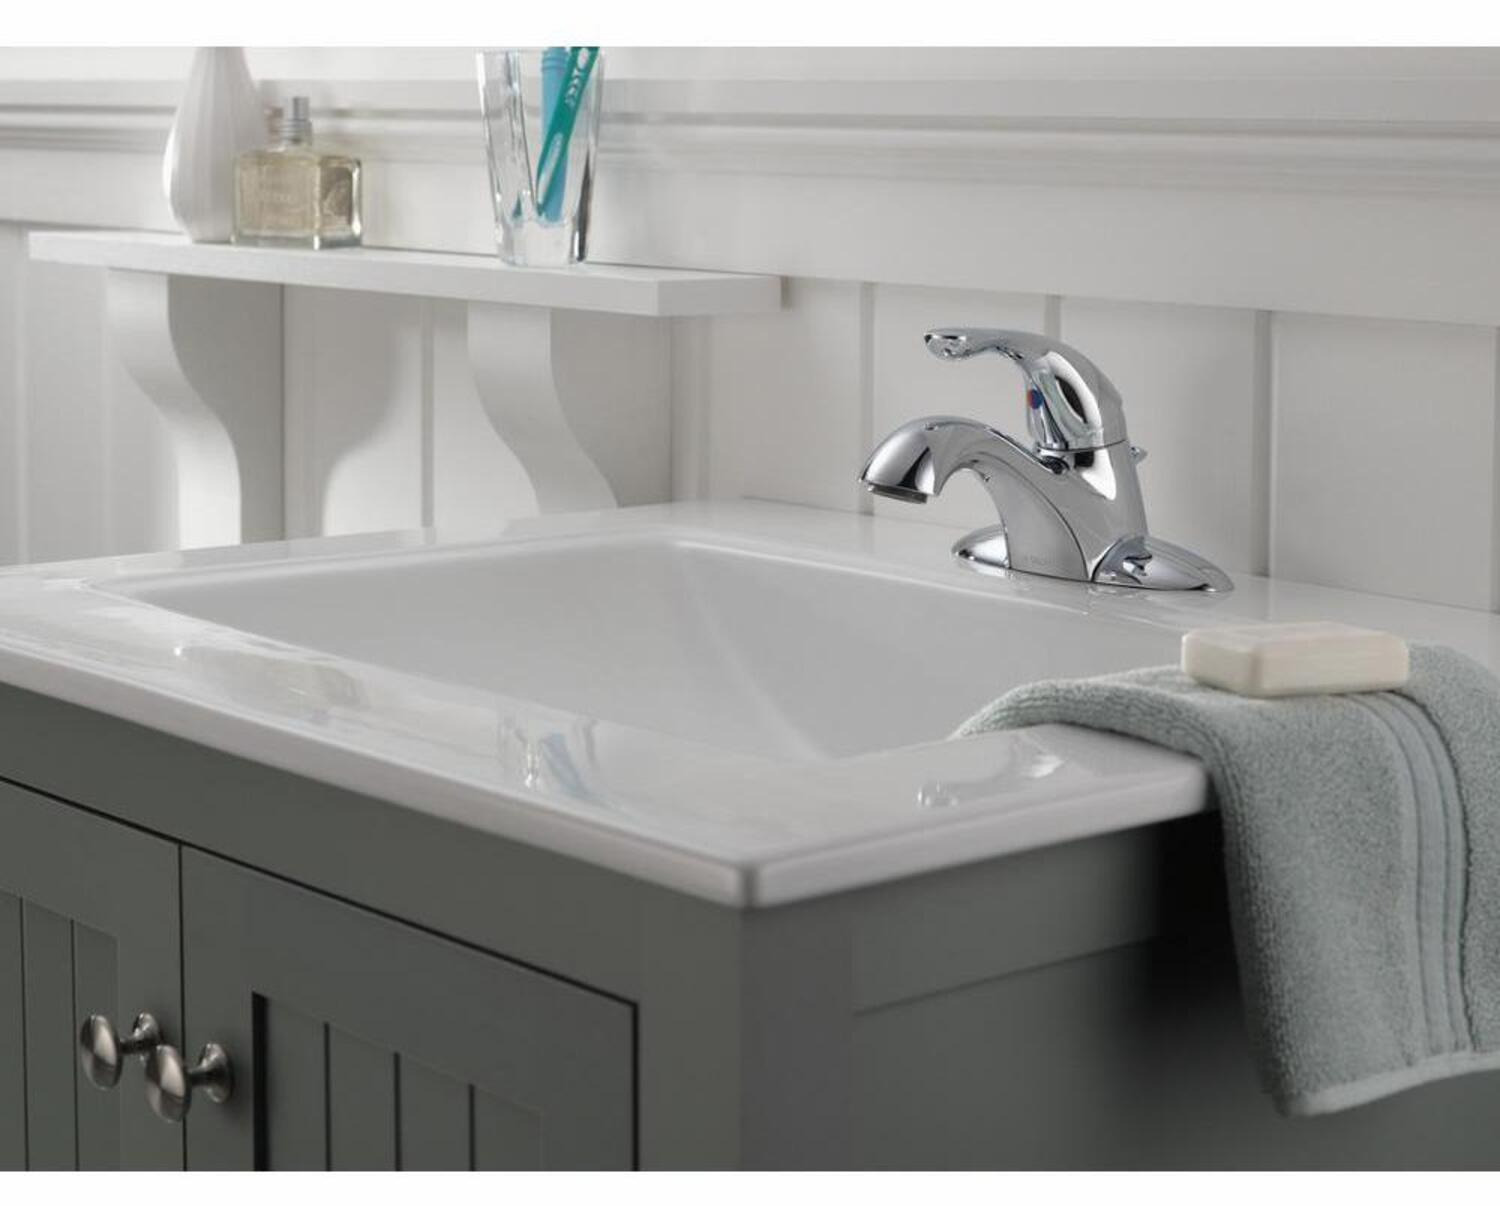
Use a clean rag to wipe away any excess caulk around the faucet and sink. Then, apply a thin bead of silicone caulk around the base of the faucet to create a watertight seal. Finally, turn on the water supply and test the faucet to make sure there are no leaks. If everything looks good, clean up any remaining debris and enjoy your new Delta bathroom sink faucet .
By following these simple steps, you can easily install a new Delta bathroom sink faucet and give your bathroom a stylish and functional upgrade. Remember to always use caution and follow safety precautions when working with plumbing. Now, sit back and admire your newly installed faucet and the refreshed look it brings to your bathroom.