If you're planning on installing a new kitchen sink, it's important to know how to properly cut a countertop to fit it. While it may seem like a daunting task, with the right tools and techniques, you can achieve a professional-looking result. In this guide, we'll walk you through the steps of cutting a countertop for a kitchen sink, whether it's laminate or granite. So grab your tools and let's get started!How to Cut a Countertop for a Kitchen Sink
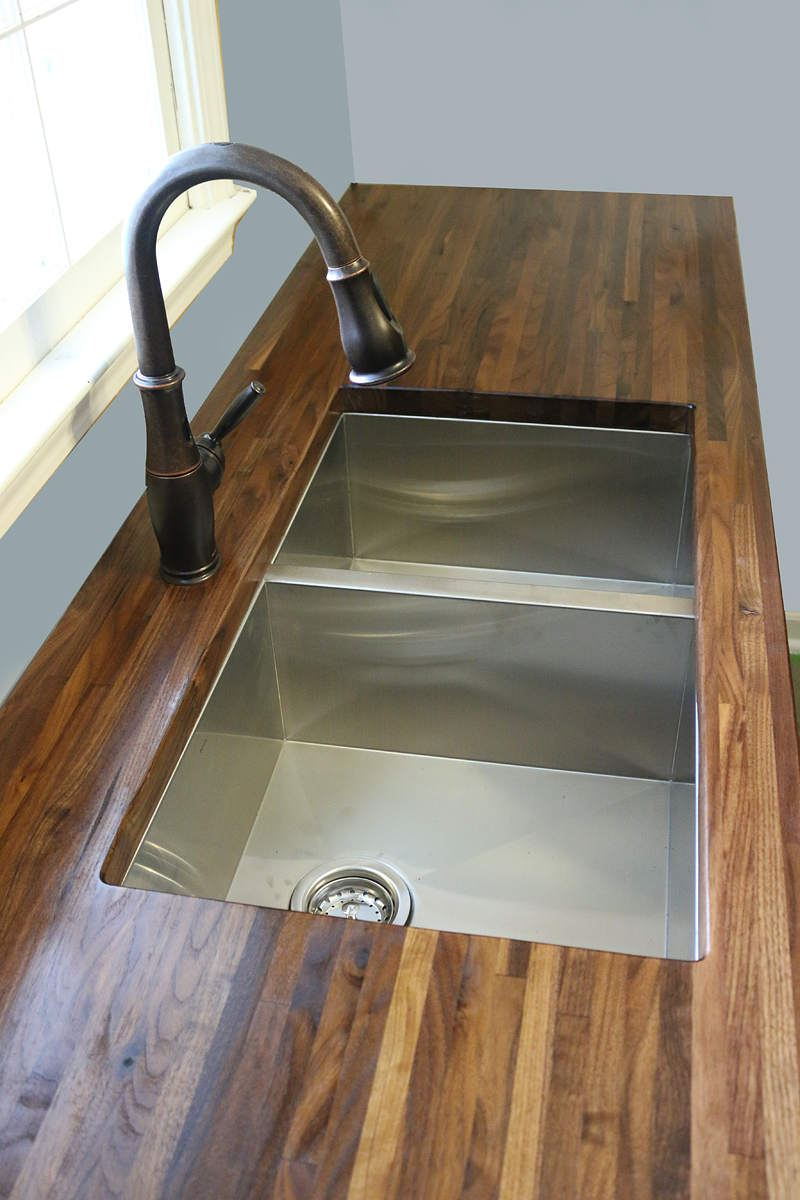


How to Cut a Countertop for a Kitchen Sink


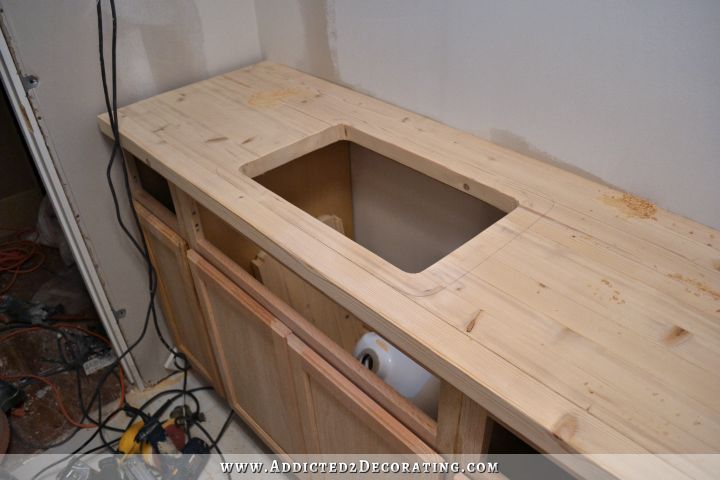
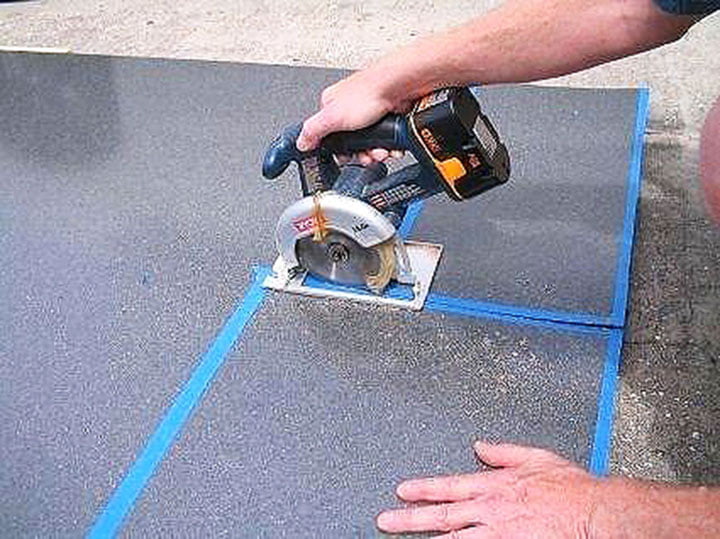
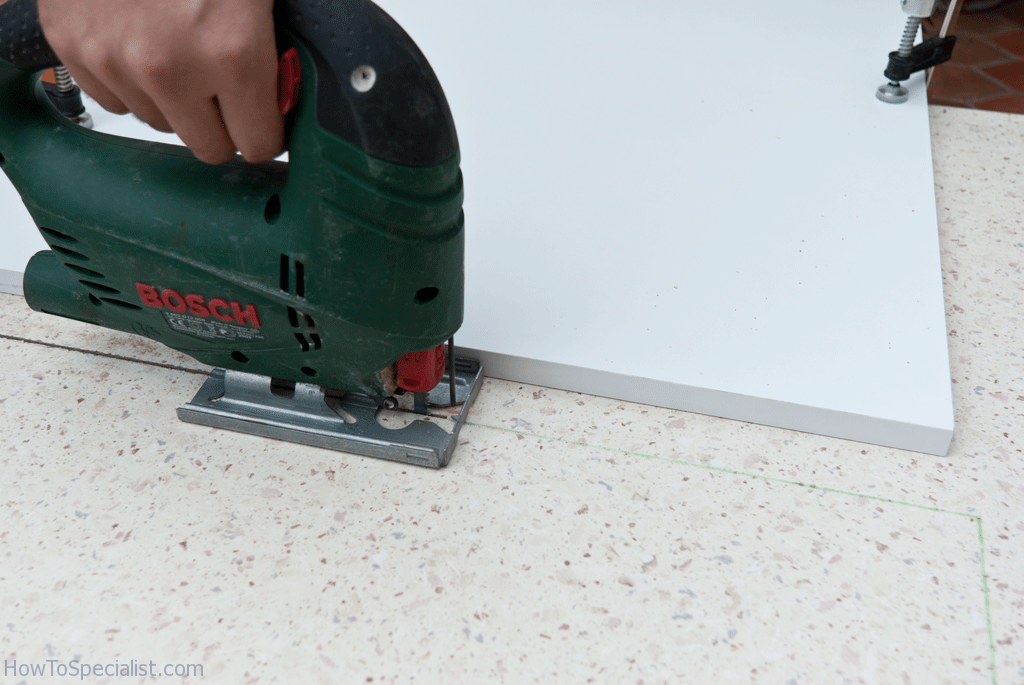
Before you begin cutting, make sure to measure your sink carefully and mark the dimensions on the countertop. This will ensure that you cut accurately and avoid any mistakes. Once you have your measurements, follow these steps: Step 1: Gather Your Tools The first step is to gather all the necessary tools for cutting the countertop. You'll need a circular saw, a jigsaw, a drill with a spade bit, a straight edge, a measuring tape, and a pencil. Make sure your tools are sharp and in good condition for the best results. Step 2: Prepare the Countertop Before you start cutting, make sure the countertop is clean and free of any debris. If it's a laminate countertop, use masking tape to protect the surface from scratches. For a granite countertop, use a diamond blade on your circular saw for a clean and precise cut. Step 3: Cut the Hole for the Sink If you're installing an undermount sink, you'll need to cut a hole in the countertop for it to fit. Use a jigsaw to carefully cut along the marked lines, making sure to follow the shape of the sink. Take your time and make smooth, steady cuts to avoid any mistakes. Step 4: Drill Holes for the Faucet If your sink has a separate faucet, you'll need to drill holes for it to fit through. Use a drill with a spade bit to carefully make the necessary holes, following the measurements and markings you made earlier. Again, take your time and make precise cuts to avoid any mishaps. Step 5: Fine-Tune the Edges After you've made all the necessary cuts, use a file to smooth out any rough edges and create a clean finish. This step is especially important for laminate countertops, as it will prevent any chipping or peeling in the future. Step 6: Install the Sink Once you've completed the cutting process, it's time to install your sink. Follow the manufacturer's instructions for proper installation and use a silicone adhesive to secure the sink in place. Make sure it's properly aligned and centered before allowing the adhesive to dry.Cutting a Countertop for a Kitchen Sink: A Step-by-Step Guide


Cutting a Countertop for a Kitchen Sink: A Step-by-Step Guide


If you're a handy person and love taking on DIY projects, cutting a countertop for a kitchen sink can be a rewarding task. However, it's important to follow the proper steps and use the right tools to achieve a professional-looking result. Here are some expert tips for a successful DIY cutting job: 1. Measure Carefully Taking accurate measurements is crucial for a successful cutting job. Use a measuring tape and mark the dimensions carefully on the countertop before making any cuts. This will help you avoid any mistakes and ensure a perfect fit for your sink. 2. Use the Right Tools Having the right tools for the job is essential. Make sure your saws are sharp and in good condition, and use a diamond blade for cutting granite countertops. Using the proper tools will make the job easier and give you better results. 3. Take Your Time Cutting a countertop is not a task to rush through. Take your time and make slow, smooth cuts to avoid any mistakes or accidents. This is especially important when cutting laminate countertops, as rushing can result in chipping or peeling. 4. Always Wear Protective Gear When working with power tools, it's important to wear proper protective gear, such as safety glasses and gloves. This will protect you from any potential injuries and keep you safe while cutting the countertop.DIY: Cutting a Countertop for a Kitchen Sink


DIY: Cutting a Countertop for a Kitchen Sink


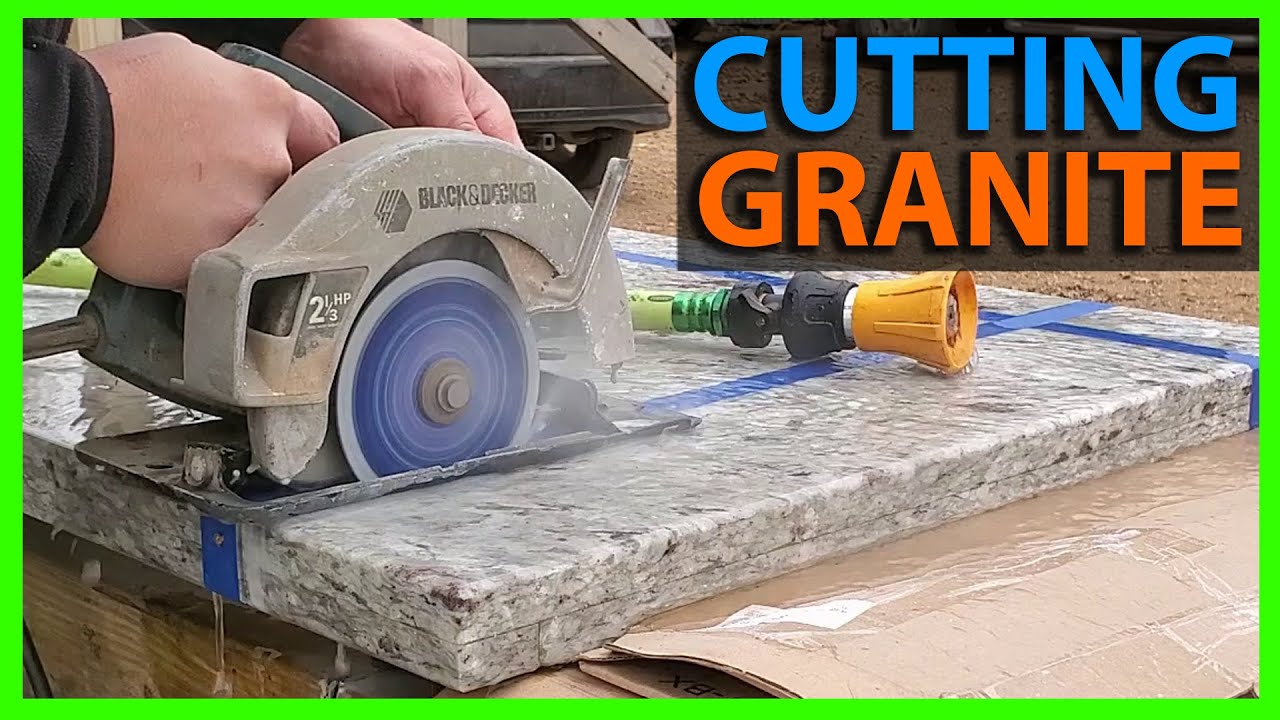
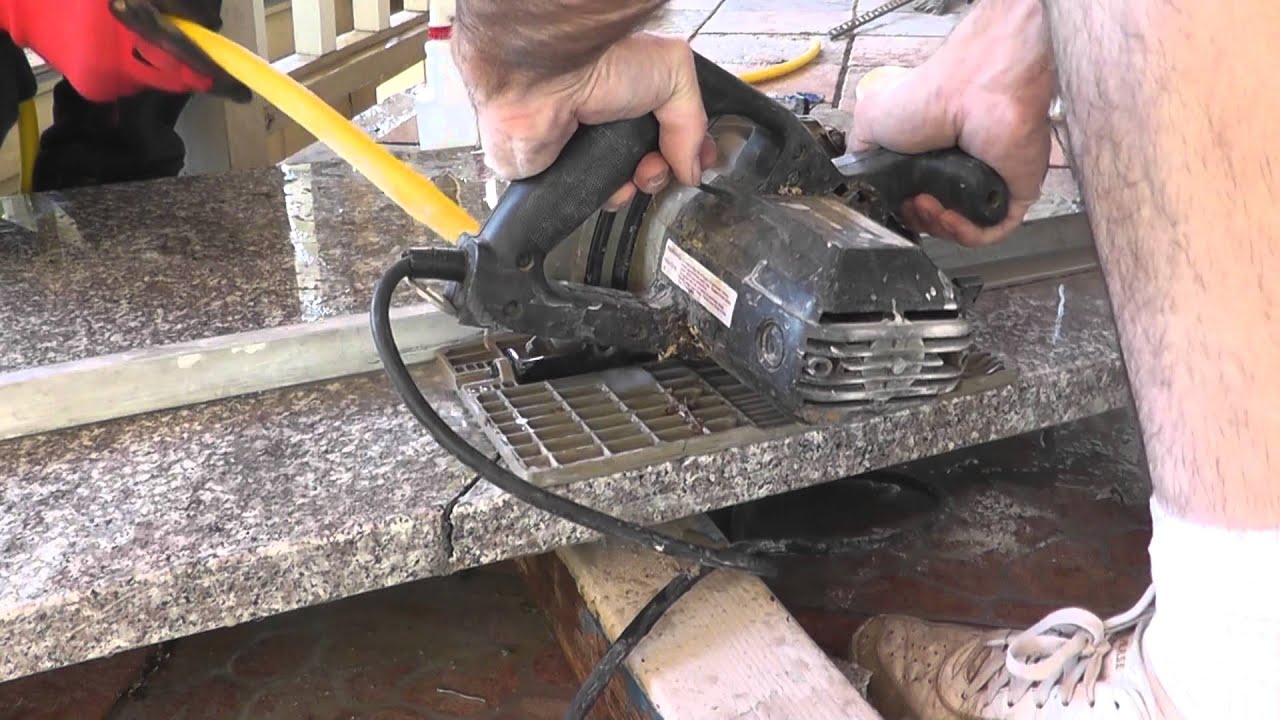
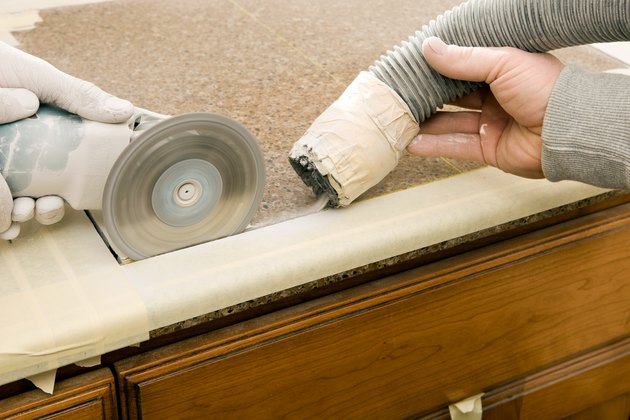
As mentioned earlier, having the right tools is crucial for cutting a countertop for a kitchen sink. Here are some tools and techniques to consider for a successful cutting job: 1. Circular Saw A circular saw is a versatile and efficient tool for cutting countertops. Make sure to use a sharp blade and adjust the depth according to the thickness of your countertop. Keep the saw steady and make slow, even cuts for the best results. 2. Jigsaw A jigsaw is a great tool for cutting curves and holes in countertops. Make sure to use a sharp blade and make steady, precise cuts along the markings. For undermount sinks, use a jigsaw to cut out the hole for a perfect fit. 3. Router If your sink requires a custom-shaped hole, a router is your best tool. Use it to make precise and clean cuts along the marked lines, following the shape of the sink. This tool is especially useful for cutting granite countertops. 4. Diamond Blade When cutting granite countertops, using a diamond blade will give you the best results. It will make clean and precise cuts without causing any damage to the stone. Make sure to use a wet saw and take your time to achieve a professional finish.Tools and Techniques for Cutting a Countertop for a Kitchen Sink


Tools and Techniques for Cutting a Countertop for a Kitchen Sink


Cutting a countertop for a kitchen sink may seem like a daunting task, but with these best practices, you'll be able to achieve a professional-looking result: 1. Always Measure Twice Double-checking your measurements is crucial for avoiding any mistakes when cutting a countertop. It's always better to measure twice and cut once, rather than the other way around. 2. Follow the Manufacturer's Instructions Before cutting your countertop, make sure to read the manufacturer's instructions for installation. This will give you a better understanding of the process and any specific requirements for your sink. 3. Use a Straight Edge When making straight cuts, using a straight edge as a guide will help you achieve a clean and accurate result. Make sure to secure the straight edge in place before making your cuts. 4. Take Breaks Working with power tools can be tiring, and it's easy to lose focus when you're fatigued. Make sure to take breaks when needed and stay hydrated to avoid any accidents or mistakes.Best Practices for Cutting a Countertop for a Kitchen Sink


Best Practices for Cutting a Countertop for a Kitchen Sink


For a professional-looking result, here are some expert tips to keep in mind when cutting a countertop for a kitchen sink: 1. Use Masking Tape When cutting laminate countertops, using masking tape on the surface will prevent any scratches or damage. This will also give you a better guide for making straight cuts. 2. Cut from the Back If possible, cut the countertop from the back to avoid any chipping on the visible side. This is especially important for laminate countertops, as they can easily chip or peel. 3. Keep the Area Clean It's important to keep your work area clean and free of any debris when cutting a countertop. This will prevent any accidents and help you achieve a clean and precise result.Expert Tips for Cutting a Countertop for a Kitchen Sink


Expert Tips for Cutting a Countertop for a Kitchen Sink

Even with careful planning and preparation, mistakes can still happen when cutting a countertop for a kitchen sink. Here are some common mistakes to avoid: 1. Rushing As mentioned earlier, rushing through the cutting process can result in mistakes and accidents. Take your time and make slow, steady cuts for the best results. 2. Using Dull Blades Using dull blades can result in uneven and rough cuts. Make sure to use sharp blades and replace them when needed for the best results. 3. Not Measuring Properly Taking accurate measurements is crucial for a successful cutting job. Make sure to measure twice and mark your dimensions carefully to avoid any mistakes.Common Mistakes to Avoid When Cutting a Countertop for a Kitchen Sink


Common Mistakes to Avoid When Cutting a Countertop for a Kitchen Sink


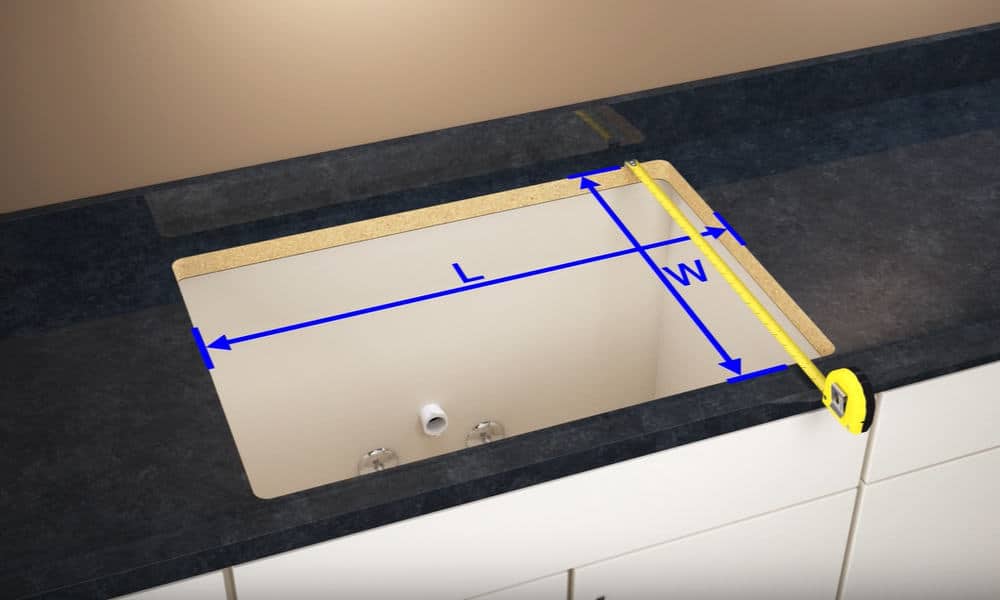
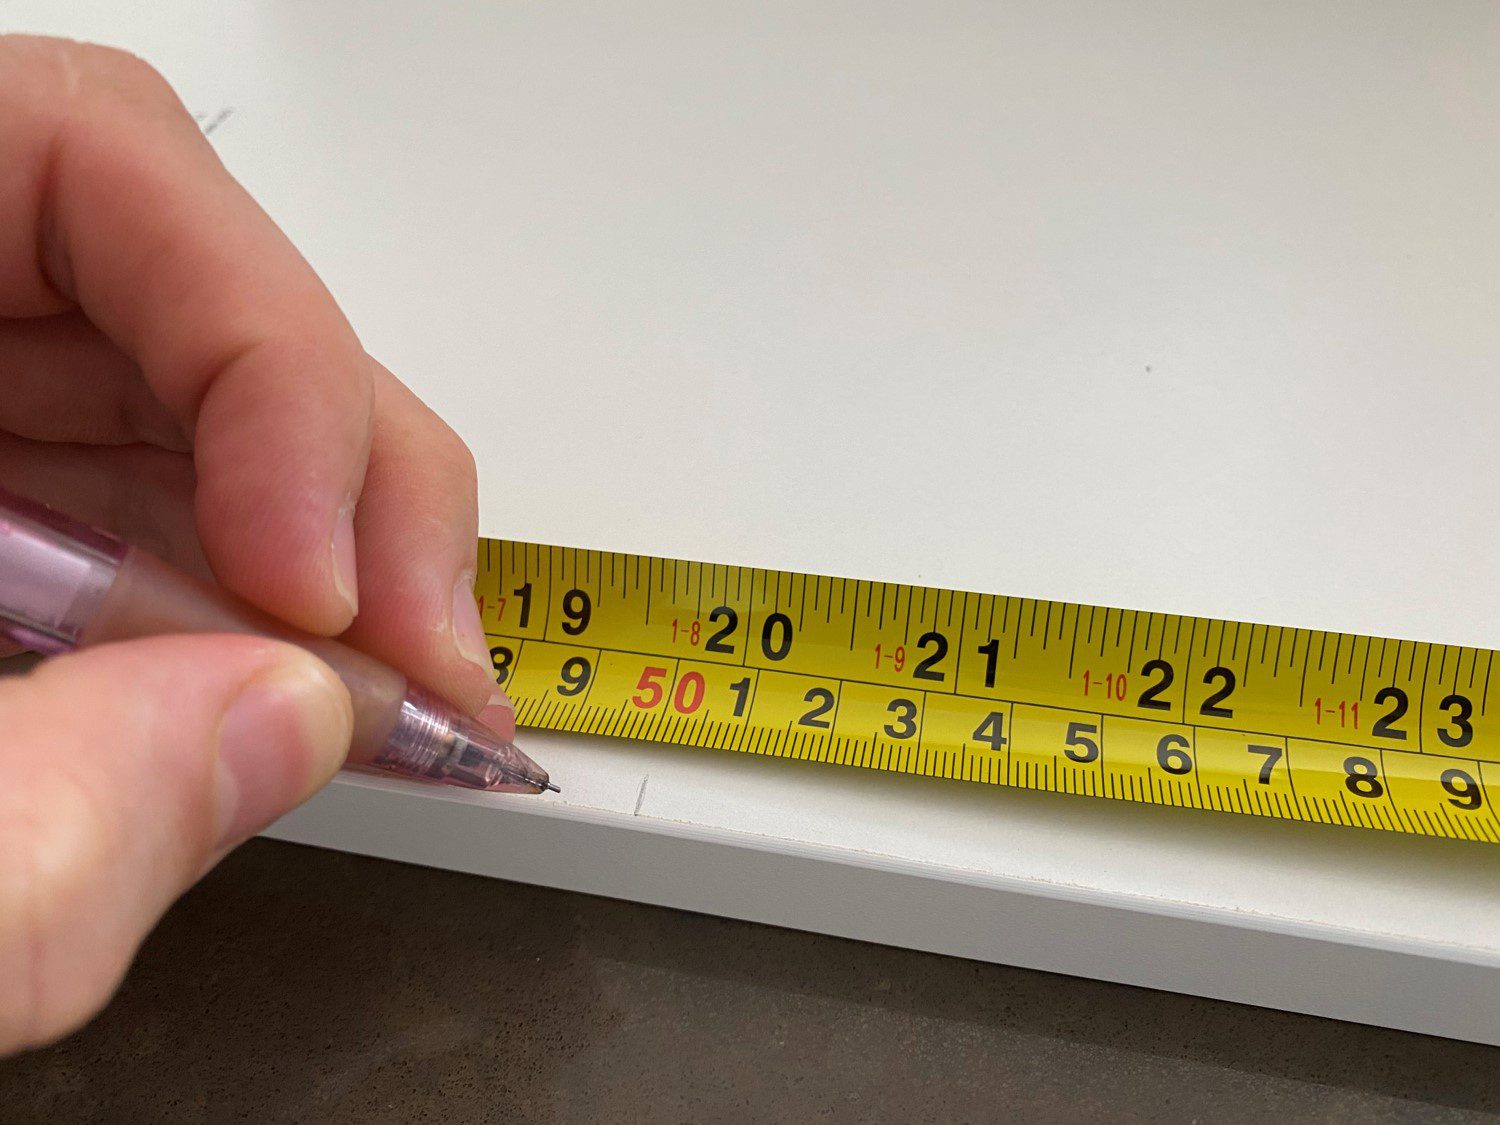
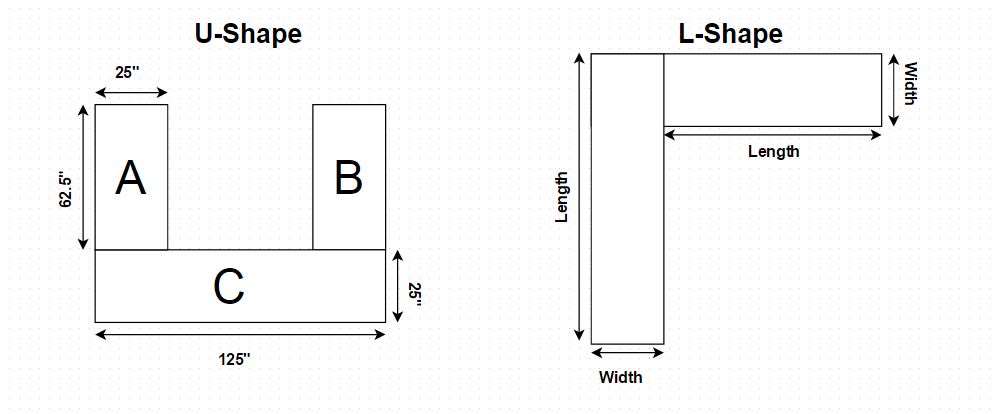
Before you start cutting your countertop, it's important to measure and mark the dimensions accurately. Here's how to do it: 1. Measure the Sink Measure the width and length of your sink, as well as the depth of the countertop. Use these measurements to mark the dimensions on the countertop. 2. Mark the Cut Lines Using a straight edge and a pencil, mark the cut lines on the countertop according to your measurements. Double-check the markings to ensure they're accurate before making any cuts. 3. Measure Again Before making any cuts, measure the marked lines again to make sure they're accurate. This will help you avoid any mistakes and ensure a perfect fit for your sink.How to Measure and Mark a Countertop for Cutting a Kitchen Sink

How to Measure and Mark a Countertop for Cutting a Kitchen Sink


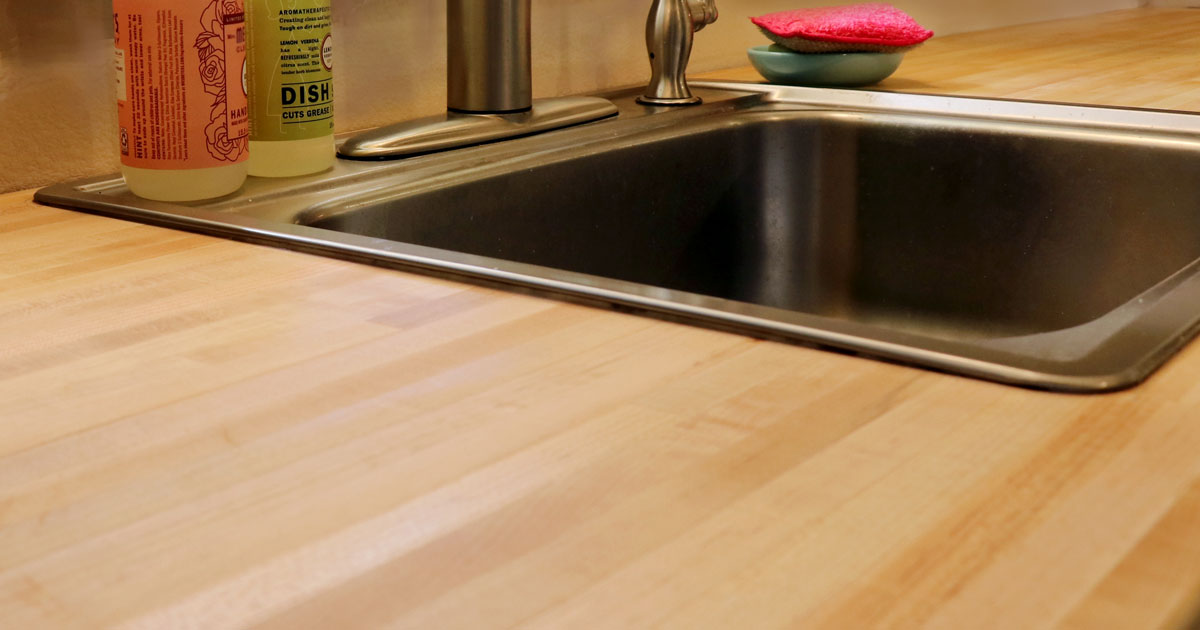
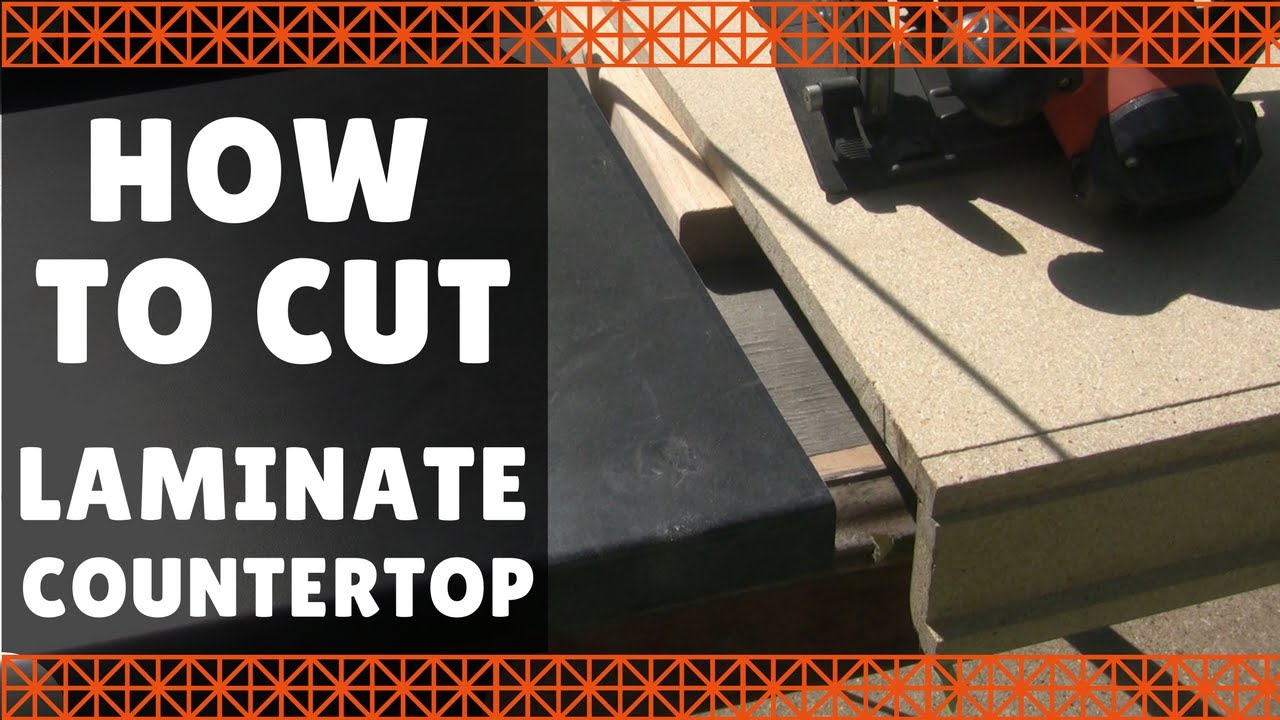
When cutting a laminate countertop, there are a few things to keep in mind for the best results: 1. Use a Fine-Toothed Blade When cutting laminate countertops, use a fine-toothed blade on your saw for a clean and smooth result. This will also help prevent any chipping or peeling. 2. Support the Countertop When cutting the countertop, make sure to support it with sawhorses or another sturdy surface. This will prevent it from breaking or cracking under the weight of the saw.Cutting a Laminate Countertop for a Kitchen Sink: What You Need to Know


Cutting a Laminate Countertop for a Kitchen Sink: What You Need to Know


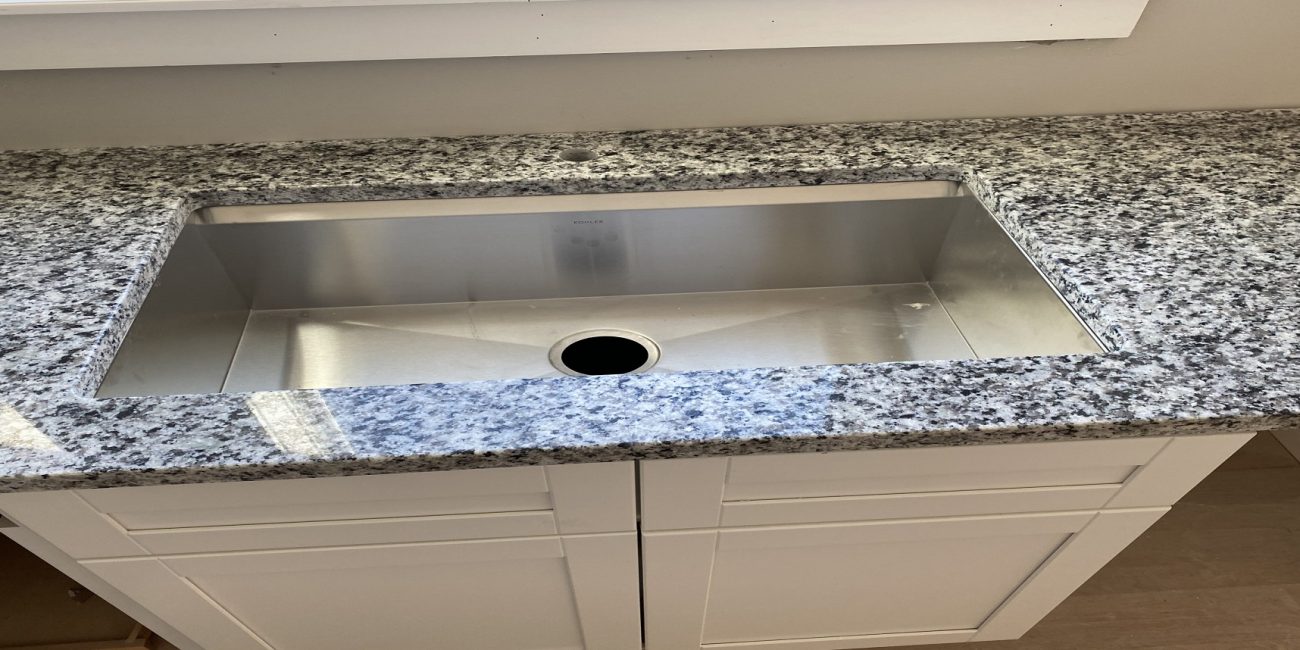
Cutting a granite countertop requires a bit more skill and precision, but with the right tools and techniques, you can achieve a professional-looking result. Here's how to do it: 1. Use a Wet Saw When cutting granite, it's crucial to use a wet saw with a diamond blade. This will prevent the stone from cracking or breaking and give you a clean and precise cut. 2. Take Your Time Cutting granite requires patience and precision. Take your time and make slow, steady cuts to avoid any mistakes or damage to the stone. 3. File the Edges After making your cuts, use a file to smooth out any rough edges and create a clean finish. This step is especially important for granite countertops, as it will prevent any chipping or cracking in the future.Cutting a Granite Countertop for a Kitchen Sink: Step-by-Step Instructions


Cutting a Granite Countertop for a Kitchen Sink: Step-by-Step Instructions


How to Cut a Countertop for a Kitchen Sink: A Step-by-Step Guide
Introduction
 When designing a kitchen, one of the most important elements to consider is the placement of the sink. A kitchen sink is where we do most of our food preparation and clean up, so it needs to be functional and well-integrated into the design of the space. However, before you can install a sink, you need to cut the countertop to fit it. This can seem like a daunting task, but with the right tools and technique, you can easily cut a countertop for a kitchen sink. In this article, we will guide you through the process, step by step.
Gather Materials
 The first step in cutting a countertop for a kitchen sink is to gather all the necessary materials.
Featured keywords: cutting countertop, kitchen sink
You will need a measuring tape, pencil, straight edge, jigsaw, drill, and sandpaper. It is important to have all these tools on hand before you start the cutting process, as it will make the process smoother and more efficient.
The first step in cutting a countertop for a kitchen sink is to gather all the necessary materials.
Featured keywords: cutting countertop, kitchen sink
You will need a measuring tape, pencil, straight edge, jigsaw, drill, and sandpaper. It is important to have all these tools on hand before you start the cutting process, as it will make the process smoother and more efficient.
Measure and Mark
 The next step is to measure and mark the area where the sink will be placed on the countertop. Using your measuring tape, locate the center of the sink and mark it with a pencil. Then, measure the width and length of the sink and transfer those measurements to the countertop.
Related main keyword: kitchen sink placement
Use a straight edge to draw a square or rectangle on the countertop, depending on the shape of your sink.
The next step is to measure and mark the area where the sink will be placed on the countertop. Using your measuring tape, locate the center of the sink and mark it with a pencil. Then, measure the width and length of the sink and transfer those measurements to the countertop.
Related main keyword: kitchen sink placement
Use a straight edge to draw a square or rectangle on the countertop, depending on the shape of your sink.
Drill Holes
 Once you have marked the area, it is time to drill holes in each corner of the marked square or rectangle. These holes will allow you to insert the jigsaw blade and start cutting. Make sure to use a drill bit slightly larger than the jigsaw blade to ensure it fits easily.
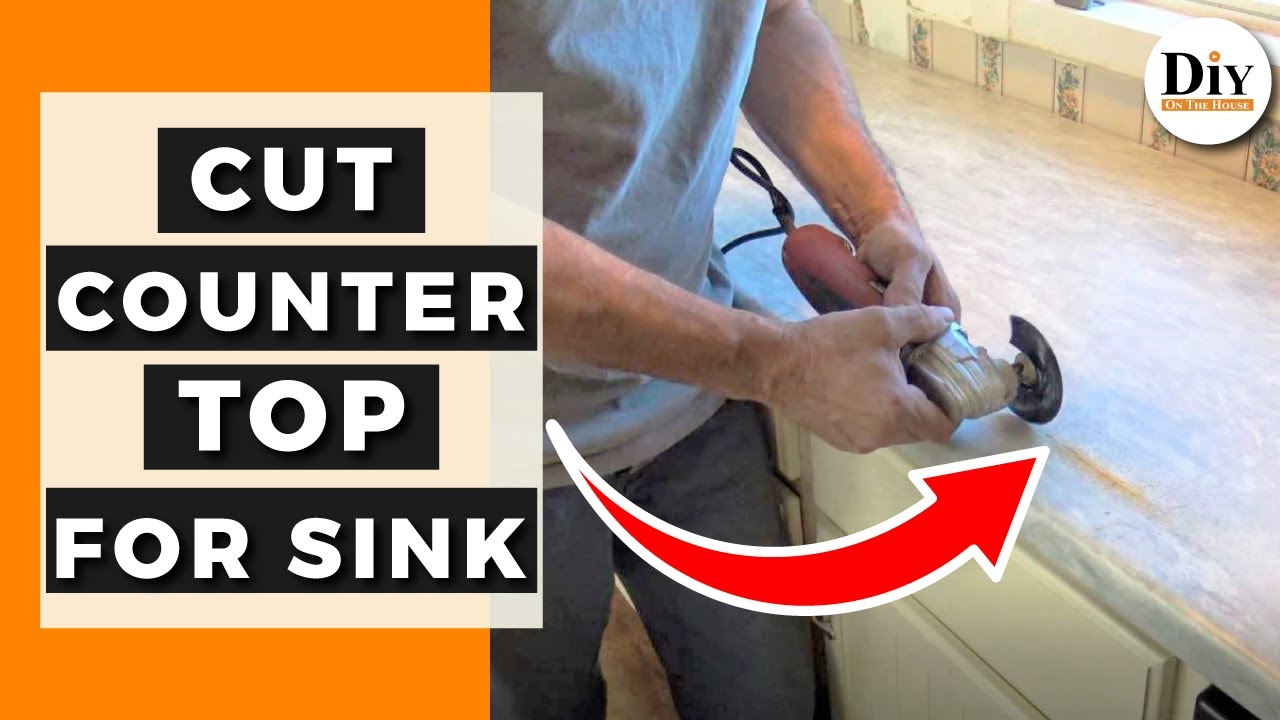
Cut the Countertop
 Using a jigsaw, carefully cut along the marked lines.
Featured keyword: cutting technique
It is important to use a steady hand and follow the lines closely to ensure an accurate cut. Remember to take your time and go slow to prevent any mistakes or accidents.
Using a jigsaw, carefully cut along the marked lines.
Featured keyword: cutting technique
It is important to use a steady hand and follow the lines closely to ensure an accurate cut. Remember to take your time and go slow to prevent any mistakes or accidents.
Sand the Edges
 After cutting the countertop, the edges may be rough and uneven. To create a smooth and even edge, use sandpaper to sand down the edges. This will also help to remove any sharp or jagged pieces that could cause injury.
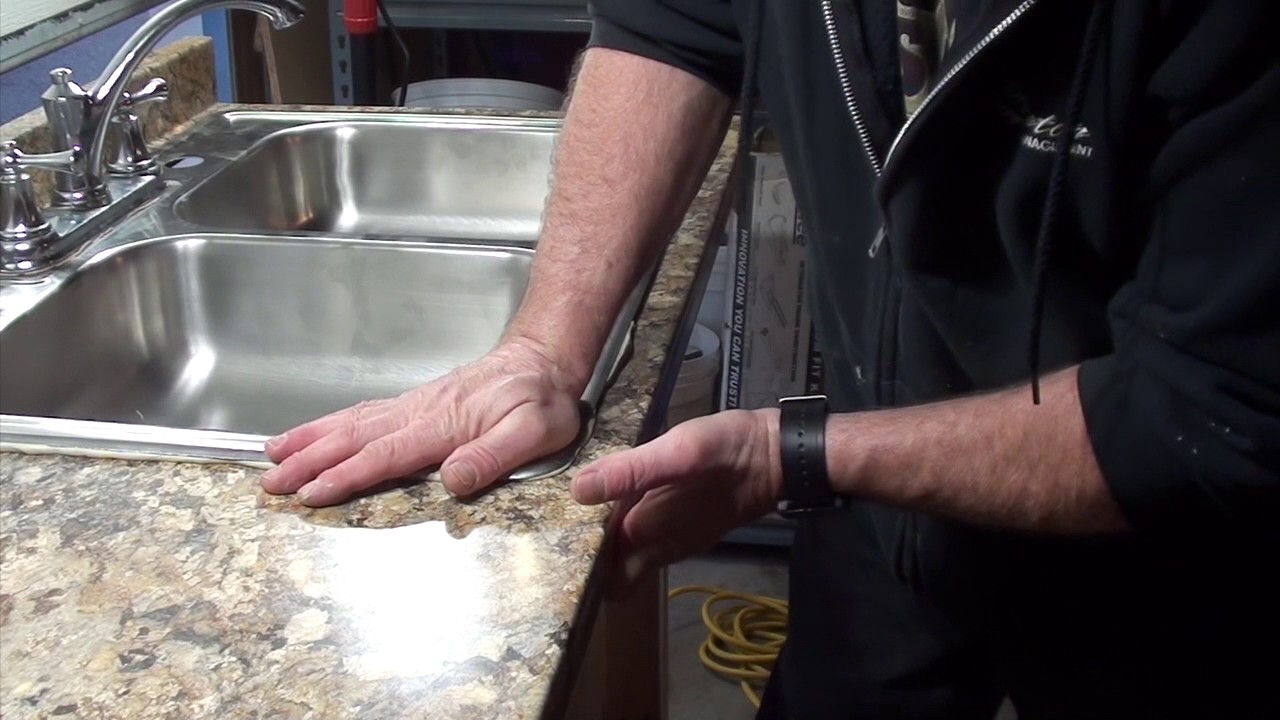
Install the Sink
 Once the countertop is cut and sanded, you can now install the sink. Follow the manufacturer's instructions for your specific sink model and make sure to seal the edges to prevent any leaks.
Conclusion
 Cutting a countertop for a kitchen sink may seem like a challenging task, but with the right tools and technique, it can be done easily and efficiently. By following this step-by-step guide, you can ensure that your sink is properly integrated into your kitchen design and functions flawlessly. Remember to always take your time and be precise when cutting to achieve the best results.