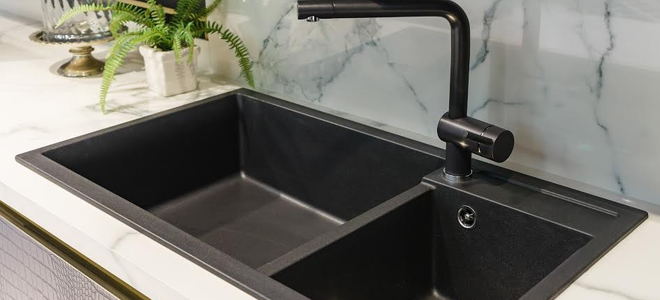
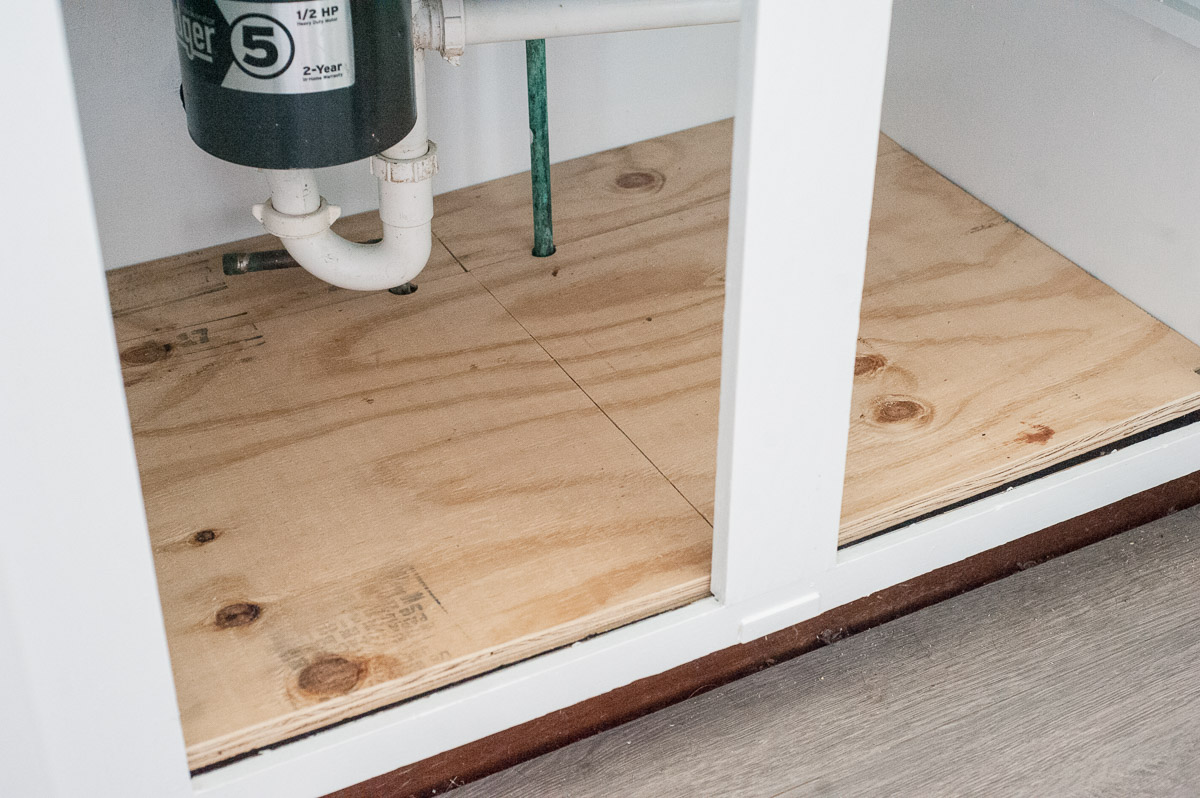
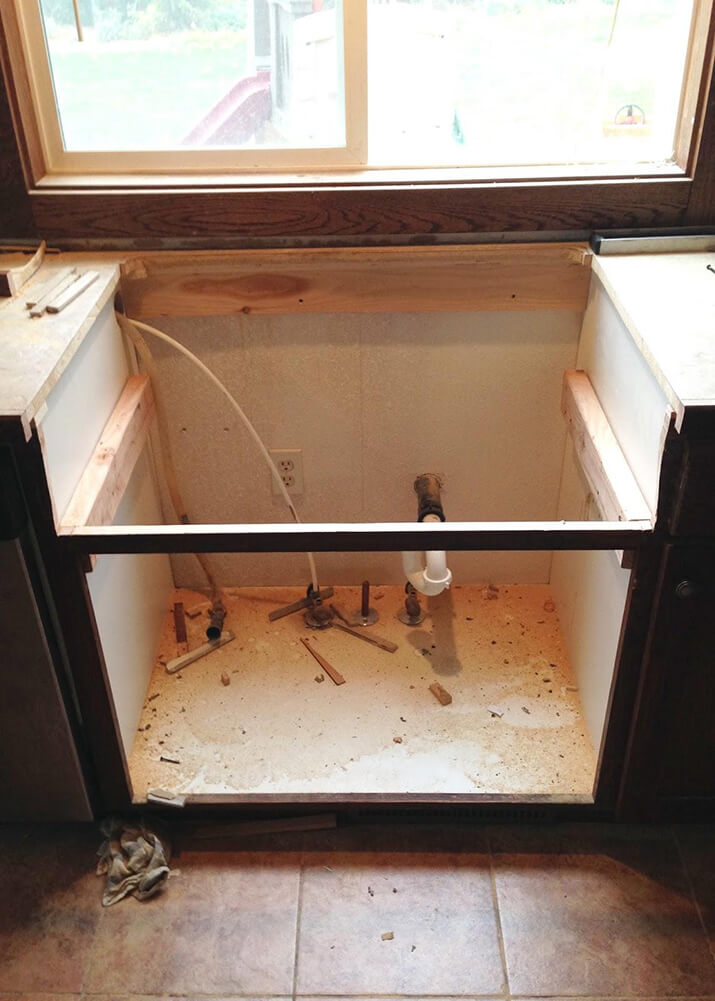
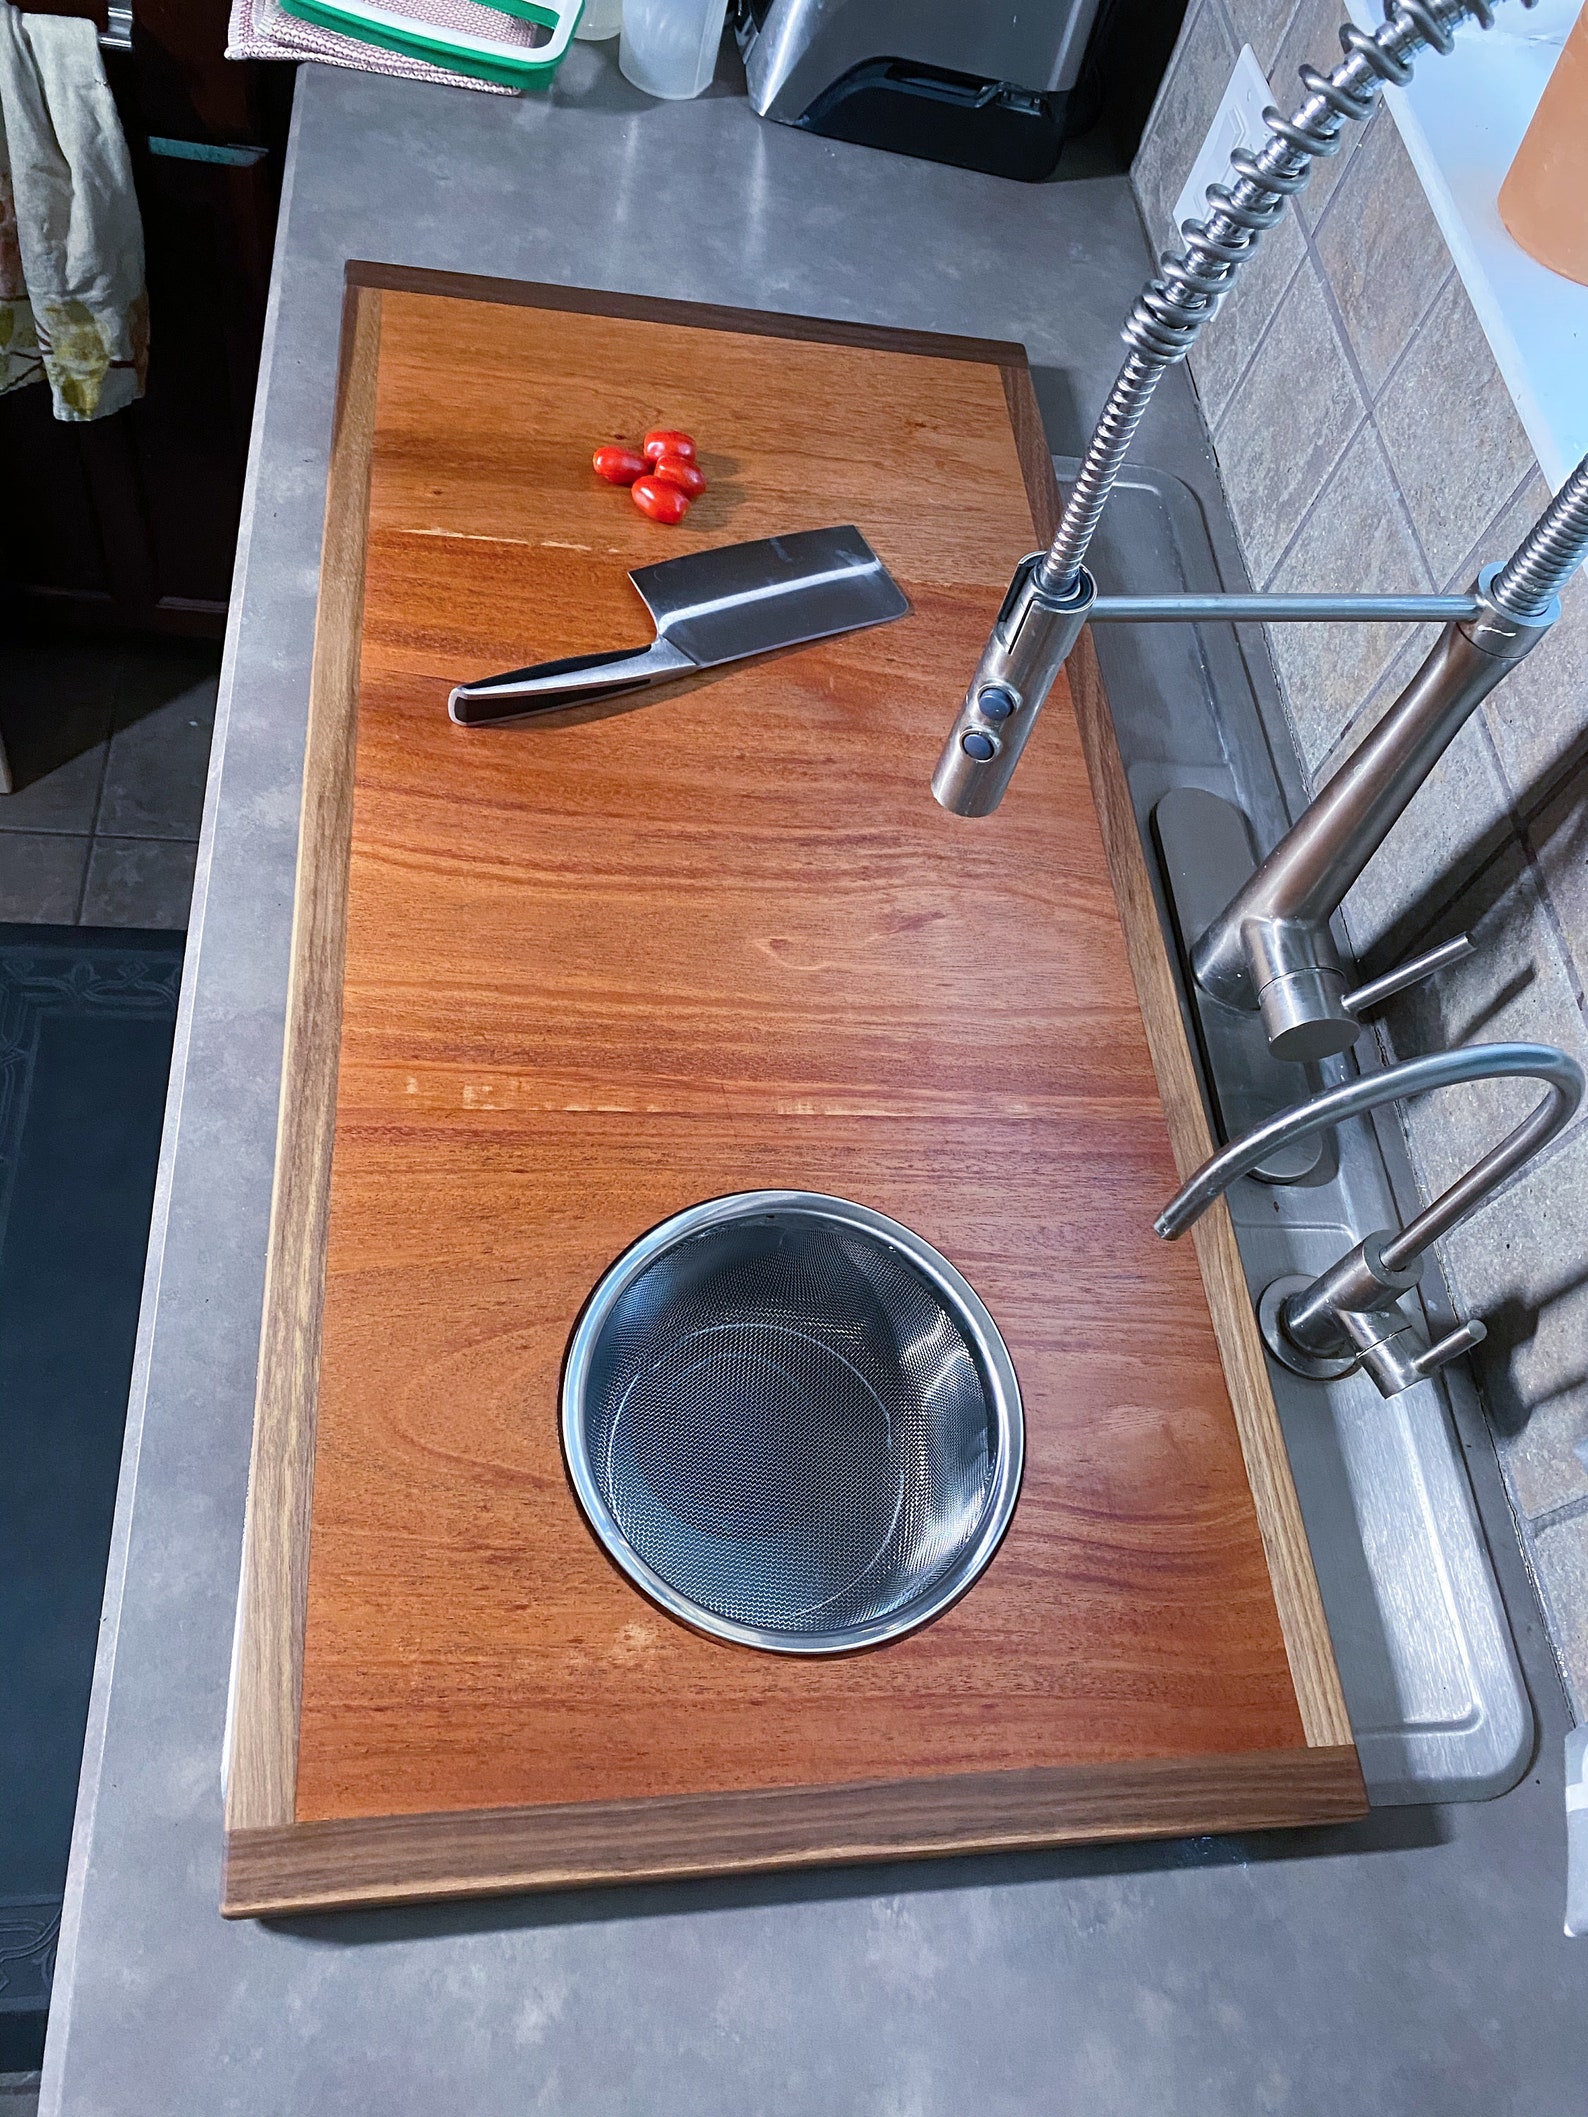
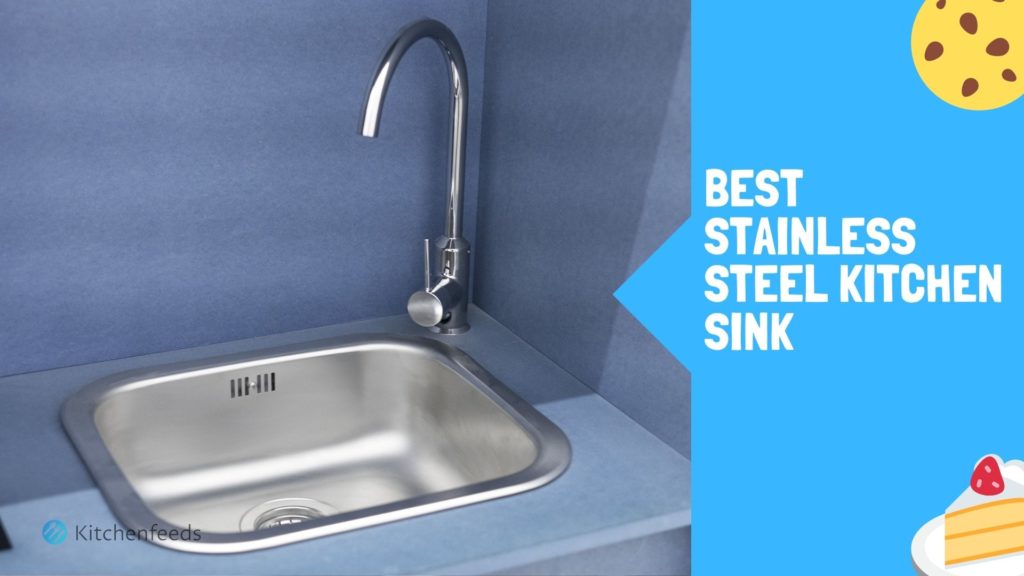
If you are planning to upgrade your kitchen sink to a larger size, you may need to cut your existing kitchen sink cabinet to accommodate the new sink. This can seem like a daunting task, but with the right tools and techniques, it can be a simple and straightforward DIY project. Follow these steps to learn how to cut a kitchen sink cabinet for a larger sink.How to Cut a Kitchen Sink Cabinet for a Larger Sink
Step 1: Measure the New Sink The first step in cutting a kitchen sink cabinet is to accurately measure the new sink. This will help determine how much of the cabinet needs to be cut and where the cuts need to be made. Measure the width, length, and depth of the new sink, and also take note of any additional features like a built-in drying rack or garbage disposal. Step 2: Remove the Old Sink Before you can start cutting the cabinet, you will need to remove the old sink. This will give you a clear workspace and allow you to accurately mark where the cuts need to be made. Make sure to turn off the water supply to the sink and disconnect any plumbing and hardware before removing the sink. Step 3: Mark the Cuts Using a pencil or marker, mark where the cuts need to be made on the cabinet. It is important to be as precise as possible to avoid making any unnecessary cuts. Use a level to ensure the marks are straight and even. Step 4: Prepare the Tools You will need a jigsaw or circular saw to make the cuts in the cabinet. Make sure the blade is appropriate for cutting through the material of your cabinet. You may also need a drill to remove any screws or hardware that are in the way of the cuts. Step 5: Cut the Cabinet Using the marks as a guide, carefully cut the cabinet along the lines you have drawn. Make sure to wear safety goggles and gloves to protect yourself from any flying debris. Take your time and make slow, steady cuts to ensure accuracy. Step 6: Test the Fit Once you have made the cuts, test the fit of the new sink in the cabinet. If the sink does not fit, you may need to make some adjustments or additional cuts. It is better to cut too little than too much, as you can always make more cuts if needed. Step 7: Install the Sink Once the cabinet is cut to the correct size, you can install the new sink. Make sure to follow the manufacturer's instructions for installation and secure the sink in place with the appropriate hardware.Steps for Cutting a Kitchen Sink Cabinet for a Larger Sink
If you are comfortable with DIY projects, cutting a kitchen sink cabinet for a larger sink can be a satisfying task to take on. However, it is important to follow the necessary precautions and use the right tools to ensure a successful outcome. Here is a DIY guide for cutting a kitchen sink cabinet for a larger sink. Choose the Right Tools Make sure you have the necessary tools for the job, including a jigsaw or circular saw, drill, safety goggles, and gloves. The type of blade you use for your saw is important, so make sure it is appropriate for cutting through the material of your cabinet. Measure Twice, Cut Once Take accurate measurements of the new sink and mark the cuts on the cabinet. Measure twice to ensure the marks are in the correct place and straight. It is important to be as precise as possible to avoid any mistakes. Take Your Time Cutting the cabinet may seem like a daunting task, but it is important to take your time and make slow, steady cuts. Rushing can lead to mistakes and potentially costly errors. If needed, ask someone to assist you in holding the cabinet steady while you make the cuts. Wear Protective Gear Make sure to wear safety goggles and gloves while cutting the cabinet to protect yourself from any flying debris. It is also a good idea to wear a face mask to avoid inhaling any dust or particles. Test the Fit After making the cuts, test the fit of the new sink in the cabinet. If the sink does not fit, you may need to make some adjustments or additional cuts. It is better to cut too little than too much, as you can always make more cuts if needed.DIY Guide for Cutting a Kitchen Sink Cabinet for a Larger Sink
Having the right tools is crucial for successfully cutting a kitchen sink cabinet for a larger sink. Here is a list of tools you will need for this project: Jigsaw or circular saw Drill Safety goggles Gloves Face mask Level Pencil or markerTools Needed for Cutting a Kitchen Sink Cabinet for a Larger Sink
Measure the Sink and Cabinet Depth Make sure to measure both the new sink and the depth of your cabinet before making any cuts. This will help determine how much of the cabinet needs to be cut and where the cuts need to be made. Use a Straight Edge When marking the cuts on the cabinet, use a straight edge or level to ensure the lines are straight and even. This will help with accuracy when making the cuts. Start Small It is better to cut too little than too much, so start with small cuts and test the fit of the sink frequently. You can always make more cuts if needed, but it is difficult to fix a cut that is too large. Work Safely Always wear safety goggles and gloves while cutting the cabinet to protect yourself from any debris. It is also a good idea to wear a face mask to avoid inhaling any dust or particles.Tips for Cutting a Kitchen Sink Cabinet for a Larger Sink
If you are a visual learner, it may be helpful to watch a video tutorial on how to cut a kitchen sink cabinet for a larger sink. There are many tutorials available online that can guide you through the process step by step and provide helpful tips along the way.Video Tutorial: Cutting a Kitchen Sink Cabinet for a Larger Sink
Not Measuring Correctly One of the most common mistakes when cutting a kitchen sink cabinet is not measuring accurately. This can lead to making incorrect cuts and potentially ruining the cabinet. Using the Wrong Tools It is important to use the right tools for the job, including the appropriate saw blade for cutting through the material of your cabinet. Using the wrong tools can result in uneven or jagged cuts. Rushing the Process Cutting the cabinet can be a time-consuming task, but it is important to take your time and make slow, steady cuts. Rushing can lead to mistakes and potentially costly errors. Not Wearing Protective Gear Always wear safety goggles and gloves while cutting the cabinet to protect yourself from any debris. Failure to do so can result in injury.Common Mistakes When Cutting a Kitchen Sink Cabinet for a Larger Sink
If you are not comfortable with cutting the cabinet yourself, there are alternative methods you can consider. You can hire a professional to do the job for you, or you can purchase a pre-cut cabinet specifically designed for a larger sink.Alternative Methods for Cutting a Kitchen Sink Cabinet for a Larger Sink
If you are not confident in your DIY skills, it is always best to hire a professional to cut your kitchen sink cabinet for a larger sink. They have the necessary tools and expertise to ensure the job is done correctly and safely.Professional Services for Cutting a Kitchen Sink Cabinet for a Larger Sink
When cutting a kitchen sink cabinet for a larger sink, it is important to take the necessary precautions to ensure a safe and successful outcome. Here are some precautions to keep in mind: Wear protective gear Always wear safety goggles and gloves while cutting the cabinet to protect yourself from any debris. It is also a good idea to wear a face mask to avoid inhaling any dust or particles. Take your time Rushing through the cutting process can lead to mistakes and potentially costly errors. Take your time and make slow, steady cuts to ensure accuracy. Measure accurately Accurate measurements are crucial for cutting the cabinet to the correct size. Measure twice to ensure the marks are in the correct place and straight. Work safely Always work in a well-ventilated area and make sure your tools are in good working condition. If you are unsure about anything, it is best to seek professional help.Precautions to Take When Cutting a Kitchen Sink Cabinet for a Larger Sink
How to Cut a Kitchen Sink Cabinet for a Larger Sink

Introduction
 When it comes to designing a kitchen, the sink is one of the most essential components. It not only serves as a functional aspect of the kitchen but also adds to the overall aesthetic appeal. However, if you have recently purchased a larger sink and are looking to install it in your existing kitchen, you may run into the challenge of fitting it into your current sink cabinet. But fear not, with the right tools and techniques, you can easily cut your kitchen sink cabinet to accommodate a larger sink. In this article, we will guide you through the process of cutting a kitchen sink cabinet for a larger sink, ensuring a seamless and professional finish.
Step 1: Measure and Plan
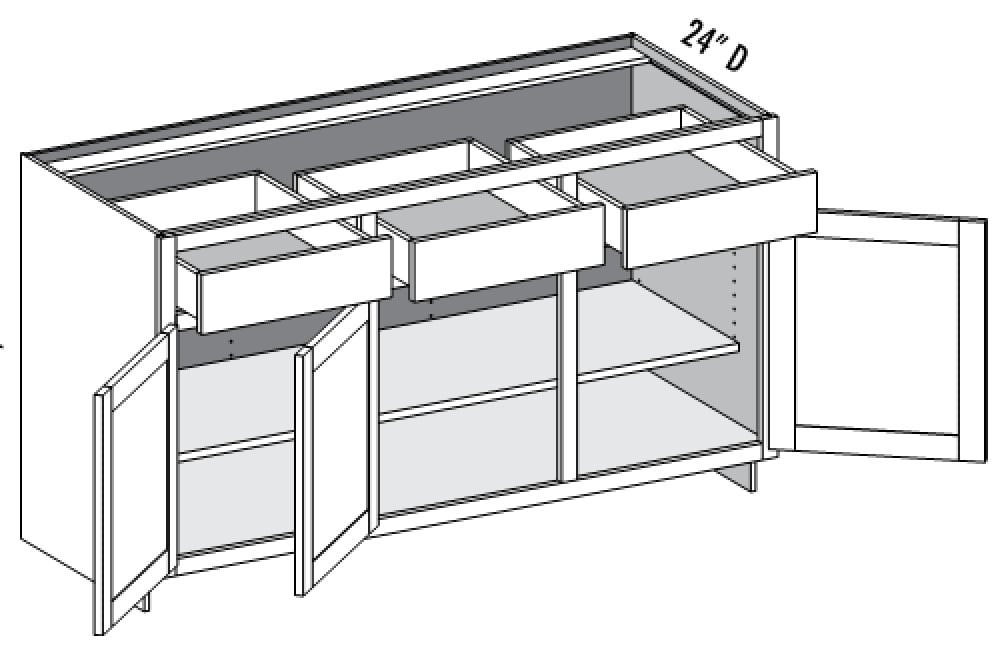
 Before starting the cutting process, it is crucial to measure your new sink and compare it with the dimensions of your existing sink cabinet. This will give you an idea of how much you need to cut out to make the new sink fit. It is also essential to take into consideration the position of the plumbing pipes and any other obstacles that may affect the cutting process. Once you have a clear understanding of the measurements and the obstacles, you can move on to the next step.
Step 2: Gather the Necessary Tools
 To successfully cut your kitchen sink cabinet, you will need some essential tools such as a jigsaw, drill, measuring tape, and safety equipment such as gloves and eye protection. Make sure to have all the necessary tools ready before starting the cutting process to avoid any interruptions or delays.
Step 3: Prepare the Cabinet
 To ensure a smooth and clean cut, it is crucial to remove any doors, shelves, and drawers from the sink cabinet. This will also make it easier to maneuver the jigsaw and cut precisely along the marked lines.
Step 4: Mark the Cutting Lines
 Using a measuring tape and a pencil, mark the cutting lines on the cabinet. These lines should match the measurements of your new sink. Make sure to double-check the measurements and adjust if necessary before proceeding to the cutting process.
Step 5: Cut the Cabinet
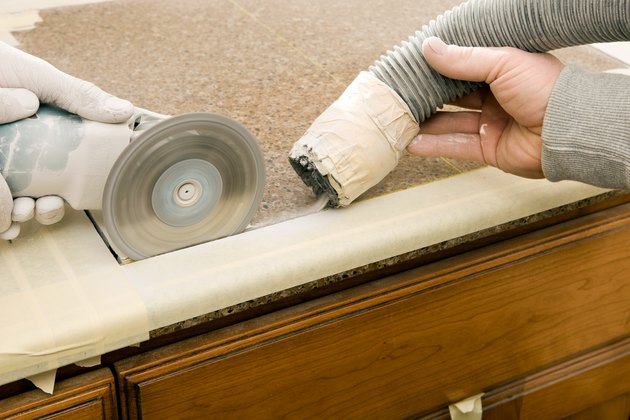
 Now it's time to cut the cabinet using a jigsaw. Carefully follow the marked lines and use steady, even pressure to ensure a clean cut. It is recommended to use a fine-toothed blade for a more precise cut. Remember to wear safety equipment and work slowly to avoid any accidents.
Step 6: Fit the New Sink
 Once the cabinet has been cut to the correct dimensions, you can now fit your new sink into the opening. Make sure to check that the sink fits properly and make any necessary adjustments before securing it in place.
Conclusion
 Cutting a kitchen sink cabinet for a larger sink may seem like a daunting task, but with the right tools and techniques, it can be a straightforward and successful process. By following these steps, you can easily transform your kitchen and accommodate a larger sink, adding both functionality and style to your space. Remember to always wear safety equipment and work carefully for the best results.


